

Yesterday morning, I was fondling fabric in my stash and inspiration hit. It hit so hard, I couldn’t do anything else until I worked through it.
The idea was pretty basic, but was engrossing enough that I forgot to eat or brush my teeth until 2pm. Gross, or awesome – I can’t decide.
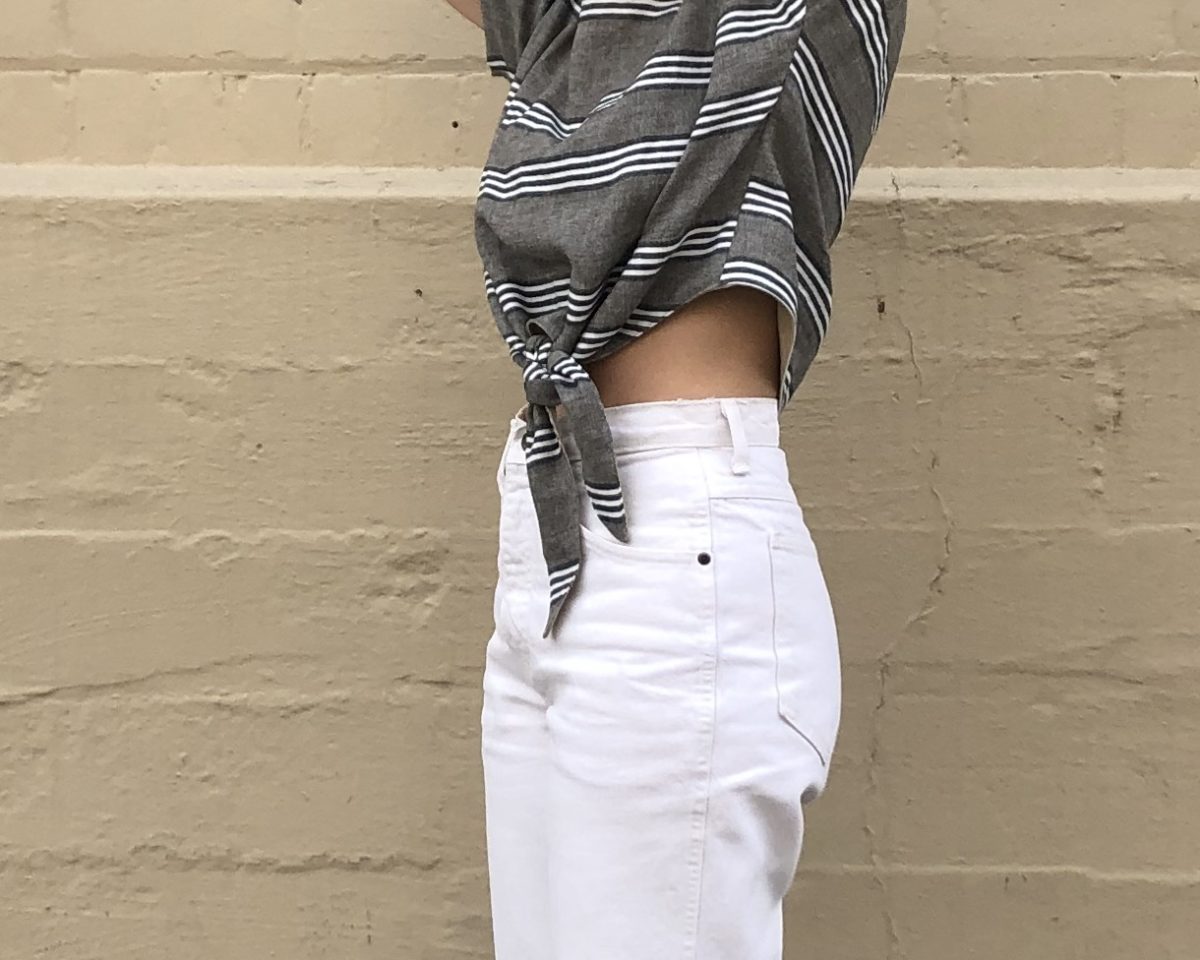
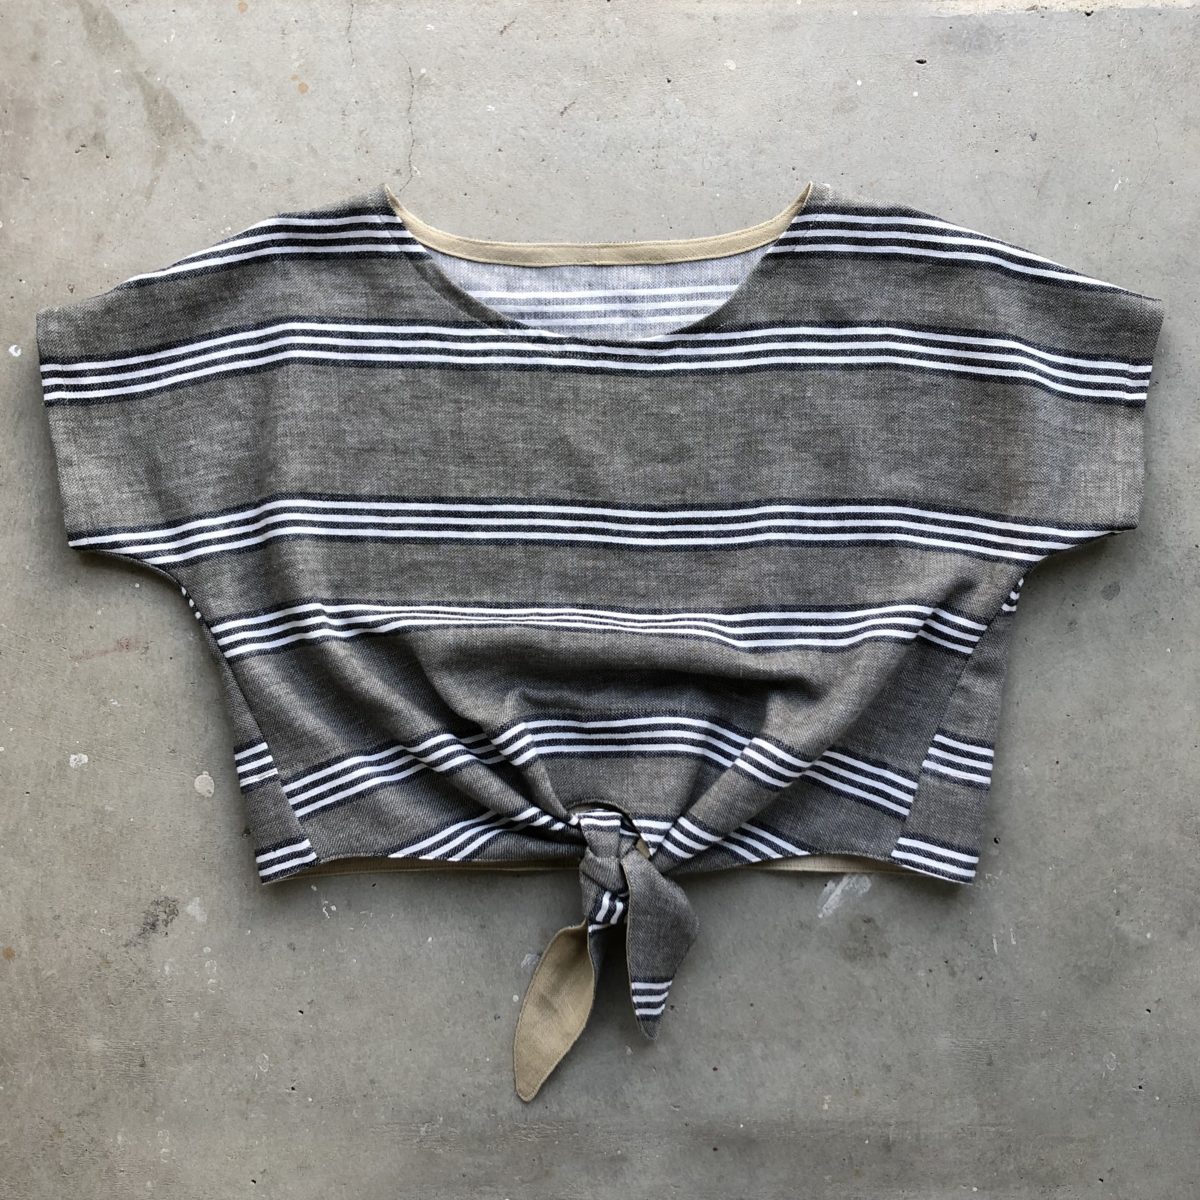
It’s a pretty simple hack. I cropped and straightened the original curved hem, then just drew lines until I had a tie shape I liked. I made sure to square off from center front and the side seam for about a 1/4 inch before swooping down. I made the XS size and cropped it by about 3 inches. The tie length ended up being around 13-ish inches, I think.
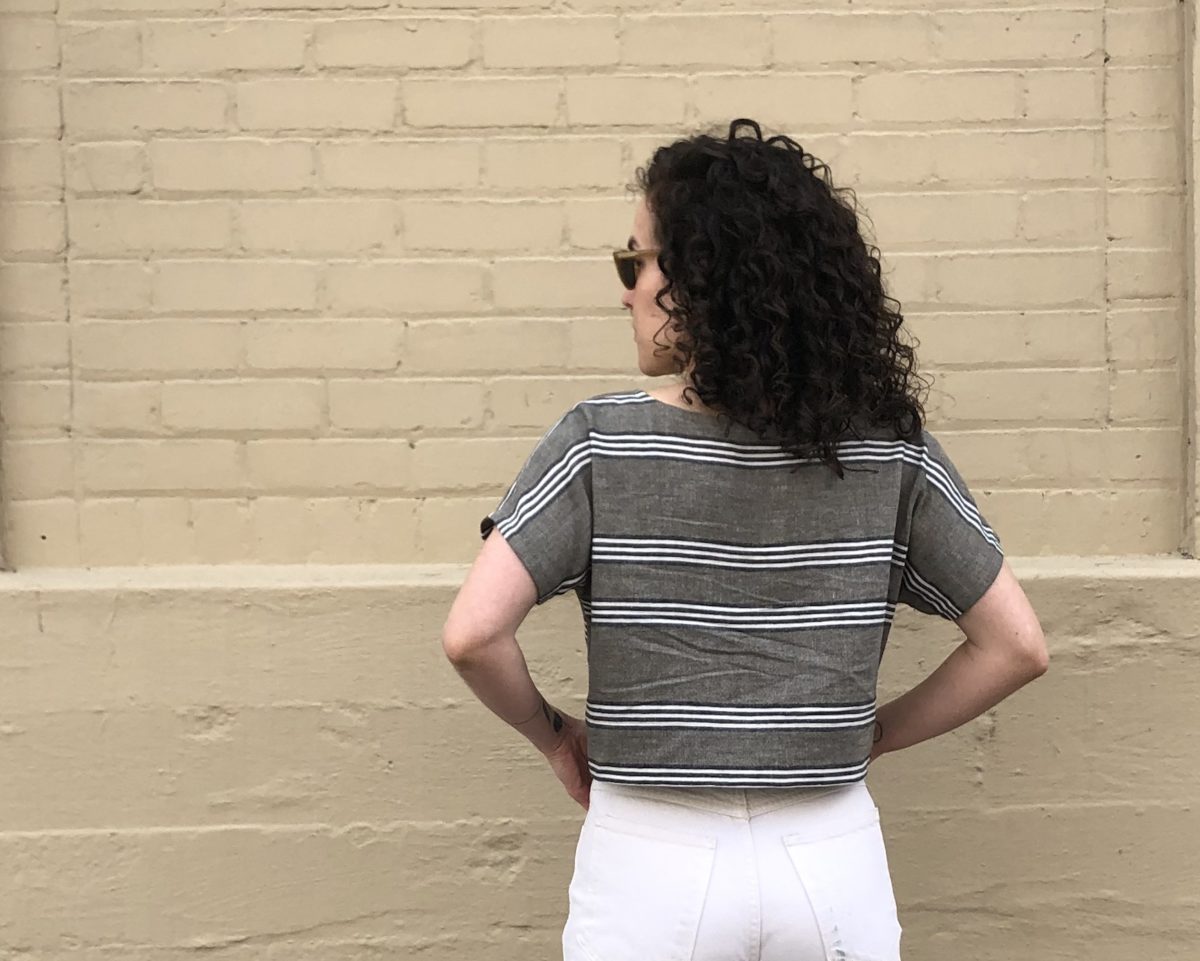
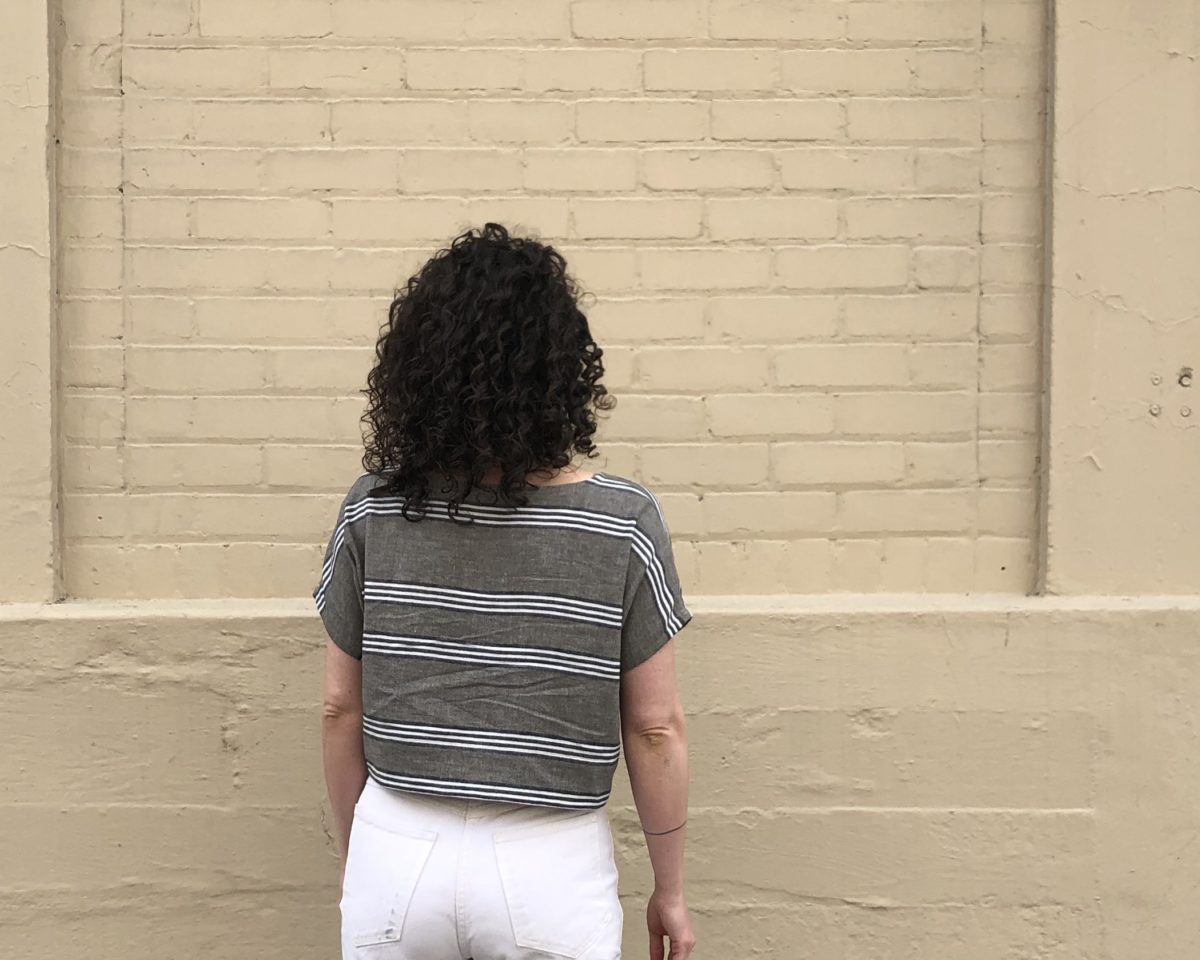
I managed to cut the back piece so that the stripes don’t match up, but I’m going to blame that on the small amount of yardage I had… it totally wasn’t because of that. GAH!
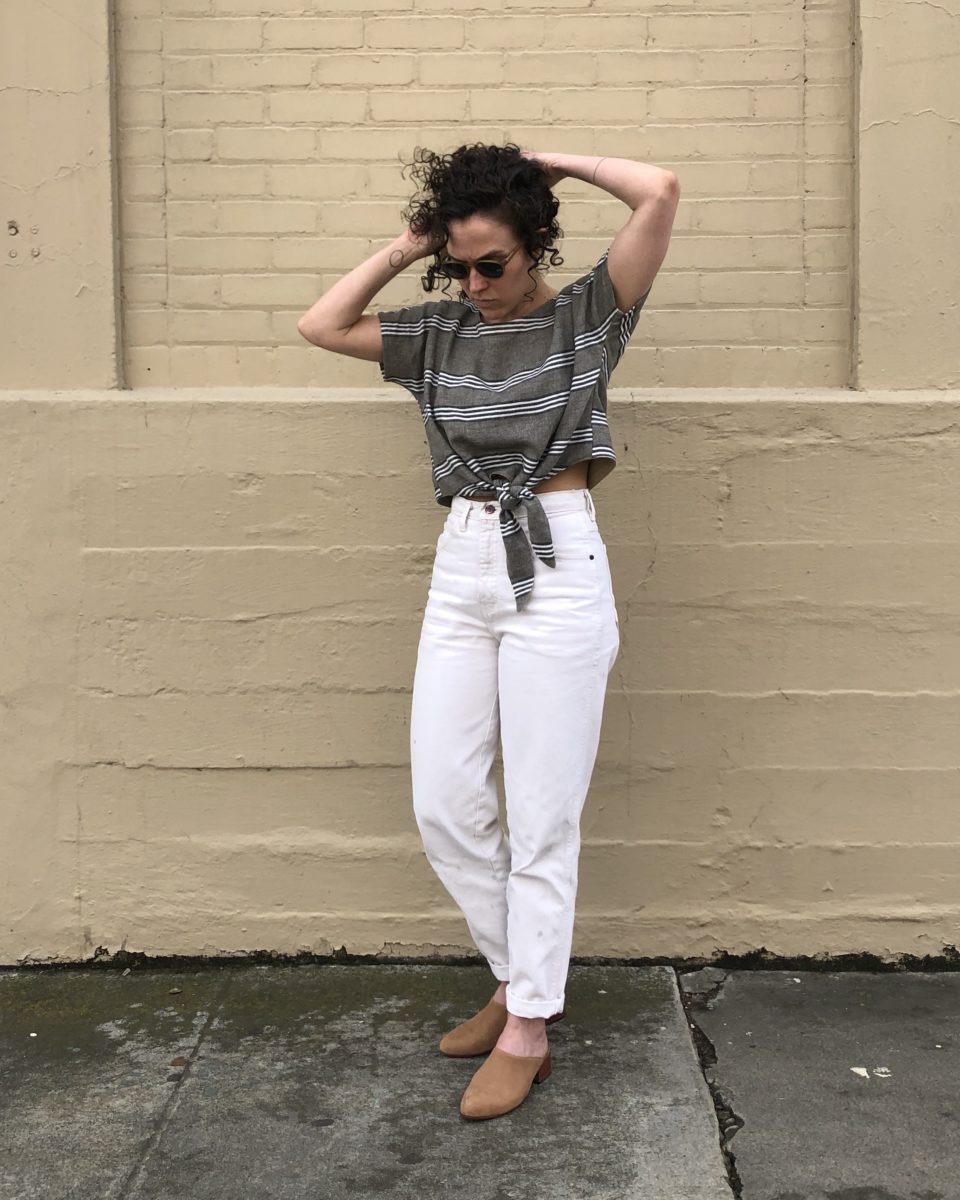
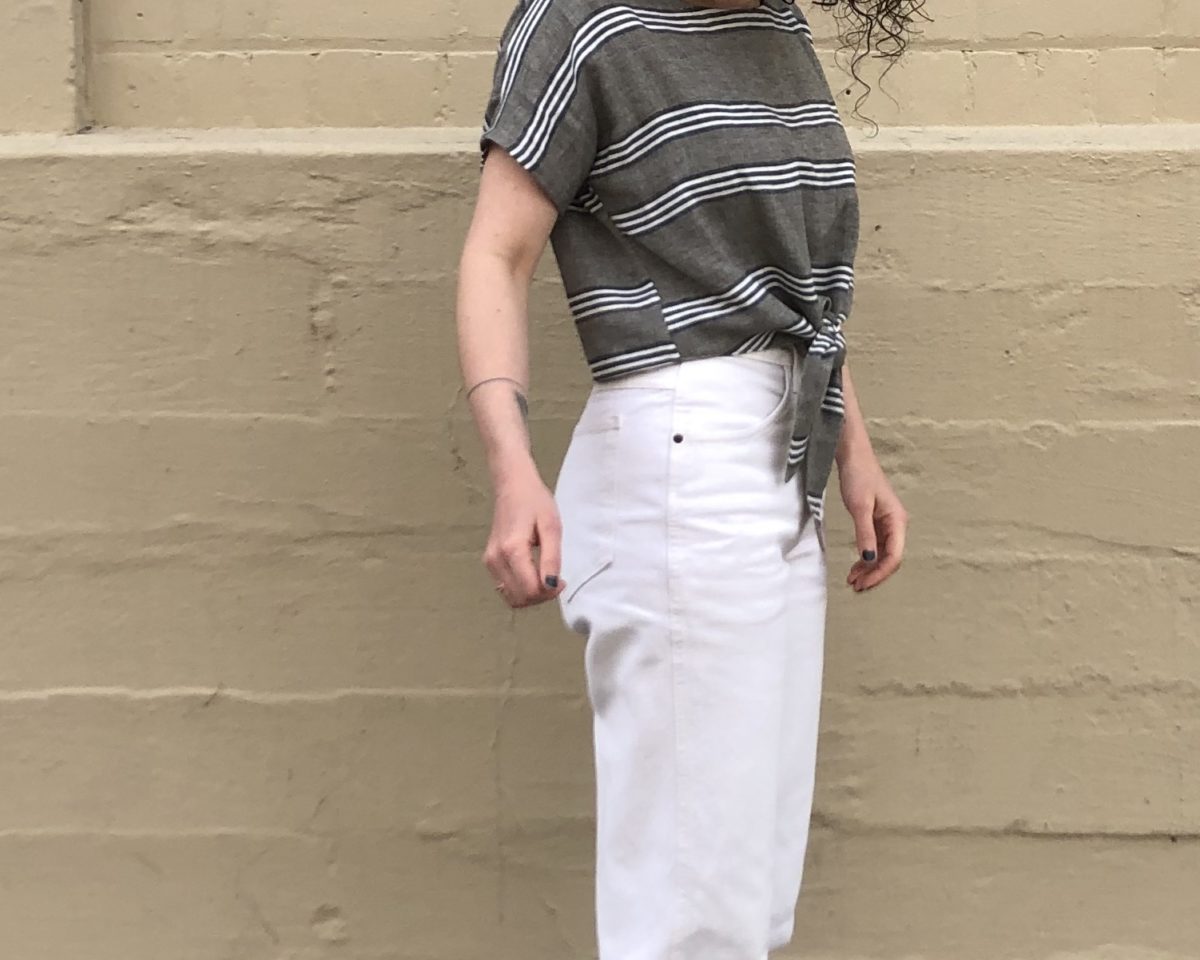
Initially I wanted a snugger fit around the waist, but I actually like how it hangs away from my body.
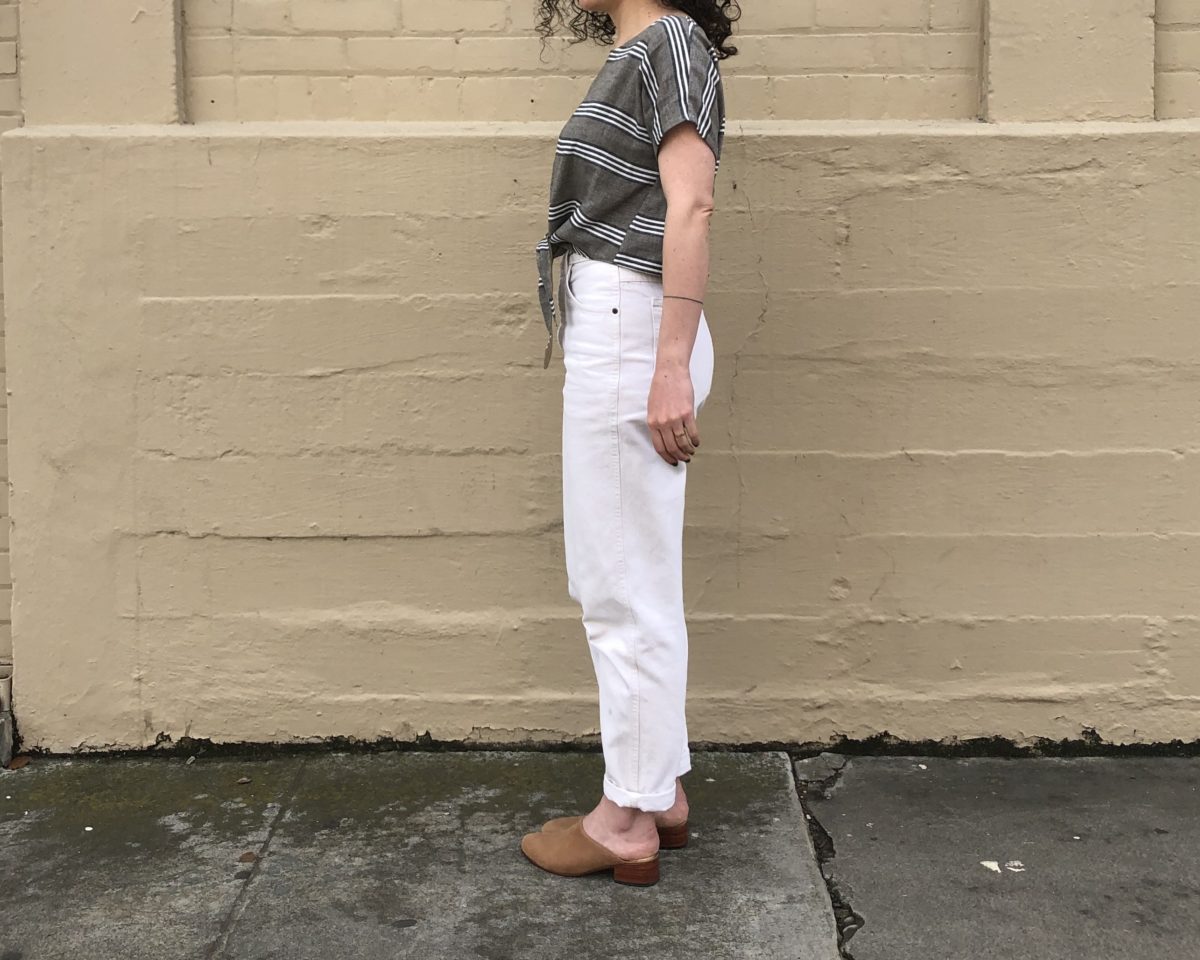
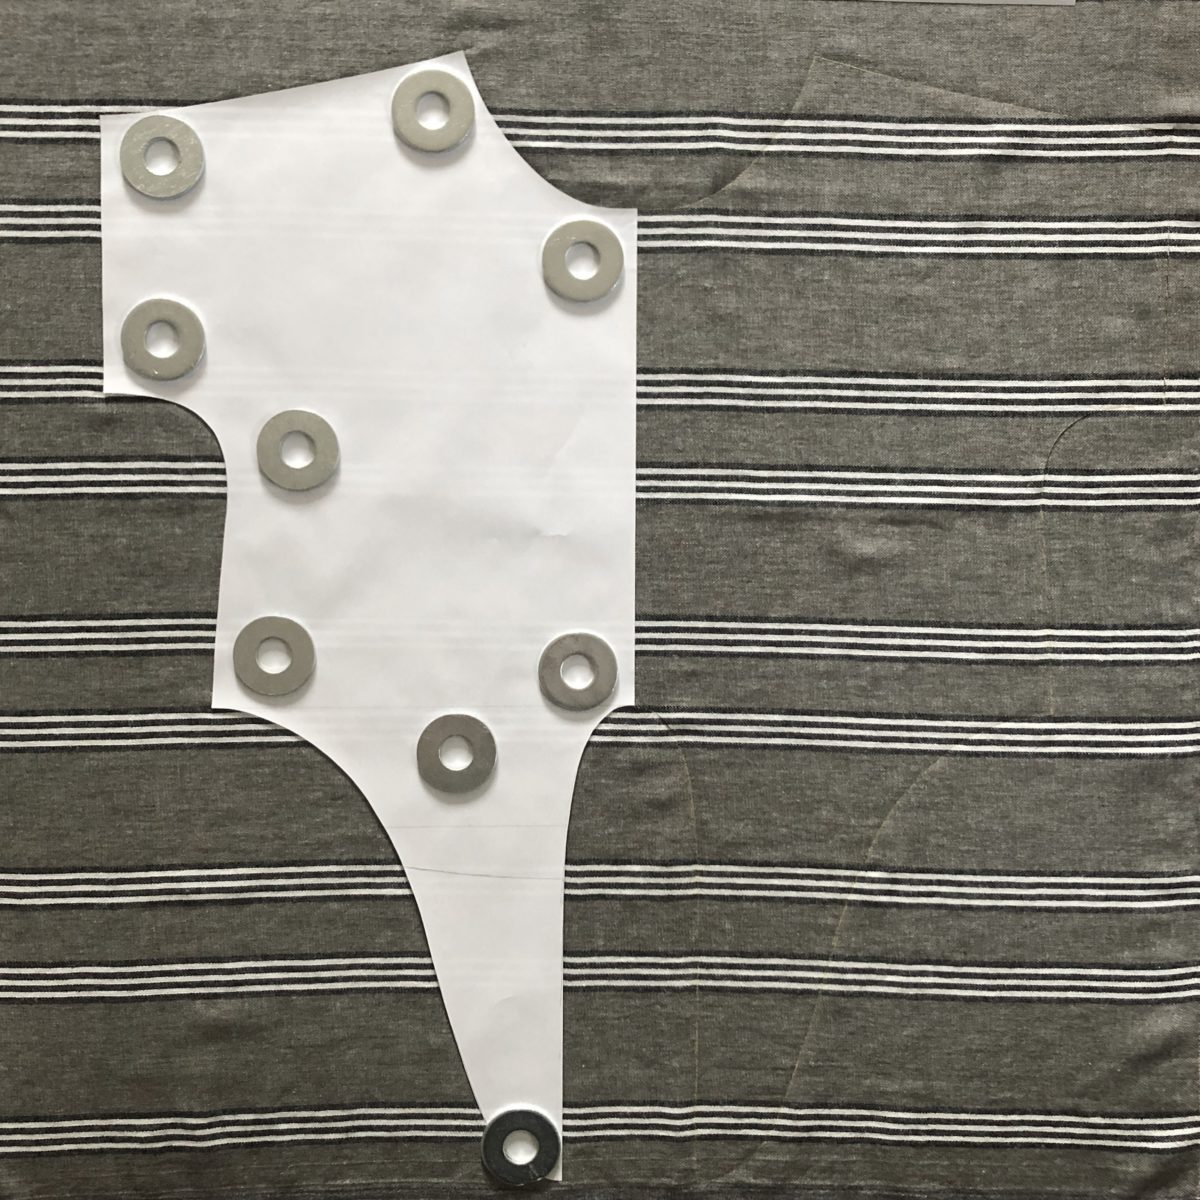
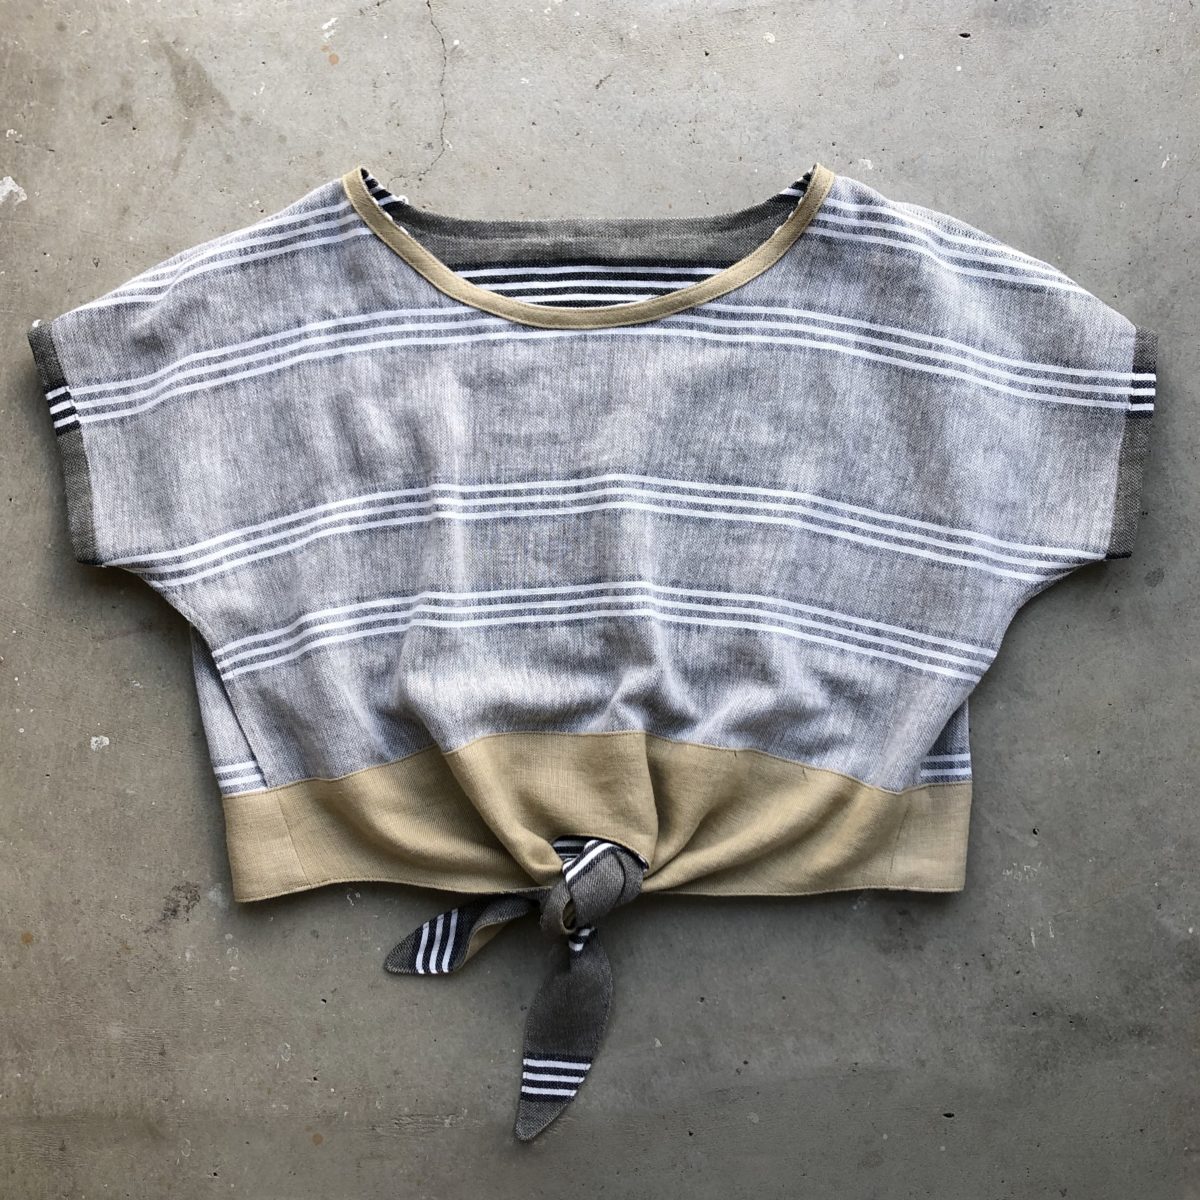
I didn’t want to fuss with a tiny hem on the ties and decided to use a hem facing. To do that, I traced the bottom portion of the shirt front and back pattern pieces. The facing comes up about 3 inches from the bottom hem and ties (see last picture).
I assembled the shirt as instructed, but used faux-french seams for the sides. To finish the hem and ties, I sewed the front and back pieces of the hem facing together and pressed the seams open. I then pressed the top edge a 1/2 inch down toward the wrong side and pinned the facing to the shirt right sides together. I sewed around the bottom edge using a 1/4 inch seam allowance, clipped the corners of the ties, and turned everything right sides out.
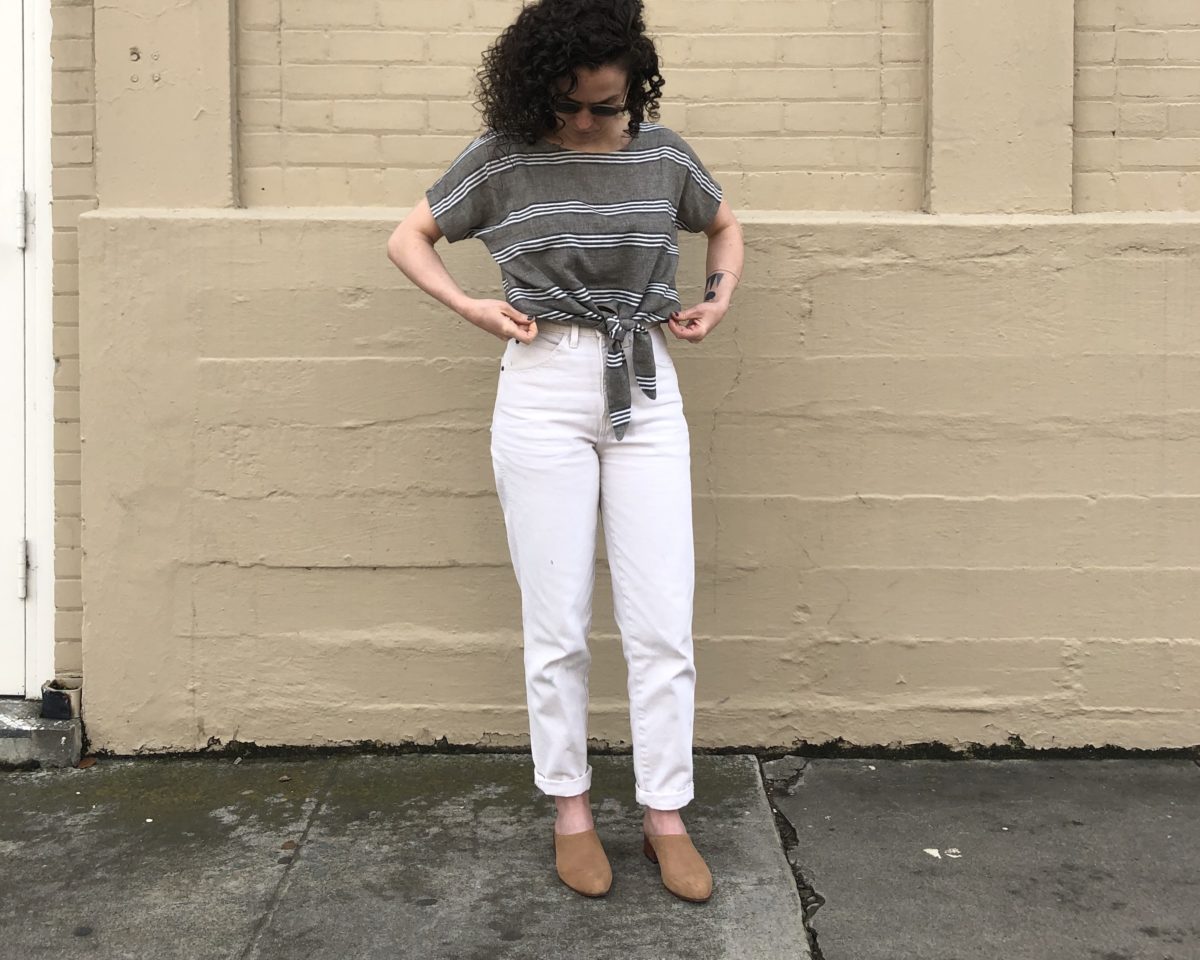
I gave it a good press, then edgestitched the hem and the top of the facing to the shirt.
I had to use another fabric for the hem facing and bias neckline finish, but I kind of love the contrast. It’s leftover fabric from this Maya Top, which is a little heftier than the main fabric. It adds some structure to this squishy cotton-linen blend from Stonemountain. I think it also helps the ties not stretch out of shape. And it’s a thrifted tablecloth!

This pattern is great right out of the envelope (see here and here), but is also such a fun base to hack. I’ve turned it into a dress, an Ace & Jig-esque top, and now this fun top!
I have a feeling this will get a lot of wear this summer, but let’s be honest – I’m going to wear it under sweaters until it warms up.

Have you made a Shirt No. 1 yet?
They’re Nisolos!I bought them secondhand on IG.
Gorgeous! I really want to create this. Thanks for the inspiration. Just out of curiosity who makes your mules? I love those too!
It’s an incredibly clever hack and just perfect as-is. Nothing “embarrassing” about it in the least! Thank you for sharing!!
Judy, be nice! It takes courage to share creative projects with the world, the maker is always more aware of imperfections than anyone else will ever be.
Wow so much wrong with the world and you choose to negatively comment on stripes not lining up – go acquire some humanity
To each their own! I have no problem with the stripes not matching up.
I just love this top. Going to make myself one this weekend
this is EXACTLY what my daughter asked me to recreate for her from a Target top.
Thanks for the tips!
I was just thinking about a faced tie hem the other day! Yay proof of concept! The shirt looks great, and the peep of contrast color in the tie ends is a definitely plus.