Louise Pullover | by Northside Knit Co

1 Comment

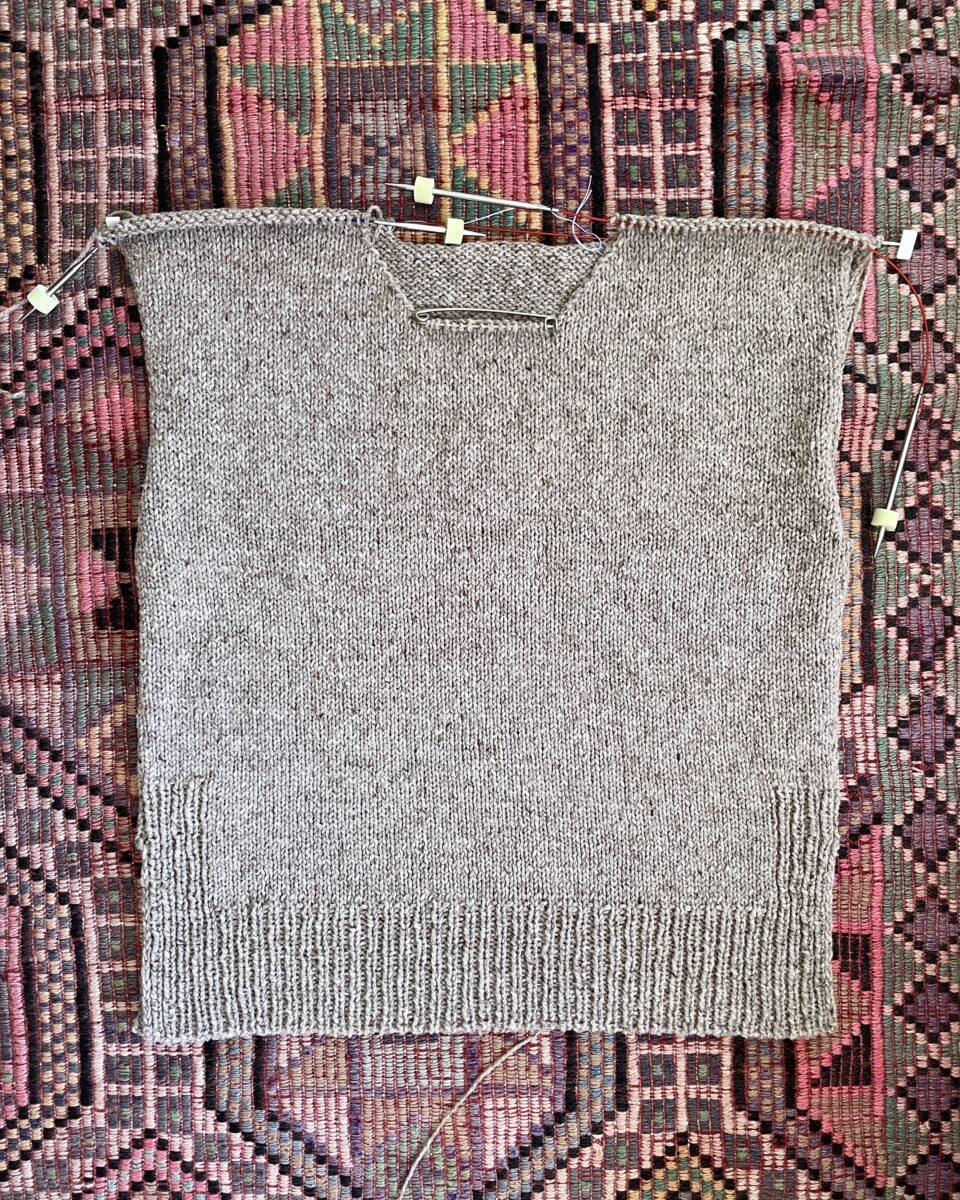
In 2017 I tried making a Misha & Puff style popcorn sweater. I had ordered a We Are Knitters kit (no longer available), even though I hated the color options, and gave it a shot. It went fine, but I made a teeny tiny error, didn’t have any idea of how to fix it, and gave up.

This is as far as that sweater got. The construction was not great (flat, seamed, no neckline shaping), and in hindsight I’m glad I stopped the project here.

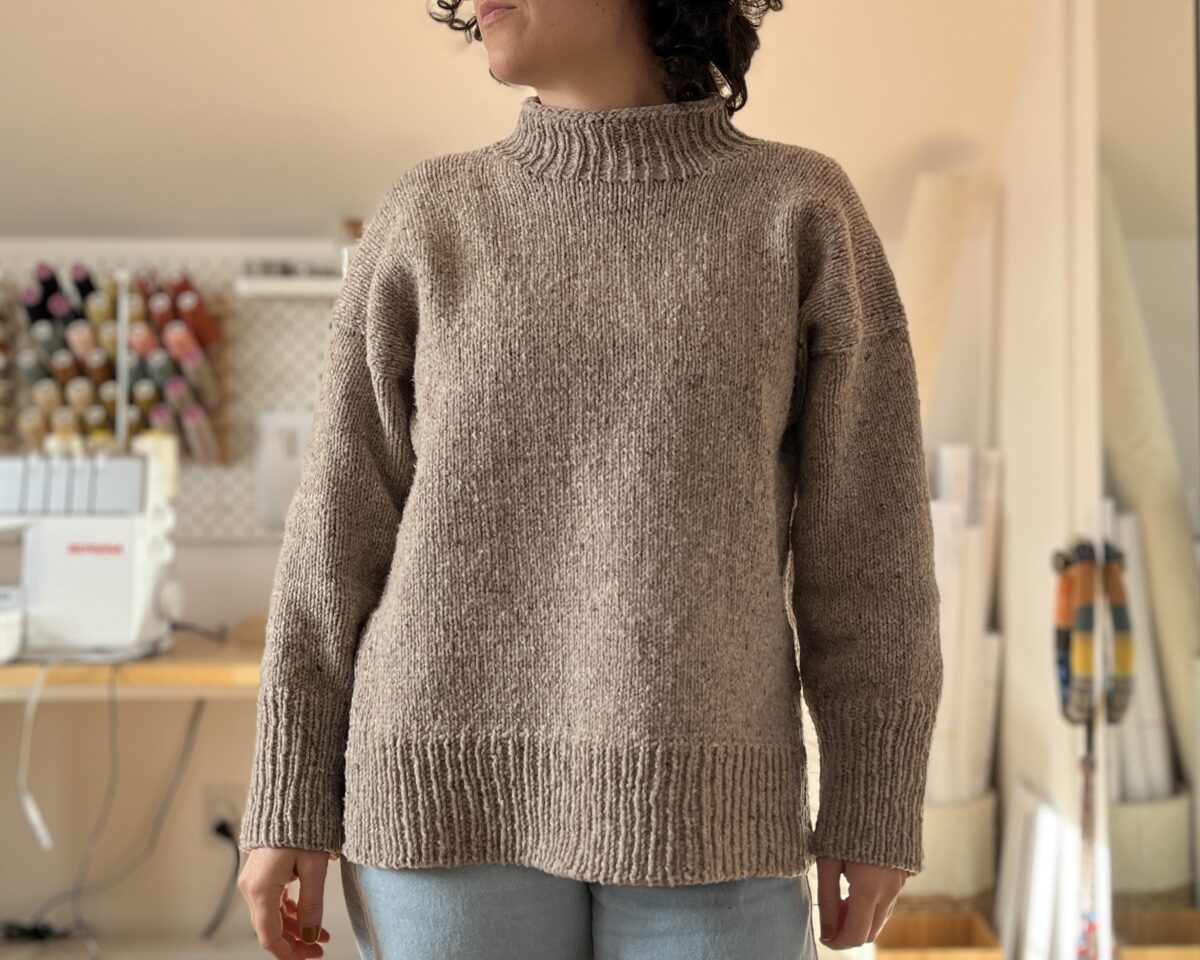
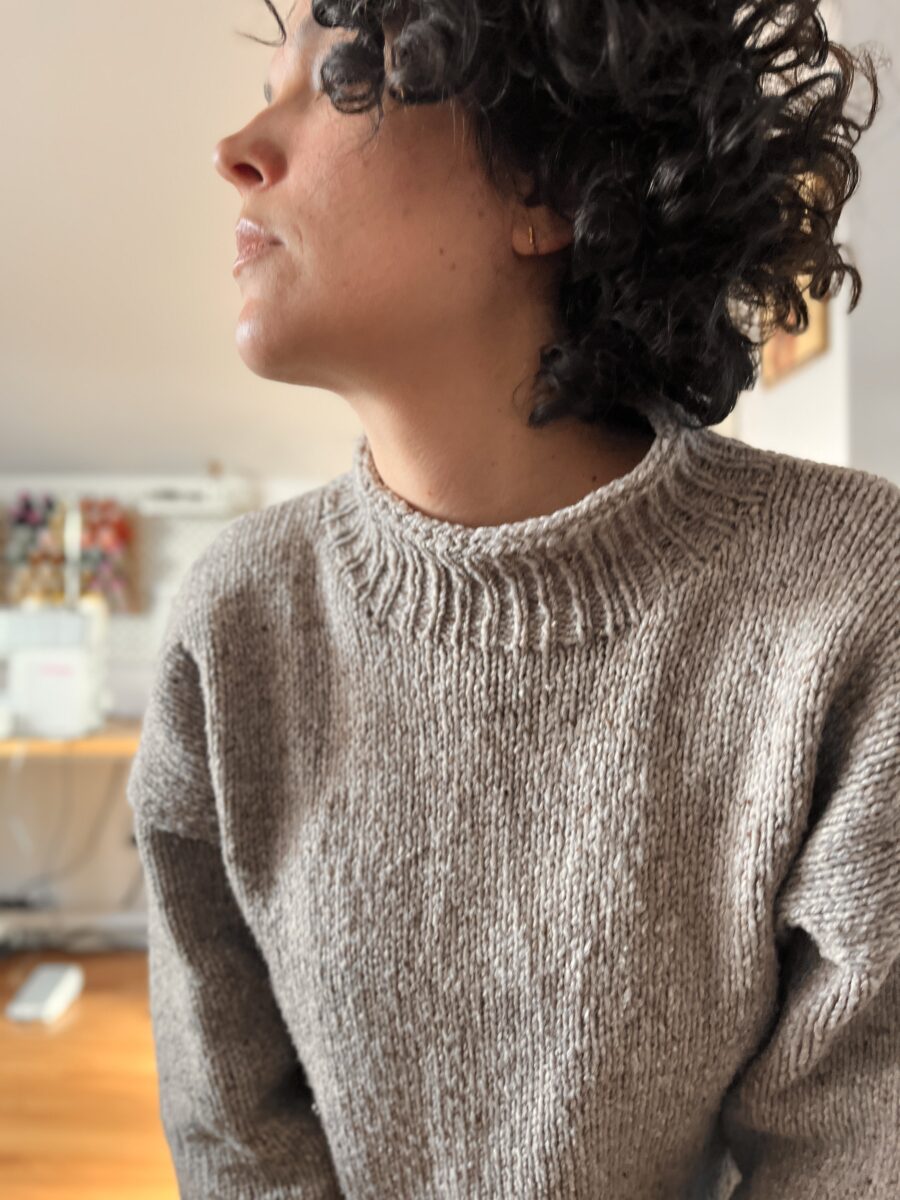
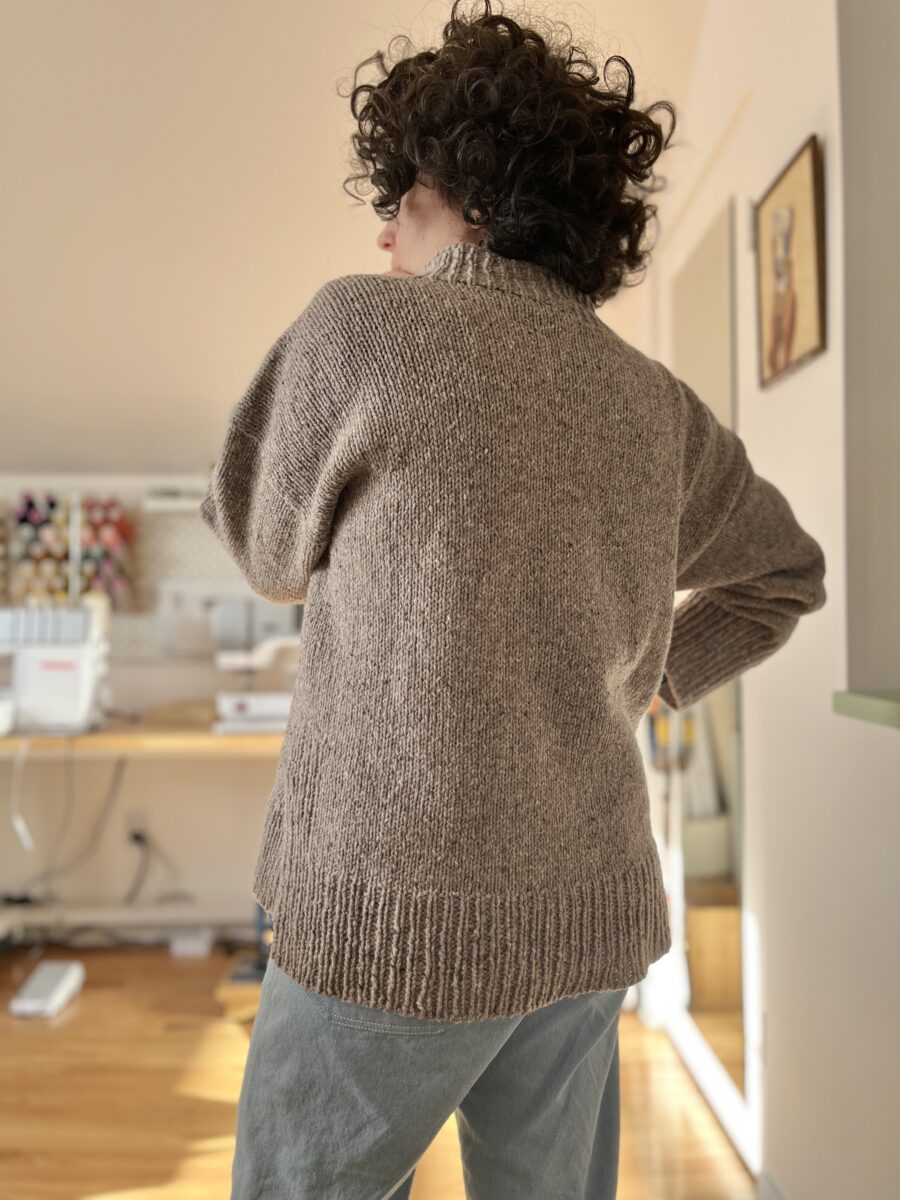
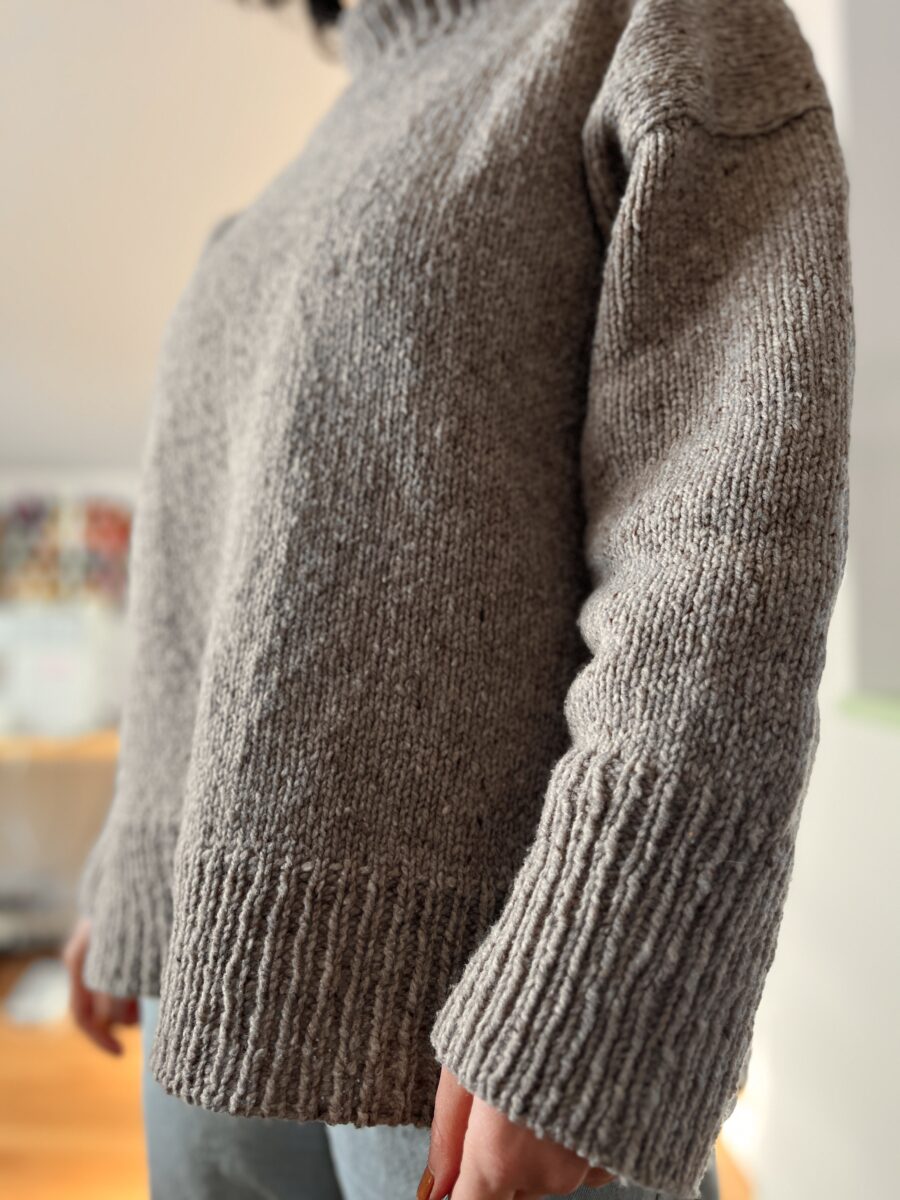
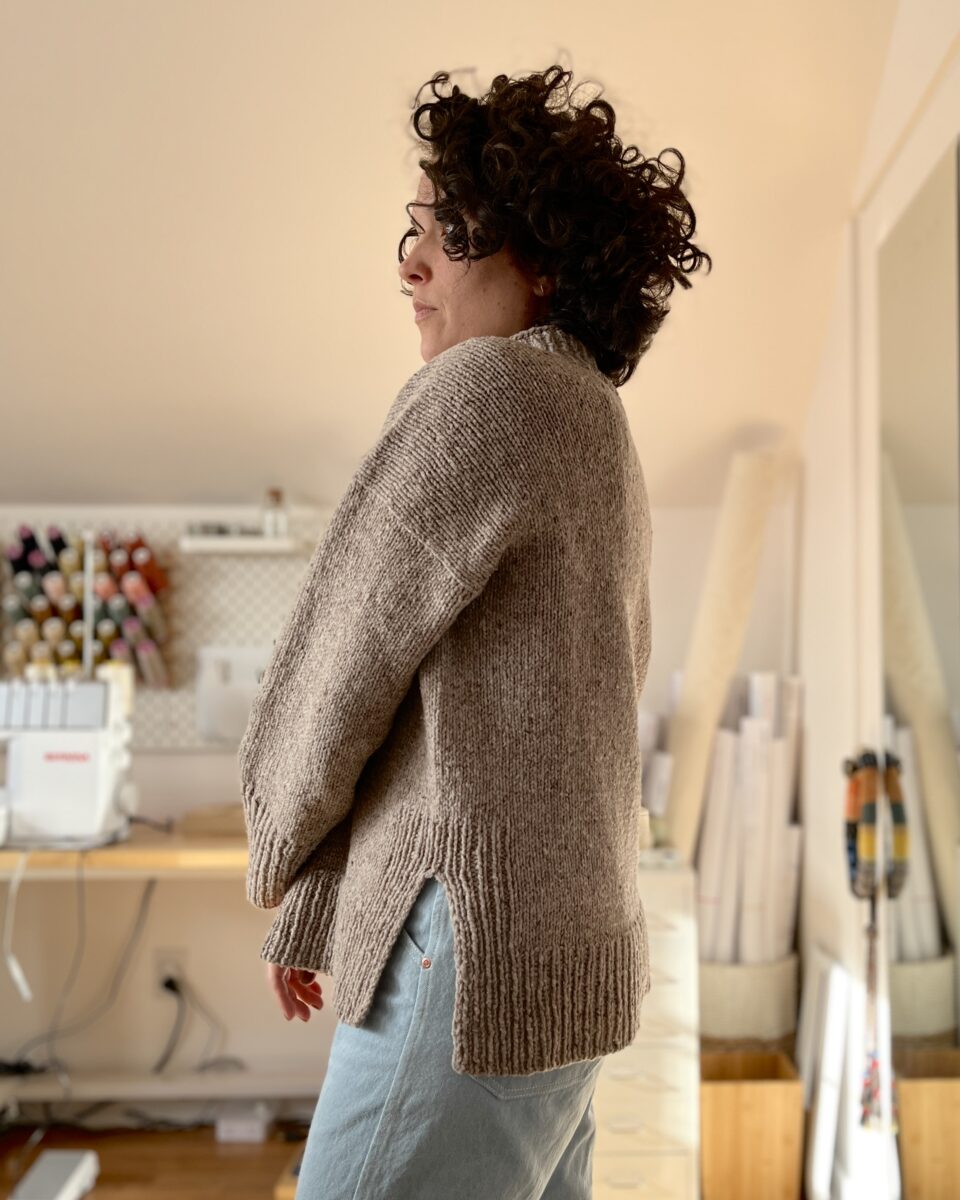
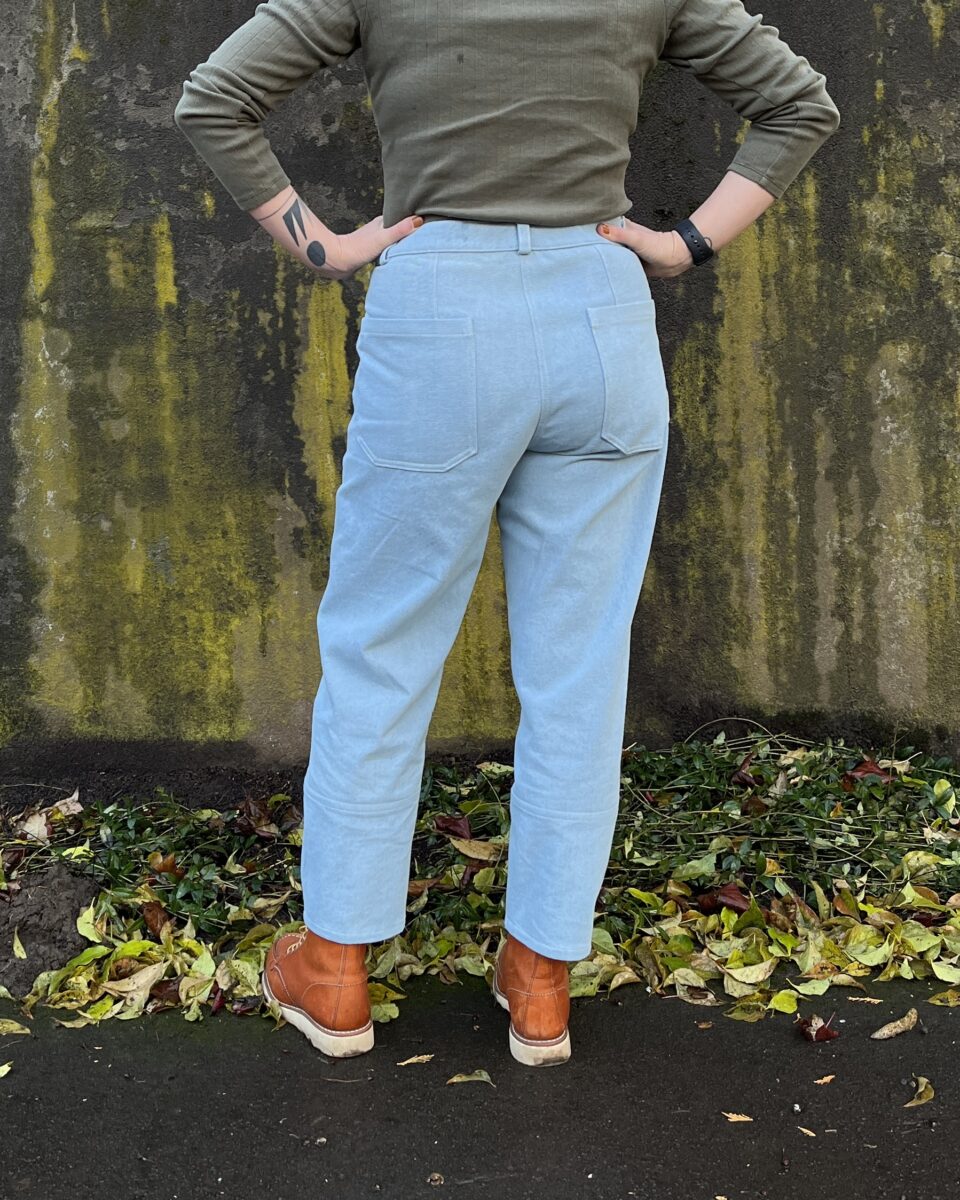
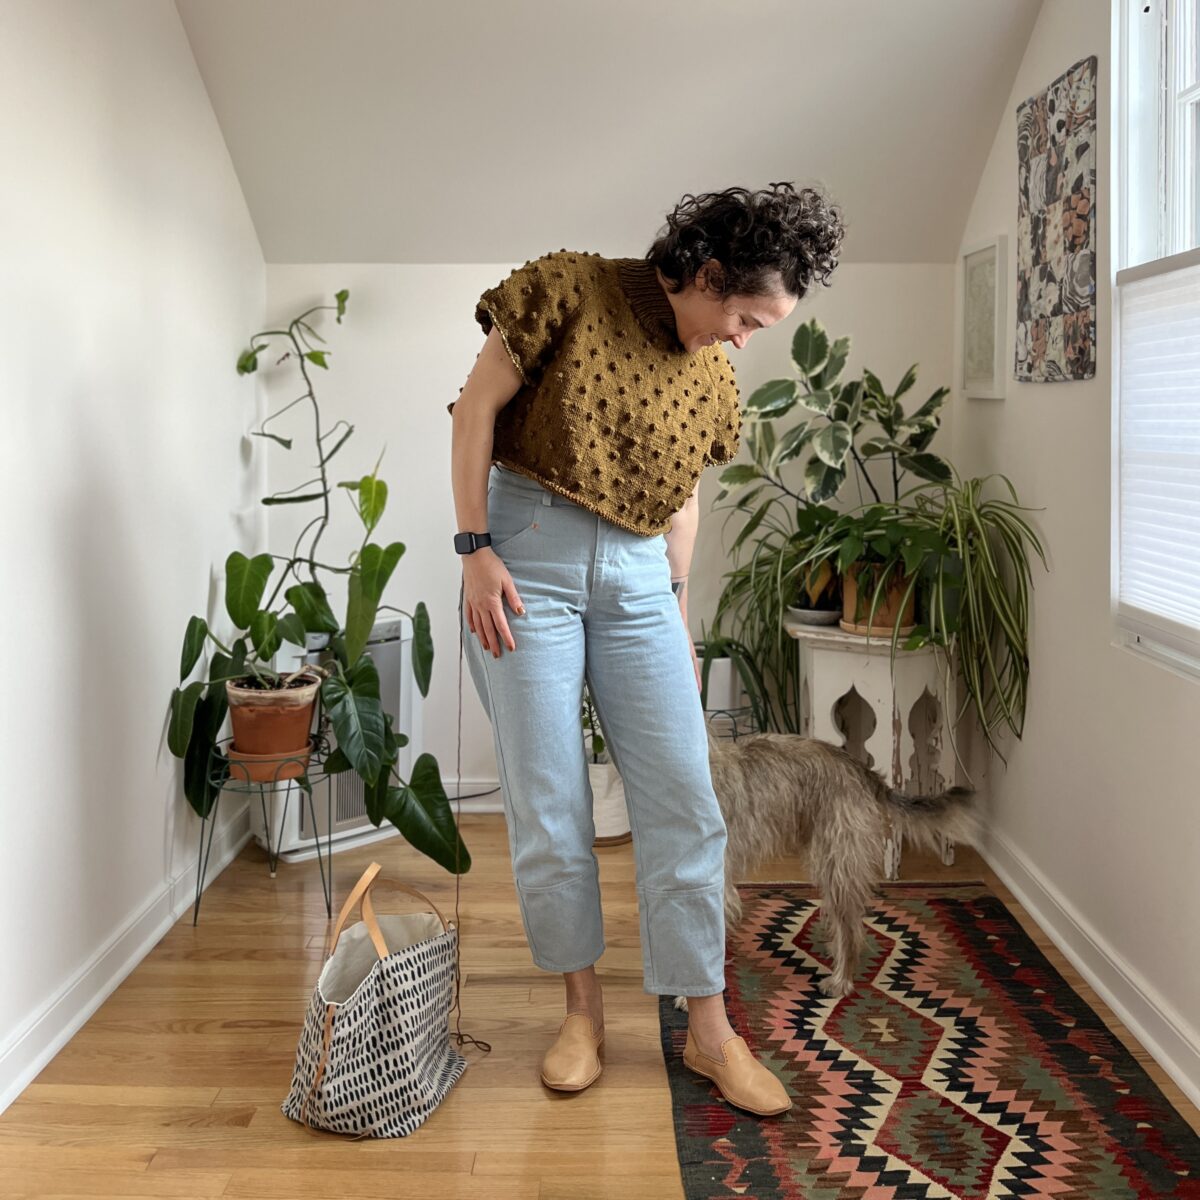
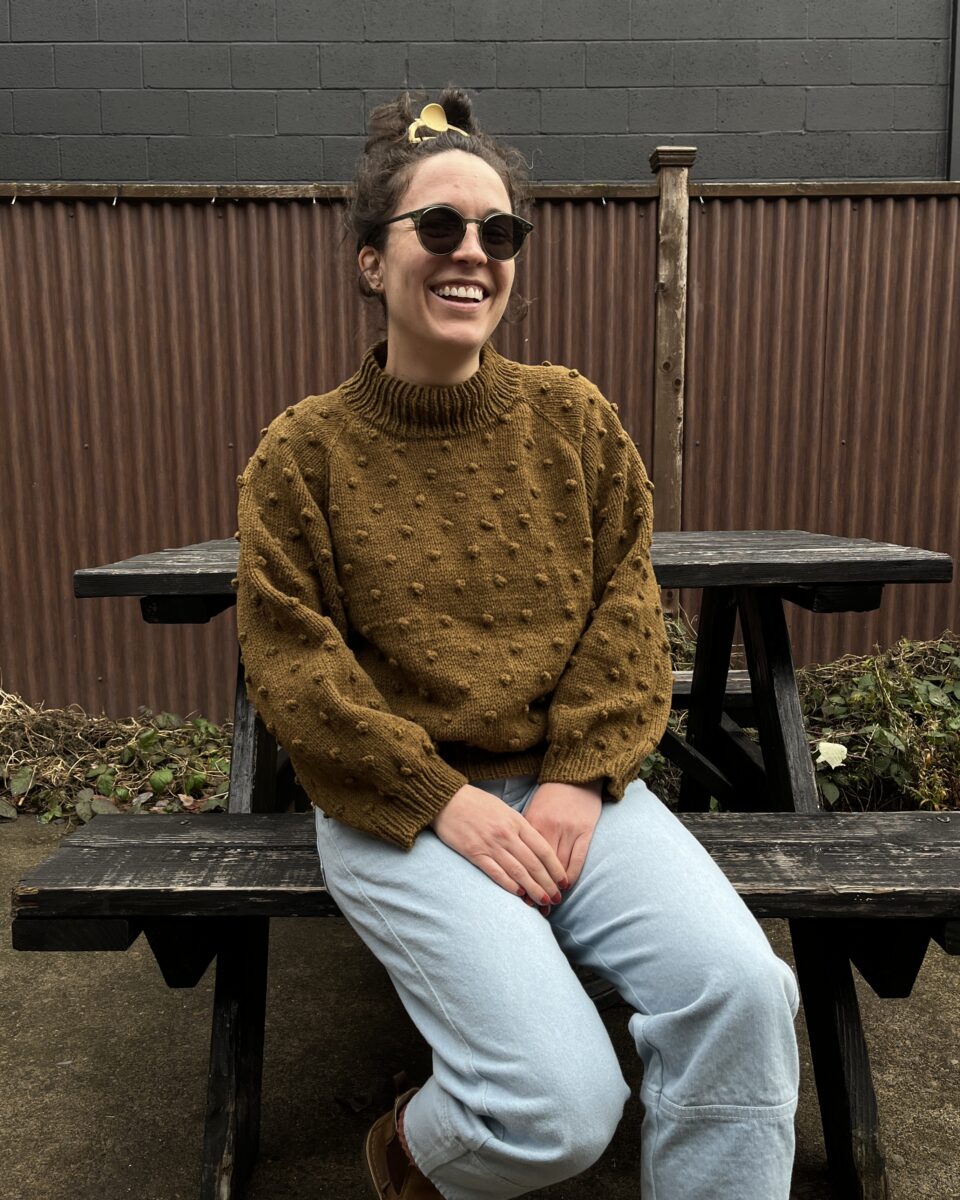
Well after a year of knitting sweaters, I finally have a M&P style sweater, in a much better color too!

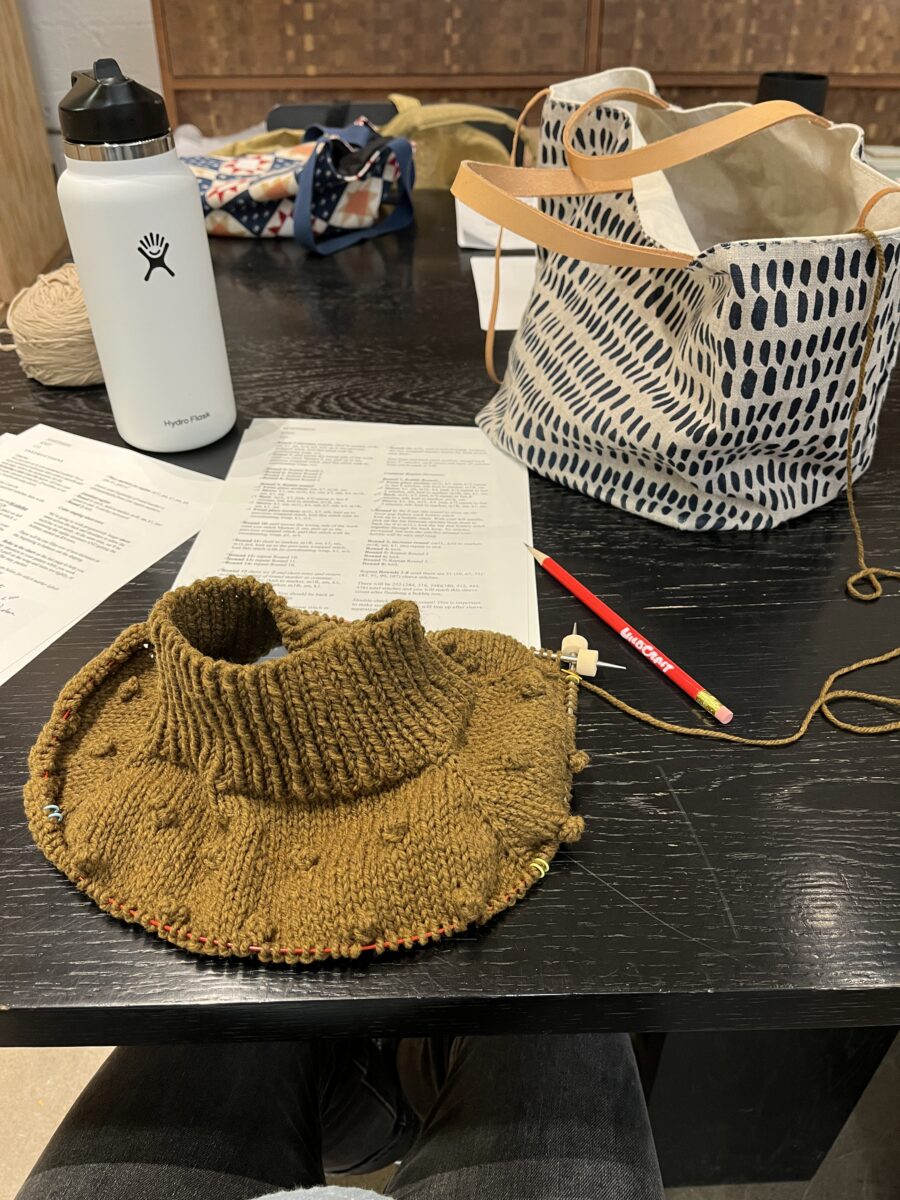
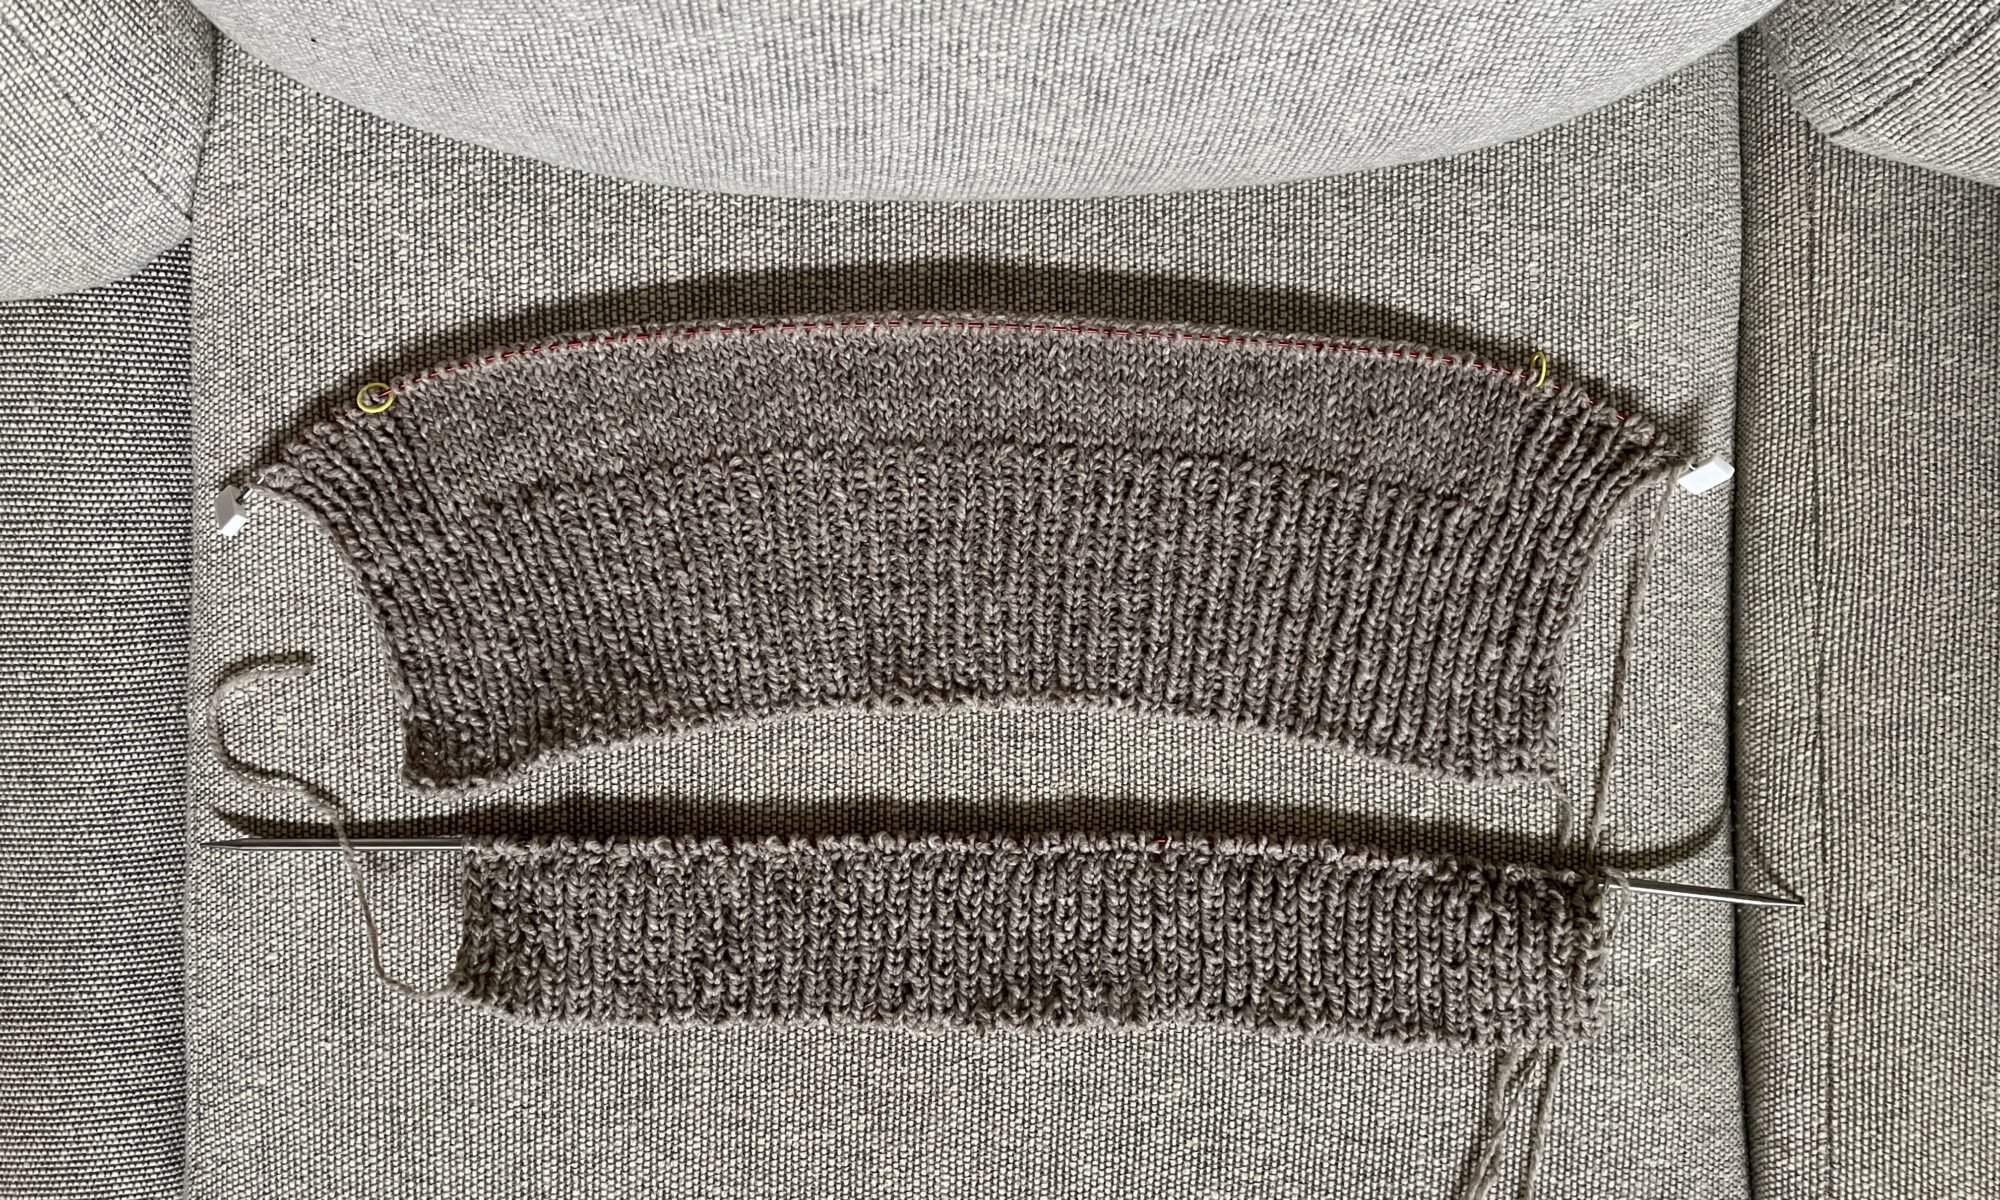
Even with six sweaters under my belt, I signed up for this lovely 4 week Wildcraft class with the pattern designer of the Louise Pullover. Short rows were, for some reason, deeply confusing to me and I thought some in person coaching would help. It was a great 4 weeks and I now feel like I can knit anything.

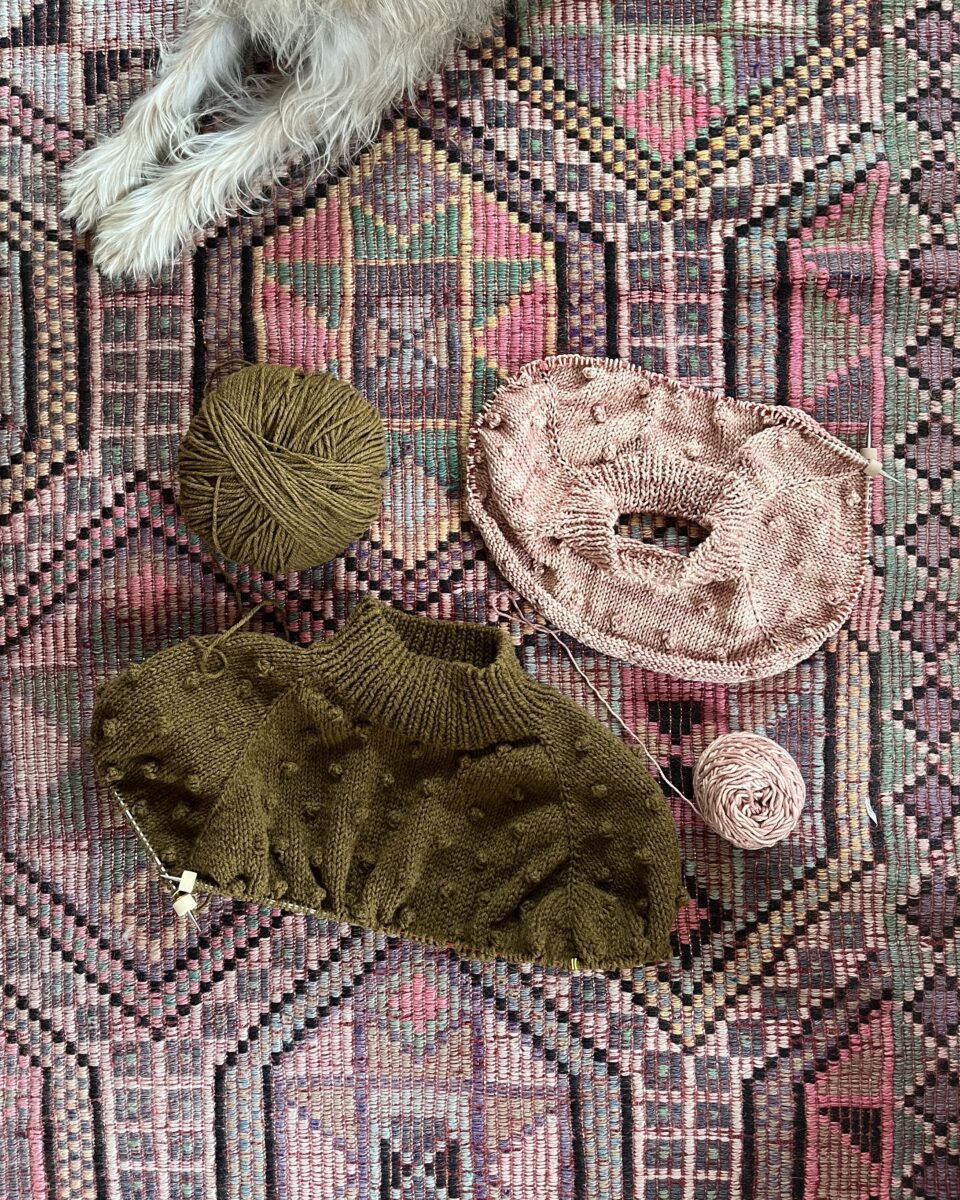
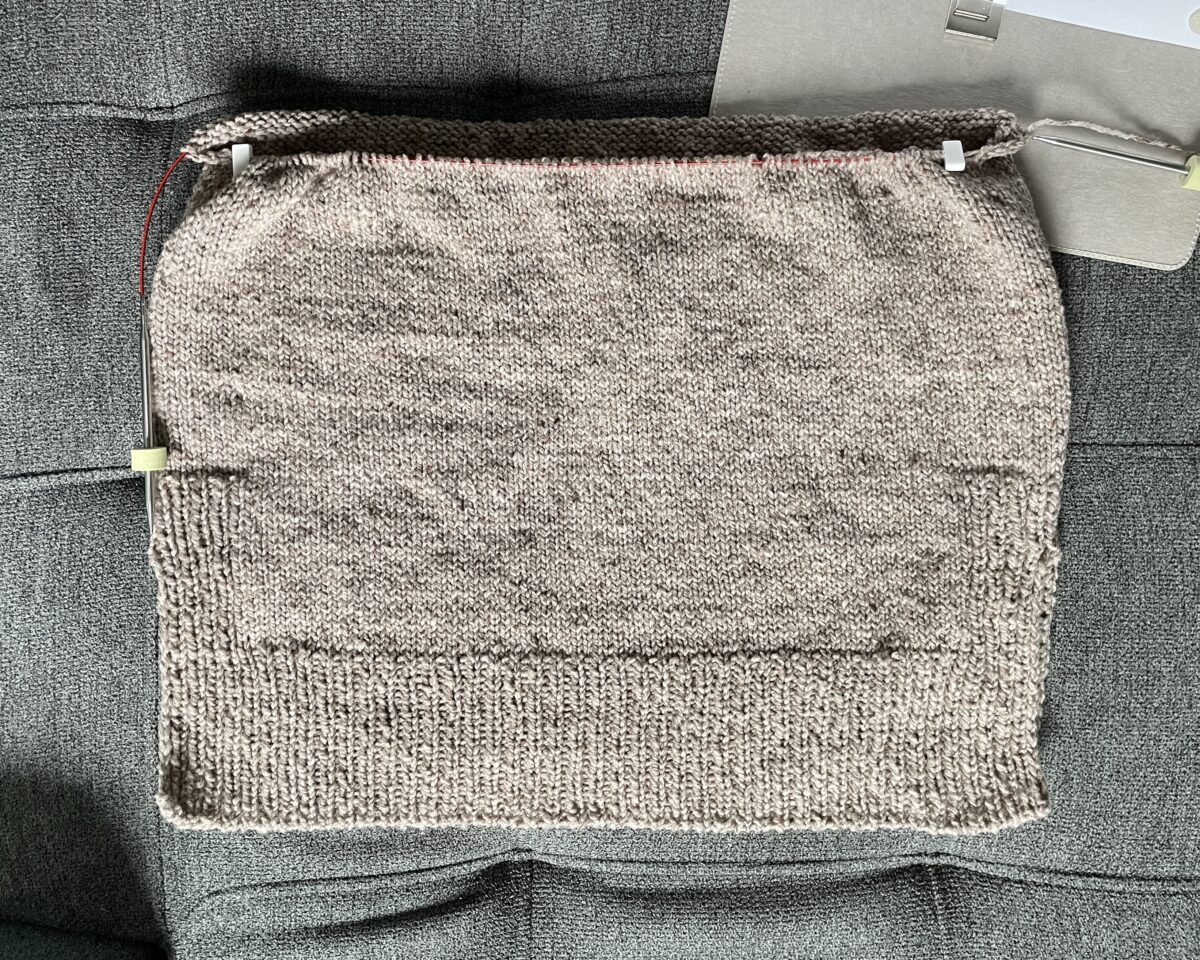
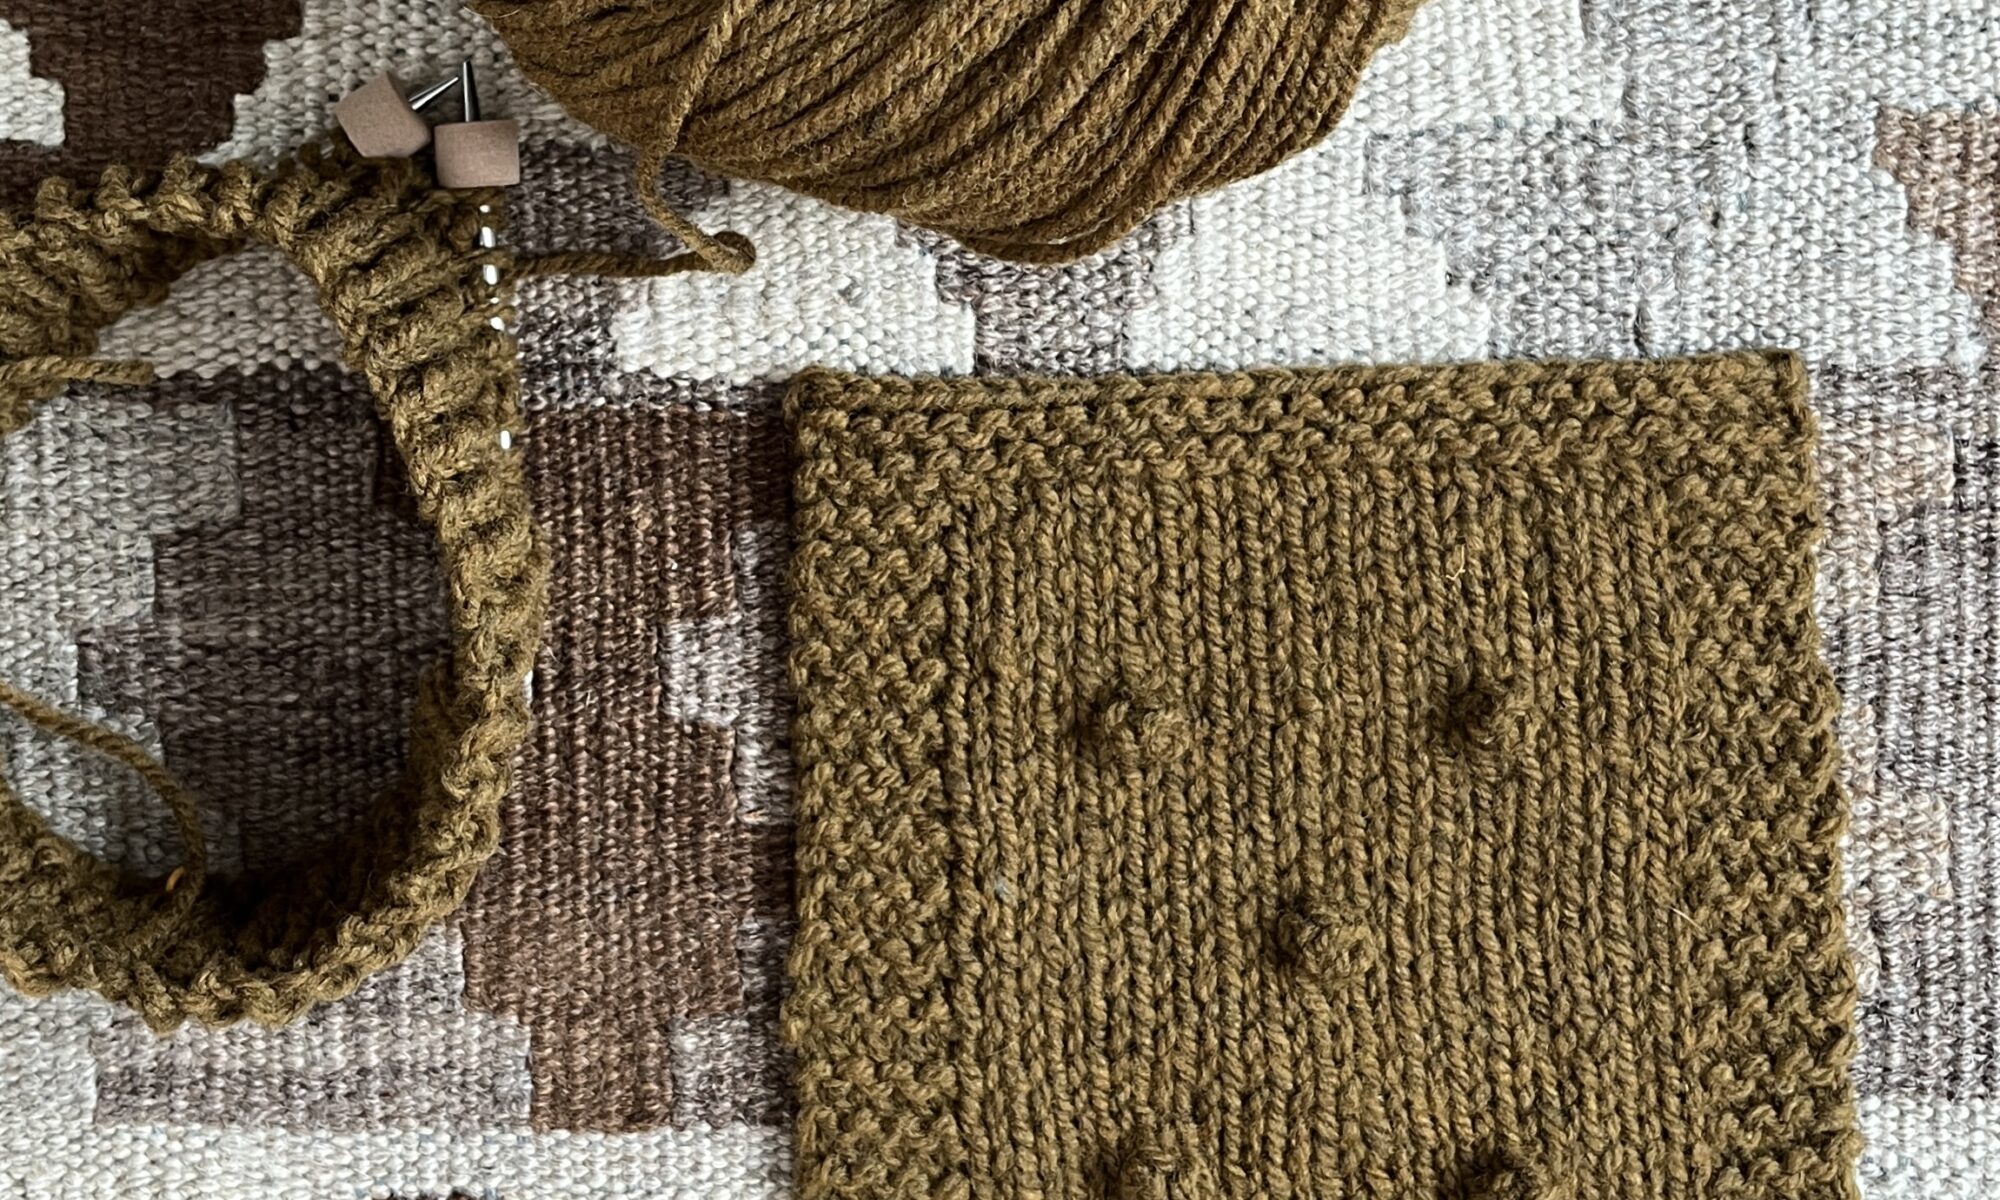
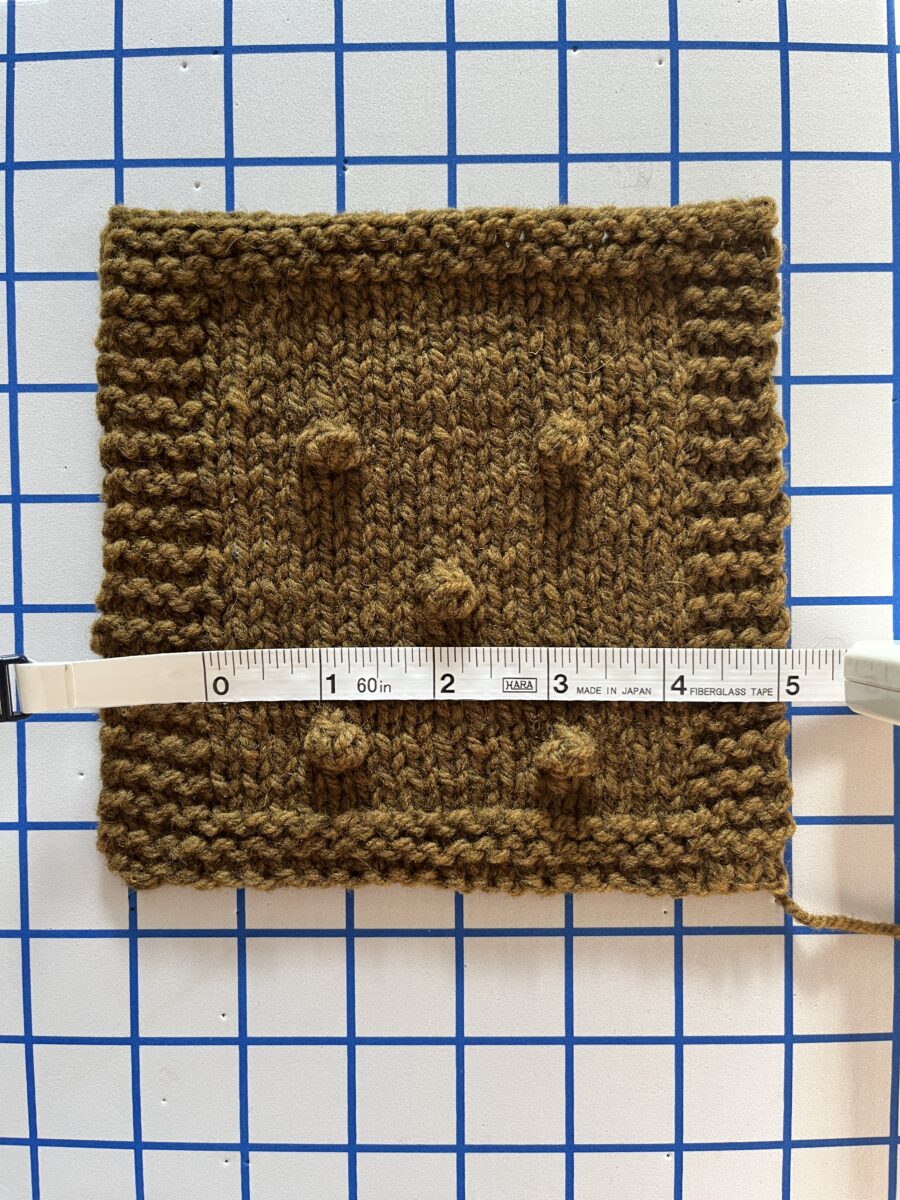
I practiced wrap and turns a lot before deciding to use German short rows instead. My wrap and turns were quite holey and the process felt a little more complex than German short rows. After completing the neckline shaping, I wanted to practice again while it was still fresh and started a second sweater. I don’t love the color of that yarn though, so we’ll see if it get used.

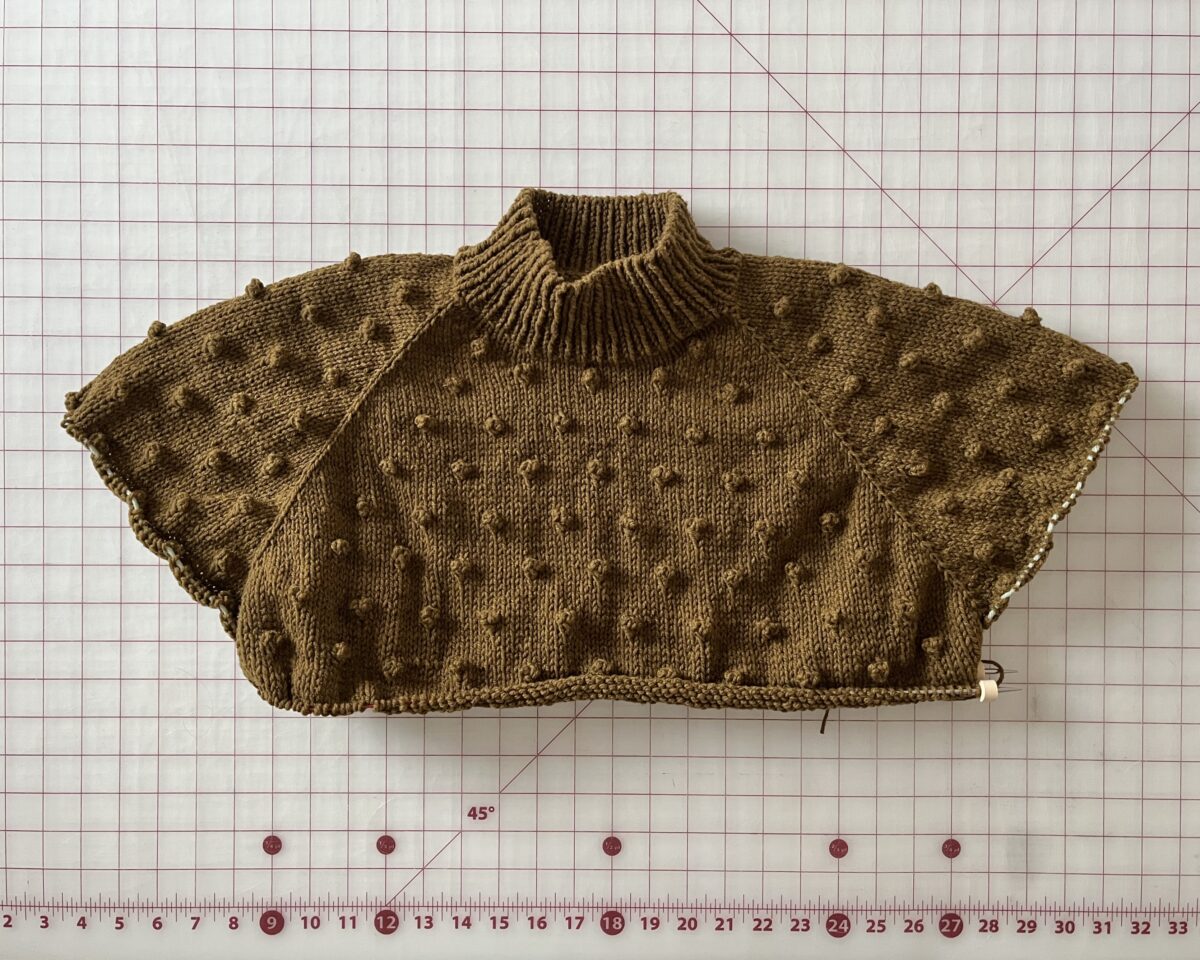
After knitting to a size 3, I decided to go up to a 4 for a more oversized fit.

I also decided to crop the sweater by 3″.

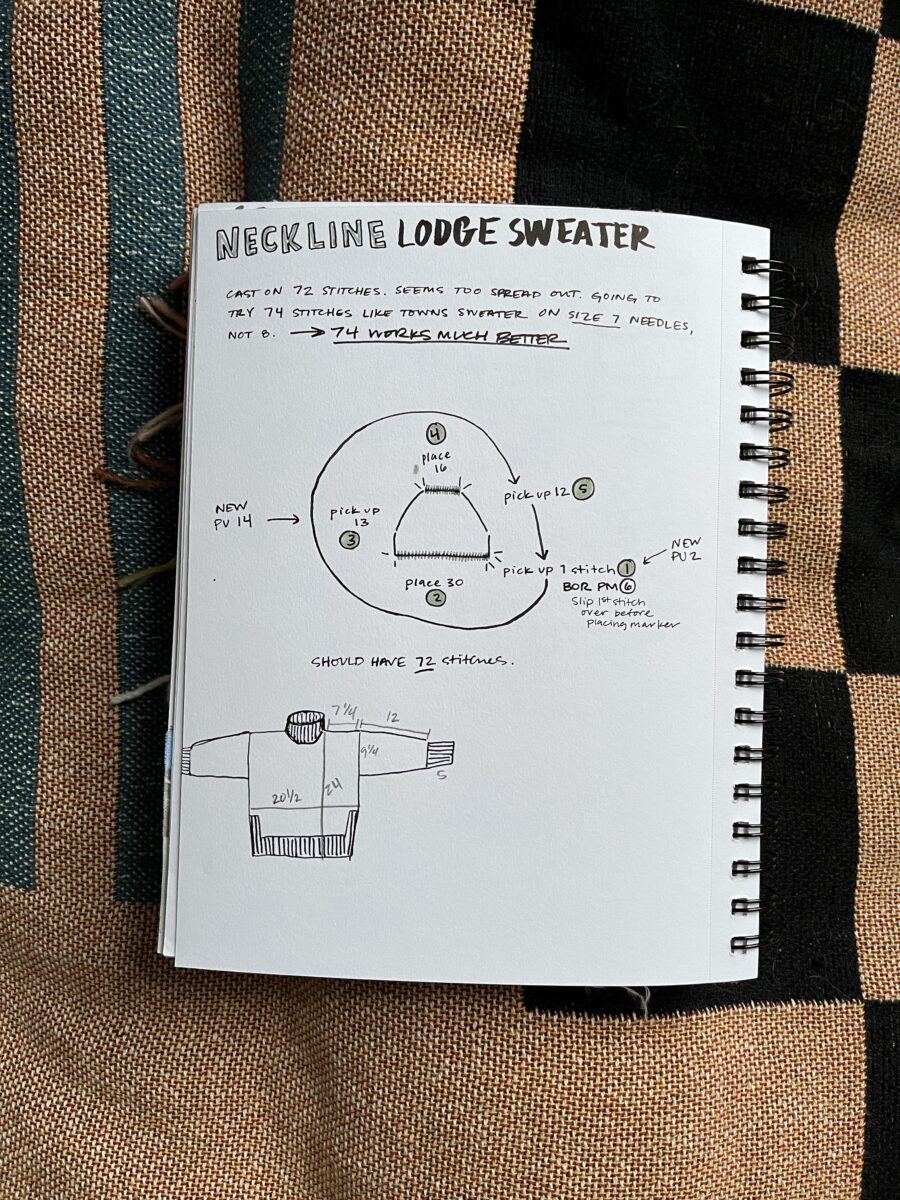
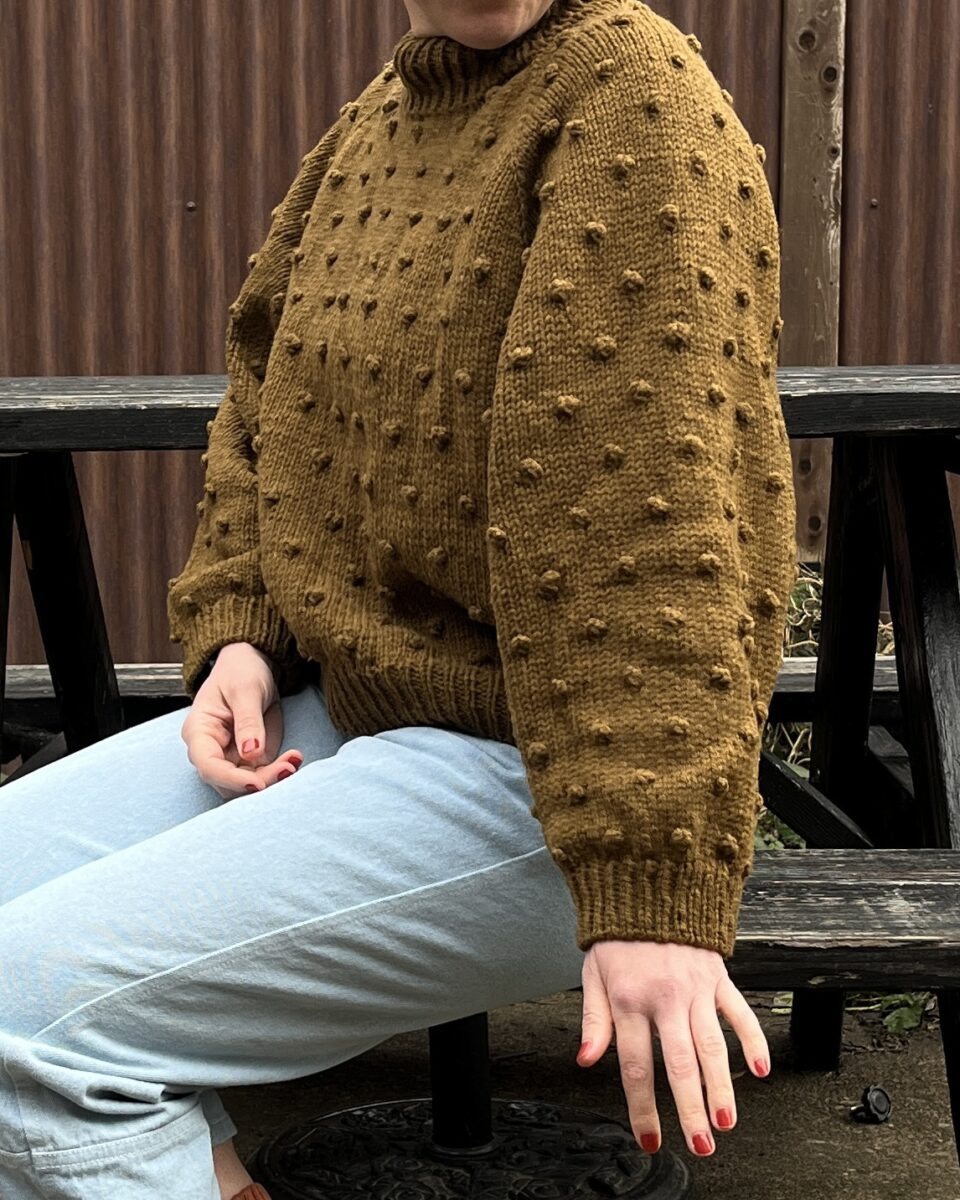
I decided not to use a smaller needle size for the neckline ribbing because I was using a worsted weight yarn instead of DK, and I knit pretty tightly. I wish I had though because after blocking, all of the ribbing stretched out a lot, especially the waistline. Knitting is some unpredictable magic.

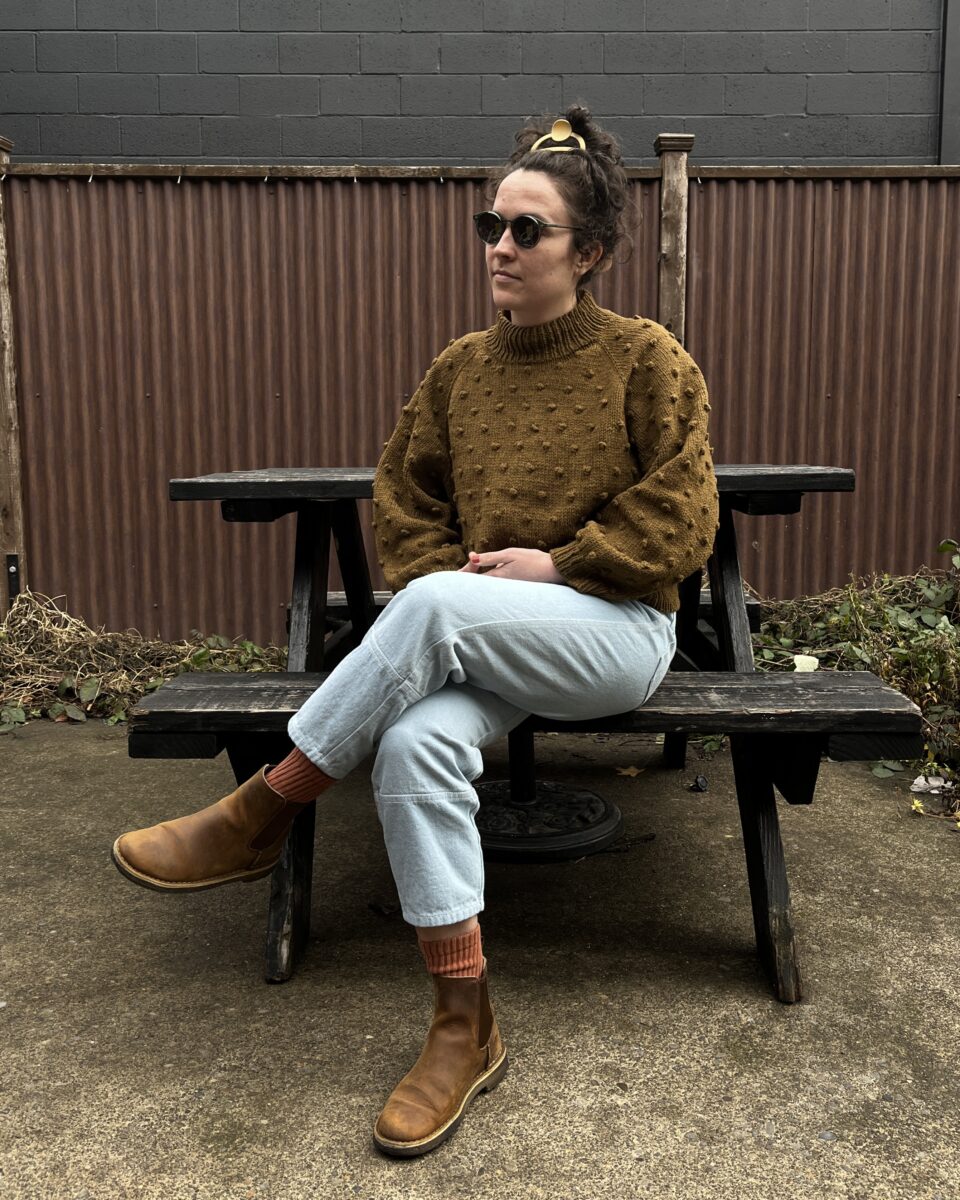
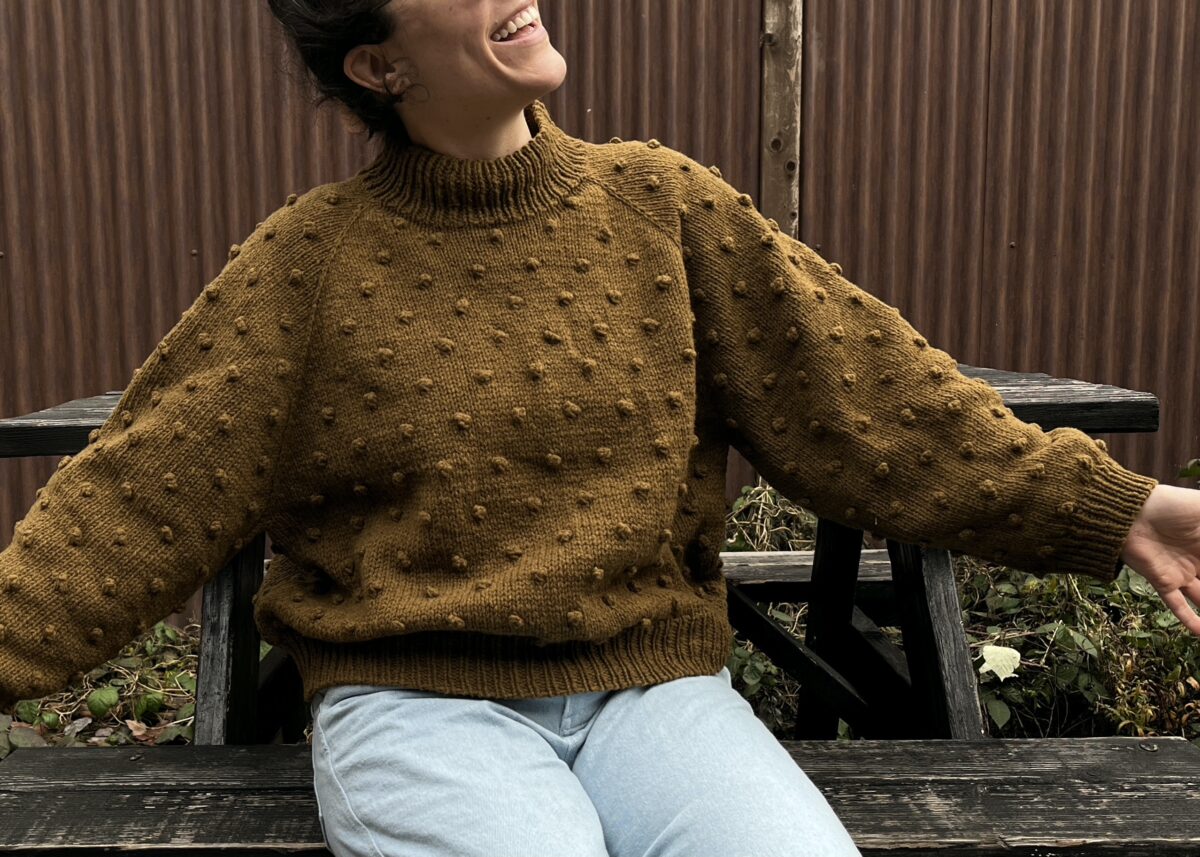
I started this sweater on November 9th and finished it December 10th. I’m so fucking proud of it!

Lodge Sweater | by Ozetta

2 Comments

I love this sweater and I’m still kinda shocked that I made it.

This is the Lodge pattern by Ozetta. The yarn is Brooklyn Tweed Shelter in the color “Woodsmoke.” It’s very similar to my first worsted weight sweater, but this one I knit English style and my gauge is much more consistent.

I cast on on a flight home and had nearly half the body knit by the end of the trip. I only brought two cakes with me, so I had to stop working on it near the sleeve split.

Once I was reunited with the rest of the yarn, knitting the front and back panels went quickly. I was able to seam the shoulders together without throwing in lifelines, which felt like a huge accomplishment!

Visualizing knitting instructions has been the best way for me to learn. I wish more patterns included visuals, or even just more descriptions. It really does feel like learning a language. Ozetta is really good at responding to Instagram DMs though!

The I-cord cast off took a REALLY long time.

The slipt hem ribbing is so nice. The pattern’s sample photos really hide this detail and I was surprised and delighted to see them take shape.

I’m almost at a year of knitting! Last year, I assumed I’d try and give up again, but my wonderful knitting genius cousin, has been so helpful and such a big motivator! Thanks, Kristin!

Shop Pants | by Open Studio Patterns

2 Comments

I made another pair of Shop Pants! The first pair was a wearable muslin that ended up being a little too big.

For this version, I made a size 2. Usually I write notes on the pattern pieces if I make adjustments, but I failed to this time. It’s clear that I shortened the leg by 1/2 to 1″ but I’m not sure. Overall, I think the 2 fits much more how I want them to, but I do wonder if I need to grade to a 1 at the waist, especially with denim.

I’m also wearing a newly made Seamwork Orlando that I hacked to have a crew neck. I used the bonus sleeves, which I also added 4″ inches to. I have another pointelle from Lyrical in a warm brown that I plan to make another long sleeve crew neck with. It’s a perfect winter layer.

Once again, I didn’t staystitch the waistlines after cutting everything out and things definitely got weird. I had to do a lot of easing to make the top of the pants fit with the waistband and there’s some puckering in the back. It’s not terrible, but I know it’s there. Next time (yes I have one more pair planned) I will stabilize before construction! I also only interfaced the inner waistband this time since my machine hated sewing the belt loops on at the end.

On my first pair, I followed the topstitching instructions exactly. I found though that I had some puckering right where I’m pointing above. So I decided to topstitch like traditional jeans and I really like how it turned out. The right bartack is kinda in a weird place, but it’s covering where I stopped and started to stitch the bottom of the fly guard down.

My machine got pretty mad about the belt loops last time so instead of making them 4 layers thick, I folded the strip in 3rds and serged the exposed edge. I like that they’re a bit wider too.

I forgot to change the stitch length on the waistband so the bottom line is 2.5 and all other topstitching is 3.20. Whoops!

I added another line of stitching on the zipper tape after seeing that on a pair of RTW pants. The rivets at the pocket openings and the jean button are from Blackbird and the denim is Robert Kaufman’s bleached denim.

I’ve worn them every day this week and can’t wait to make another pair!