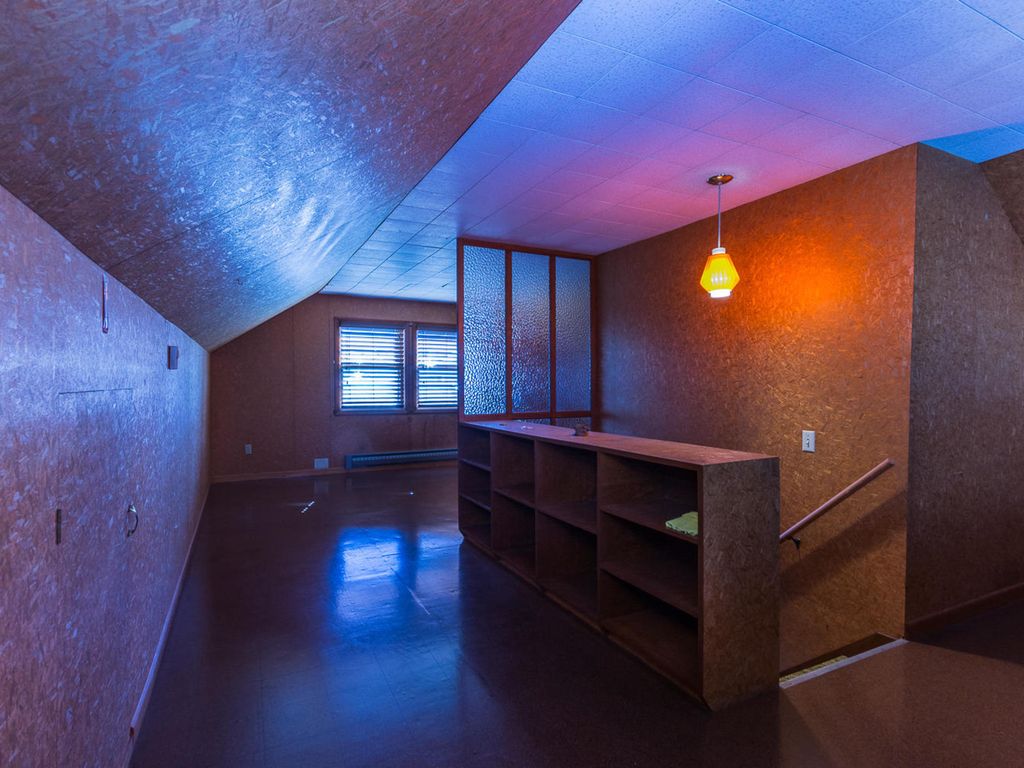
29 weeks ago we started updating the second floor. It began with electrical – not a single outlet (in the entire house) was grounded, there was only one very orange light fixture, the ceiling was… bad, and two wall mounted electric heaters needed to disappear. Then came duct work, which meant dismantling a weird built-in cabinet in a closet on the main floor, followed by more demo upstairs (groovy glass partition, framing, and ceiling tiles – goodbye!).
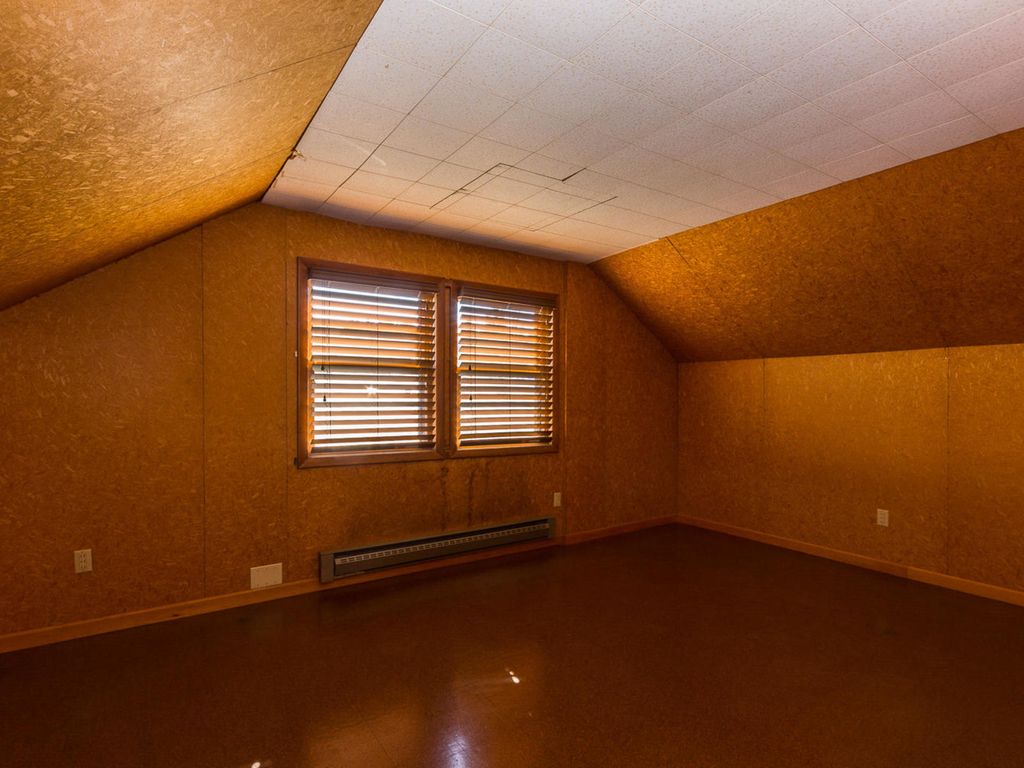
Drywall was installed directly over the OSB because it was easier than tearing it down and that kept it out of the dump. The contractors said they were going to use 1/4″ drywall, but slapped up 1/2″, which you can really feel in the stairwell. The room is super insulated now, I guess!
Once the drywall was up, it was immediately brighter, but it revealed just how off the walls were. It took quite a lot of mud to get the lines straight-ish and the corners’ angles to not look too wonky. I think at some point during the drywall install, we also had the floor tiles inspected for asbestos in preparation for the new flooring. Thankfully, no asbestos was involved in the making of this hideous room.

Once the drywall was in and the mudding was finally done, I made the mistake of painting, thinking it would be easier to do so before the flooring and new lighting fixtures were installed. DON’T EVER DO THIS unless you’re the person carefully installing shit. Contractors touch everything with dirty hands and swing their tools around. Also white paint chips all look the same in a room with weird brown flooring, so I accidentally painted the entire room a light yellow. I shudder to think about the amount of money I’ve dropped on paint alone.
But after what felt like 59 layers of paint, a whole lot of caulk, learning the importance of quarter round, and yep, you guessed it, more paint – it’s almost done!
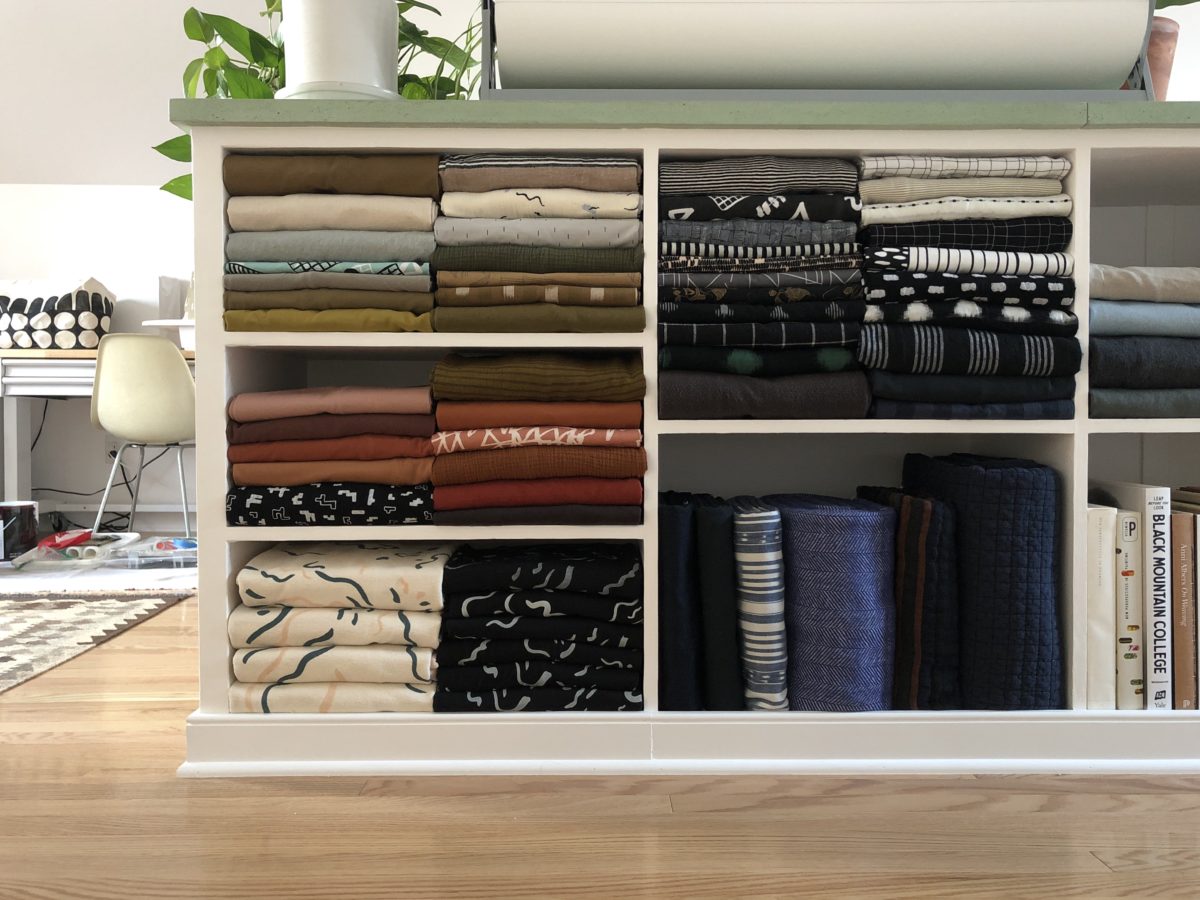
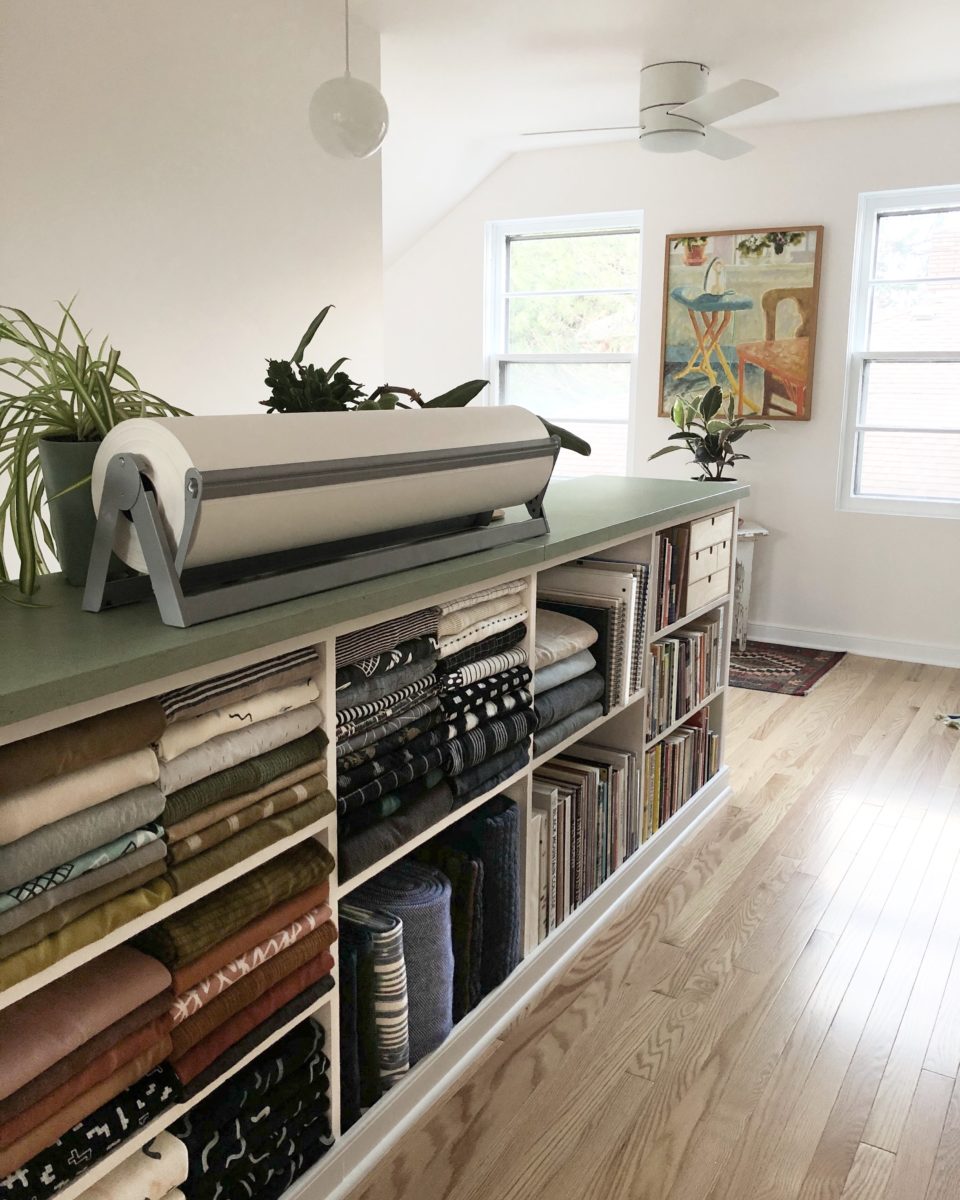
Can you see all of the crap on the floor back there? I’m still painting! But the main focus of the picture is my BEAUTIFUL fabric stash. I used the comic / magazine board method and sort of grouped them by color. I love it so much, I almost don’t want to sew it.
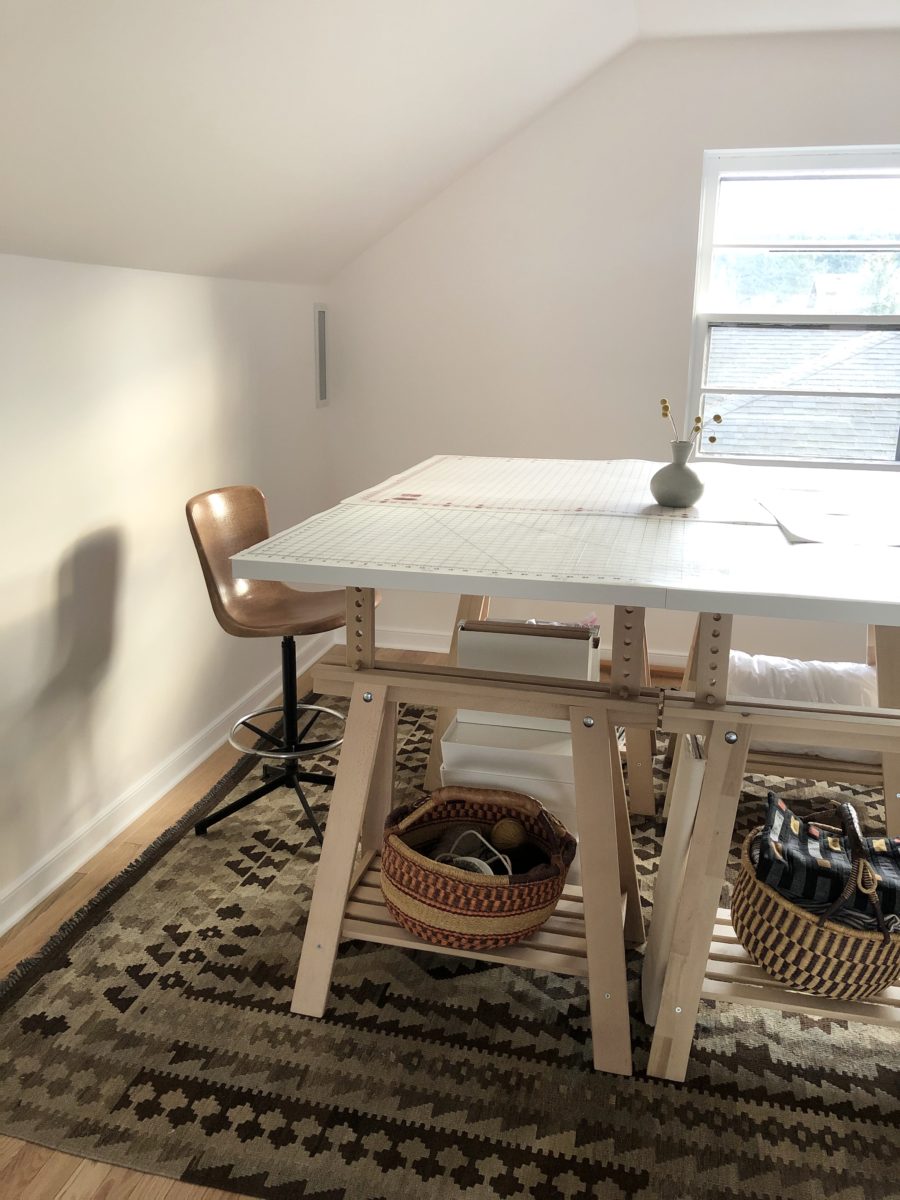
The largest part of the room is now home to mega desk. No more cutting things out on the floor because this back won’t do it and this table is massive. It’s the FINNVARD & LINNMON desk combo from IKEA (measurements available on the IKEA website). The carpet and chair are vintage. The cutting mats are from Joann and I used a 60% off coupon for both.
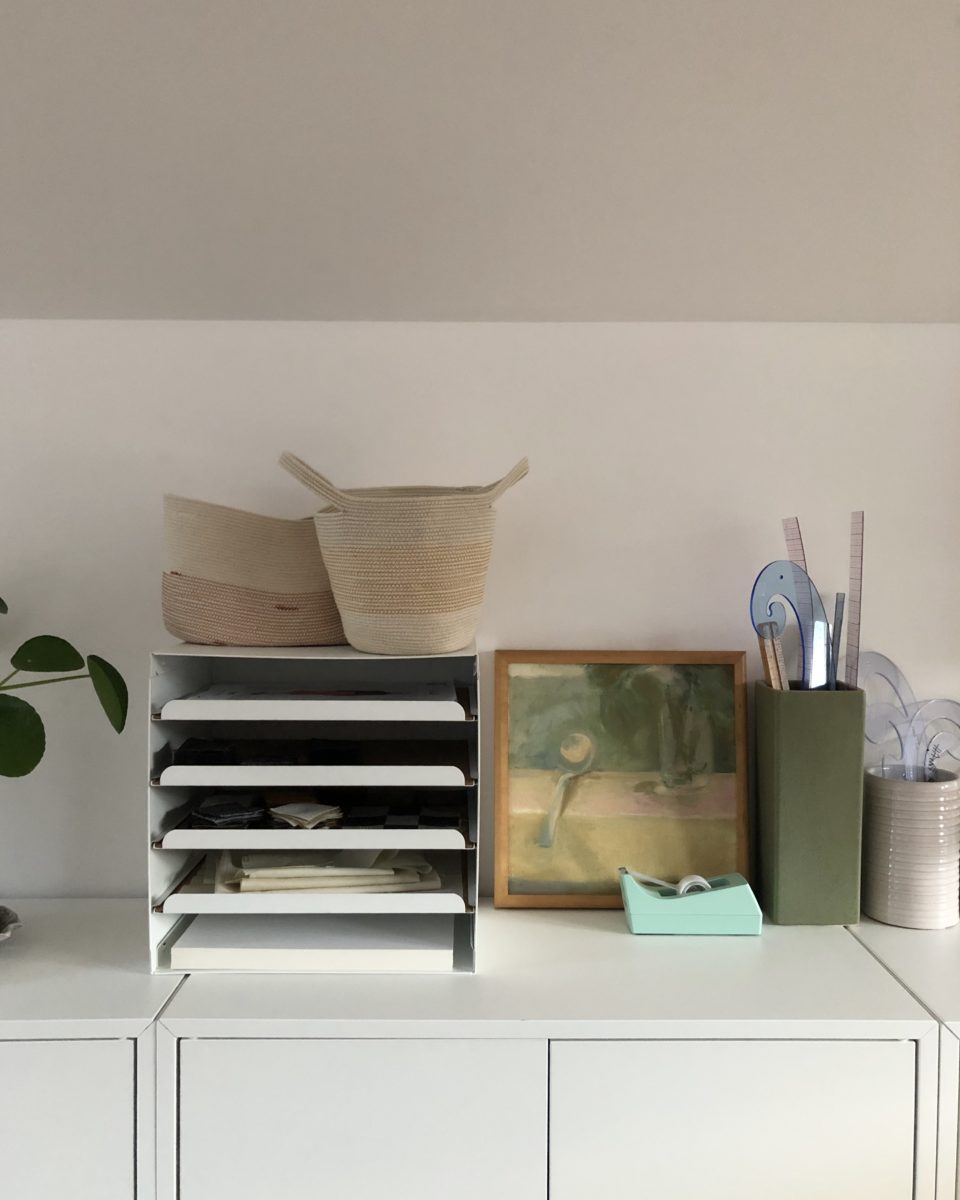
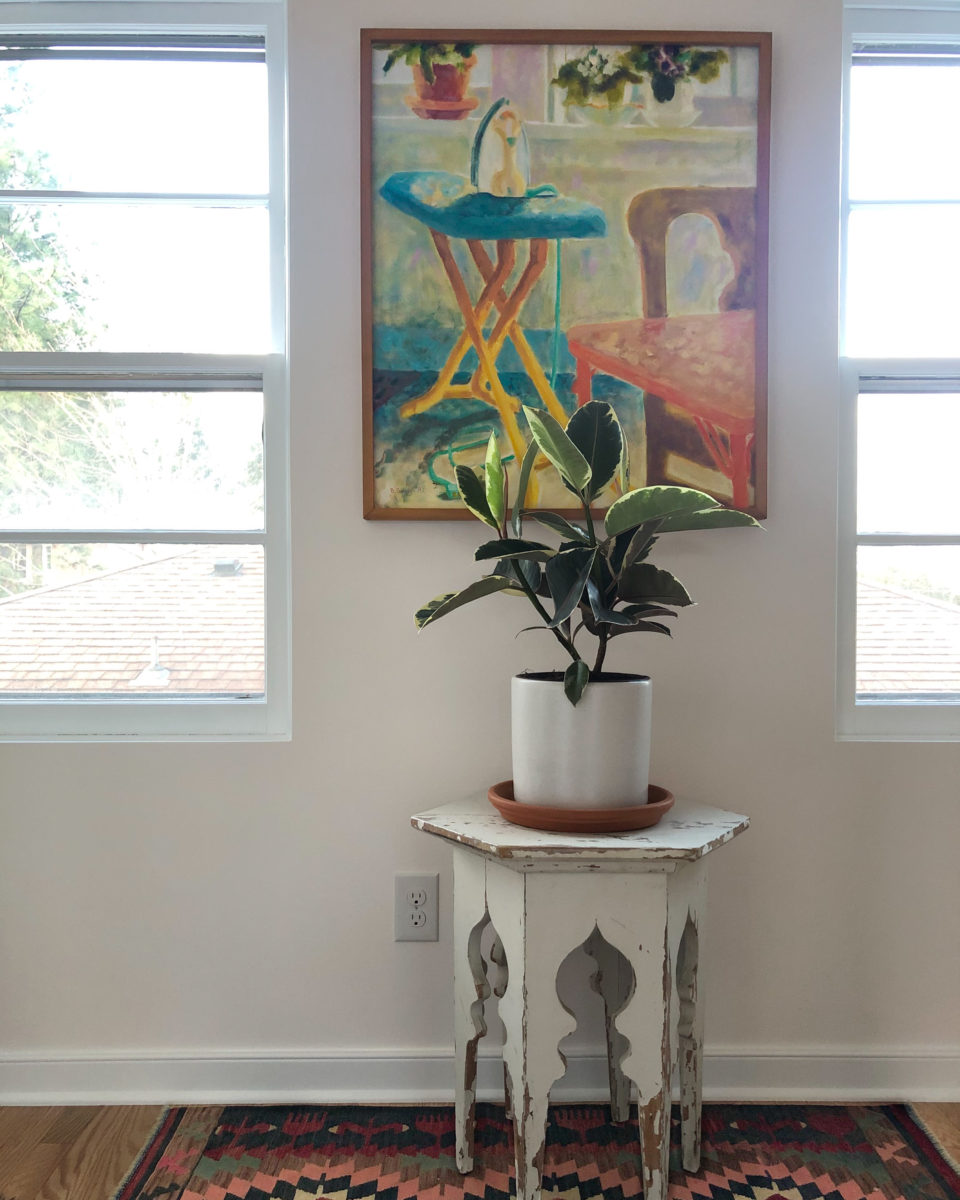
I’m really loving how clean and bright it is up here now. So far I’ve hung up just one piece of art, a painting by my mother. I’m still trying to figure out the space and its different “zones”. I’m planning to hang pegboards, but I’m just not sure where they want to live yet.
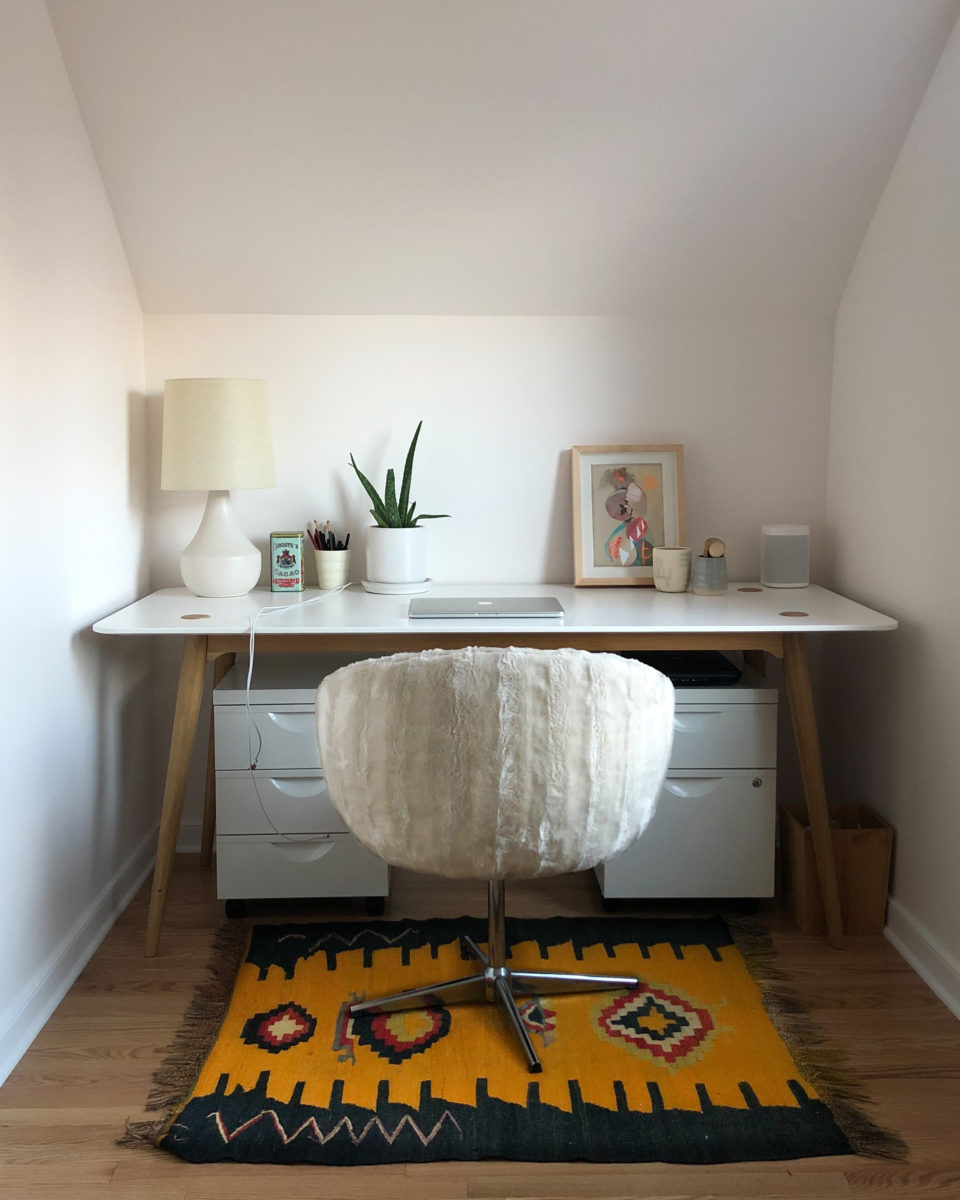
Here’s my computer / non-sewing, but still creative work desk. My husband I used to share it in our old house. The fuzzy chair was rescued from my grandparents’ basement and has lived with me in four states now.
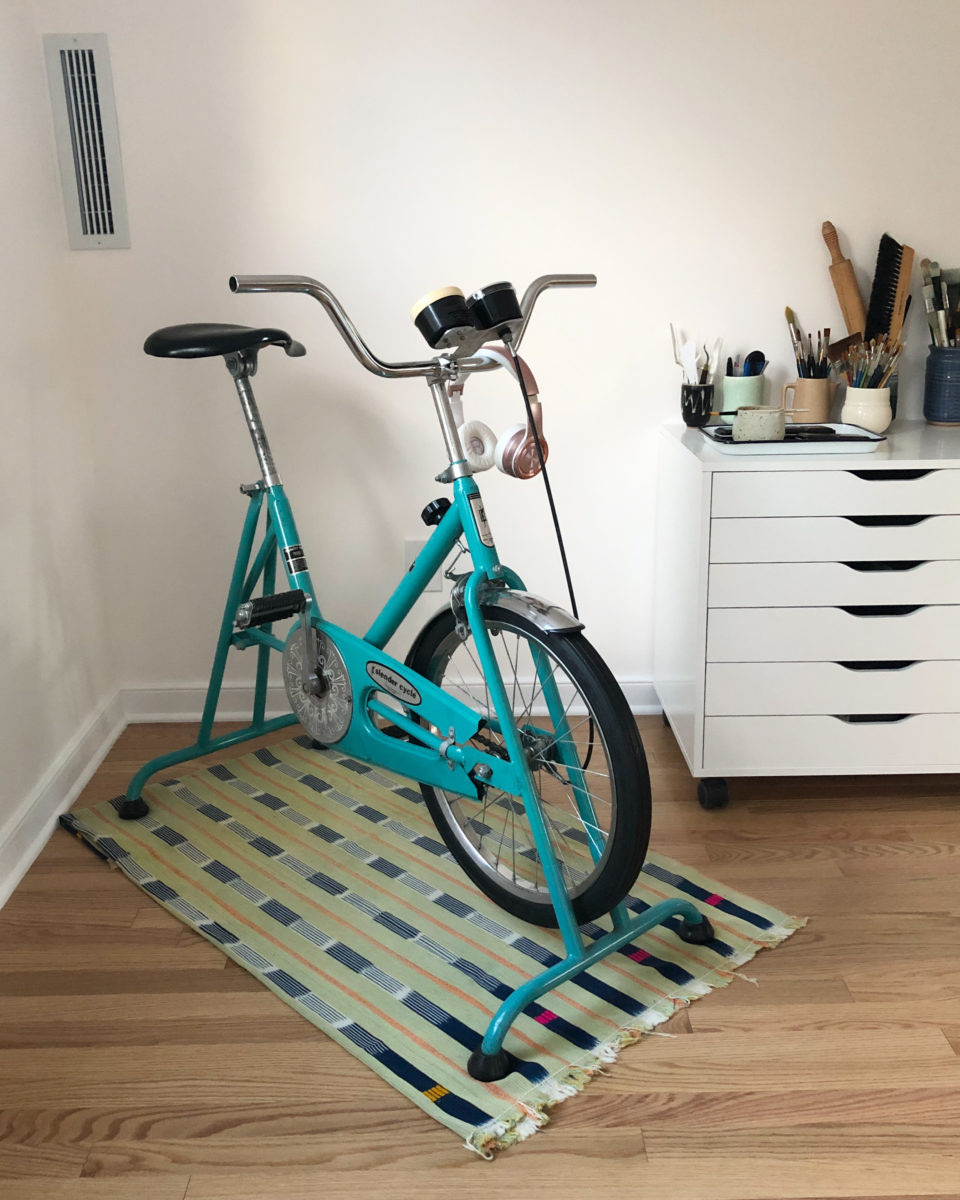
If I’m honest, this corner is probs gonna change. This bike, although it looks cool, is so loud and so hurts my body that I rarely use it. But the intention is there. I’m planning to reupholster two chrome art deco chairs for a lovely little seating area here.
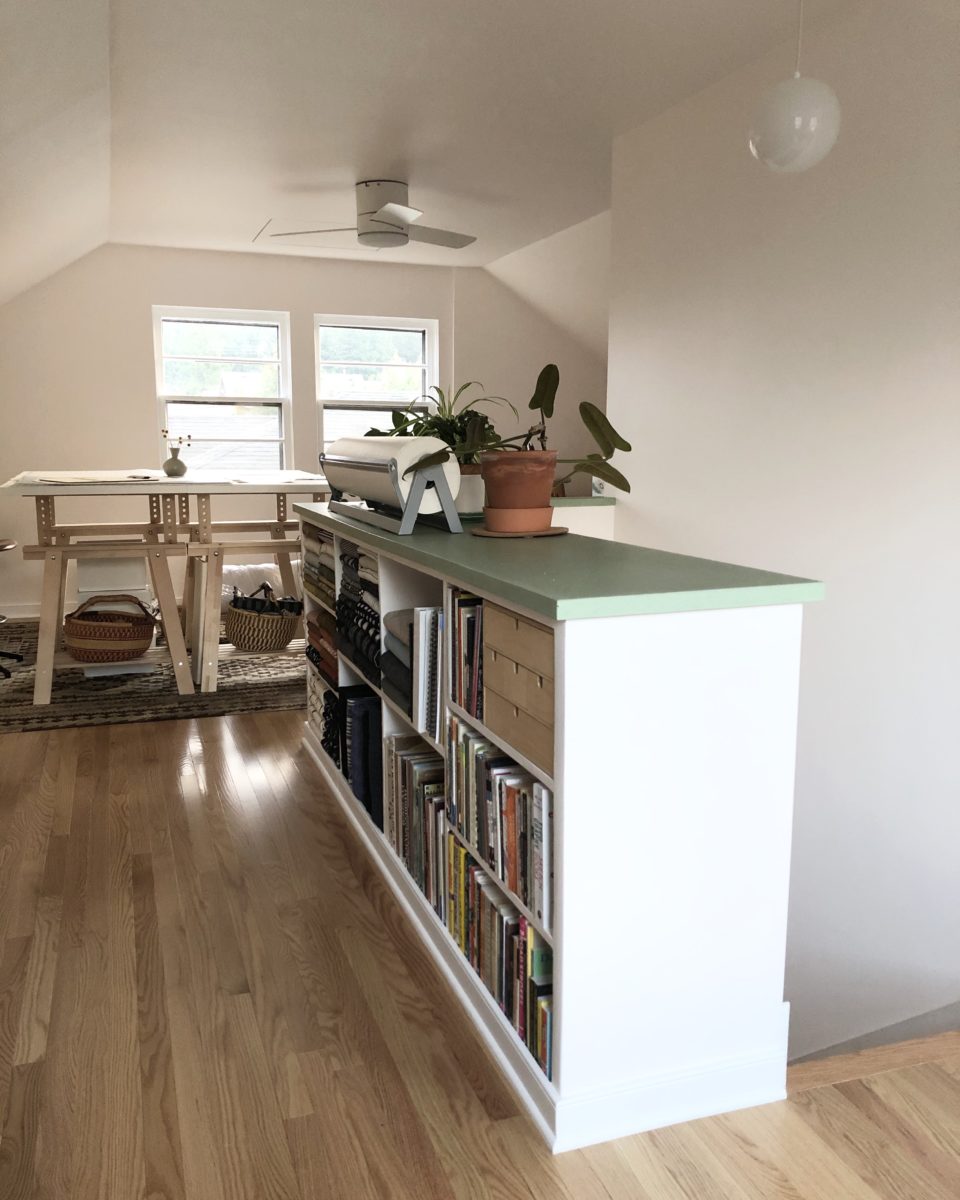
I think my favorite thing about this space is the countertop. It’s concrete and beautiful. I scored that Schoolhouse Electric pendant light at Hippo Hardware in Portland and the fans are Hunter.
I’ll share my sewing set up once it’s presentable!