The Tamarack Jacket has been on my ‘To Make’ list for forever. I first planned it in early 2017.
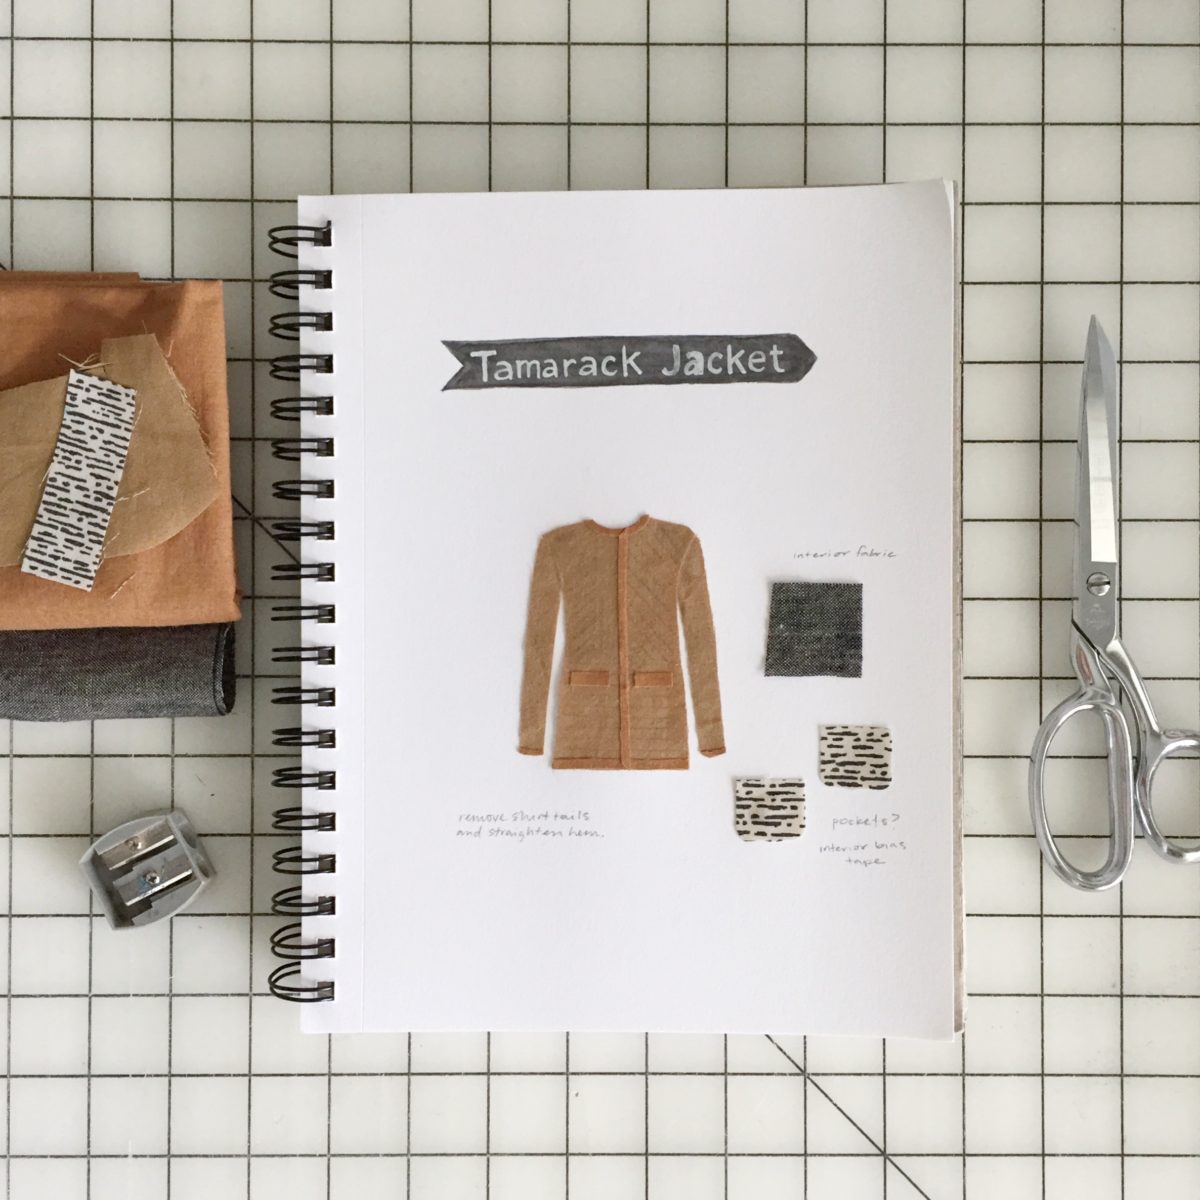
Originally I had planned to modify the sides, but then decided to make the pattern as is to prepare for another Tamarack I’d been asked to make for a magazine (won’t be able to share that one for a while).
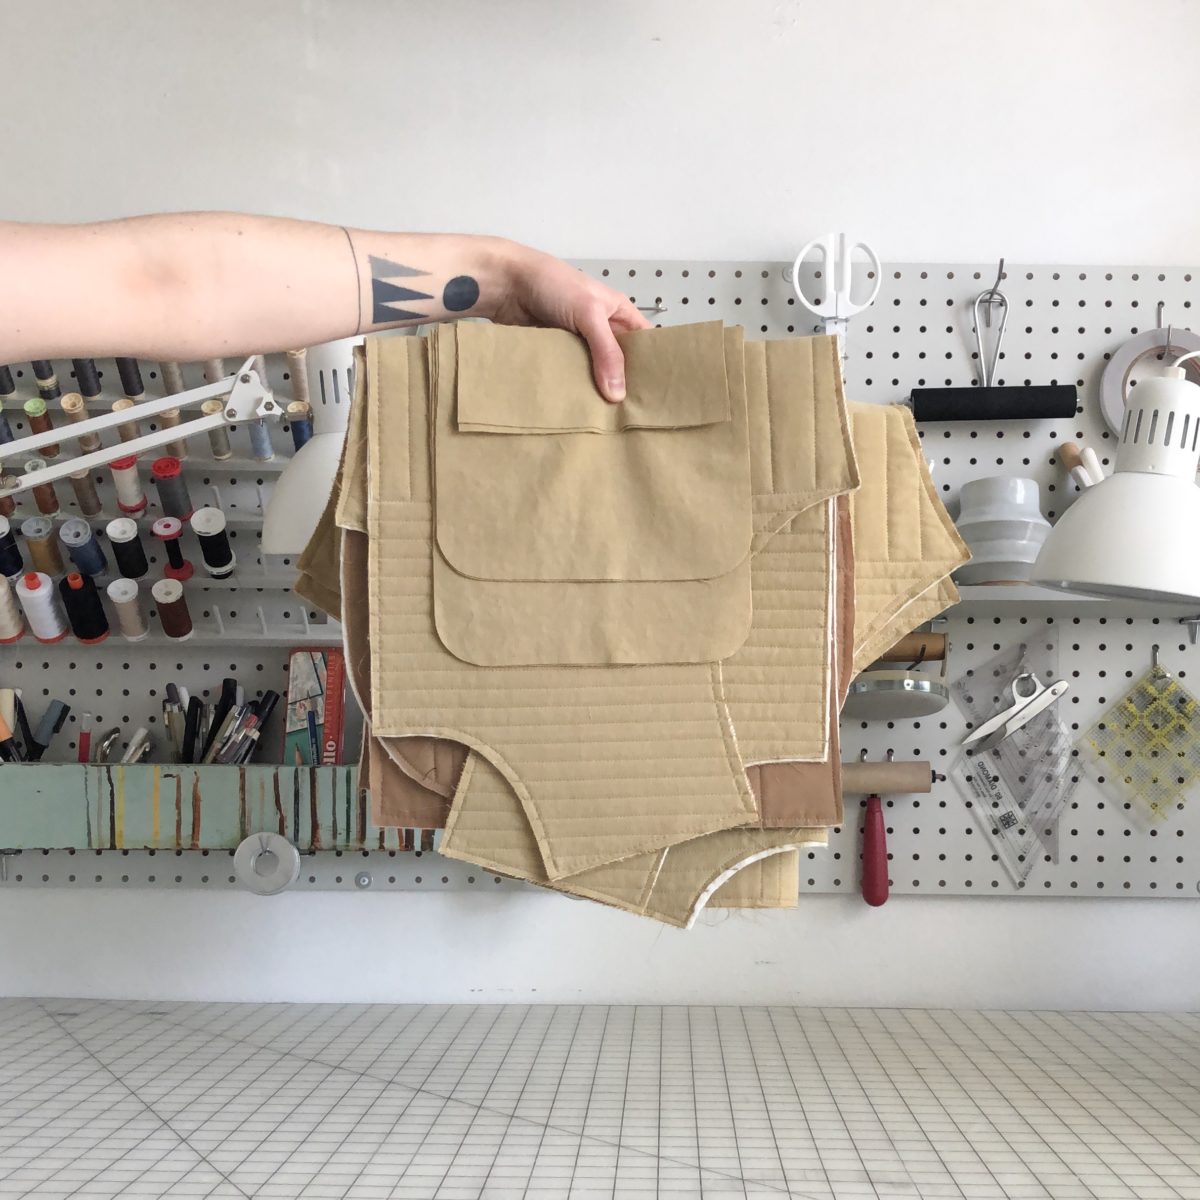
My motivation kinda pooped out after I finished machine quilting all the pieces and it sat in my WIP pile for a couple months.
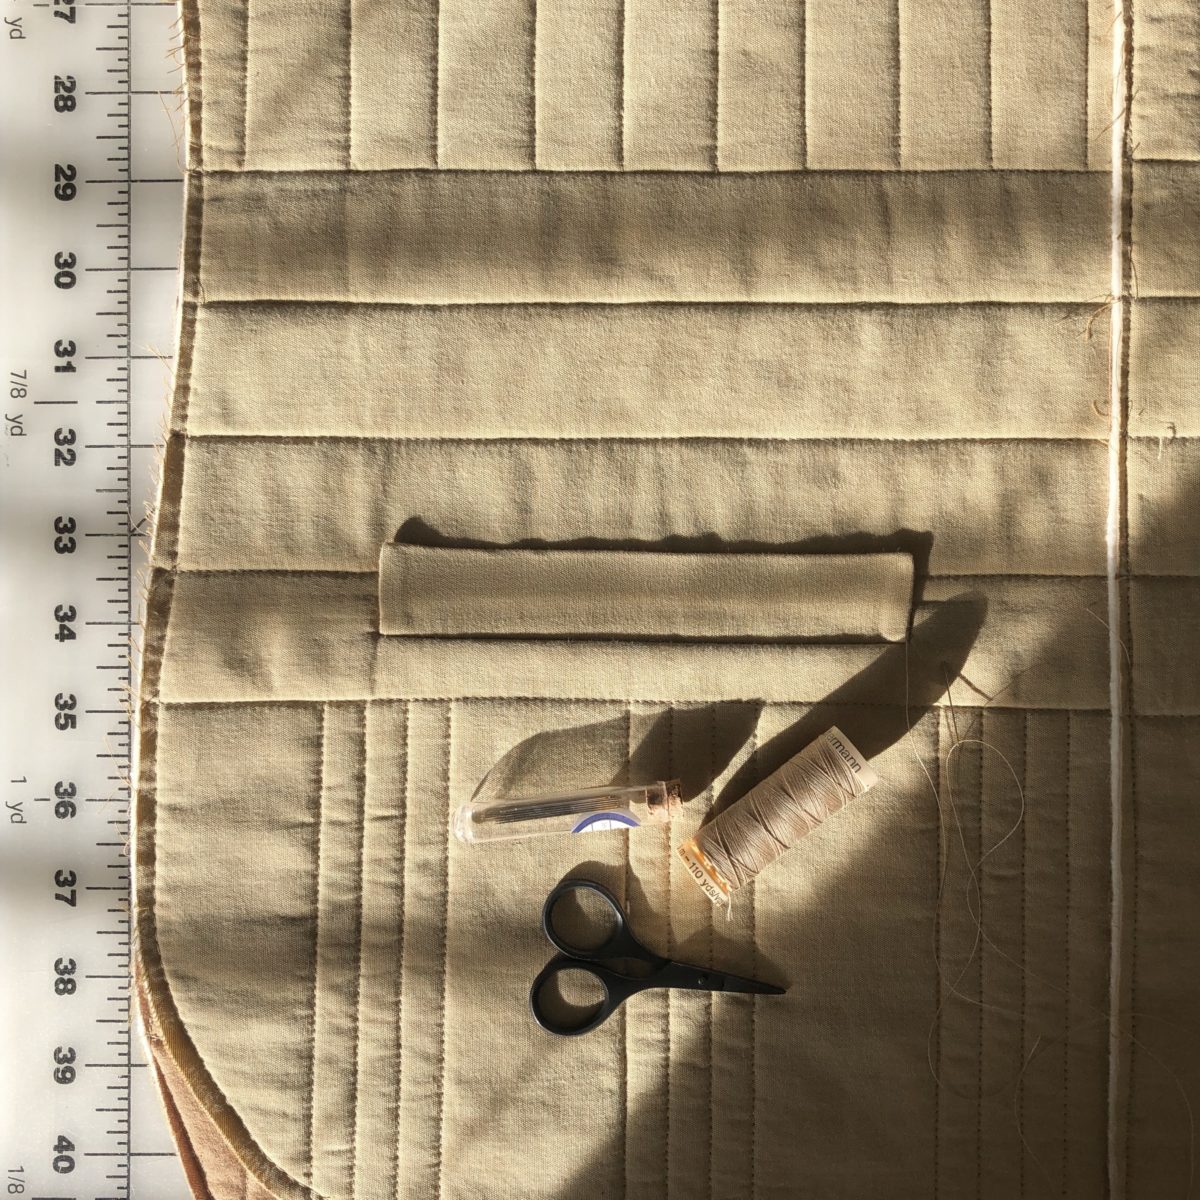
The welt pockets felt like a big hurdle to overcome, which might be why I set the whole thing aside once I got to that step. But Grainline’s Inserting the Welt Pockets post made it really easy to understand.

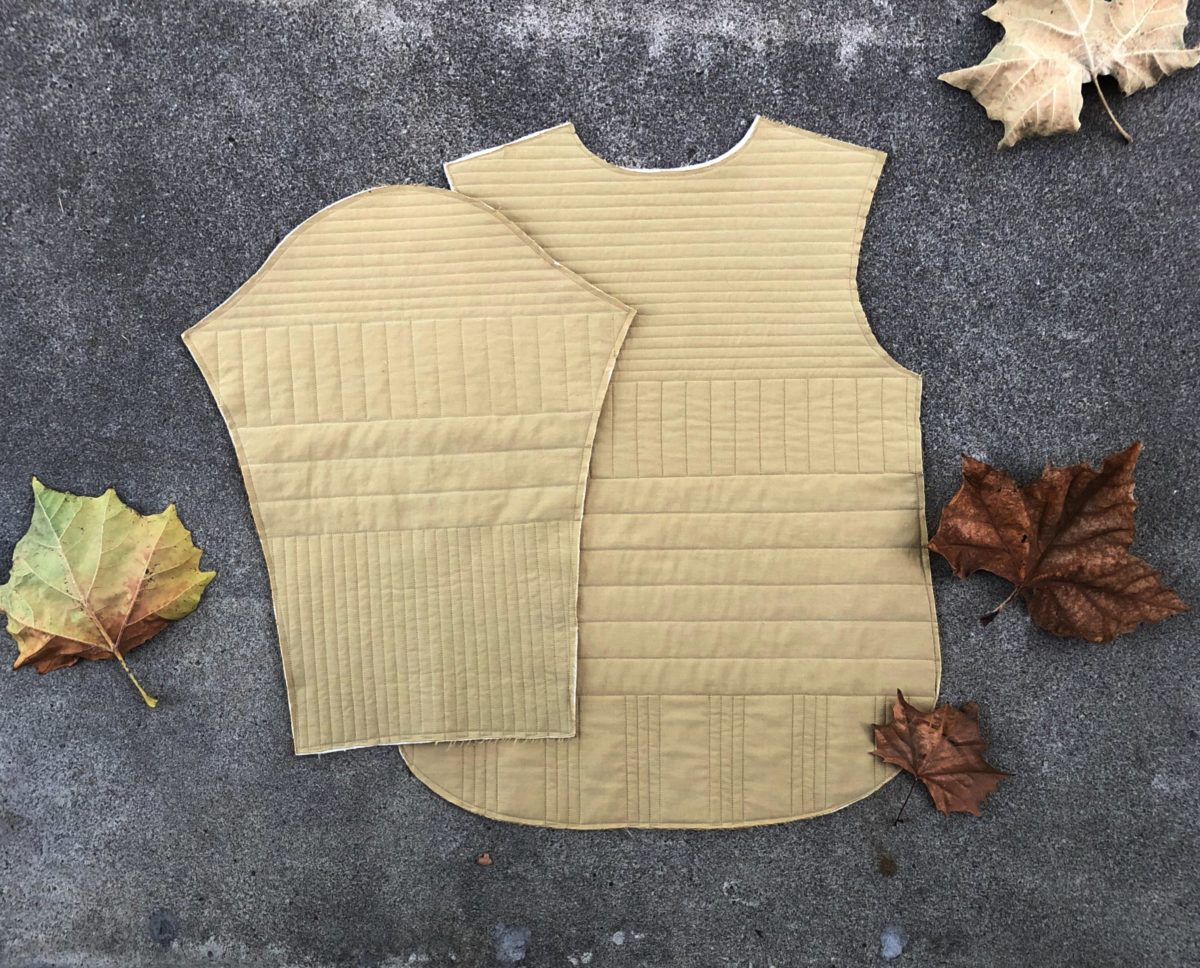
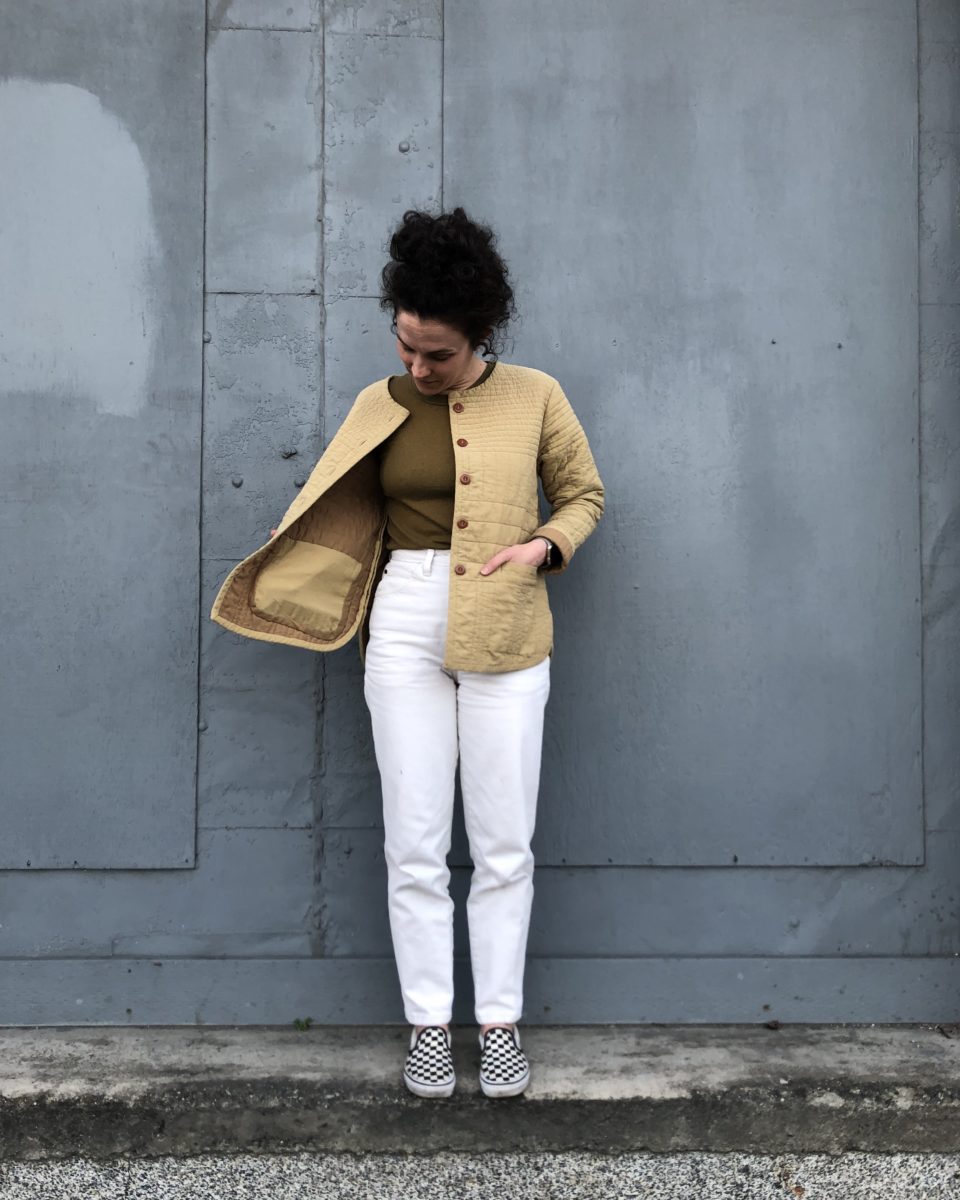
The lining was leftover from my Timber Quilt. Its former life was a Calvin Klein bed sheet and I think it’s the perfect greenish brown. The exterior fabric is also a thrifted sheet.
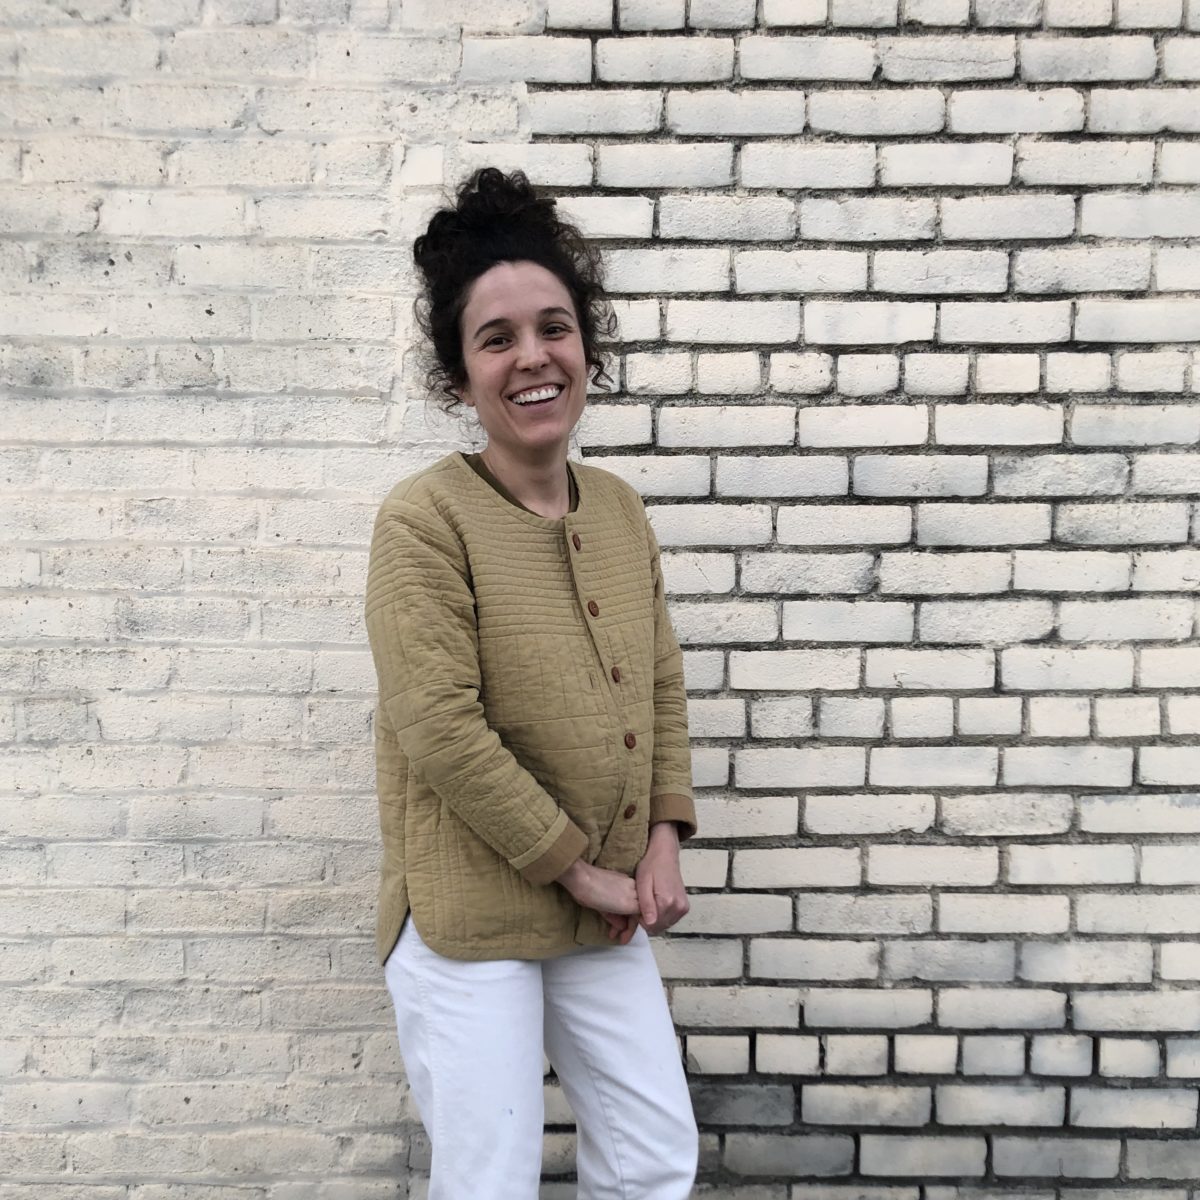
I was inspired by Bella Zilber to use buttons instead of snaps. Her monochrome version is perfection! I was nervous that my machine wouldn’t be able to make the buttonholes through so many layers, but I added them before the bias finish (so everything could evenly feed under the foot) and they turned out great! I also used a ton of Fray Check and didn’t cut the holes open for a few days. They’re really sturdy now!
I really wanted every seam to be encased in bias tape, but once the side seams were sewn up, I discovered the underarm seam was too bulky to comfortably wear. I took off the bias tape from the shoulder seams and serged the sleeve top and sleeve opening, which drastically reduced the bulk. I think the silhouette is just a little too fitted to have a complete bias finish on the inside.
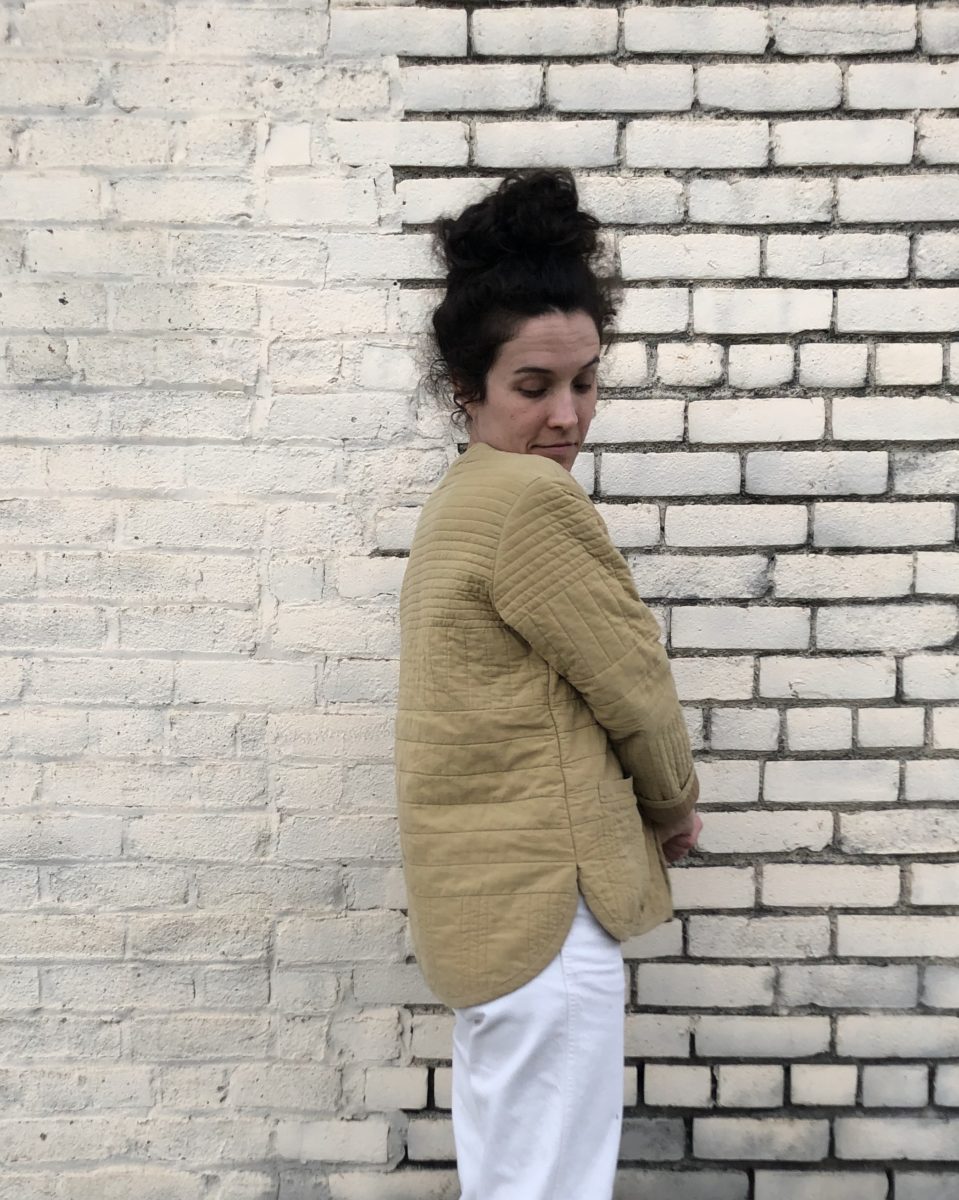
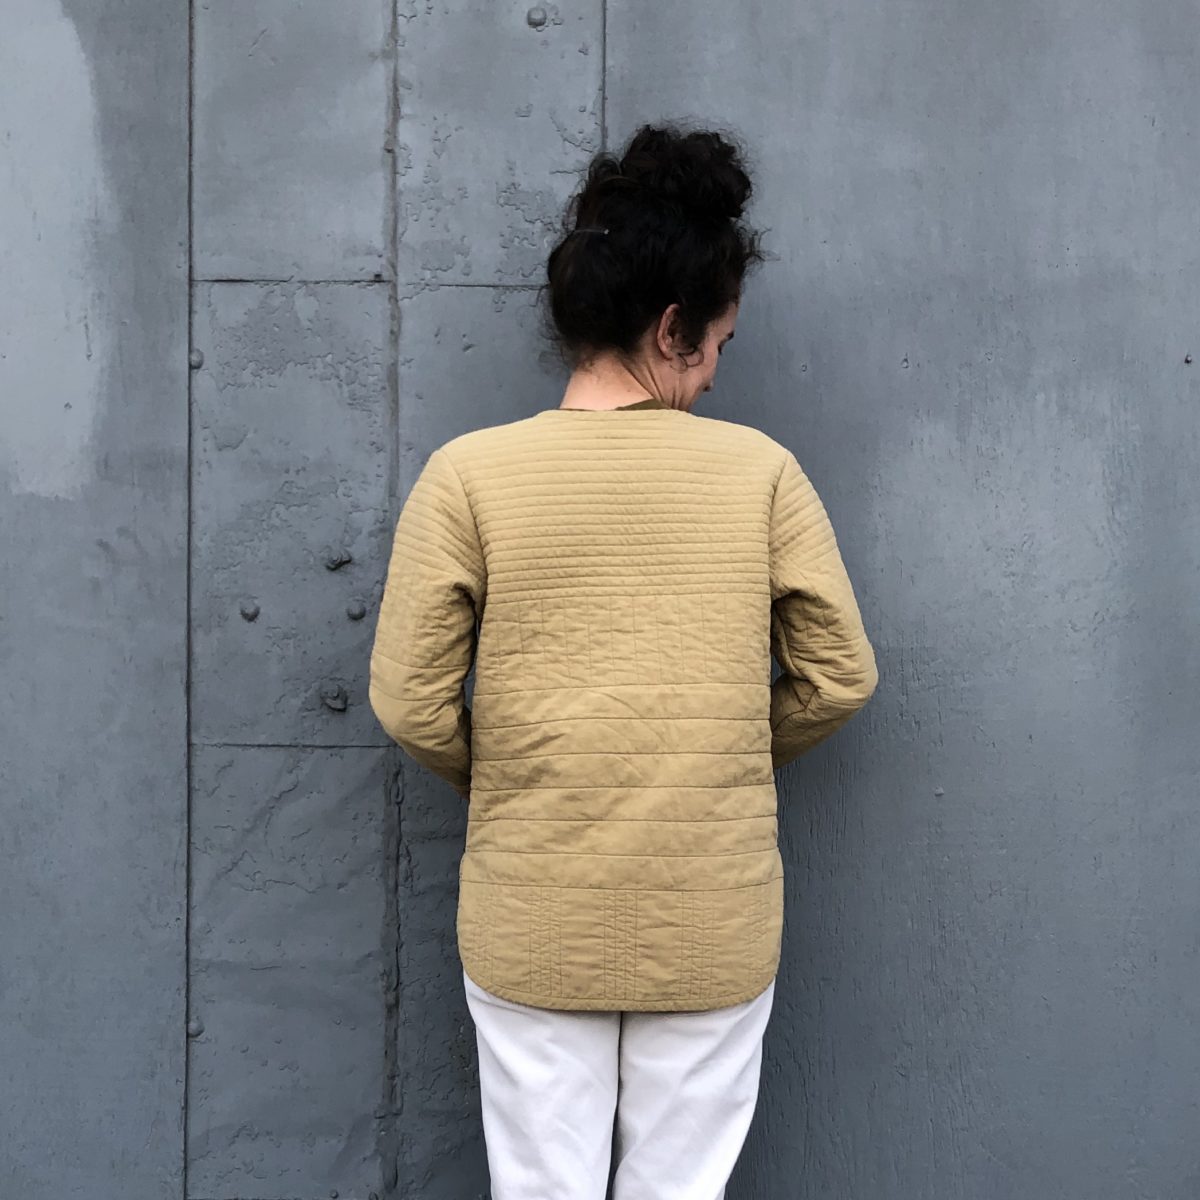
I’m pretty pleased that even though each piece was quilted independently, it all sorta lined up in the end. I also can’t tell that I accidentally made one section on the sleeve a half inch longer than every other piece.
This project made me understand the pleasure that can be found in hand sewing. It also made me want to take off the binding on my Timber Quilt and redo it (we’ll see if that actually happens). When you hand sew you can get near perfect corners!
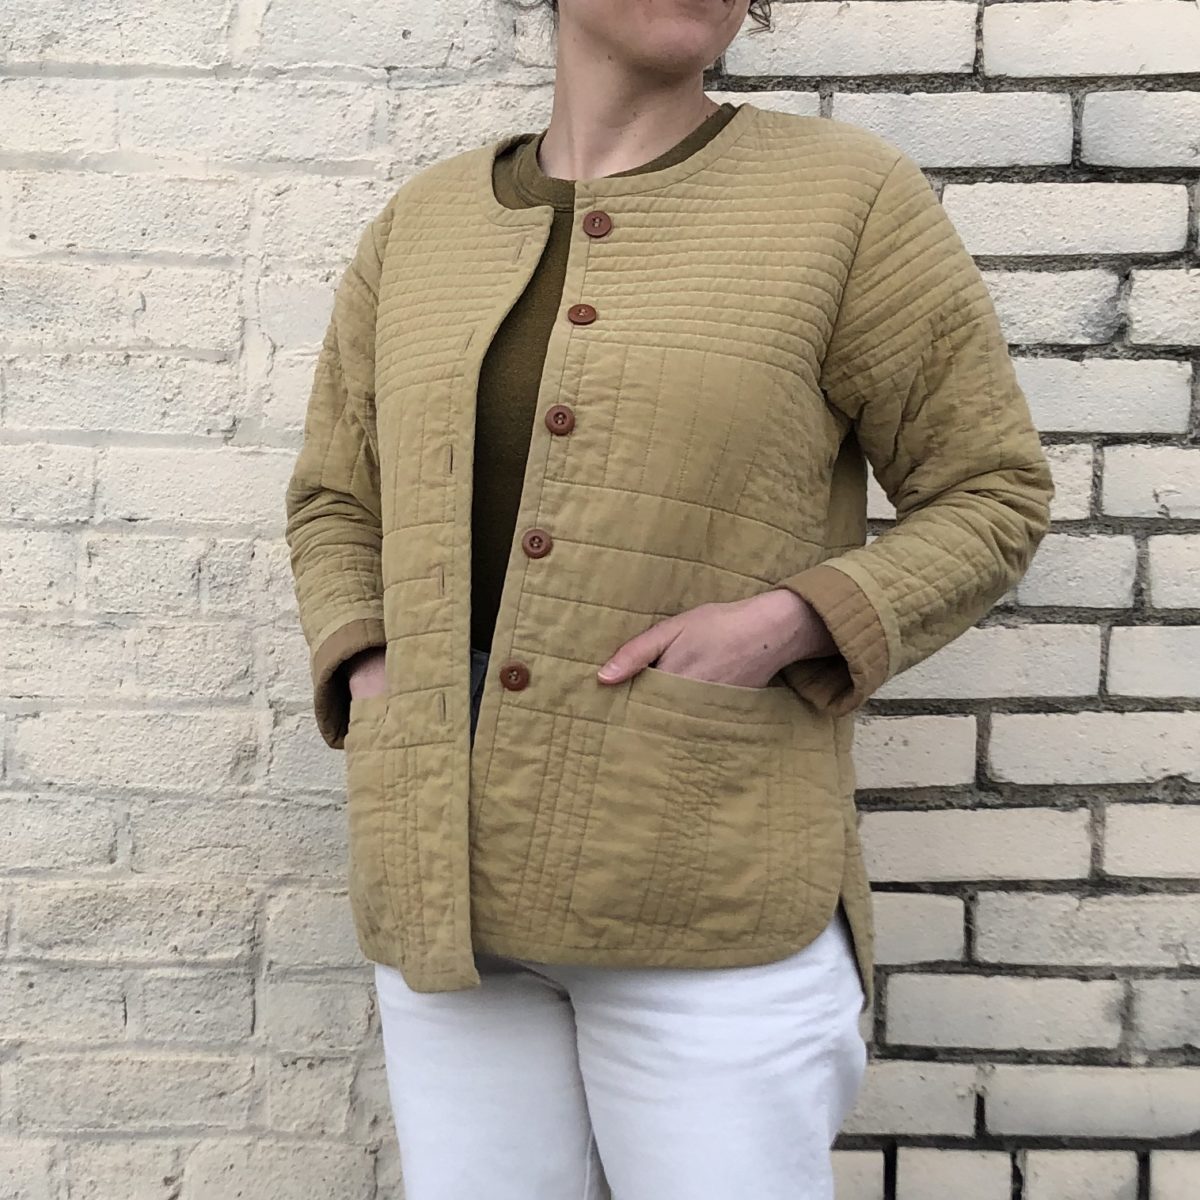
I need to reassess if hand sewing the welt pockets to the jacket is the best option because after a week of wear, both pockets have come undone. Otherwise, even with the weird Frankenstein finishes on the inside, I’m so proud of this make! I wore it every day this week and know even after its novelty wears off, it’ll get a lot of use.
I doubt I’ll get around to this anytime soon, but I’m envisioning making a slightly cropped denim version with straight side seams, a 1″ grid quilting pattern, a zipper, patch pockets, and a collar.