
Sometimes you see fabric online and you wait. Wait just a little too long and then it’s sold out. That’s what happened with this squishy linen I saw a while back on Fabric.com. Then a fellow maker posted a photo of her stash and there it was! I commented, she said she’d be up for a trade, it happened. I was happy.

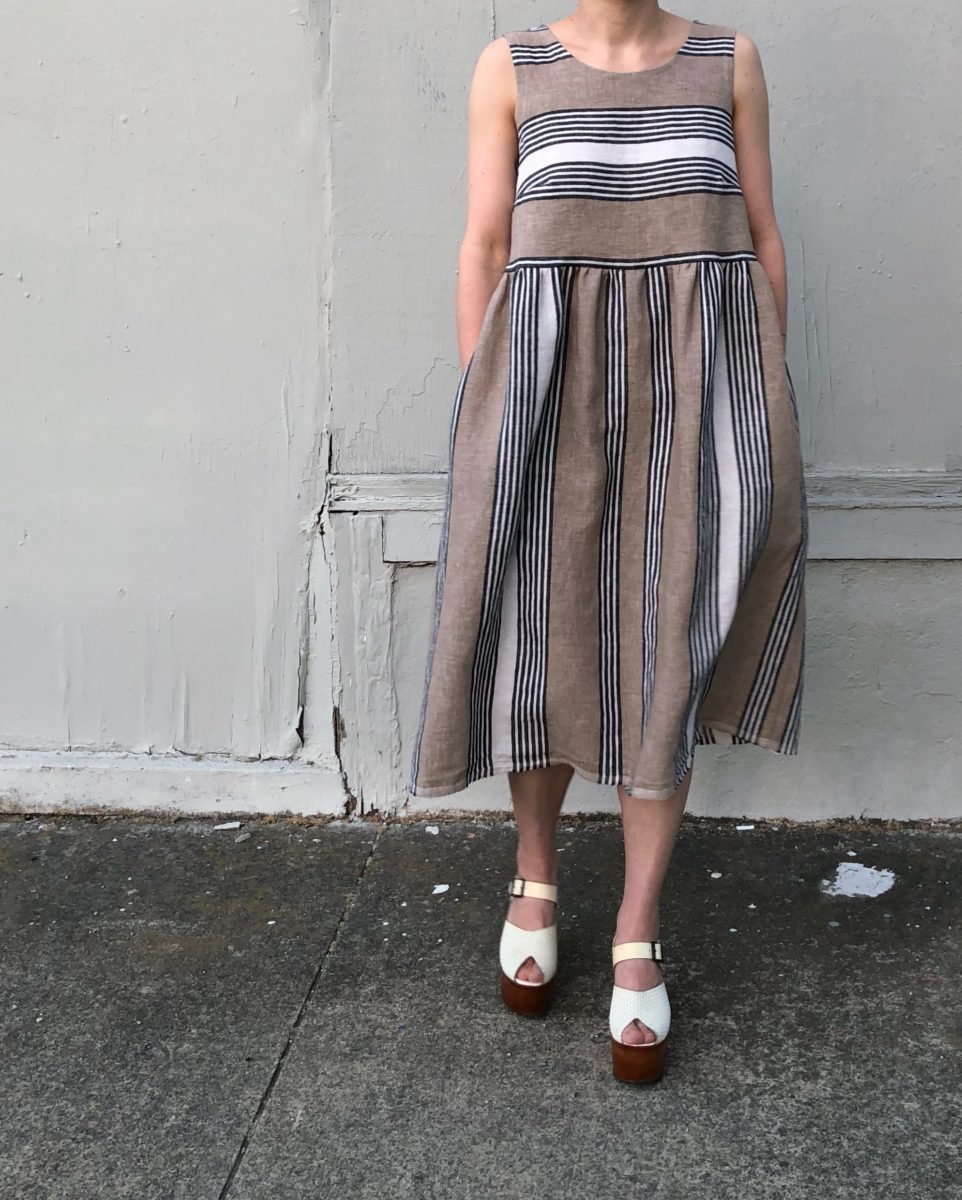
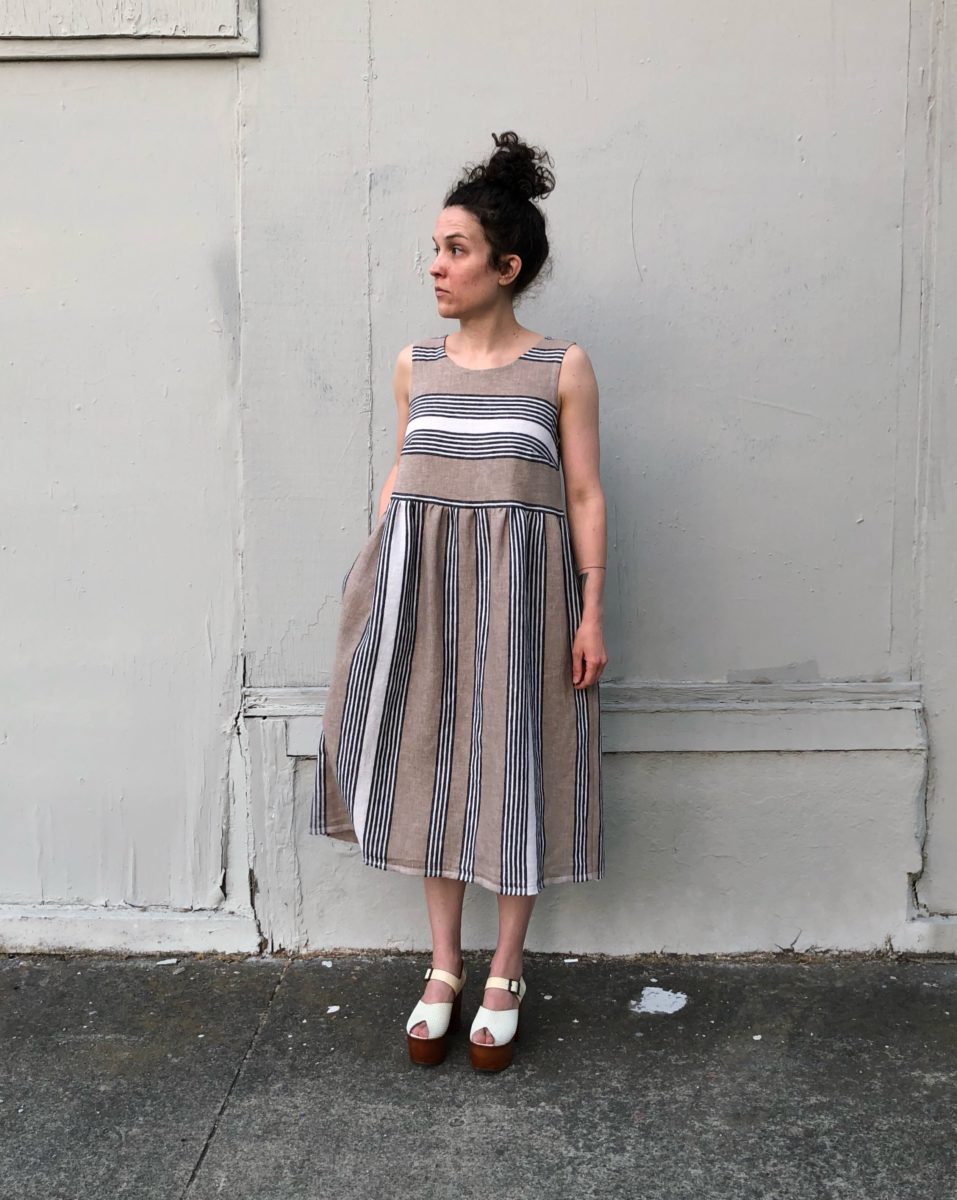
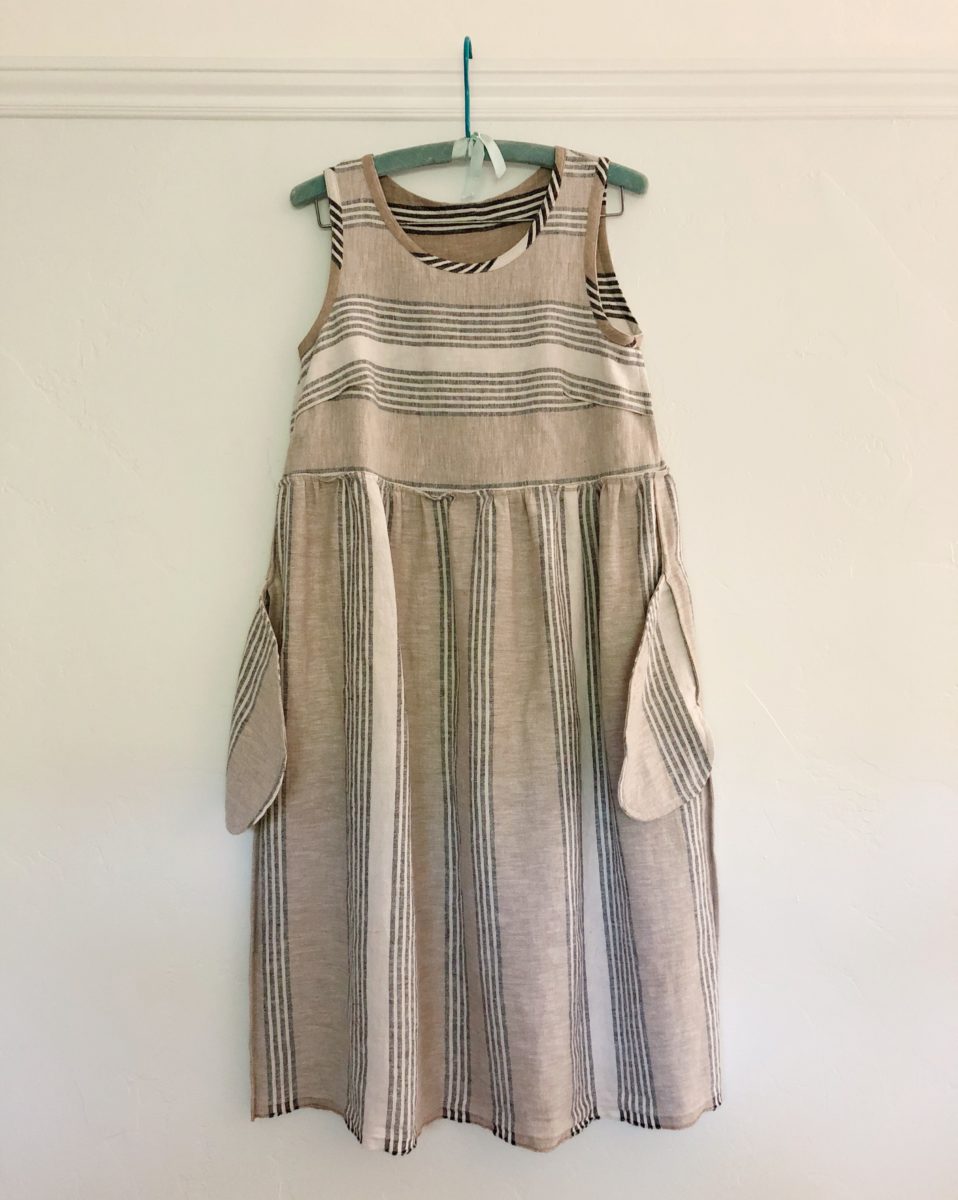
I knew I wanted to make something summery and eventually came around to the idea of mashing up the Willow Tank with a gathered skirt. Even though Me Made May revealed I don’t want any more dresses, I didn’t want to waste any of this fabric by just making a top.
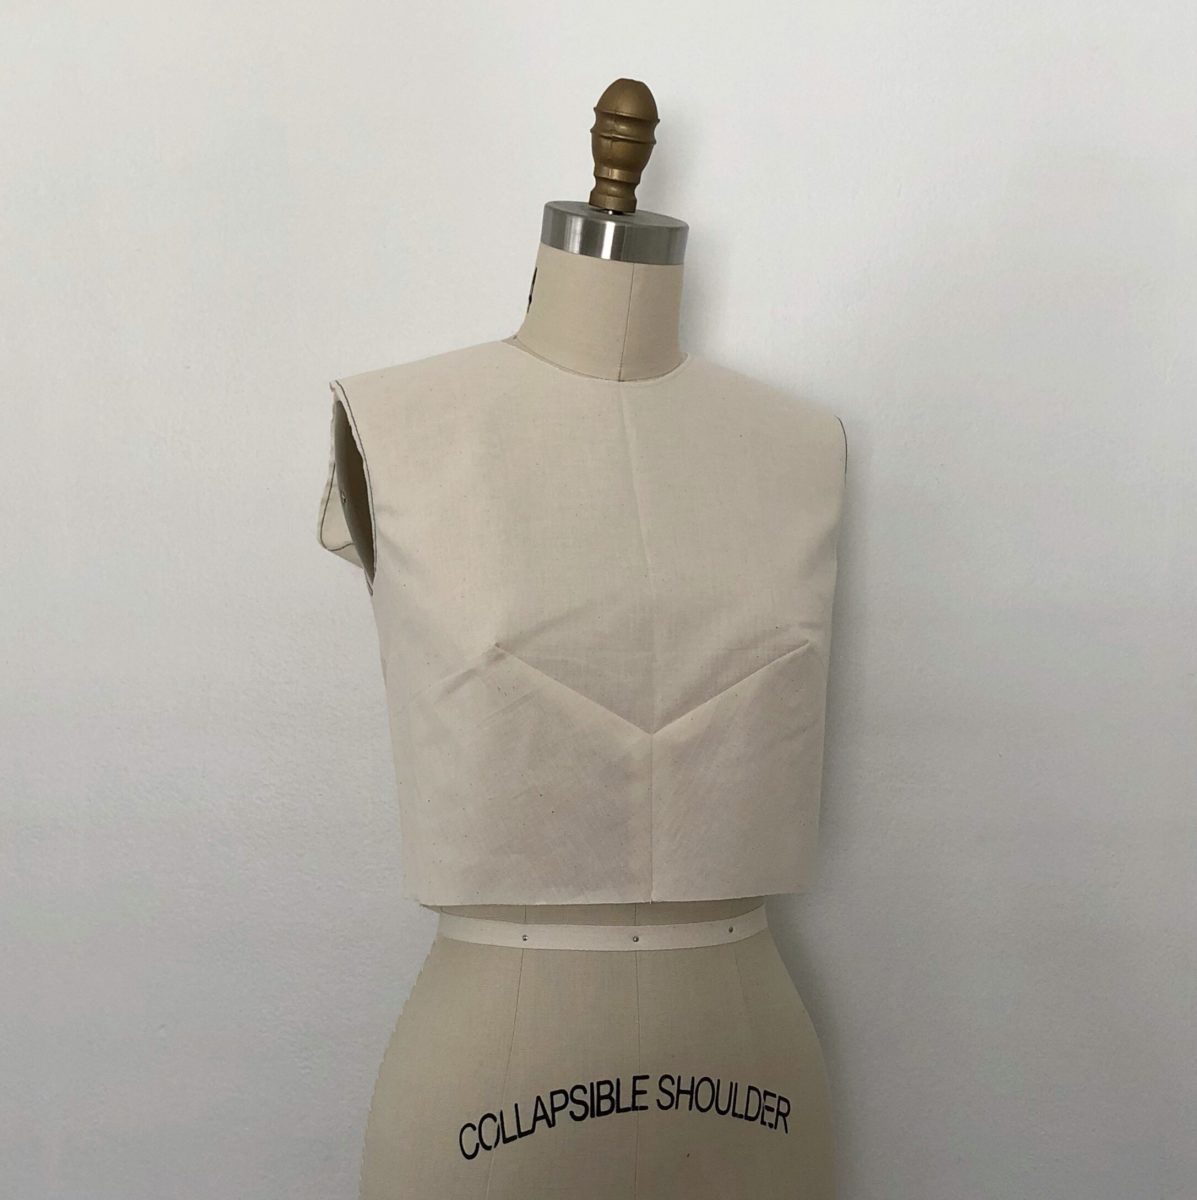
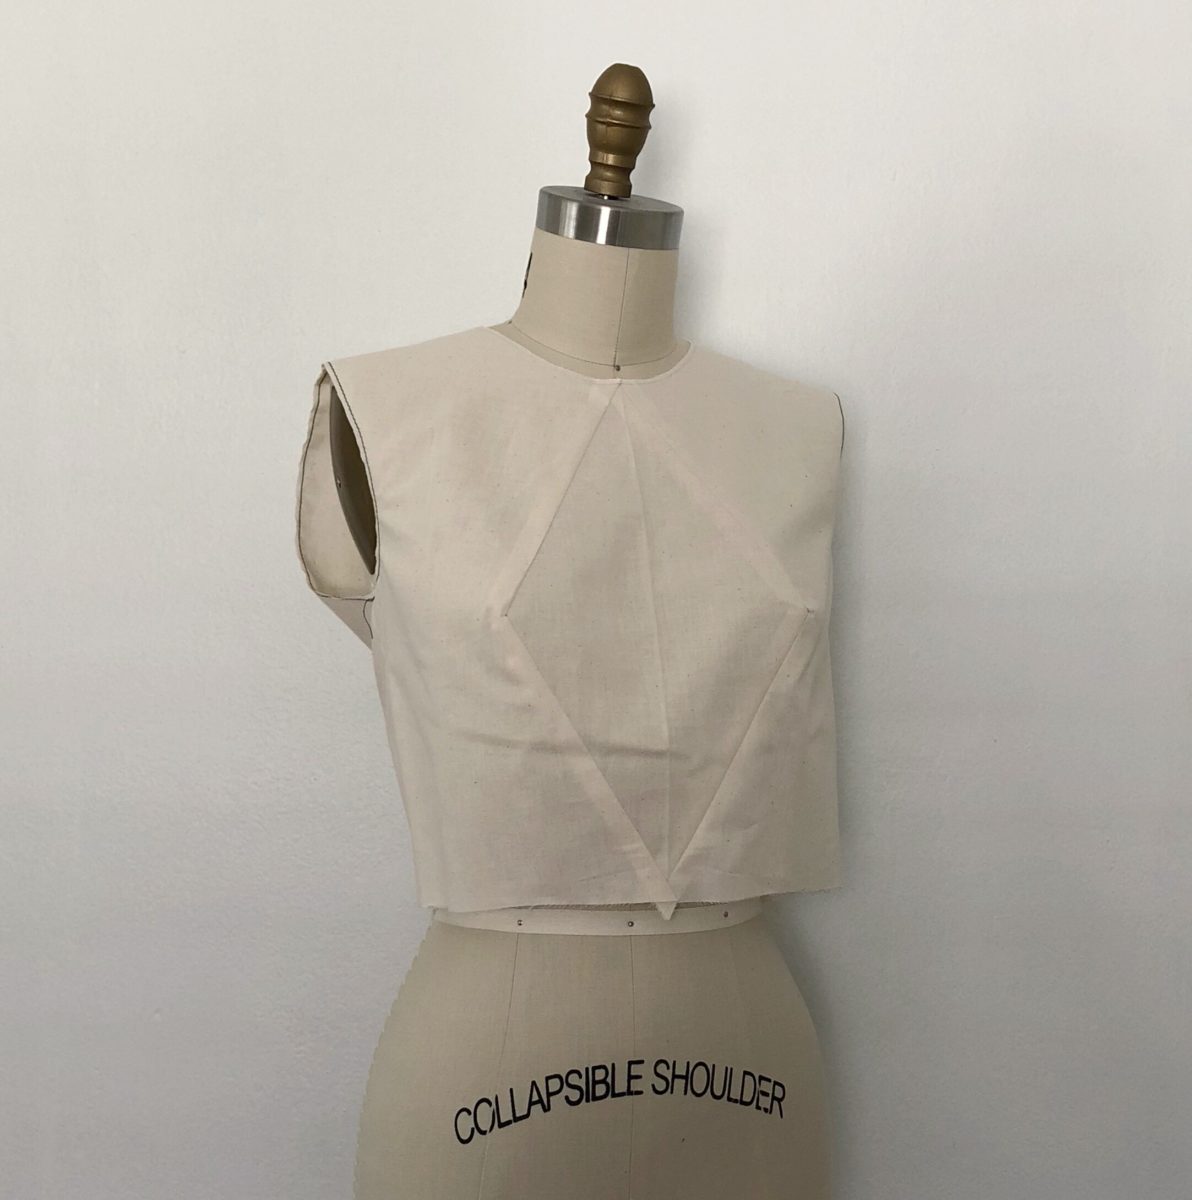
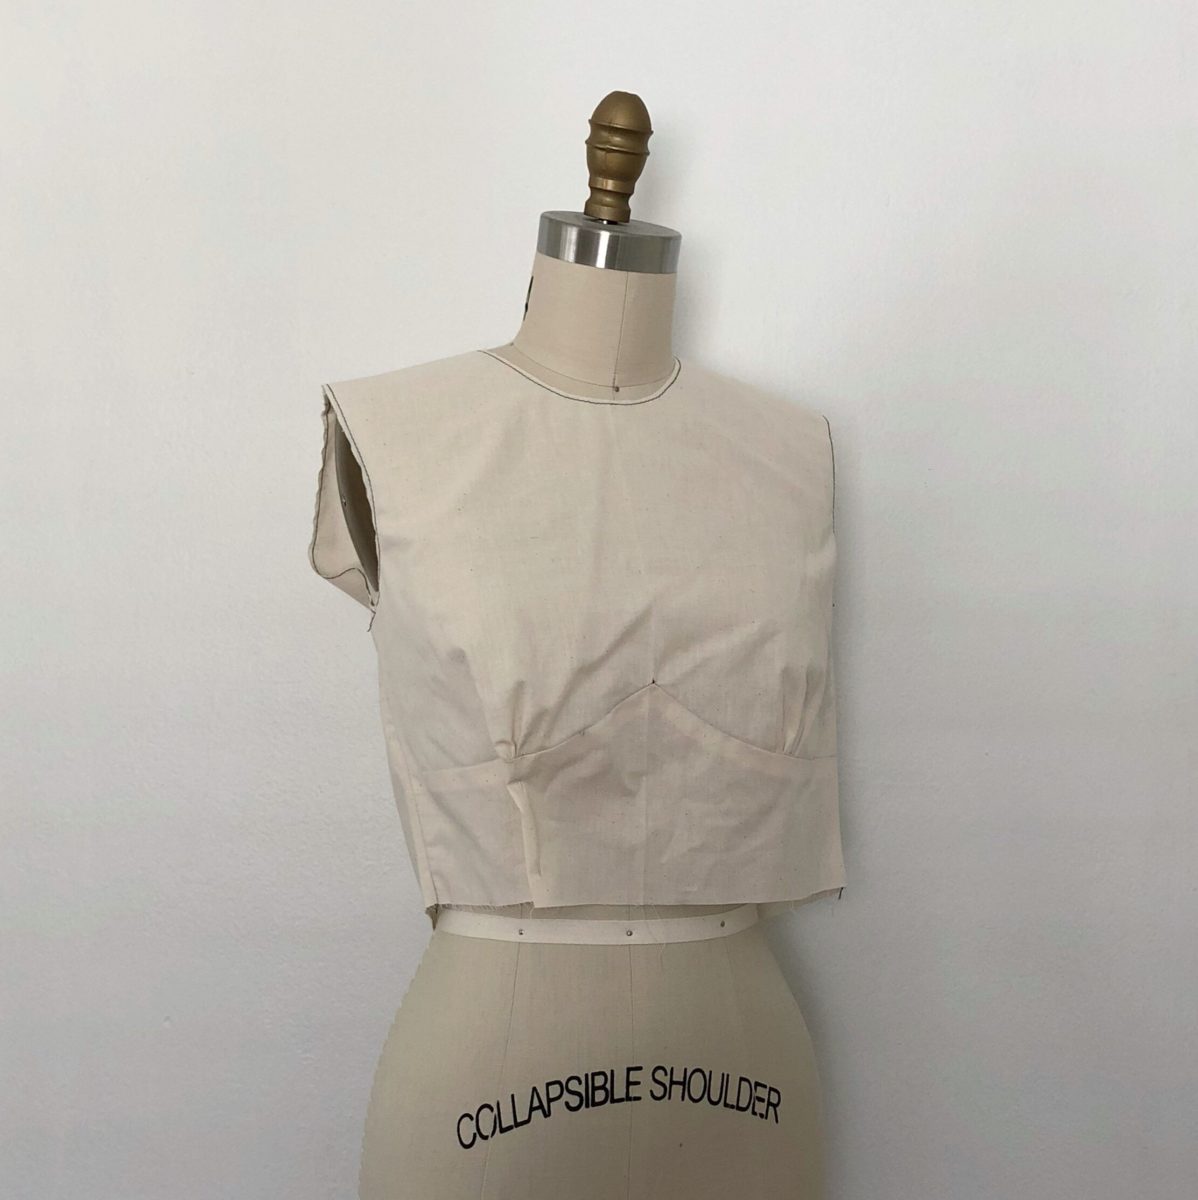
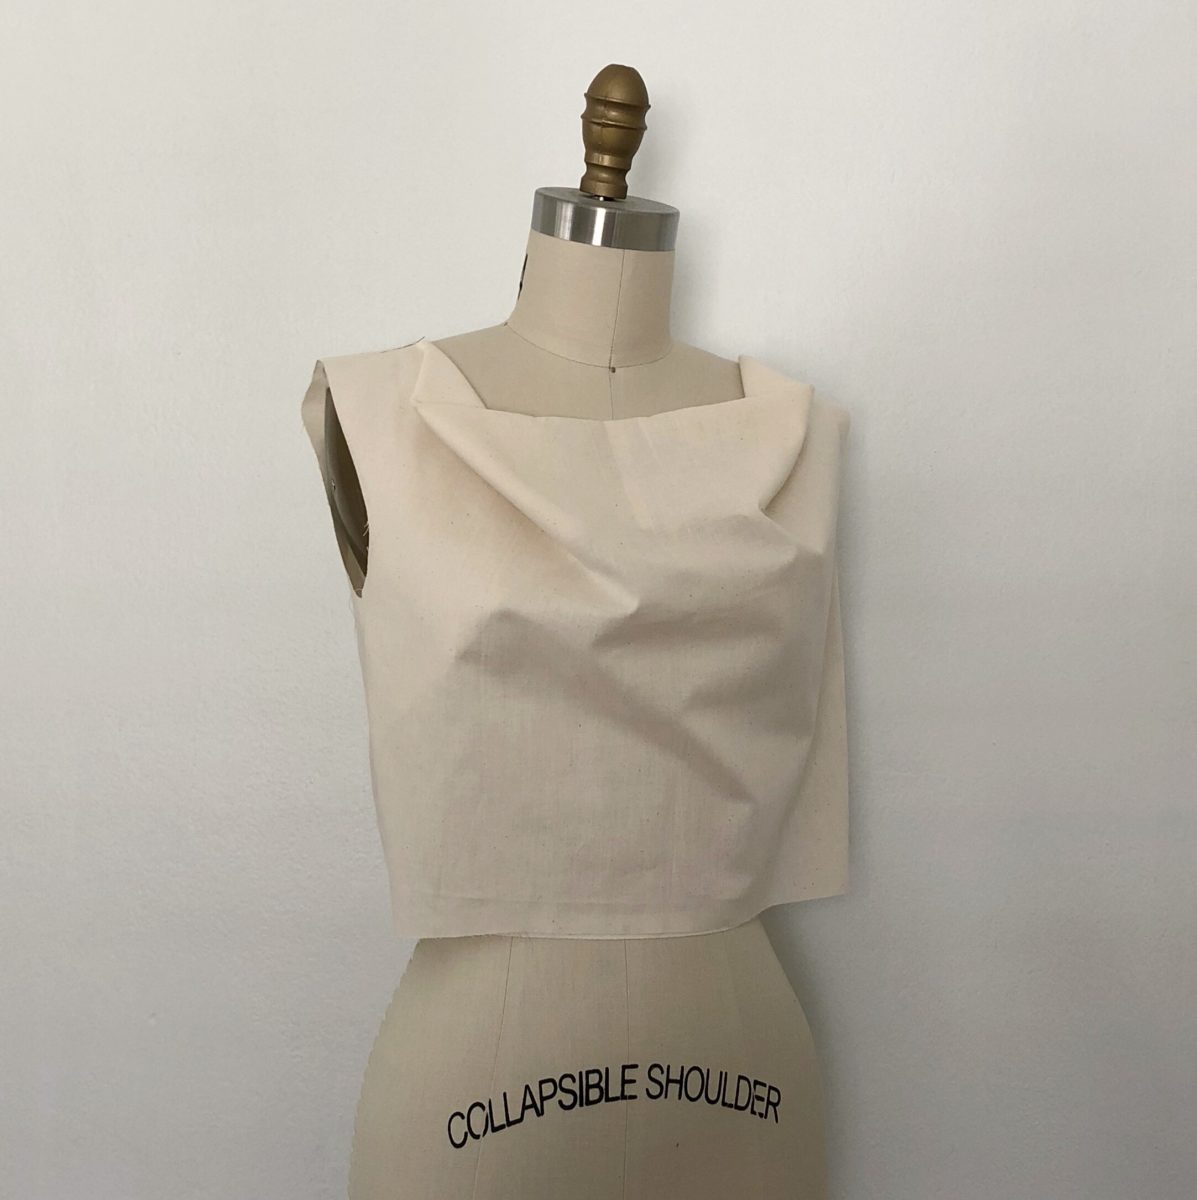
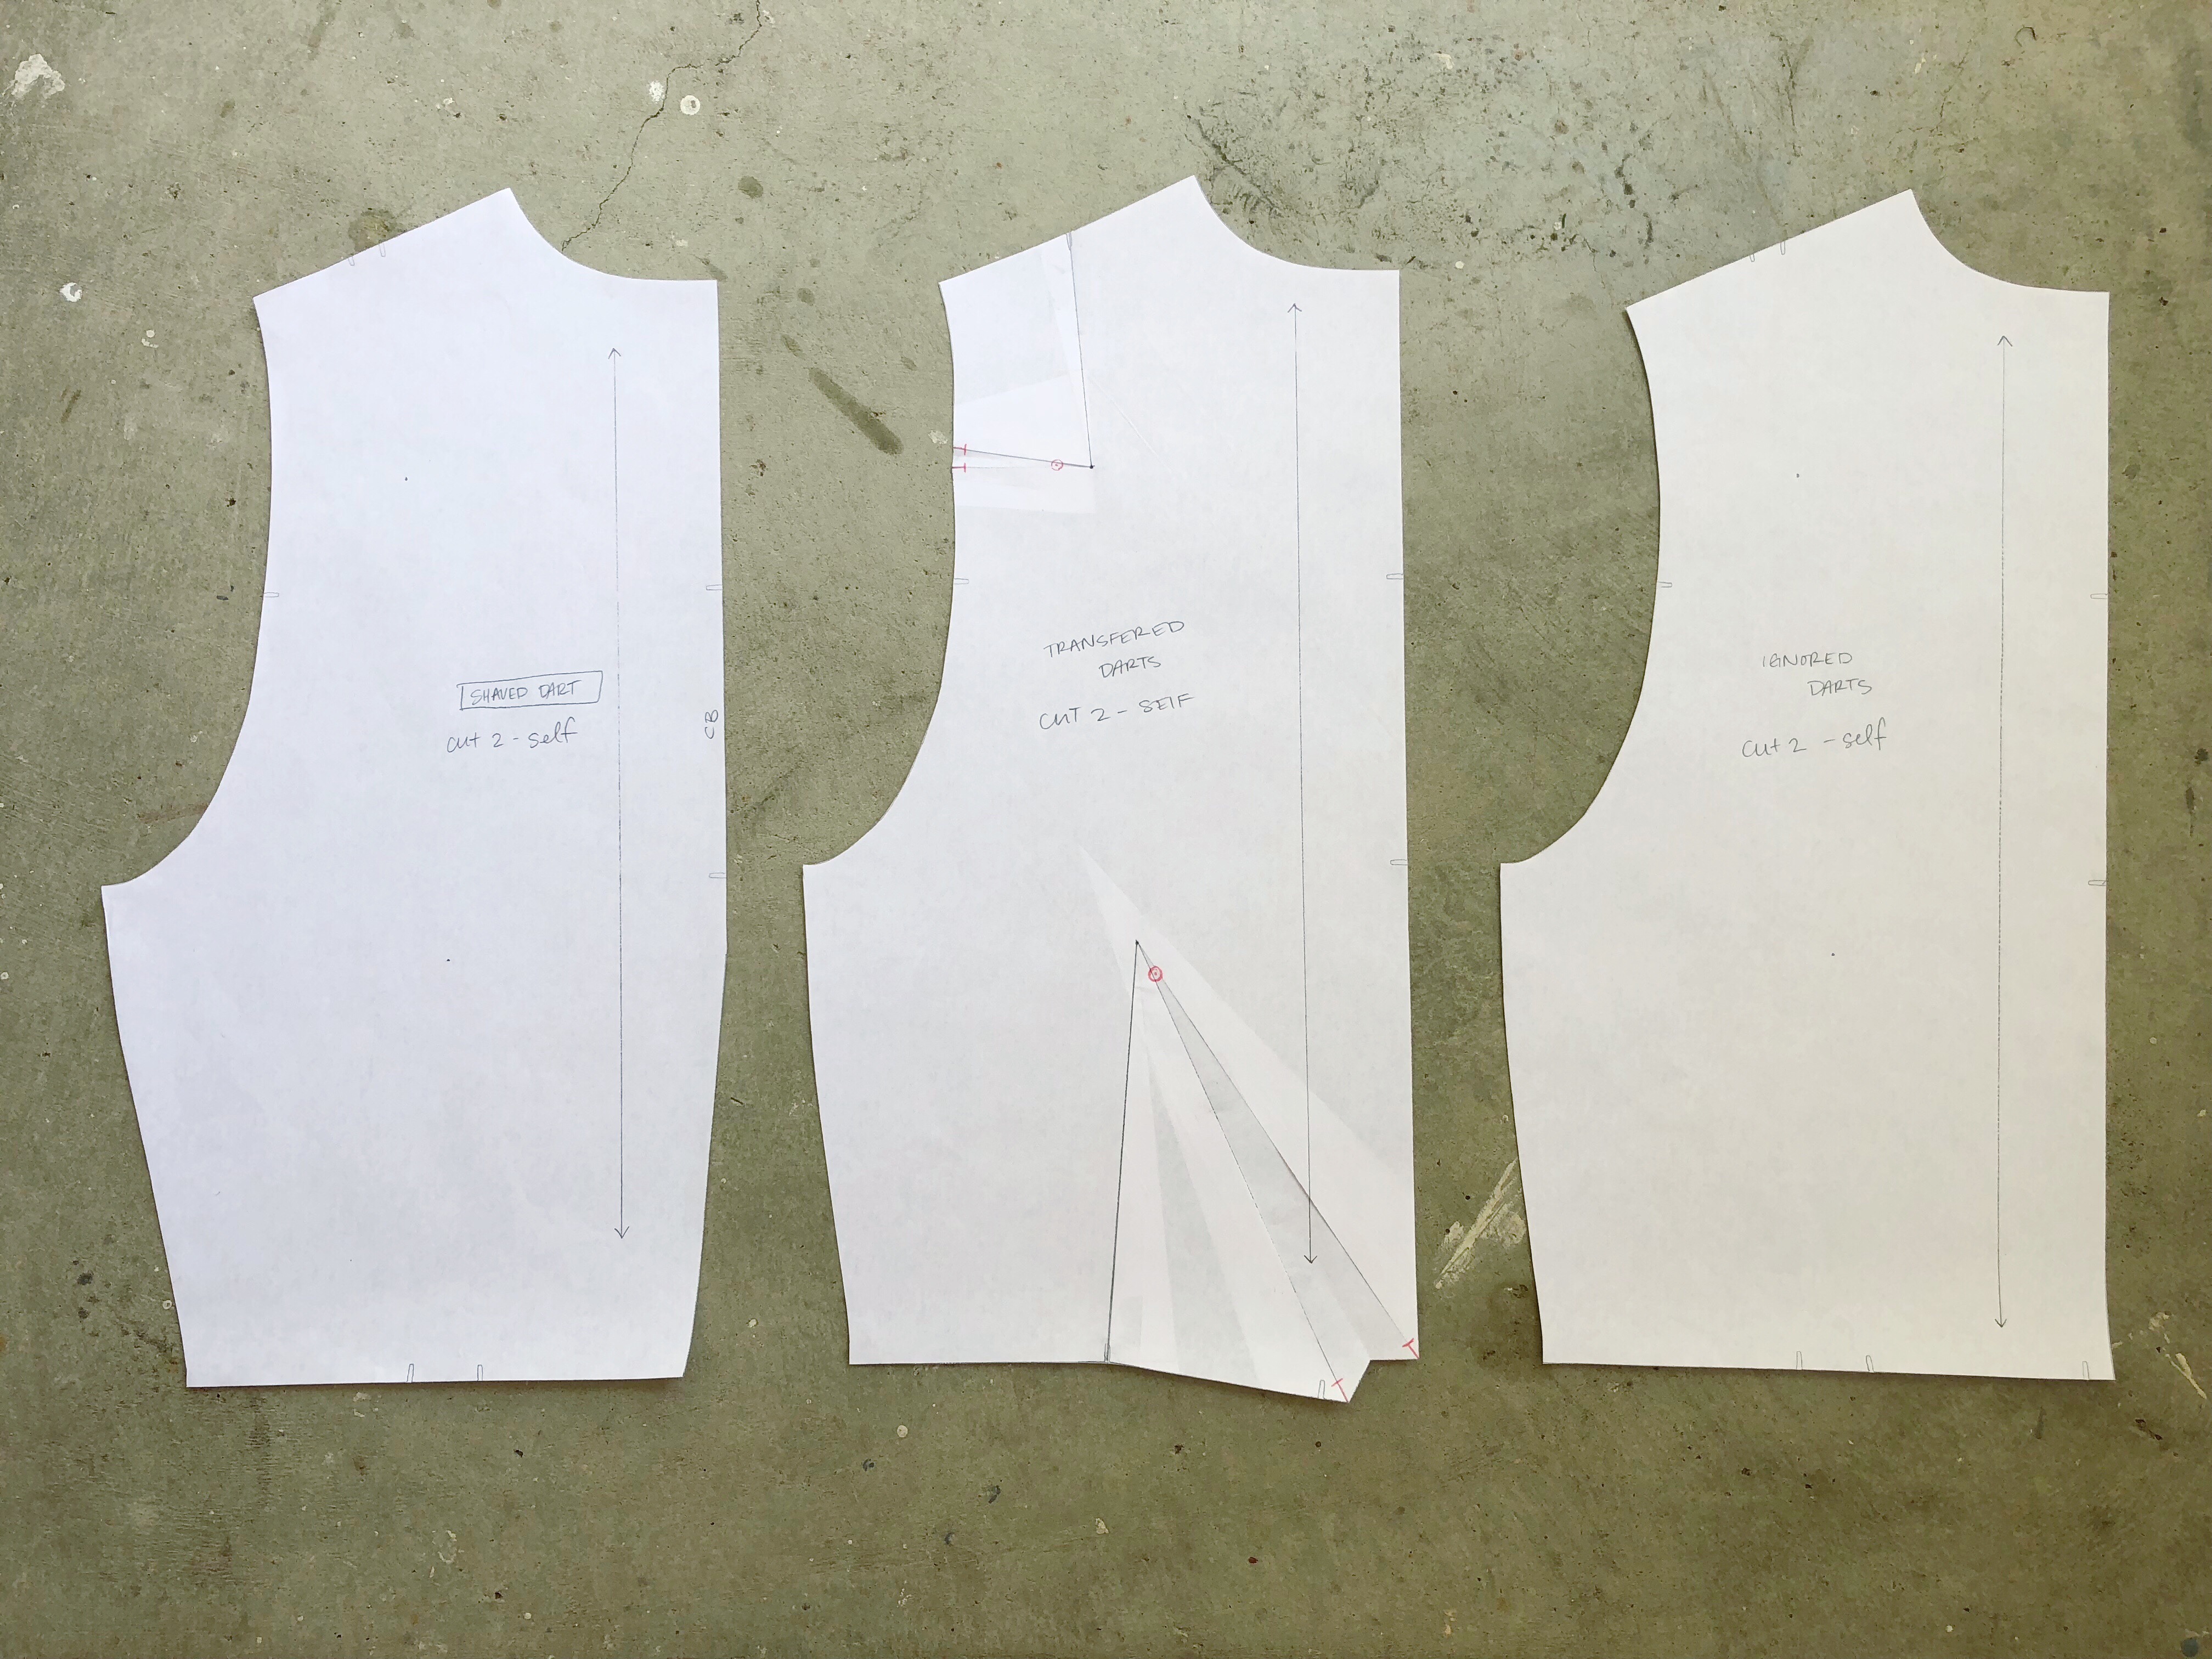
This stripe deserved to be played with so I cut the bodice horizontally and the skirt vertically. When I first planned this in my sketchbook I toyed with the idea of a button placket on the bodice. I’m glad I left it off as it would have detracted from the fun and totally unplanned thing that happened with the bust darts. The fabric is also so squishy a placket would have been a nightmare.
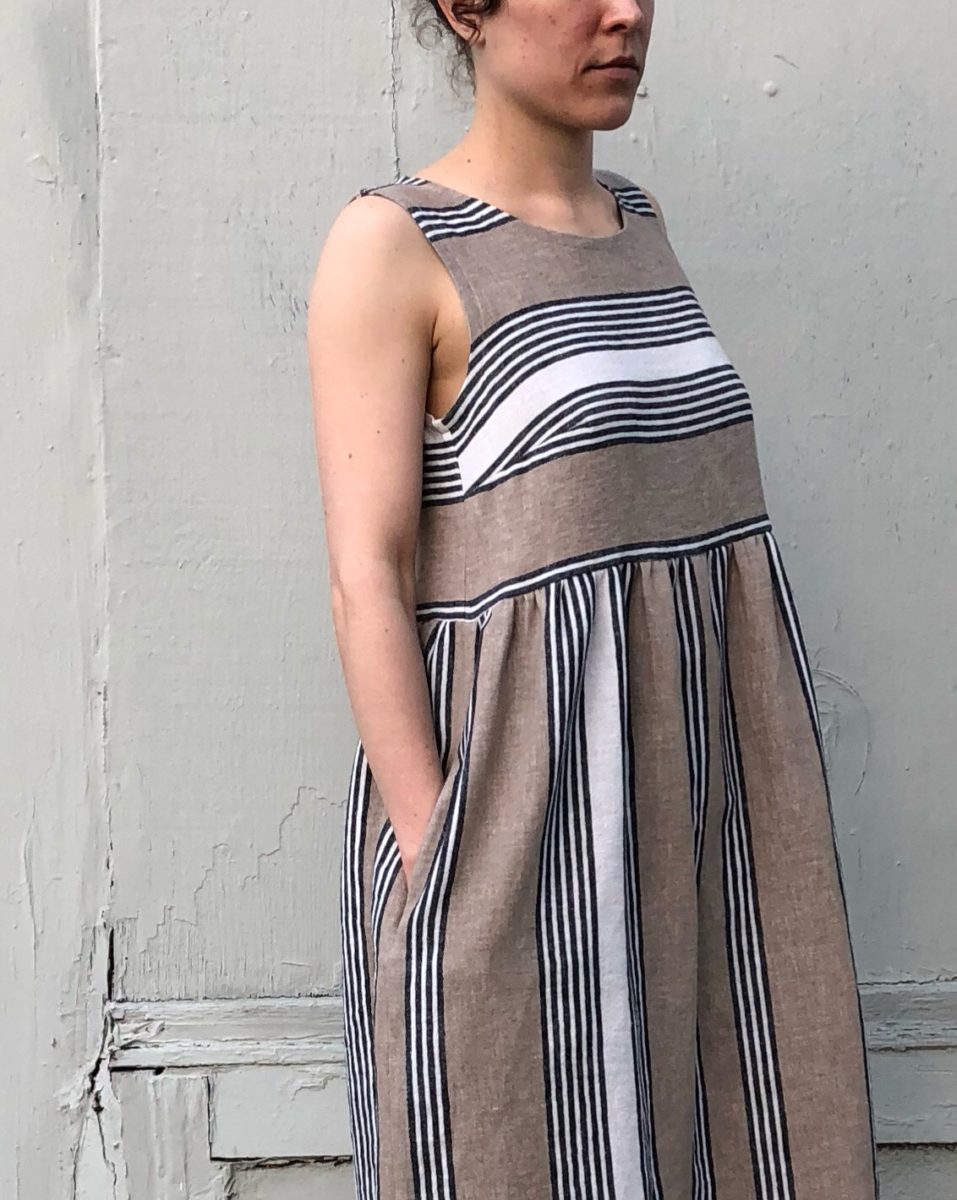
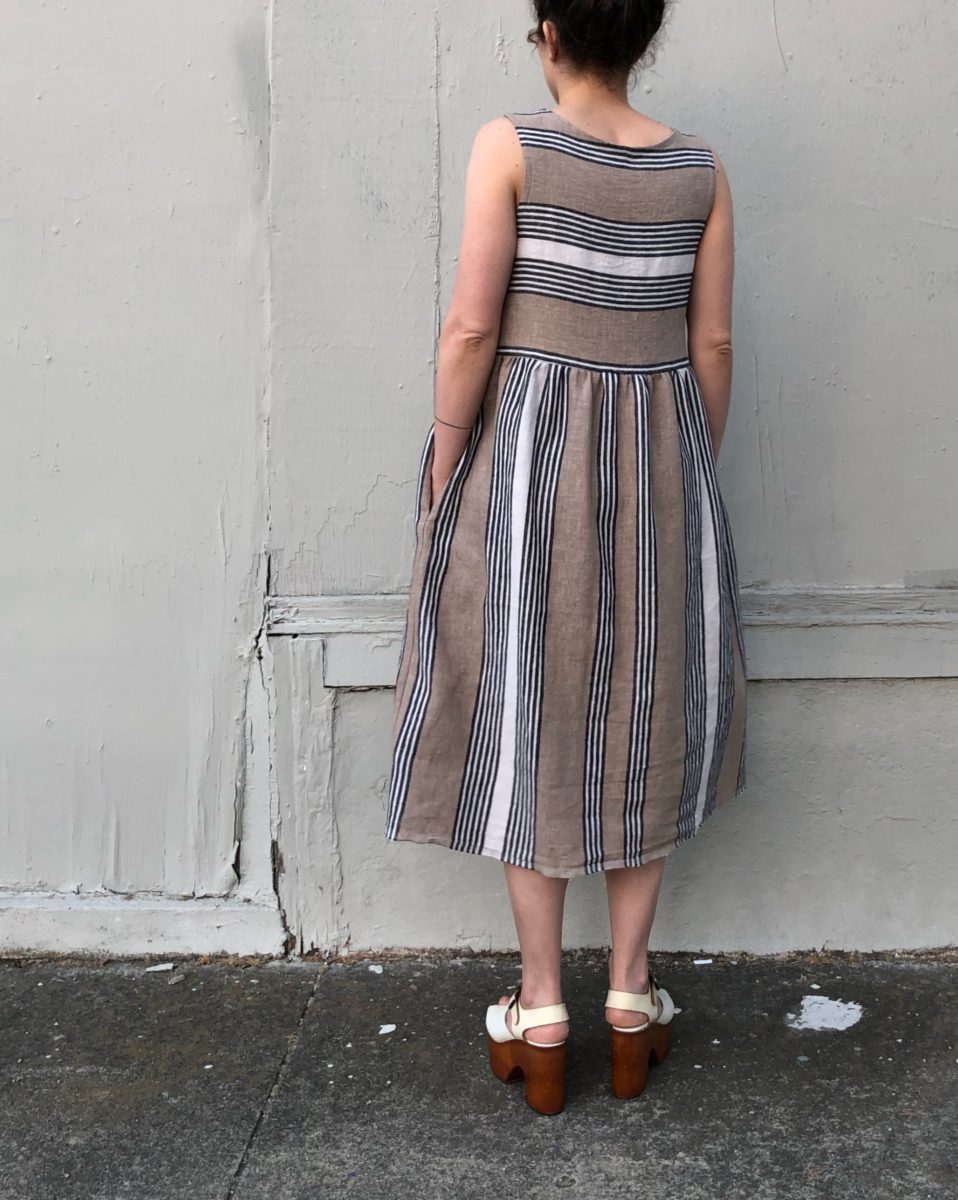
I had two yards to work with and just barely squeaked out the bias binding, two skirt pieces, front and back bodice pieces, and 4 large pocket pieces. I’m quite pleased that the front and back of the skirt are perfectly symmetrical and that the stripes on the side of the tank match up. I’m usually so bad at pattern matching so this win feels great!
I cut a straight size 6 in the Willow. I previously made a size 4 and found that after a day of wear my armpits hurt. I could have just scooped out the shape and recut the bias but it was late and I was determined to have it all cut out. I think the size 6 might actually fit me better than the 4…
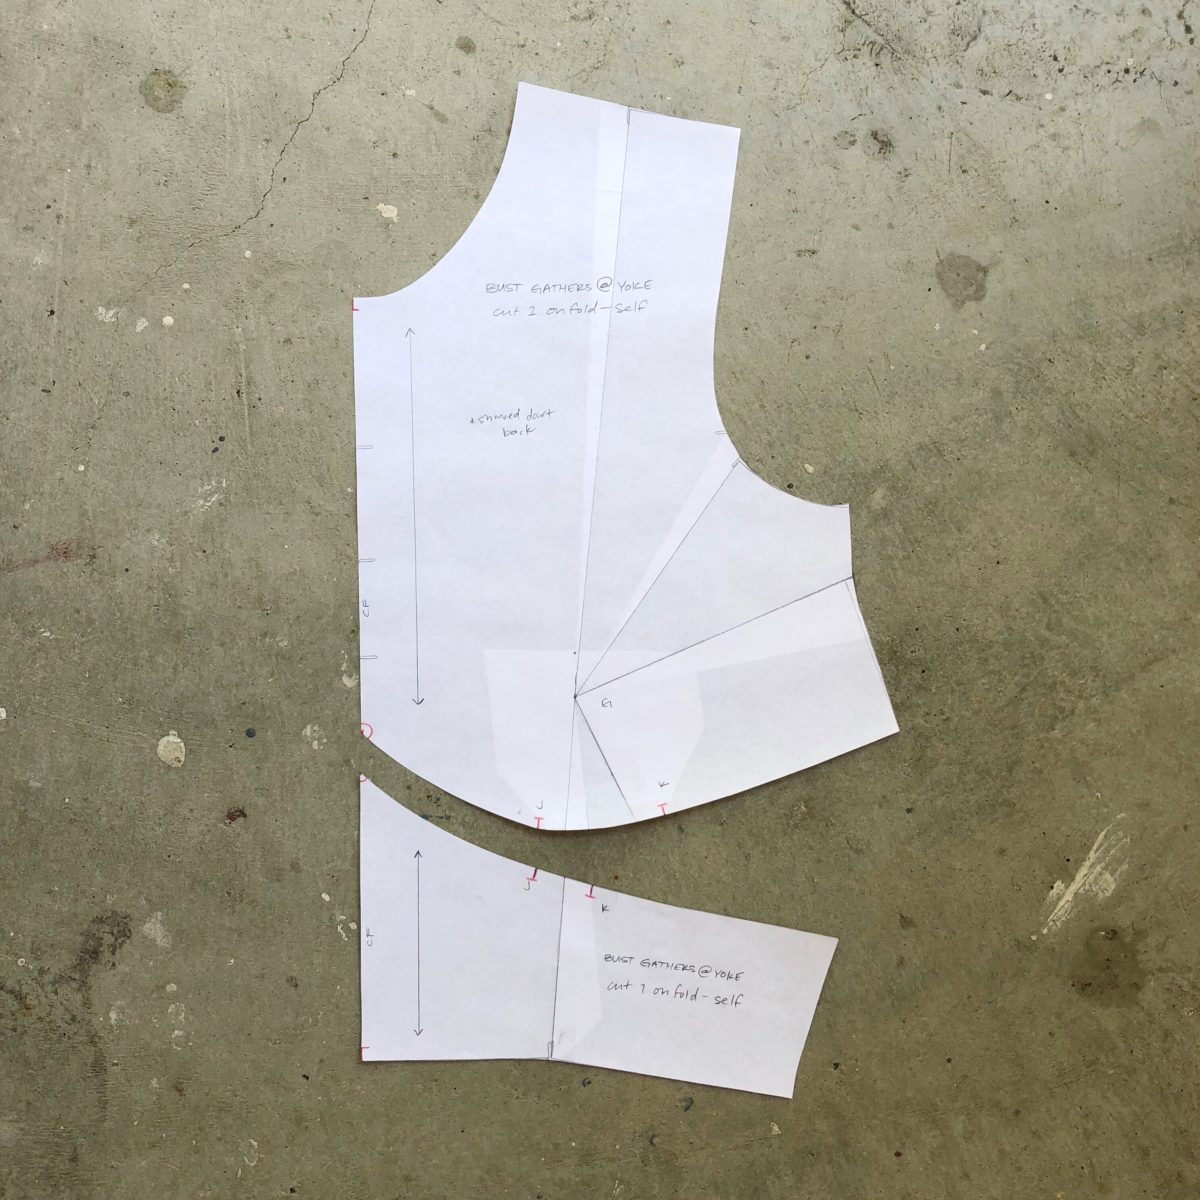
I wanted the bodice of the dress to be fairly short so I used the lengthen/shorten line as the bottom edge. To that I added 1/2″ of seam allowance and squared the corners to make it attach to the skirt a little easier.
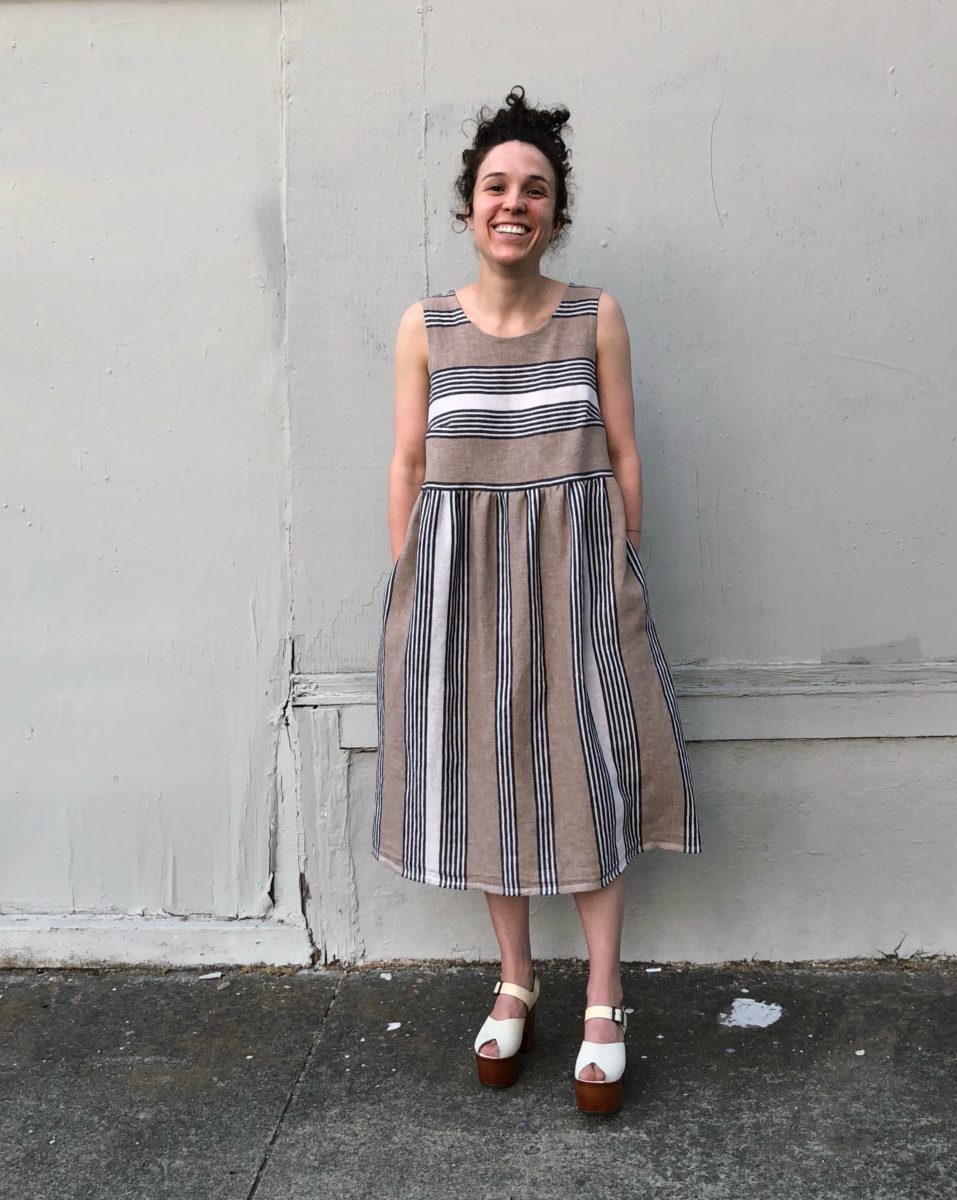
Determining the skirt shape involved just a little math but was mostly controlled by the amount of fabric I had left after cutting out the top. The skirt ended up being about 20-ish” wider than the bottom edge of the tank and after measuring, I ended up using the stripes as my cut line. The skirt length ended up being half of the fabric width (30″).
The fabric is a fairly loose weave and since I throw everything in the washing machine, I decided French seams were the only way to go. I assembled and finished the tank first, then sewed up the skirt using this tutorial for inseam pockets with French seams. I definitely ran into issues with the pockets, which can happen when you steal a pocket with a different seam allowance from another pattern and cut everything out late at night.
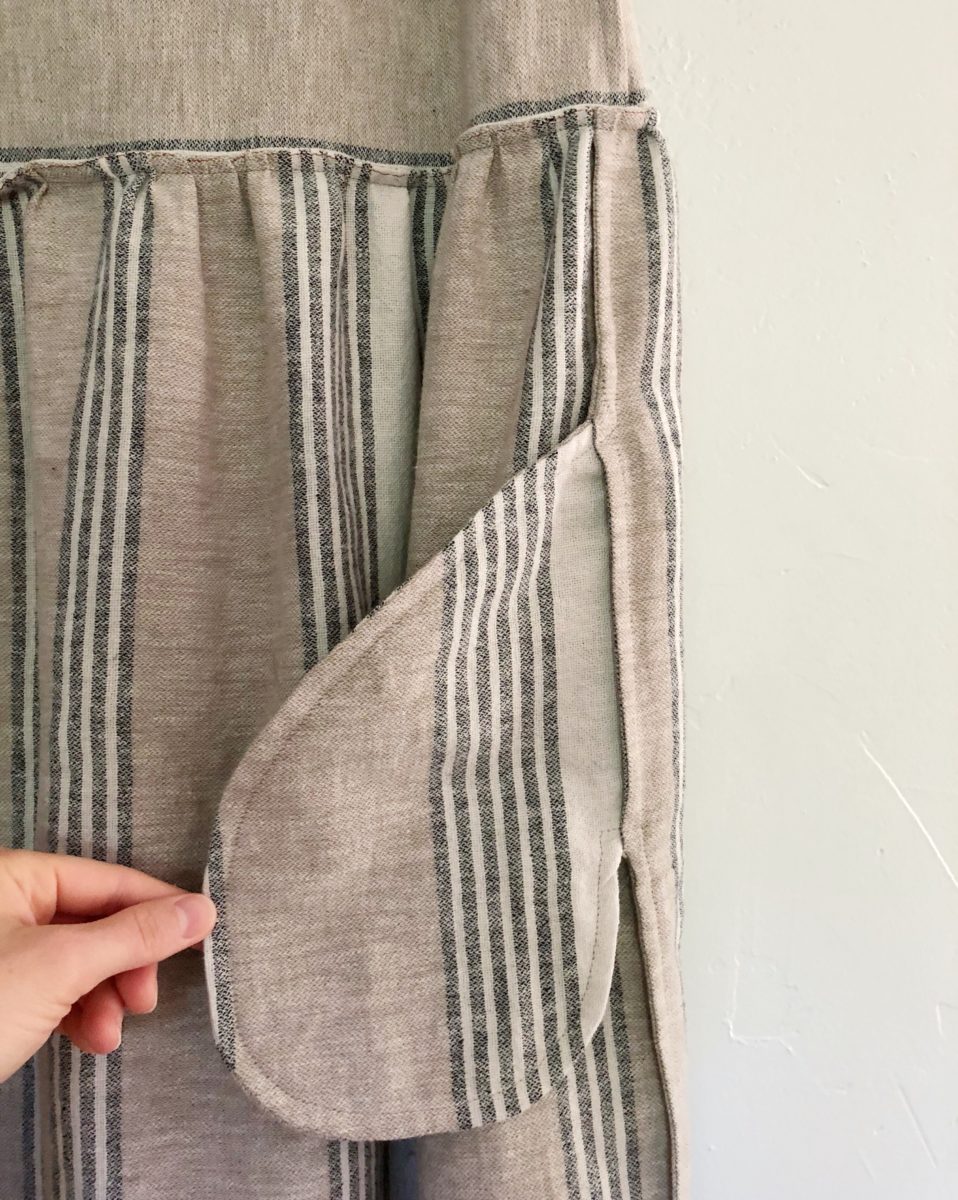
I basted the skirt in a circle and would NOT recommend this strategy. If I were to do it again, I’d baste the front and back portions separately so creating the gathers and matching up the side seams is easier. Sewing a french seam with gathers was an interesting challenge, but I’m glad I did it. EVERY SINGLE SEAM is a French seam.
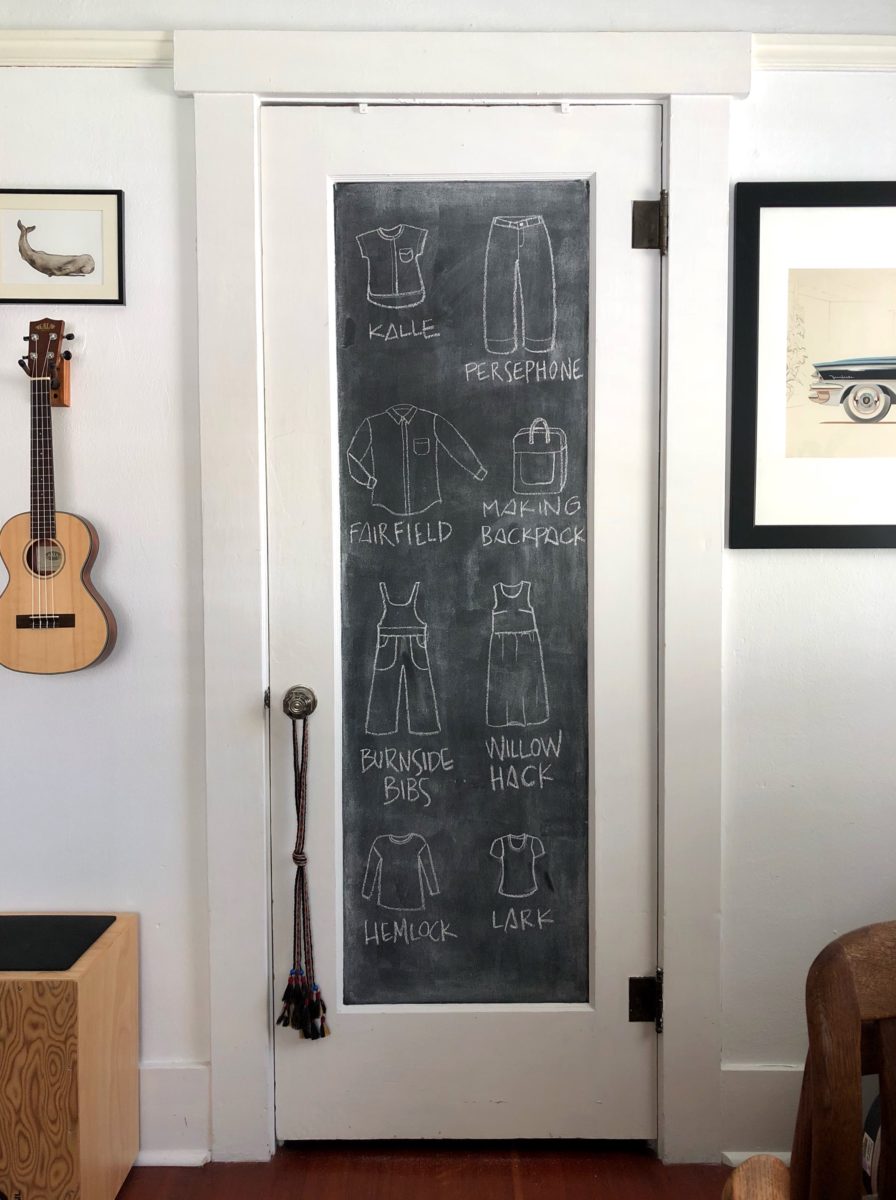
I can finally wipe a make off this board. I have two Kalle Shirts that are SO CLOSE to being finished and I’m working through some butt issues with the Persephone Pants too.