I love a good bag pattern, and boy does Klum House have some bags. Not only do they have a variety of awesome patterns, they also carry different levels of kits. A Maker Kit comes with EVERYTHING you need, even the fabric. And it’s pre-cut! And marked! A Finishing Kit comes with all the hardware and pre-cut/punched leather needed to finish a bag, eliminating the challenge of sourcing all those bits and bobs. Or just the pattern of many Klum House designs are available to purchase for ultimate customization options. All of the kit materials are high quality and there are so many colors to choose from. One thing to note is that all of the zippers appear to be brass, so take that into consideration when choosing the other hardware options!
Way back in October, I was excited to see Klum House was getting ready to release a dopp kit pattern. Late October is when I start to fret over the task of finding (and sometimes making) both a Christmas gift and a birthday gift for my husband. He’s a minimalist and doesn’t want for much, so it’s an annual struggle. The Woodland Dopp Kit was a perfect fit! For years he’s been using an old Kinkos lunch box to hold his beard trimmer. The Woodland felt like a project I could commit to making in time and would serve as a nice update for the lunch box.

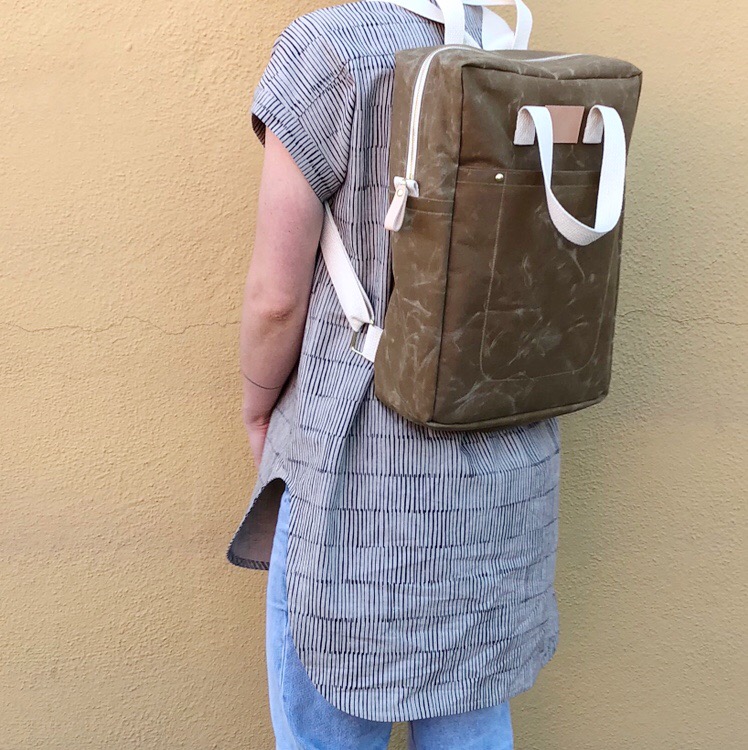
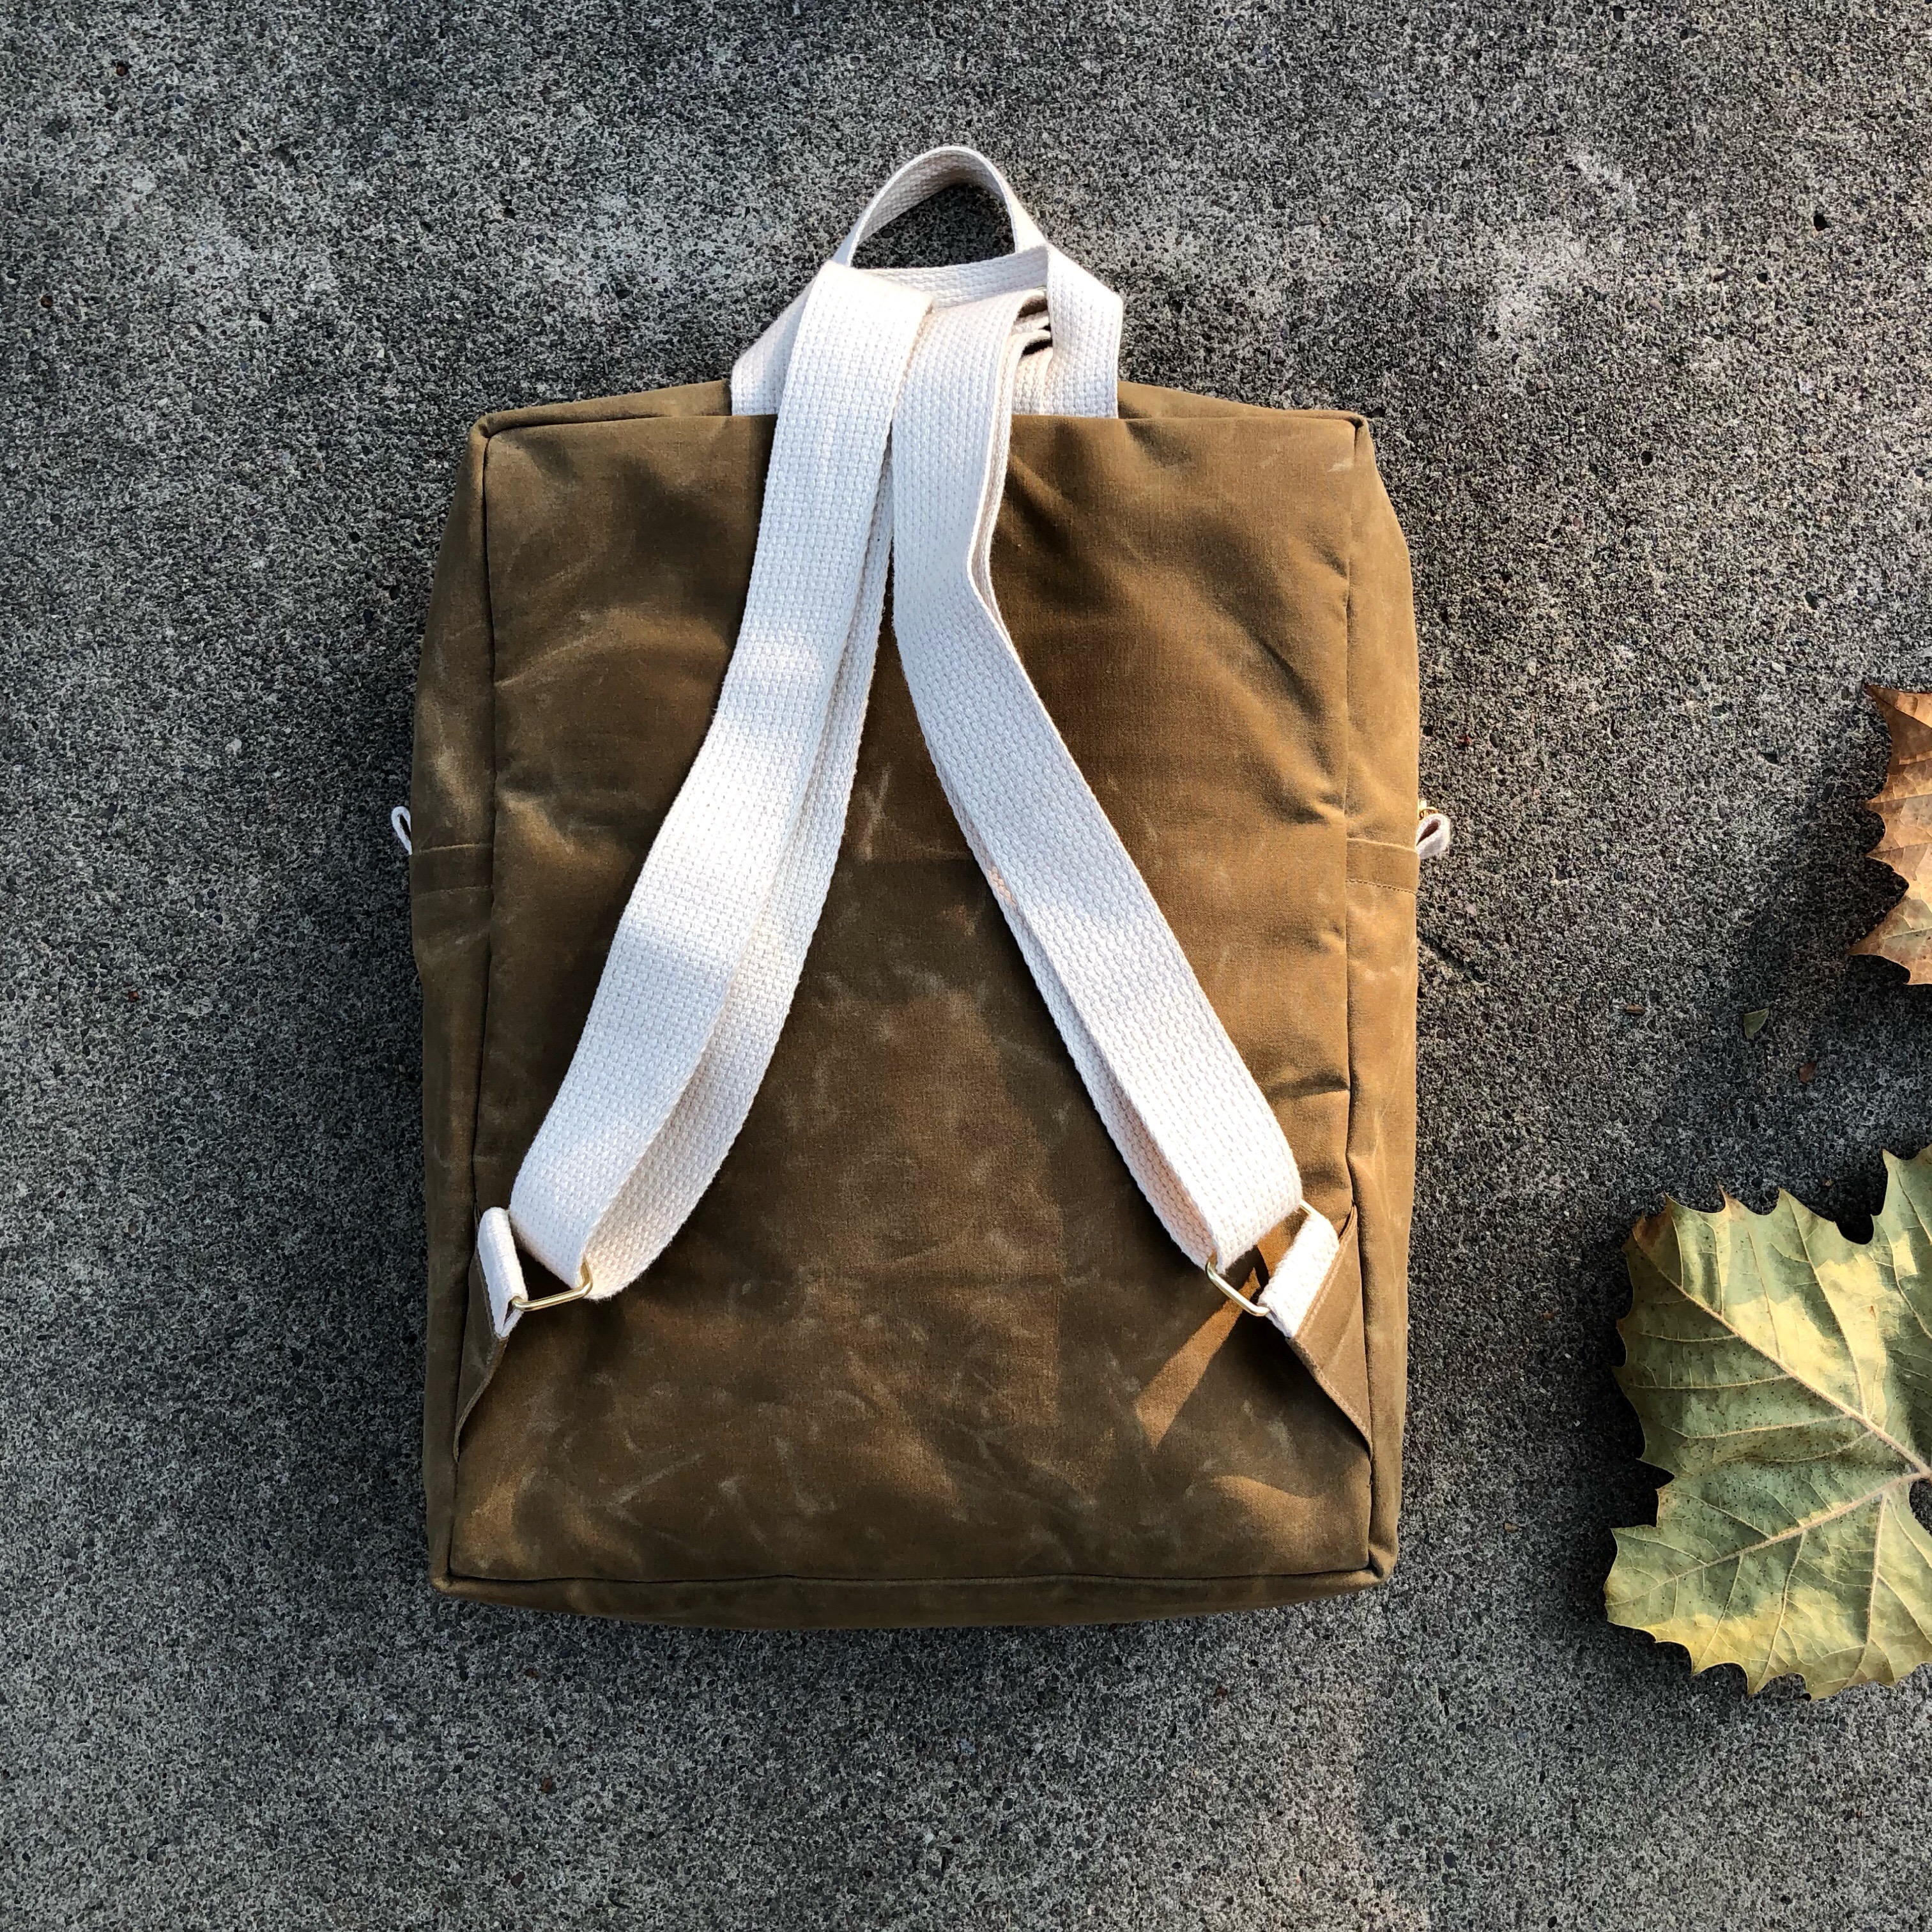
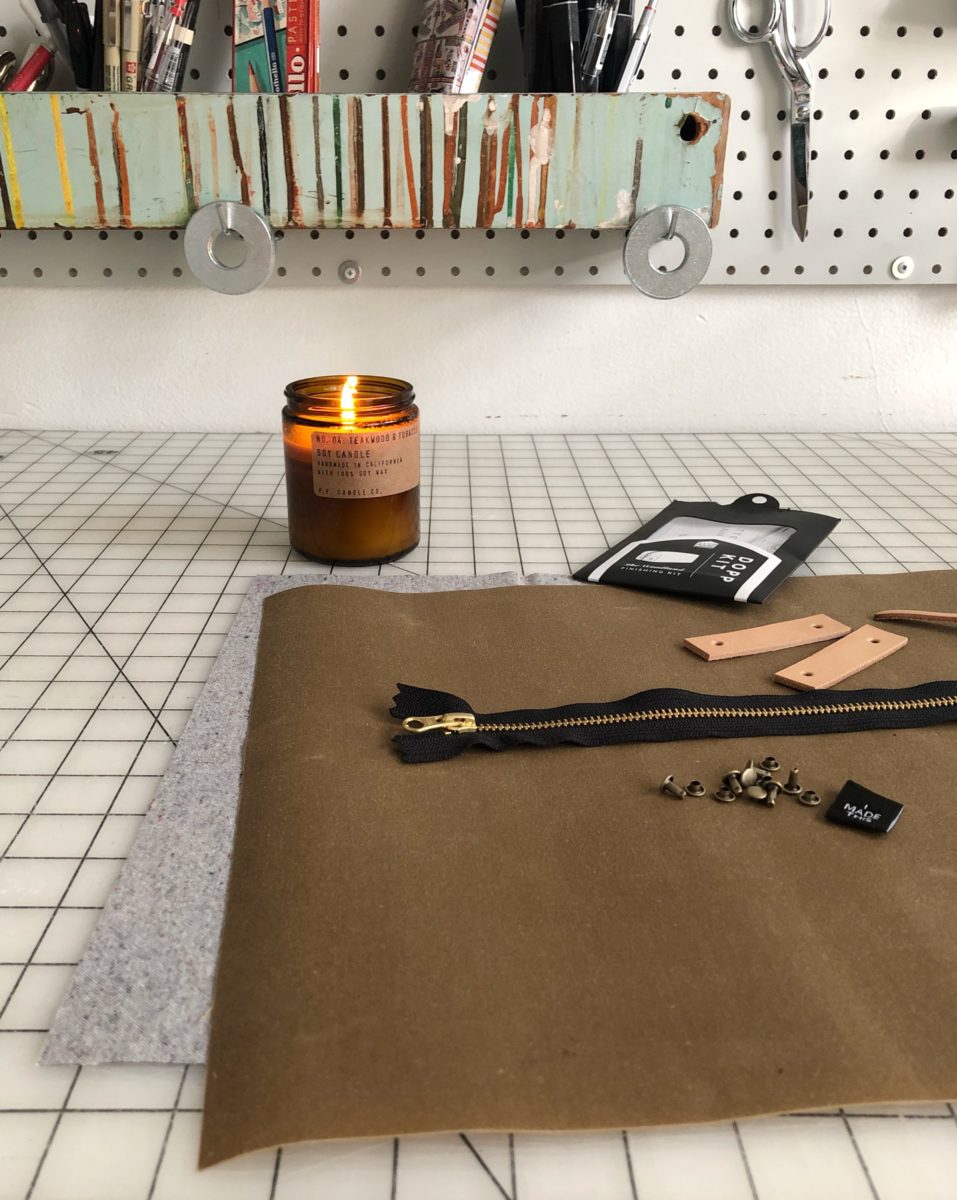
I can’t keep a gift secret to save my life (plus I wanted his input) so once the pattern/kits were released I had him take a look at the Woodland Finishing Kit. He settled on using leftover waxed canvas and lining from my Making Backpack, a black zipper, antique brass hardware, and tan leather. Klum House packs and ships orders at lightning speed, so I had everything I needed well before I was ready to start sewing.

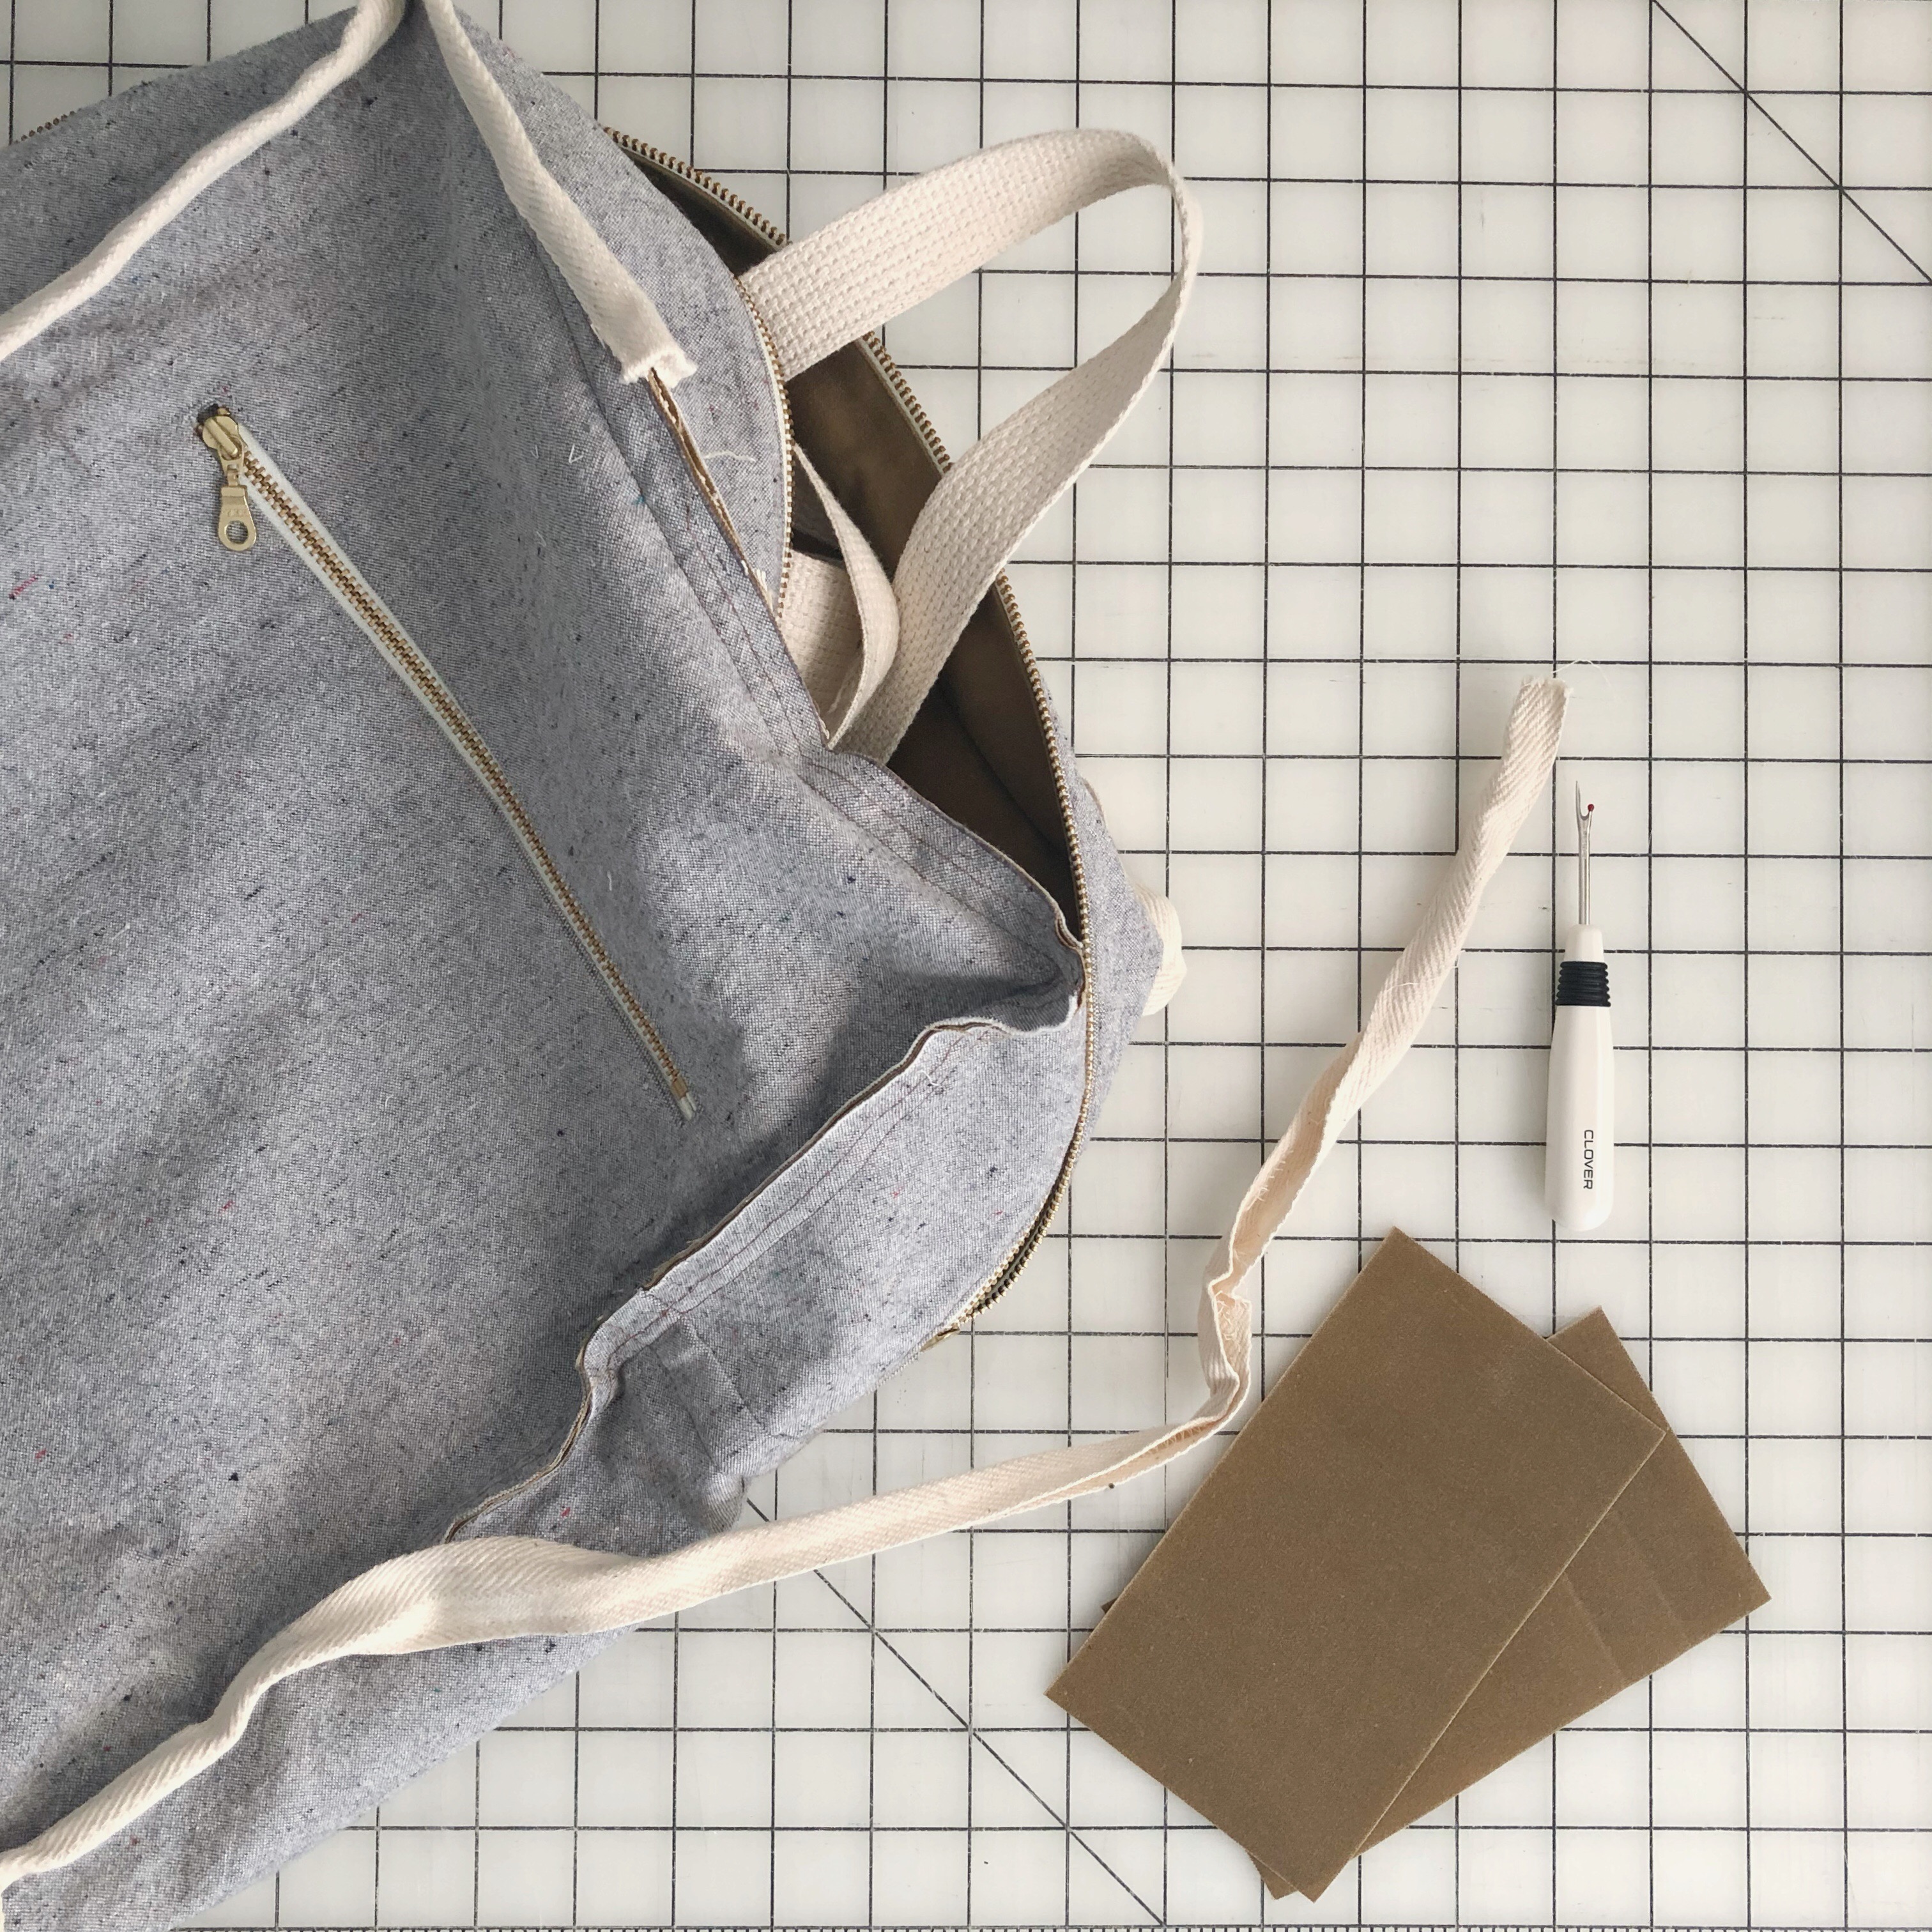
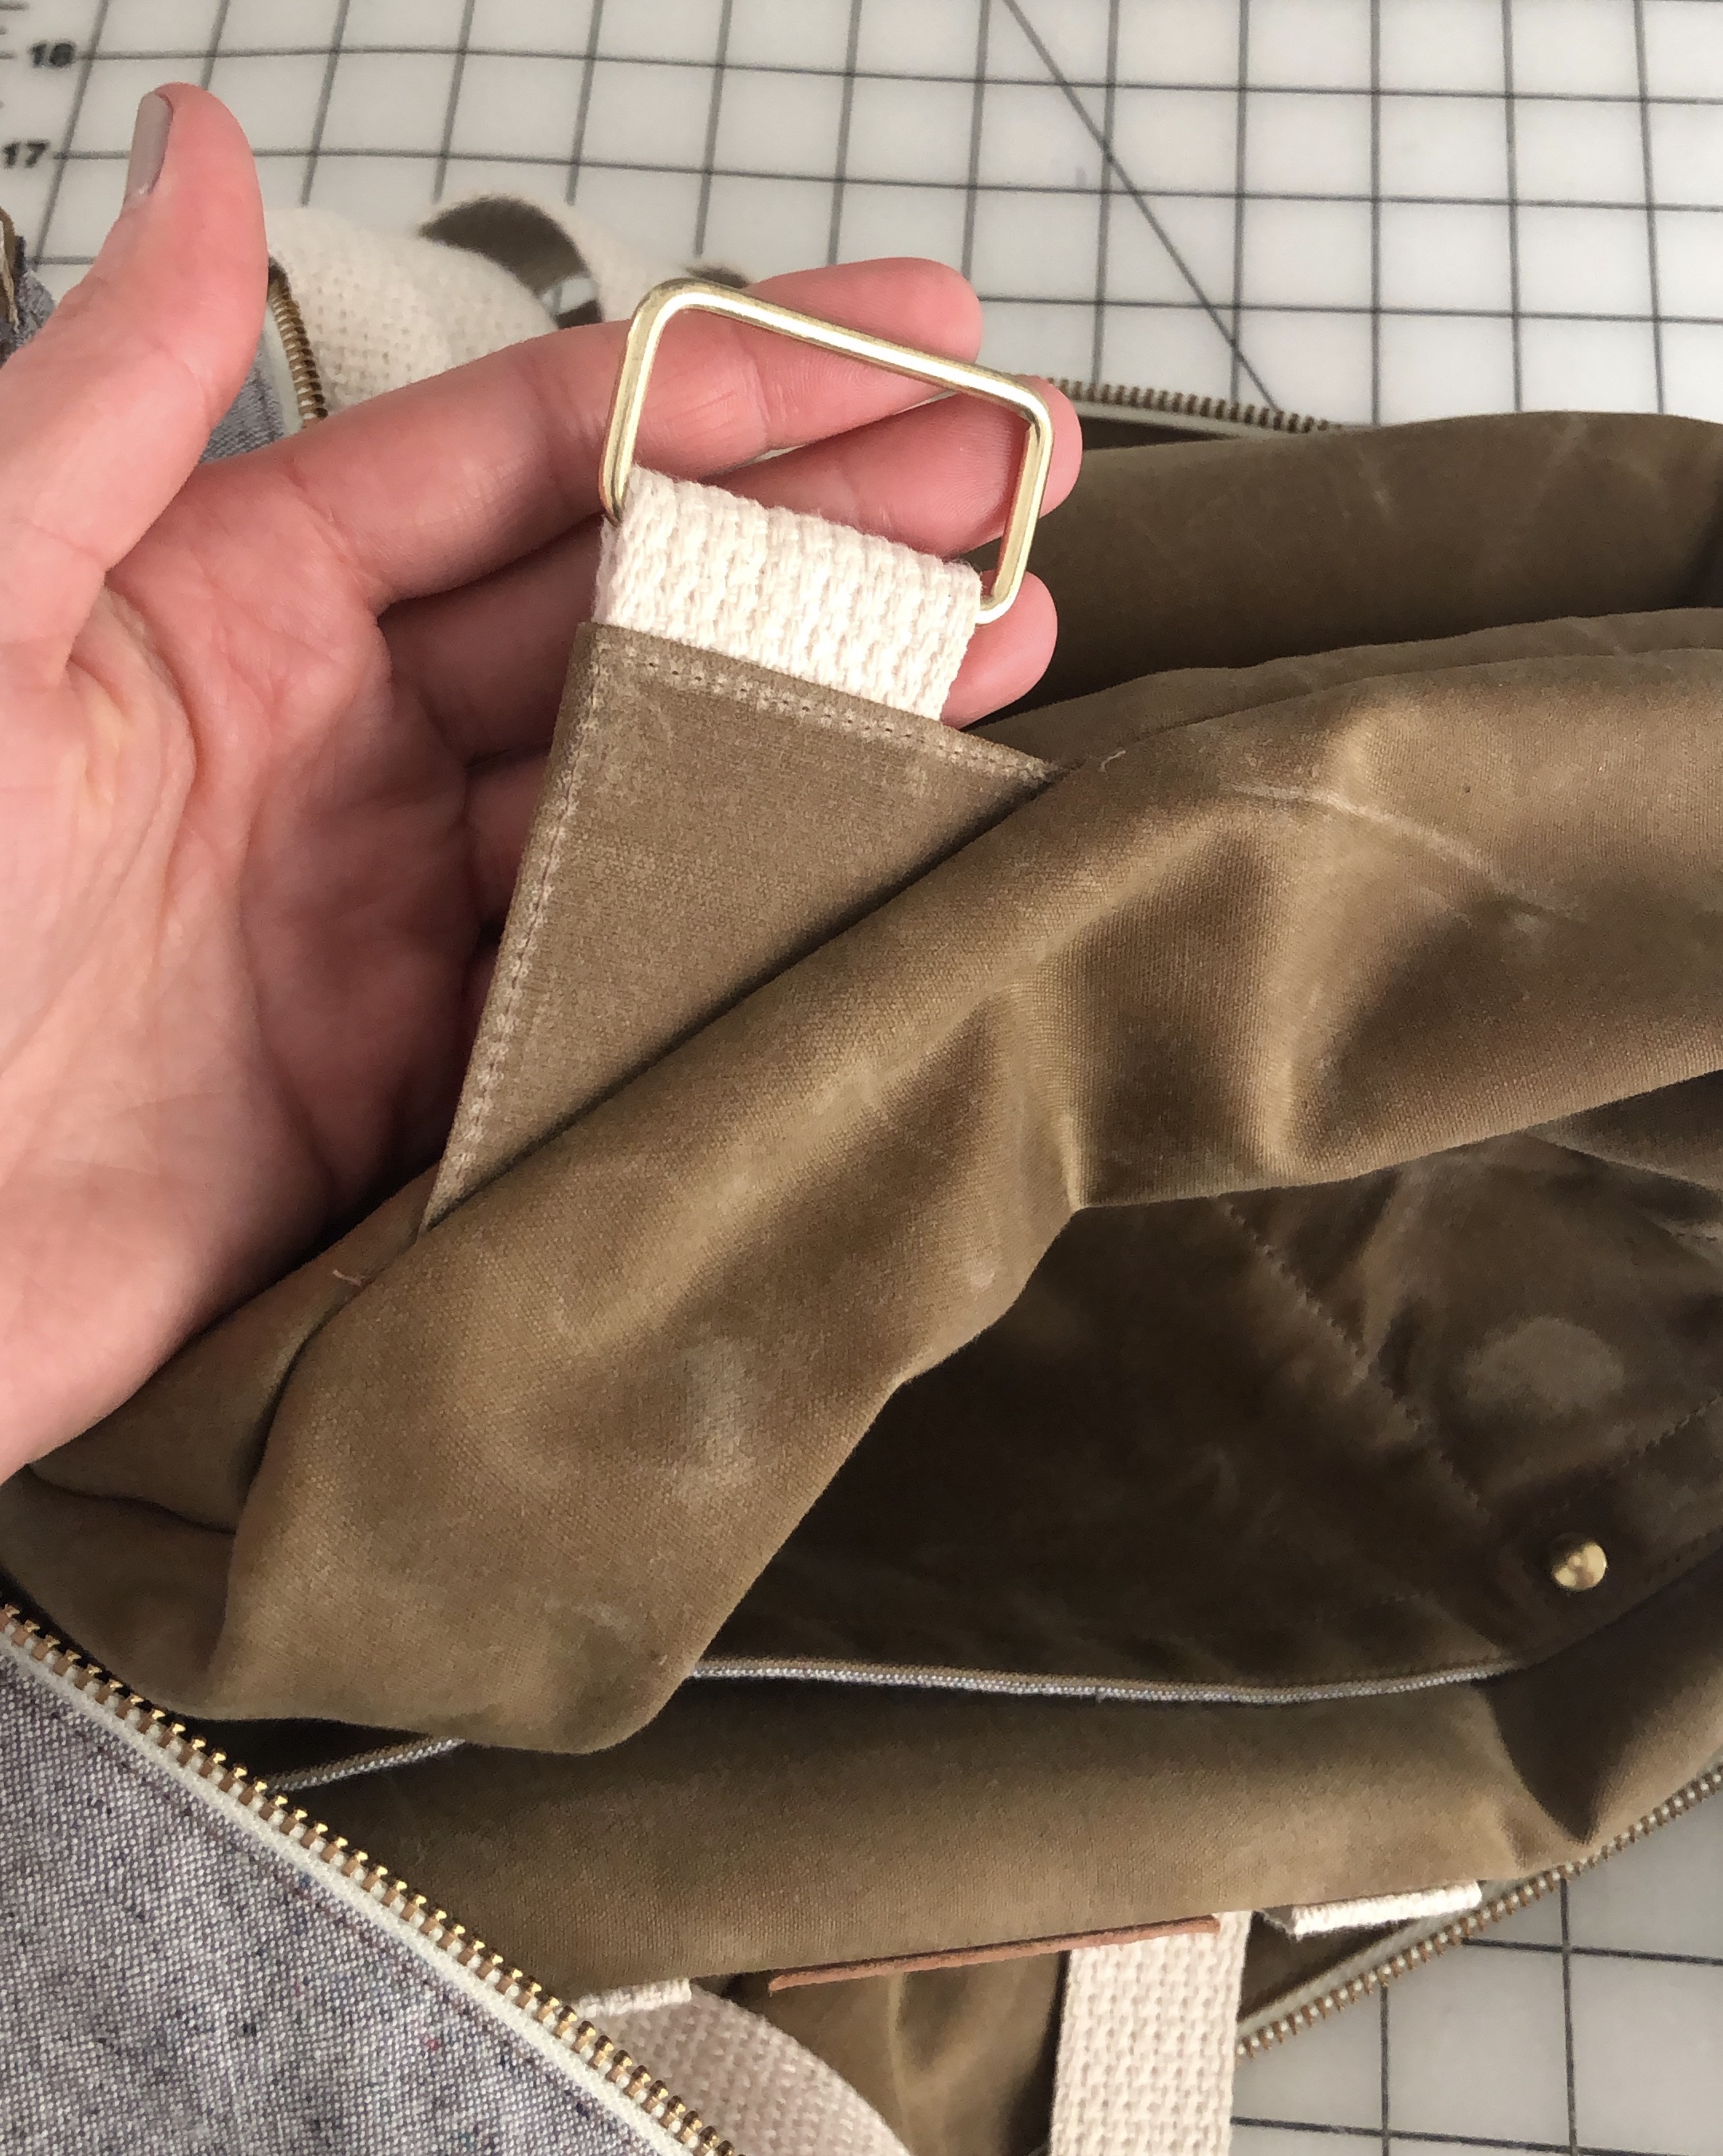
It came together really quickly, in fact I think the sewing took less than an hour. The instructions and illustrations are great and they even remind you take a snack break. Installing the hardware took maybe ten additional minutes. It was a little challenging to hammer the rivets in, but the end result is totally worth the effort.
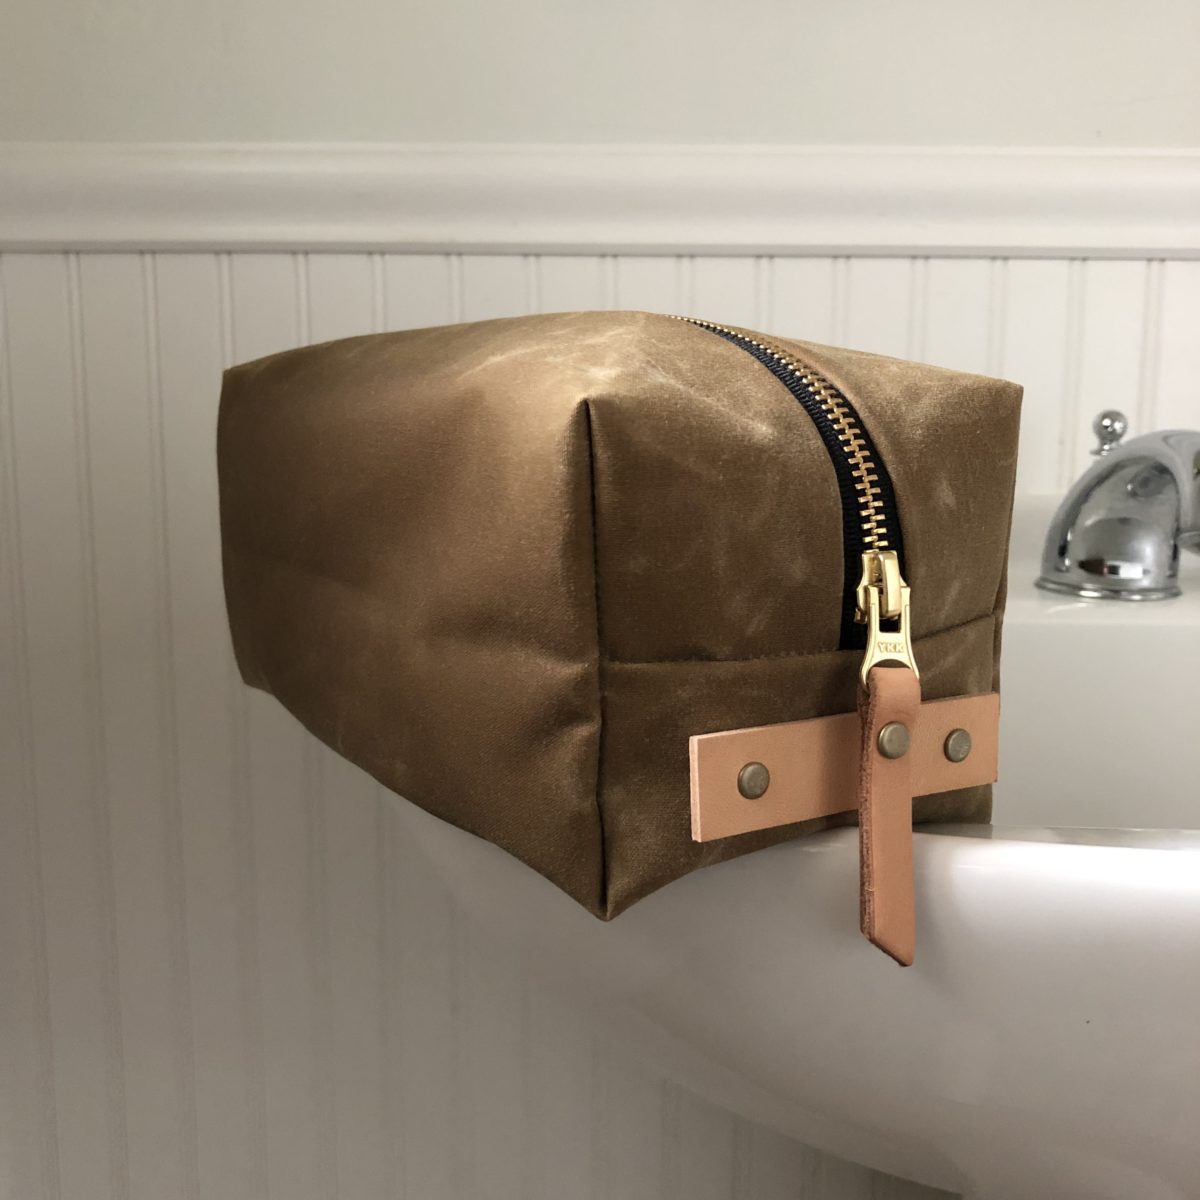
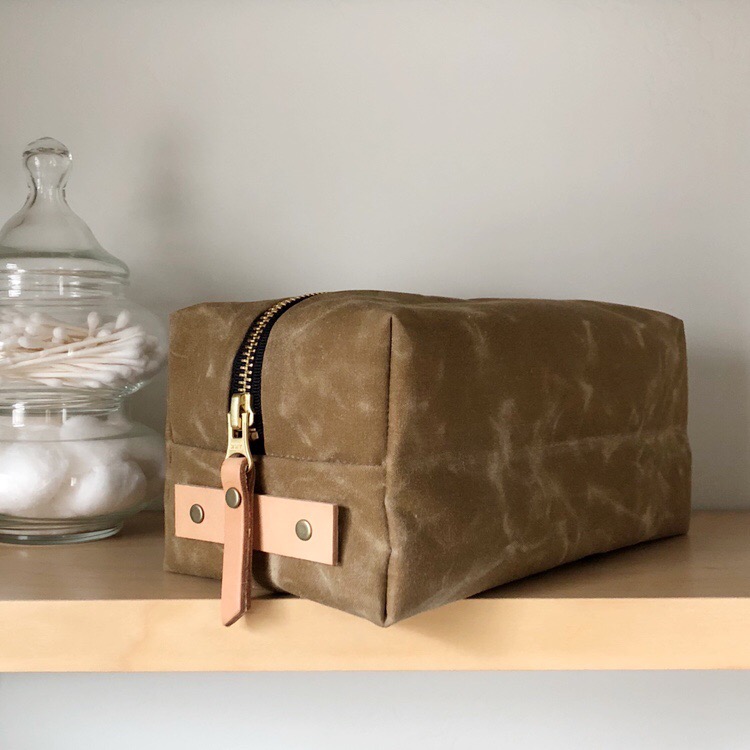
One thing I’d like to puzzle out on the next Woodland is how to conceal the raw edges inside the lining. I’m sure there’s a way to do this, but I decided to make one as the pattern is written before making any modifications. My serger really struggled to get through all of the layers and I just prefer the look of clean, concealed seams. Another mod I’d like to make is a more functional handle. I love the look of the leather, but I can’t really grab it.
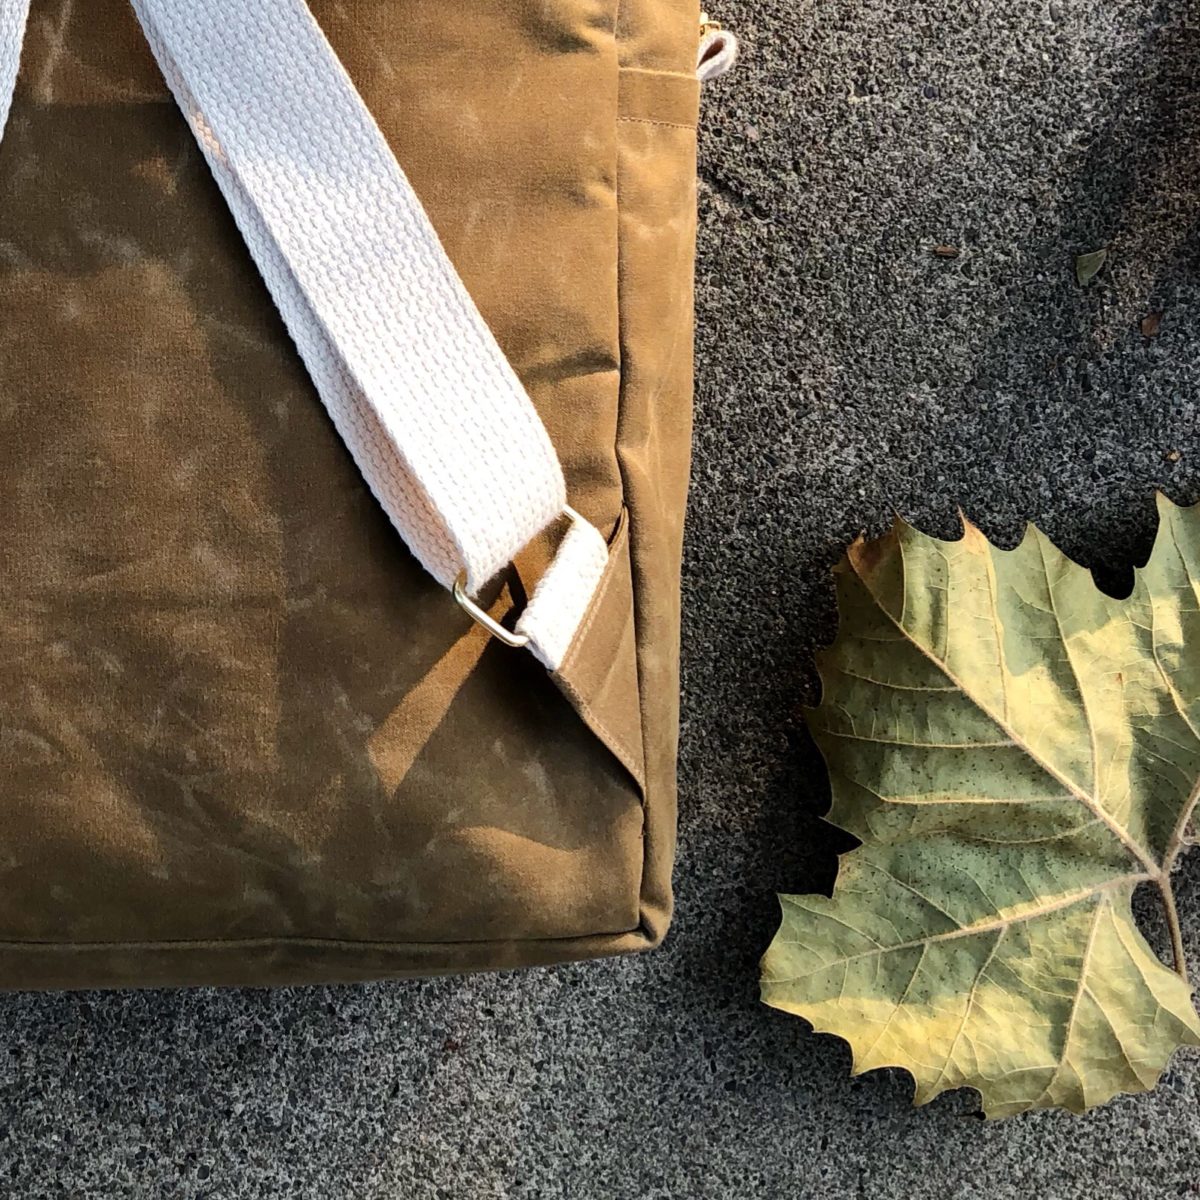
One tip I have for working with waxed canvas is hitting it with a hot blow dryer. It melts the wax and helps get rid of the creases you make during construction.
I’ve already ordered another Finishing Kit from Klum House – the Maywood Totepack and I’m patiently waiting for the Slabtown Rolltop Backpack pattern to be released. Yes, both would be for me… like I said, I just love a good bag pattern.