

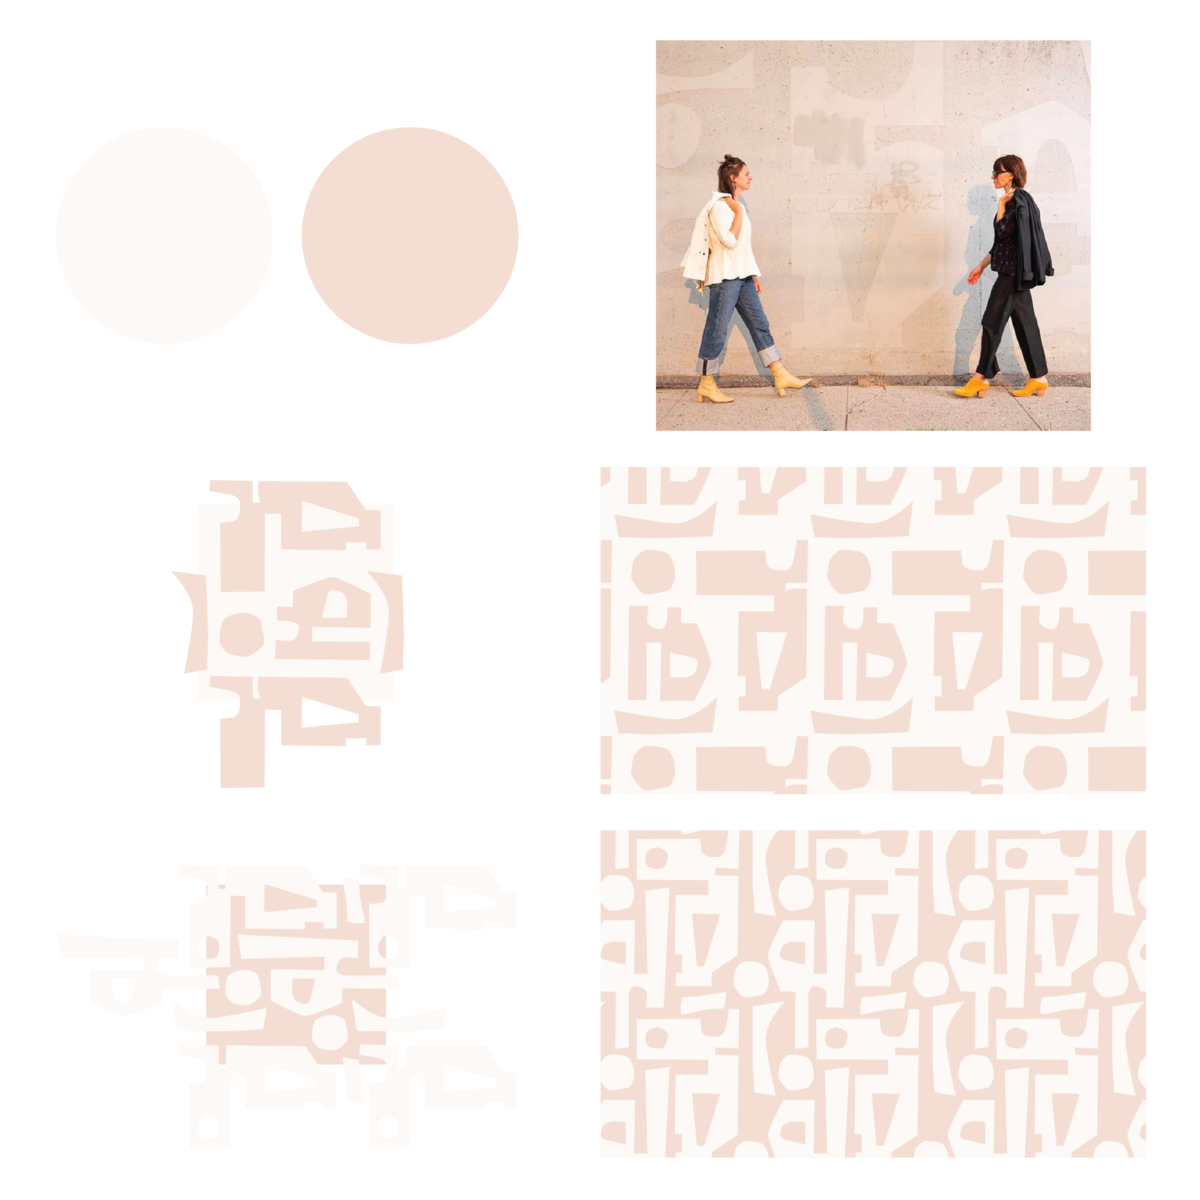
Learned how to create some shapes this week.
Learned how to create some shapes this week.
When I was first learning to sew, I painstakingly made one thing at a time, from start to finish. . . very, very slowly. My skills and brain just couldn’t handle juggling more than one project. I had a big fear of making mistakes, or ruining my sewing machine (?), or I assumed I didn’t understand the instructions. Little by little, I started to realize that things didn’t need to be cut out perfectly, seam rippers are there for a reason, and that instructions don’t disappear if you start a different project.
It appears that increased confidence sometimes comes with haphazard making. There are THREE (it’s actually more) WIPs / UFOs that I’ve been bouncing between for months. I kind of miss the extreme focus I used to dedicate to each project when I first started. So I’m doing a WIP Check and declaring a moratorium on starting anything new until these four are finished!
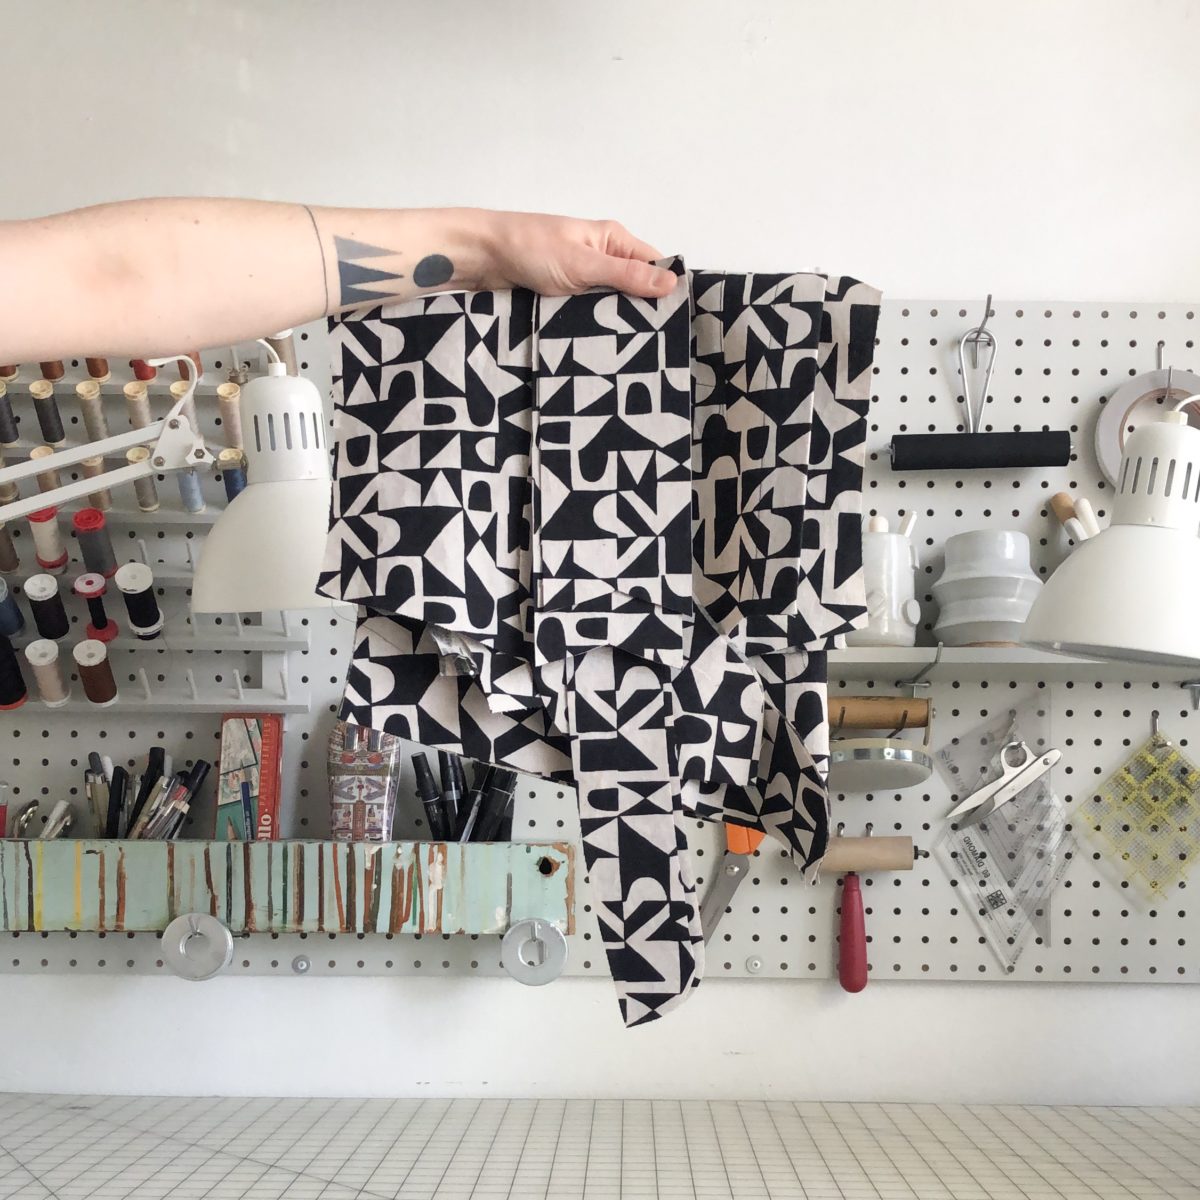
I planned this shirt in March of 2018, cut it out in May, actually started sewing it in June, and. . . haven’t touched it since. It needs one side of the button placket, the sides, cuffs, and collar.
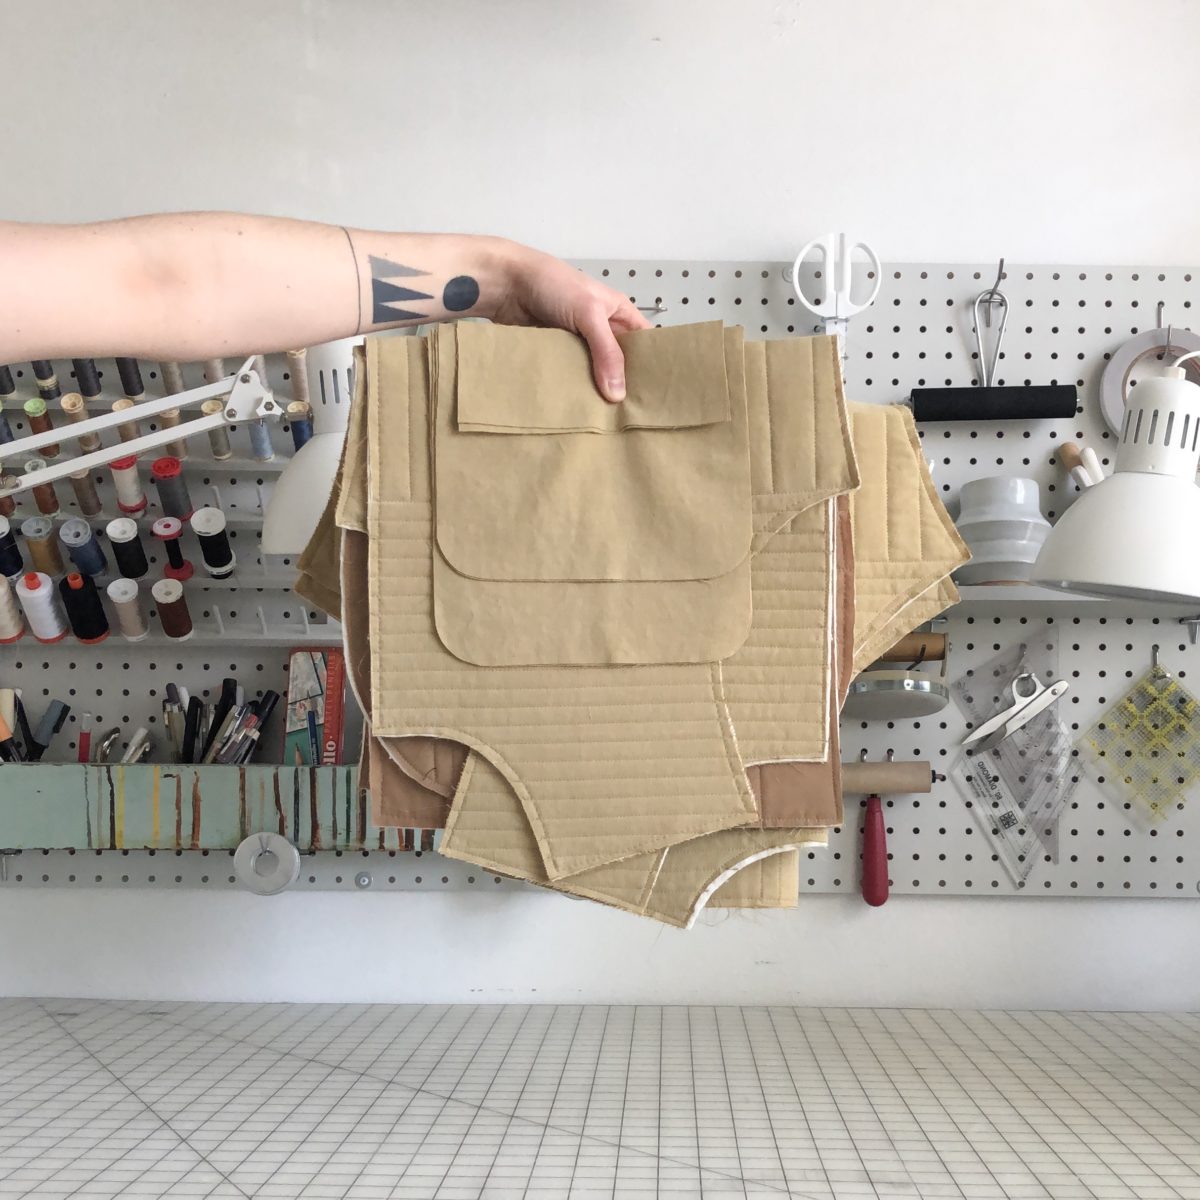
I don’t even know when the plan for this happened, but it was a LONG, LONG time ago. I cut it out on September 3rd and finished quilting it on October 14th, 2018. I installed one welt pocket over the weekend and plan to finish this WIP first since it’s still chilly jacket weather!
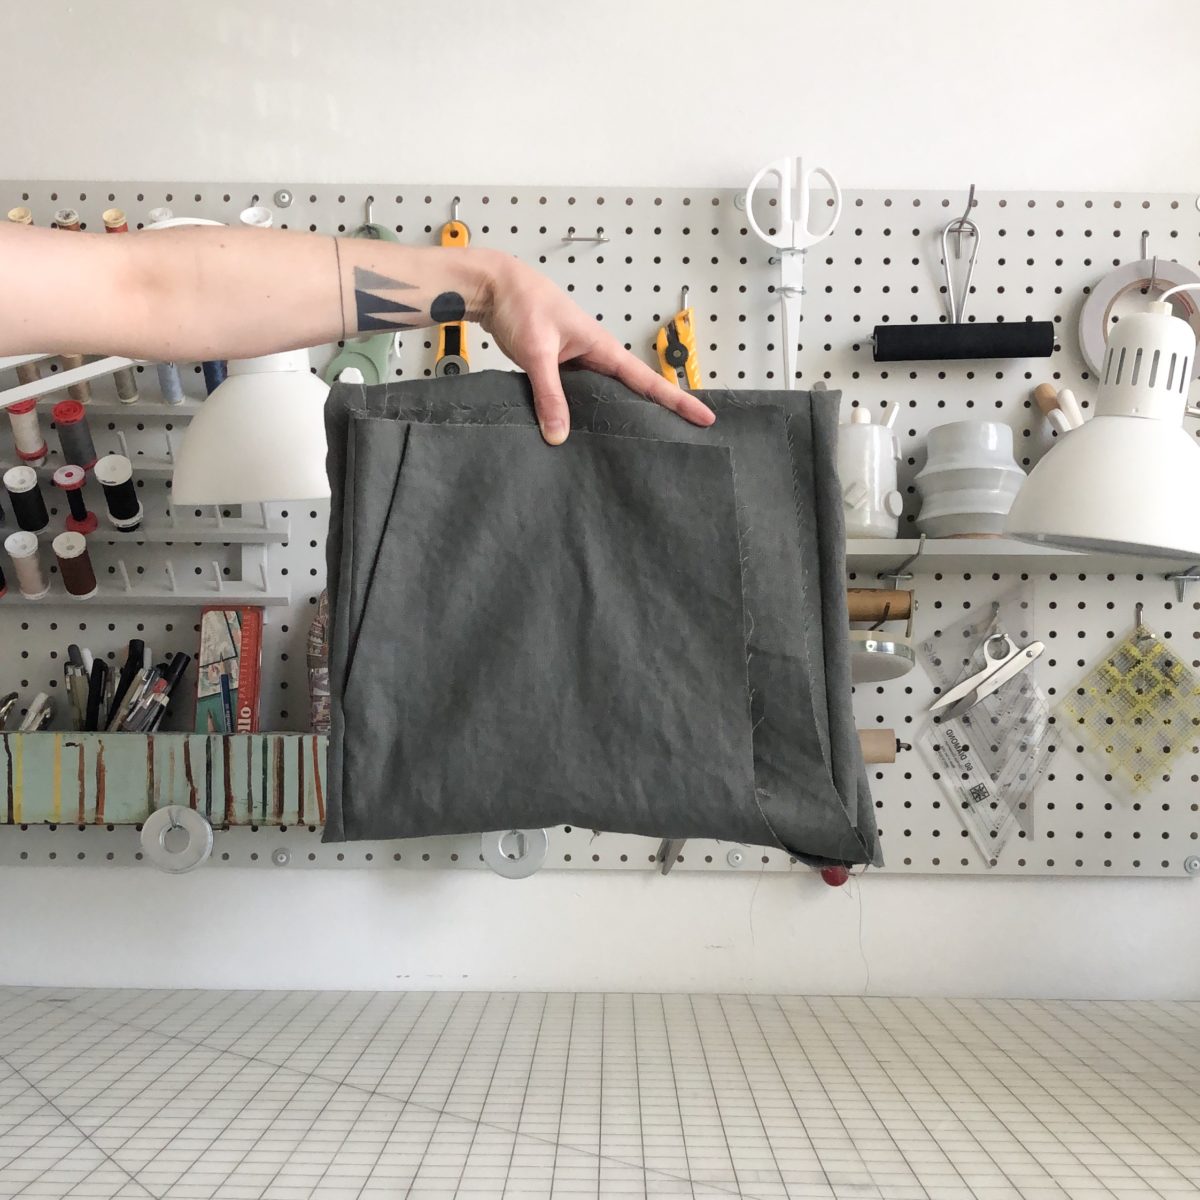
I’m not sure this hack is going to work out, but I’m going to push through because I used really nice fabric. Just need to sew up one leg, the crotch, waistband, and hem.
Are you a one project at a time sewist, or do you juggle?
Hi 2019! You’re the year I’m going to figure out Adobe Illustrator! There are two main reasons for this goal: The first is I need to diversify my skills for that impending career change and the second is that I want to design and potentially even produce my own line of fabrics.
As the child of two graphic designers, I really missed an opportunity to learn this software well before my 30s. But, that type of thinking won’t help me now, so while I was home for the holidays, I sat down with my mom for several in-person tutorials.
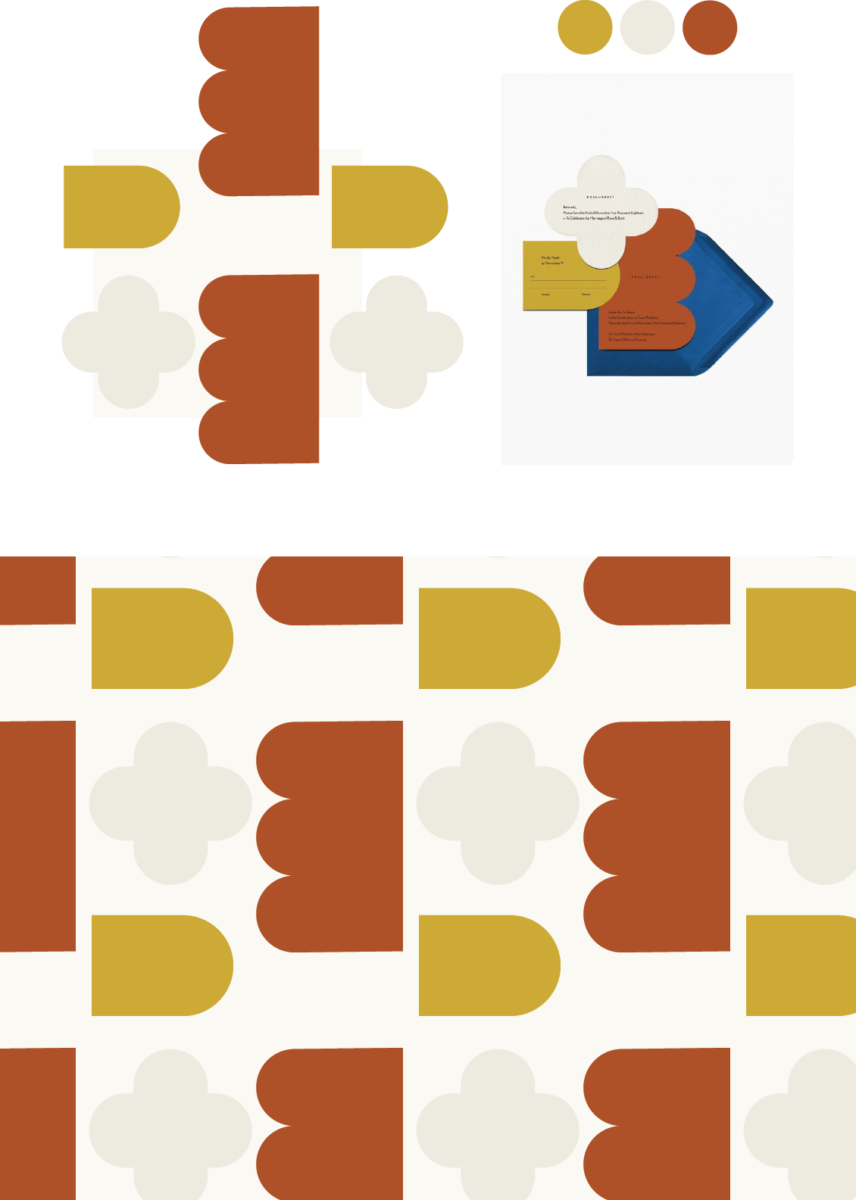
It is a powerful and imperfect software. Aside from there being a million different ways to do one thing, it has some annoying glitches. It was actually a little comforting to see my mom, a person who has used the creative suite for many years, occasionally struggle to make a thing happen on our computer screens. But, with just a few curse words and a lot of ⌘z’s, I was able to get the basics down for creating repeat patterns!
In the name of learning, I’m going to challenge myself to create one repeat pattern a week for 10 weeks and share them here on the blog. I’m having a Repeat Pattern Party! Will those 10 repeats lead to a fabric collection? Maybe. Hopefully. But honestly, this self-imposed challenge is going to be focused on learning to navigate the software with some ease.
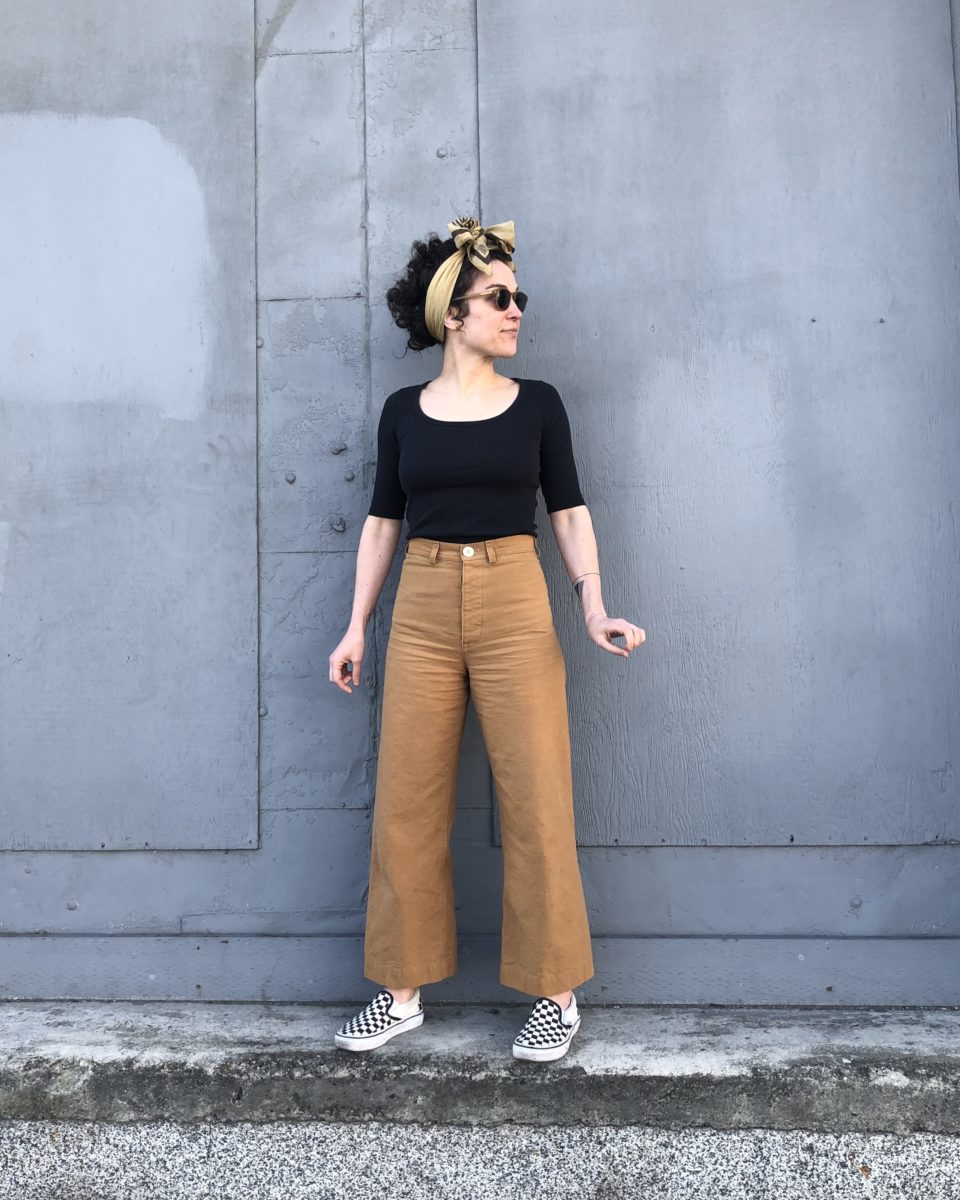
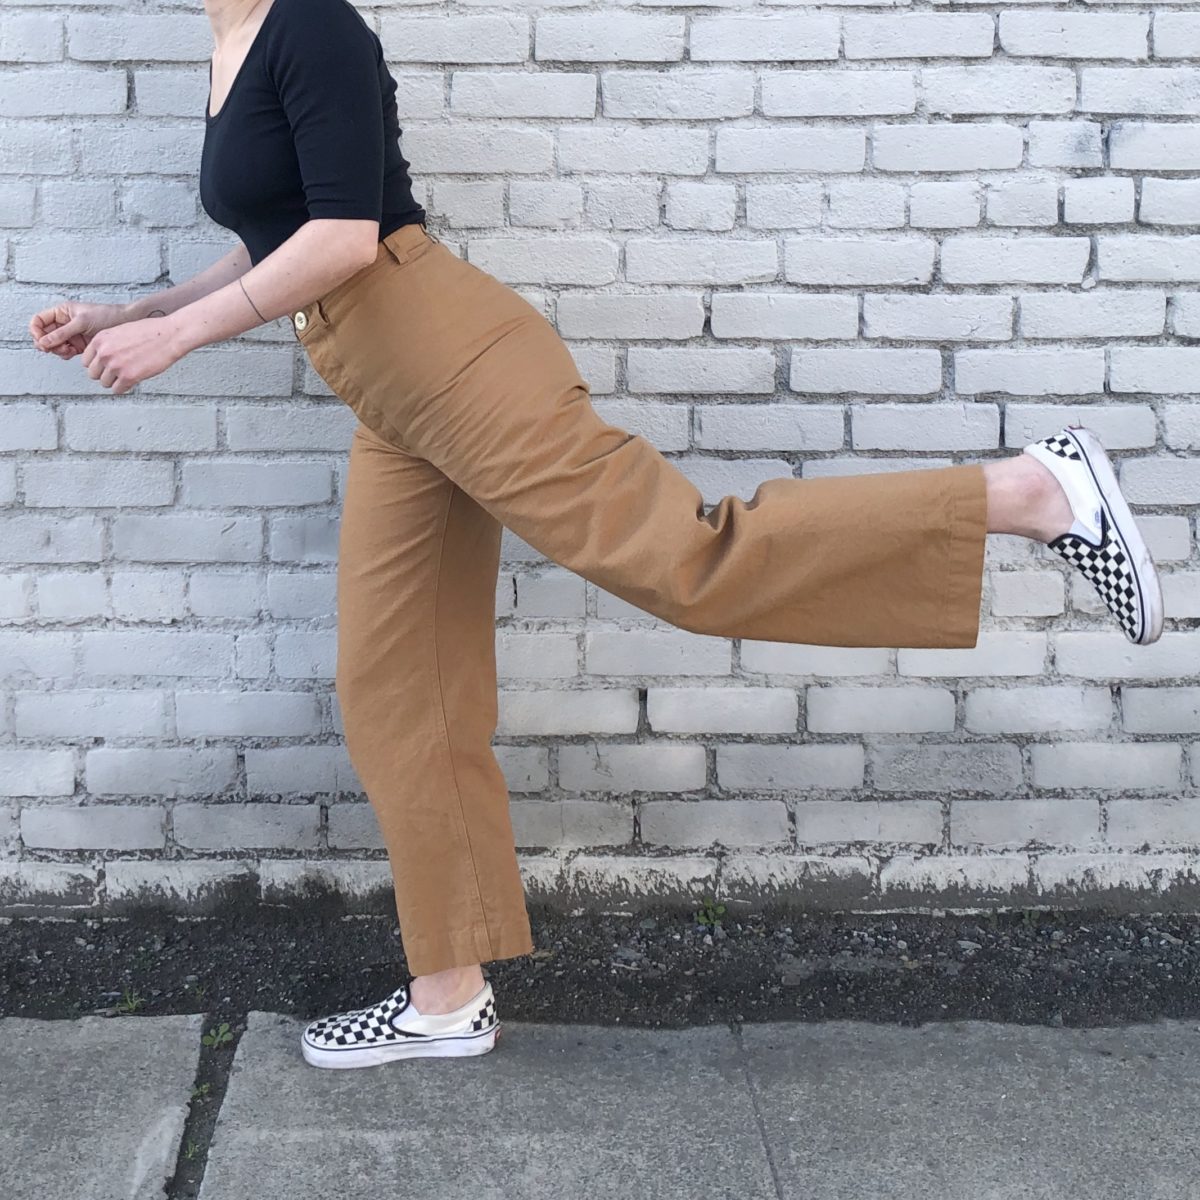
I’m late to the Persephone Pants party, but I’m glad I arrived. Anna drew inspiration from 1940’s sailor pants by including a super high waist, waistband inseam pockets, a button fly, and the design element that explodes most people’s heads: no side seams.
For me, one of the most appealing things about the pattern is how similar they are to highly coveted RTW sailor pants. Instead of paying $400, I could make a pair for under $40. Don’t get me wrong – I love supporting small women-run businesses and that $400 price point makes sense, but if the option to make it myself is there, I’ll take it! Also, the instructions are so stellar I’m certain a novice sewist could make them!
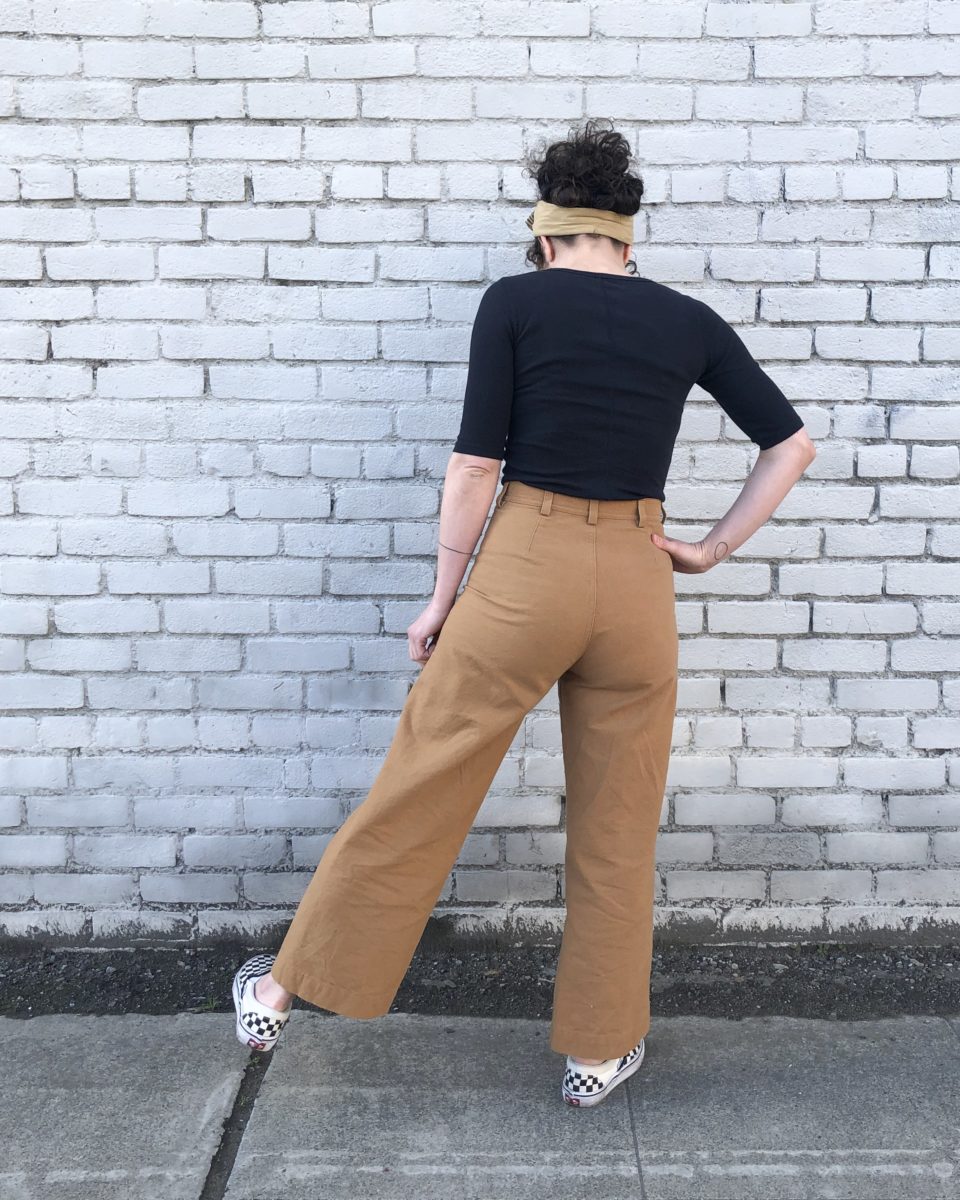
Shortly after the pattern was released, I did give it a go, but they just didn’t work out. My waist measurement ranges from 26.5″ to 27.5″ and my hip measurement ranges from 37″ to 38″. Even though that put me somewhere between a size 2-ish to a 6, I settled on cutting out a size 4 (waist 27″, hip 37″). They came together really quickly, but once I put them on, I had a bad case of dumpy butt. They were just too big.
I wasn’t entirely sure what the issue was; Was it fit? Fabric choice? Both? Was it an actual dumpy butt? I suspected the cheap bull denim I bought at Joann Fabrics may have grown, but in an effort to salvage them I tried taking in the back seam and crotch. Those efforts proved unsuccessful and I ended up setting the mutilated pants and pattern aside for a while.
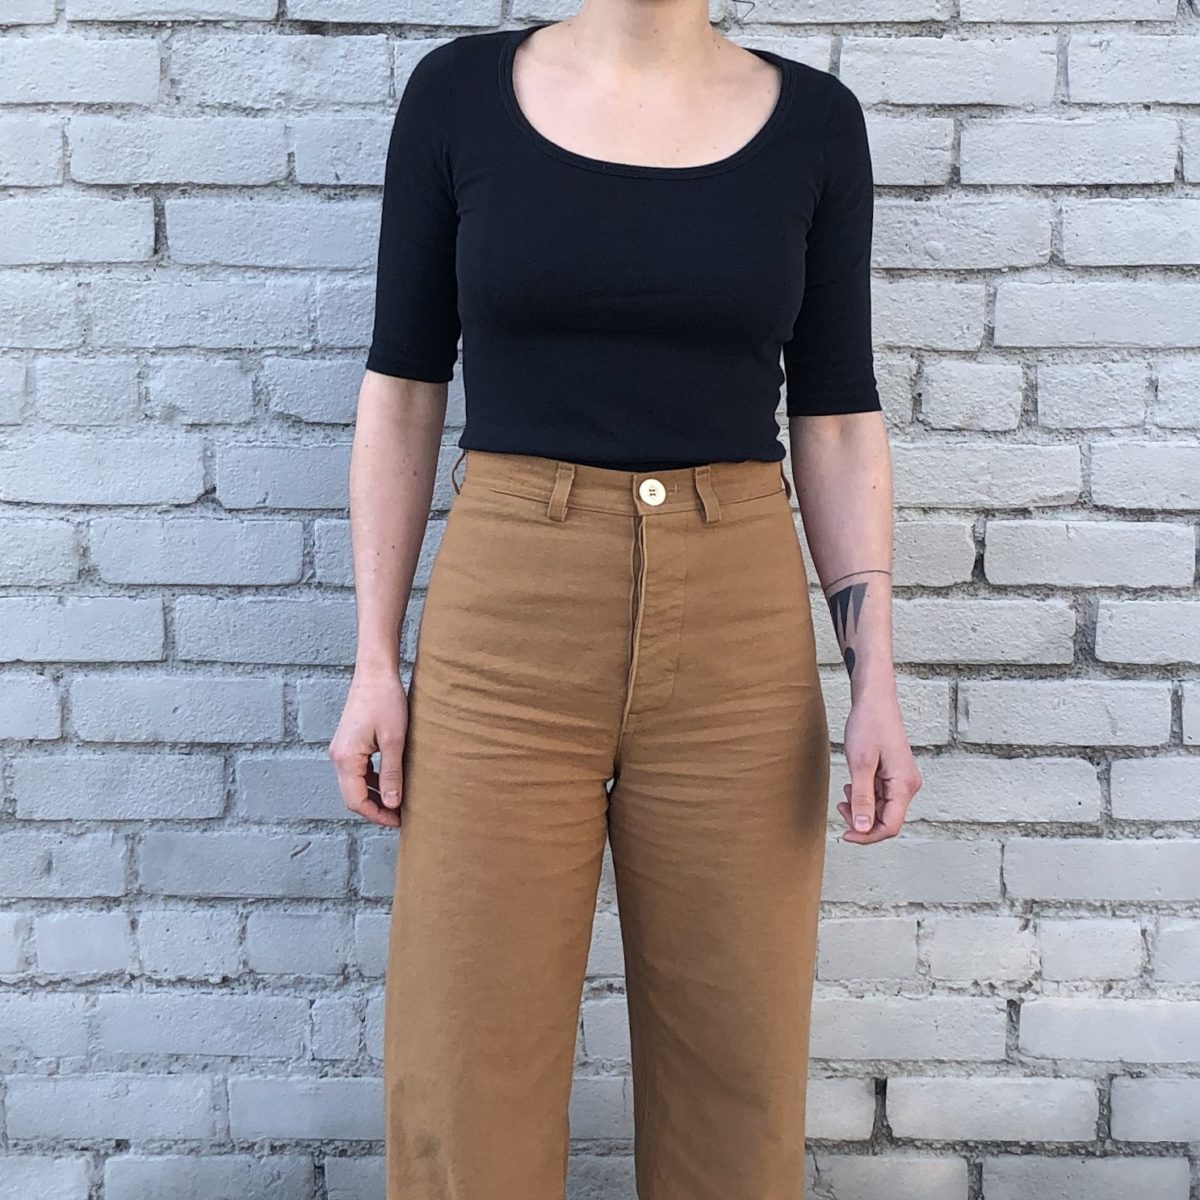
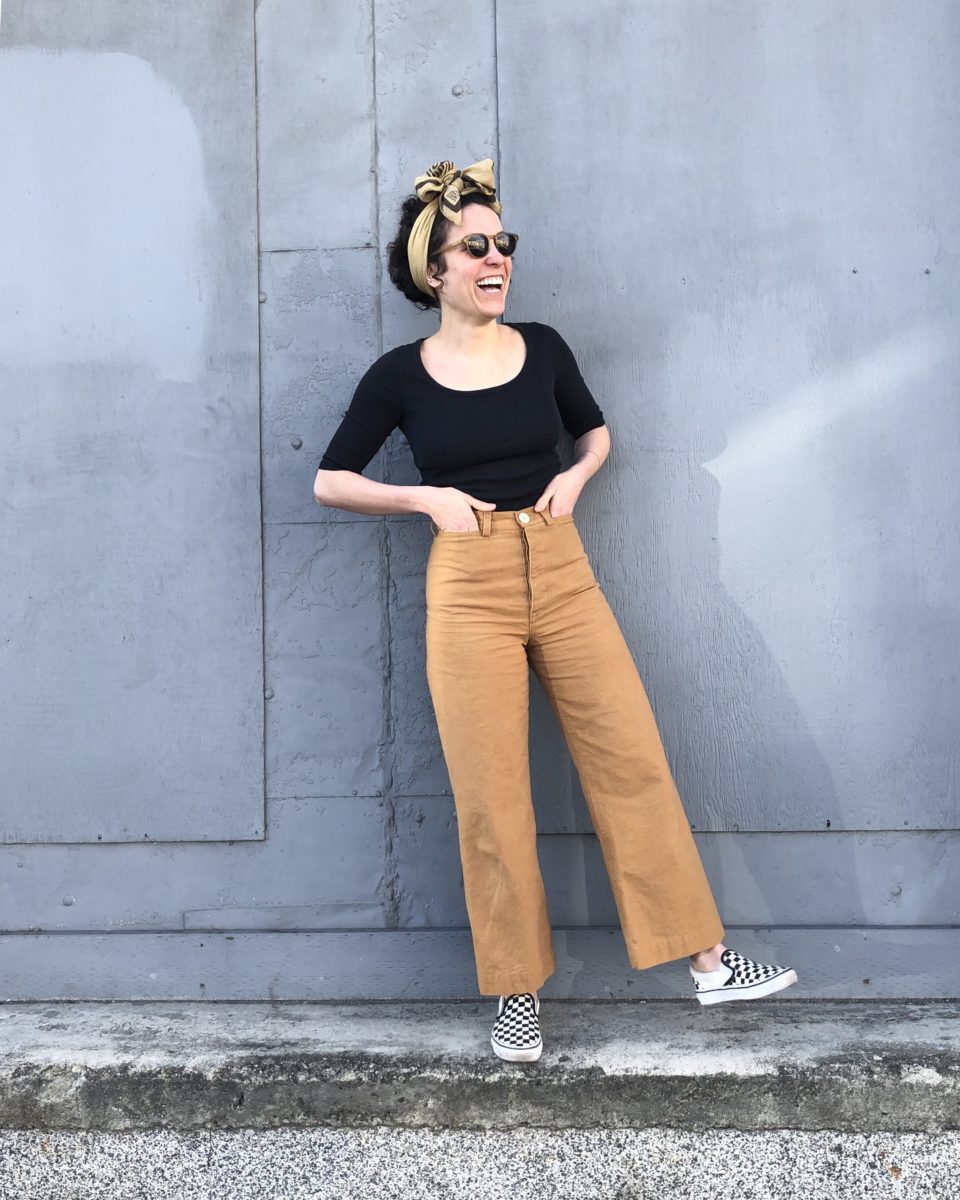
After reading a couple folks had some luck with sizing down, I chopped my pattern pieces down to a size 2 and cut into some 10oz Duck Canvas hoping for the best. And it worked! I didn’t need to make any adjustments after sizing down.
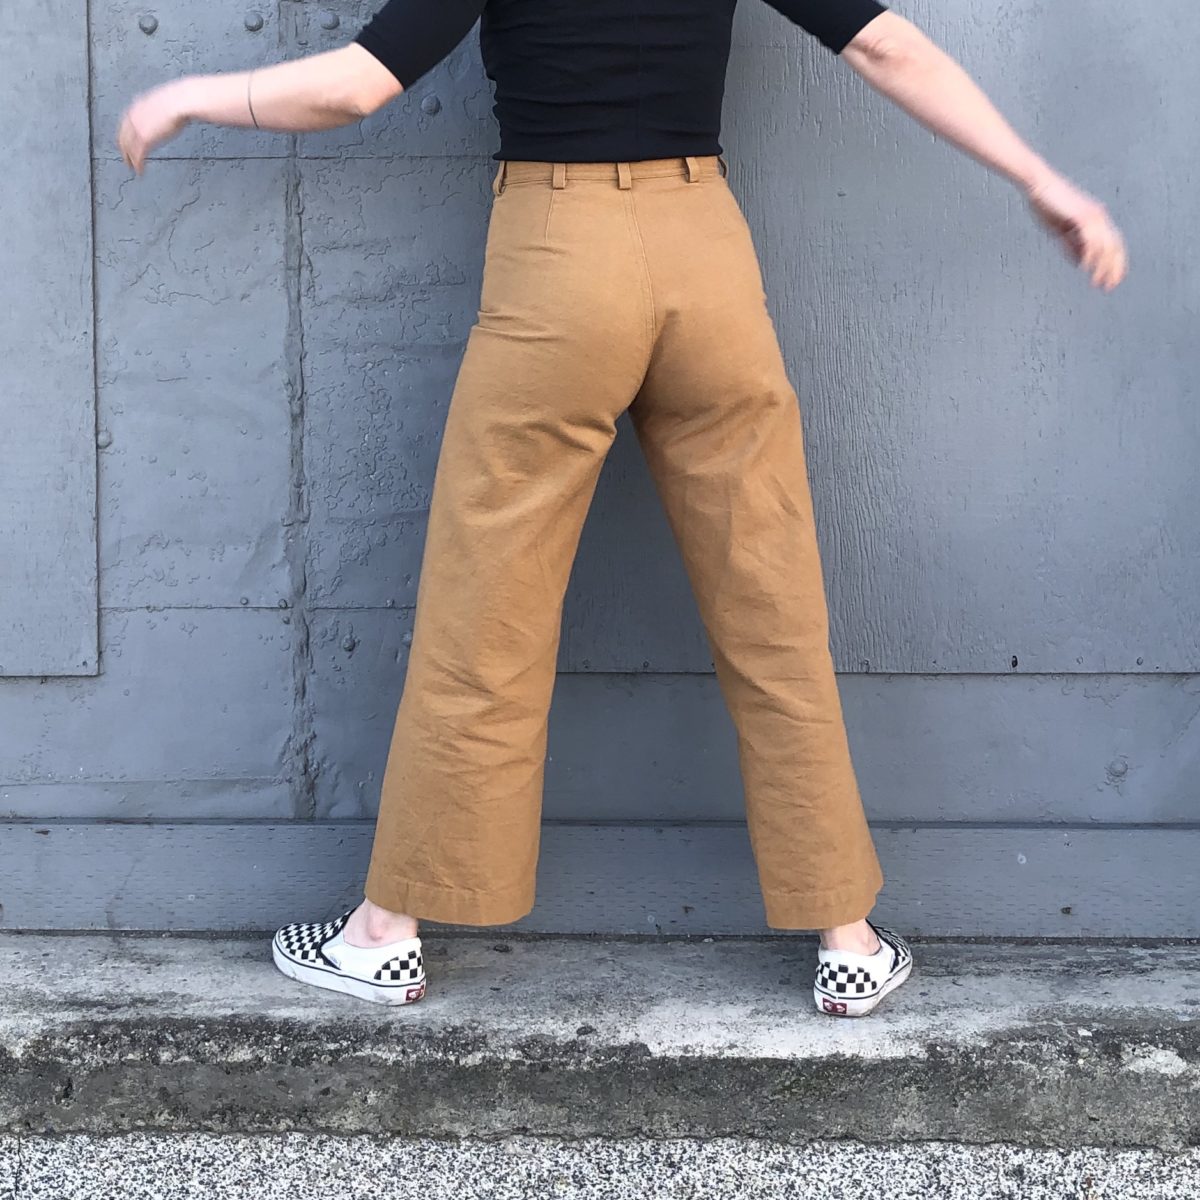
Although I have a lot of love for this pattern, the lack of side seams and rear pockets leave your booty and thighs on display. What the hell type of underwear do you wear with these? Or do you just not give a damn?
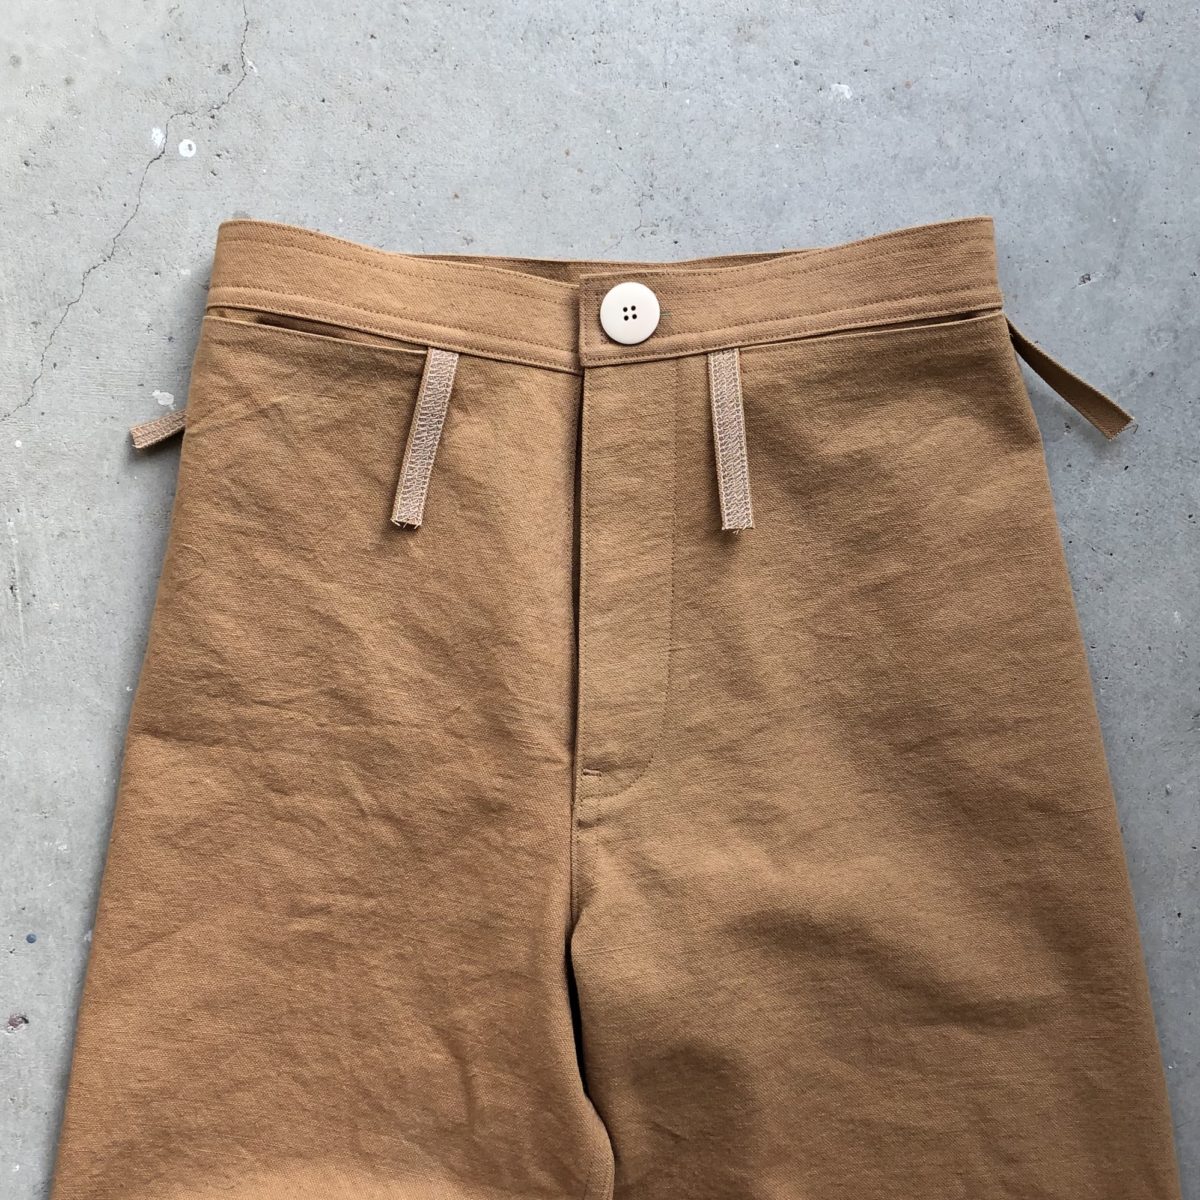
I have fabric set aside for two more pairs – more 10oz cotton duck, but in black and some Kaufman speckled denim that I’m really excited about. I thought I’d hate the button fly, but I’m warming up to it and will probably keep it on future pairs. It appears I adjusted the position of the left pocket in the wrong direction (step 30), so I’ll be careful not to do that again ¯\_(ツ)_/¯.
Hot tip: sew a line of stitching in between each buttonhole to connect the button fly and facing together (check out this Tessuti blog post for a visual). It definitely helps keep the fly from peeking open!