As I’ve mentioned before, I freaking love sewing bags. They are super satisfying to make and when I tell folks I’ve made the bag they’re admiring it feels SO GOOD. Really though, if you haven’t tried making a bag yet, you should!
My favorite bag patterns are from Noodlehead, Klum House, Purl Soho, and now Sarah Kirsten.
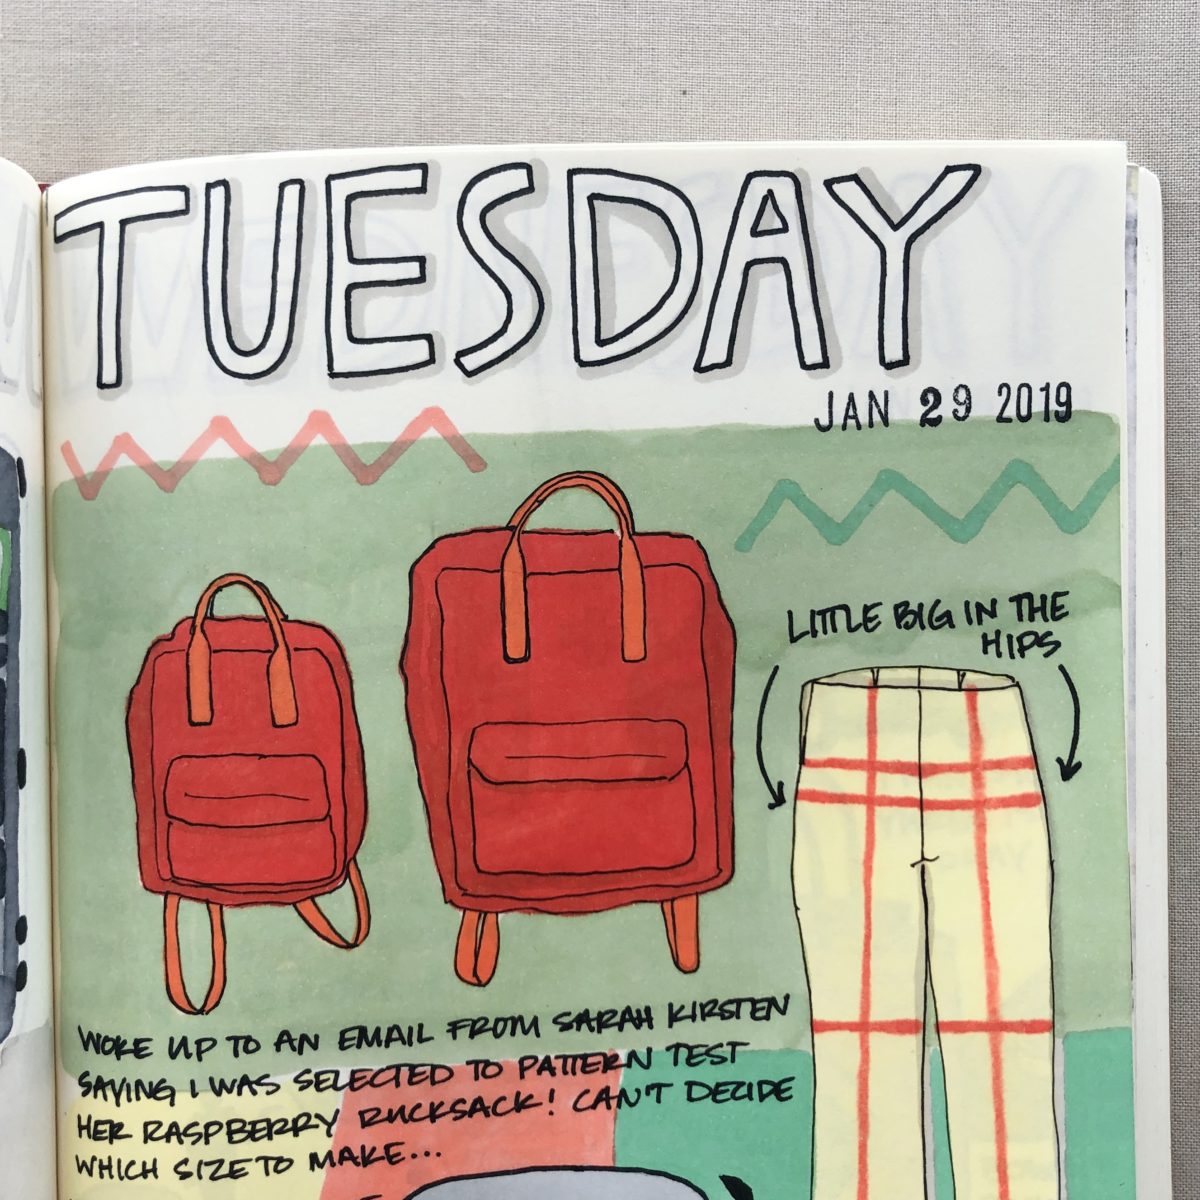
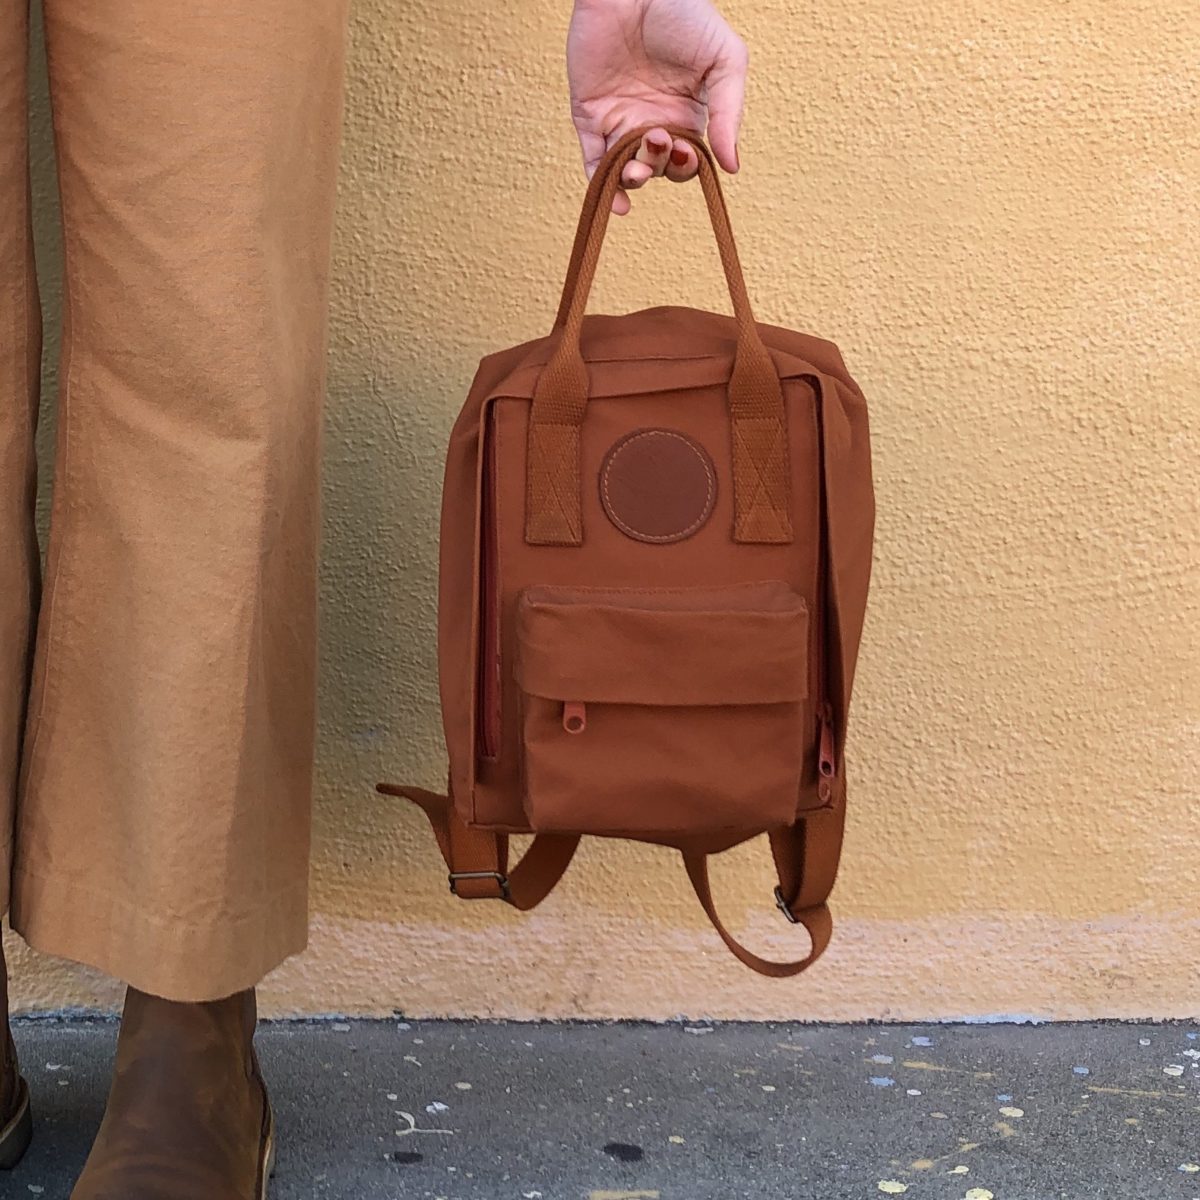
In late January when Sarah Kirsten put out a call for testers for her new pattern, the Raspberry Rucksack, I filled out the survey as fast as humanly possible. The pictures she posted looked similar to the iconic 1970’s Fjällräven Kånken that I’ve secretly lusted after for years and was super excited to find a sewing pattern to meet that want. The Raspberry Rucksack is fully lined (unlike the Kånken), comes in two sizes, is completely customizable, and best of all – is sewn by you (or a really dedicated loved one)!
I think one of the best things about sewing is that you can take RTW things that might otherwise not fit your body or fully suit your aesthetic and customize them to your liking. For me, it’s far more appealing to make the things I wear and use rather than buying them.

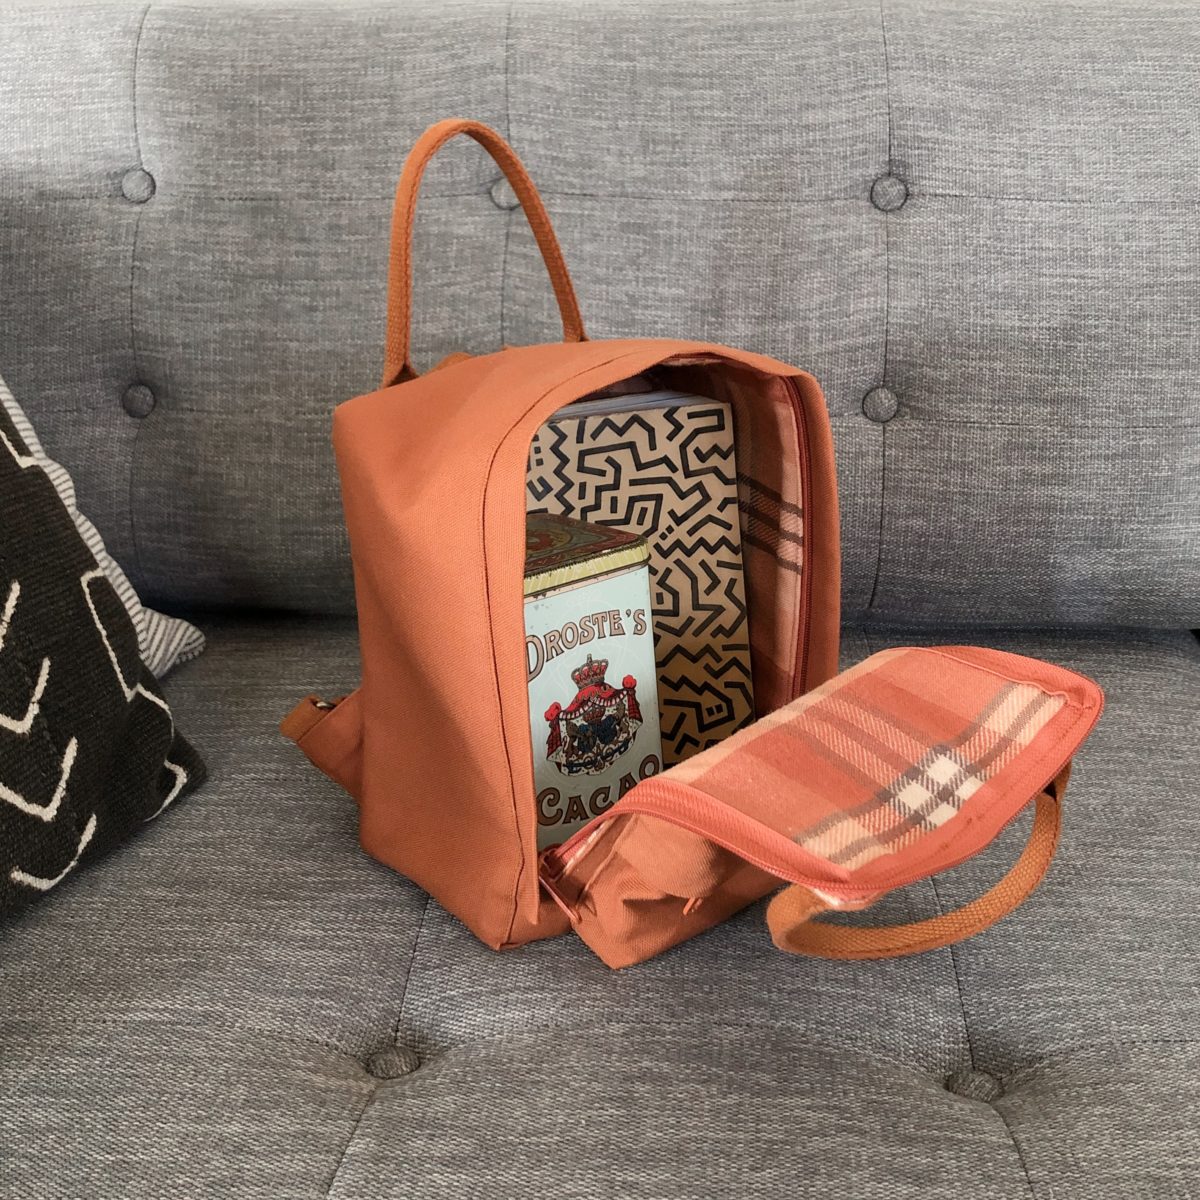
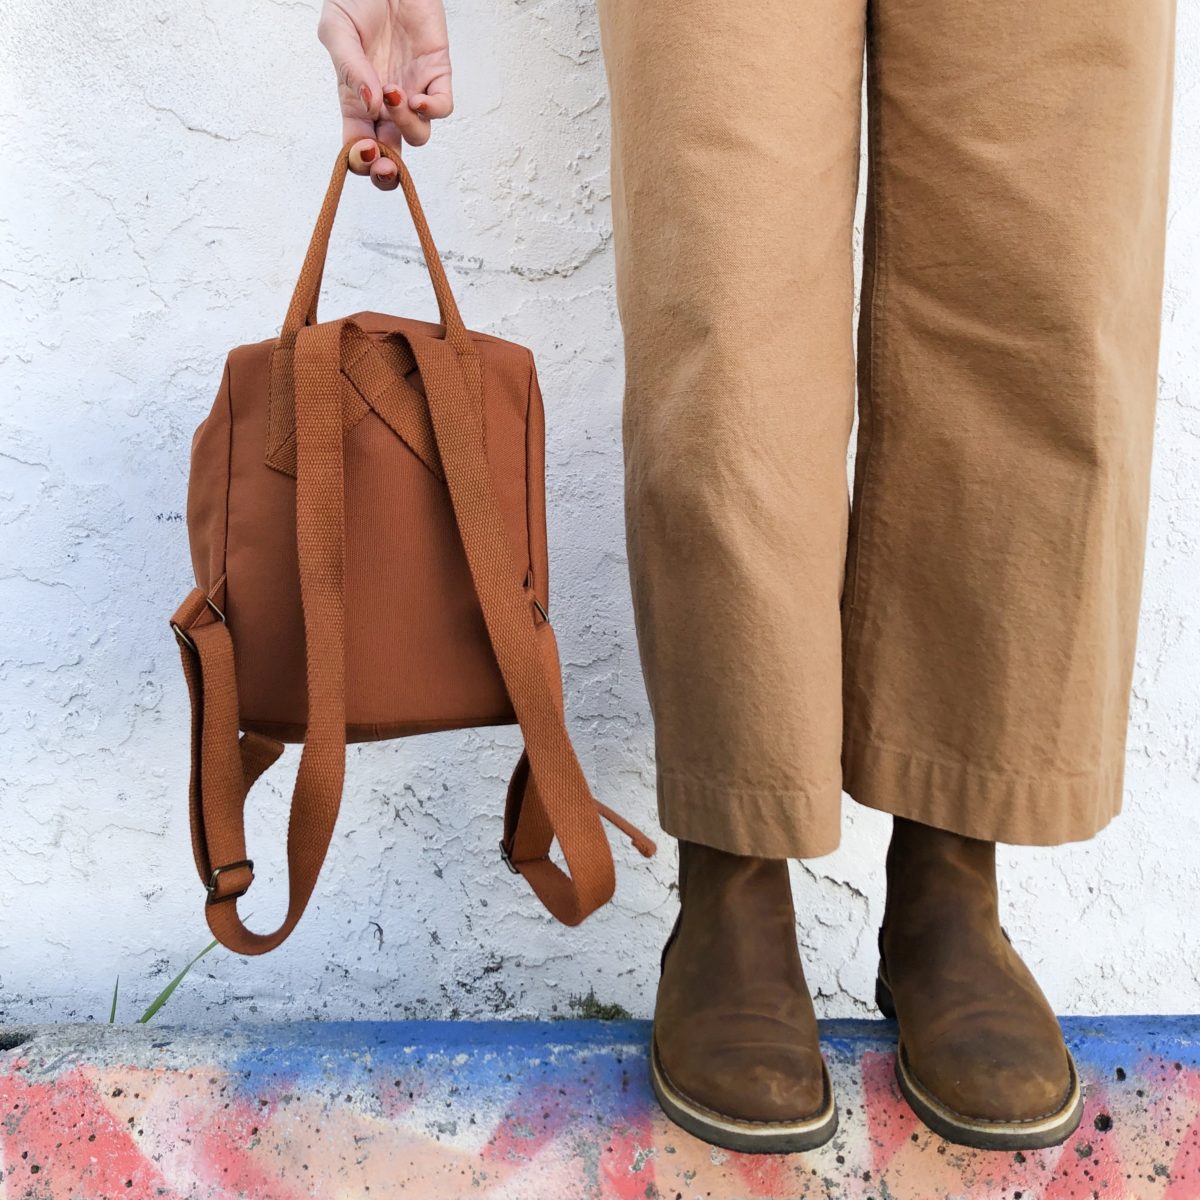
I was so delighted to be chosen to test the pattern and immediately started planning. I chose the Little Mini size since I have enough big backpacks and I thought the Little would be perfect for toting around my logbook and art supplies, or as a purse.
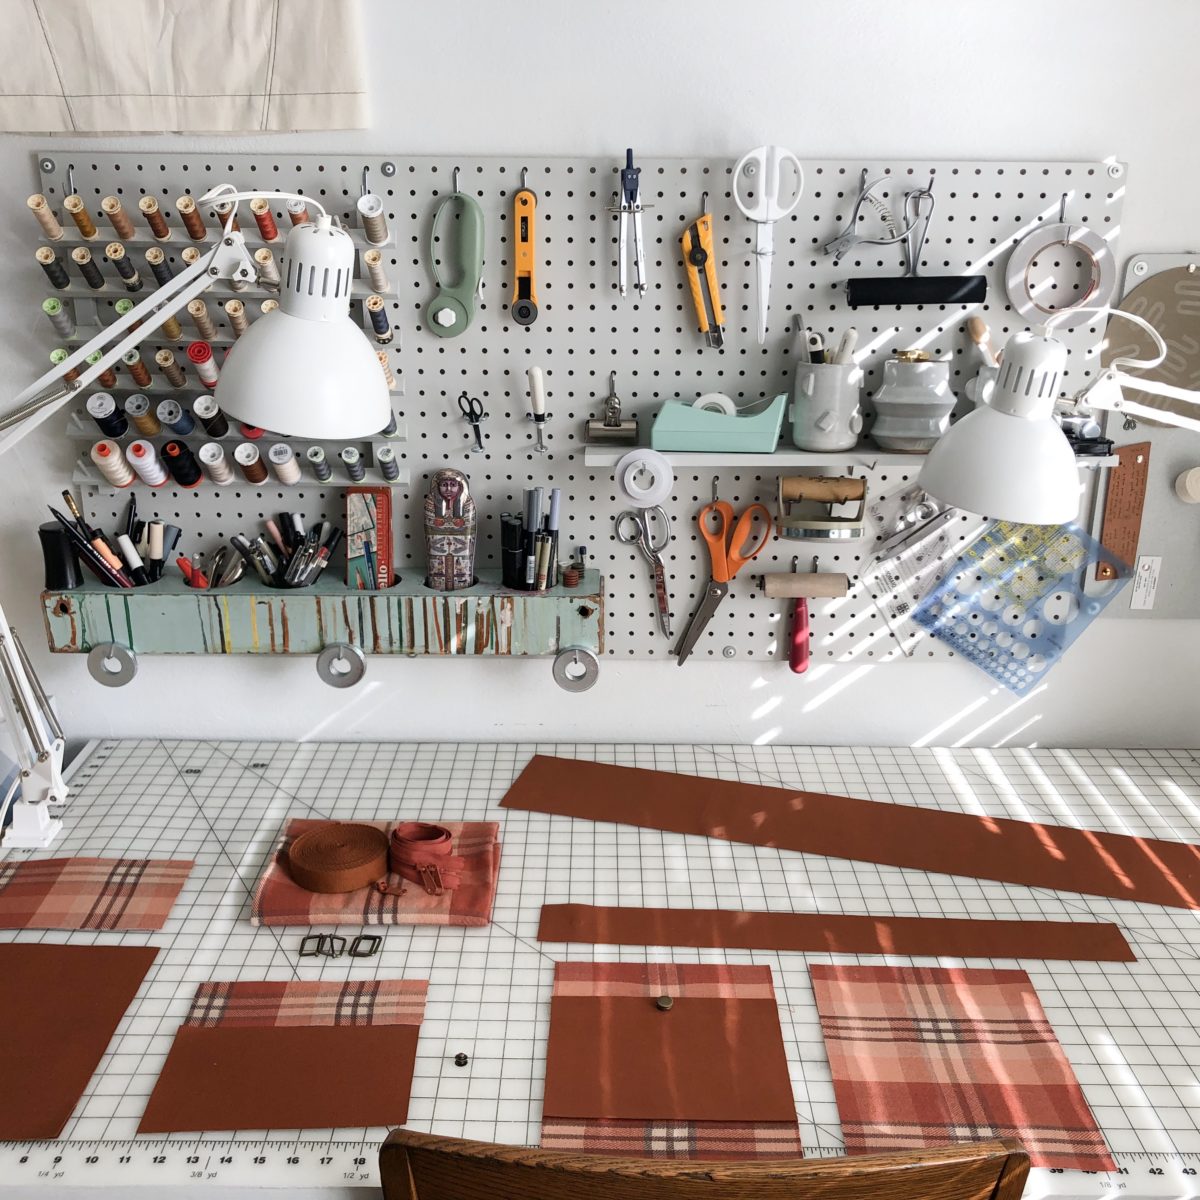
The pattern calls for heavyweight canvas for the exterior and quilting cotton for the lining. I’m really having a moment with rusty reds and oranges and quickly settled on this Big Sur Canvas from Stonemountain. I wanted the zippers to match the exterior fabric and after a little internet searching, bought one 30″ double-slide zipper (color Redwood) and one individual zipper pull from Zippers By Annie. They offer a wide variety of colors and stated the zippers could easily be cut and another pull installed on the remaining length. I really like when the hardware on a project matches!
I was planning to use leftover fabric from my Making Backpack for the lining, but then found a plaid tablecloth at a thrift store – it was a perfect color match!
I also bought webbing, rectangle rings, and slide adjusters from Stonemountain. I was ready to start sewing, but after placing the golden yellow webbing on the Canyon Brown canvas it was clear I needed to adjust my plans. I did not like the contrast and decided to dye the webbing since a match couldn’t be found in stores (I searched EVERYWHERE). Dying proved to be a little challenging, but after de-tangling the webbing from the washing machine agitator (don’t dye webbing in the washing machine!), washing off some grease spots (seriously don’t do it!), and a second round of dye, I achieved the desired color. Totally worth it!
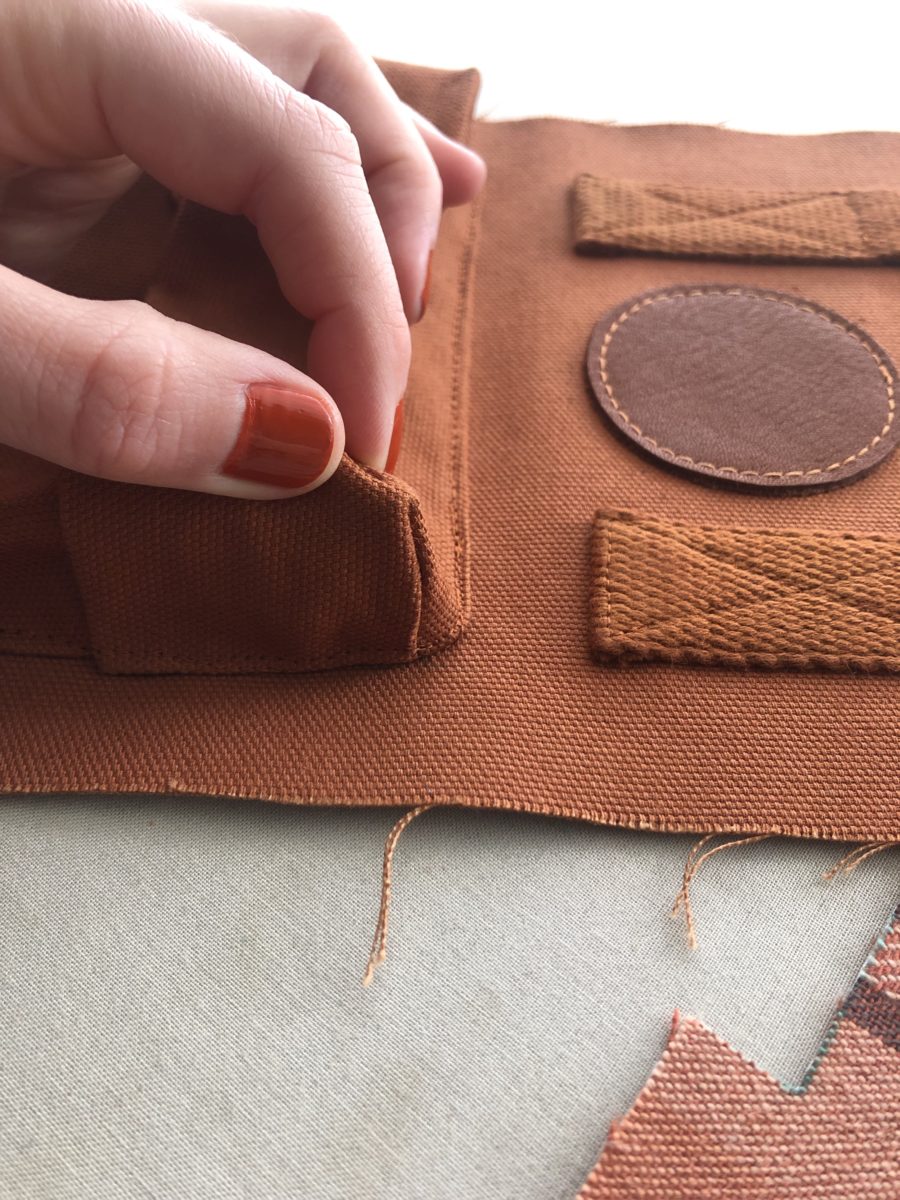
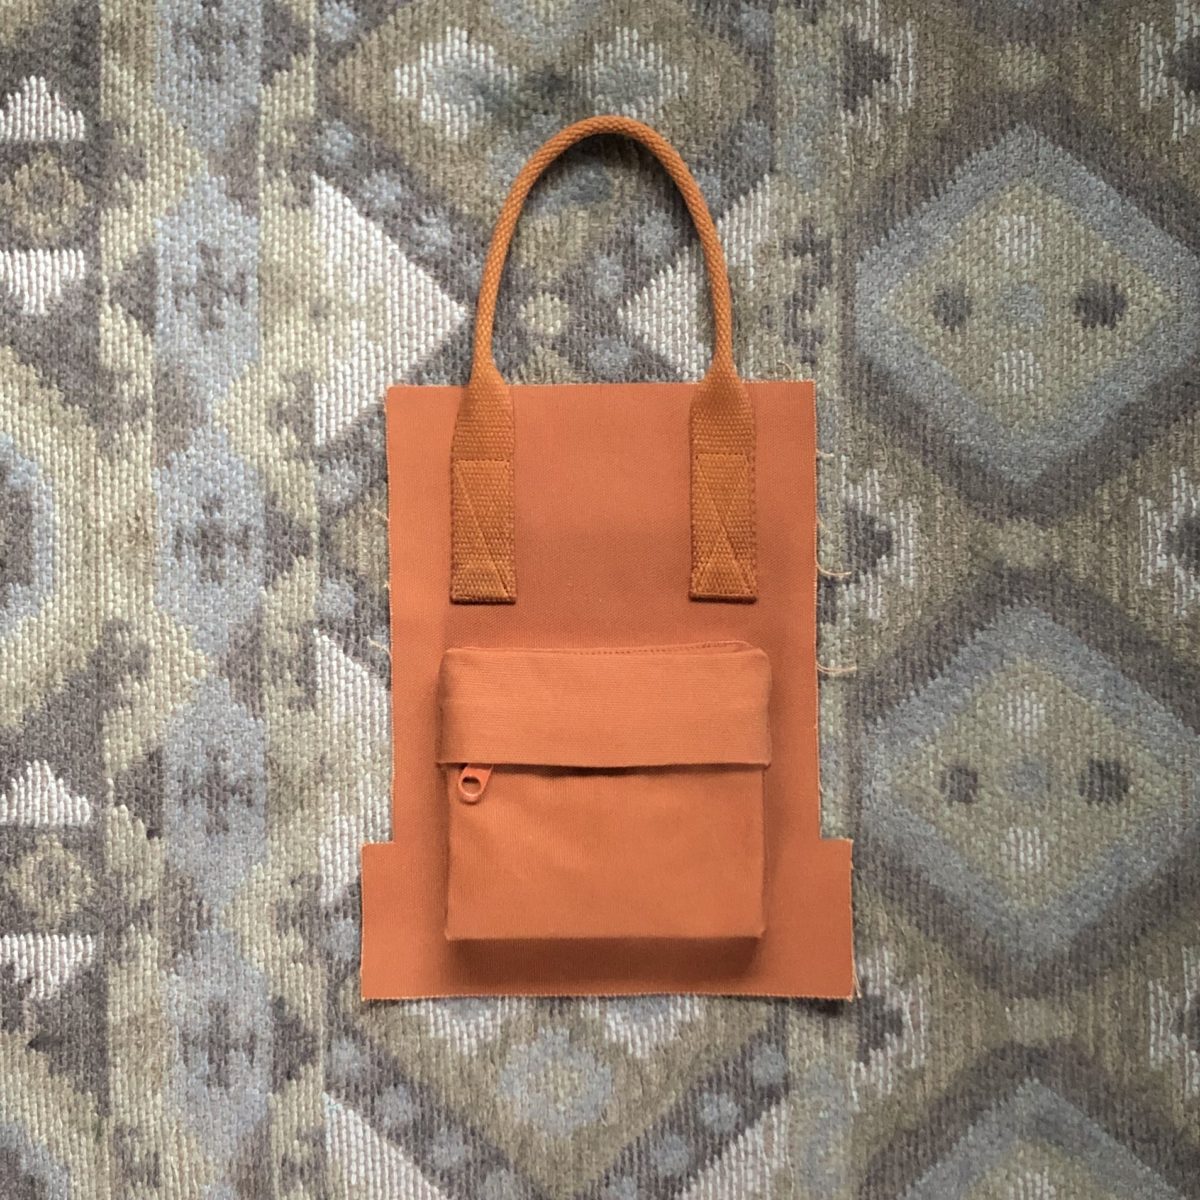
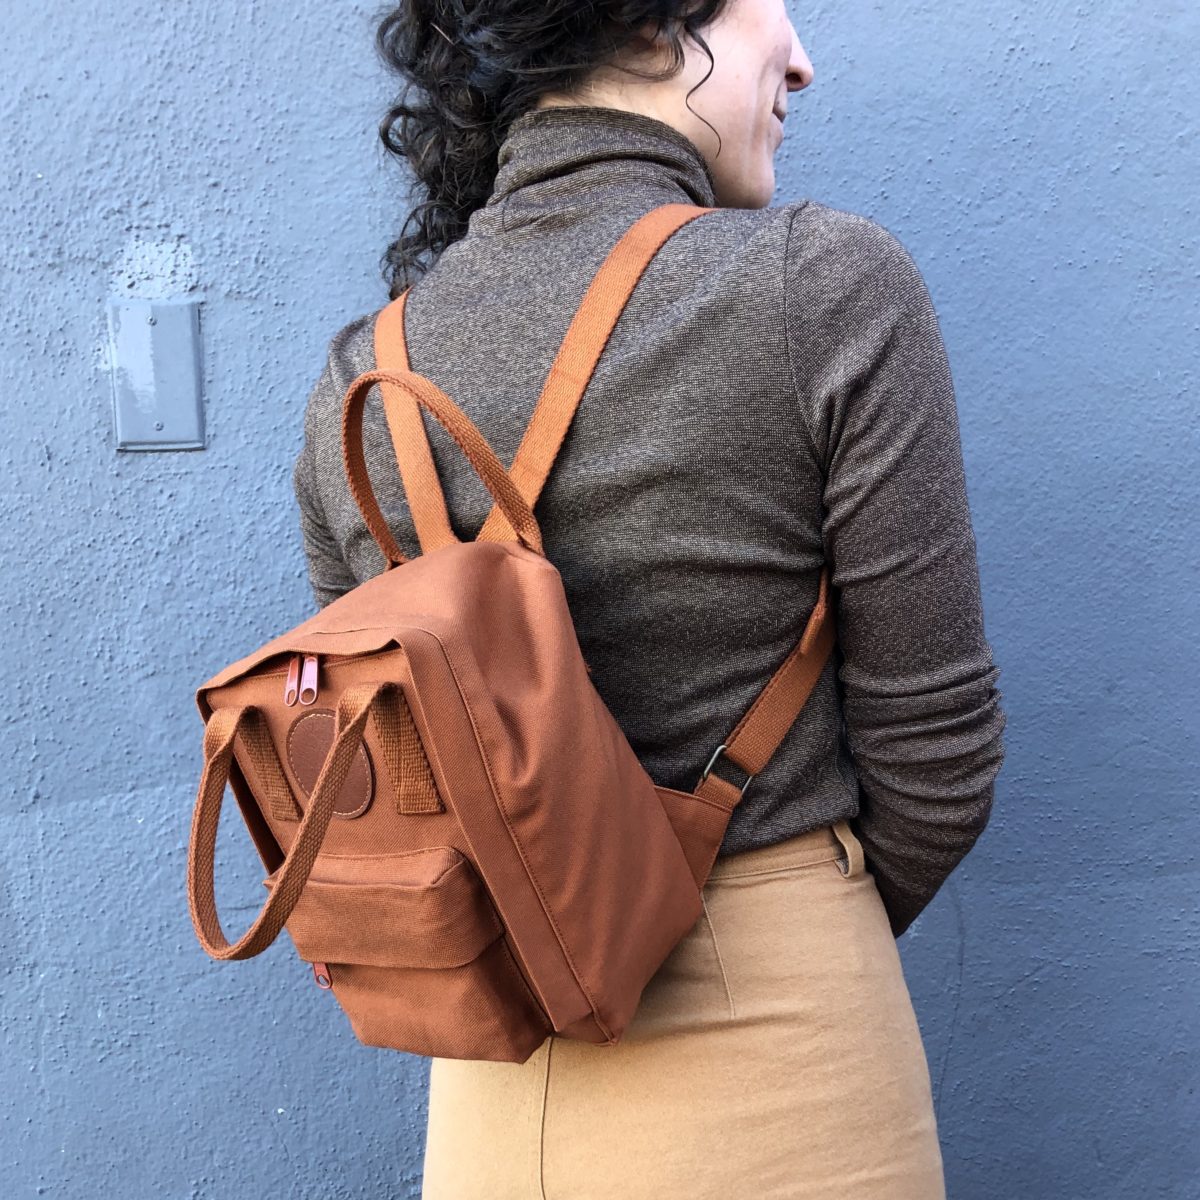
After sewing on the popup pocket and front handle, I thought I’d further mimic the Kånken by adding a circular patch. I dug into my scrap leather pile and found a really lovely piece, but because it was super thick, my cutting was a little too sloppy and I questioned whether my machine could handle it. I bought a thinner leather piece and set out to attach it. After doing a pretty terrible job of sewing the leather patch onto my Making Backpack, I decided this time to use topstitching thread, my Bernina #10 edgestitch foot, and a stitch length of 4.2. It turned out pretty perfect, but I wasn’t using a leather needle and my machine couldn’t handle backstitching, so I had to figure out a way to secure the stitches. I cut the threads long, and with a hand sewing needle brought the threads to the backside and tied them off there. I kind of wish I had used topstitching thread for the webbing too!
Attaching the popup pocket was definitely challenging. I found it next to impossible to pin it to the front piece and opted to hand baste it in place. For the webbing I used Wash Away Wonder Tape to stick everything in place, which I highly recommend! I hand basted the main compartment’s zipper in place too. If I made this again, I would definitely be more aggressive with rounding the top corners – mine are a little too subtle, which causes the zipper pulls to occasionally get stuck. It also meant I had to add folds in the zipper tape to make it go around the tiny curves.
I tend to fuse all of my interfacing before getting started and because the thrifted table cloth was a little wiggly, I opted to fuse all of the interfacing to the lining pieces. BUT because all of the handles and straps are sewn to the exterior, the interfacing is needed there! DUH! I ended up having double the interfacing the pattern called for (except for the center panel), but I do like the added structure. If I make this again, I will most likely double up the interfacing on all of the pieces, maybe even including the center panel.
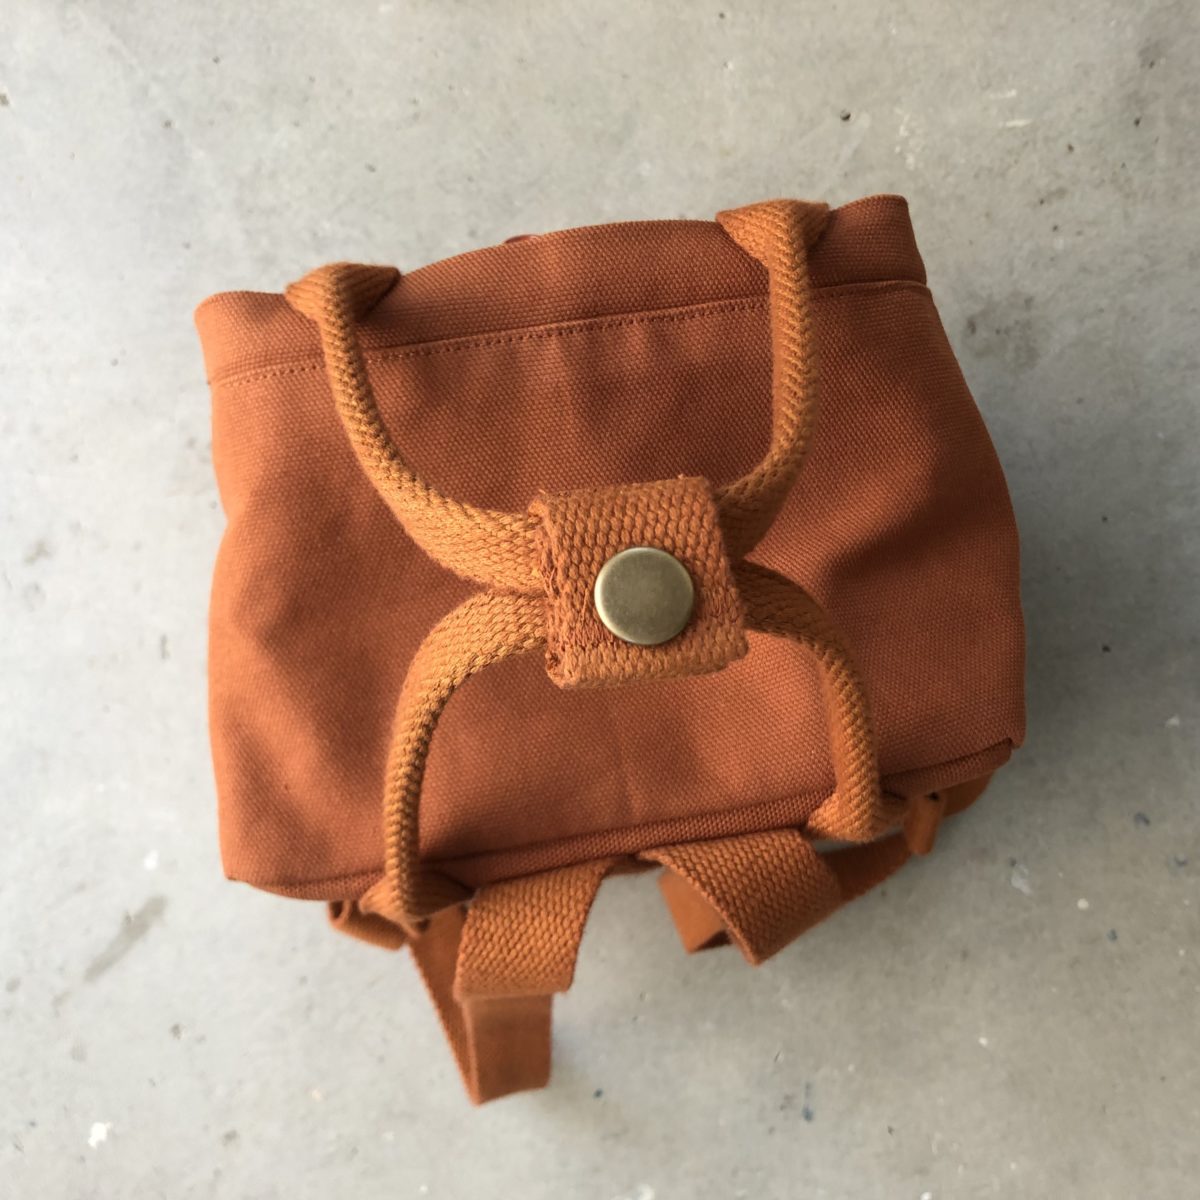
After finishing the straps I had a couple lengths of extra webbing and decided to make this snappy-do to hold the handles together. It feels a little out of proportion to the rest of the bag, but I like how it keeps the front strap up when I’m wearing the backpack.
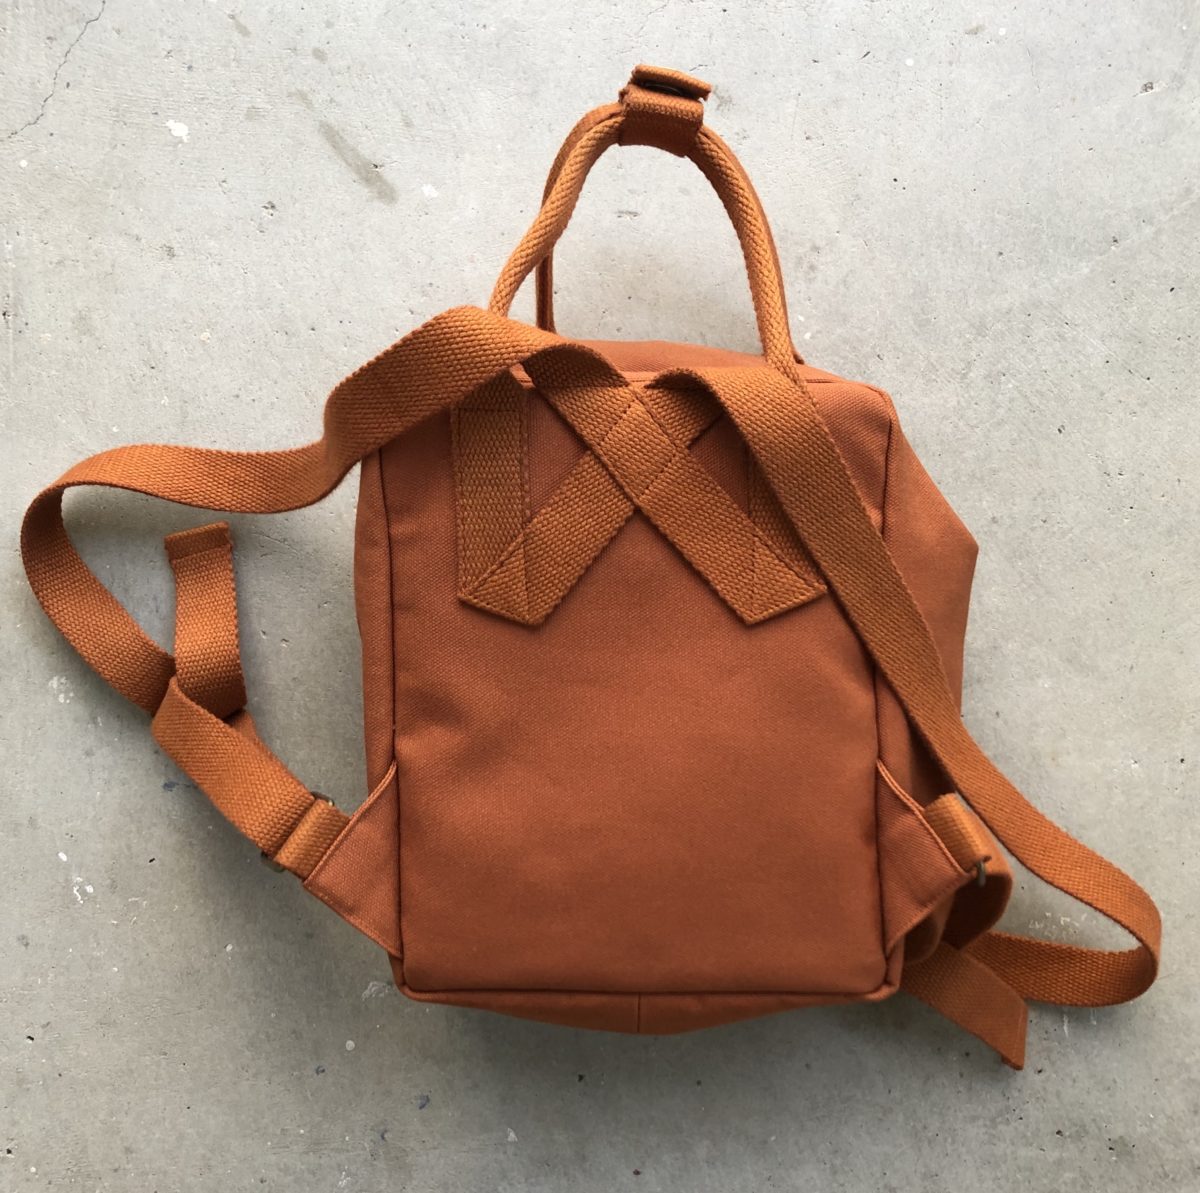
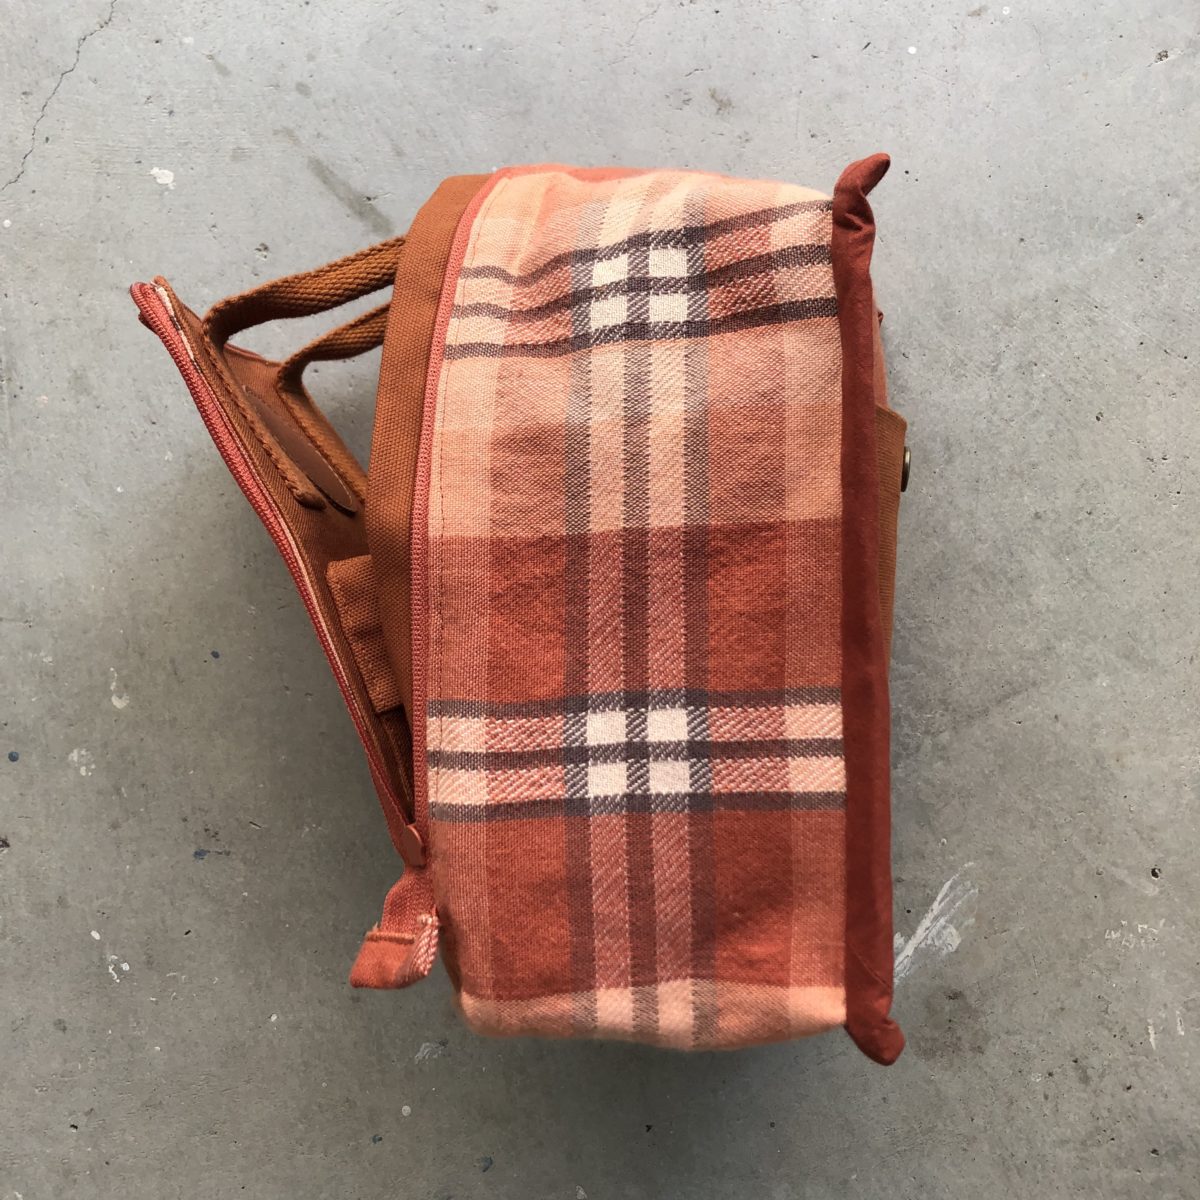
I went a little off script with the pattern and added the triangular side connectors using Noodlehead’s Range Backpack pattern pieces. The Rucksack pattern has the D rings attached at the bottom of the bag with a loop of webbing, which would probably work just fine, but I didn’t want to risk having to rip it all out like I did with my Making Backpack.

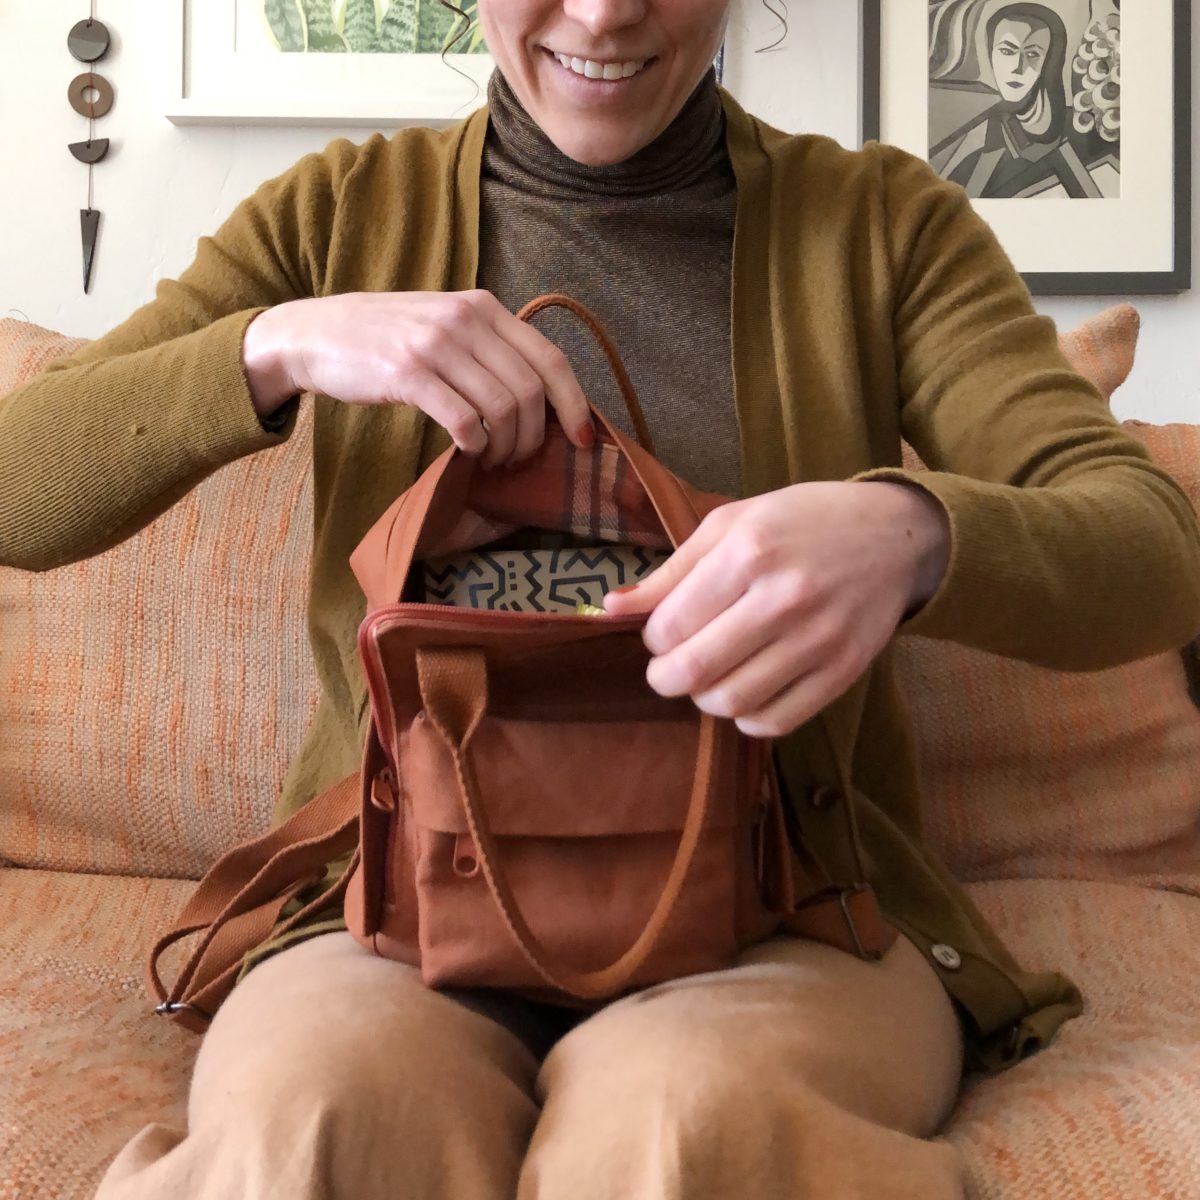
The construction of this bag is really incredible. Almost all of the seams are completely concealed! Total magic! This front flap would have been a nice place to add a patch pocket / phone sleeve to the lining.
The tester version of the pattern didn’t have a step to finish the ends of the main compartment’s zipper, but because mine had 7″ lobbed of its end, it was fraying like mad. I finished both ends using extra lining fabric, but found I had to pull them out of the way of the seam when sewing the front to the center panel. They’re a little wonky, but I’m confident the zipper won’t fall apart now. Perhaps if you choose to cut your zipper down to size, you might want to consider using a different finishing method.
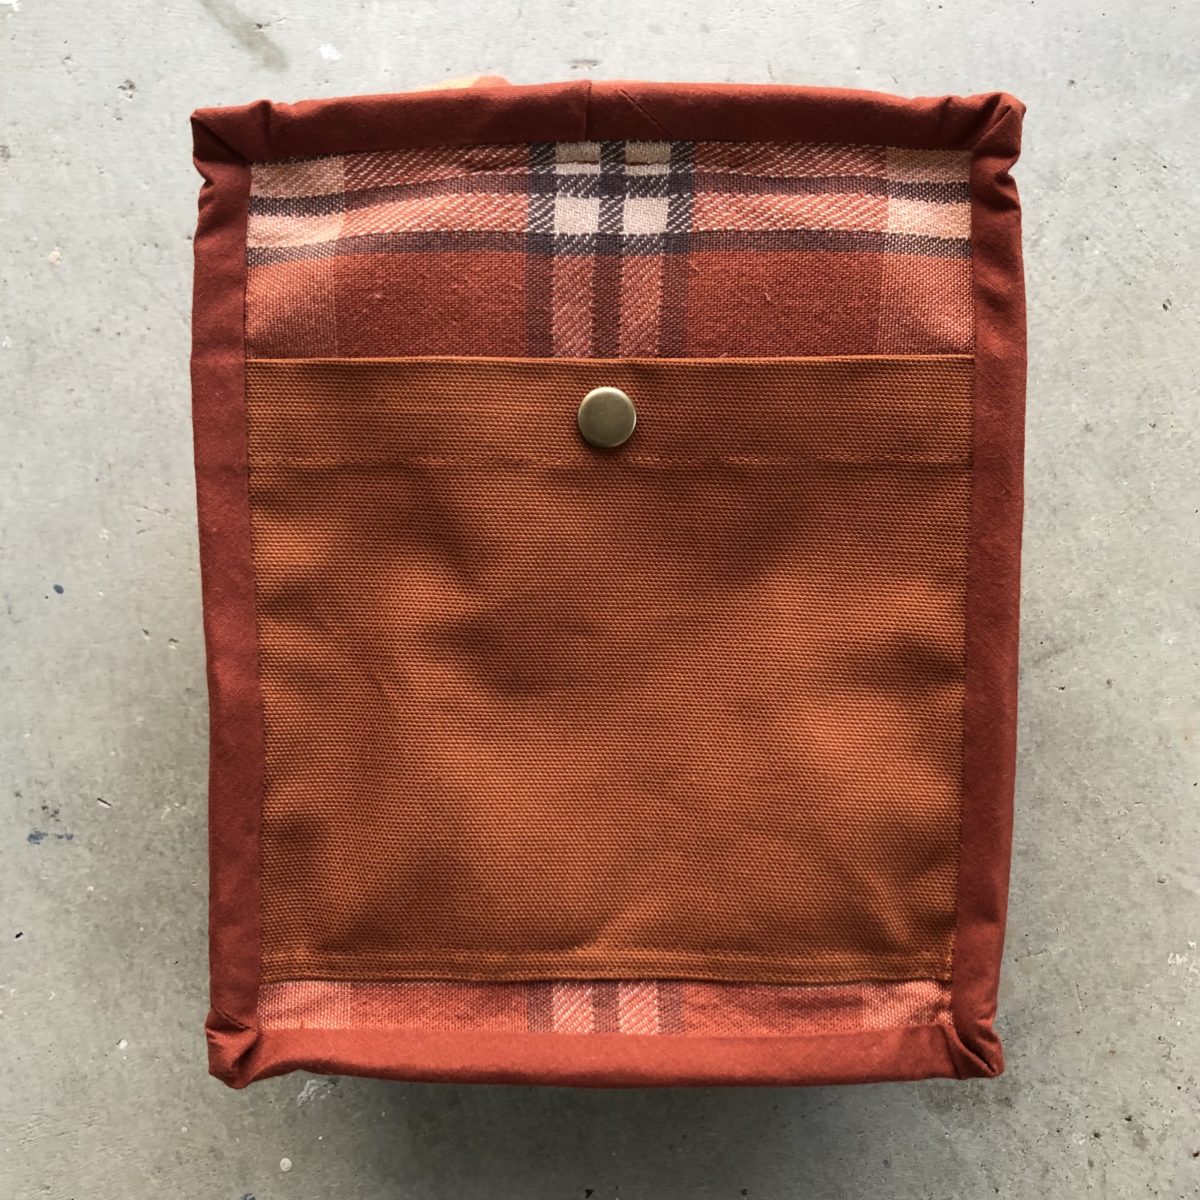
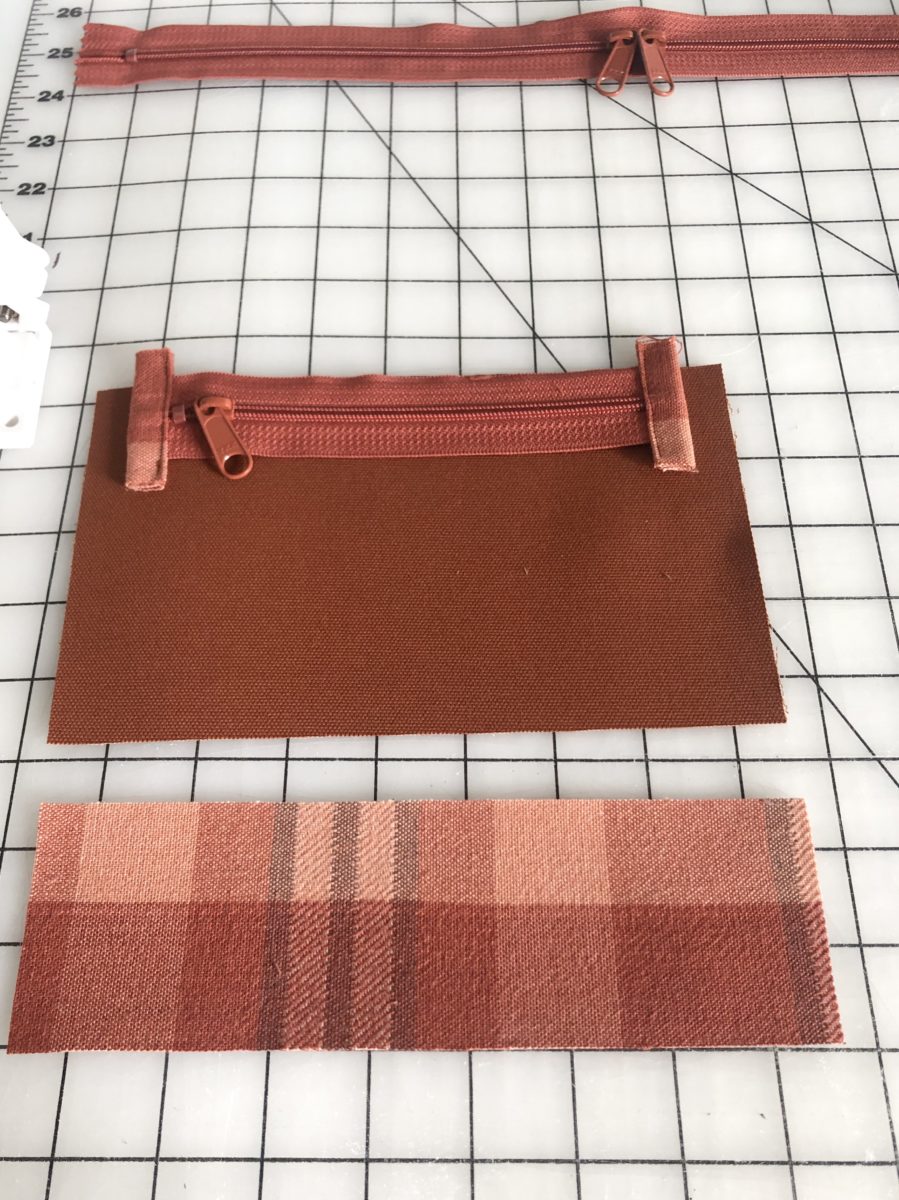
The only seams you need to finish are at the back of the pack. This pocket isn’t part of the pattern. Since I just guessed the measurements, it’s a little too tall to easily access way in the back of the pack, but since I’m using this as a purse, it’s nice to have a dedicated space for my wallet. I didn’t realize how overzealous I was with pounding in the snap until everything was already put together. The part of the snap that is connected to the main back panel is rounded and might eventually rub a hole through the exterior fabric (really hoping that doesn’t happen)… it’s also frustratingly hard to unsnap. Oh well!
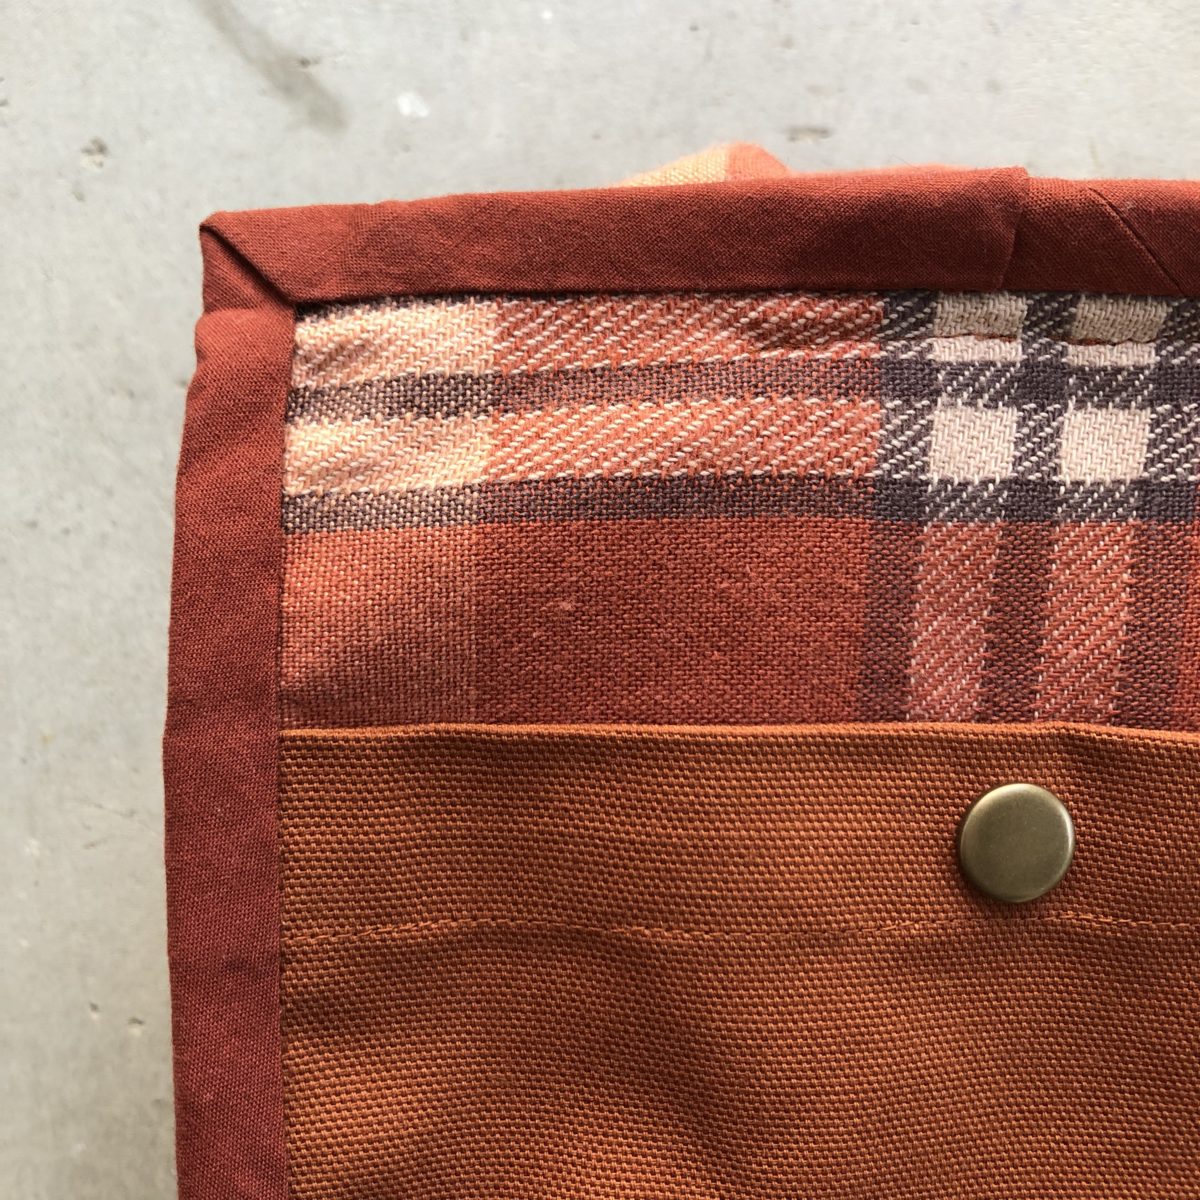
I chose to blindstitch the bias tape to the bag. Even though you can’t really see it when the bag is right sides out, I think it looks really sharp.
For the Little size there was one step I had to leave out because I couldn’t fit the bag neatly under my machine – the corners are just too tiny to get the clean edgestitching on the bottom that I’d be happy with.
I hesitate to call this a good pattern for brand new sewists because it’s definitely a complex sew. However, I do think with some very small tszujes to the pattern’s instructions and a little determination from the maker, it’s totally doable. The sewing community and independent pattern designers are usually super helpful when folks ask questions, so don’t be shy if you run into a step that confuses you on any project – odds are someone has figured it out and they’d be happy to help!
I’m really, really pleased with this make and know I’ll use it for a long time. I’m not sure when Sarah plans to release this pattern, but will definitely keep folks updated on Instagram. You should also follow Sarah Kirsten for the most up-to-date info on this pattern (and because her grid is lovely)!