
I’m one of those people who moves stuff around a lot. Organizing and rearranging truly brings me joy. I did a little refresh before Spring Break ended, so I thought I’d snap some pics and give a tour. You can see what the room looked like two years ago on our Apartment Therapy home tour here.
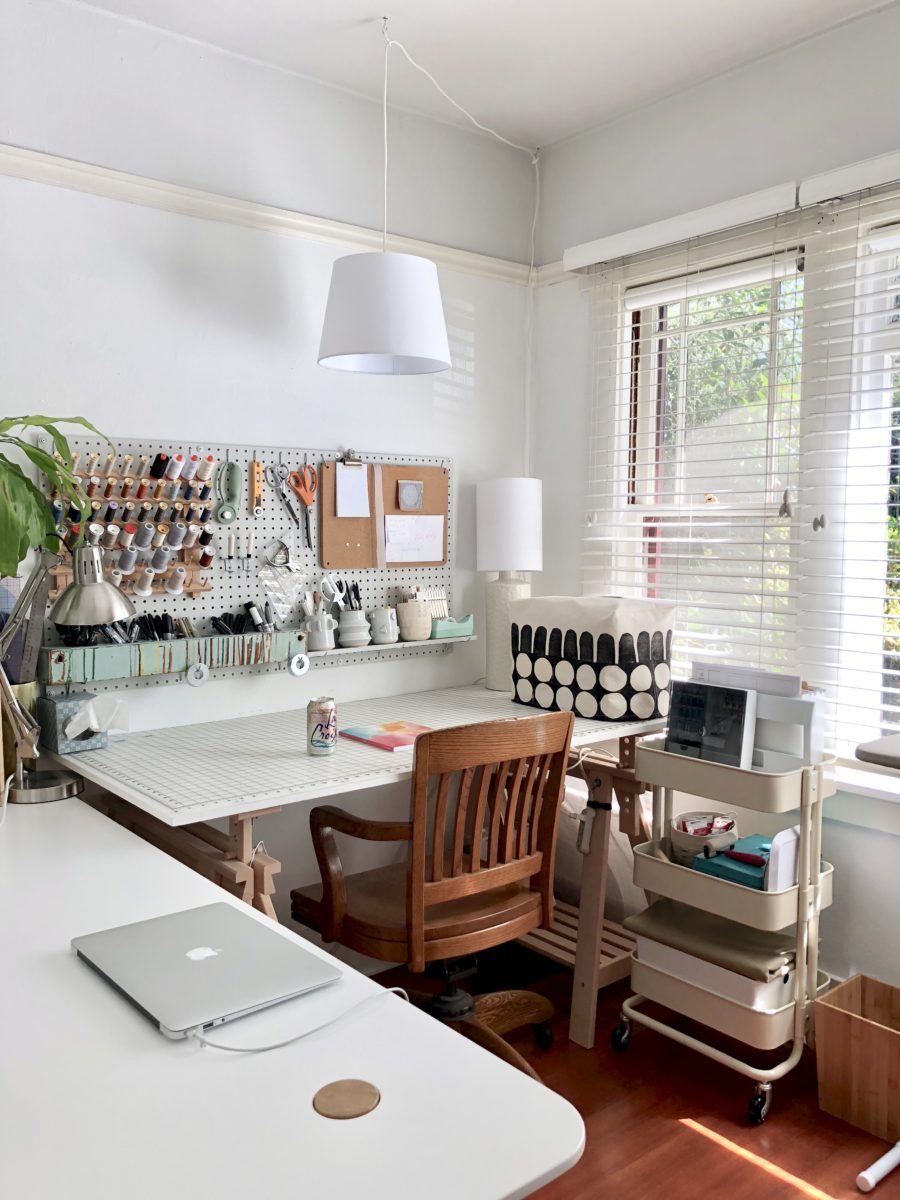
I share this room with my husband, but my making definitely takes up the majority of the space. The table I use the most is part IKEA (FINNVARD adjustable height legs), part Home Depot (painted wood table top), part Joann (cutting mat). The table top isn’t ideal – the original IKEA top didn’t allow the table to fit into that space, so I had to return it and improvise. It’s super bouncy, so I can’t use my serger on it, but otherwise it serves its purpose. The cutting mat is awesome and also spends a decent amount of time on the floor when I need to cut out large projects.
The three lamps are 100% necessary. Doing anything with dark fabric at night is rough, and these lamps have made mistakes a thing of the past. I do prefer working when the room filled with sunlight, but most often that just isn’t when I’m able to.
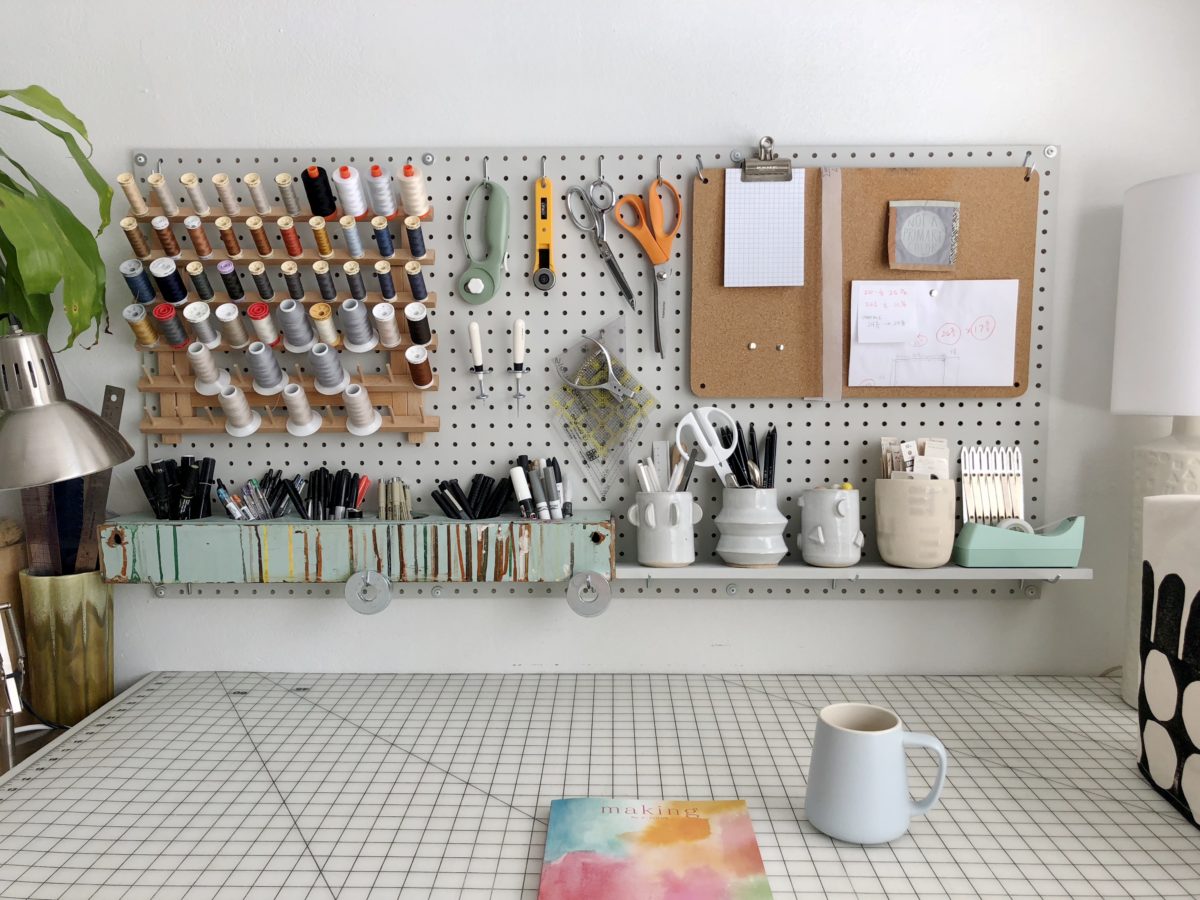
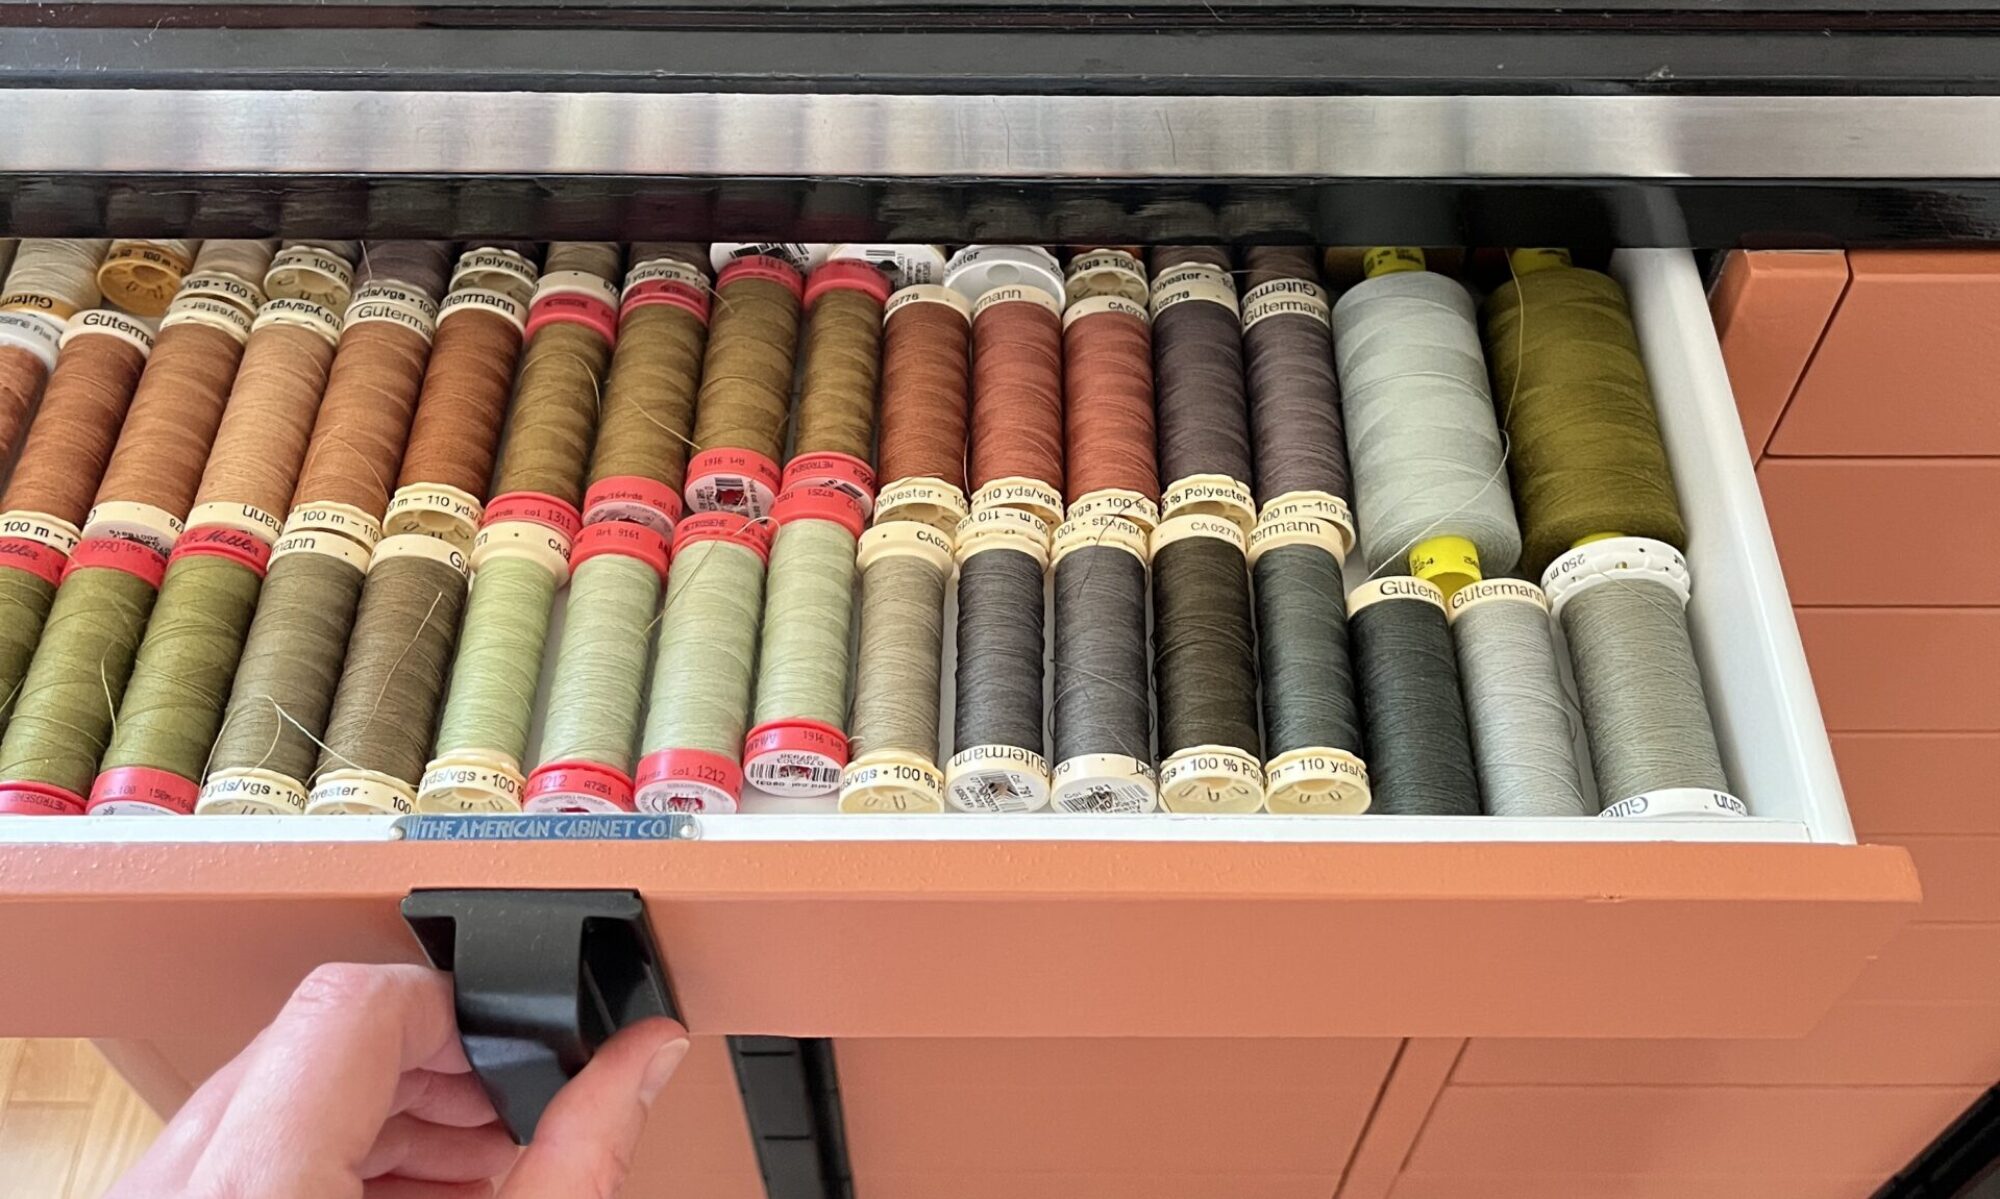
The pegboard is from a local hardware store and the corkboard is from Muji. I spray painted the pegboard a light gray and recently added the little shelf to display my ceramics. This area is ever evolving as things are easily rearranged and I reassess what needs to be super accessible. Having thread and certain tools within arm’s reach has been a total game changer.
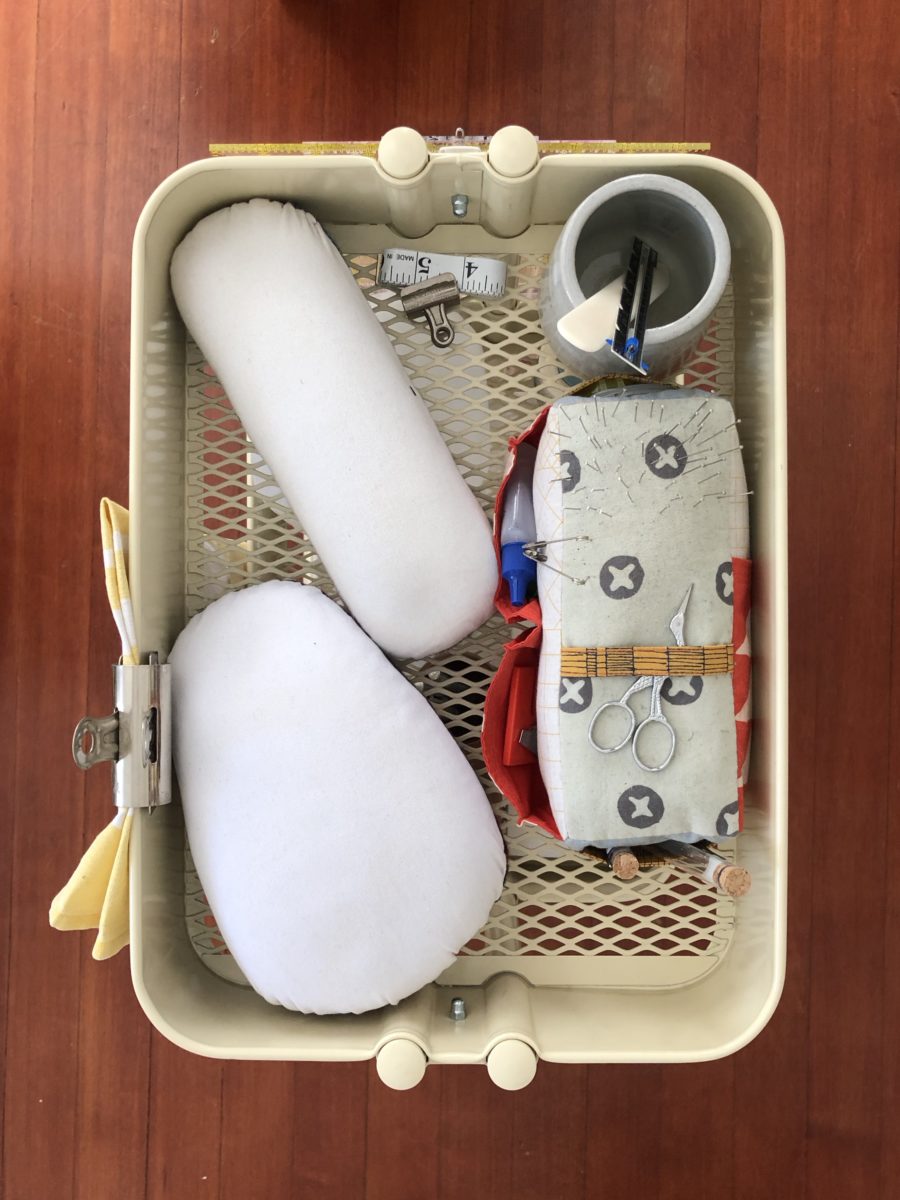
I have two of these RASKOG rolling carts from IKEA. Until recently, both were right next to my table and just crammed with both sewing and painting/drawing/printmaking stuff. I pared things down and now this one is right next to the ironing board. It holds my hams, seam gauge/point turner, distilled water, lint roller, pressing cloth, and some other bits and bobs that are handy to have right next to the iron. The pin cushion pattern is from Noodlehead’s Handmade Style book.
The other cart is adjacent to the table and holds WIPs, printed PDF patterns I haven’t assembled yet, my sewing machine manual and accessories, and block printing supplies.

The ironing board was just moved in front of the window. I’m hoping now I’ll be able to roll right to it from the machine, or stare out the window when ironing lots of yardage.
The ironing board used to be right in front of the bookshelves and I’d tuck things like the hams in between books when I was ironing. I think I’m finally at the point where I’m okay with the ironing board being set up all the time. Before I’d hang it up in the closet with all its knick knacks and need to schlep everything out if I wanted to sew.
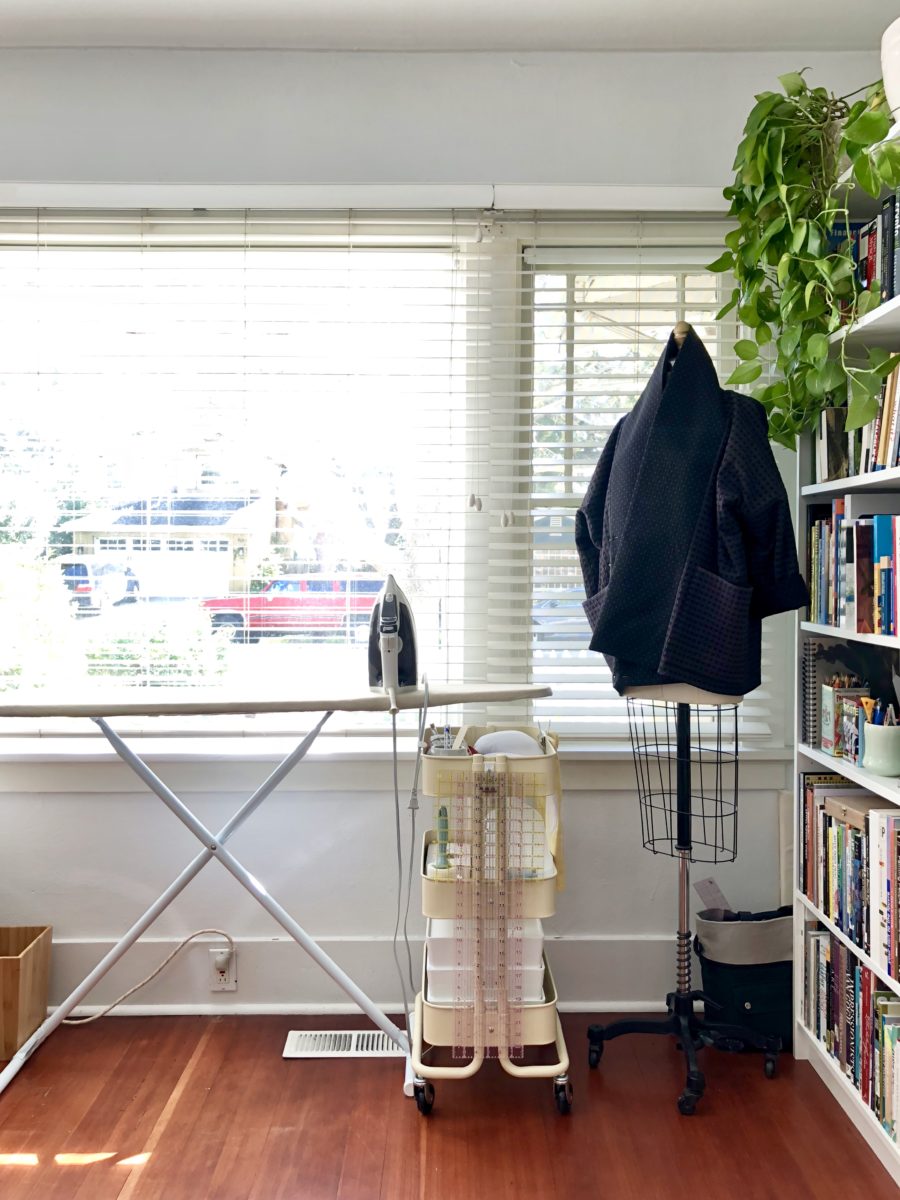
The dress form is from a brief stint selling vintage and although she’s a bit smaller than my measurements, I like to throw WIPs on her. I’m hoping that once I take a draping class, she’ll prove more useful. I added a 3M hook to the side of my cart to hang my rulers, which once took up a lot of pegboard real estate.

The previous renters painted a few things with chalkboard paint, but we’ve only kept it on this door. I’m trying out having an illustrated ‘To Make’ list on it. The patterns include:
- Kalle Shirt by Closet Case Patterns
- Persephone Pants by Anna Allen
- Fairfield Button-up by Thread Theory
- Making Backpack by Noodlehead & Making
- Burnside Bibs by Sew House Seven
- Willow Tank (hacked into a gathered dress) by Grainline Studio
- Hemlock Tee by Grainline Studio
- Lark Tee by Grainline Studio
I guess I’ve sort of solidified my Make Nine plans here!
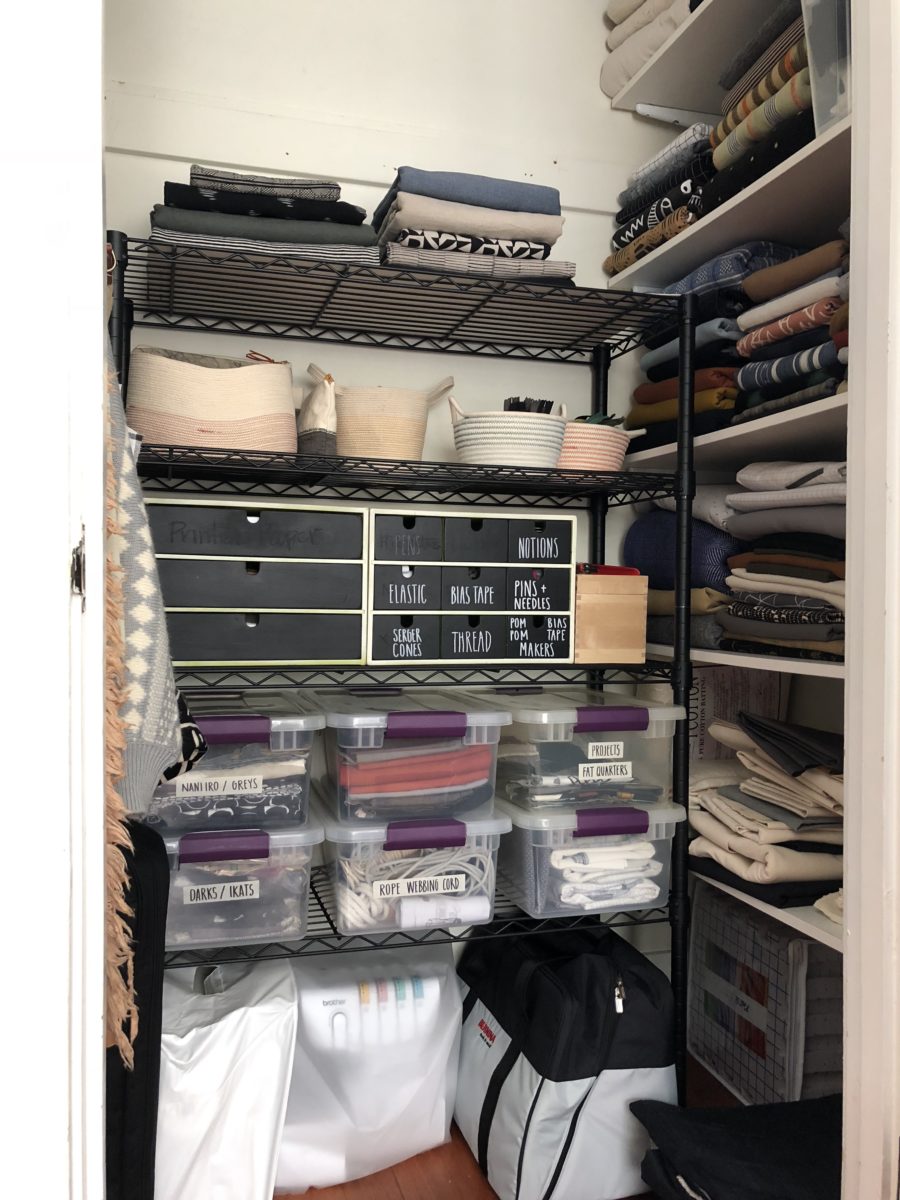
Behind the chalkboard door is a tiny closet. To the left there is a large boxed in vent that makes the only hang bar pretty much useless. I really wish I could hang up my patterns and quickly flick through them to find what I need, but this closet just can’t do that, or I’d have to sacrifice shelving on the opposite side.
In the closet is my fabric stash, my other machines, and notions/tools I don’t need constantly. The plastic buckets on the black shelf hold leftover fabrics and quilting experiments.
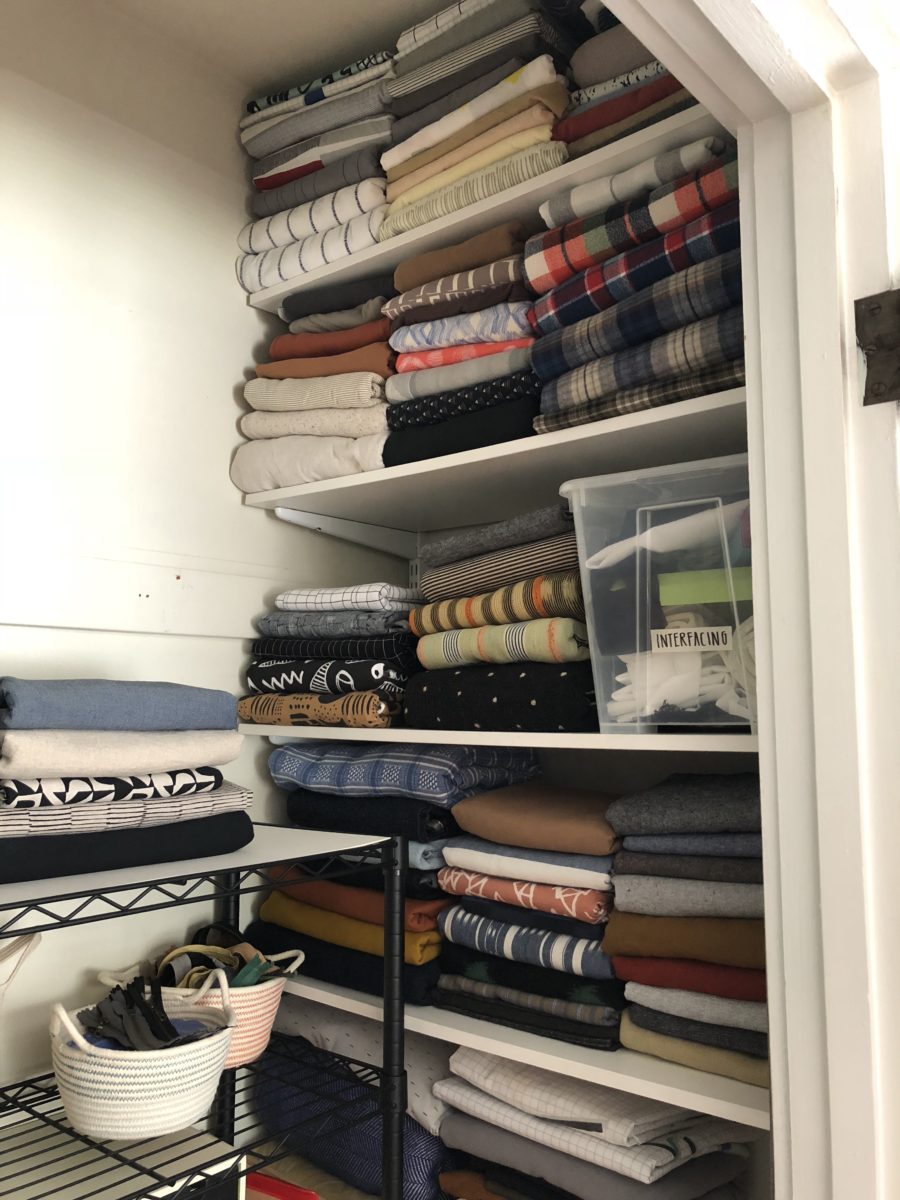
Fabric is mostly contained to the shelves on the right. It’s more or less organized by type and by my overall excitement to use them. The top shelf is thrifted bed sheets for quilts or muslins. The next shelf down in knits for tops and flannels for all those shirts I’ve promised my husband. The third shelf down is knits for bottoms and special fabrics (mud cloth and baoulé) as well as interfacing, which I keep in a bucket. The next shelf down is jeans/bottom weights, linens, and cottons. The bottom shelf is a hodgepodge of canvas for bags, batting, and thrifted sheets that don’t fit on the top shelf.
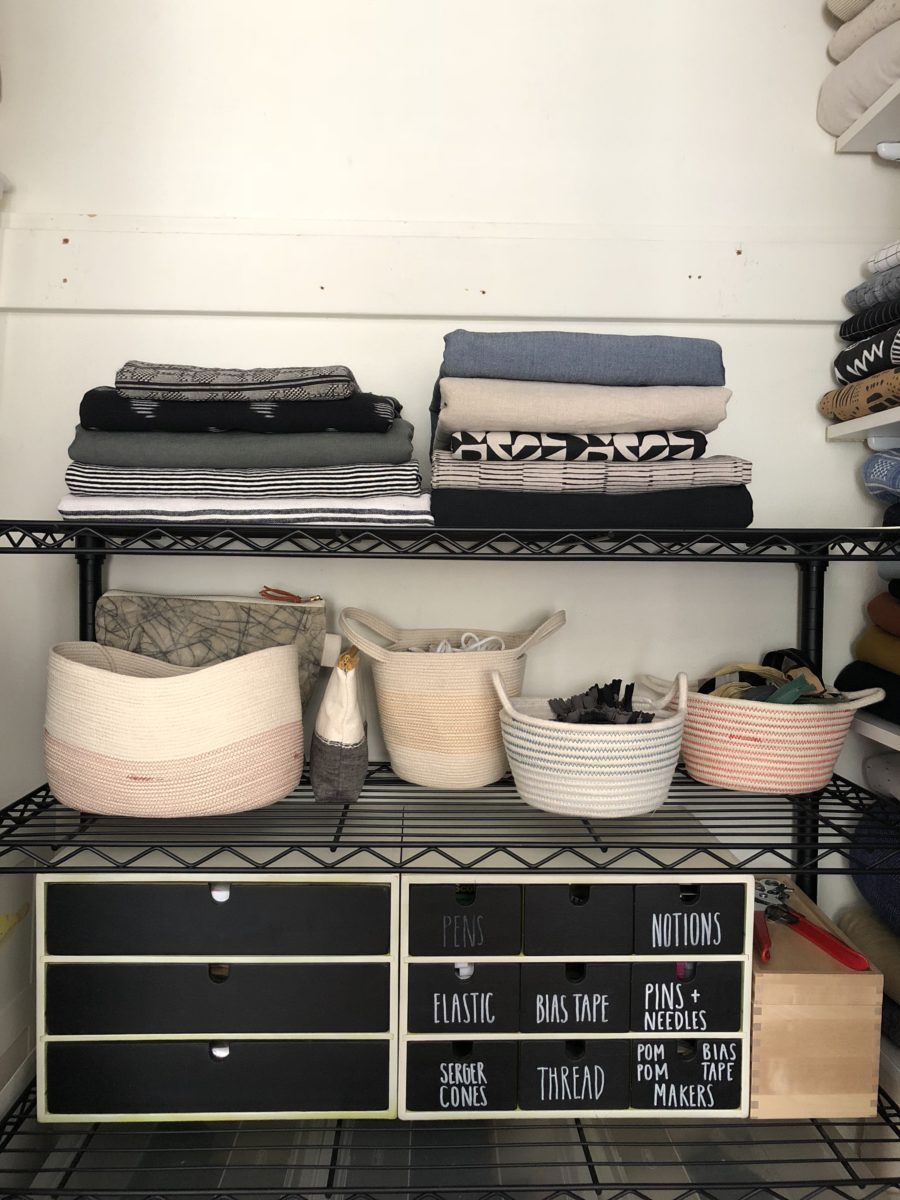
The fabrics on this shelf are my next up projects. The rope baskets hold pattern weights (vintage saucers!), extra pattern hooks, thrifted vintage zippers, and machine parts. The wooden drawers are a catchall and have bias tape makers, printer paper, and jeans making kits among other things. I’ve had these drawers since college and painted them several times (not recommended), which makes them stick. I would like to replace them with something else at some point. Perhaps a bunch of these?
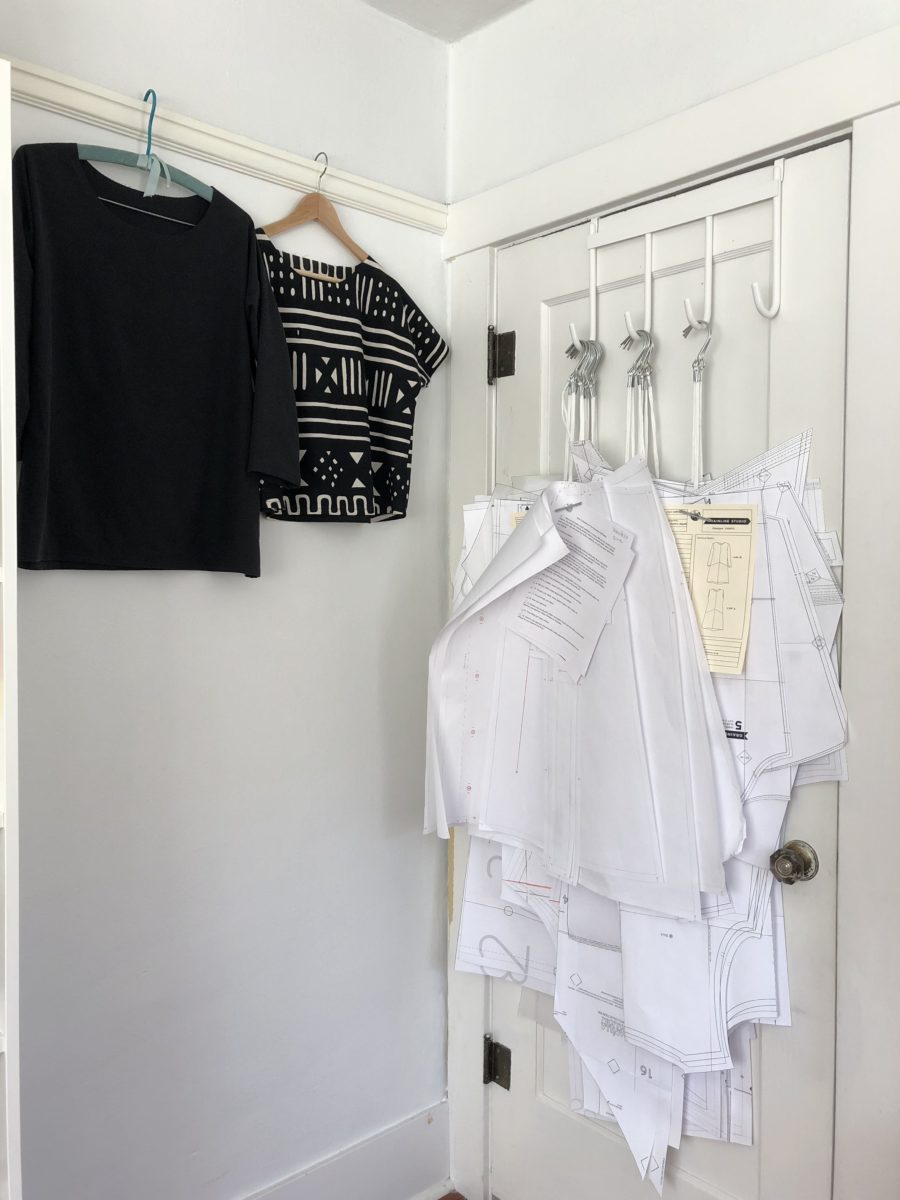
I’ve been really struggling to find the best system for pattern storage. I tried keeping them folded in drawers, rolled up in drawers, hanging on nails, hanging in the closet (until there were too many to fit in the 1′ hang space), and now they’re on hooks on the doors. It’s still challenging to find the pattern I want and they’re not in any sort of order, but it’s better than the drawer system. Some not quite finished makes also hang on the picture rail.
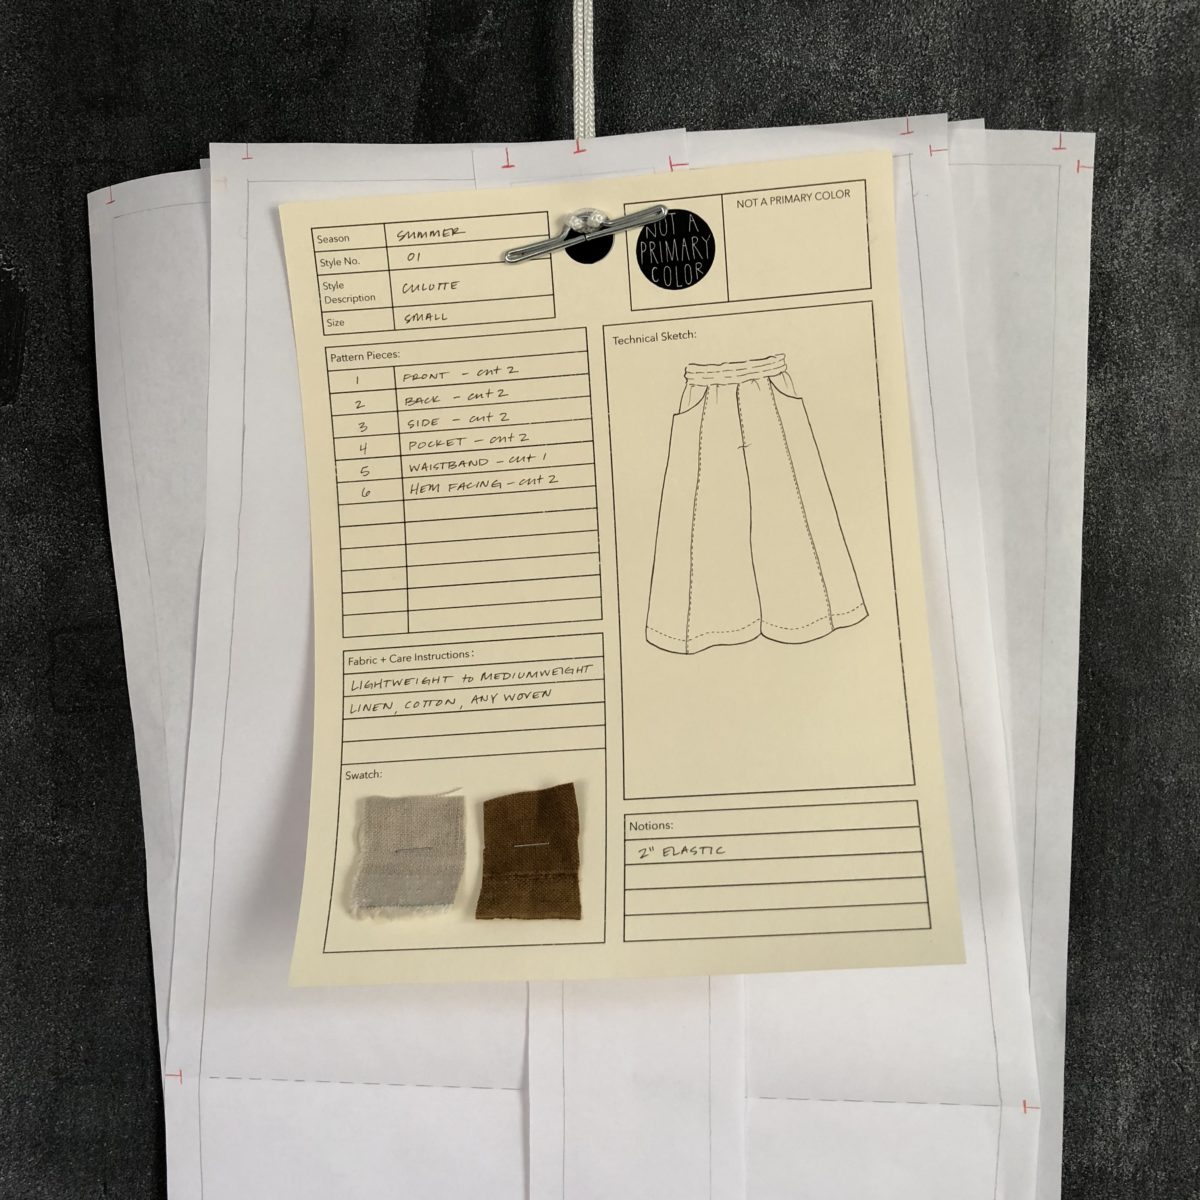
I’m slowly getting to where each pattern also has a pattern card with relevant info and fabric swatches. The one above is my culotte design from my patternmaking course.
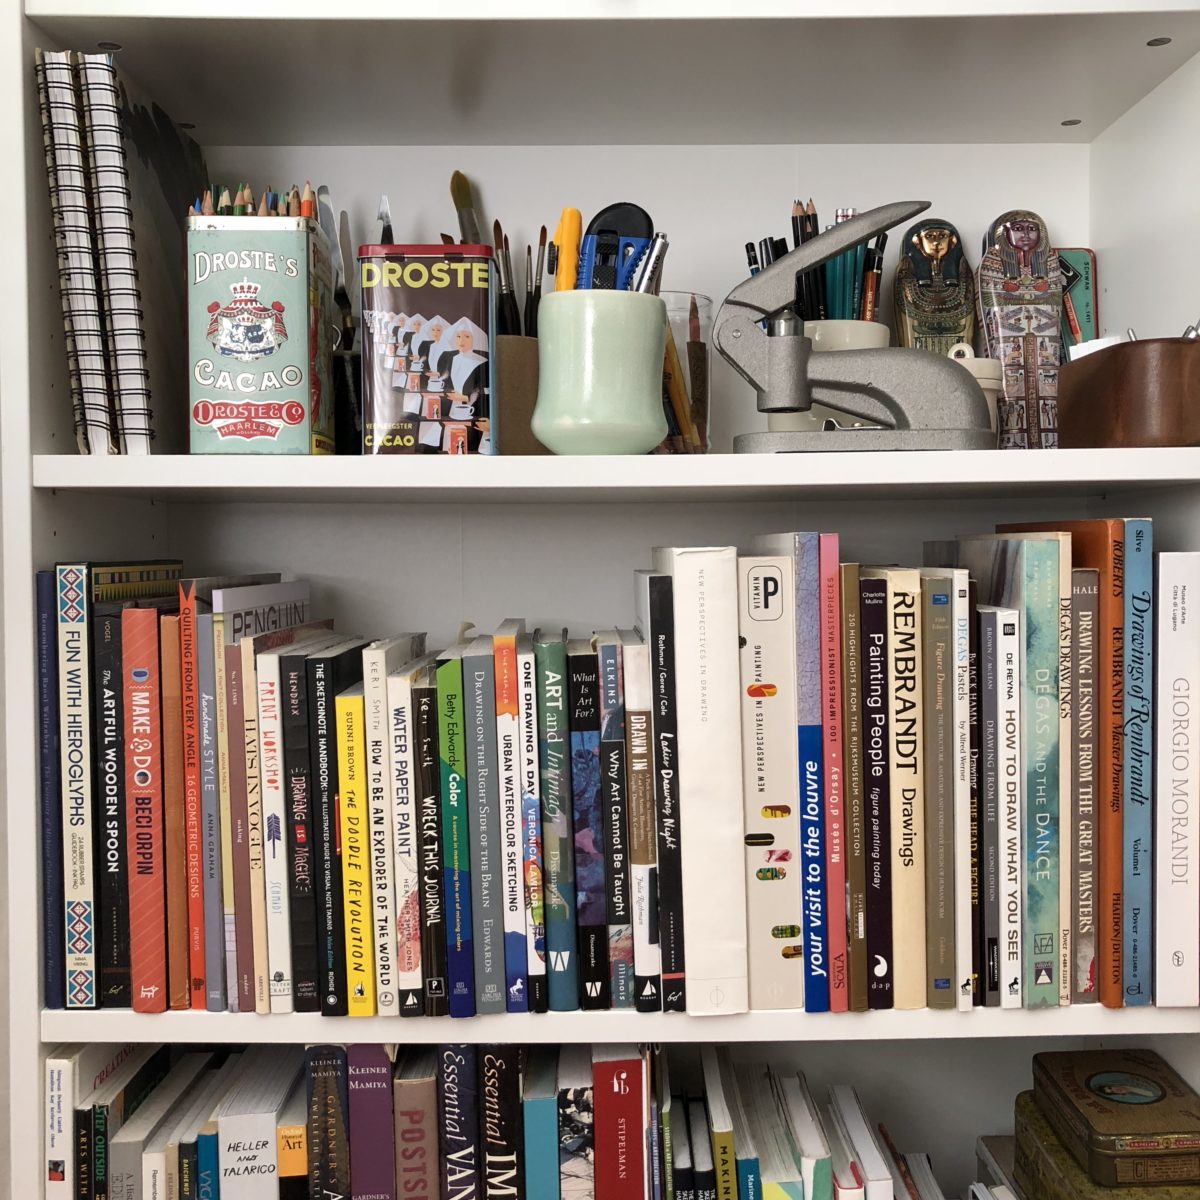
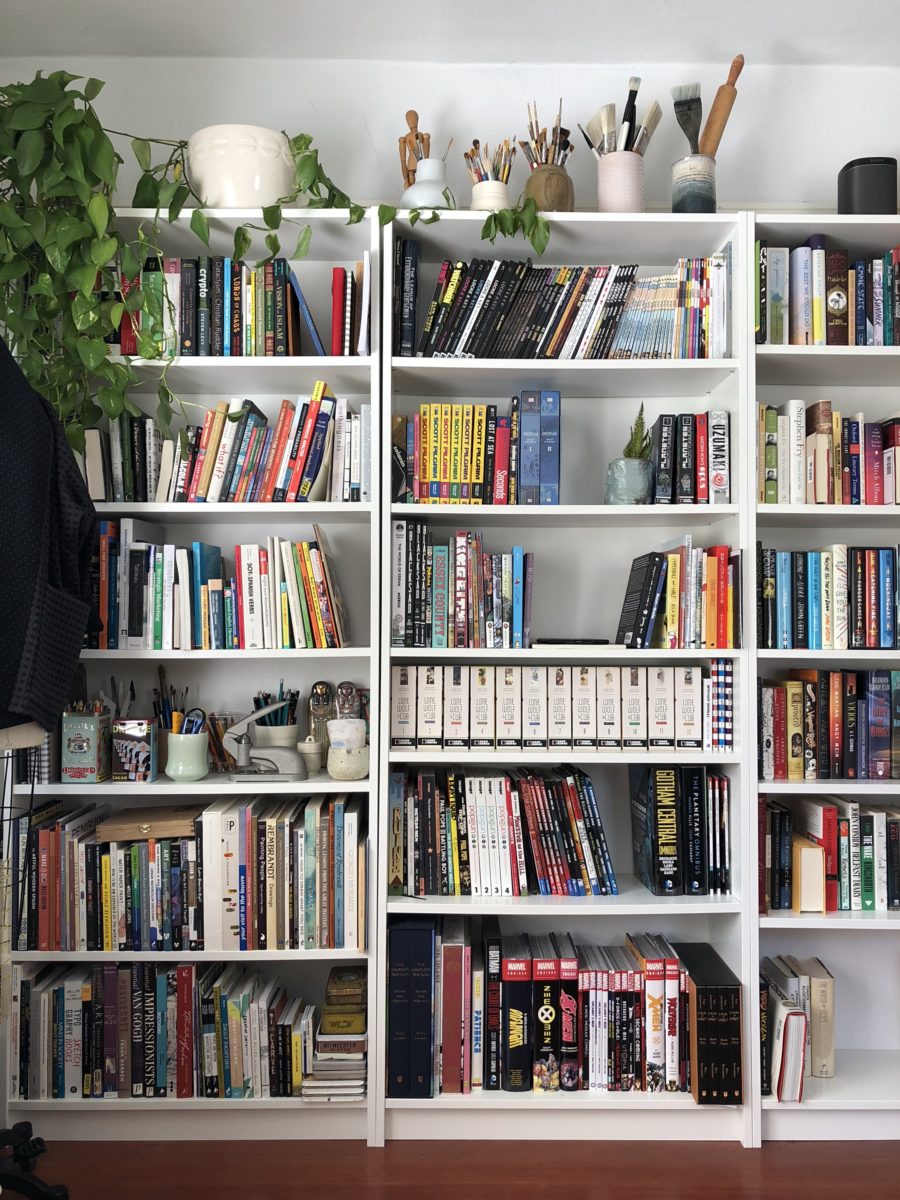
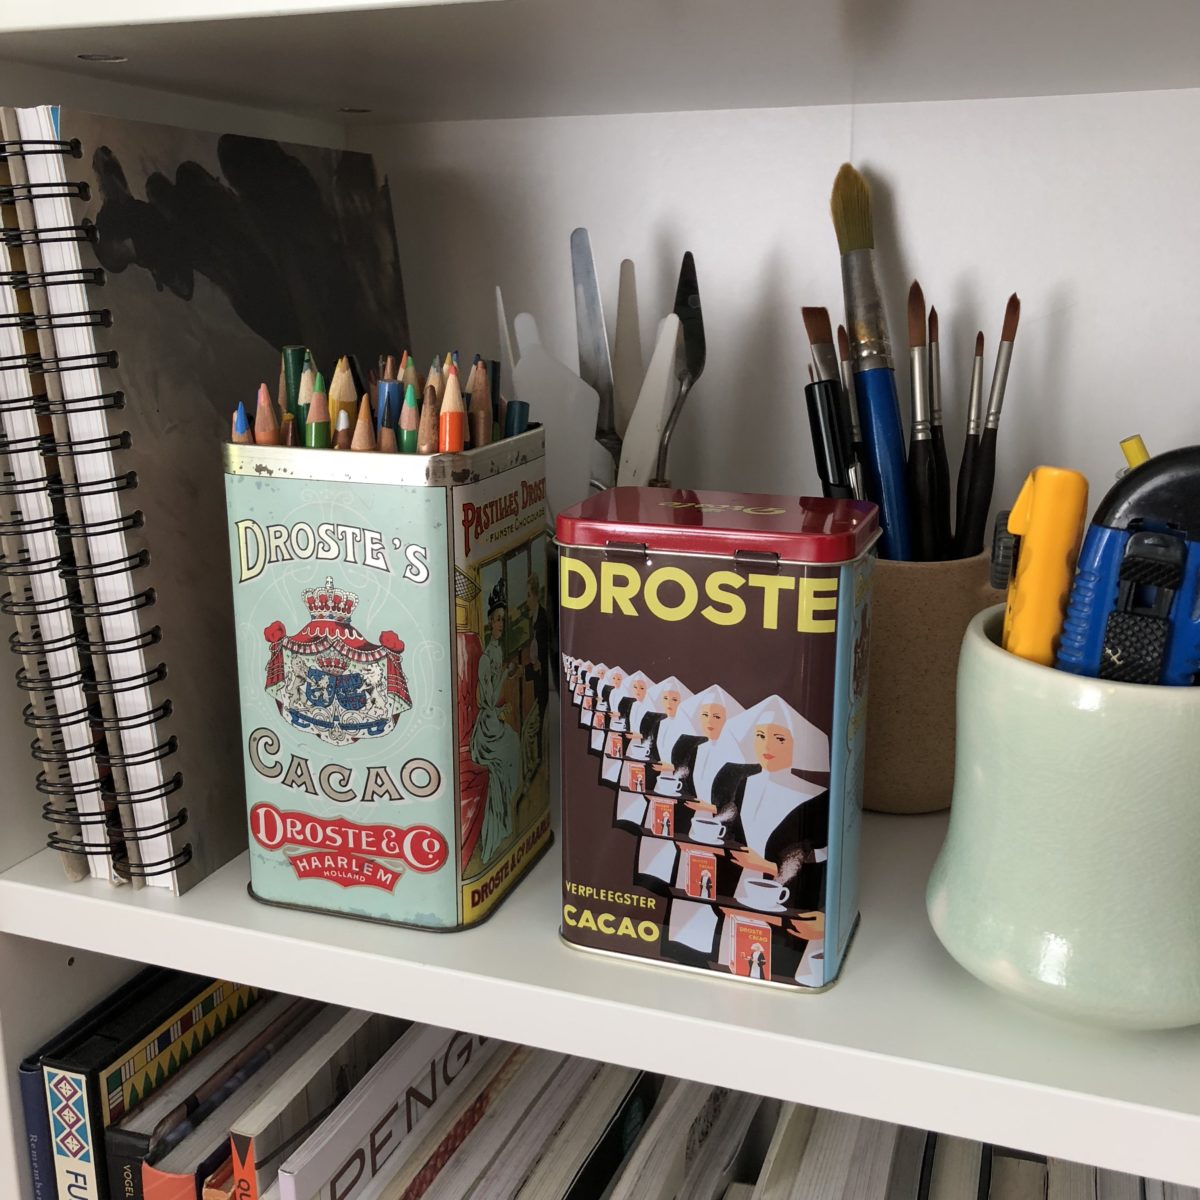
The bookcases are primarily my husband’s but I have three shelves. Most of my art and making books live here. The top shelf now houses a lot of the drawing/painting/printmaking supplies that used to be in one of the rolling carts.
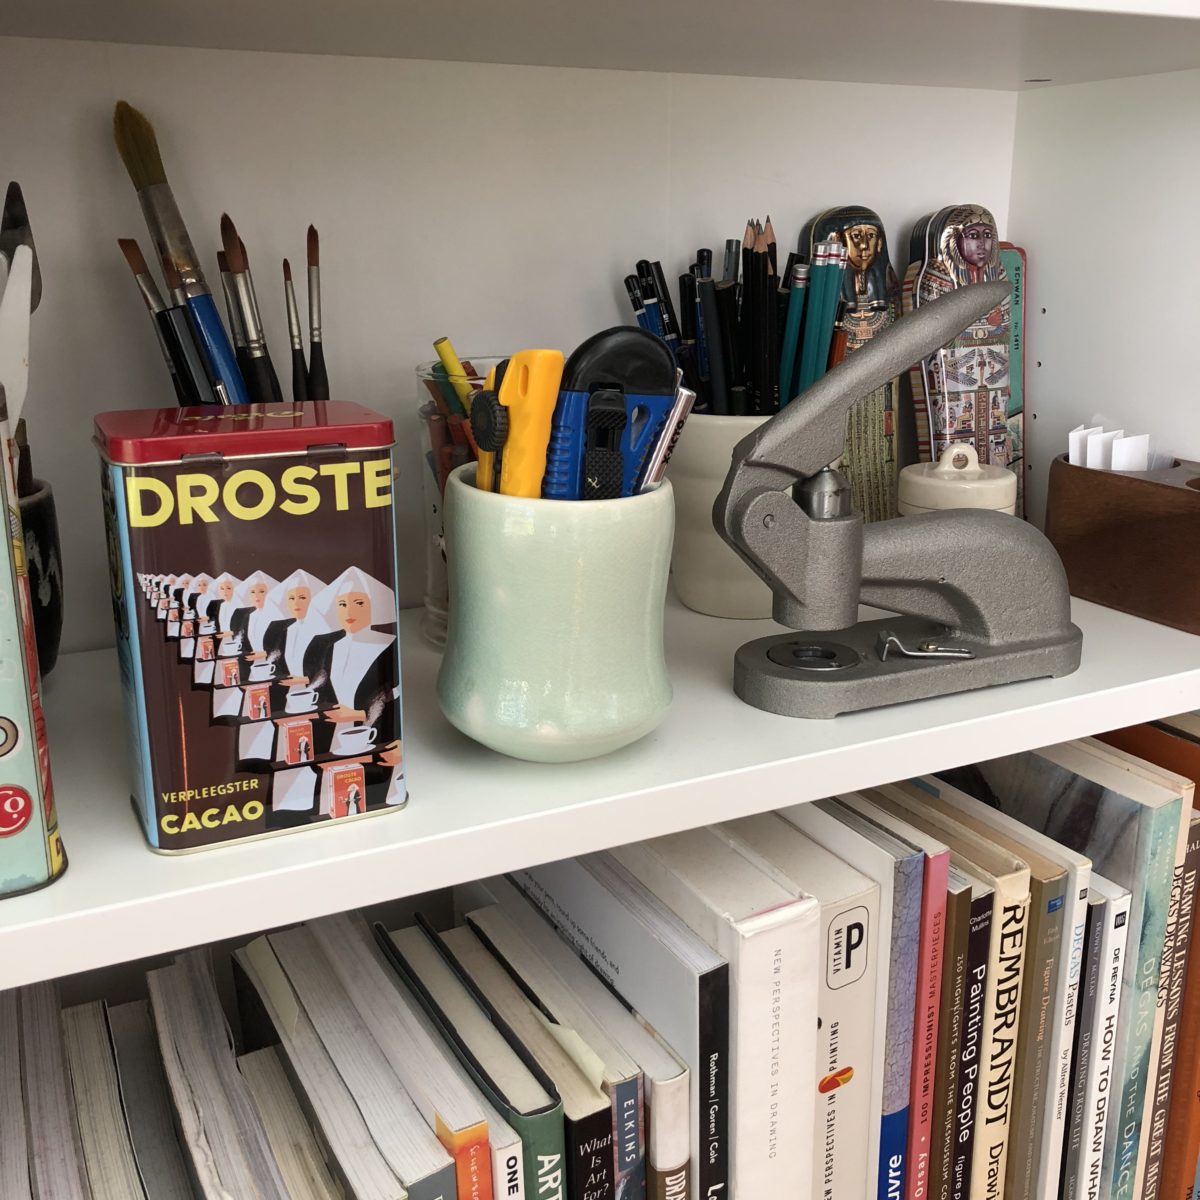
I’m liking that these items are now a little more visible on the shelves.
There are definitely things I’d like to change and I’m constantly fantasizing about designing a studio in a house we own… BUT I’m really grateful to have to have this space. For my fantasy studio, check out my Pinterest board: Making Space.
Sorry, I’m not sure what you’re referencing.
Hi Sienna, Wondering if you would mind sharing where you have purchased your specification pattern sheet? thank you 🙂
How did you make the largest rope basket on the left with the uneven top? I love it! I made a rope basket yesterday trying to get that shape and I couldn’t figure it out. Is it a circle or an oval?
A beautiful little space. Love your stash in particular! I’m moving to a new place in about 6 weeks and the tiny study will be mine all mine (as my sewing room is now inhabited by my small person). I can’t wait to get everything in an organised.
Re PDF pattern organisation, the best I’ve come up with is A0 large sheets rolled up into postage tubes grouped according to garment type (eg all dresses in one tube) and cut/traced patterns in box files again according to garment type.
What a lovely space! Thank you for sharing.
My sewing/art space does double…or is that triple….duty as a dining room. The rolling cart is a great idea that I might integrate into my space. I love the thought of just wheeling my creative stuff out of the room if I have company for dinner.