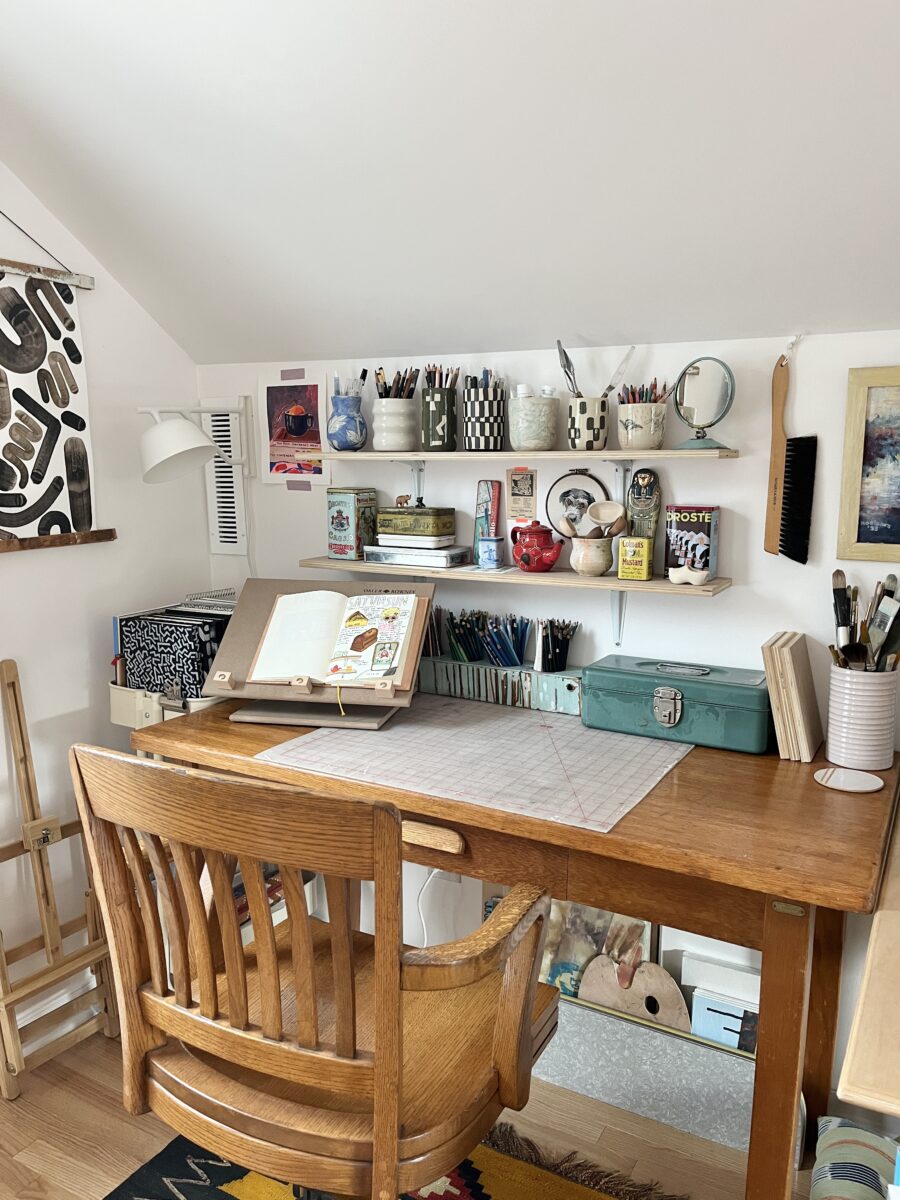
I just finished turning these plywood shelves into these smaller wall shelves. Since selling my big IKEA mega desk, the plywood’s just been sitting around, waiting to be useful again.
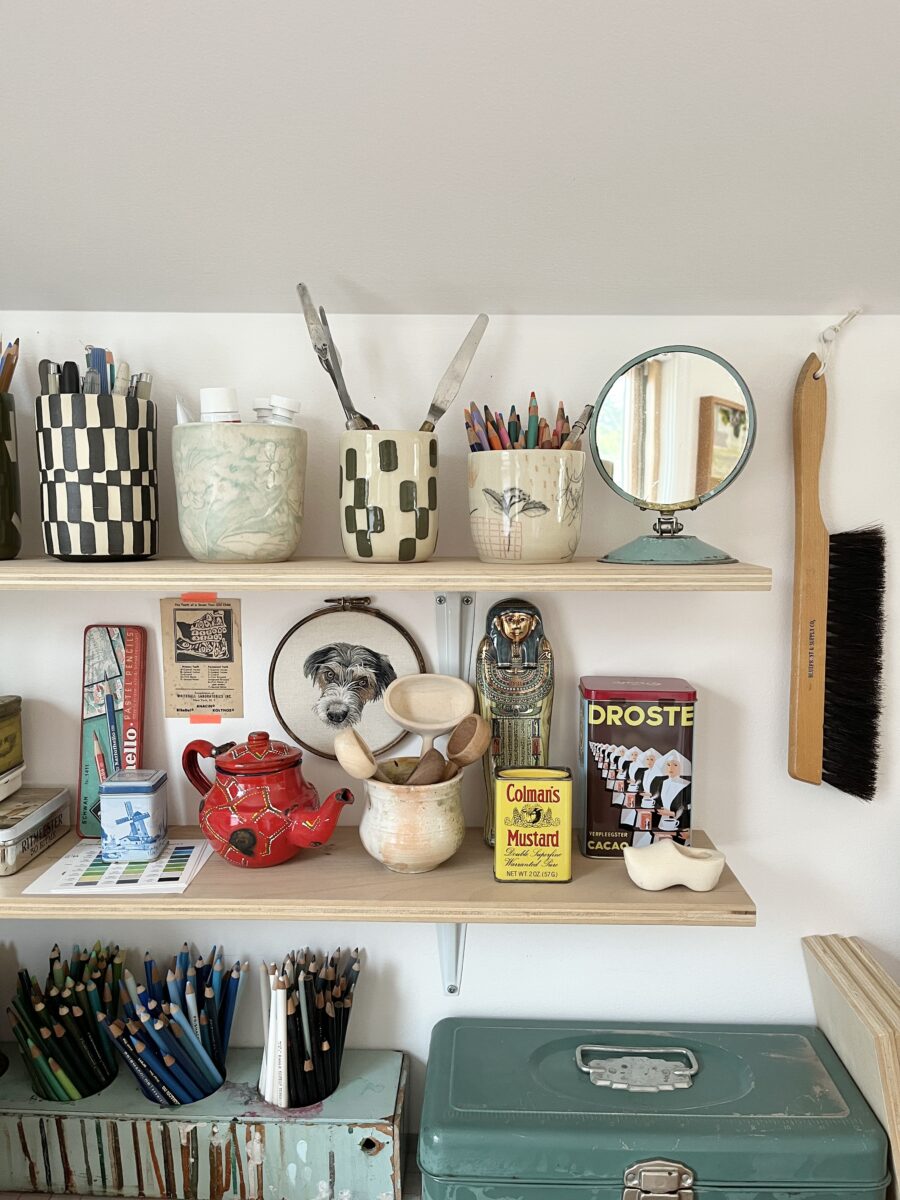
Initially, I planned to have three shelves above this table, but the sloped ceiling had other plans. But two shelves is better than none, especially since they now prominently display some of my favorite ceramics I made last year. Prior to shelf life, they were all kinda cluttered together and invisible.
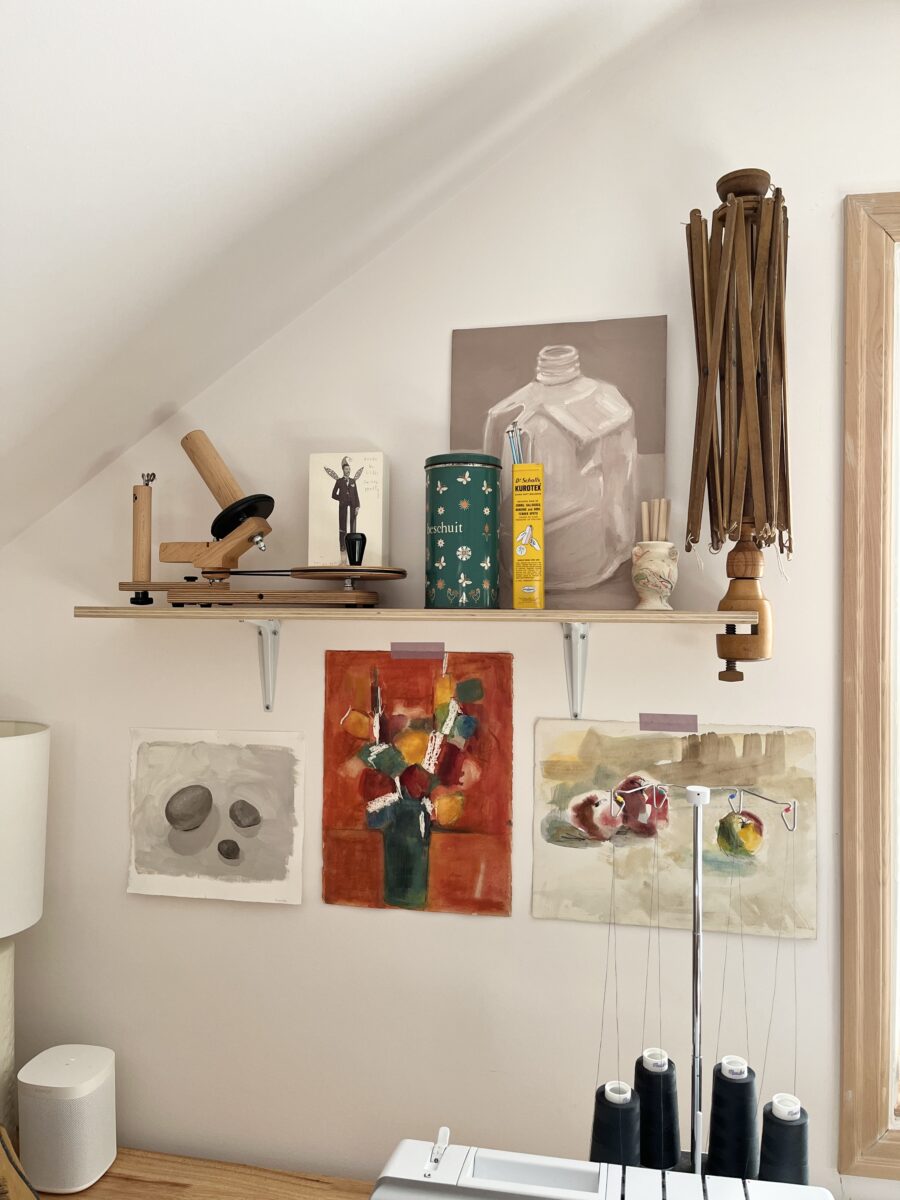
The third shelf found a home above one of my sewing tables and is providing much needed storage space for my ball winder and new (but very old) swift. The art display is still being figured out over here.
In an attempt to be productive while dissociating, I am prioritizing daily creative acts. And I’m going to try to document some of it too. Last week felt especially creative, so here’s what I did.
Fine Things Community Pottery Studio
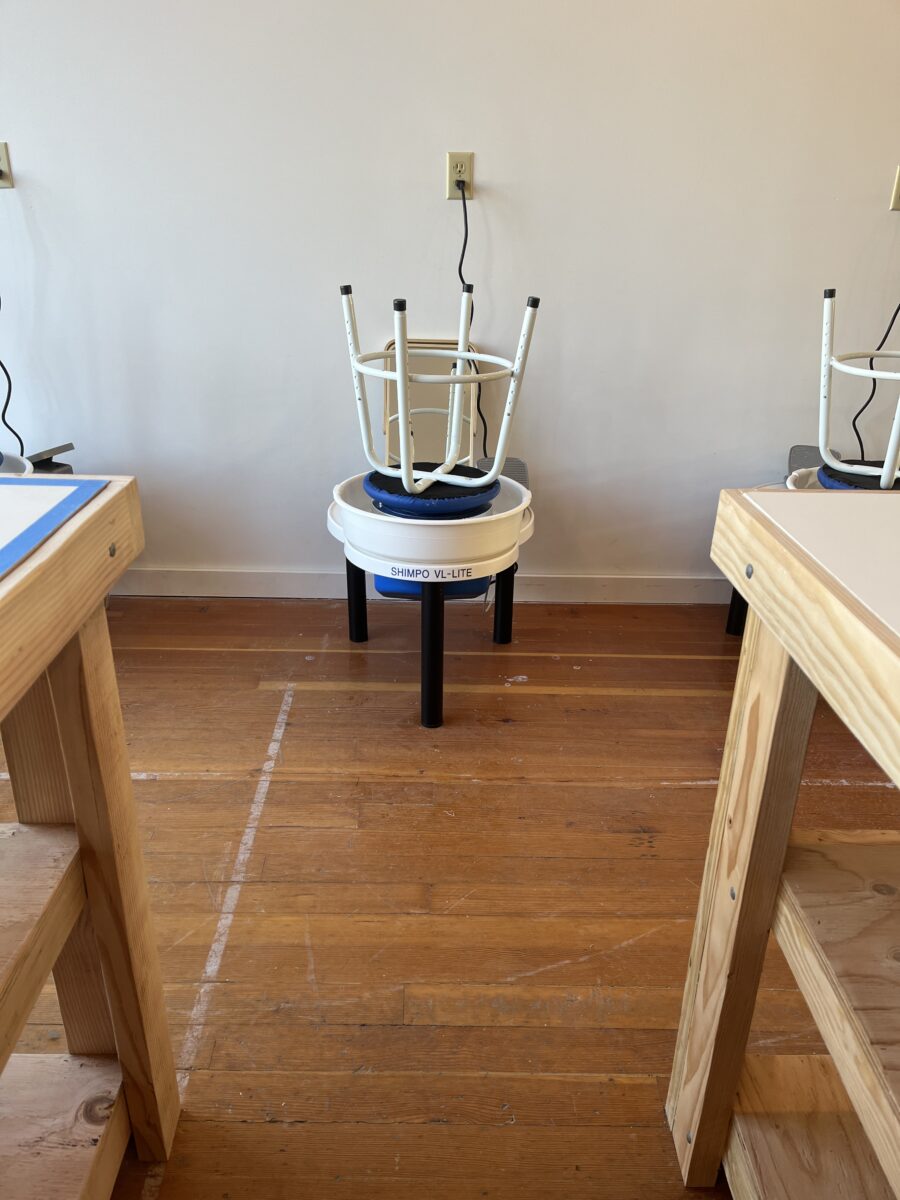
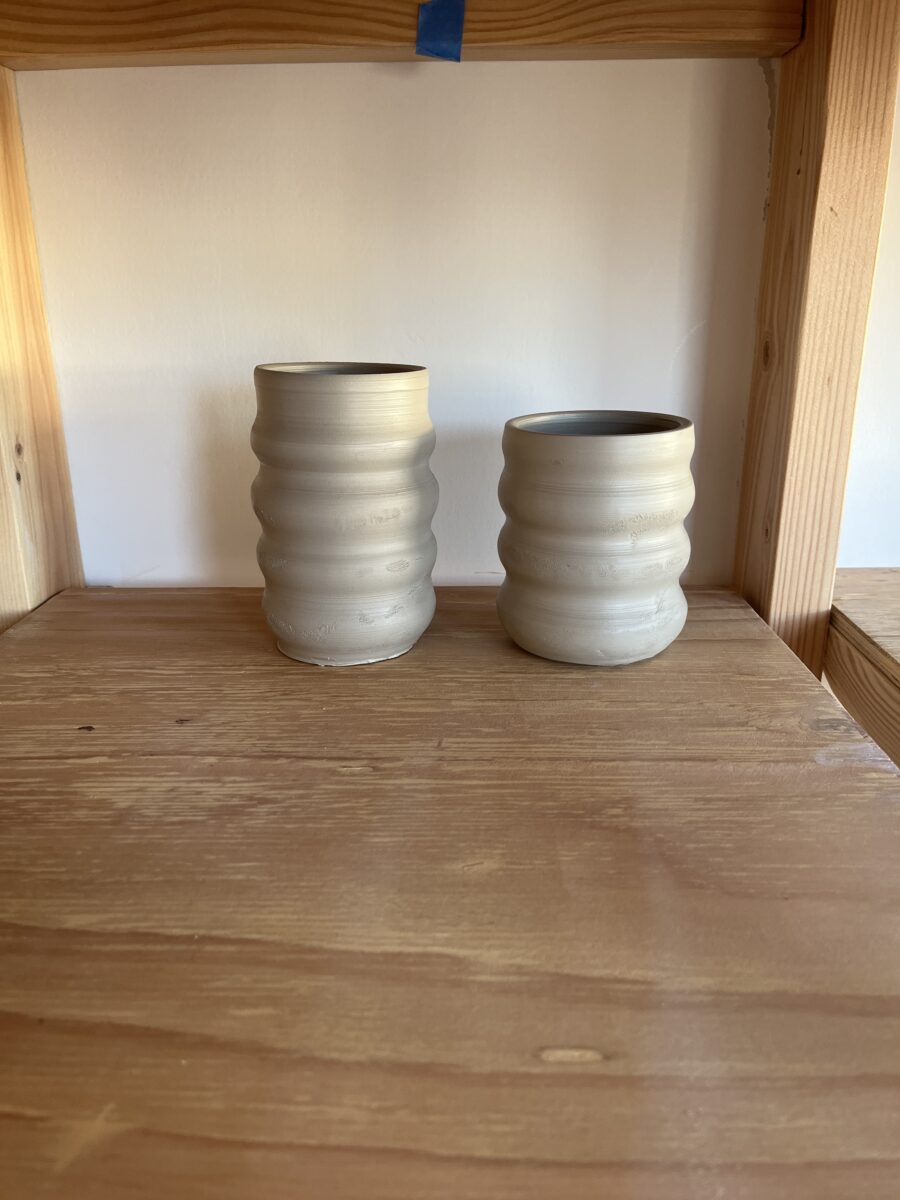
I joined a brand new studio and successfully threw two pots! I feel really nervous not having the traditional support of a class, but I’m excited to explore some ideas outside of the scope of local classes. Here are the things I’m planning to work on:
Nerikomi patterned pieces (this technique excites me so much)
Tiles for my fireplace renovation
Chess set for my husband
Hand-built plates using MDF forms I eventually make
A tabletop lamp?
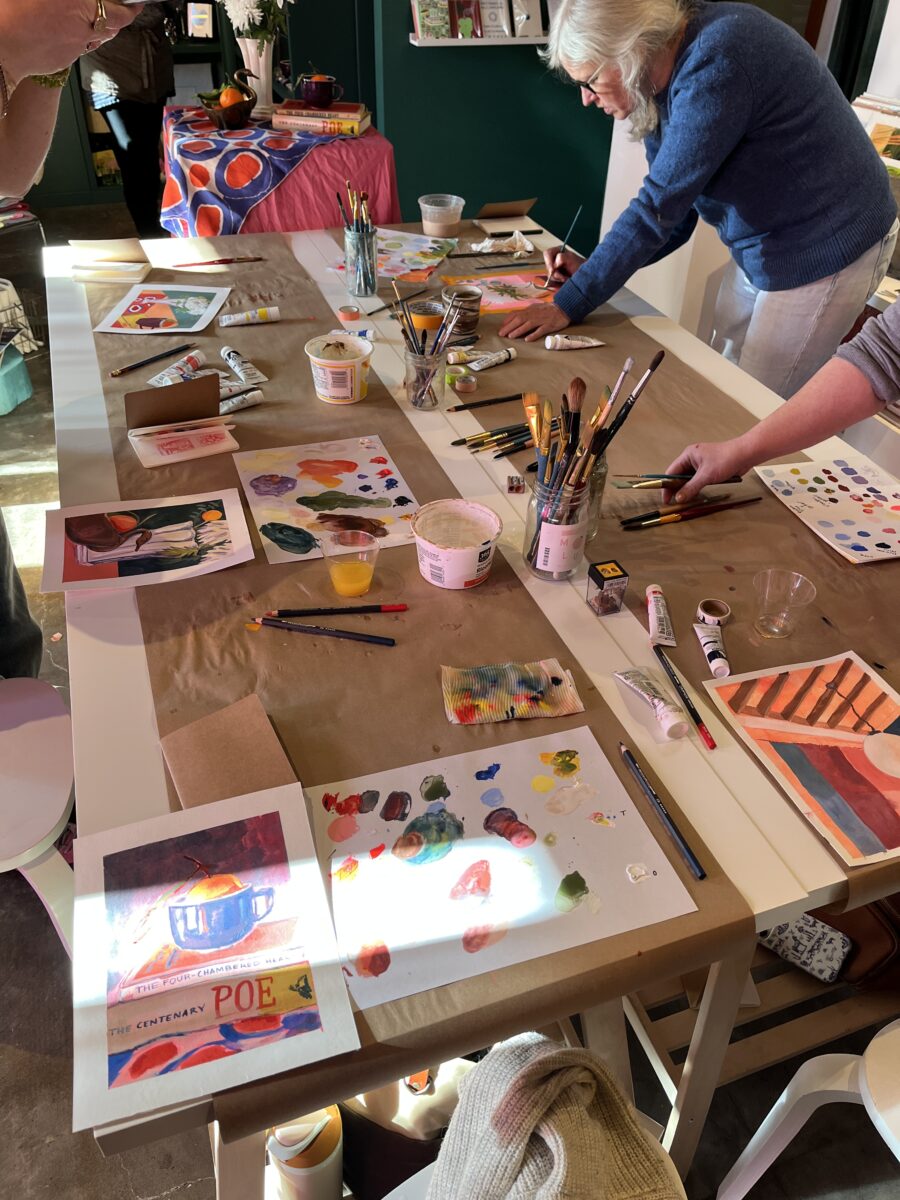
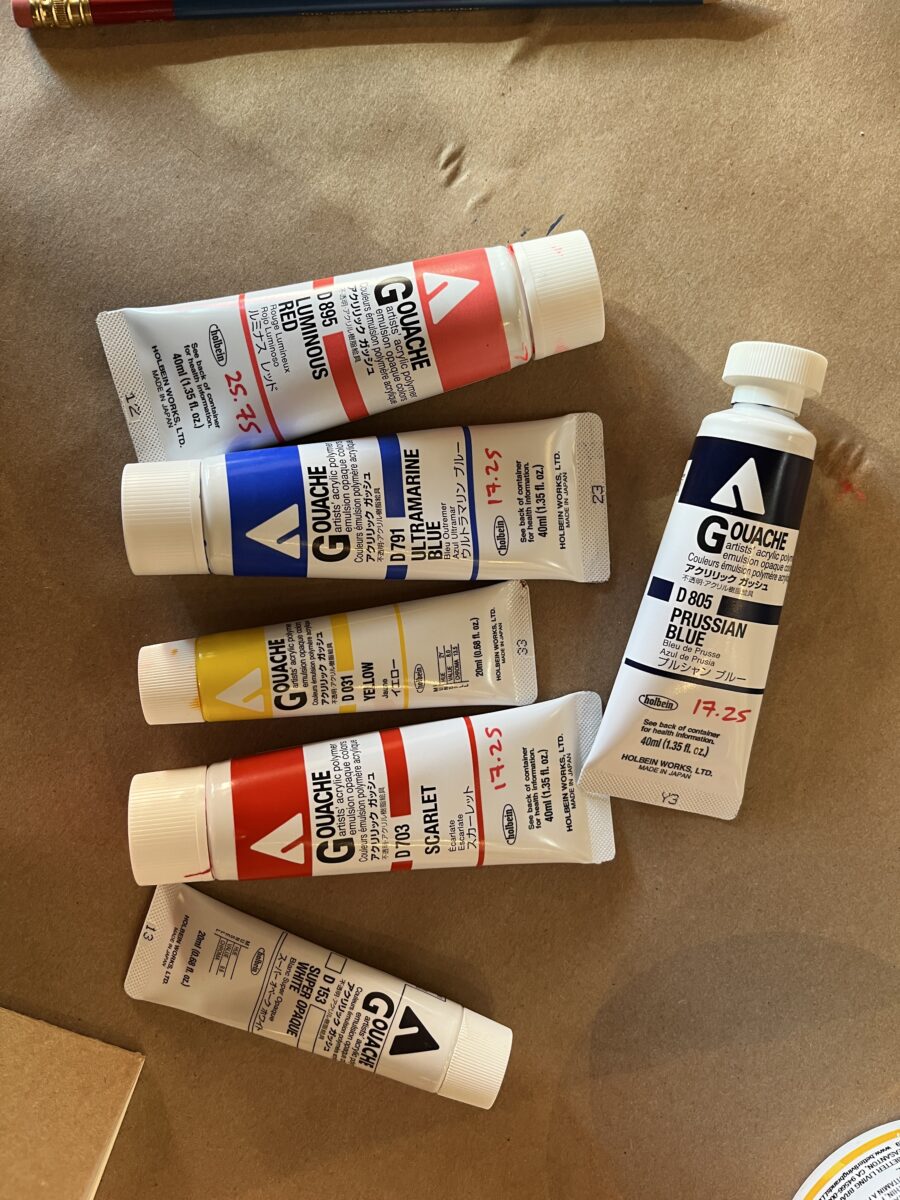
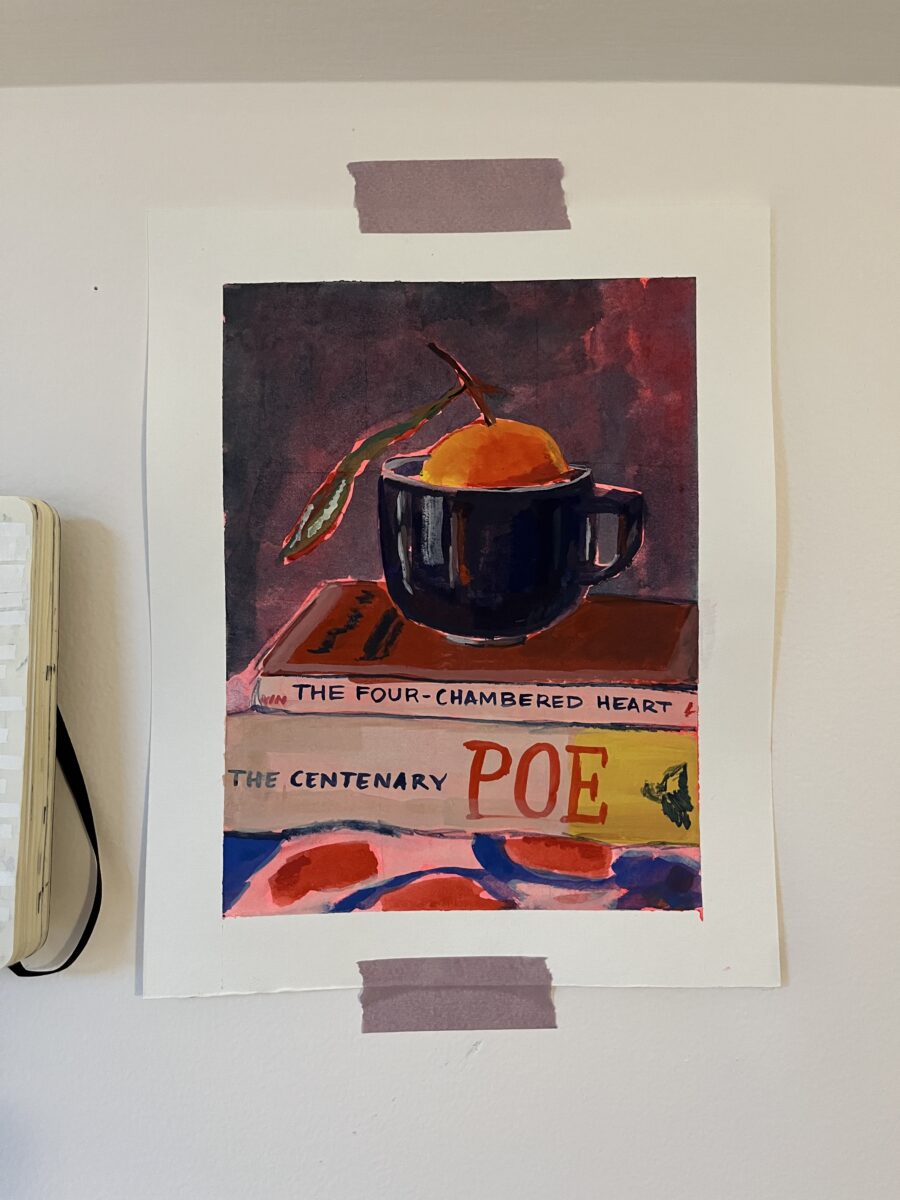
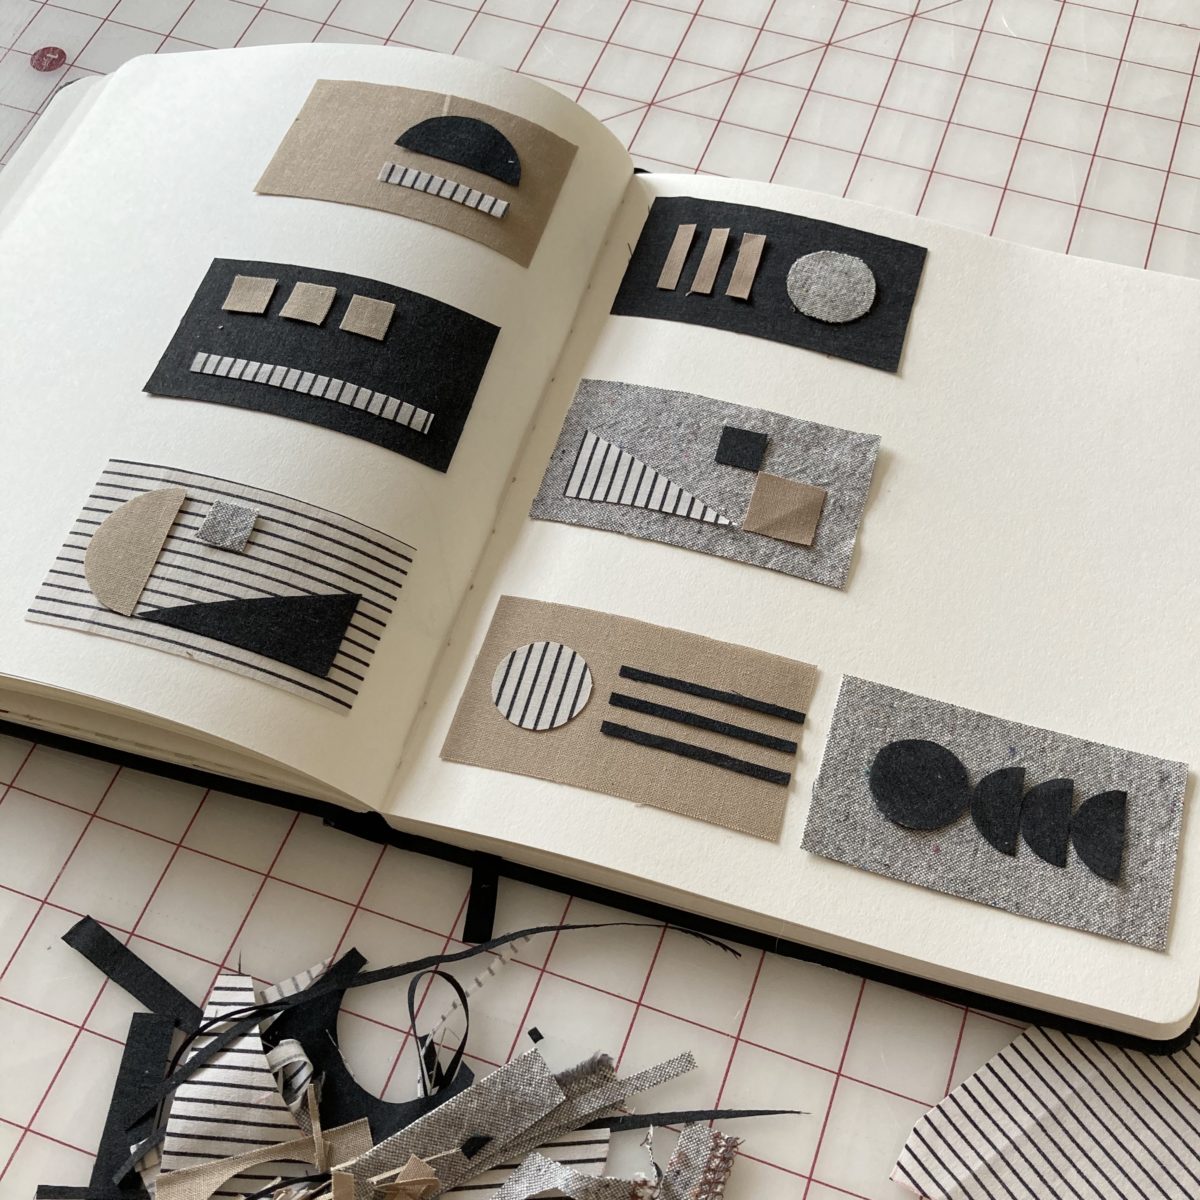
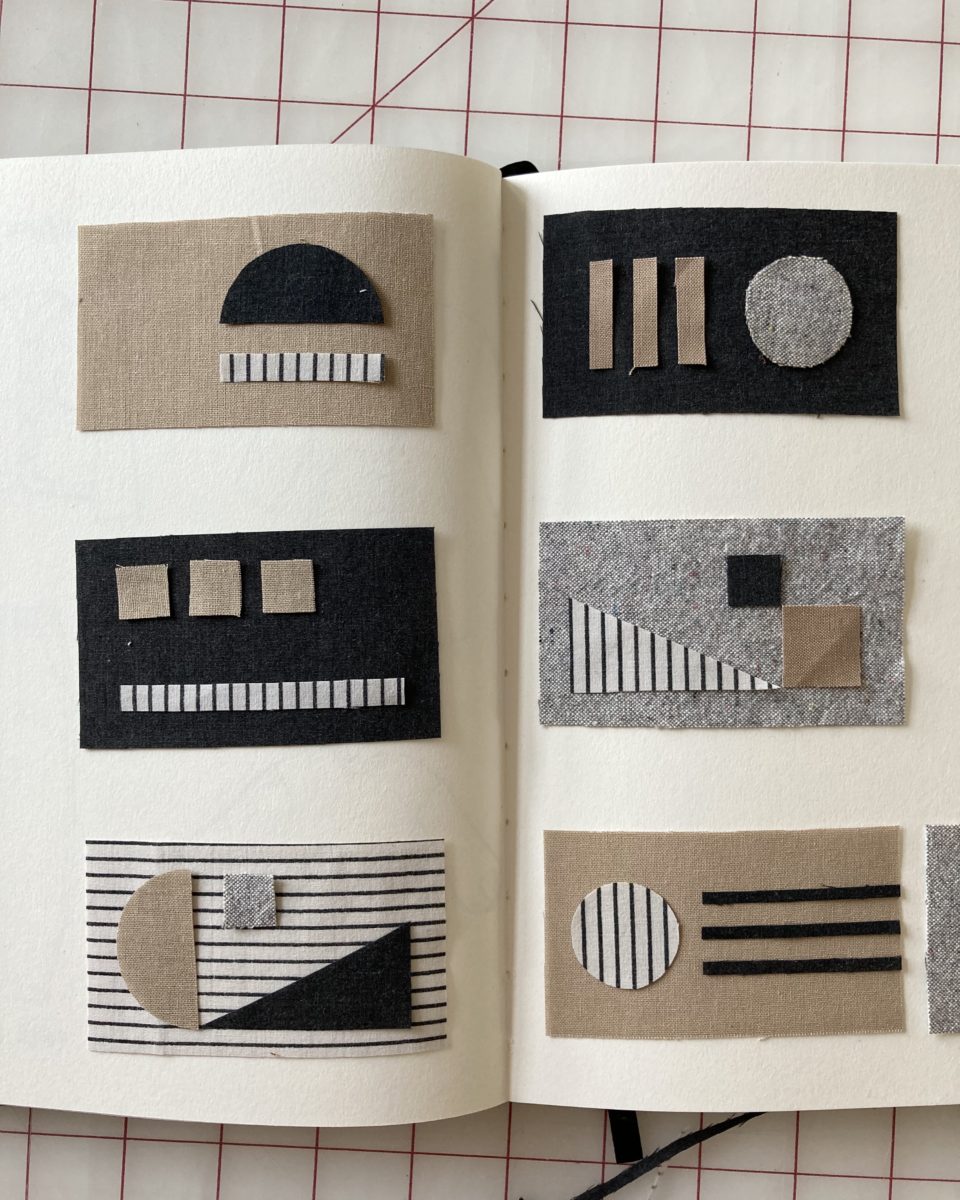
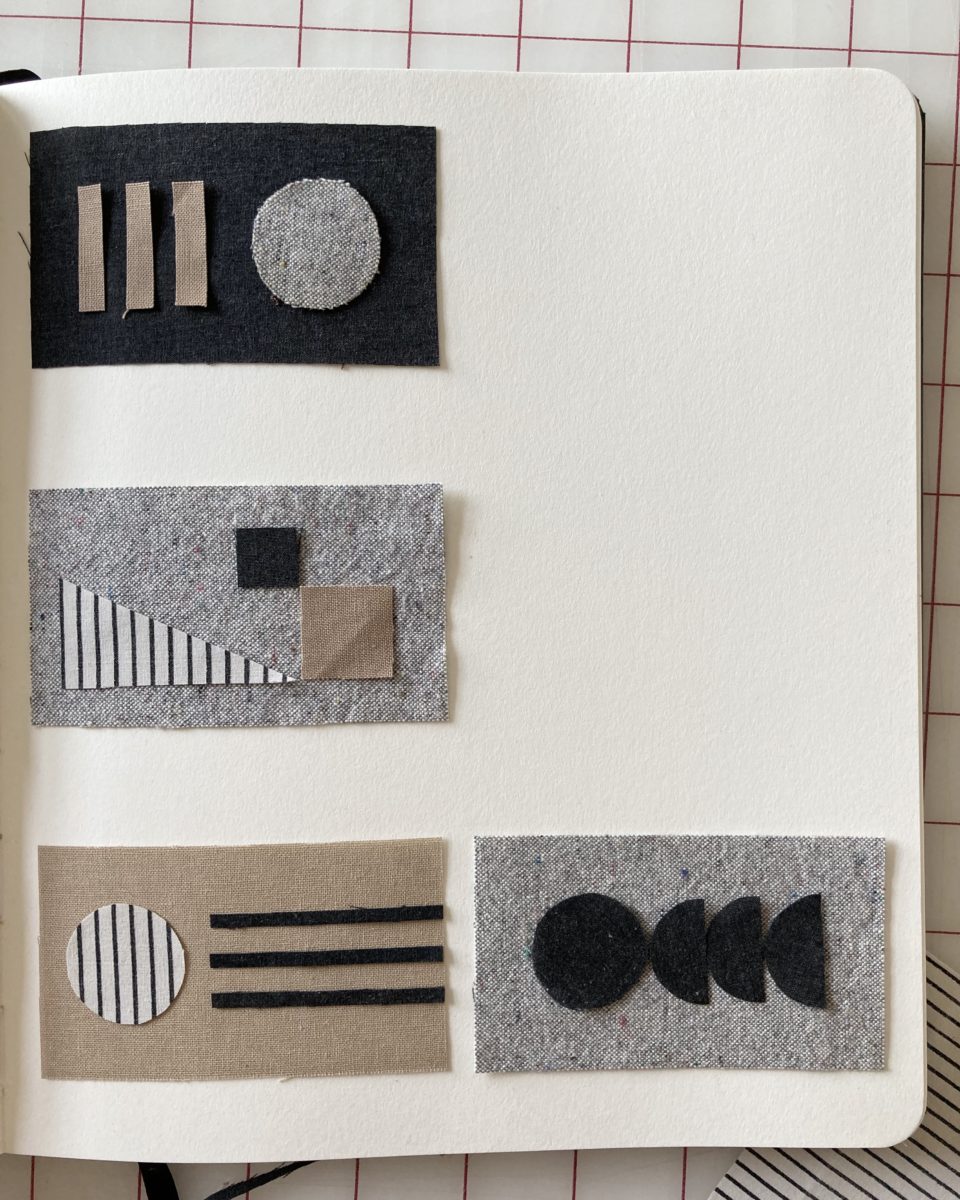
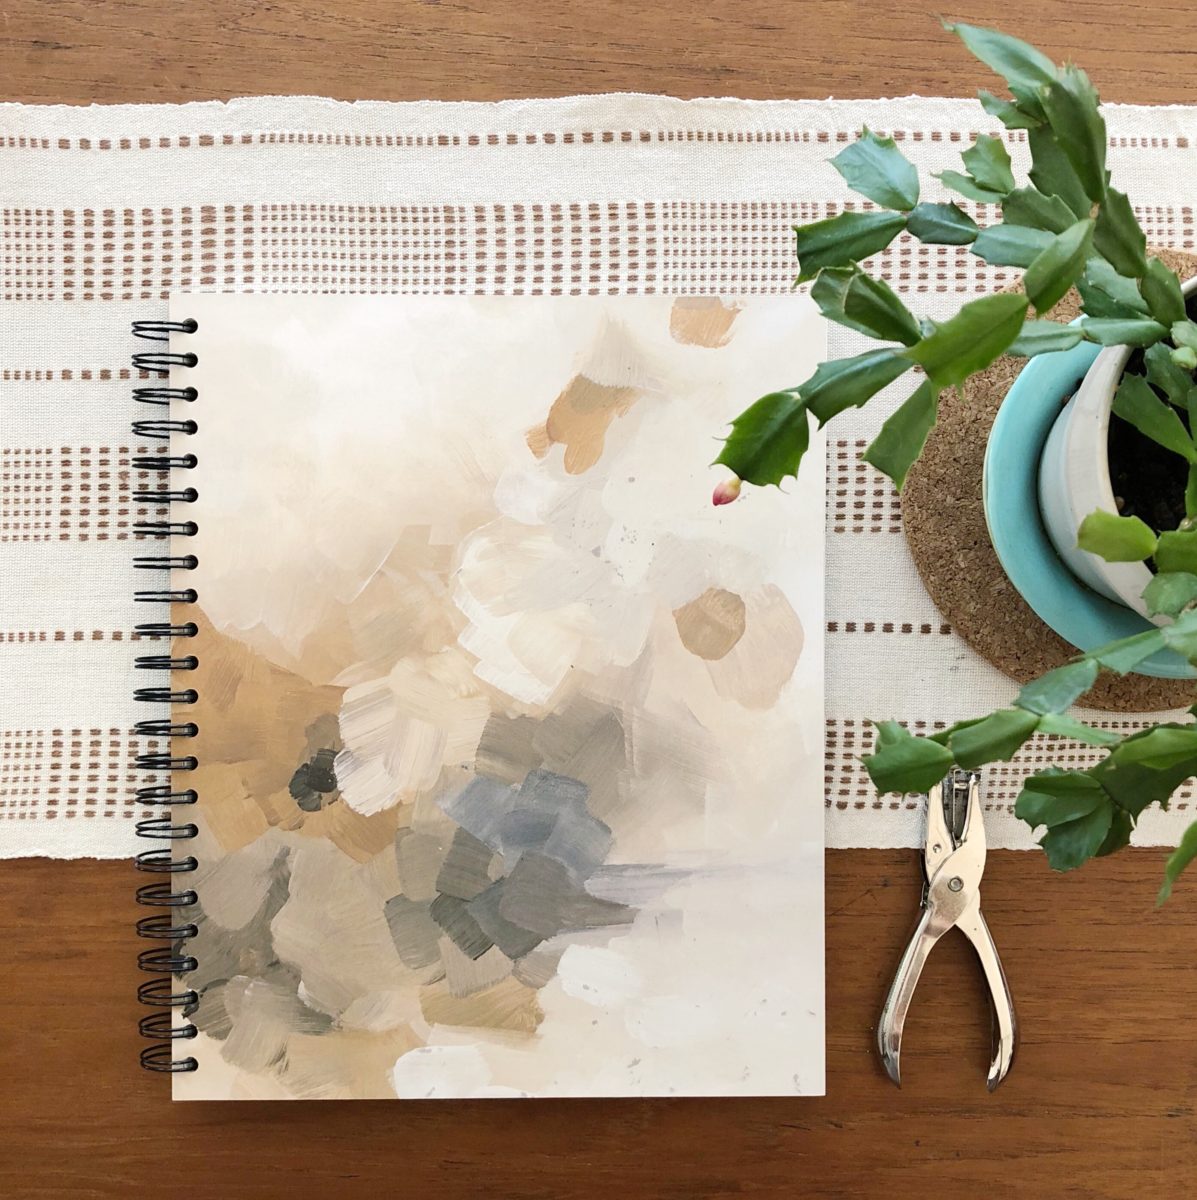
Painting Workshop
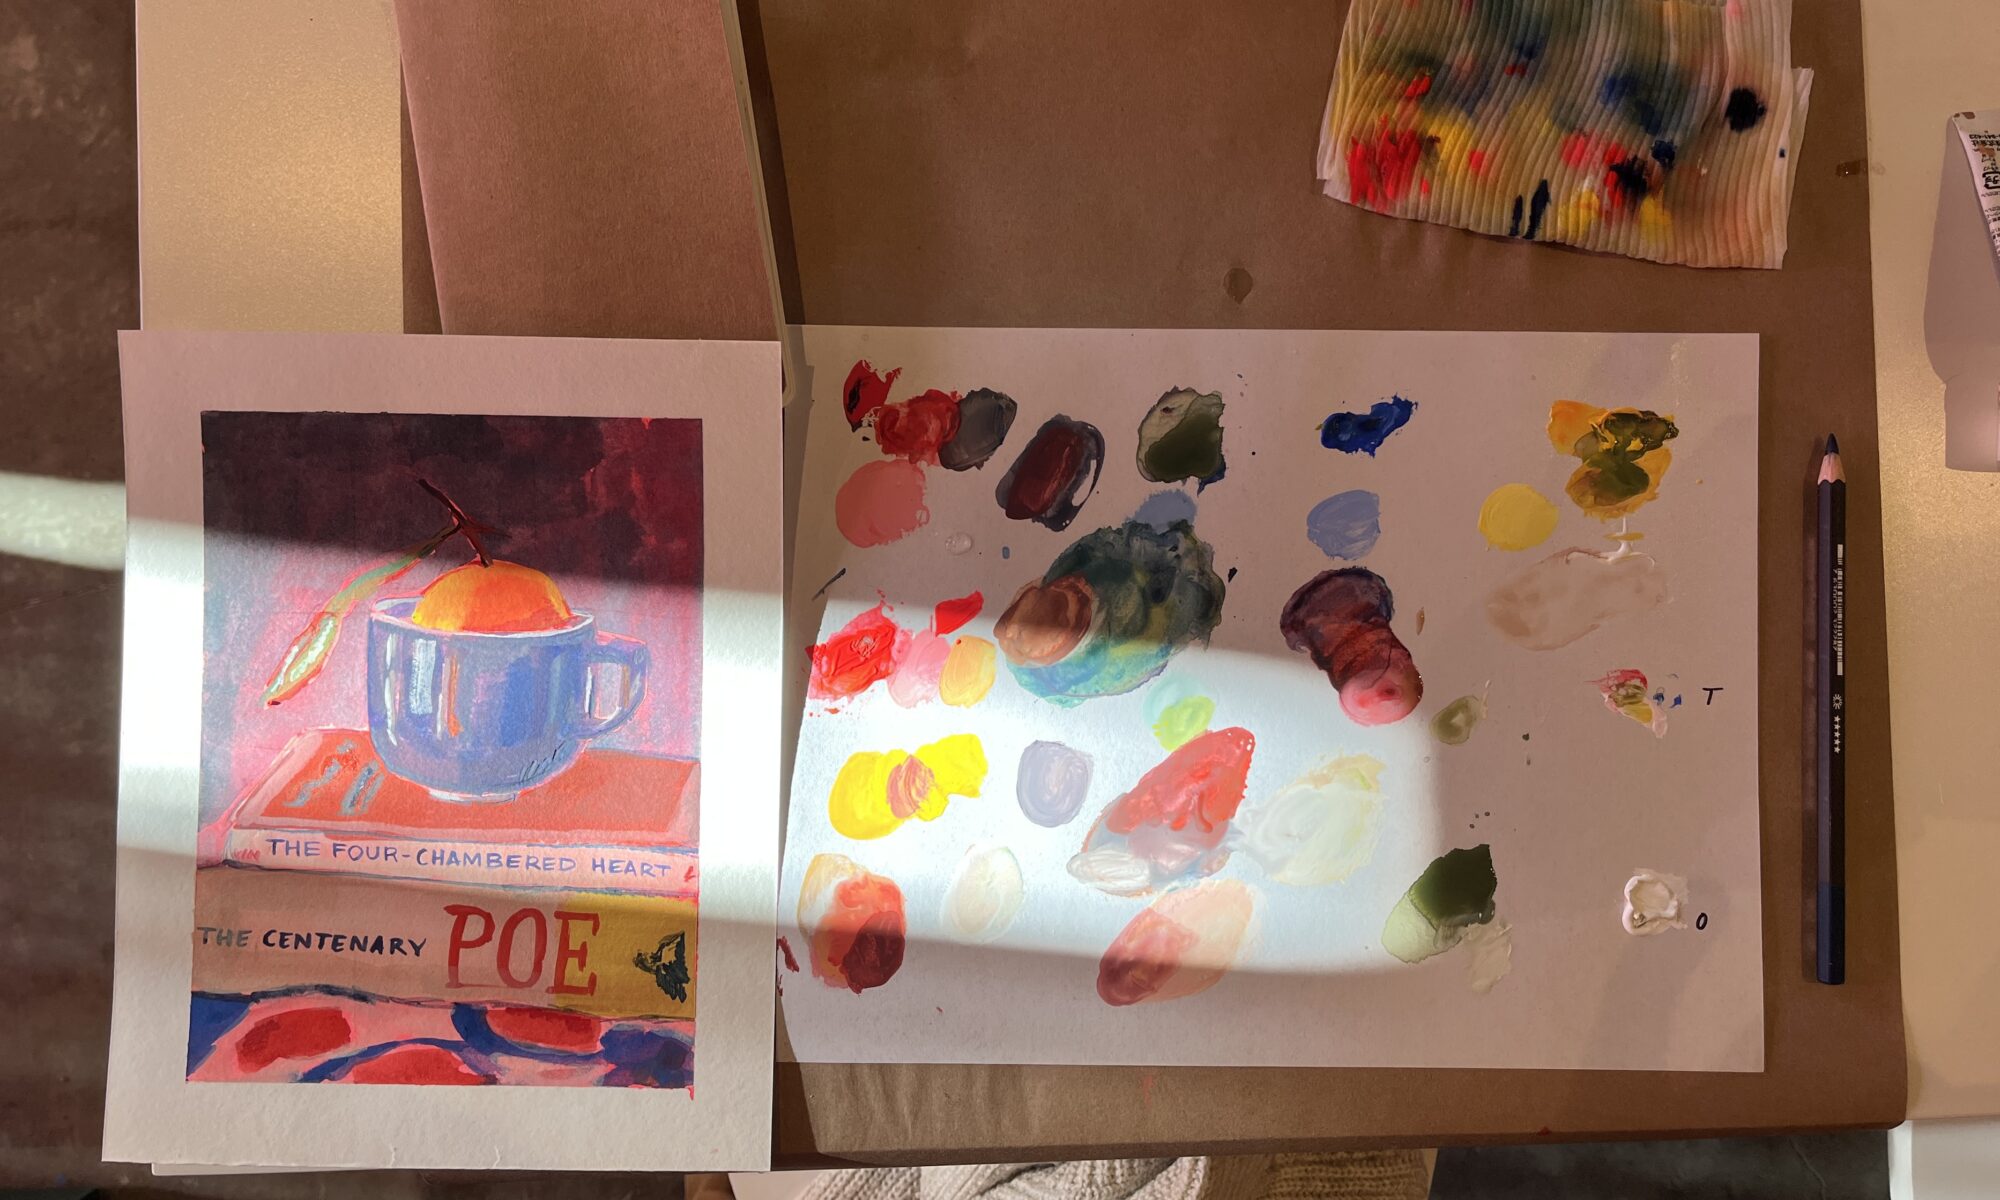
I attended a really lovely painting workshop taught by Allie Yacina at Happy Anyway. I am obsessed with sketchbook artwork and Allie has an incredible practice, some of which is currently on display at the shop. The morning consisted of creating color swatches using a primary palette, thumbnail sketches of a still life, and then a final painting. I left so inspired, I spent way too much money at the art store. Acrylic gouache is a fun medium and I learned just how creamy Caran d’Ache pencils are.
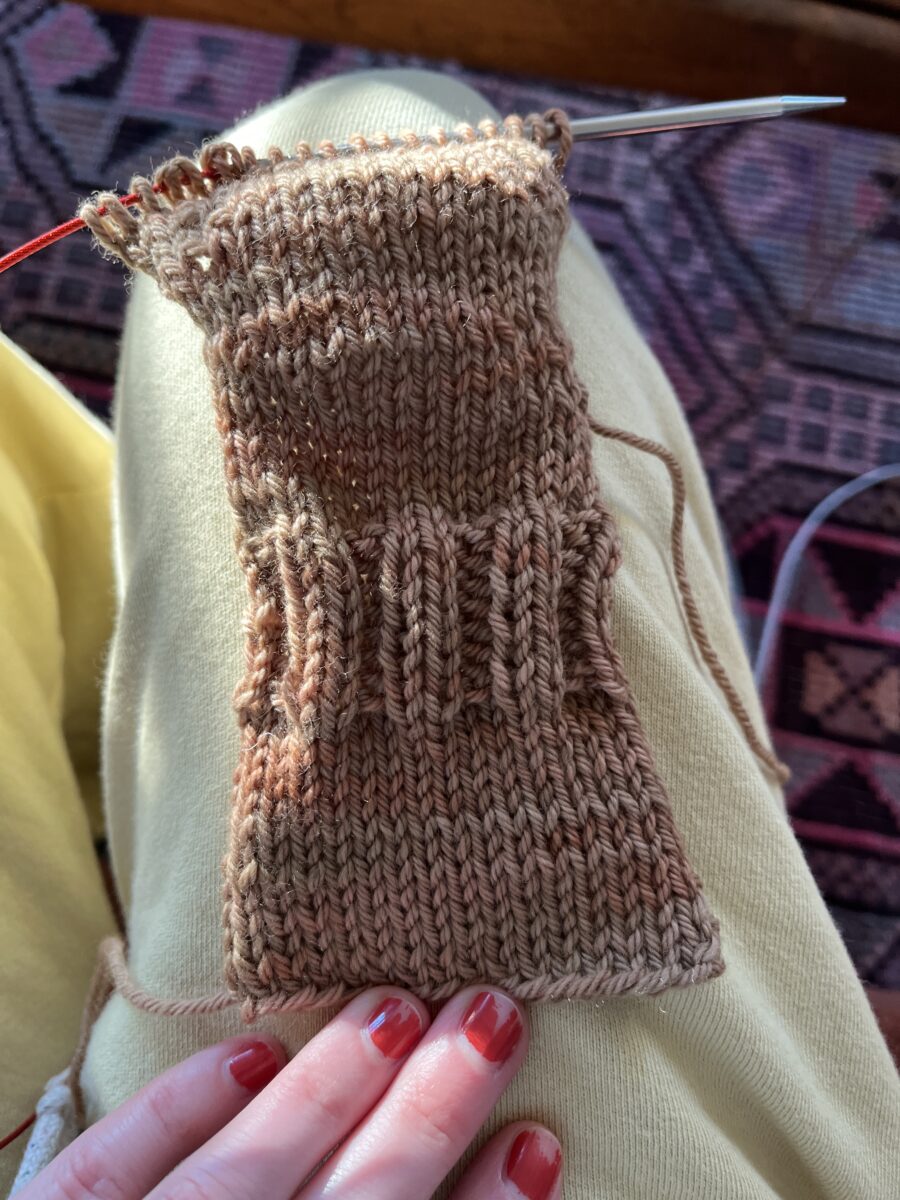
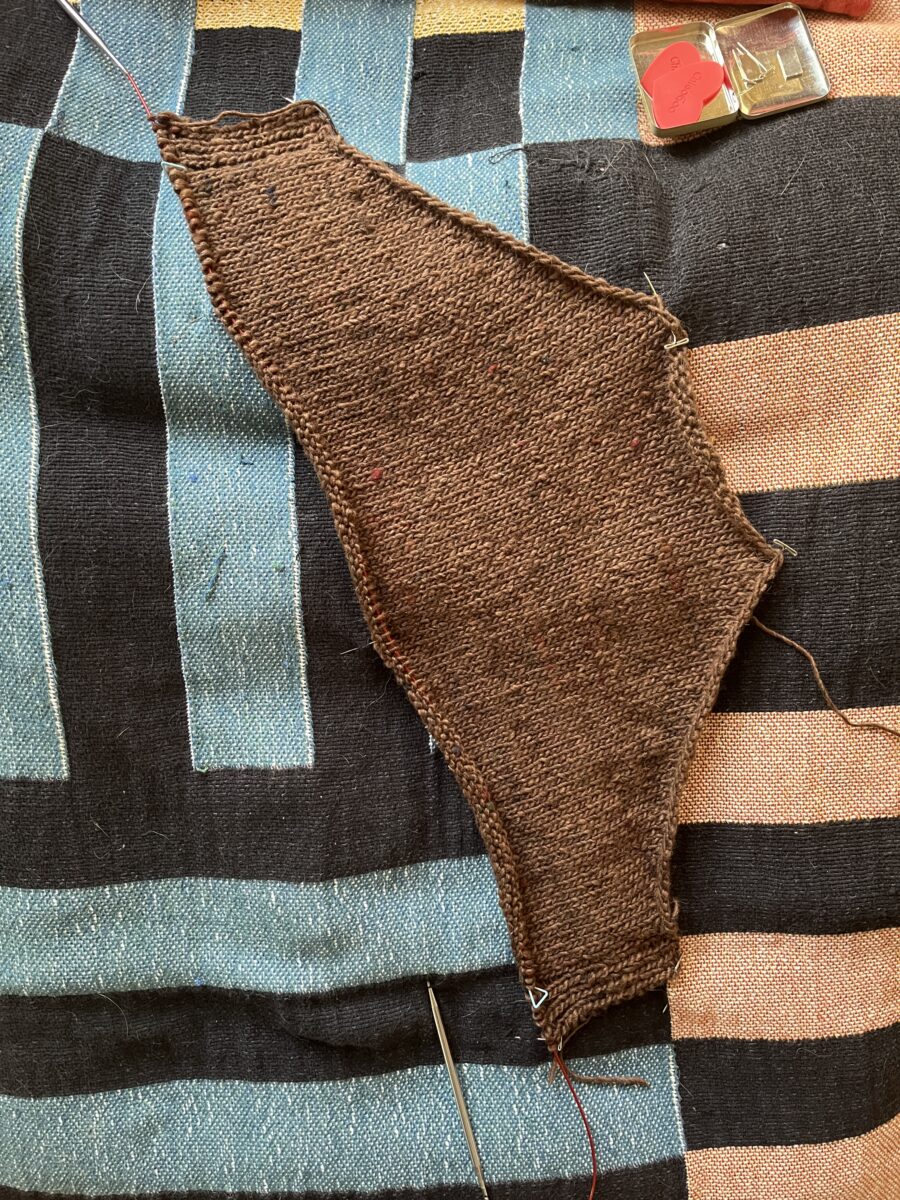
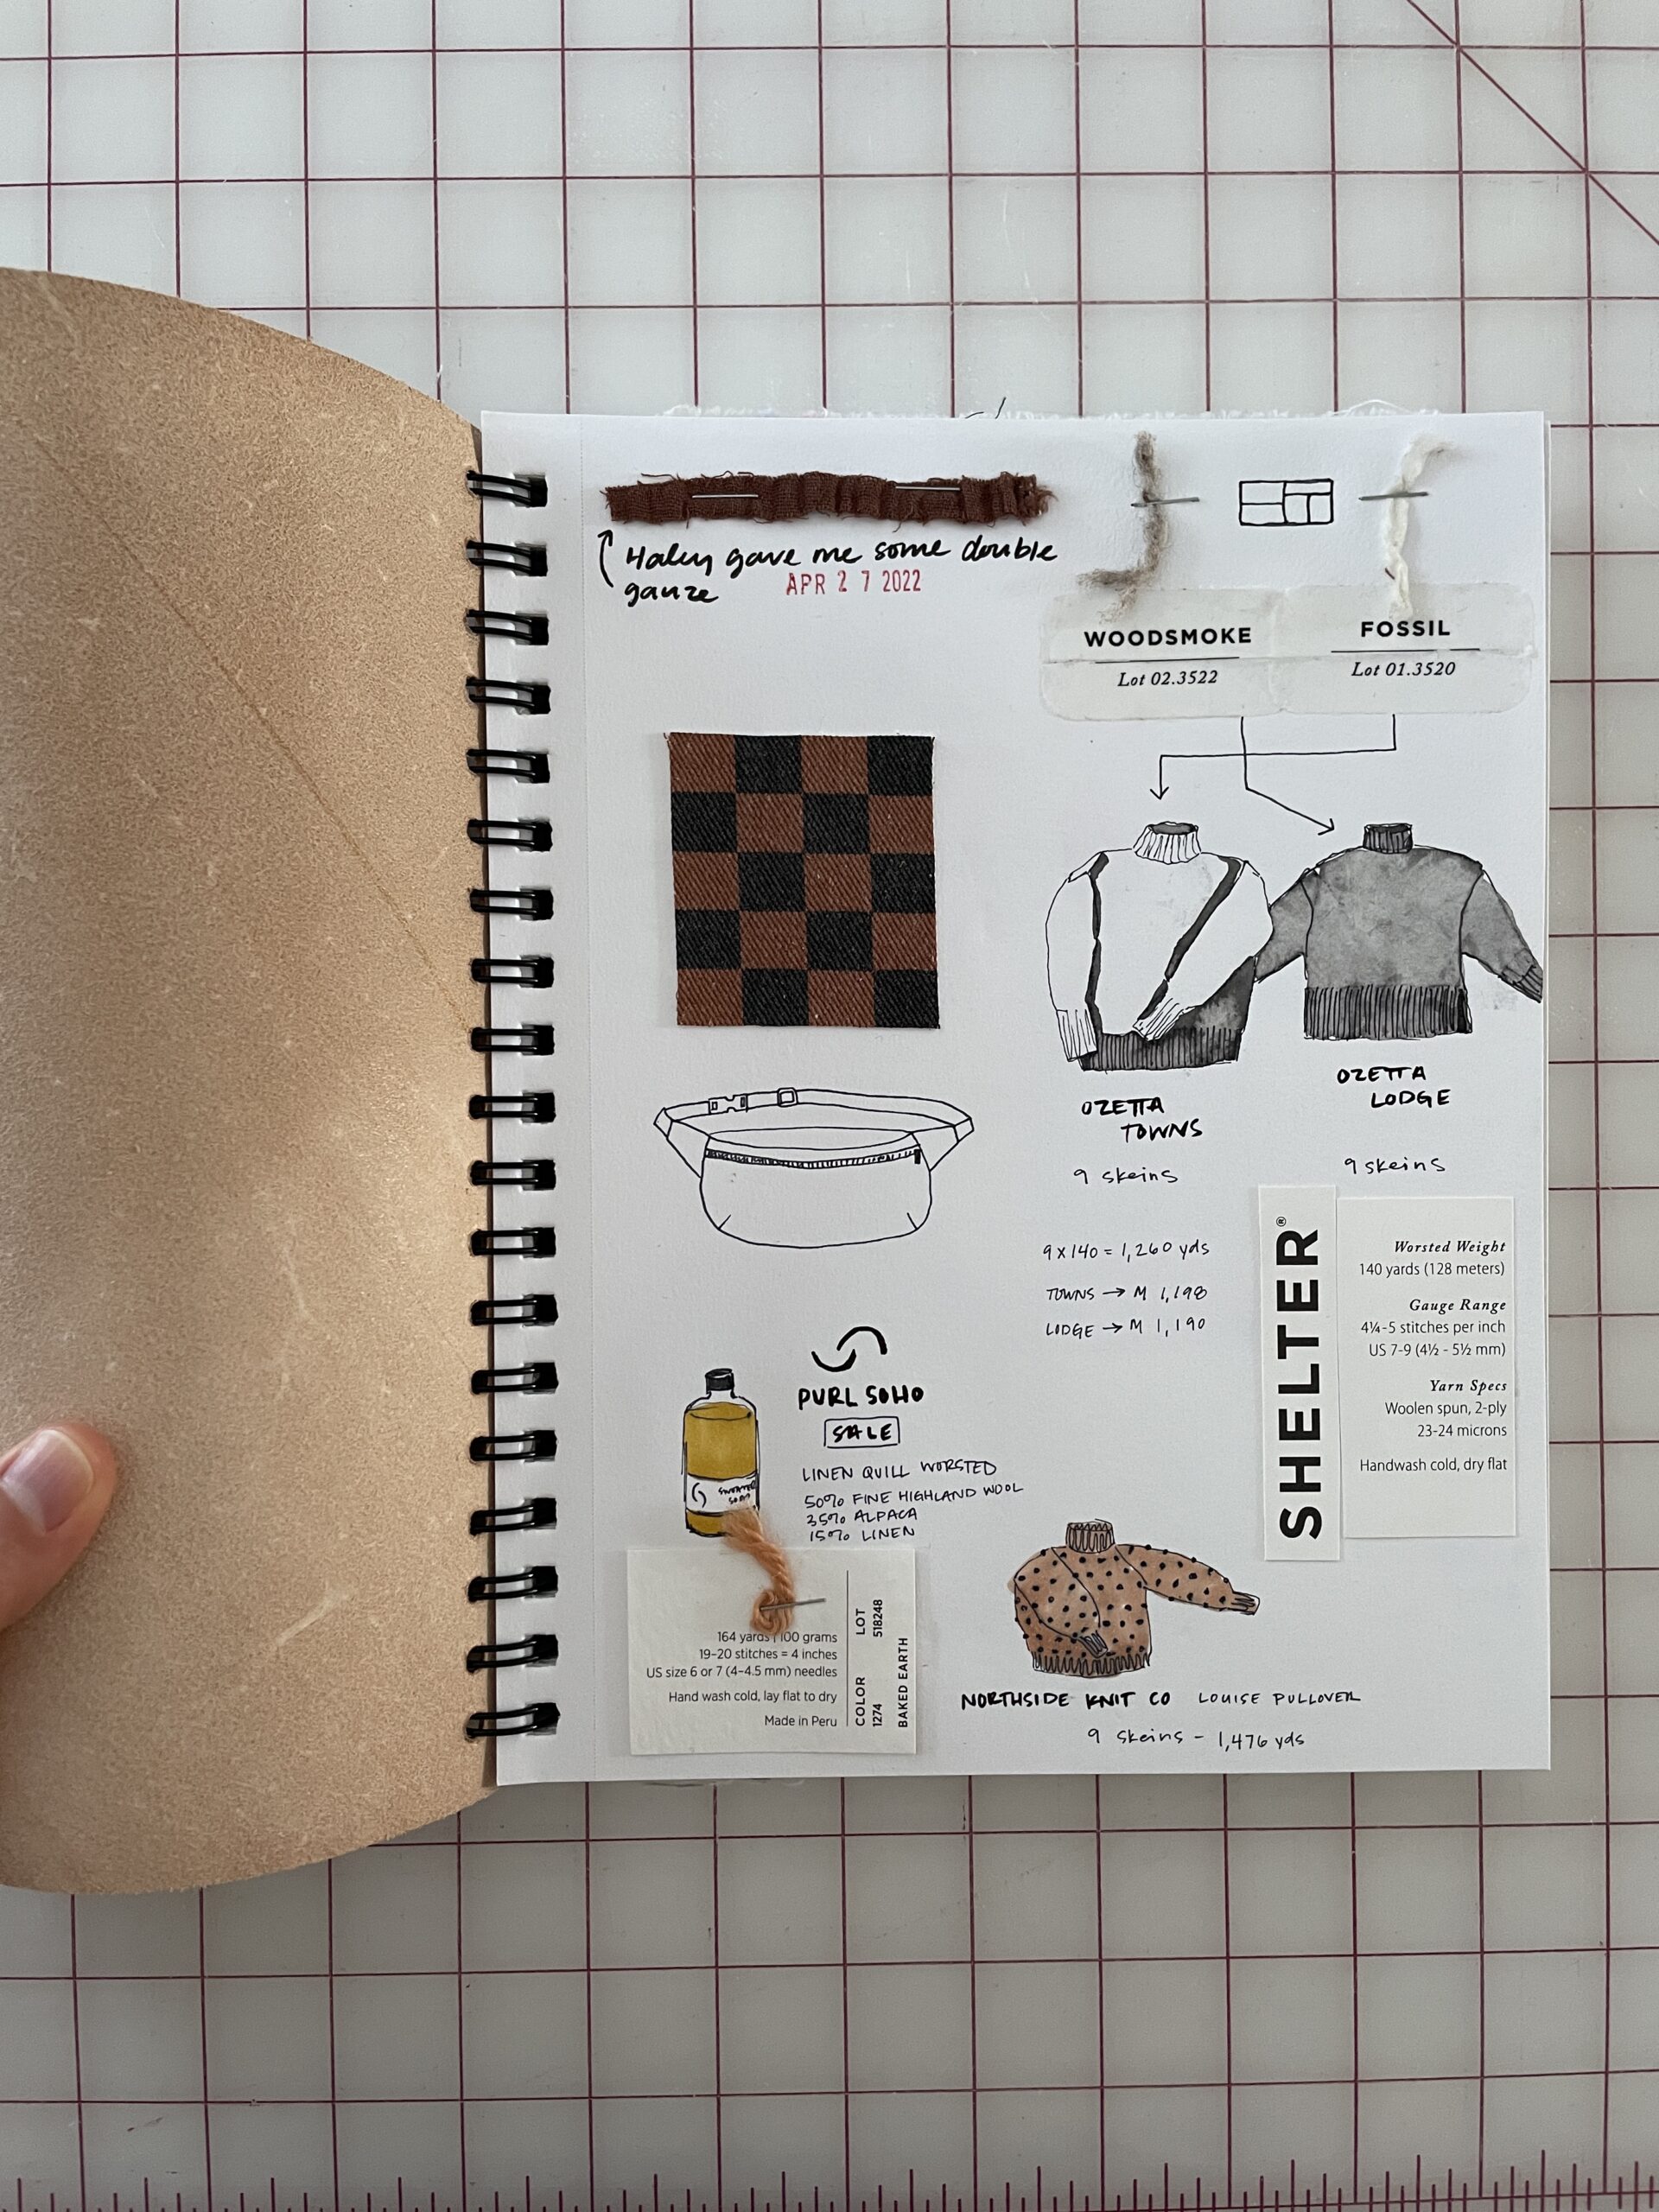
Cast on a New Sweater
Portuguese practice.
In additional to just starting the Port Jacket, I learned the Portuguese knitting style. I wanted to try this method out because I read it can reduce hand pain and give you better purling tension. I’m not getting amazing results doing German short rows with this knitting style, but I’m hopeful it’ll get better with practice.
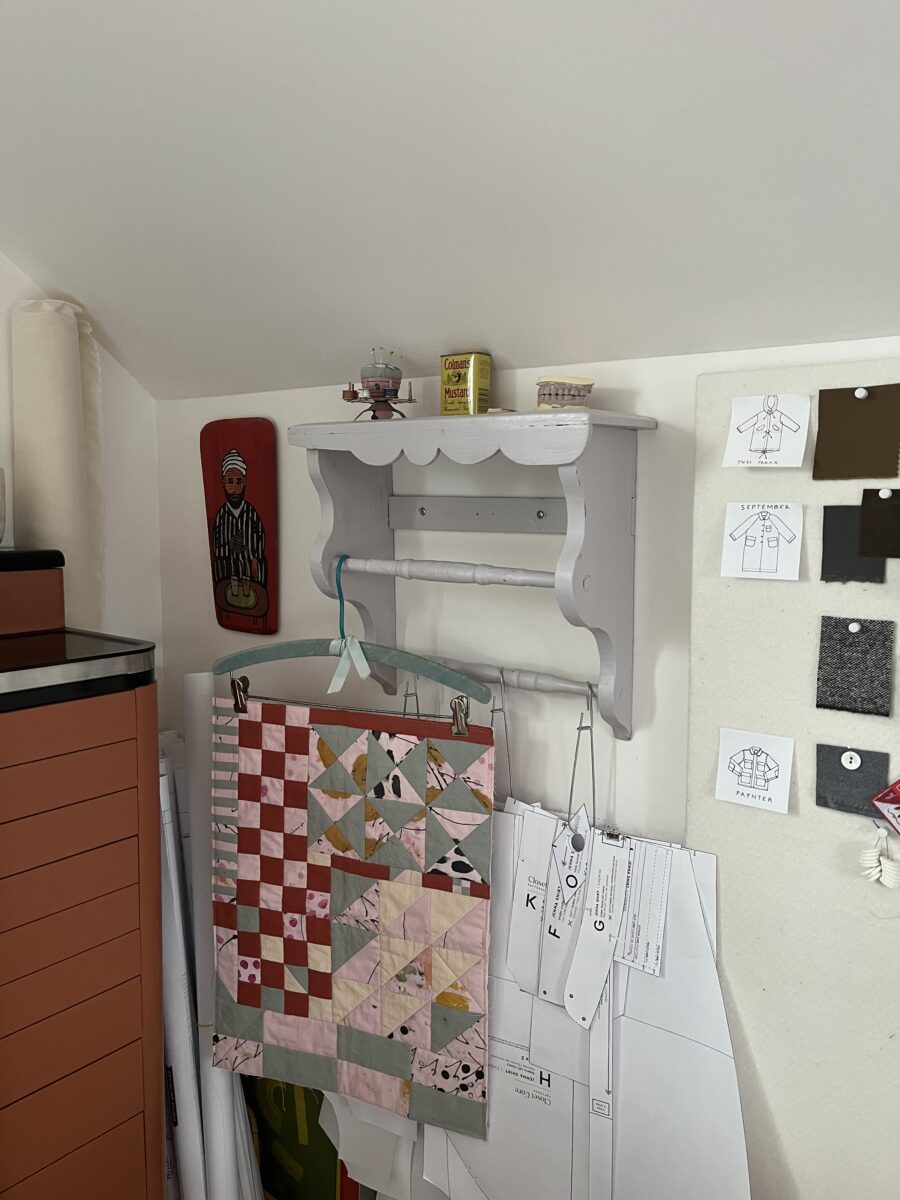
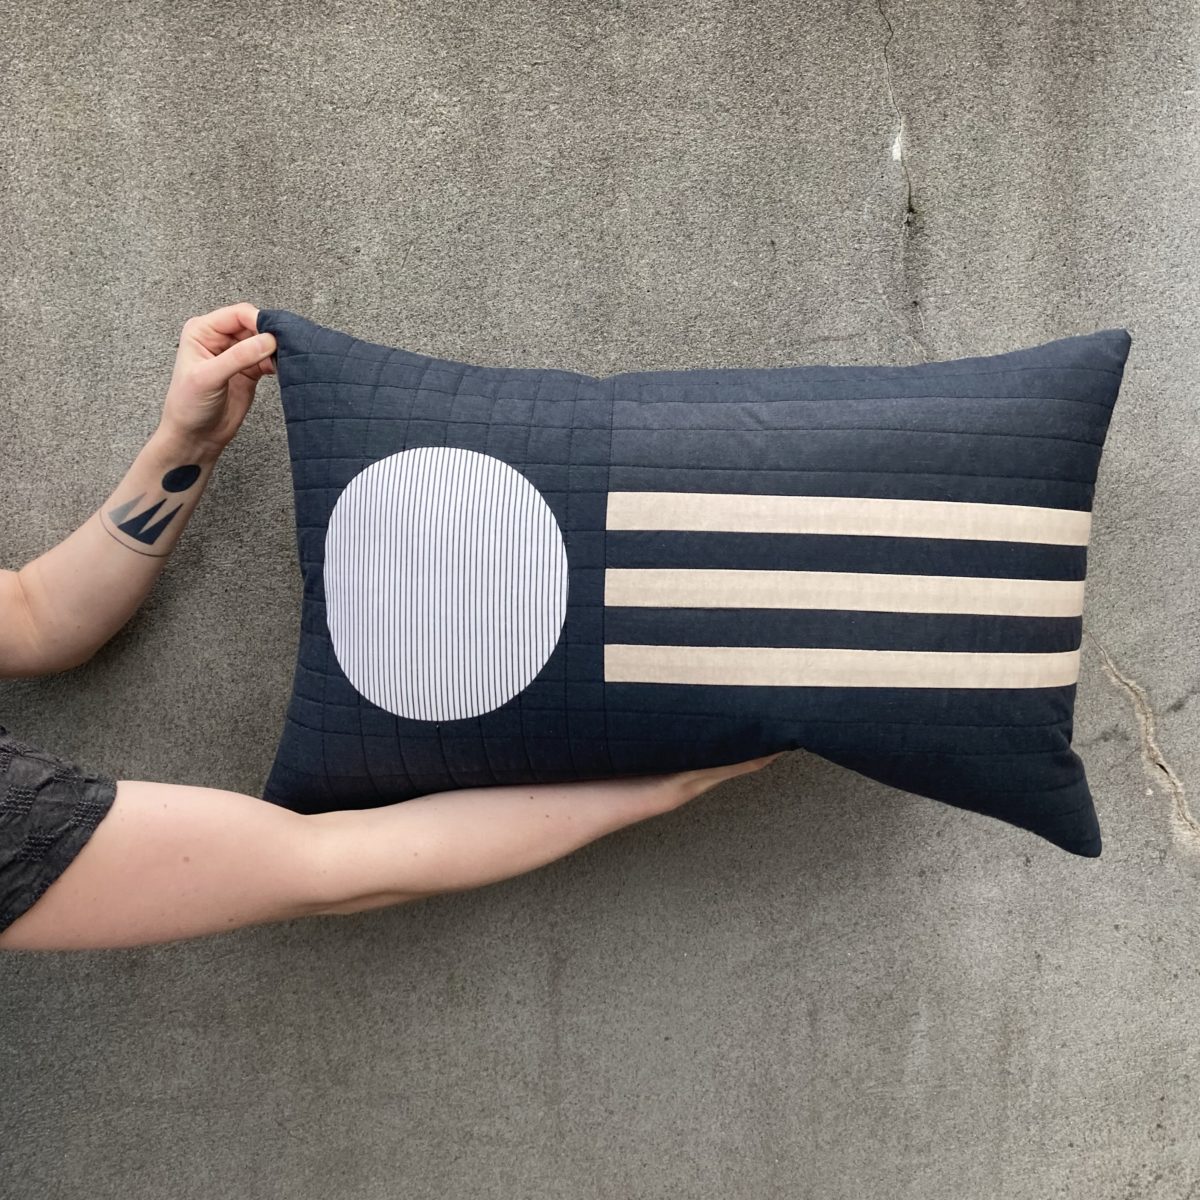
Shirt Sewing + A Weird New Shelf
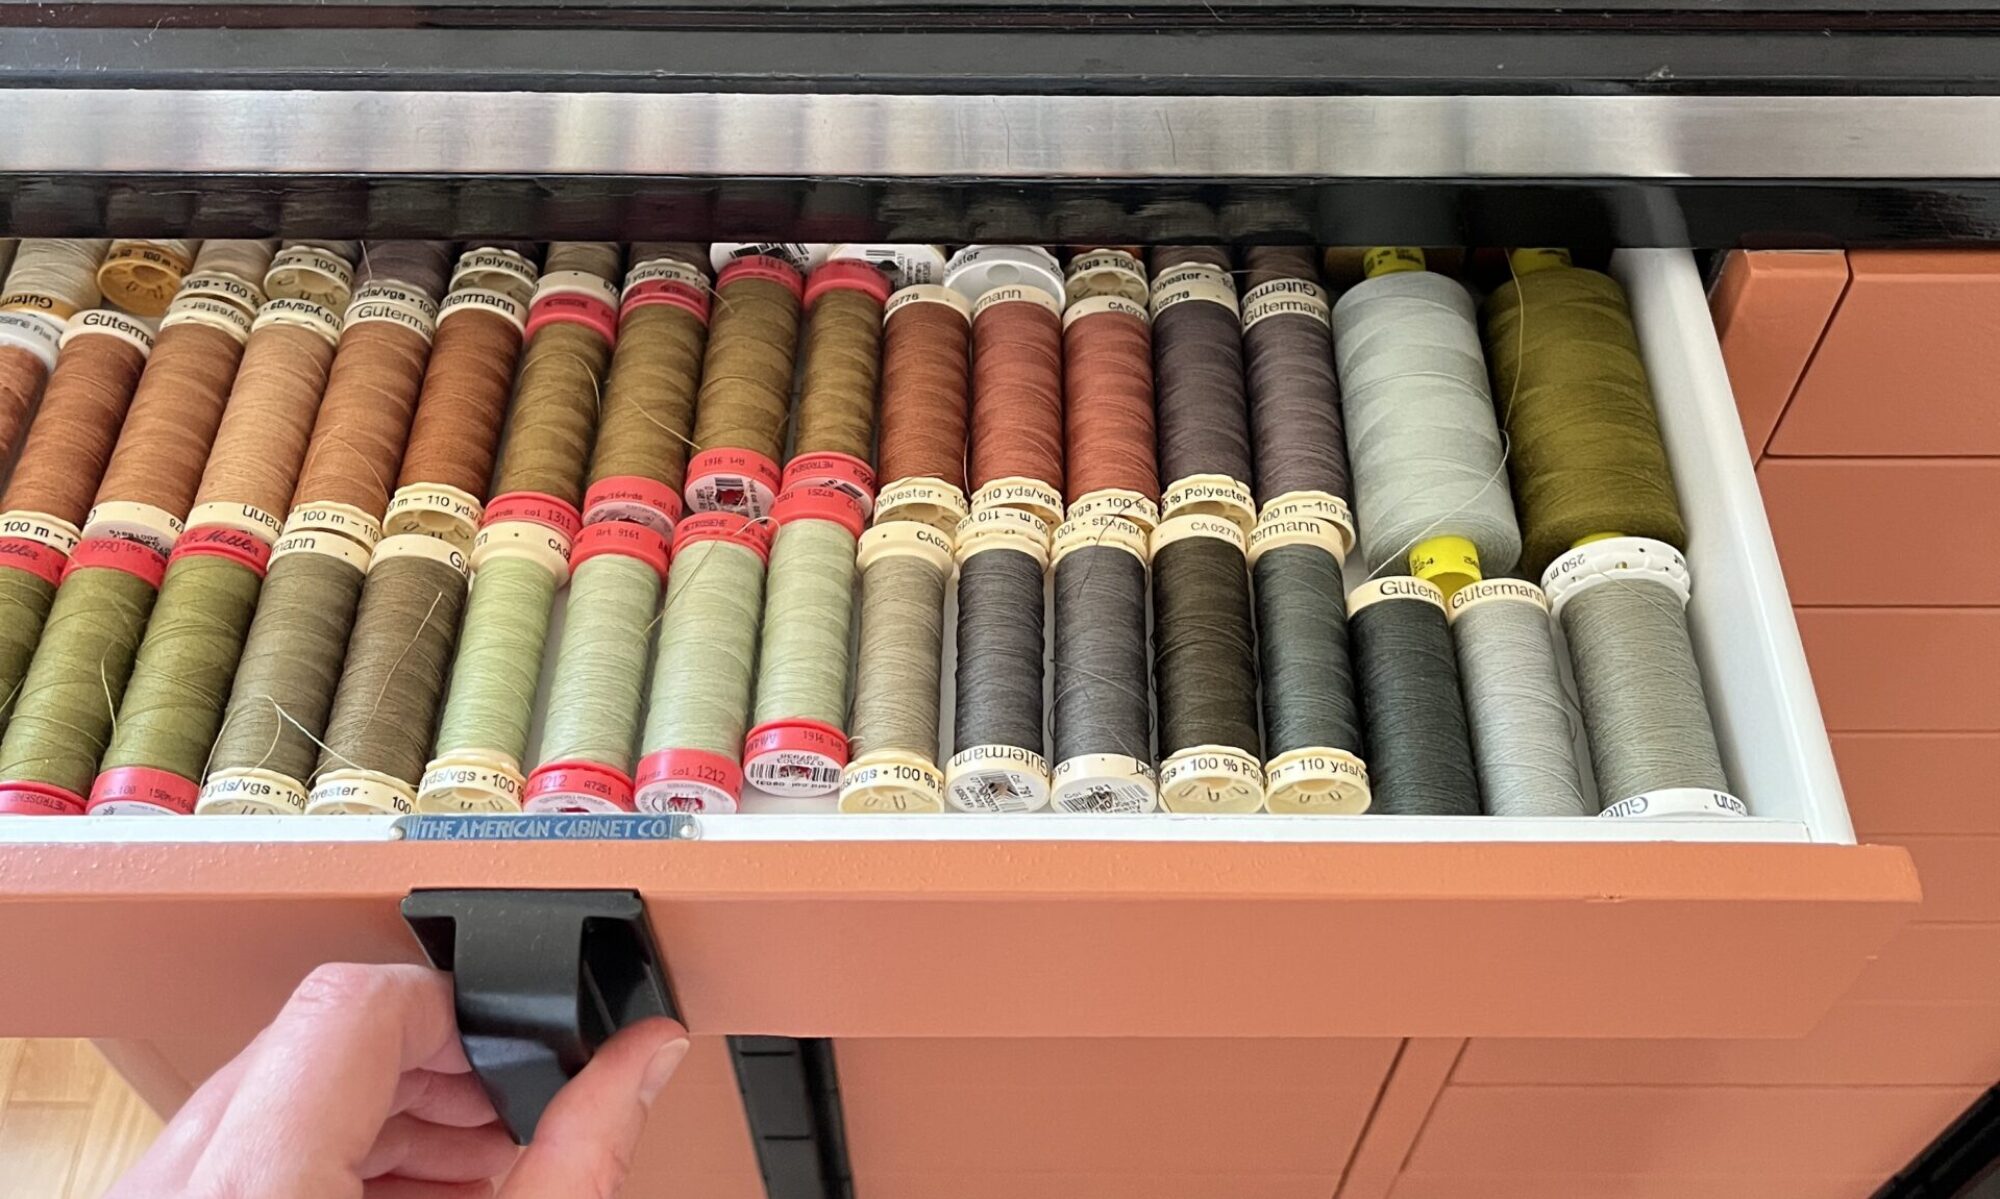
And lastly, I made a lot of progress on this button up. All that’s left are the cuffs and buttonholes. I also bought and installed this so-hideous-it’s-kinda-cute towel rack that I’ve had my eyes on for months. I wanted something on the wall here where I could hang works in progress and in-use patterns. I also moved my small “design board” over to this wall too. It’s way easier to access now that it’s not behind a table. You can see I have quite a few outerwear projects planned!
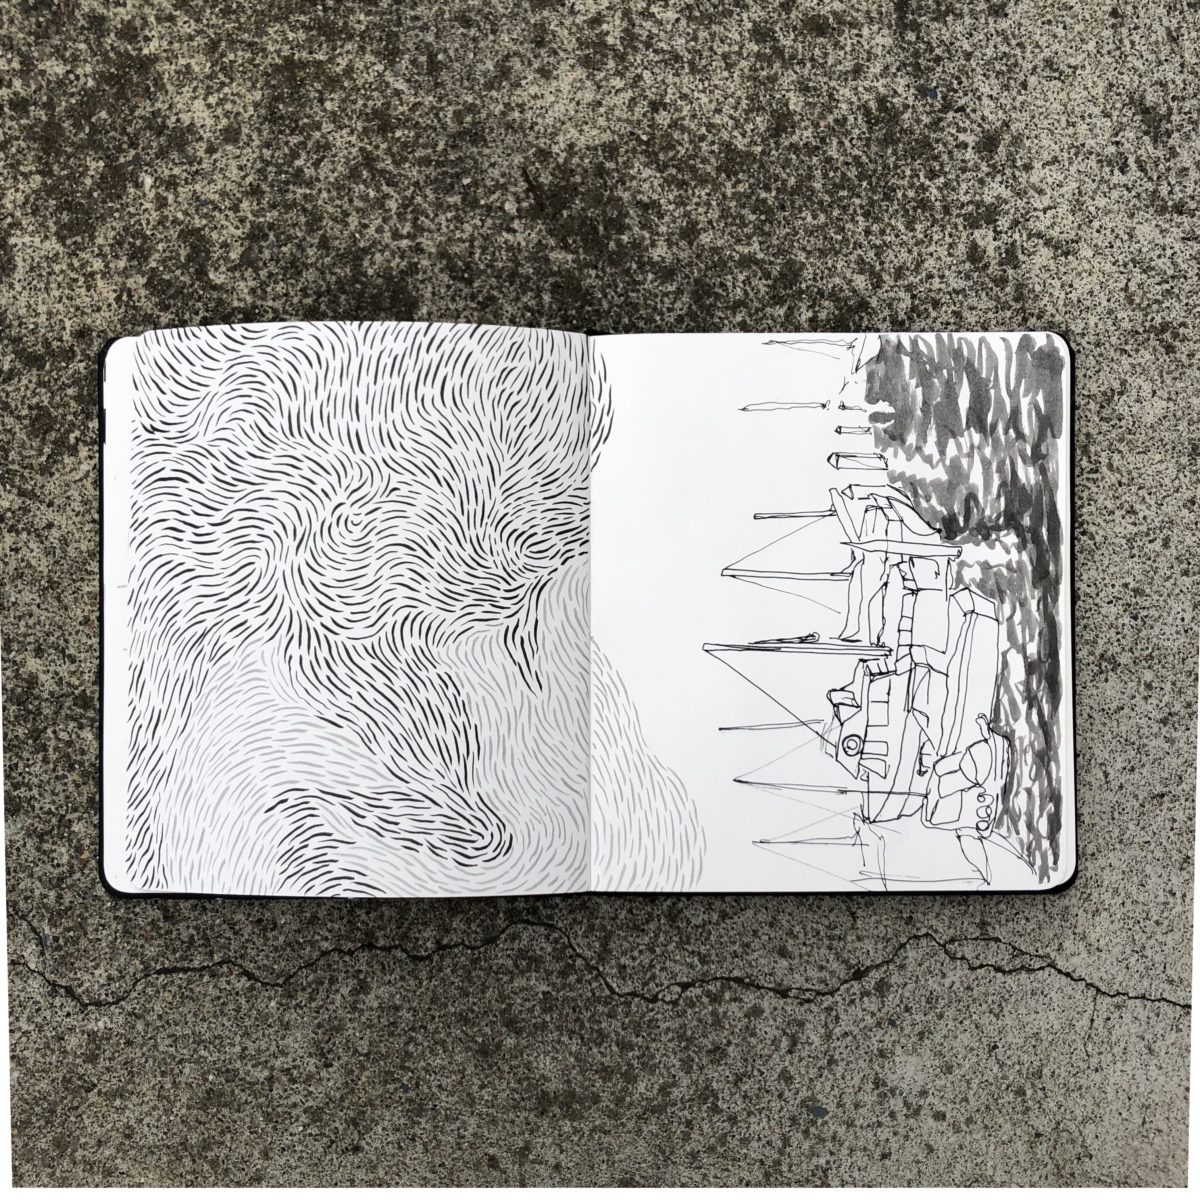
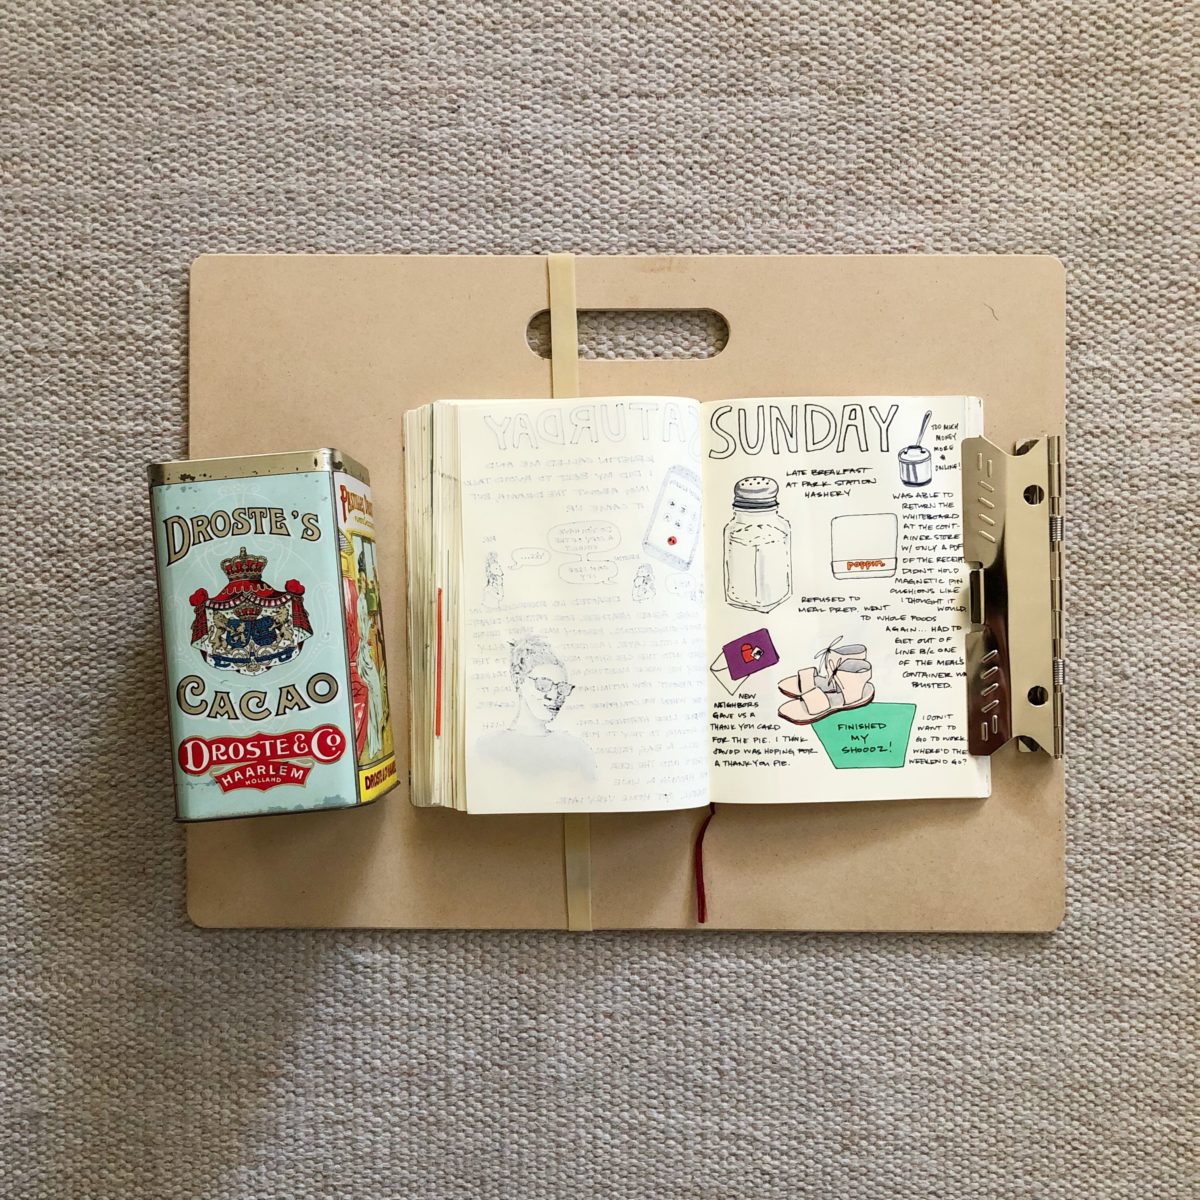
Since I started logbooking, my sketchbook practice has pretty much come to halt. I started my second Shinola back in May of 2018 and I’ve only filled about a third of its pages.
This past week I definitely started to feel its absence, so I brought my sketchbook to work and in my more independent/chill classes, I worked alongside my kids.
It feels good and I’m hoping I can find a balance moving forward.
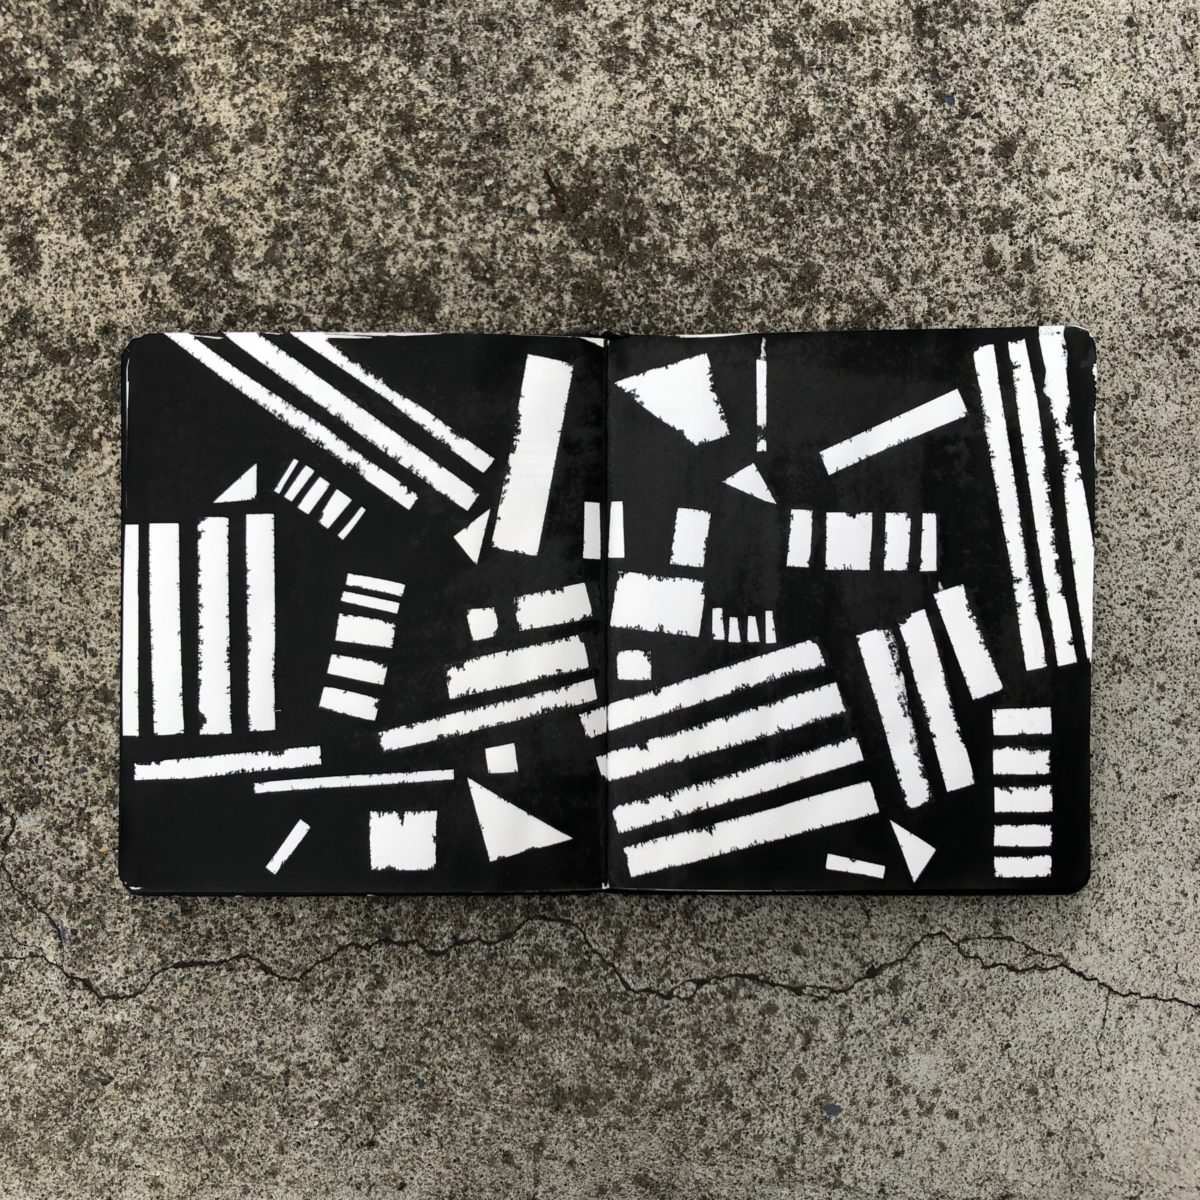
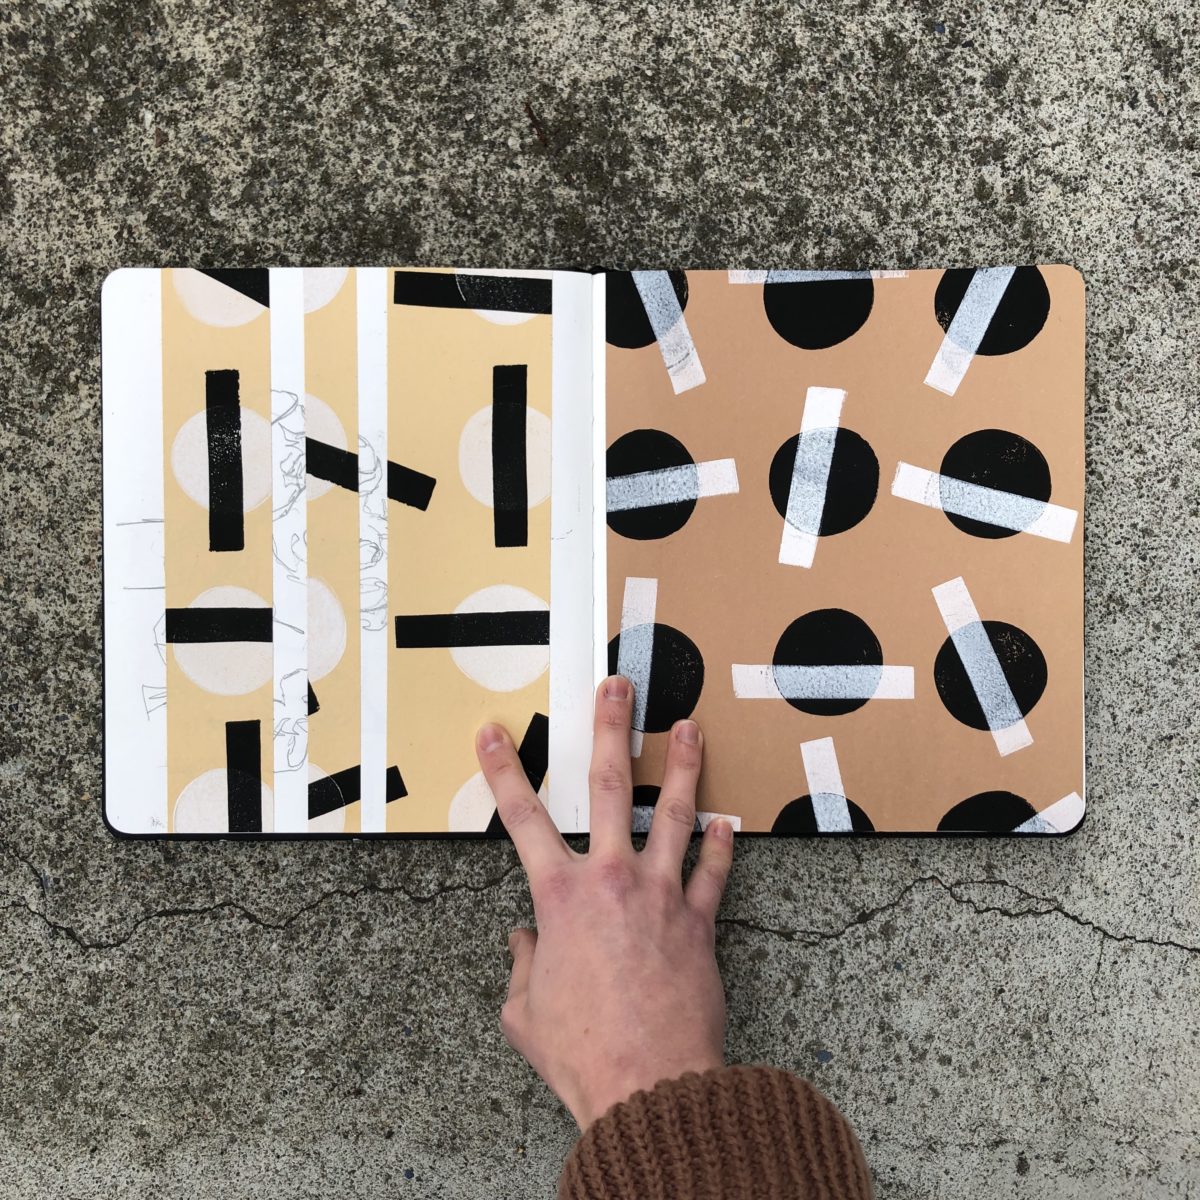
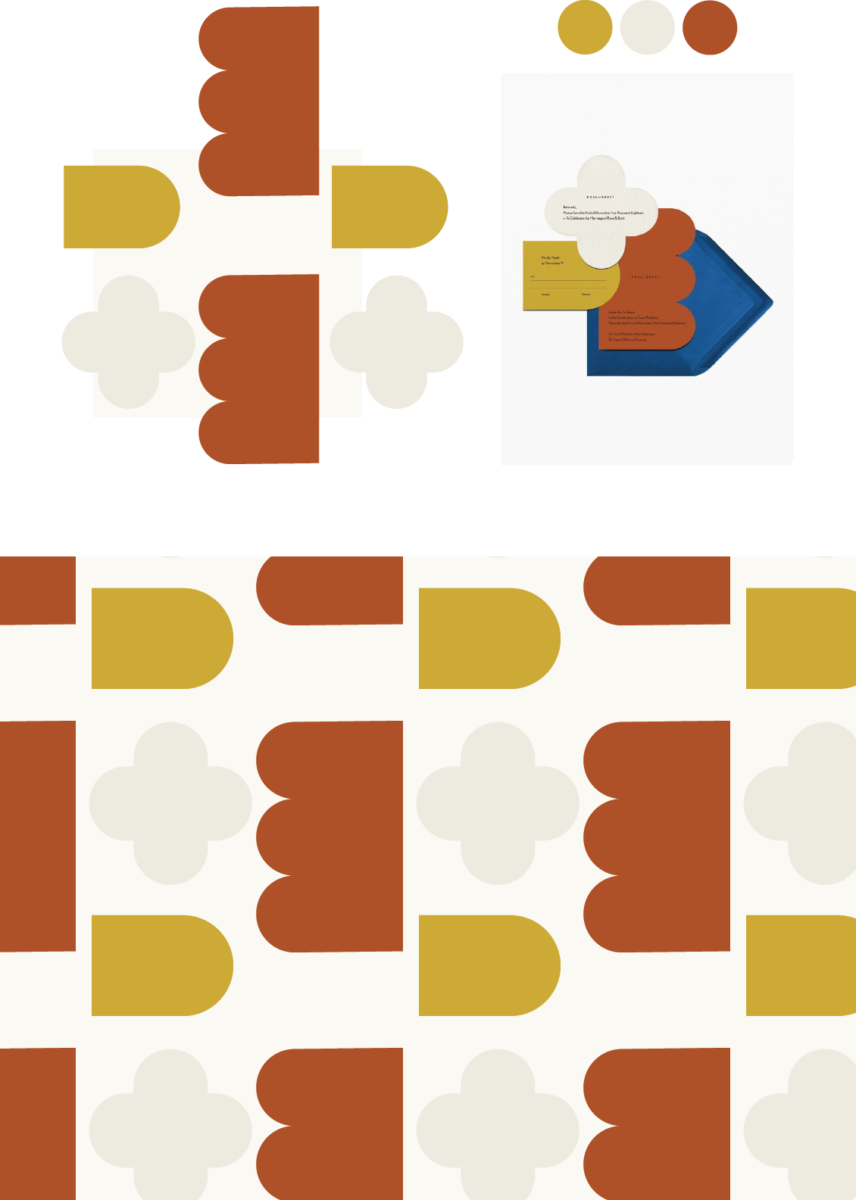
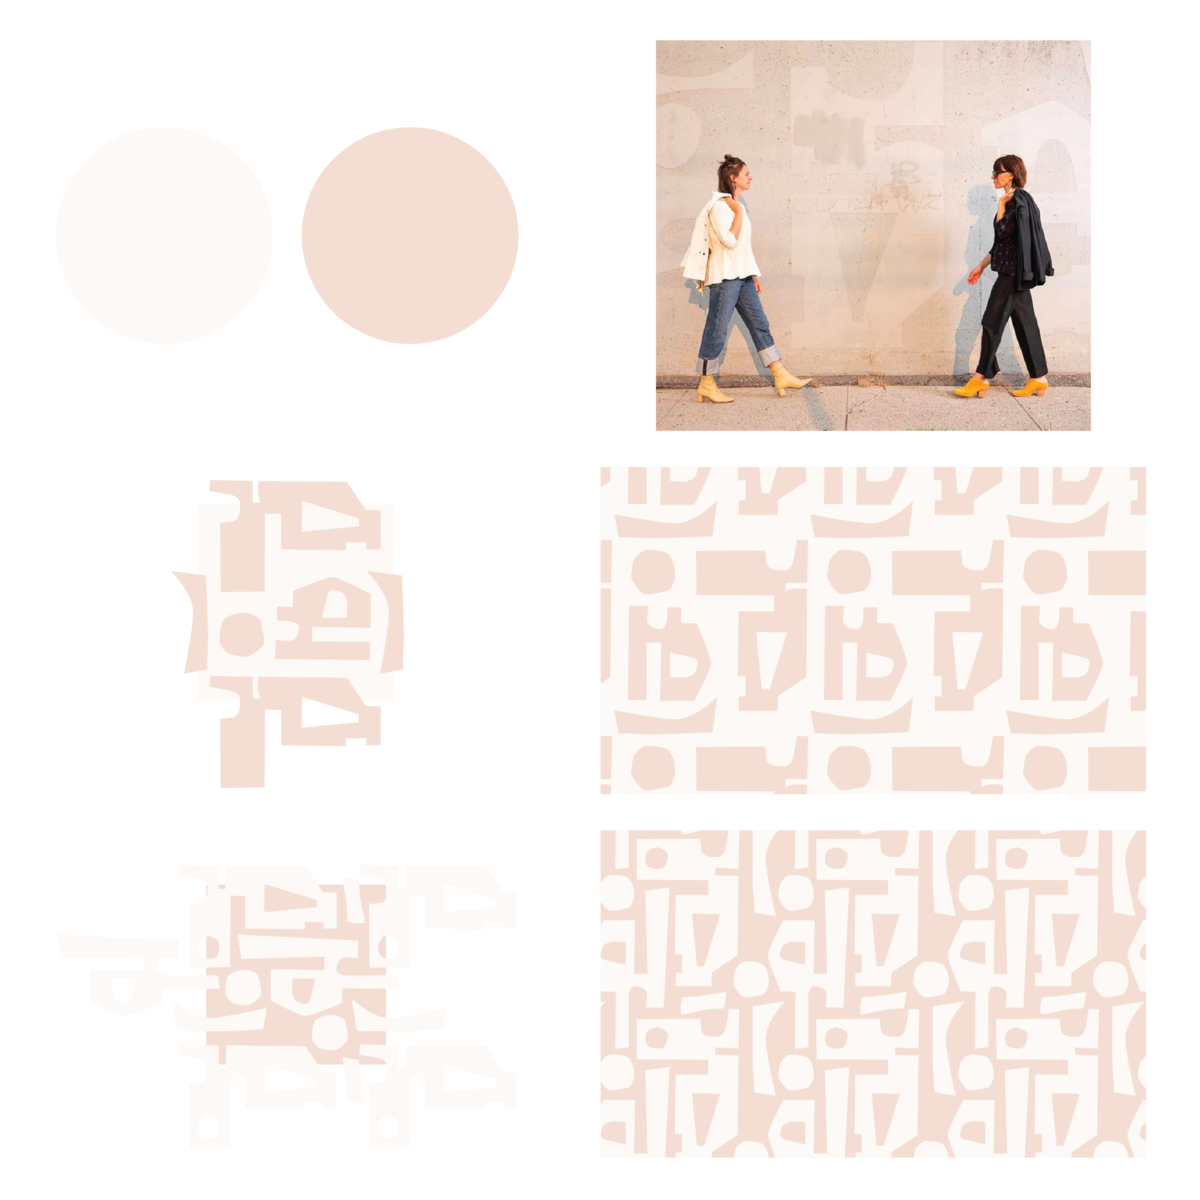
Hi 2019! You’re the year I’m going to figure out Adobe Illustrator! There are two main reasons for this goal: The first is I need to diversify my skills for that impending career change and the second is that I want to design and potentially even produce my own line of fabrics.
First (almost) independently made repeat. My mom had to help get it into my swatches.
As the child of two graphic designers, I really missed an opportunity to learn this software well before my 30s. But, that type of thinking won’t help me now, so while I was home for the holidays, I sat down with my mom for several in-person tutorials.
It is a powerful and imperfect software. Aside from there being a million different ways to do one thing, it has some annoying glitches. It was actually a little comforting to see my mom, a person who has used the creative suite for many years, occasionally struggle to make a thing happen on our computer screens. But, with just a few curse words and a lot of ⌘z’s, I was able to get the basics down for creating repeat patterns!
In the name of learning, I’m going to challenge myself to create one repeat pattern a week for 10 weeks and share them here on the blog. I’m having a Repeat Pattern Party! Will those 10 repeats lead to a fabric collection? Maybe. Hopefully. But honestly, this self-imposed challenge is going to be focused on learning to navigate the software with some ease.
A few folks have asked which sketchbooks, pens, and general art media I prefer. Here’s a partial dive into what I use:
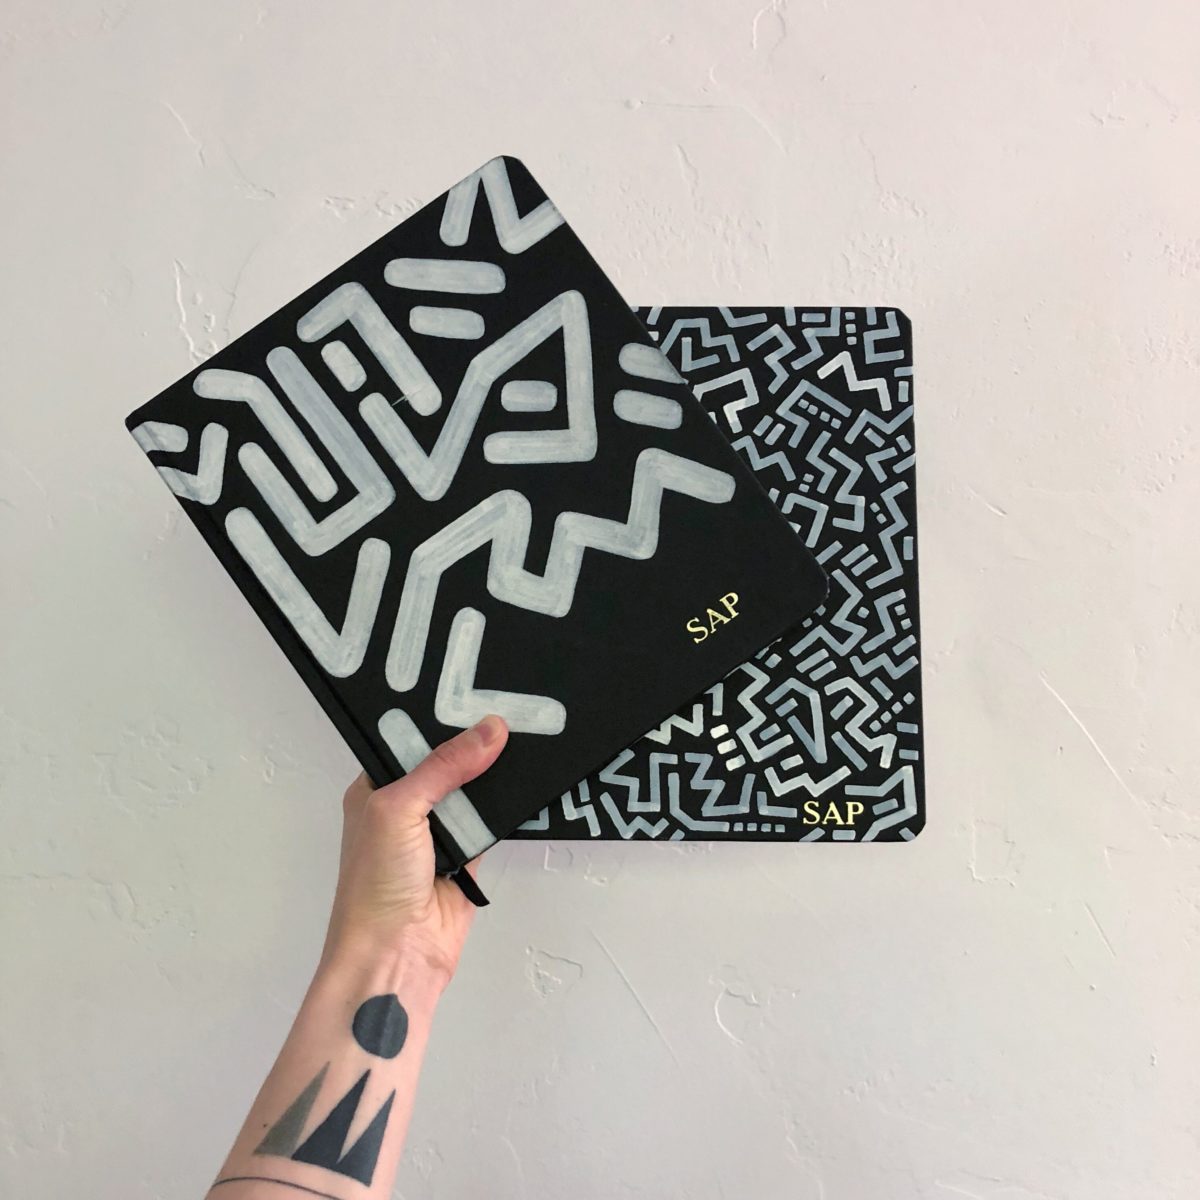
Sketchbooks – I regularly use several different sketchbooks depending on what I’m doing. For sewing plans, media experimentation, and more in-depth drawings/paintings, I LOVE the Shinola sketchbook. It has the exterior beauty of a Moleskine, but with higher quality paper. The paper is a crisp white with a bit of tooth and can actually hold wet media unlike Moleskines.
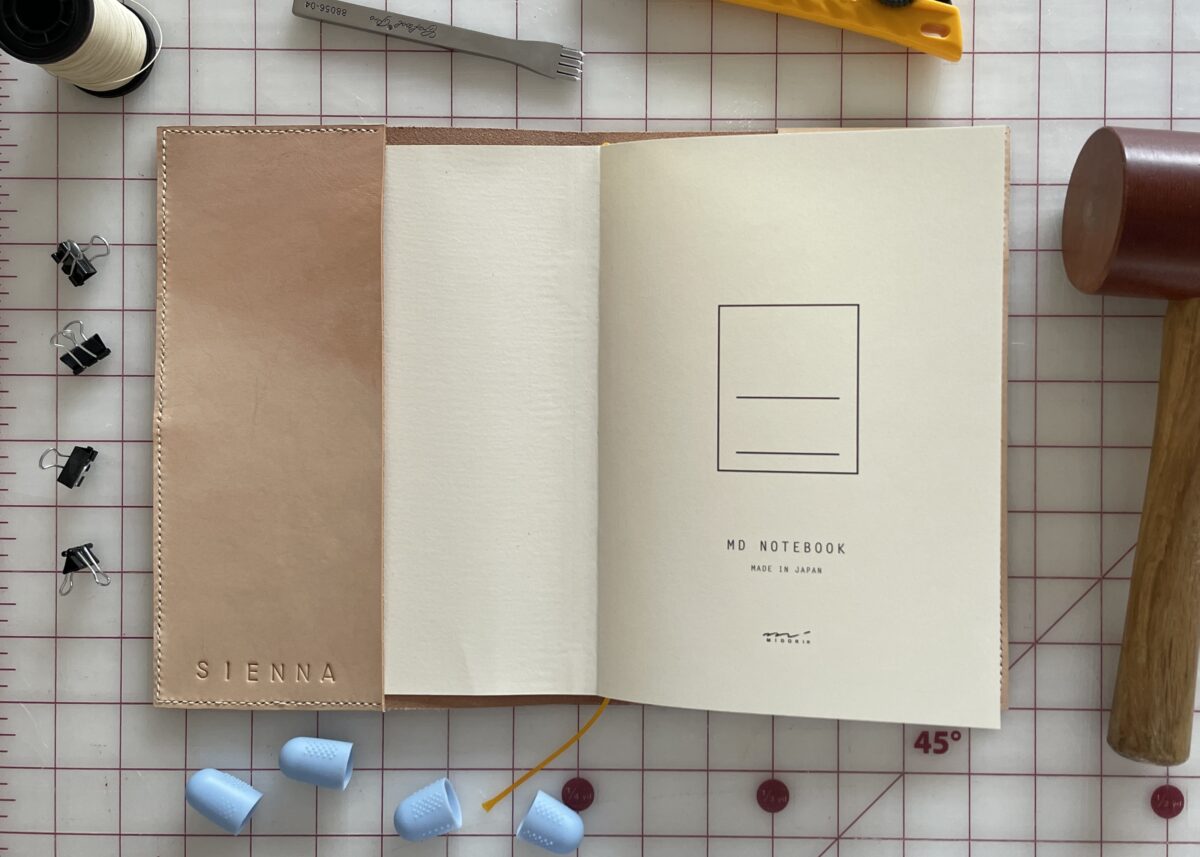
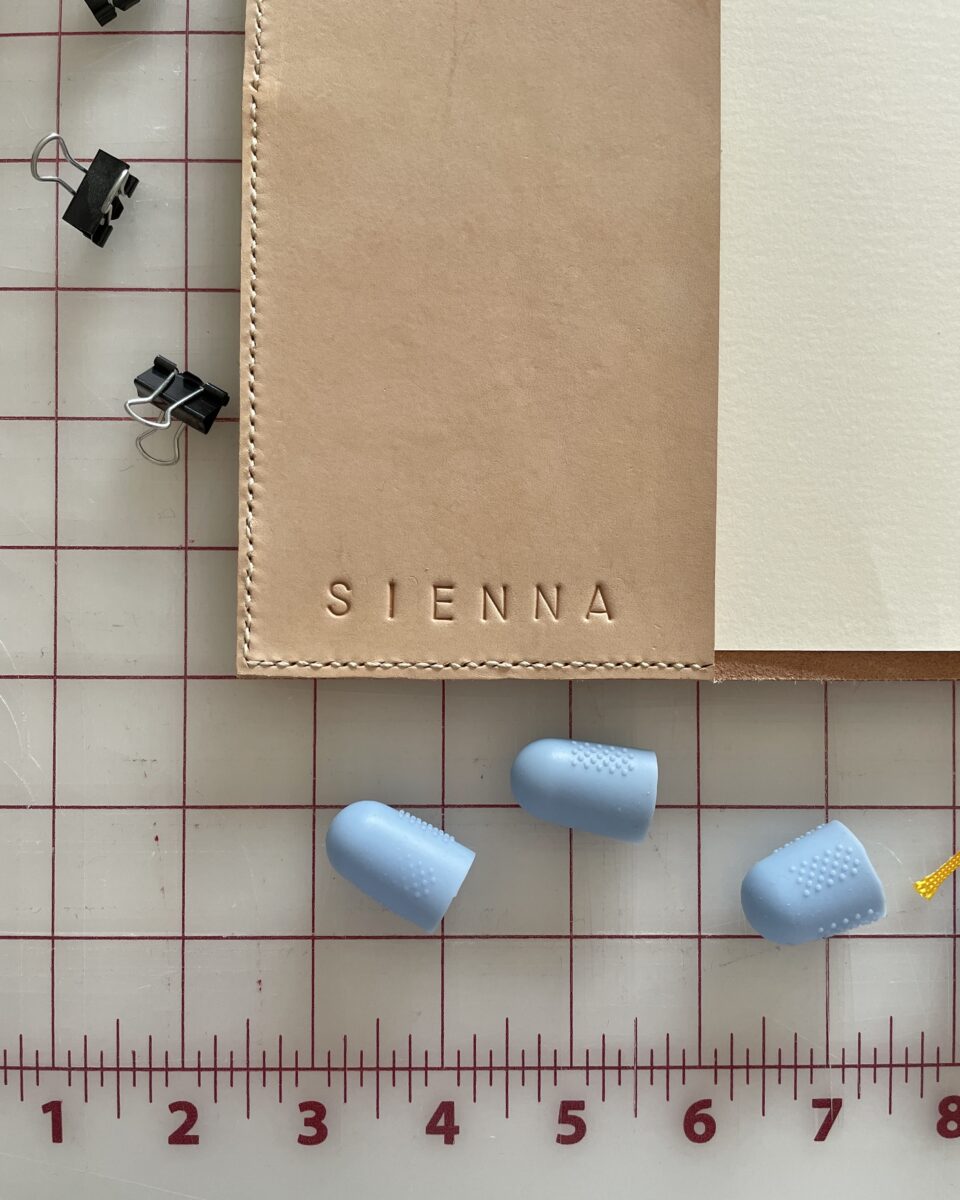
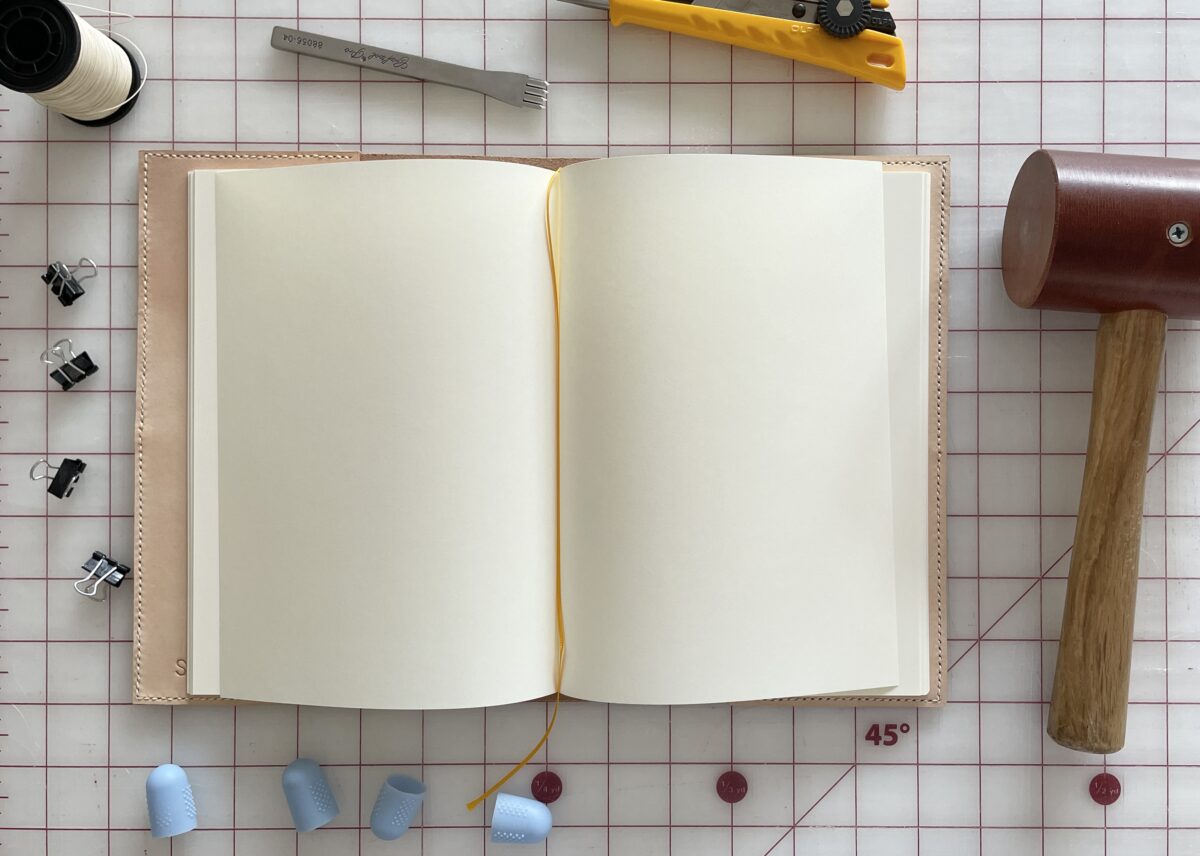
For my Logbook, I use a cheap notebook from Muji. This isn’t the exact one but it’s very similar. I love it because it’s cheap and kinda crappy, which almost eliminates the fear of the blank page.
To capture my patternmaking class notes and ideas, I use a Canson XL Mixed Media sketchbook. I always affix some fancy paper to the cover, like this Elizabeth Suzann packaging.
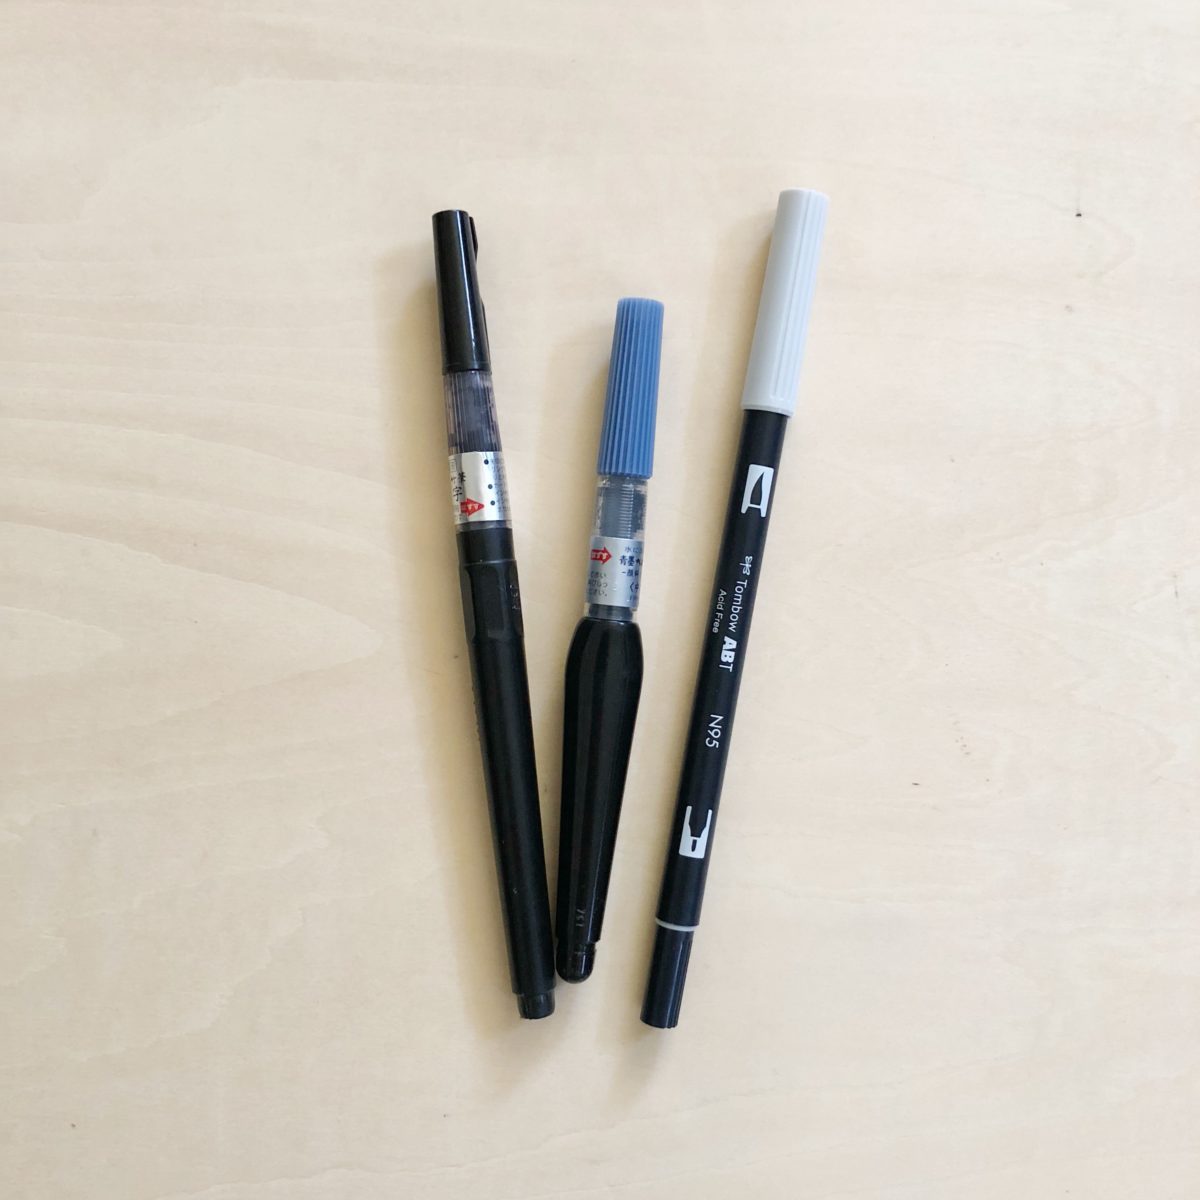
Ink Brushes – I use gray and black ink brushes for both shading and covering larger areas (and mistakes!).
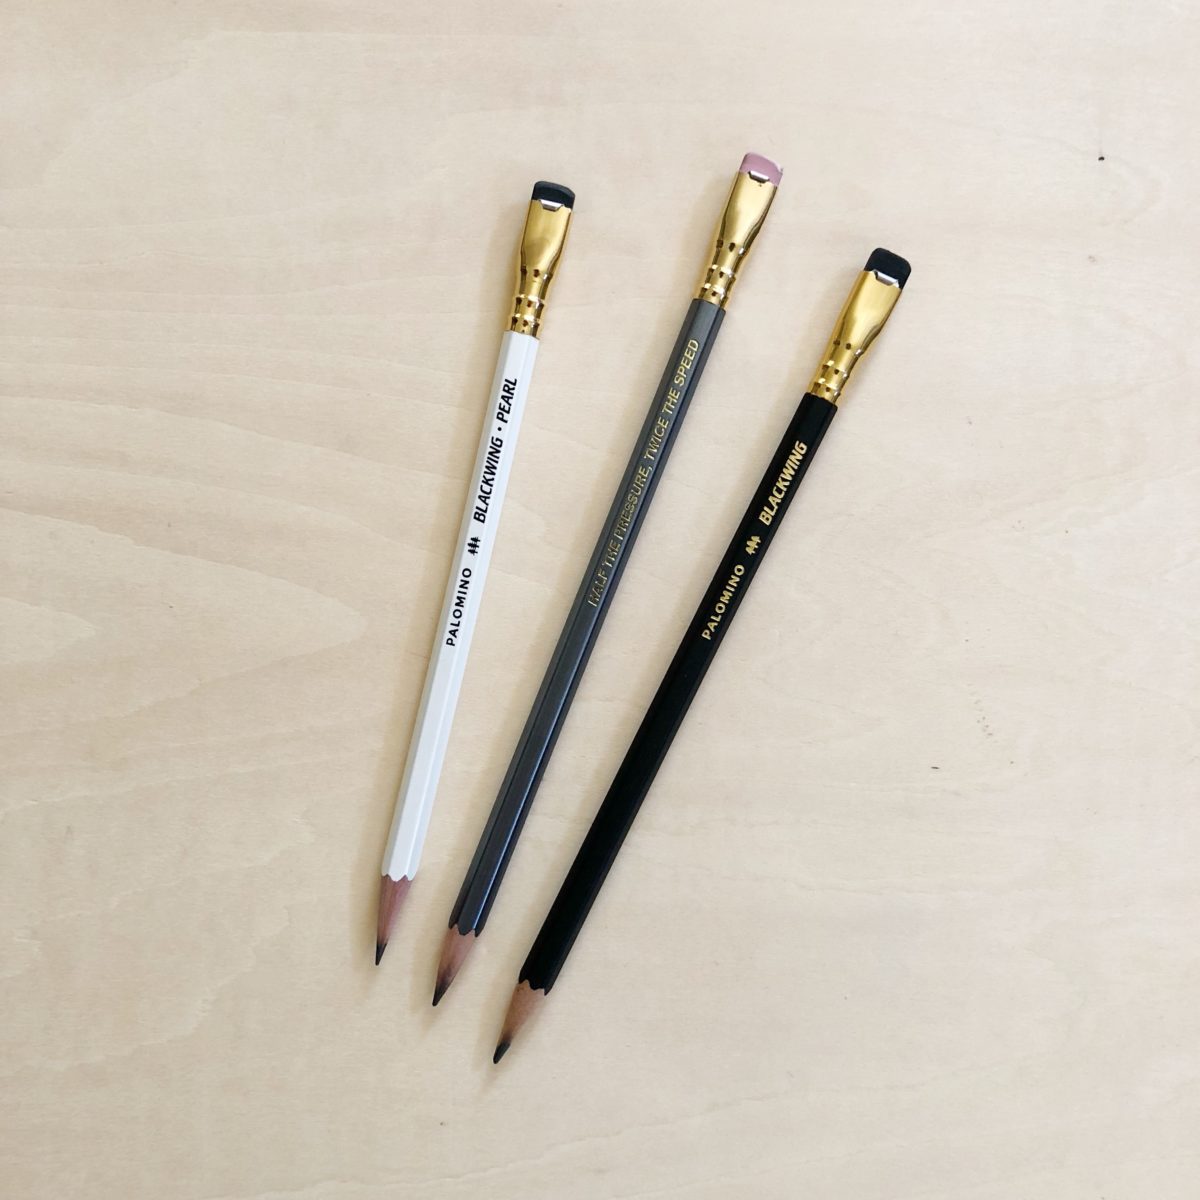
Pencils – I haven’t been doing much with graphite lately. I made the conscious decision to draw mostly with ink because it forces me to slow down and commit to the mark. When I do use pencils, Blackwings live up to the hype.
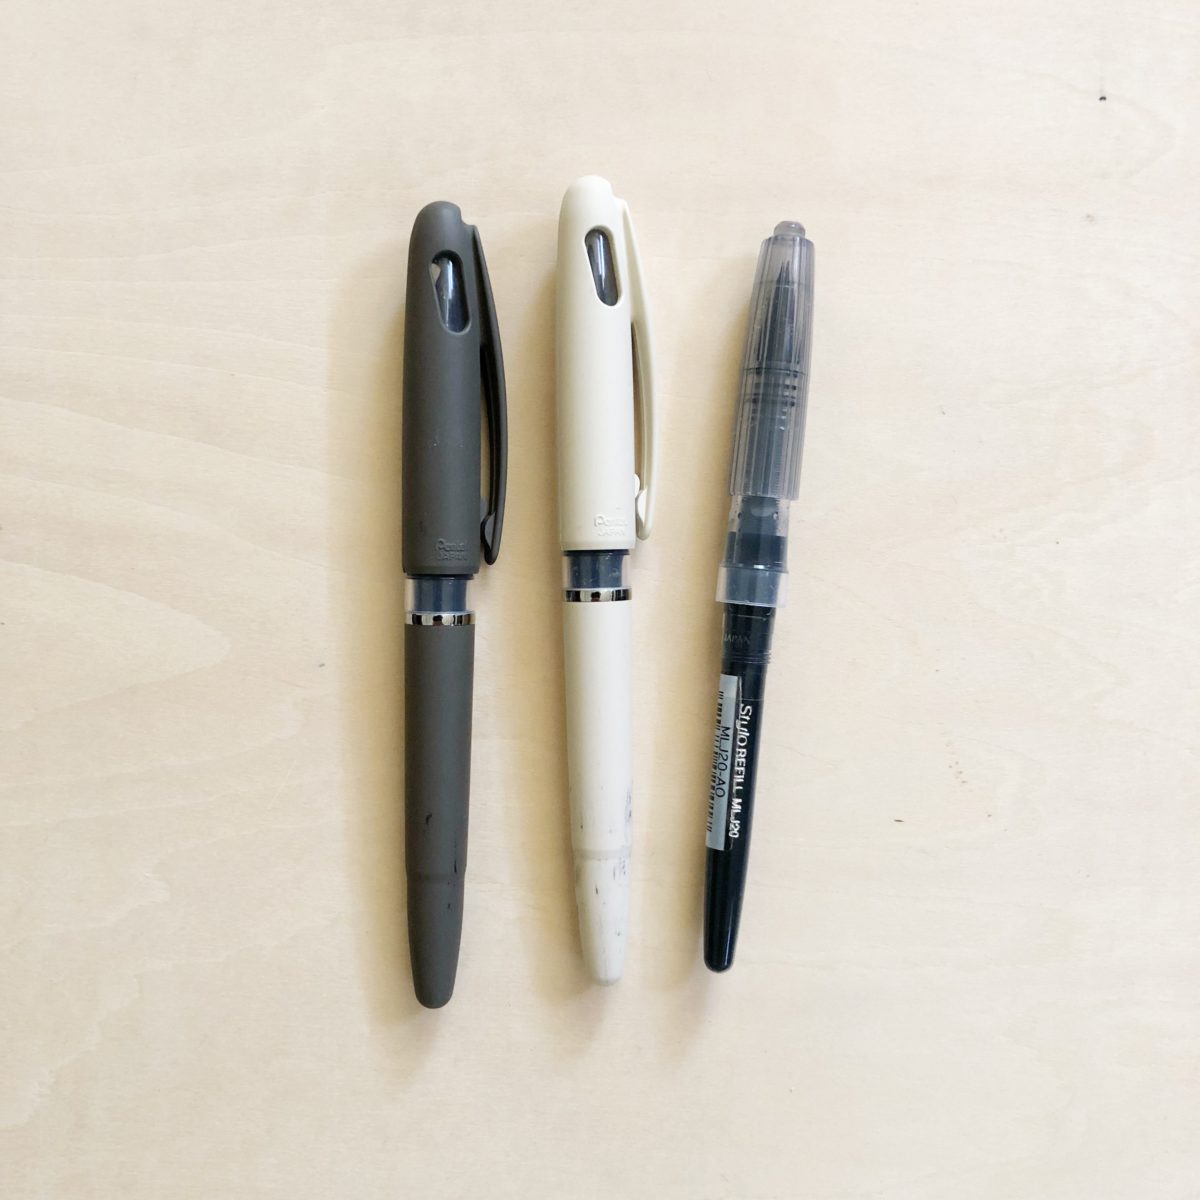
Pens – I use a lot of pens but these Pentel Arts Tradio Stylo pens are super messy and fun to use in my logbook. For a while, I didn’t realize I was using just the refills, which were a pain to hold. Then when we were in Paris I found the case that they fit in.
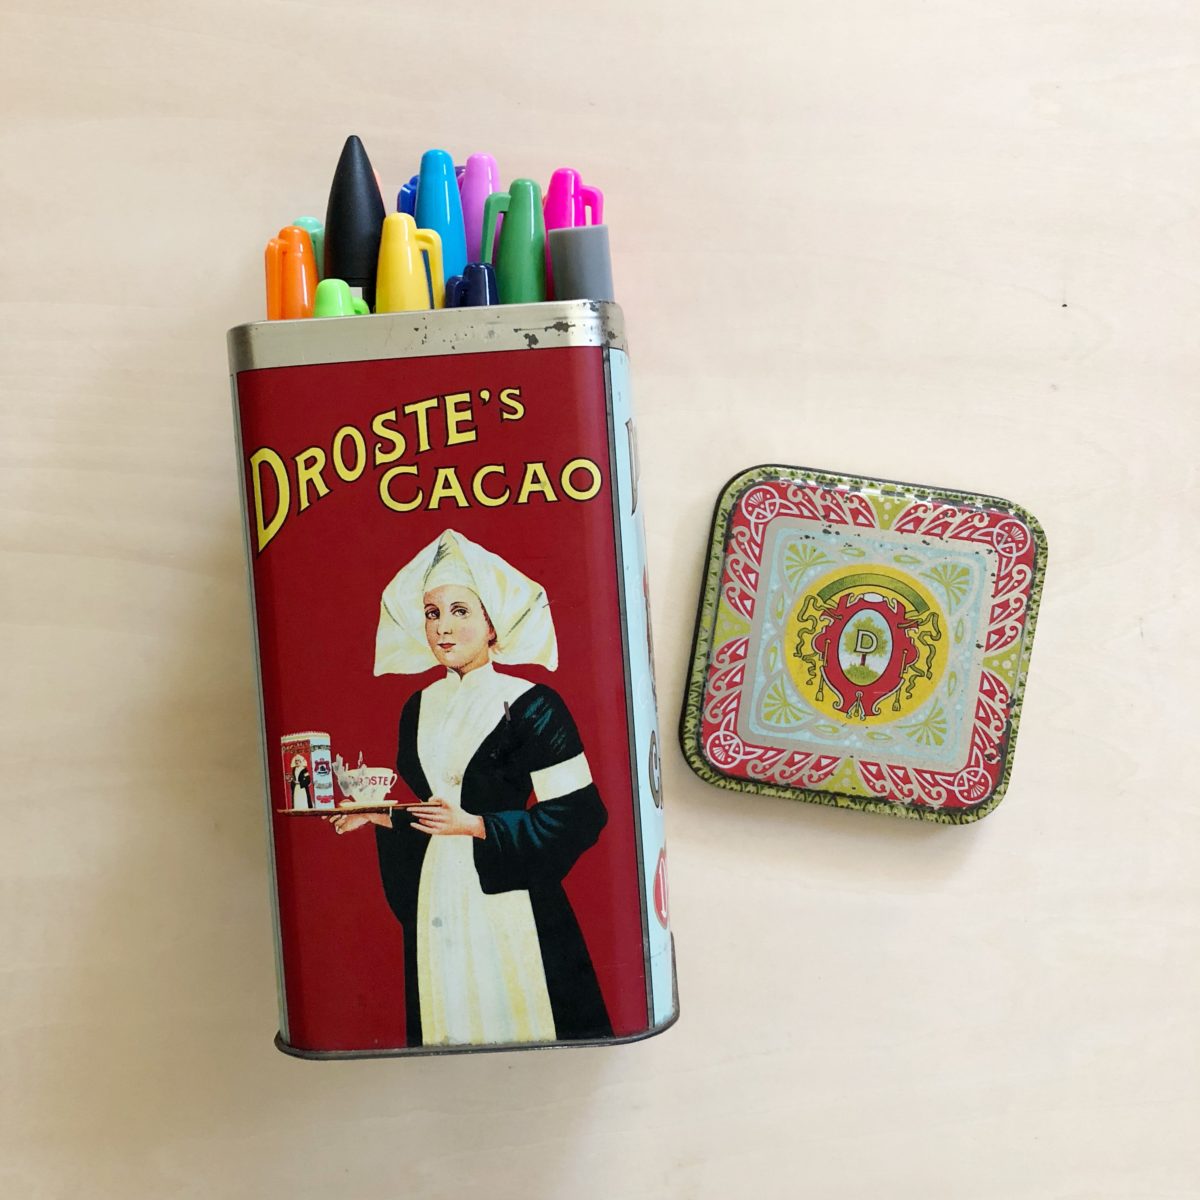
Sharpies – For my logbook I use a variety pack of Sharpies. I like how they bleed through the cheap Muji pages of my logbook.
Watercolors – I use Case For Making watercolors which are handmade in San Francisco. I took two workshops with Alexis (owner) and most of my pans are from those workshops!
They really are the best watercolors. So much pigment!
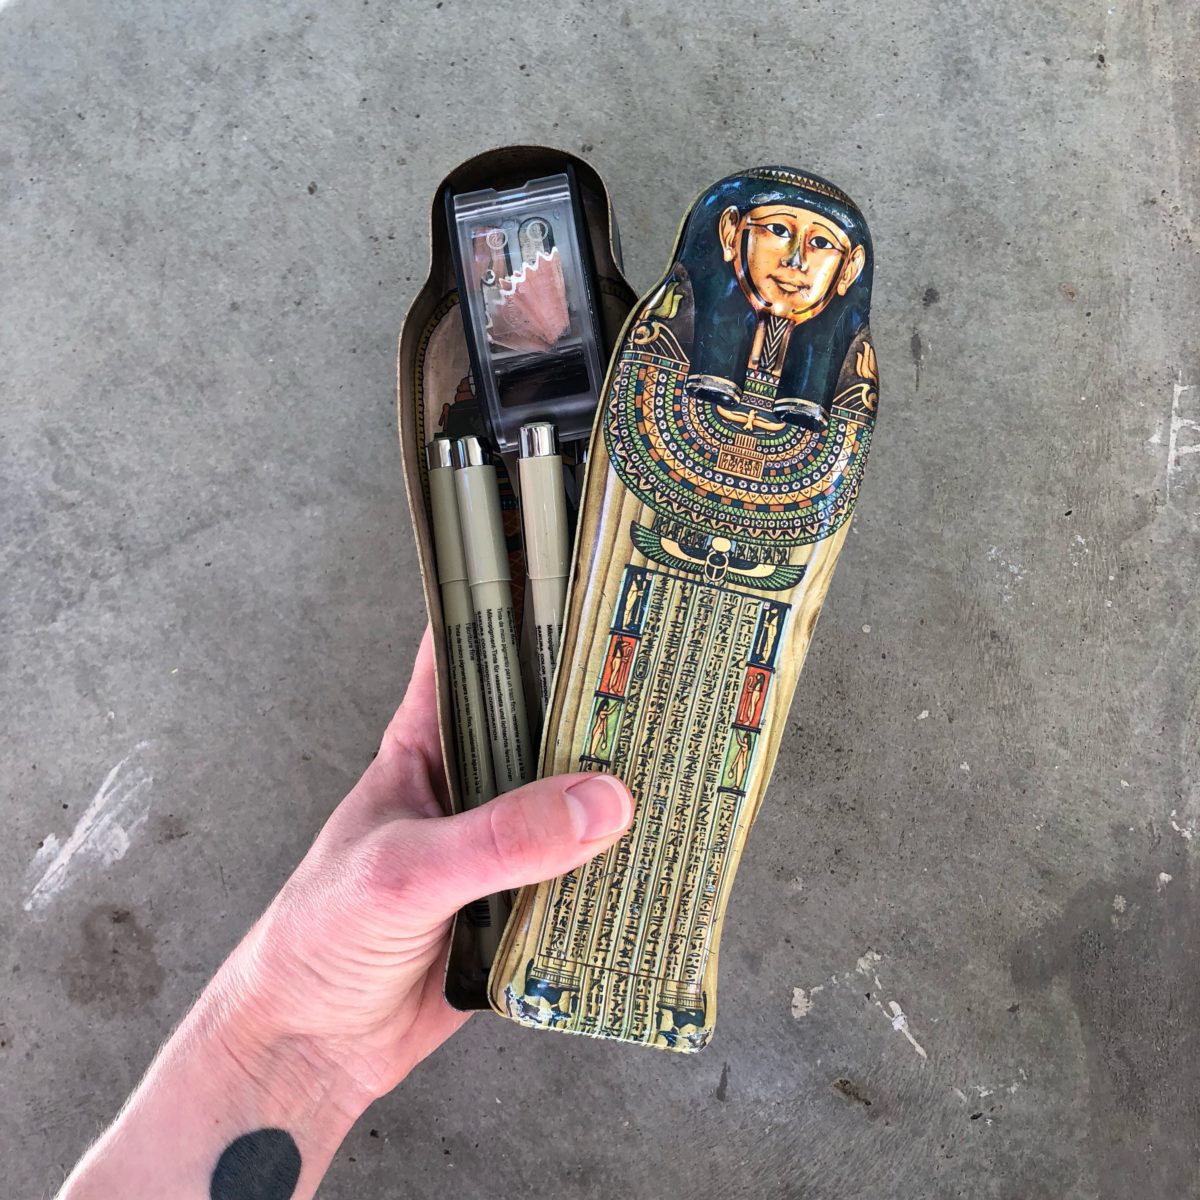
I also do love a good Micron Pen. I use a combination of handmade bags and tins to carry these supplies with me.
My best advice for starting a drawing practice is to just start. Be fine with it not looking how you want immediately. It took me about three weeks of daily logs to find my style and I’m sure it will change. Draw your making plans! Drawing became more of a daily thing for me when I started documenting all of my sewing plans in a sketchbook. There’s so much inspiration out there, it’s really helpful to capture it on paper. Also carry your sketchbook with you everywhere. I used to feel really self conscious about drawing out in public, but the truth is, no one is looking at you. And if they are, they’re probably interested in drawing too!
And read this article to re-frame your drawing mindset.
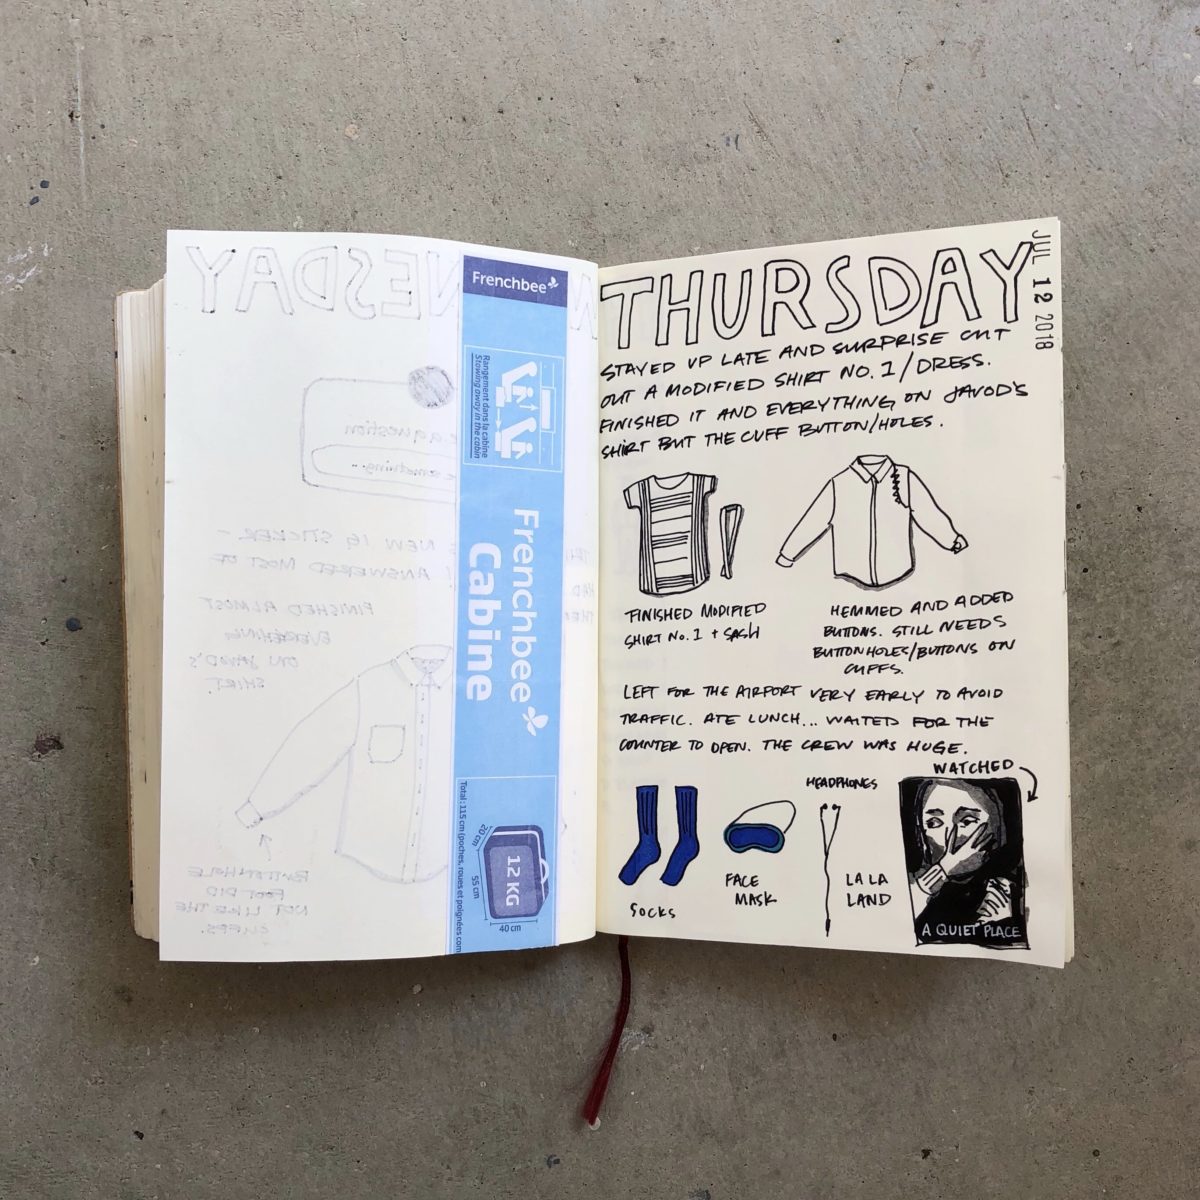
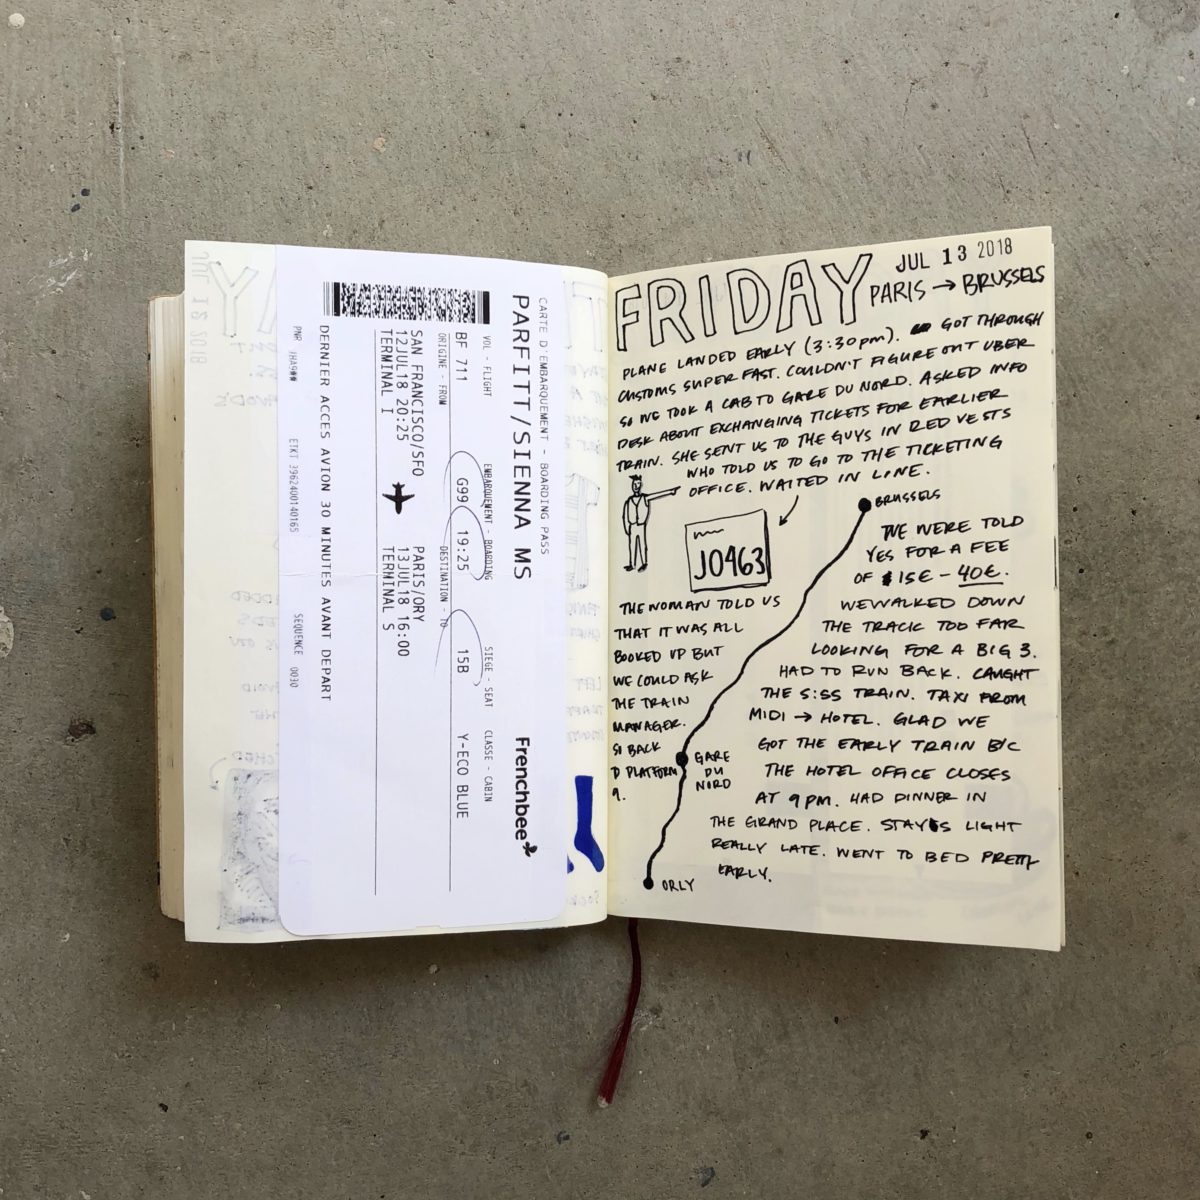
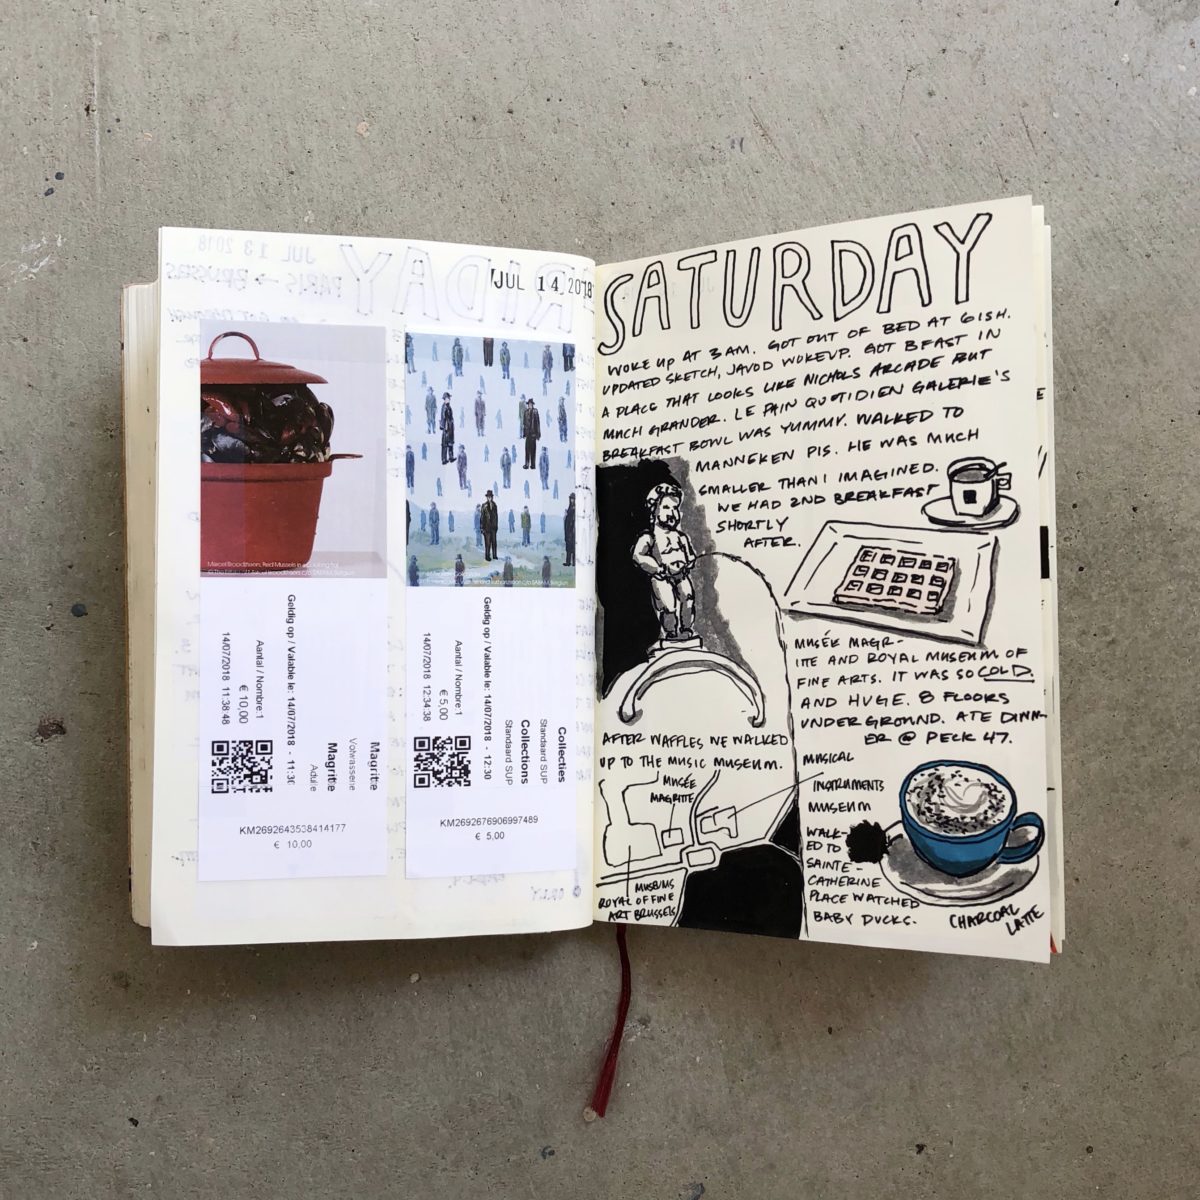
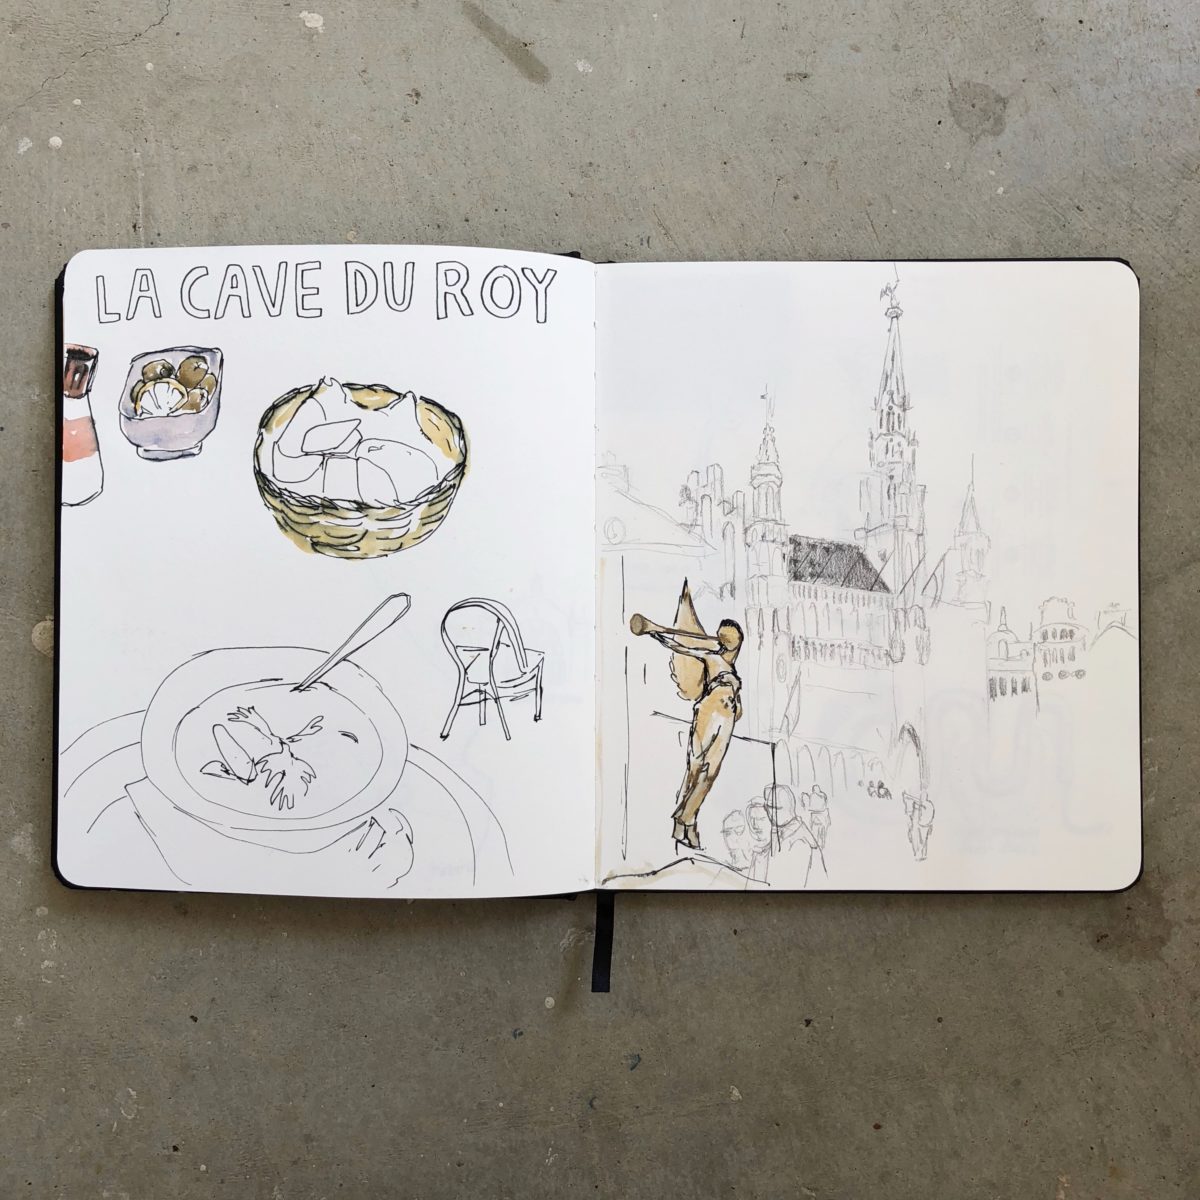
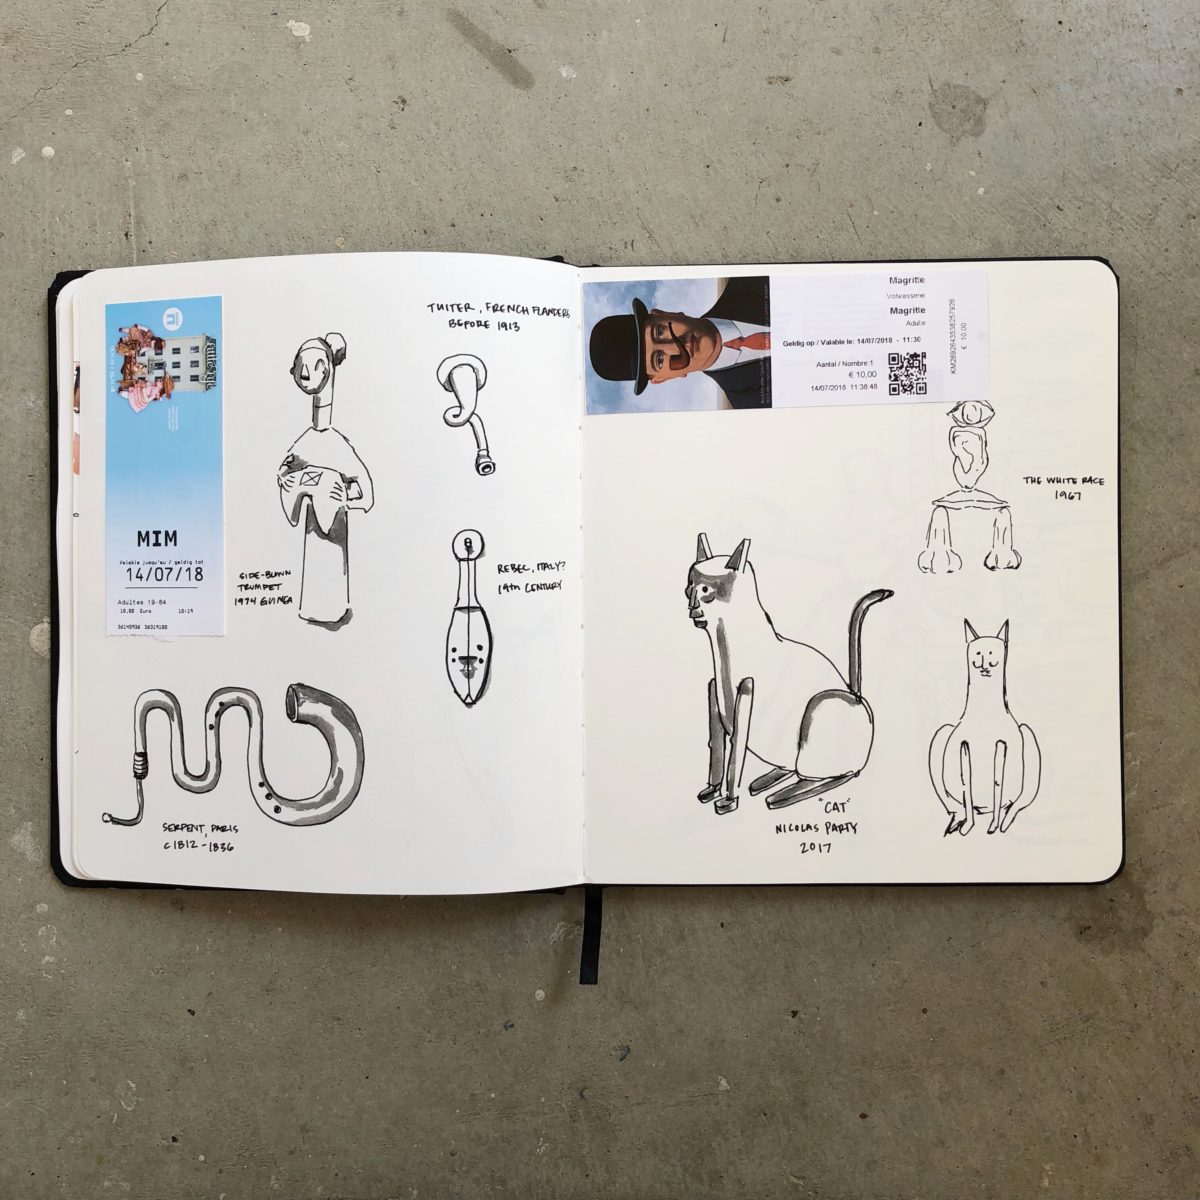
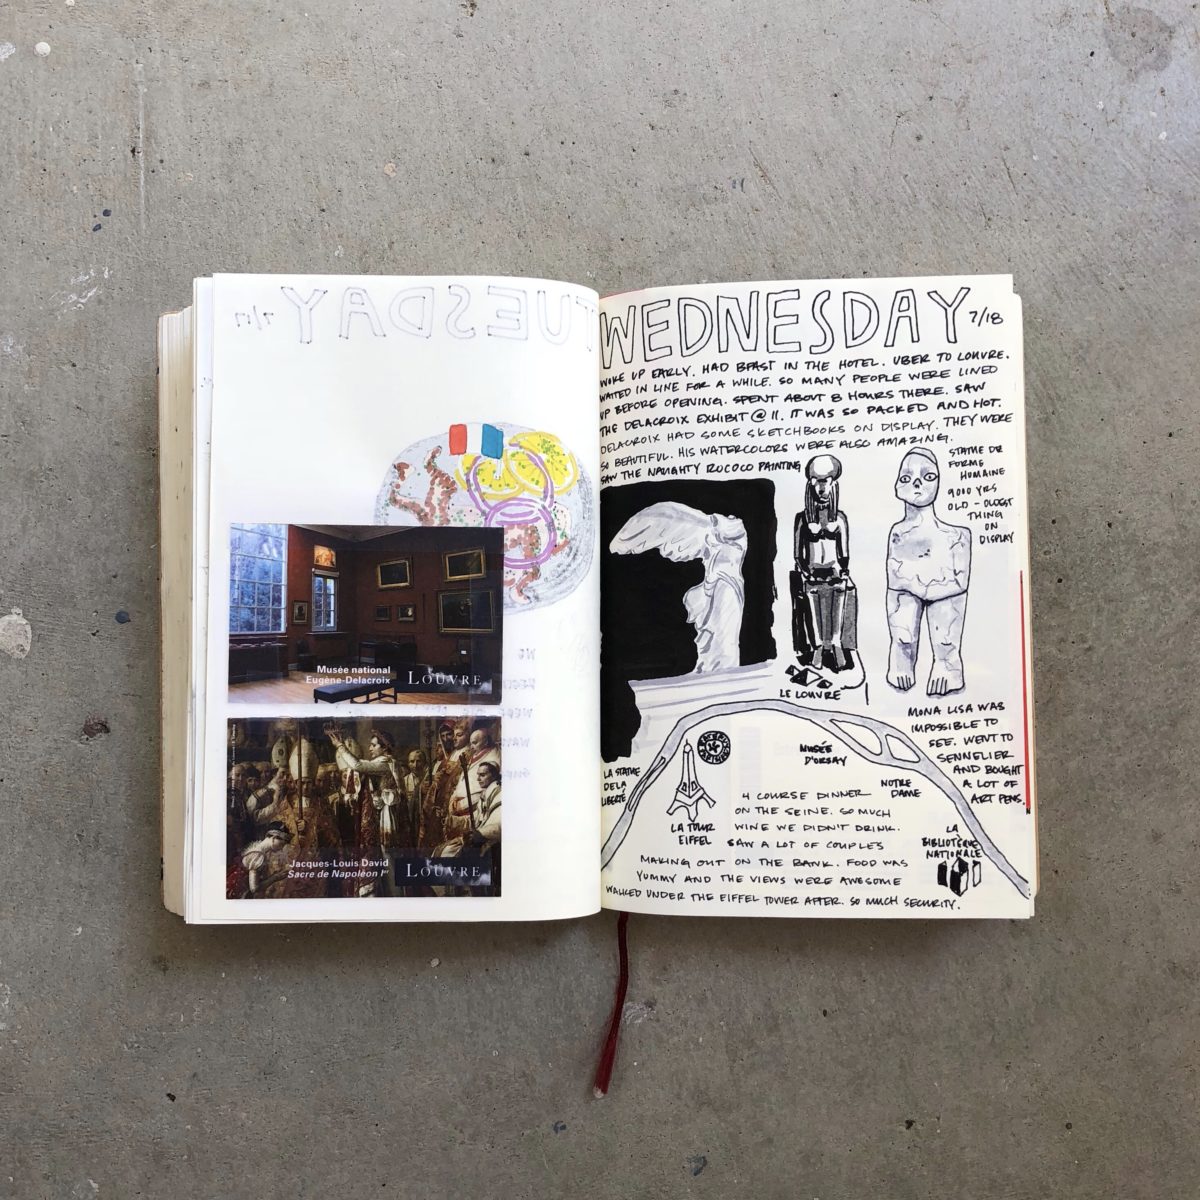
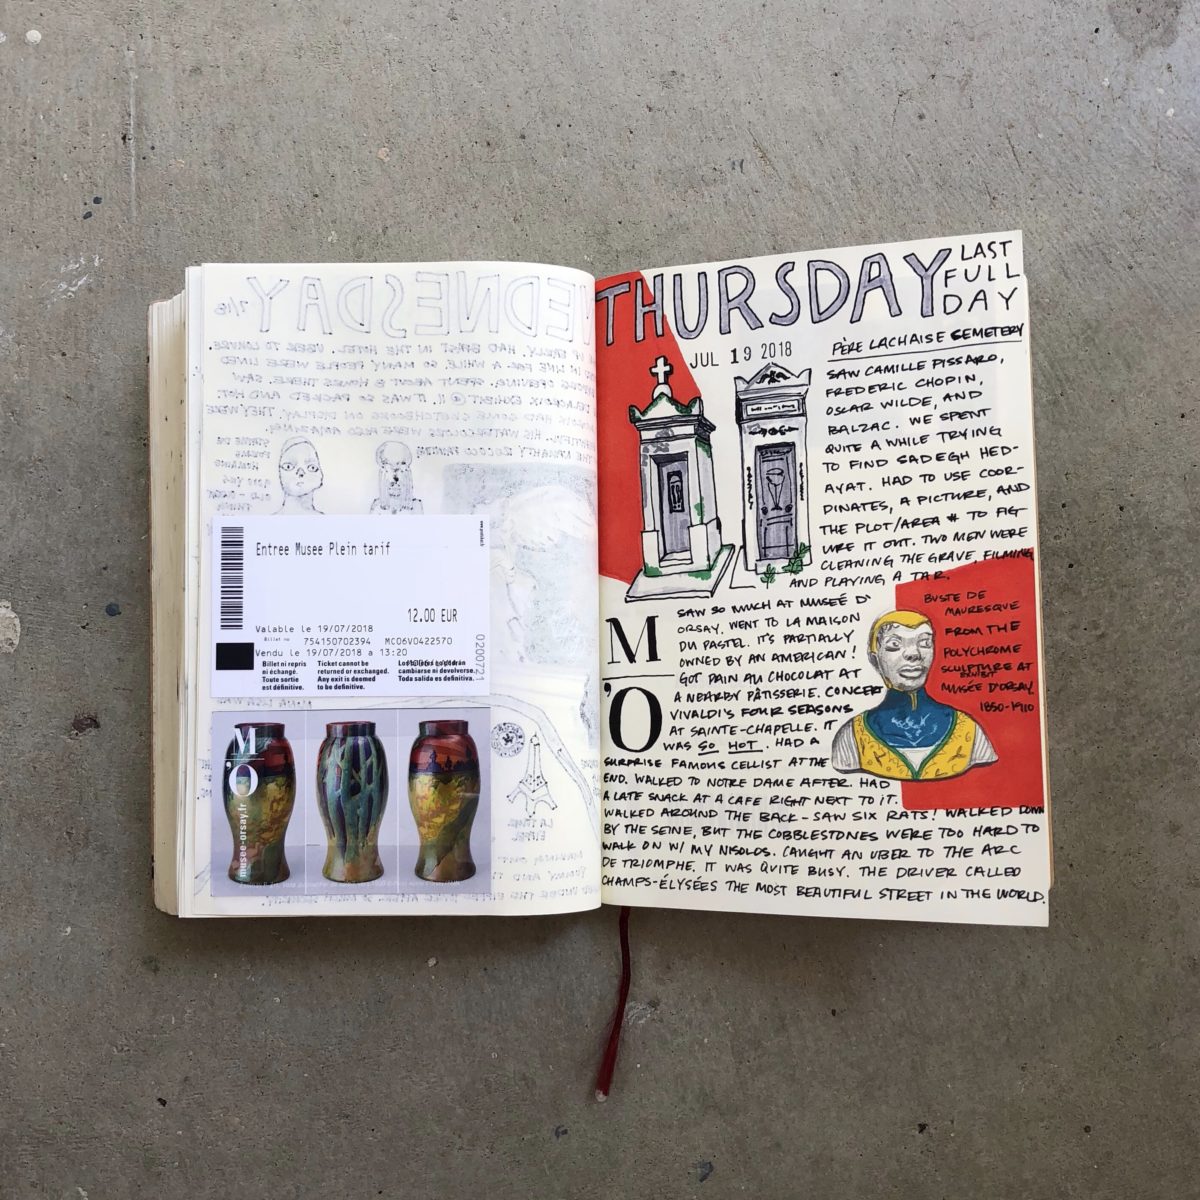
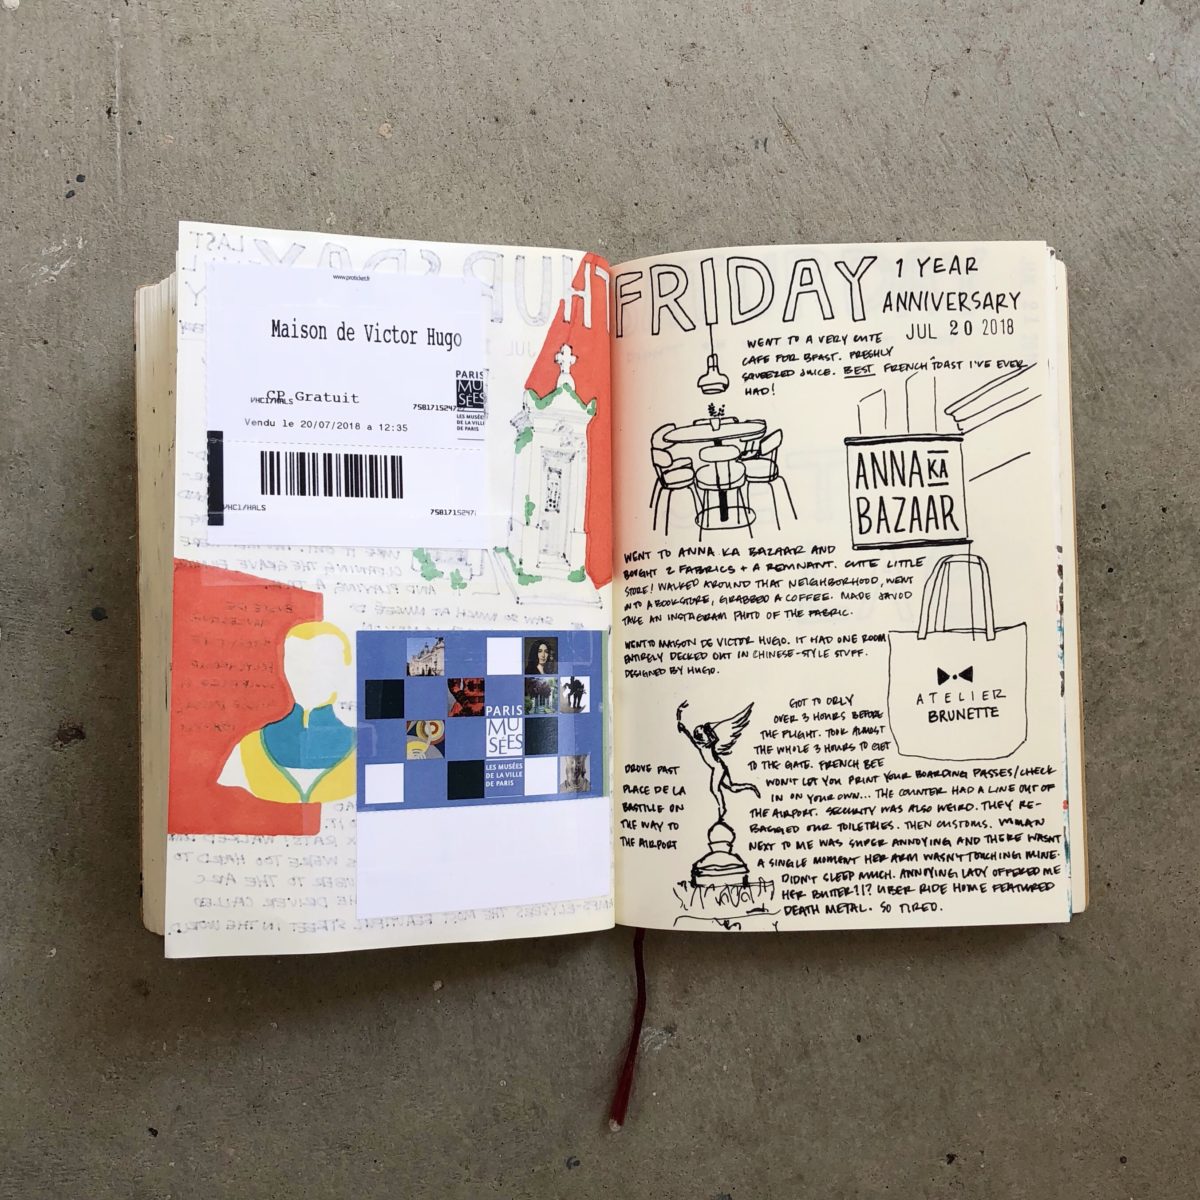
My main goal for 2018 was to Draw More. It wasn’t until mid-May and after re-reading Austin Kleon‘s book, Steal Like An Artist, that I was able to figure out how to make it an almost daily thing. I’m so glad I started this practice. I’m so humbled by the challenge of keeping it up, especially when traveling.
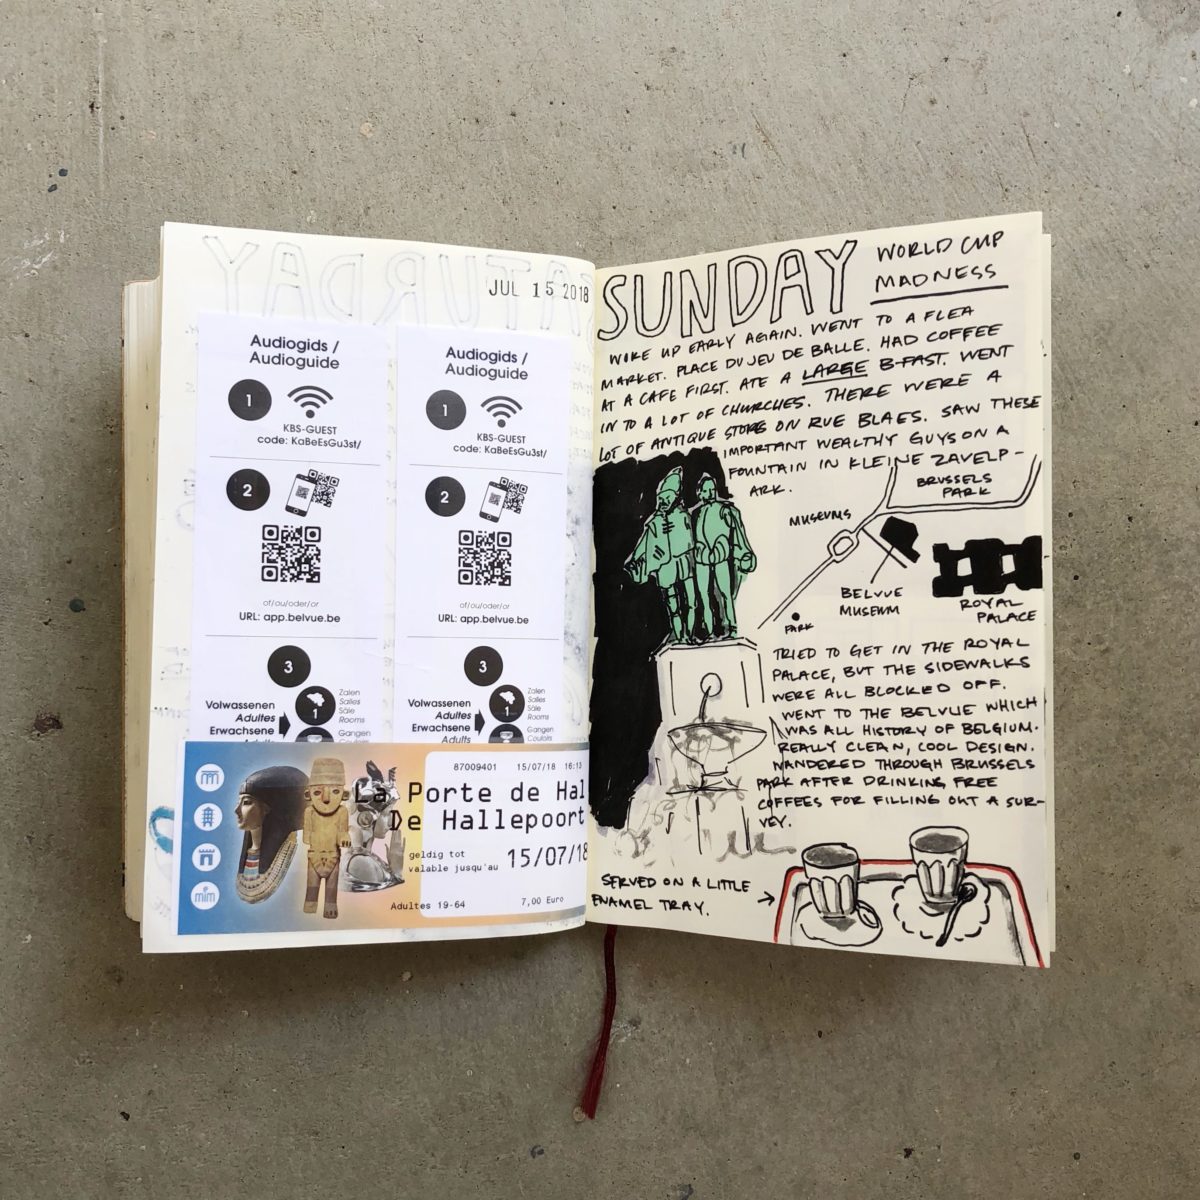
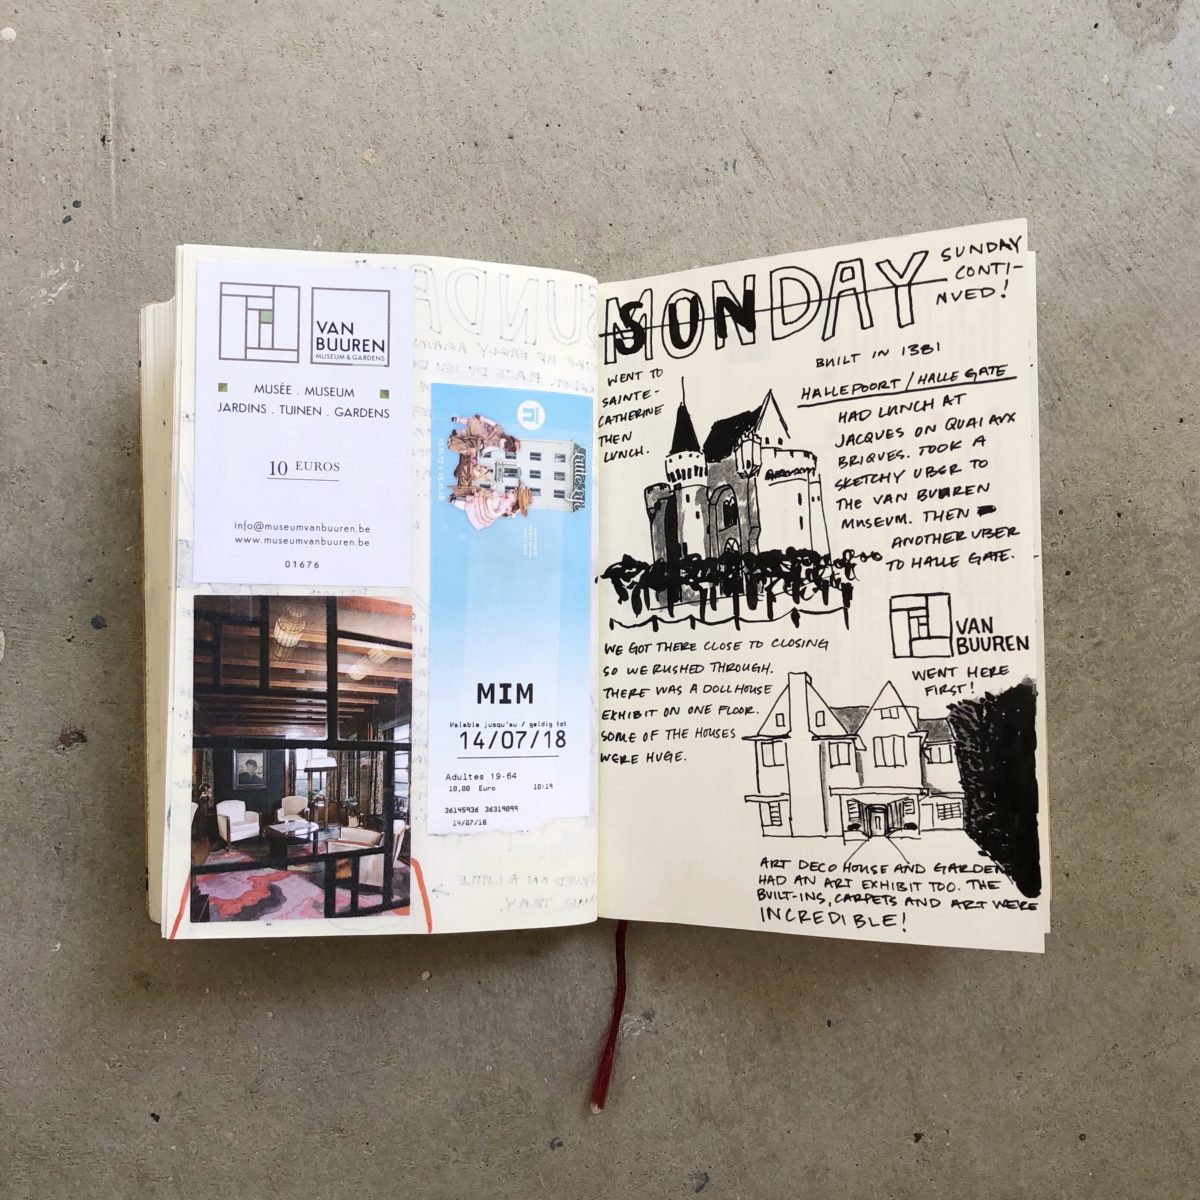
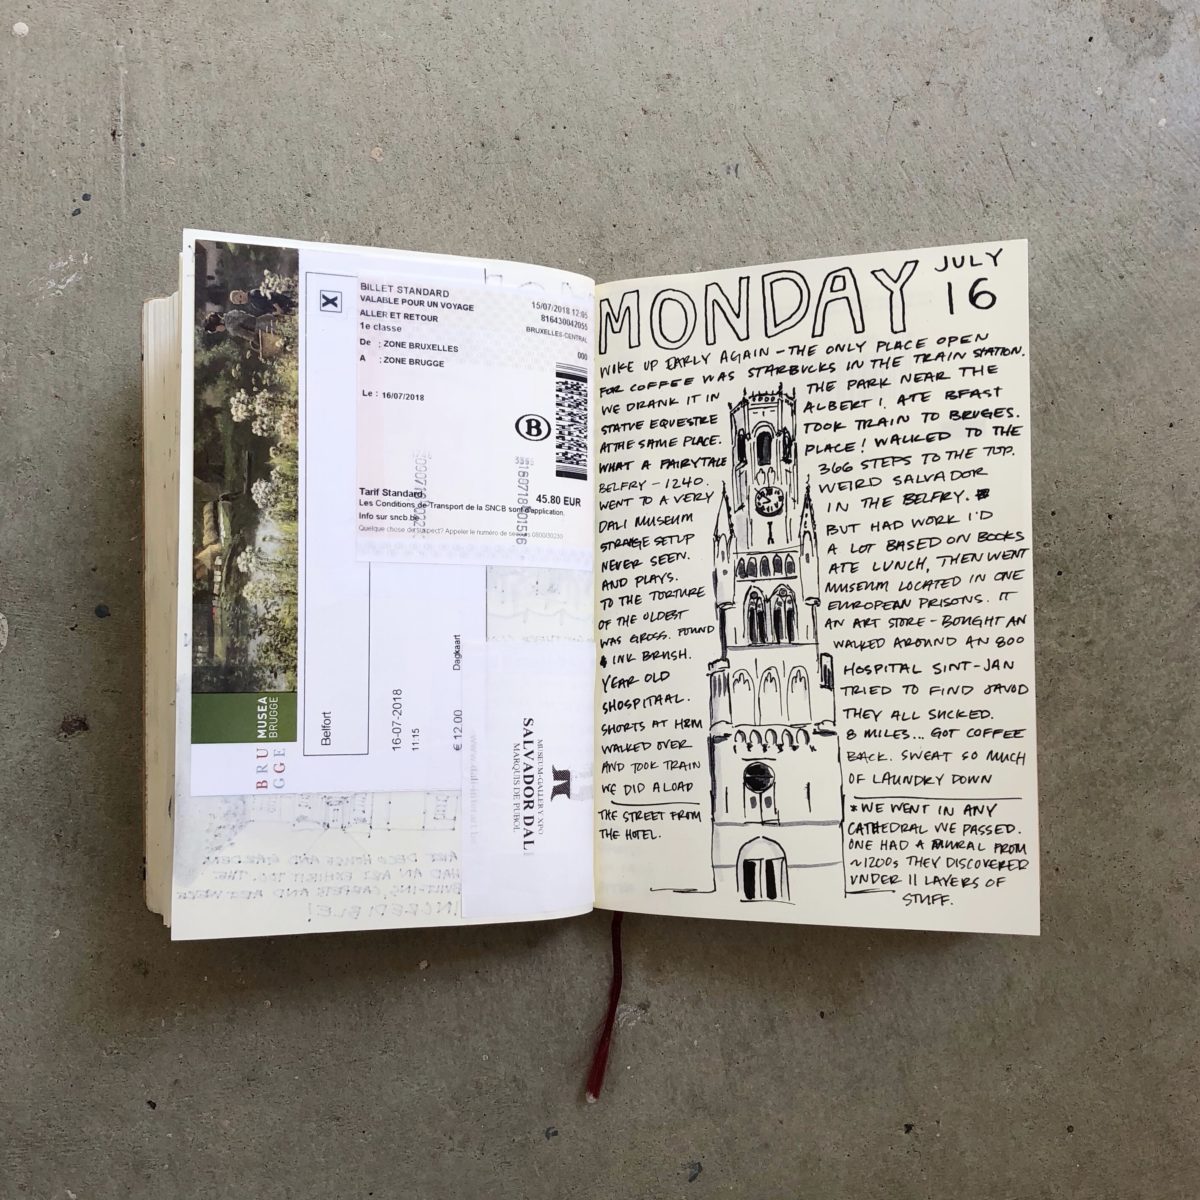
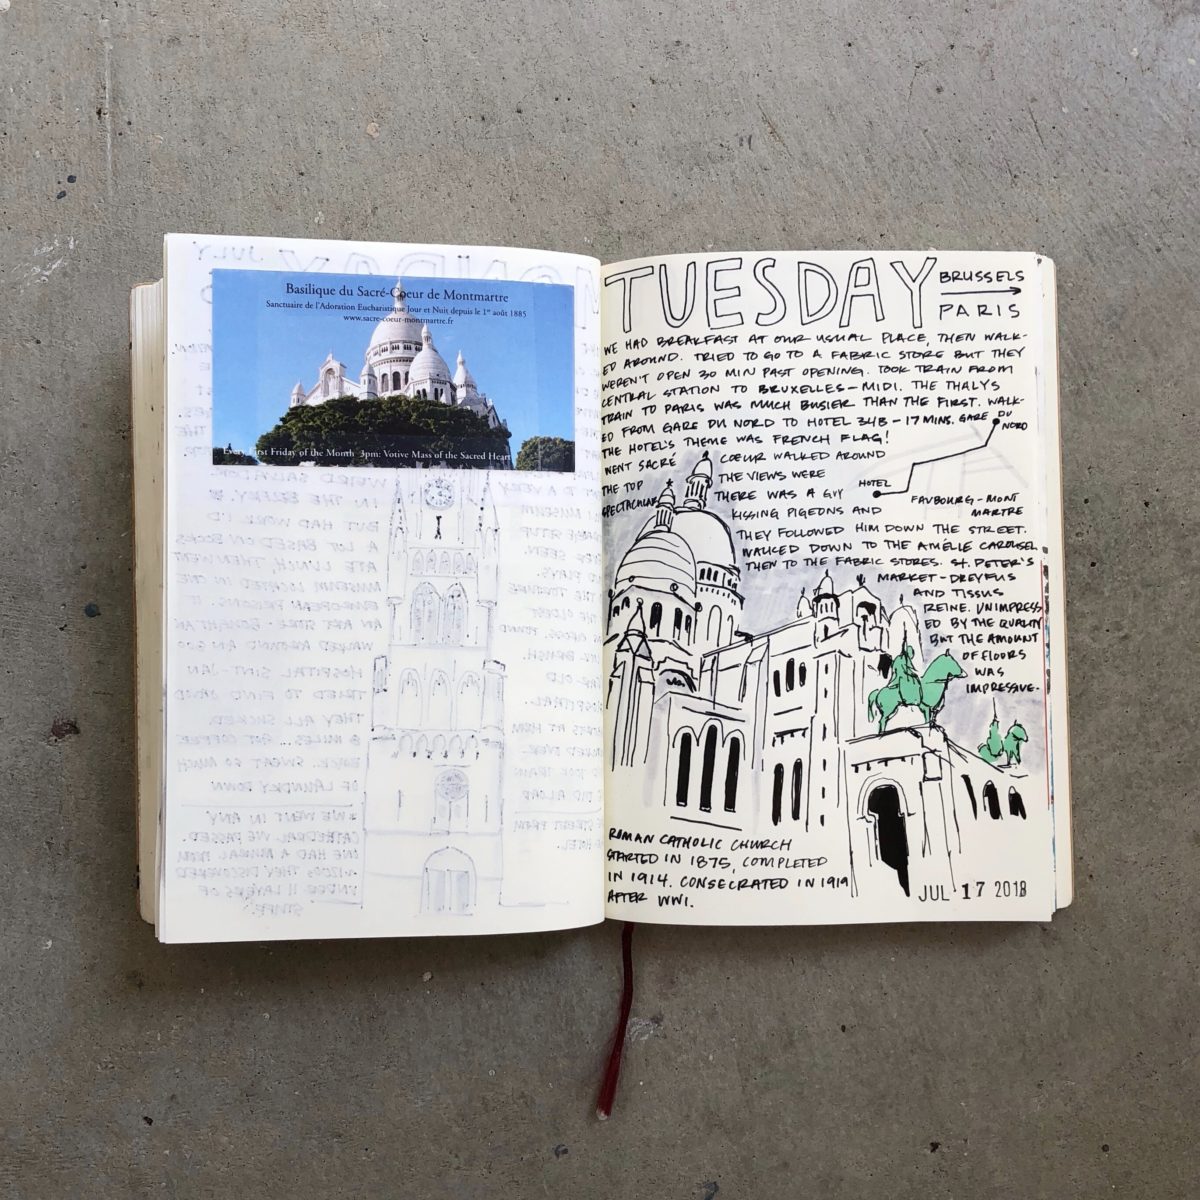
These pages include our trip to Belgium and France:
I didn’t bust out my Shinola Sketchbook as much as I thought I would. BUT I did draw a few things and that’s a win.
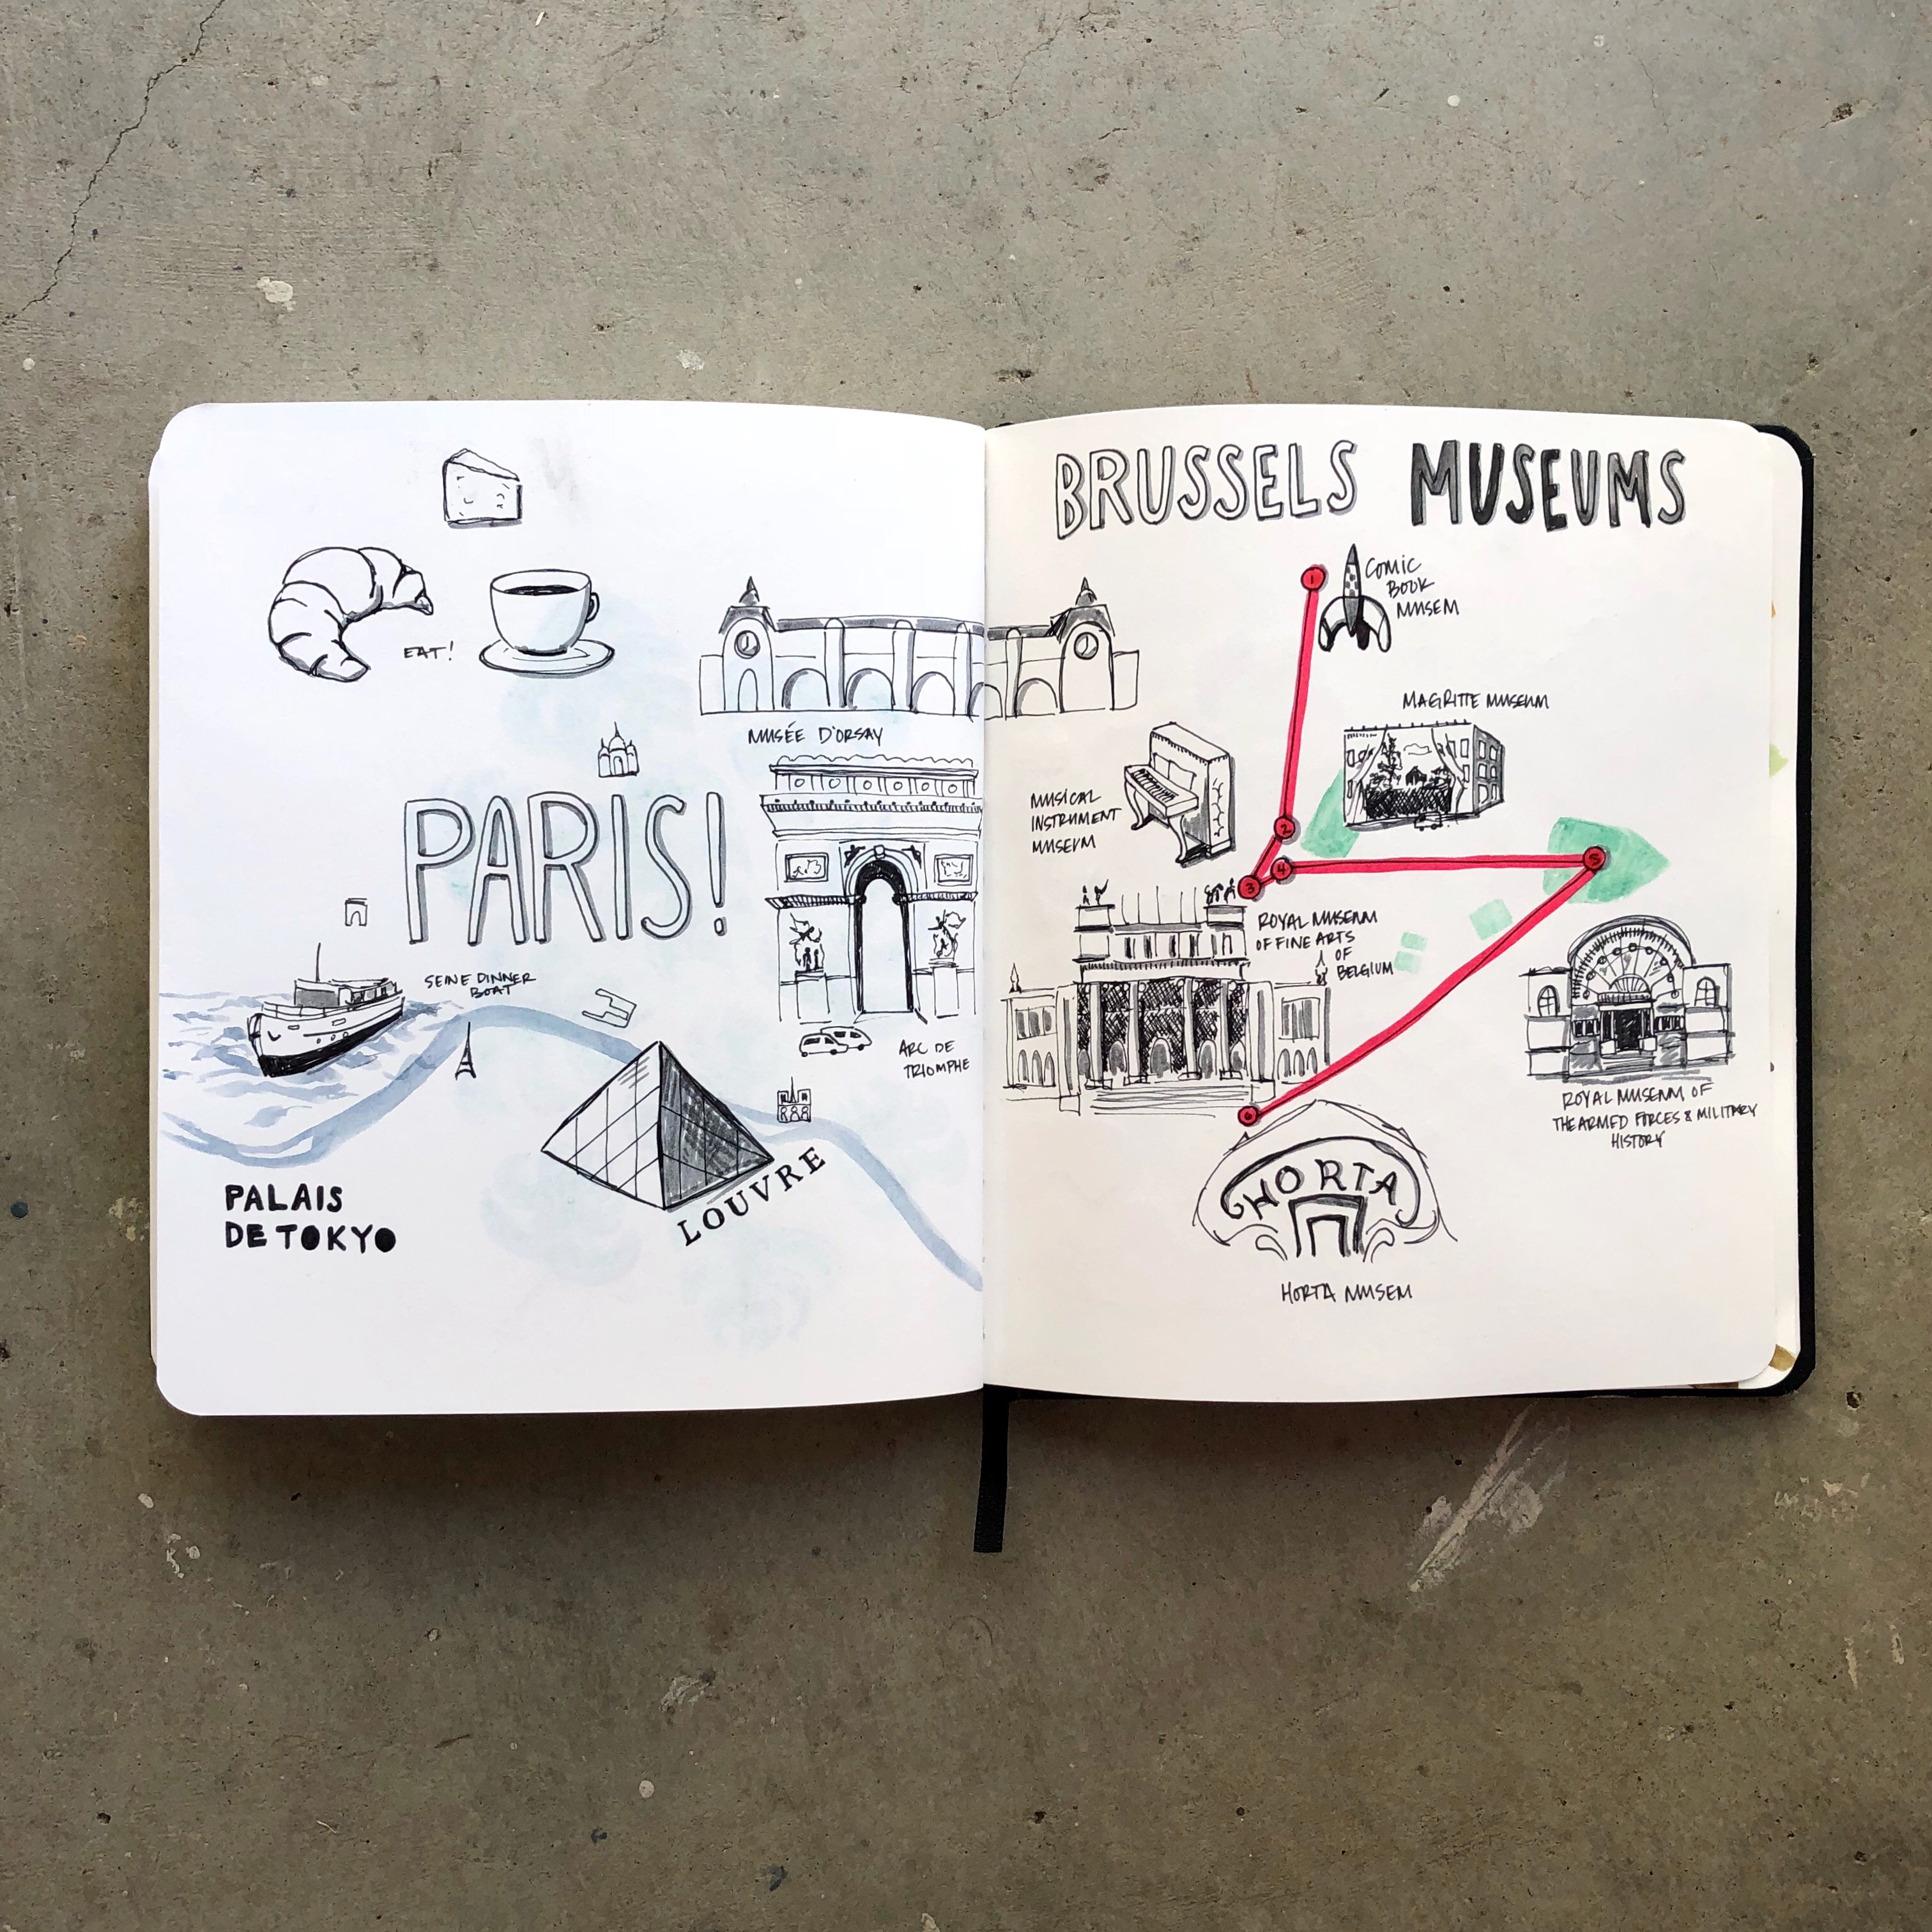
Planning trips in my sketchbook. Please comment with any art, architecture, food (no booze, please), parks, fabric, and thrifting things to do in Paris and Brussels!