Scrap Busting Projects

2 Comments

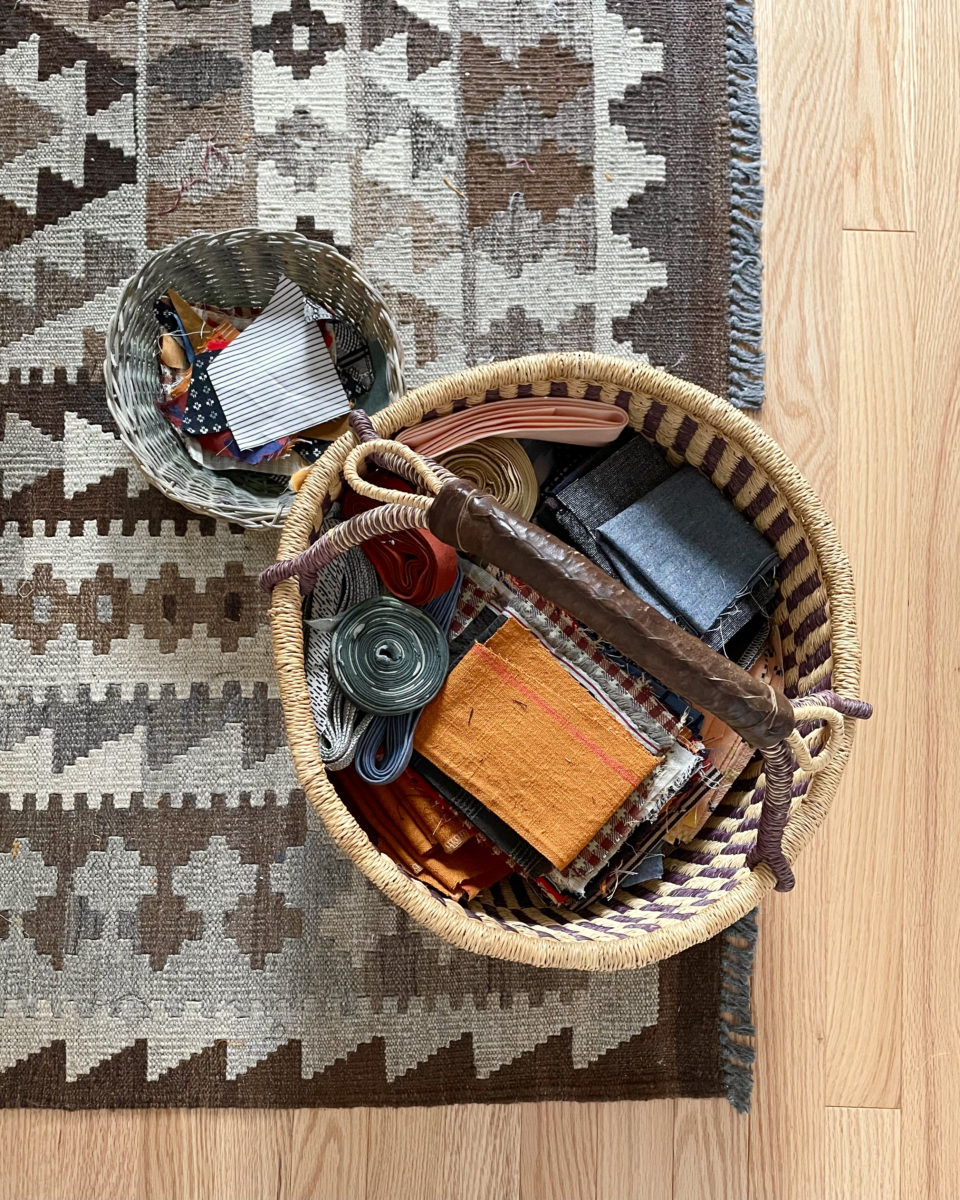
While I don’t keep 100% of my sewing waste out of the landfill, I try to use up leftover fabric in fun ways. Here are a few of my favorite scrap busting projects.

Quilted Blankets & Garments

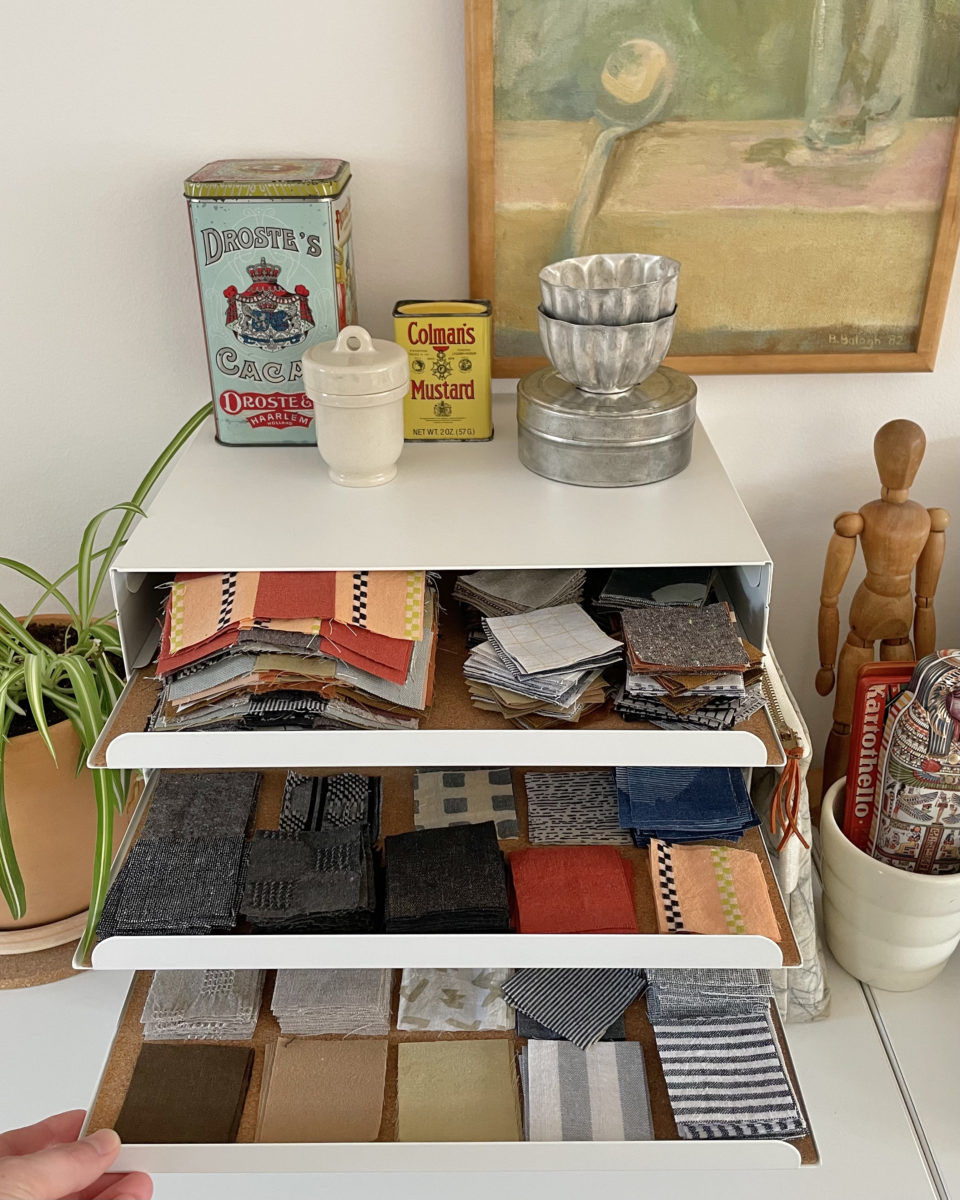
I sew with a lot of wovens, so naturally piecing together fabric is a great way to use even the smallest scraps. I am currently making a 9-patch quilt using 2″ x 2″ squares. Every time I cut out a new woven garment project, I also cut out as many squares as I can from the leftovers. I’ll save really large pieces for other projects, but I can really get a lot of squares out of those weird leftover pieces. I’m not sure what size this quilt will be, but my goal is to make at least 100 blocks and then assess. So far, I’ve made about 50.

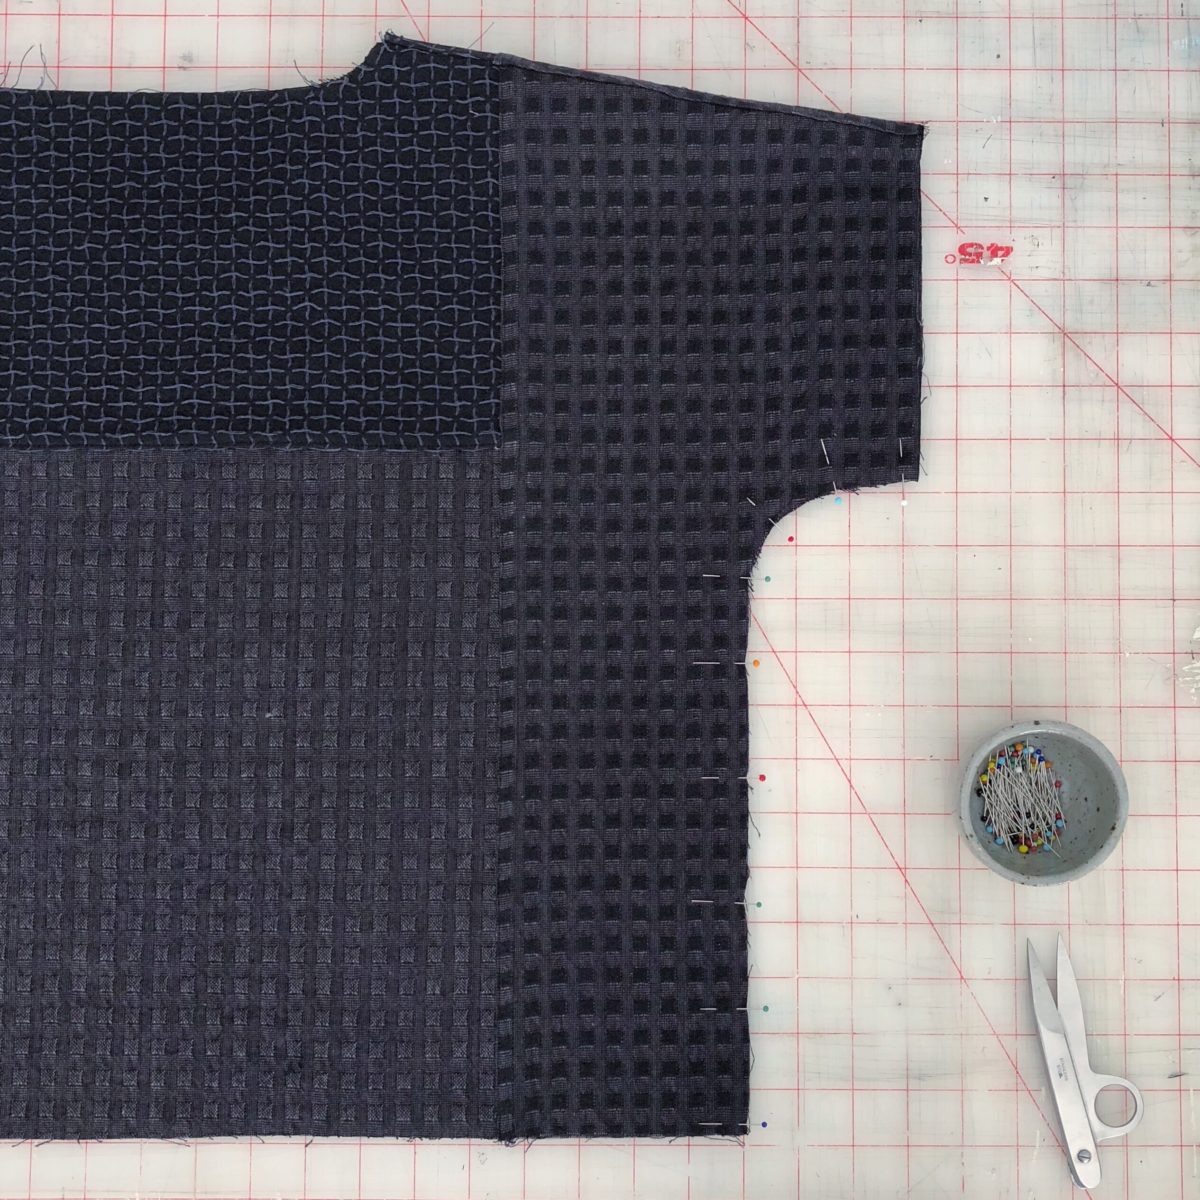
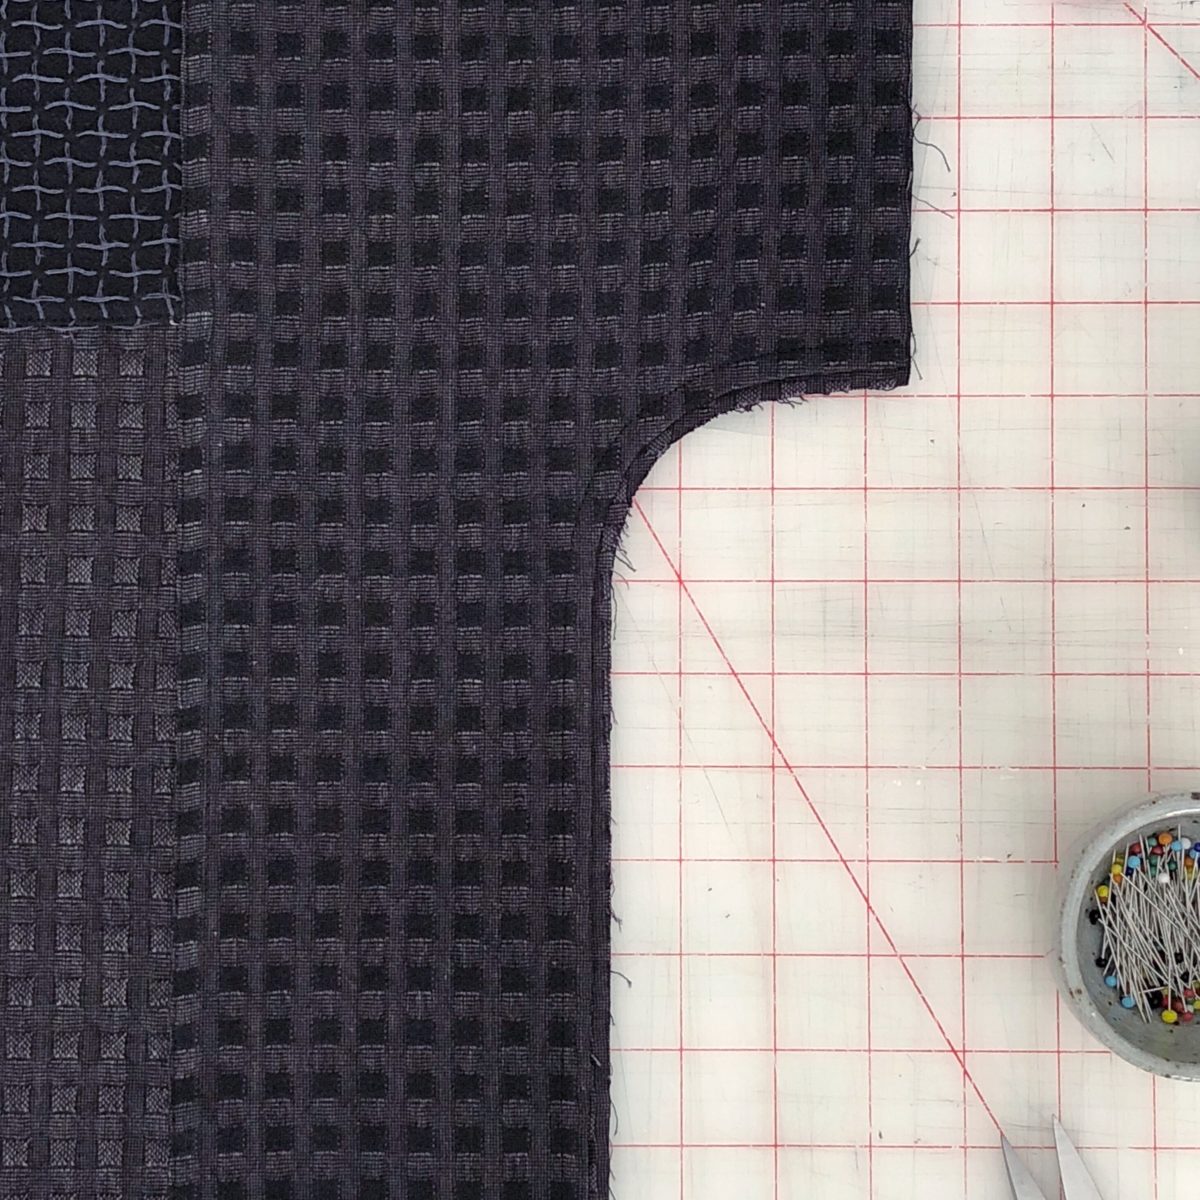
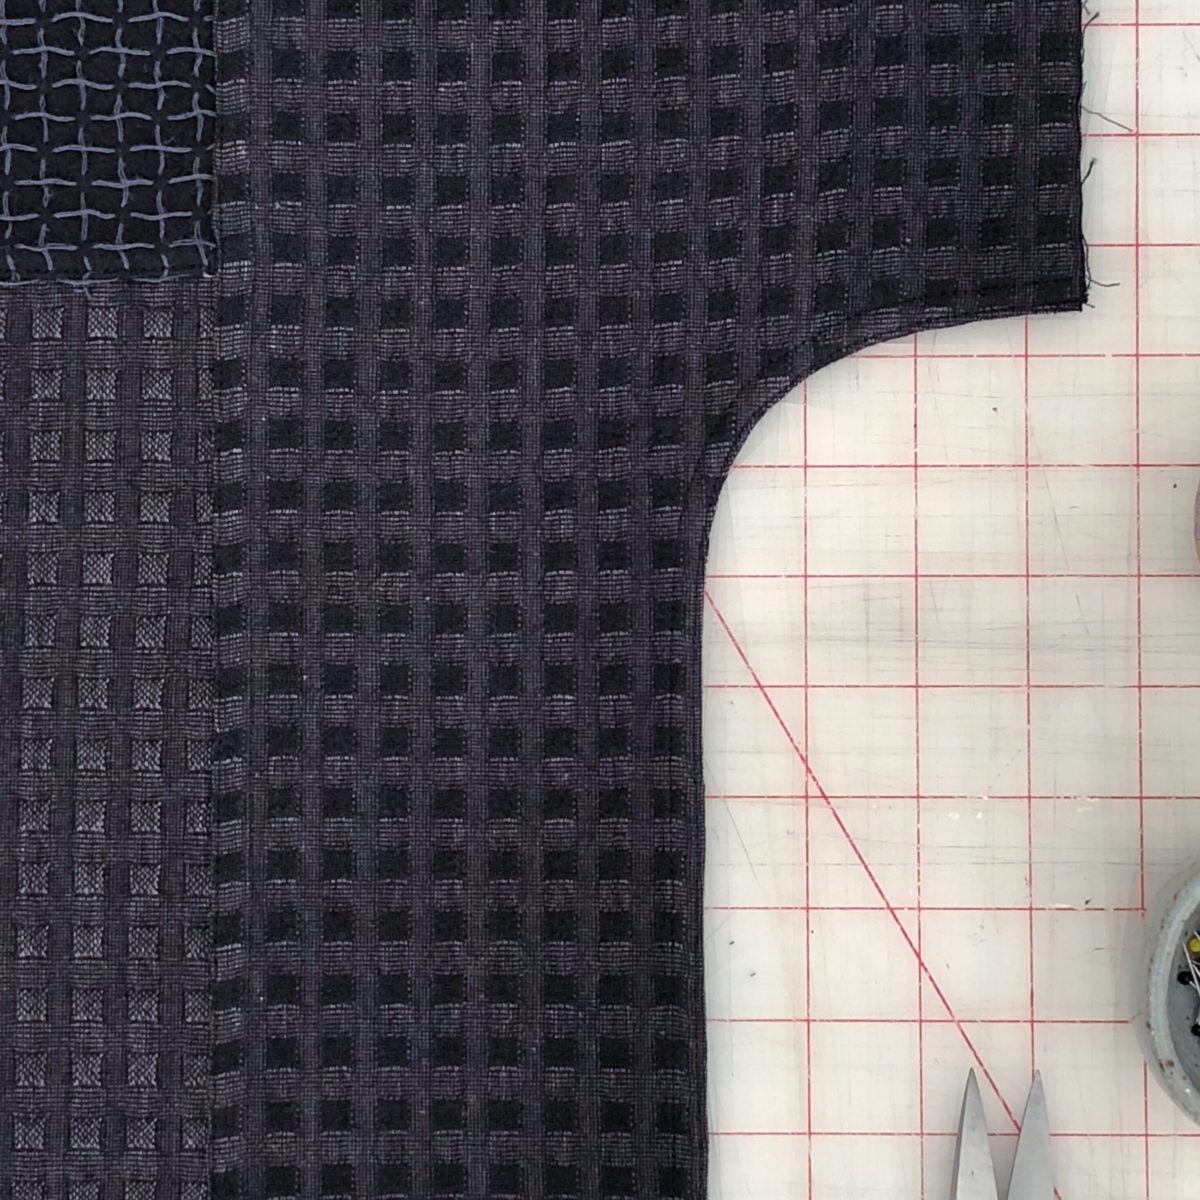
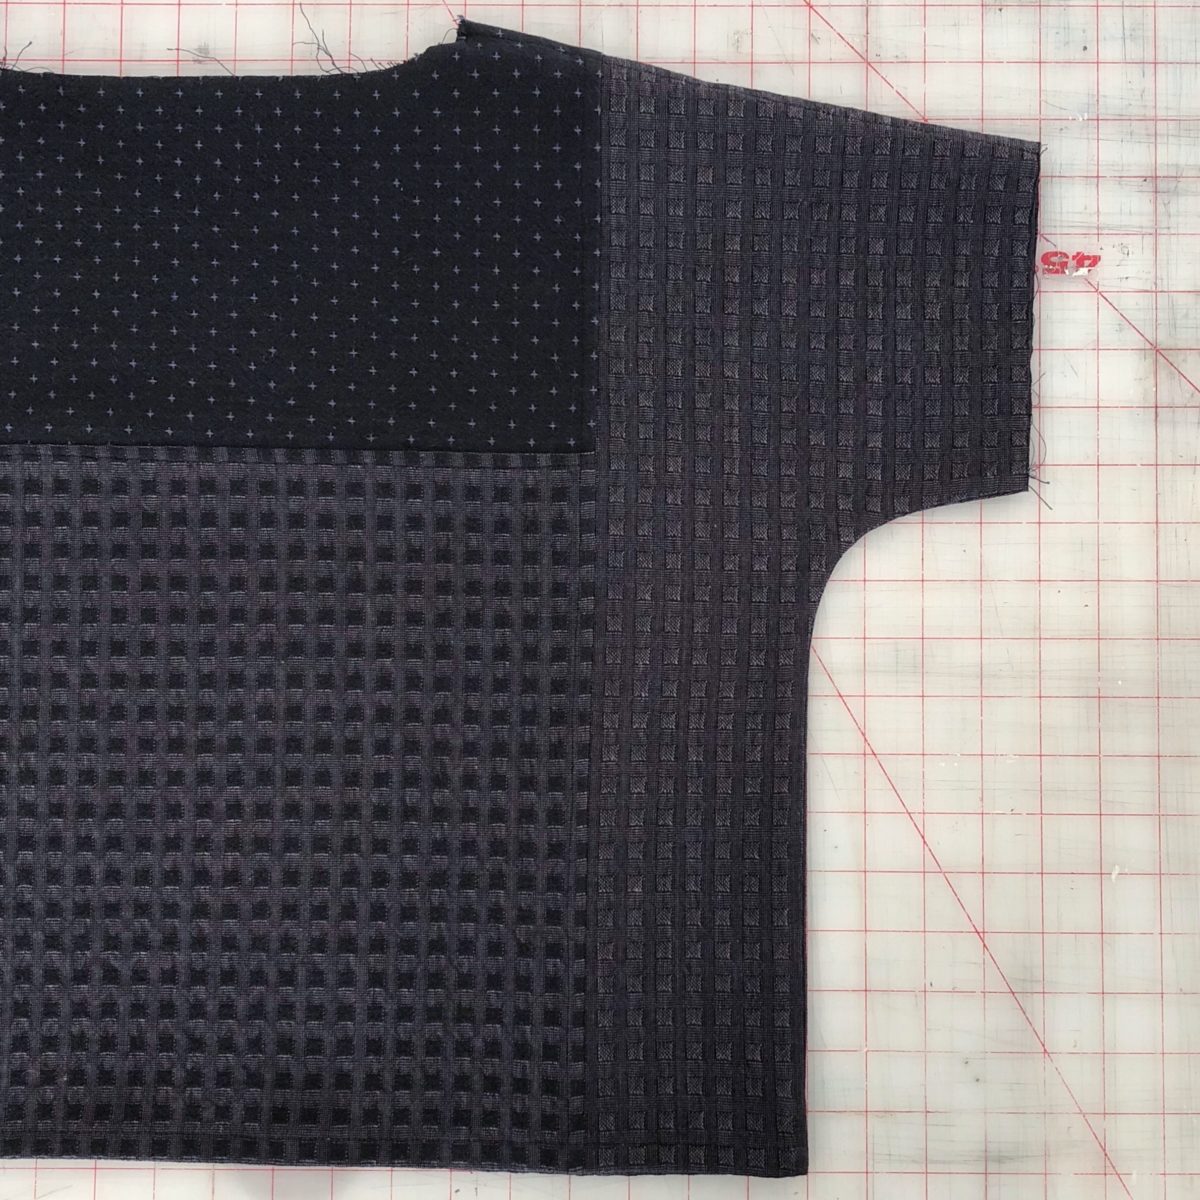
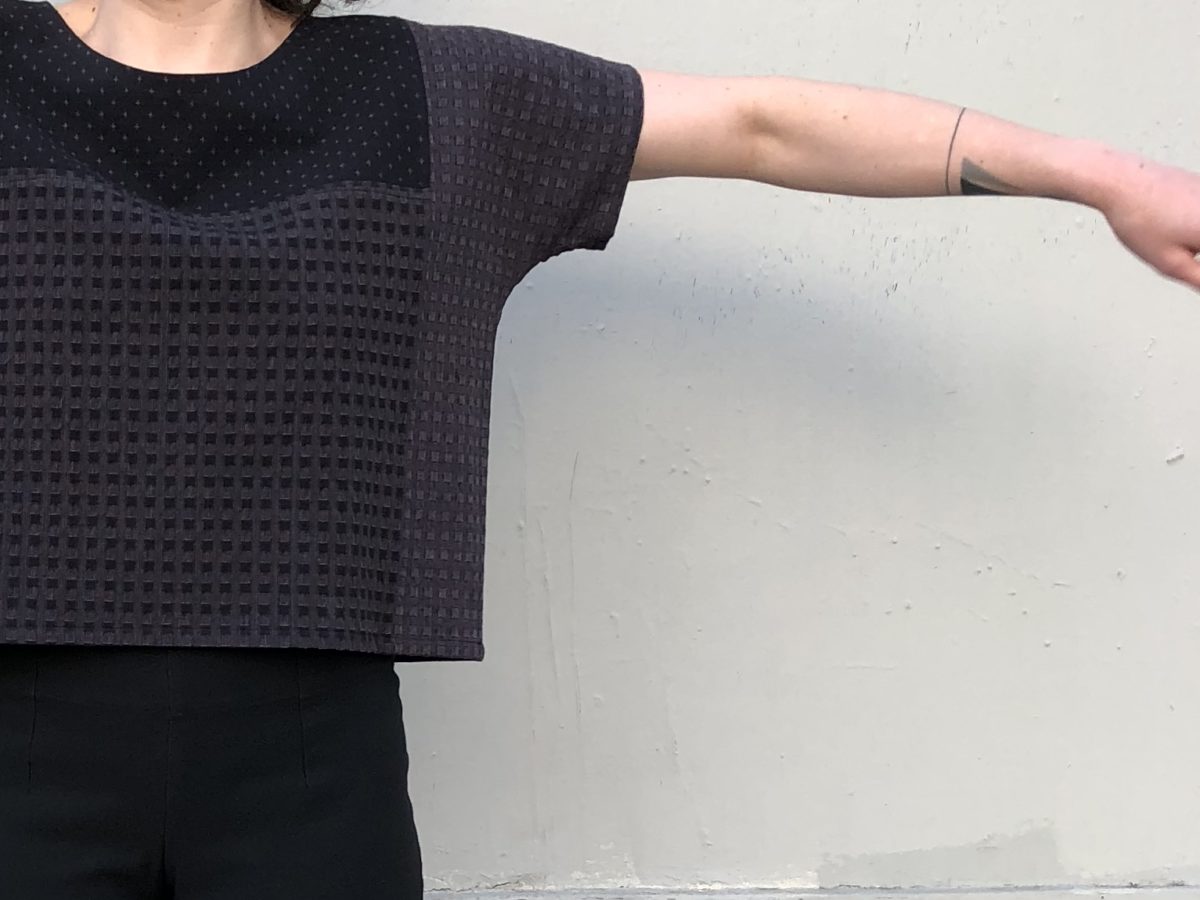
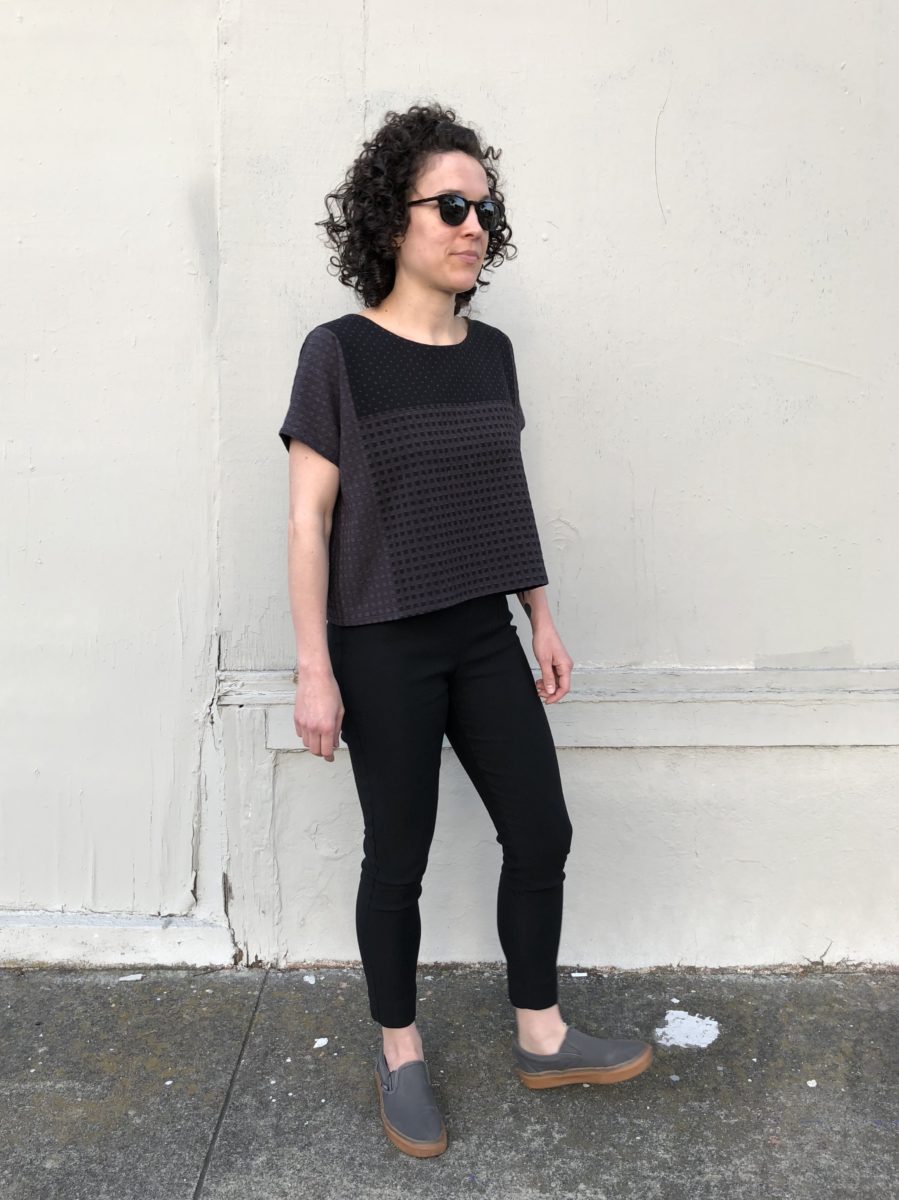
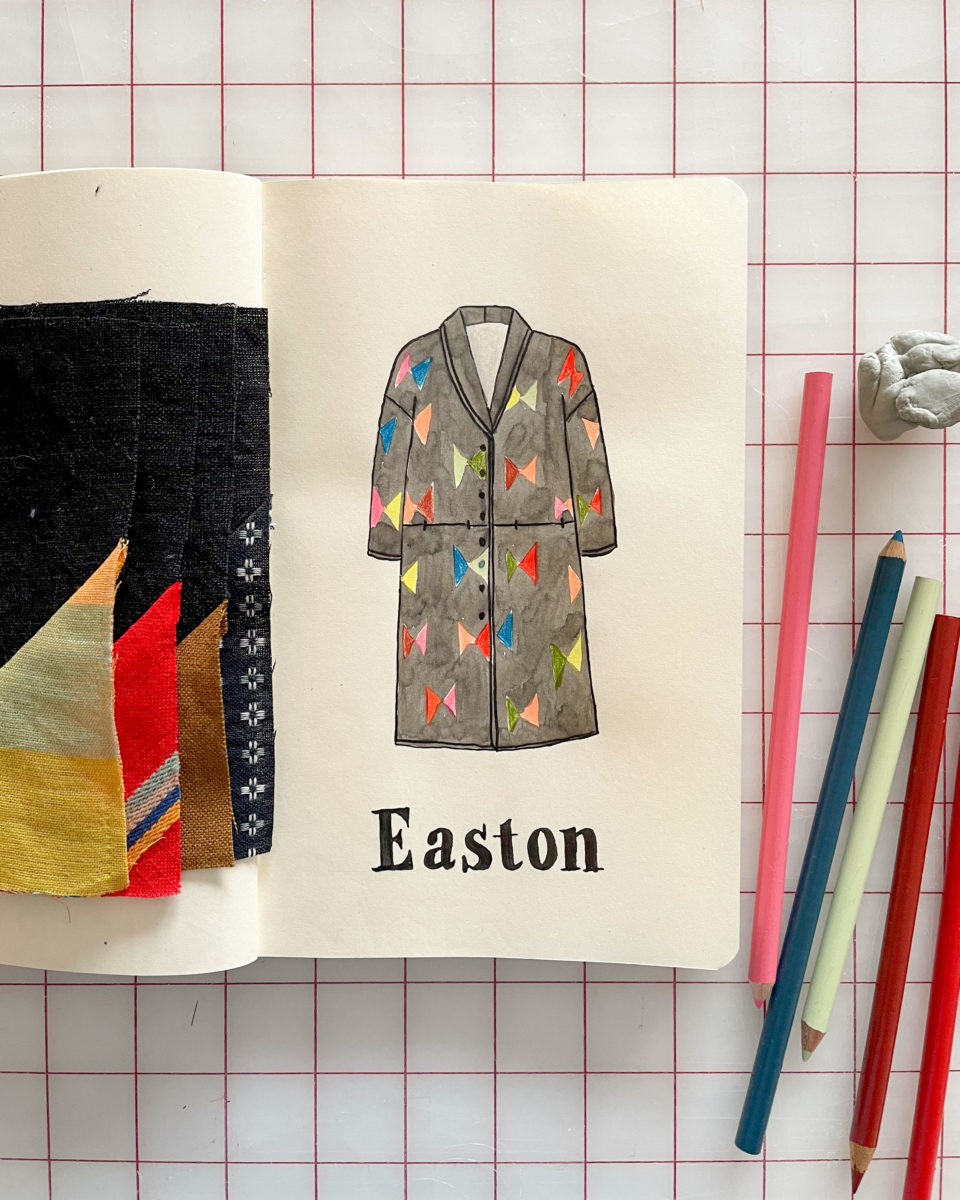
I’m also making a quilted coat. I’m unifying all of the different textures and colors of scrap fabric with black and a consistent block pattern. I modified the Seamwork Easton pattern to be longer and to have hidden pockets.

Napkins & Bandanas

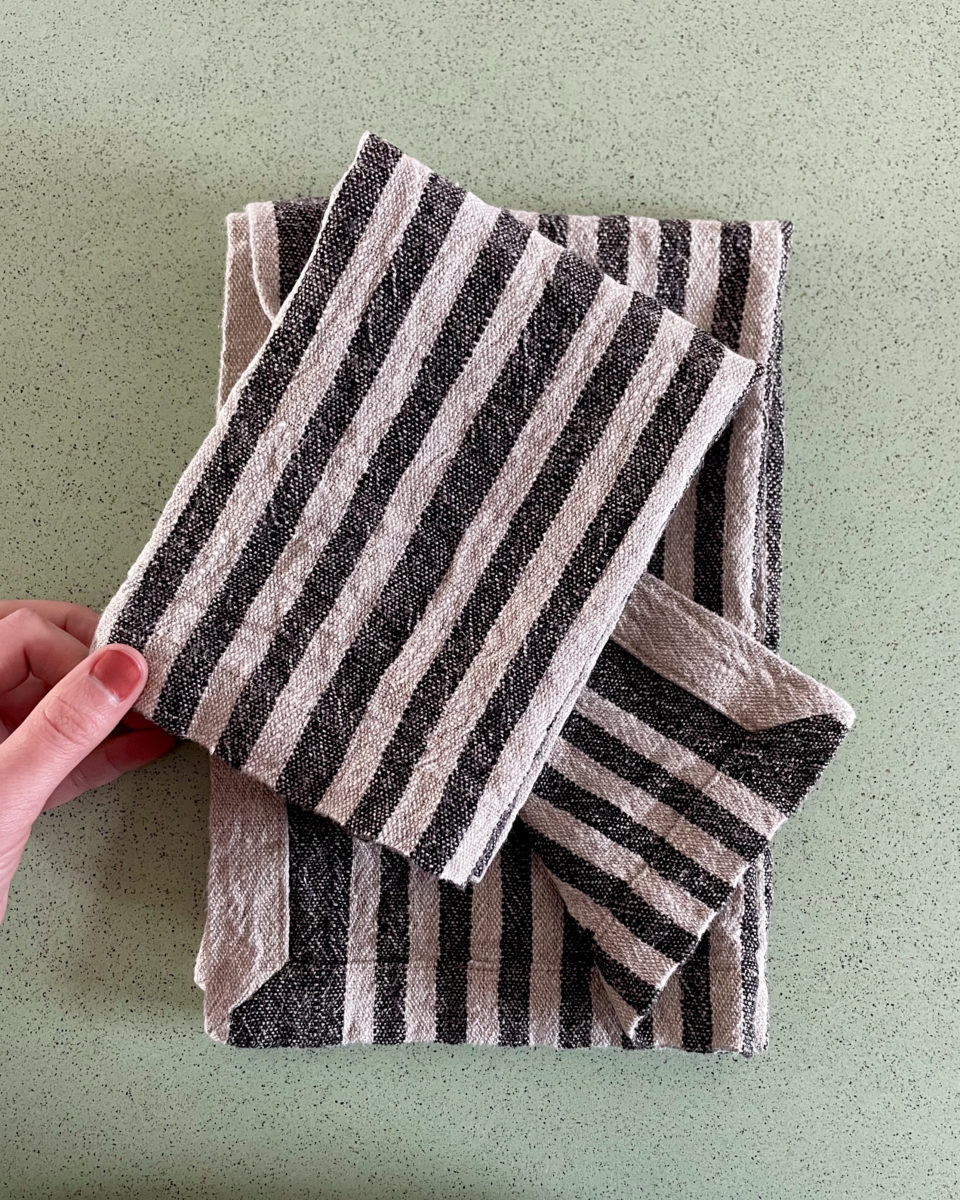
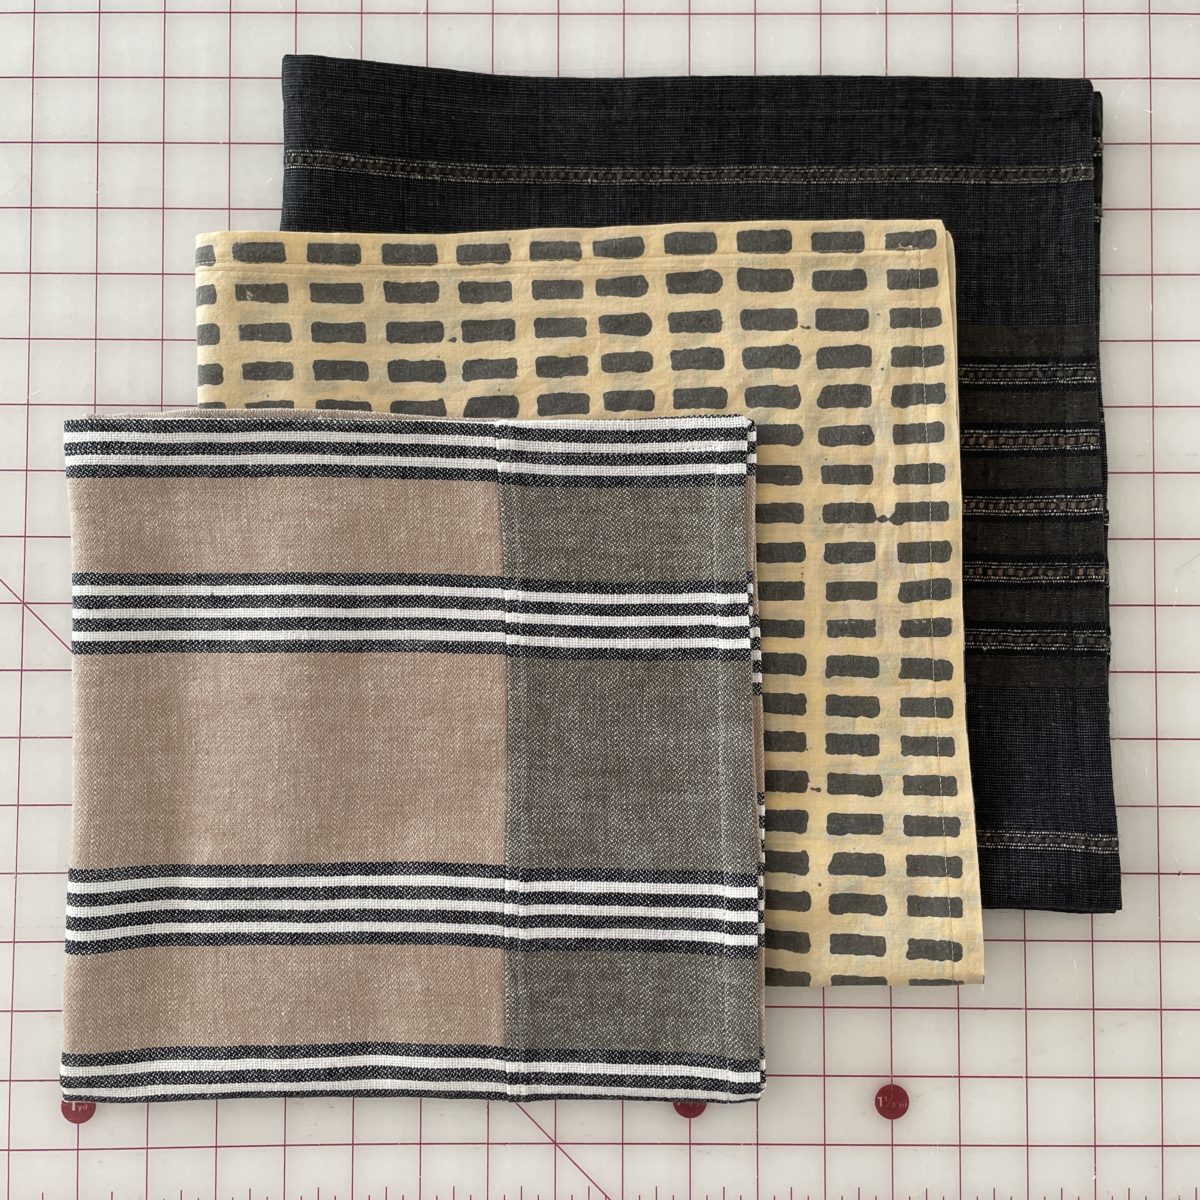
If I have a decent amount fabric leftover and I really love the fabric, I’ll make a bandana / square scarf. If the fabric feels pretty absorbent, napkins and tea towels are great options too. Each of the bandanas pictured (right) has a flat felled seam somewhere on it to make it big enough. Both the napkins and bandanas are finished with mitered corners. For napkins or tea towels, I try to make them 12″ x 12″ to 16″ x 16″. For bandana scarves, at least 20″ by 20″ and above.

Headbands & Scrunchies

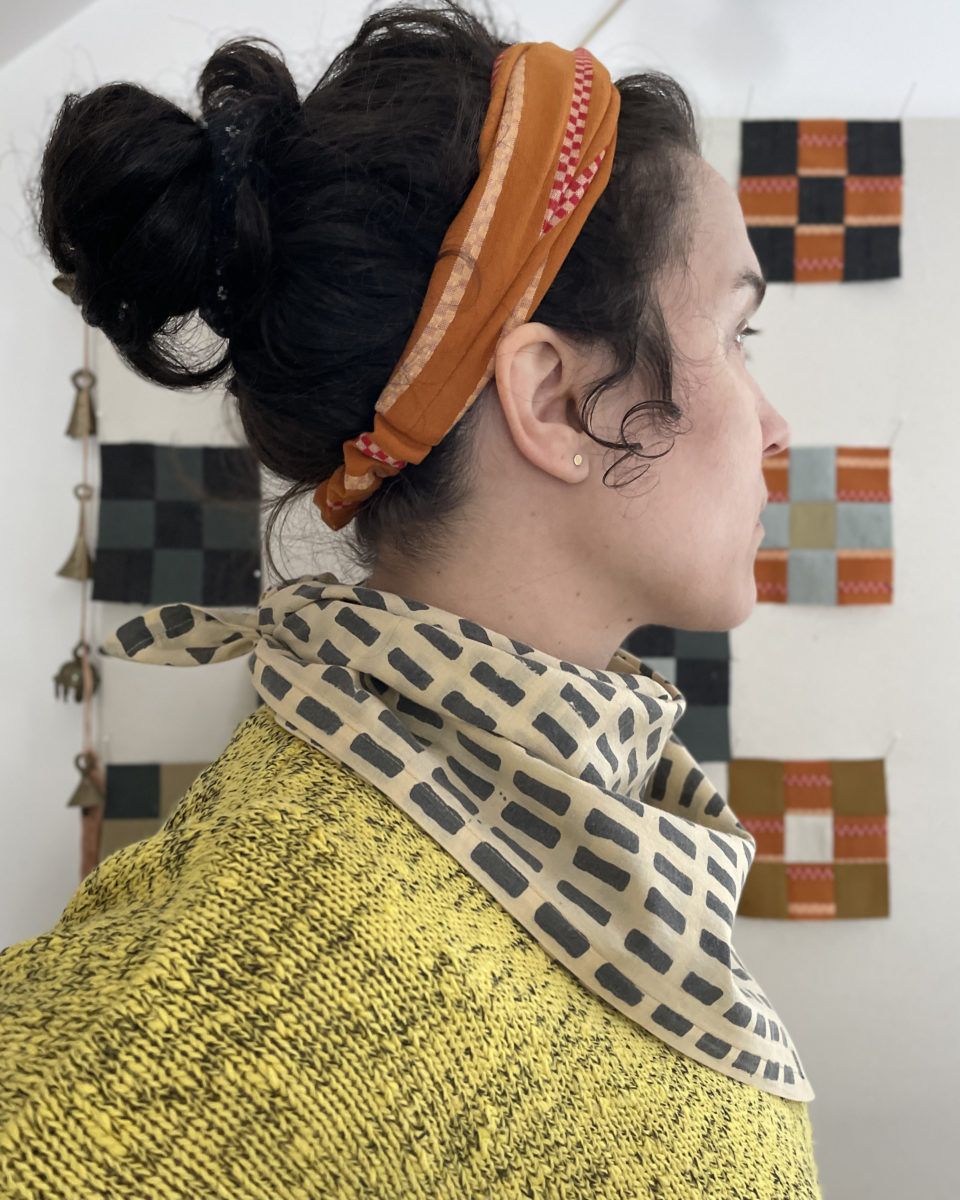
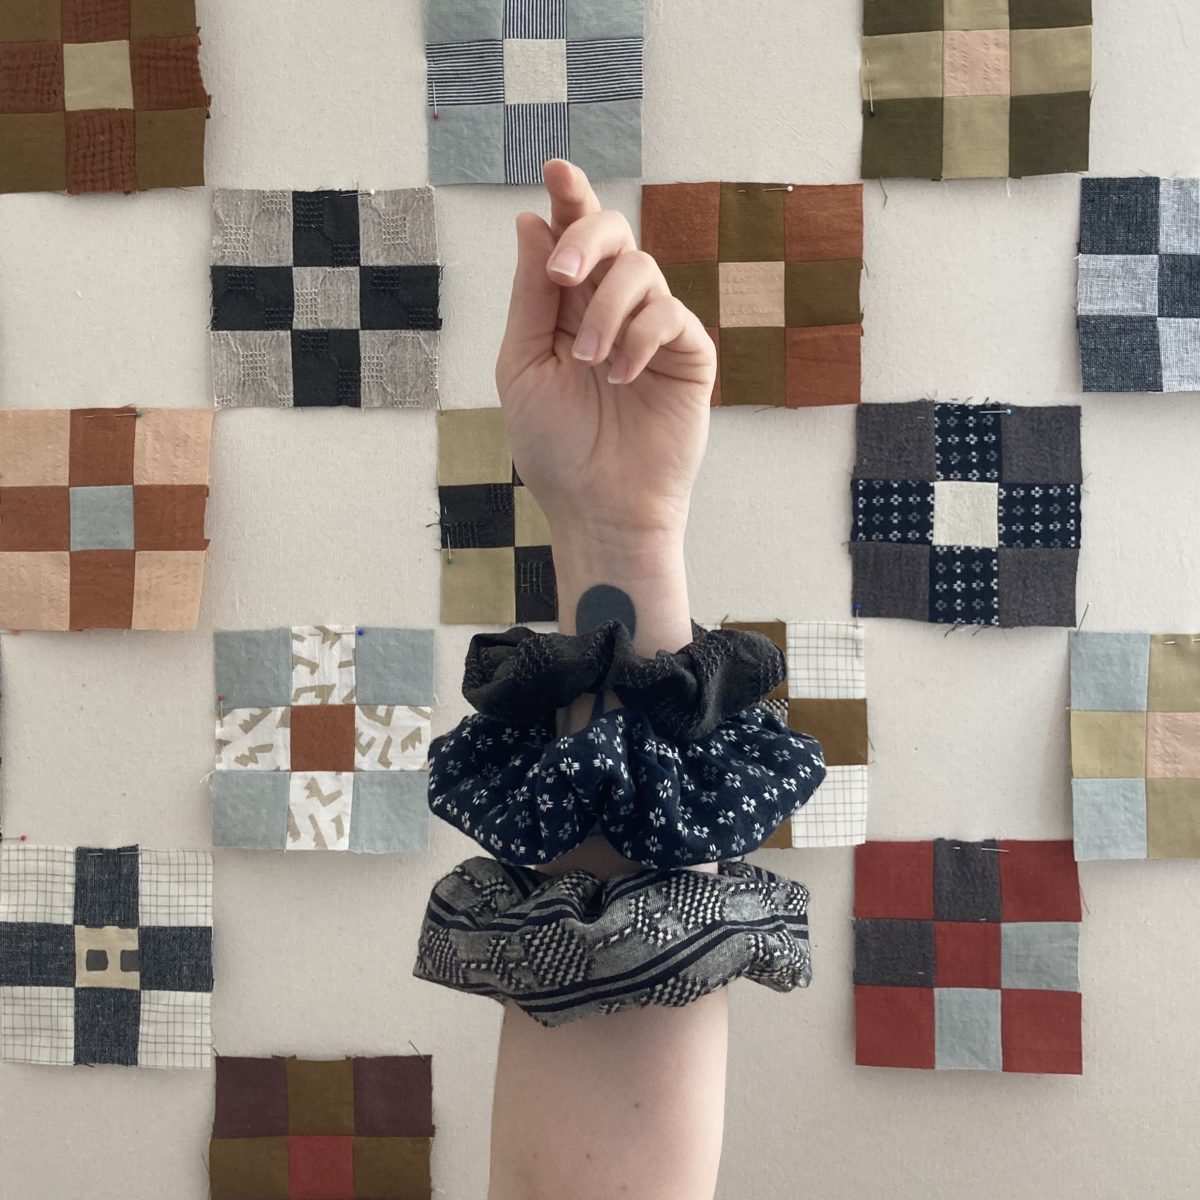
Hair things are super fun to make and they’re helping me feel better about my quarantine hair. I love the Seamwork Drew headband, which can be made out of knits or wovens. When making a woven Drew, I’ll finish all of the edges with my serger before starting construction. For scrunchies I follow this tutorial.

Beanies & Head Wraps

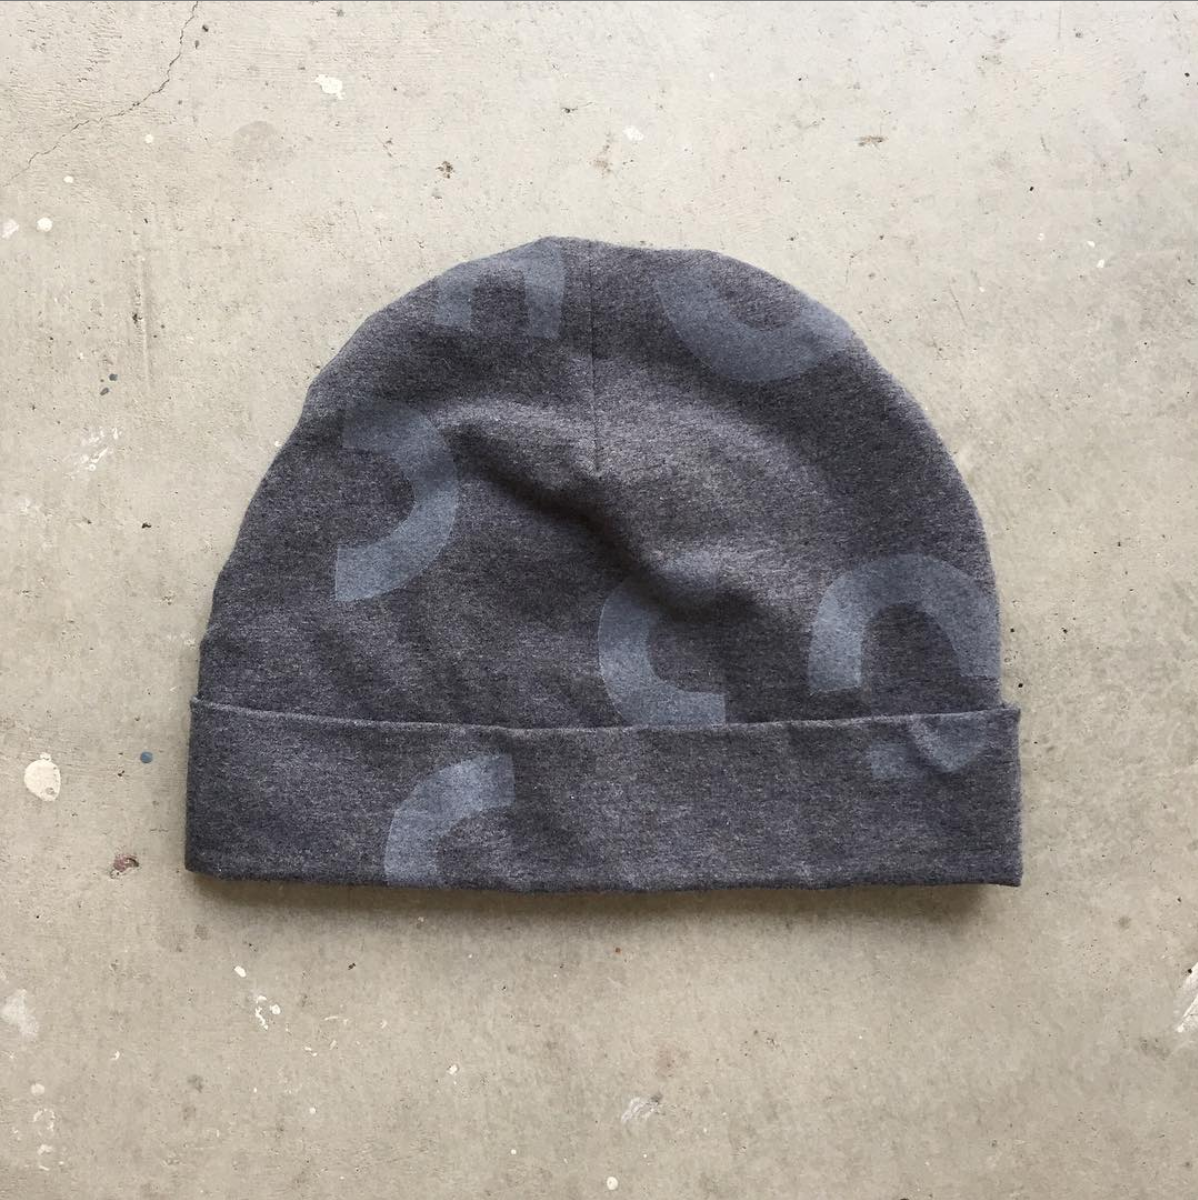
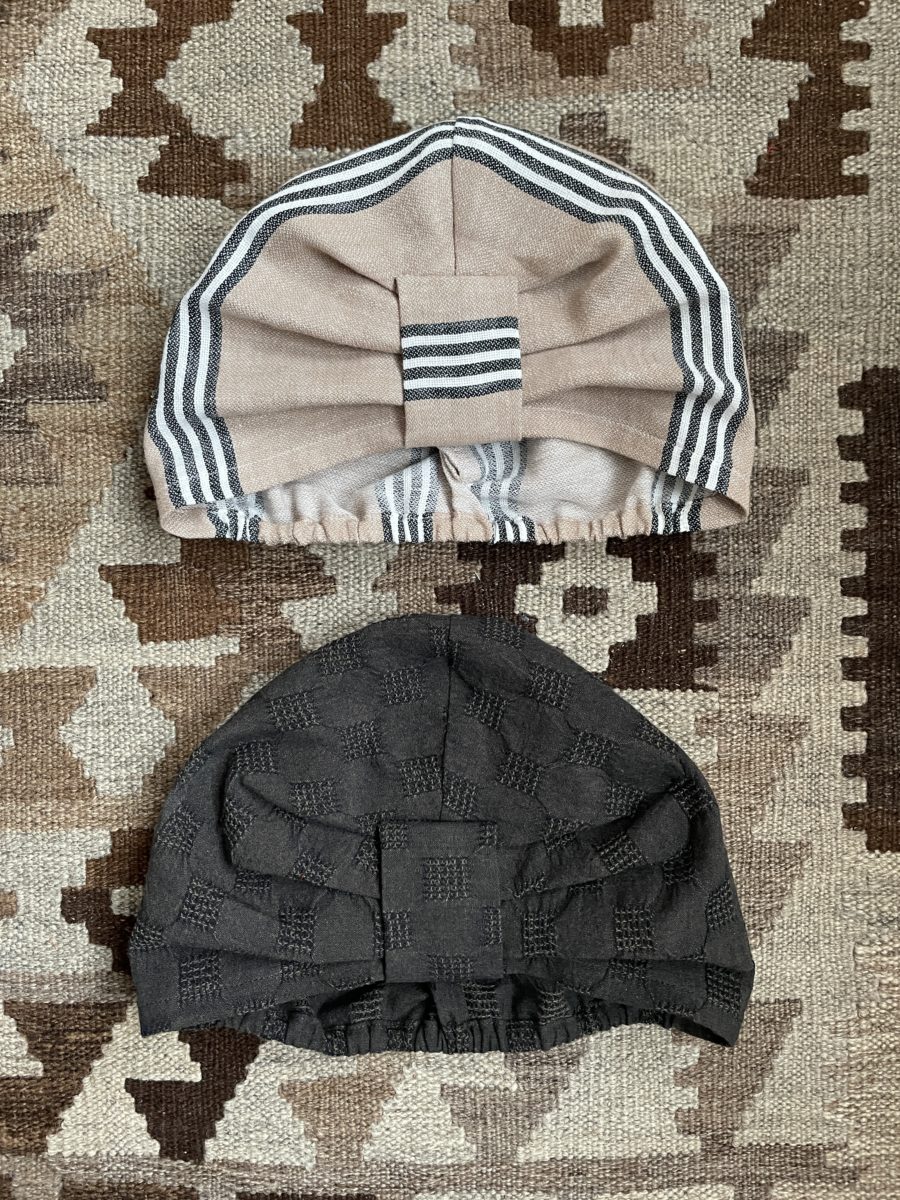
Both of these patterns require very little fabric. I block printed the knit fabric of the hat on the left. I used a free pattern for it, but can’t remember its name. The Mahogany Turban (right) is a new pattern by Fibr & Cloth Studio. It can be unlined or lined and it’s a really quick sew!

Small Bags & Cases

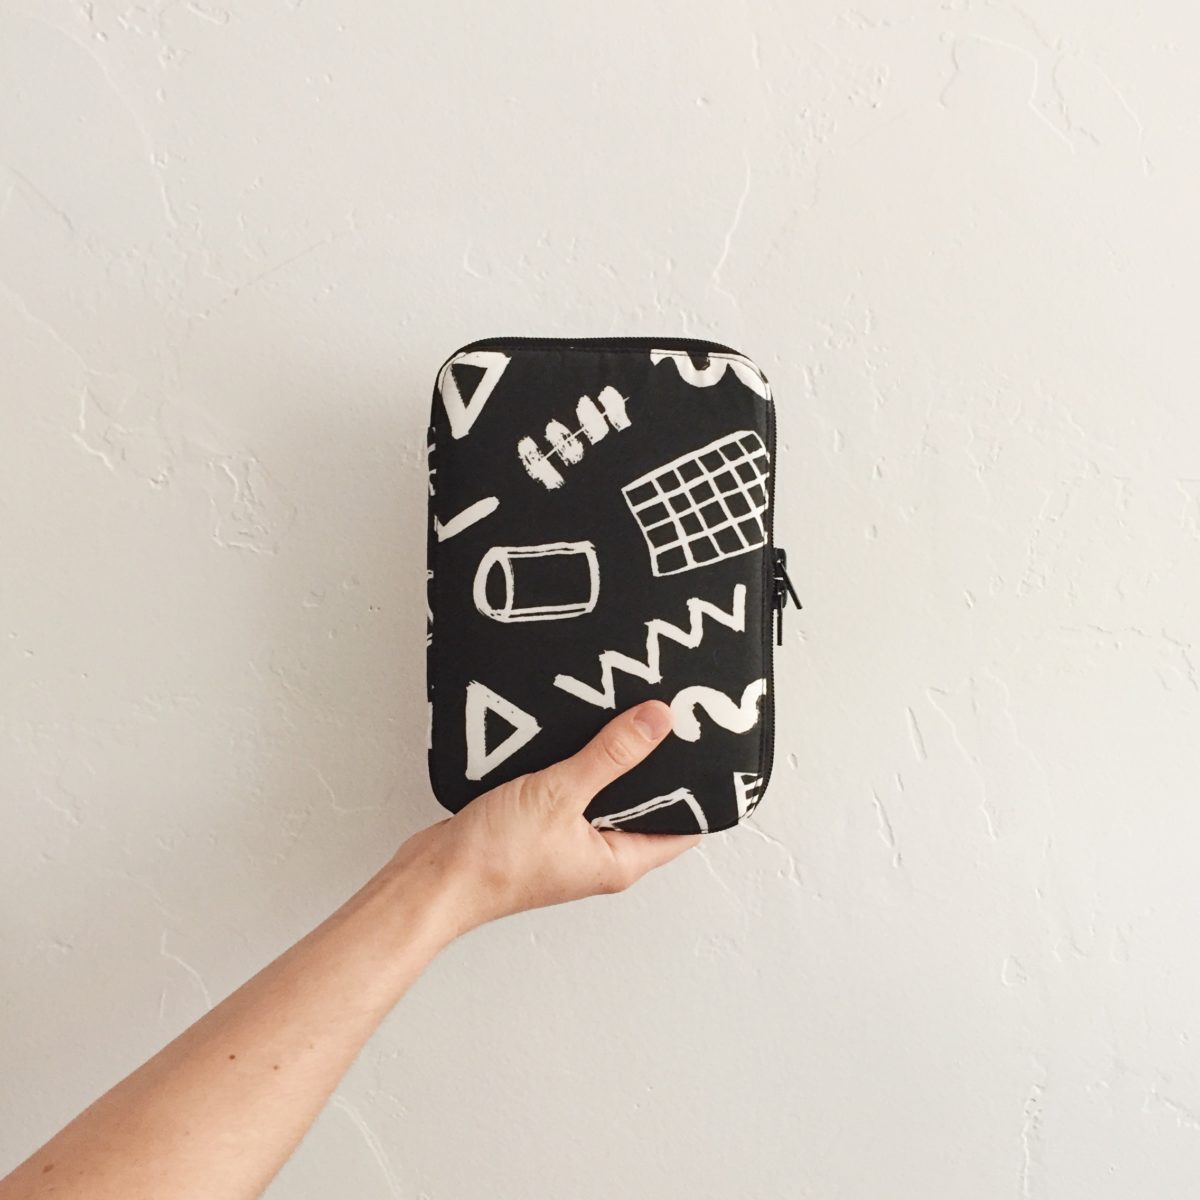
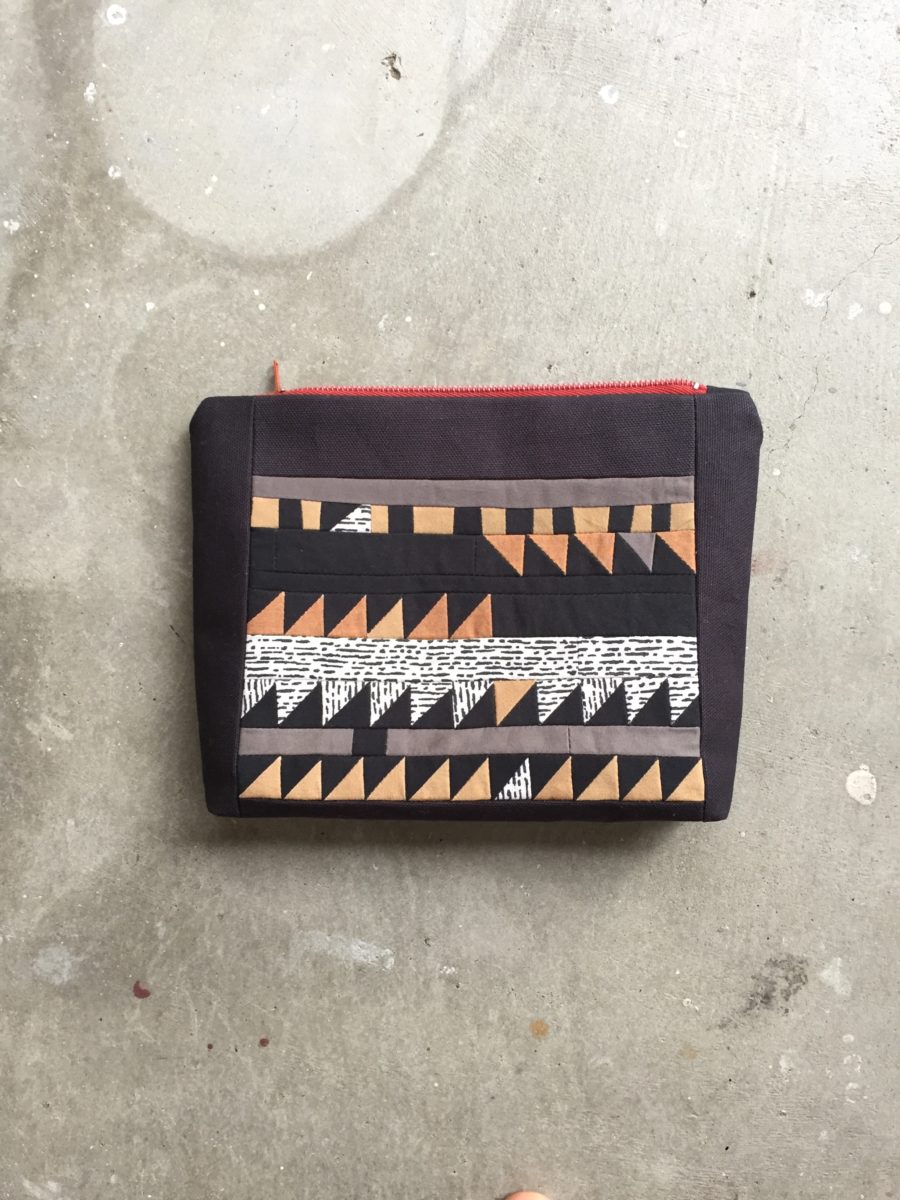
I really love the Creative Maker Supply Case and it uses a really small amount of fabric. Each panel could be a different fabric. The scrappy zippered bag (right) is made out of some improv piecing and I really love it. The fabric was teeny tiny too!

Rope Bowl Pizzazz

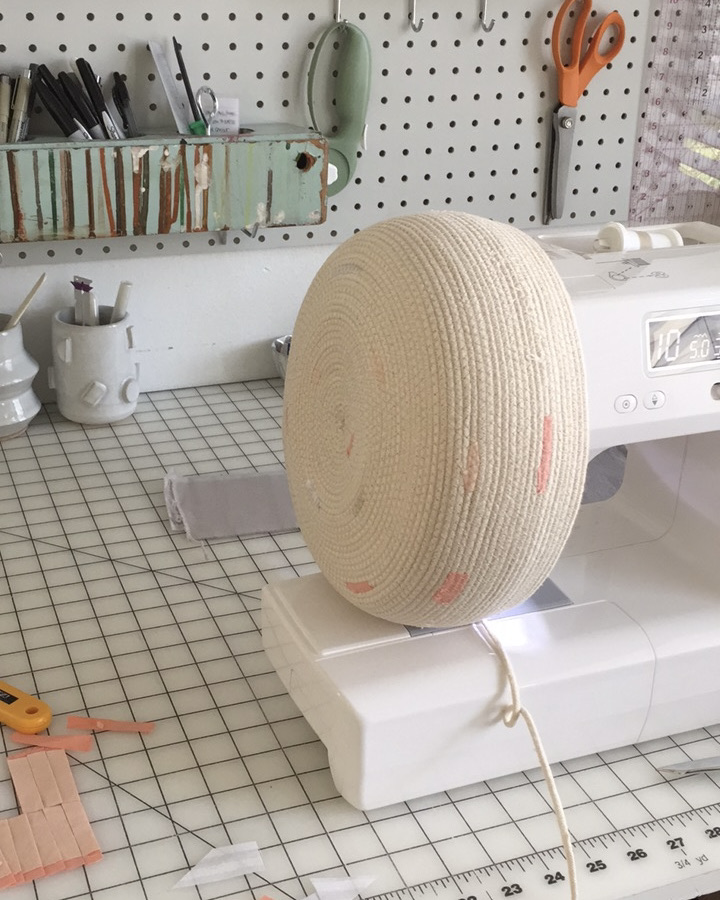
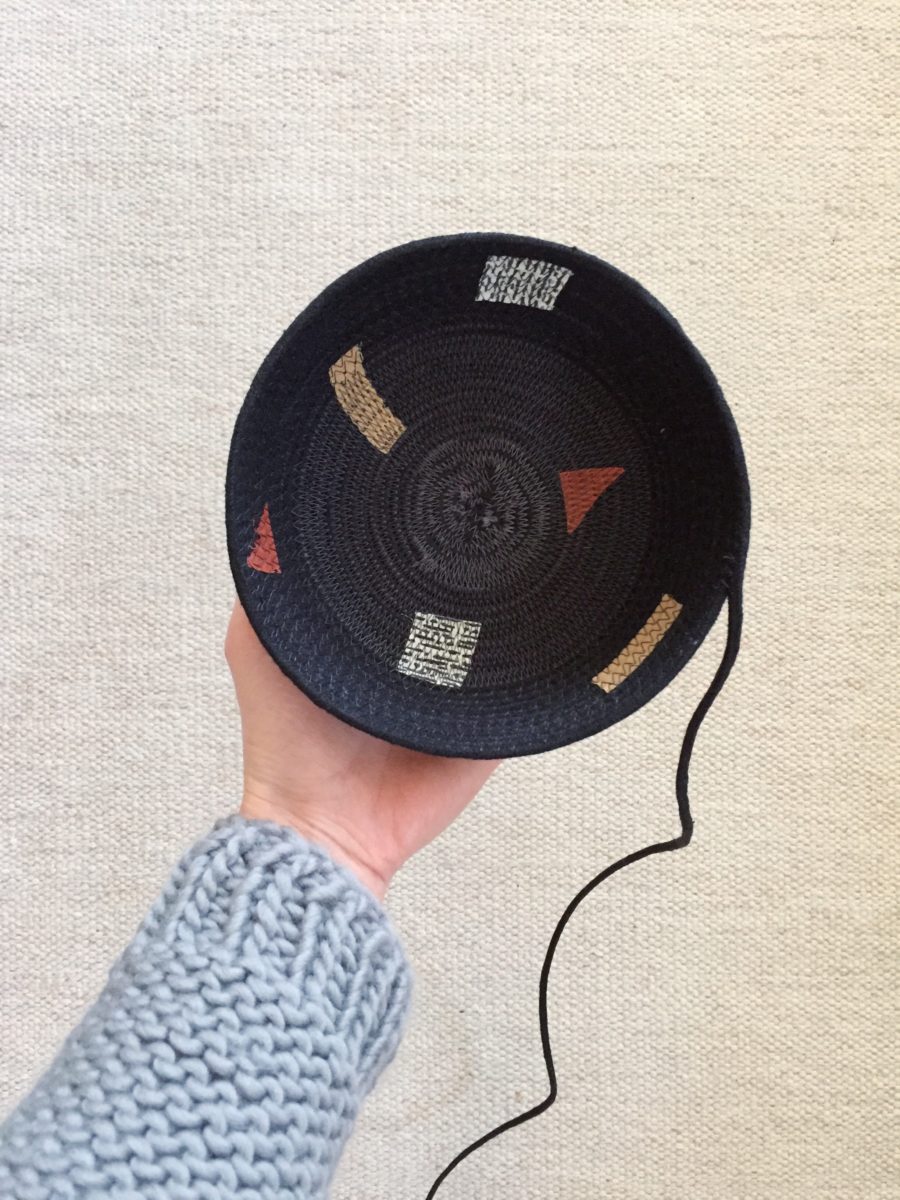
I love throwing some fabric scraps on a rope bowl. I think this is a super fun way to use the tiniest bits of fabric.

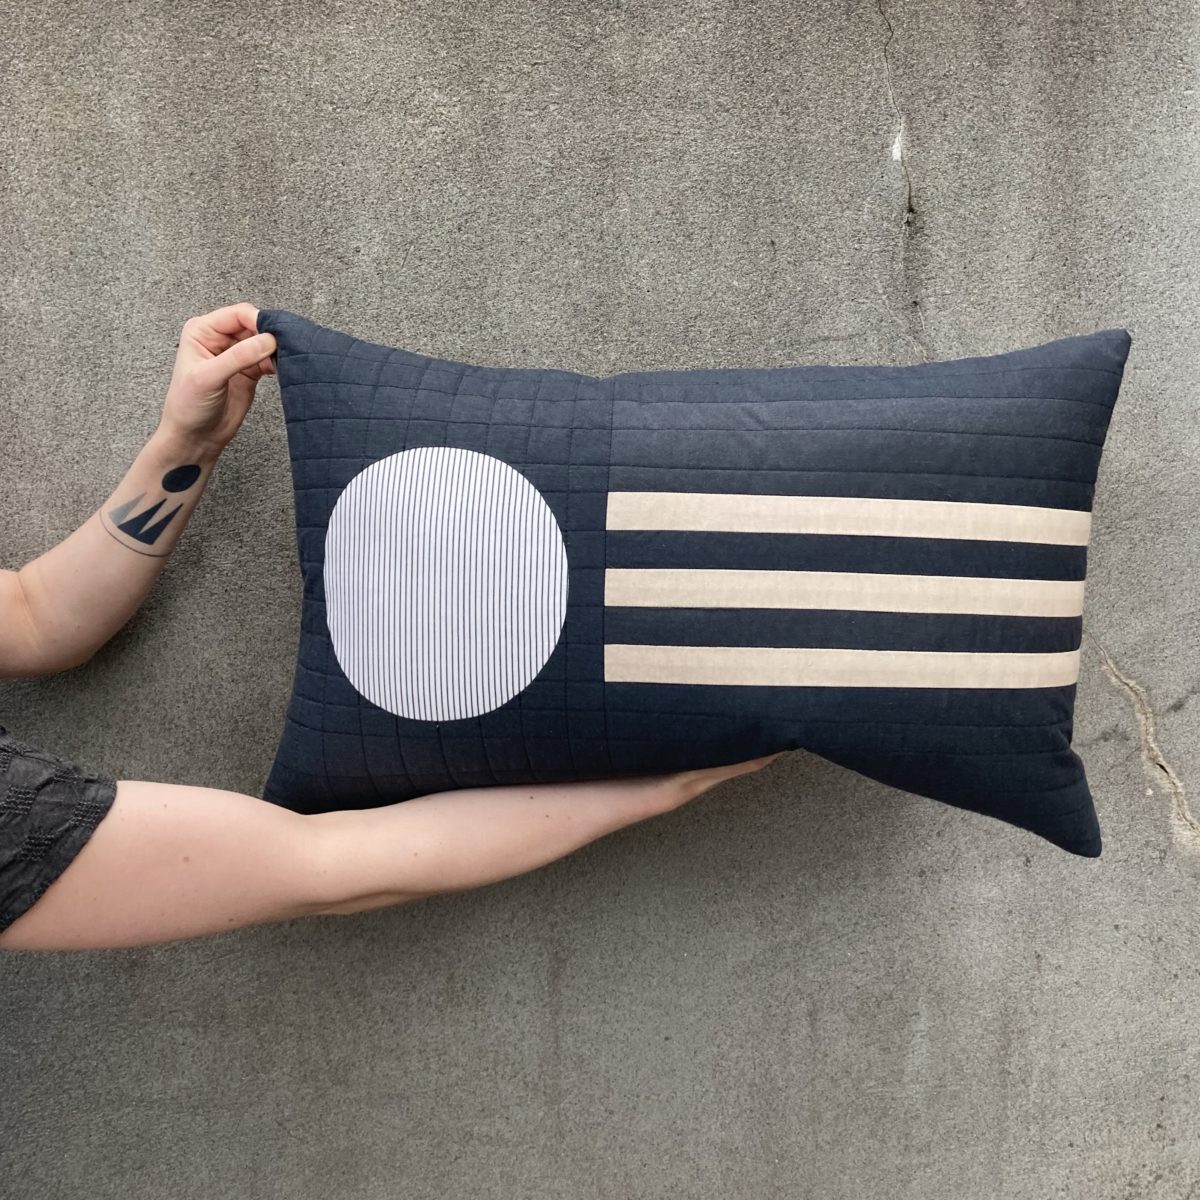
Quilted Slippers & Pillow Covers

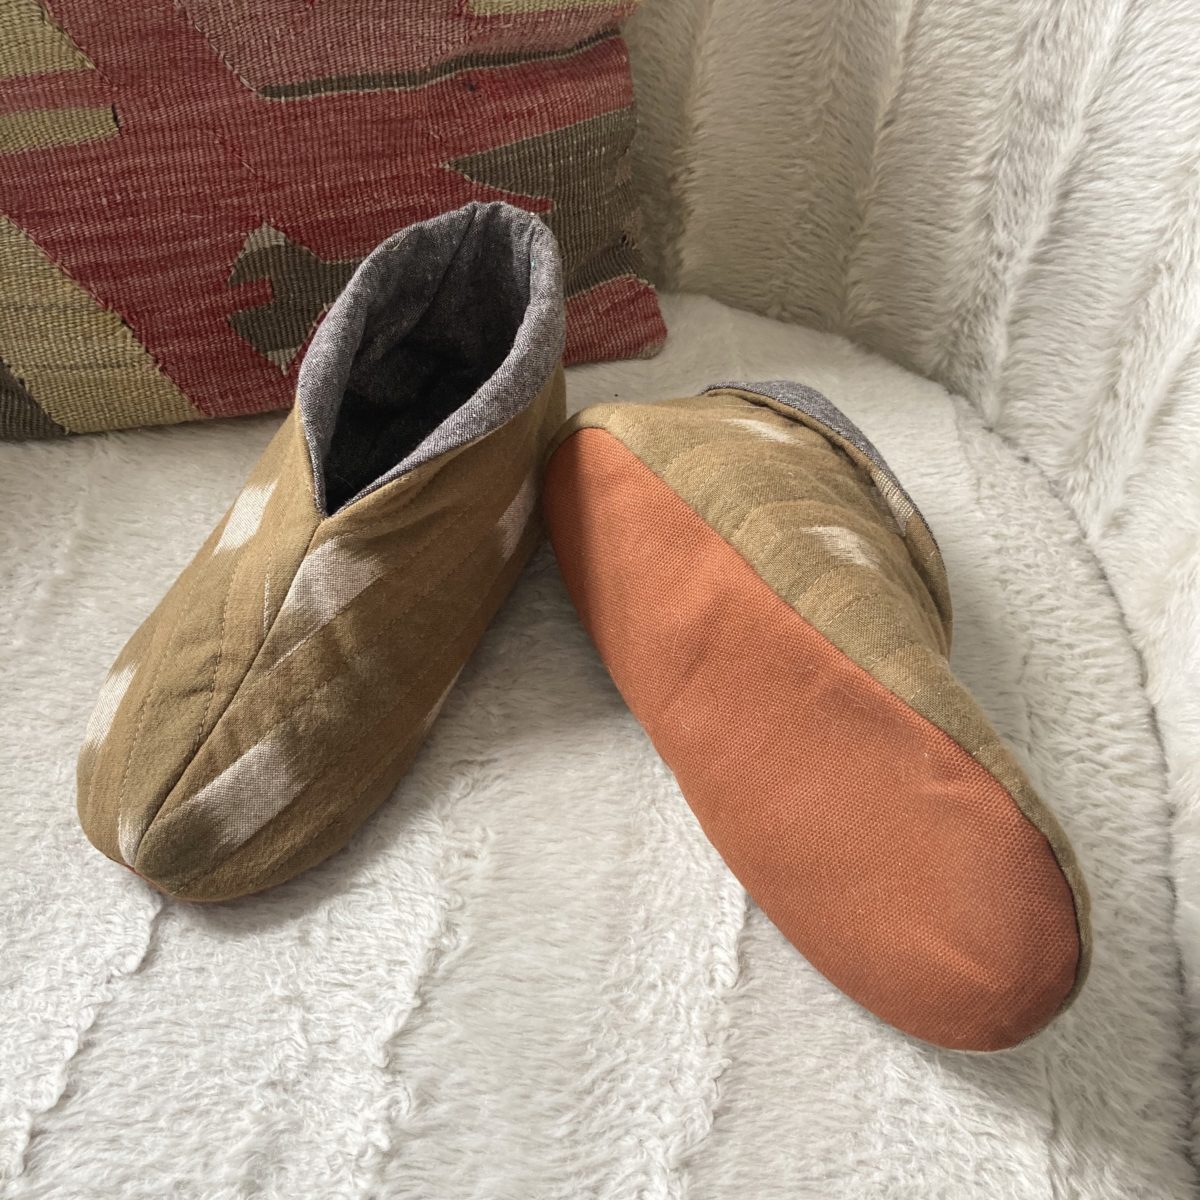
Sew DIY’s Quilted Slippers is a great scrap busting project. I used three different fabrics in my scrap stash to make the lining, sole, and the exterior. They’re a surprisingly fast sew too and make a great gifts!

I’ve made three quilted pillow covers now and I’m not gonna stop!

Underthings & Outerthings

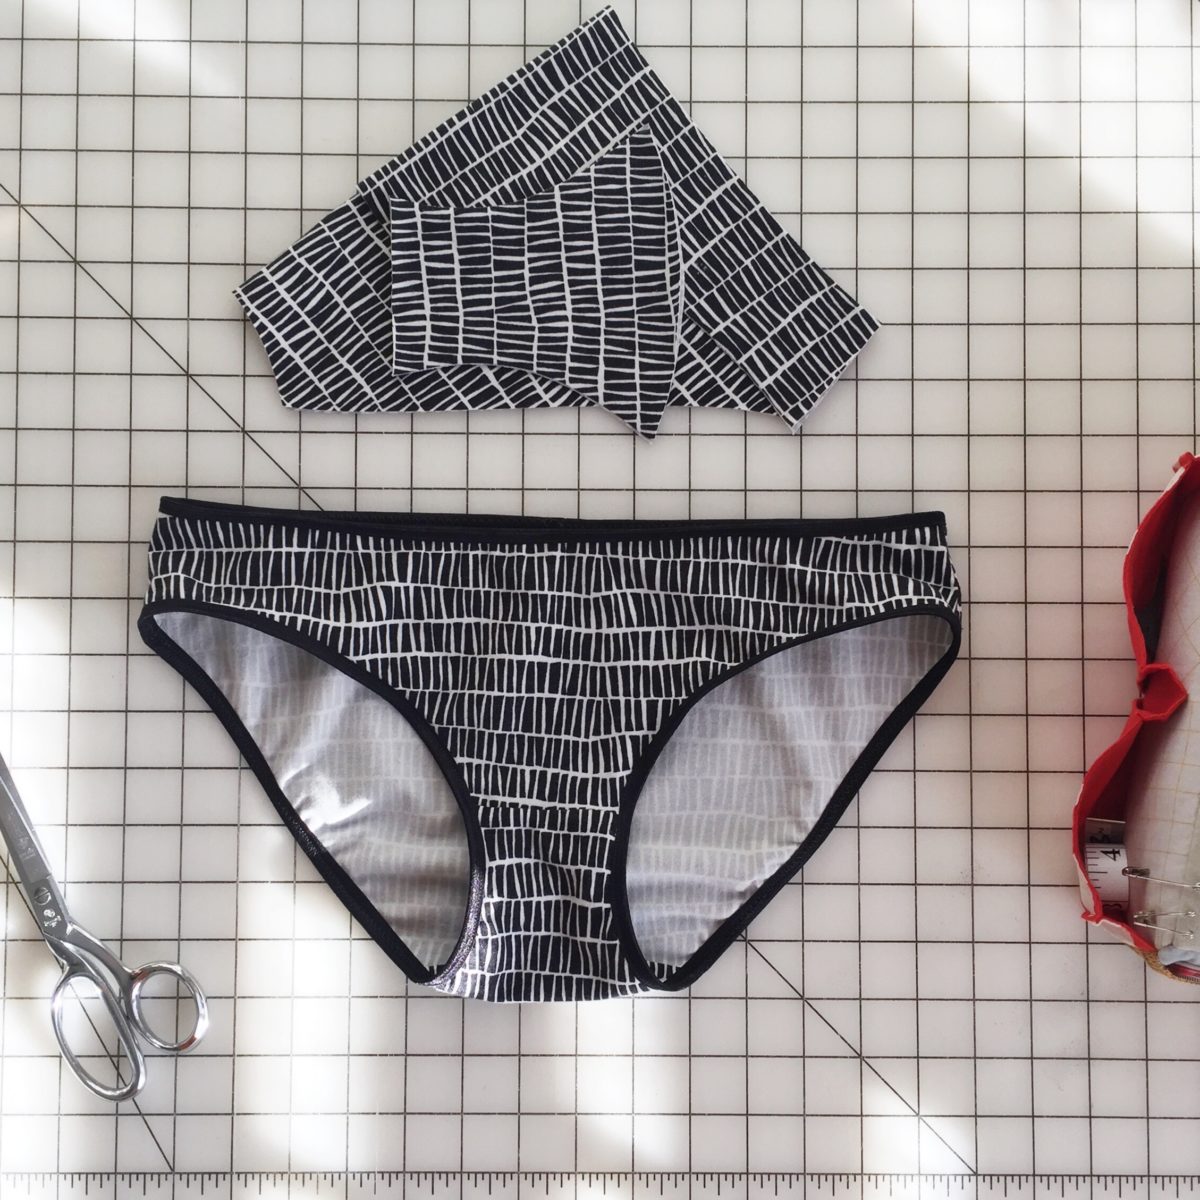
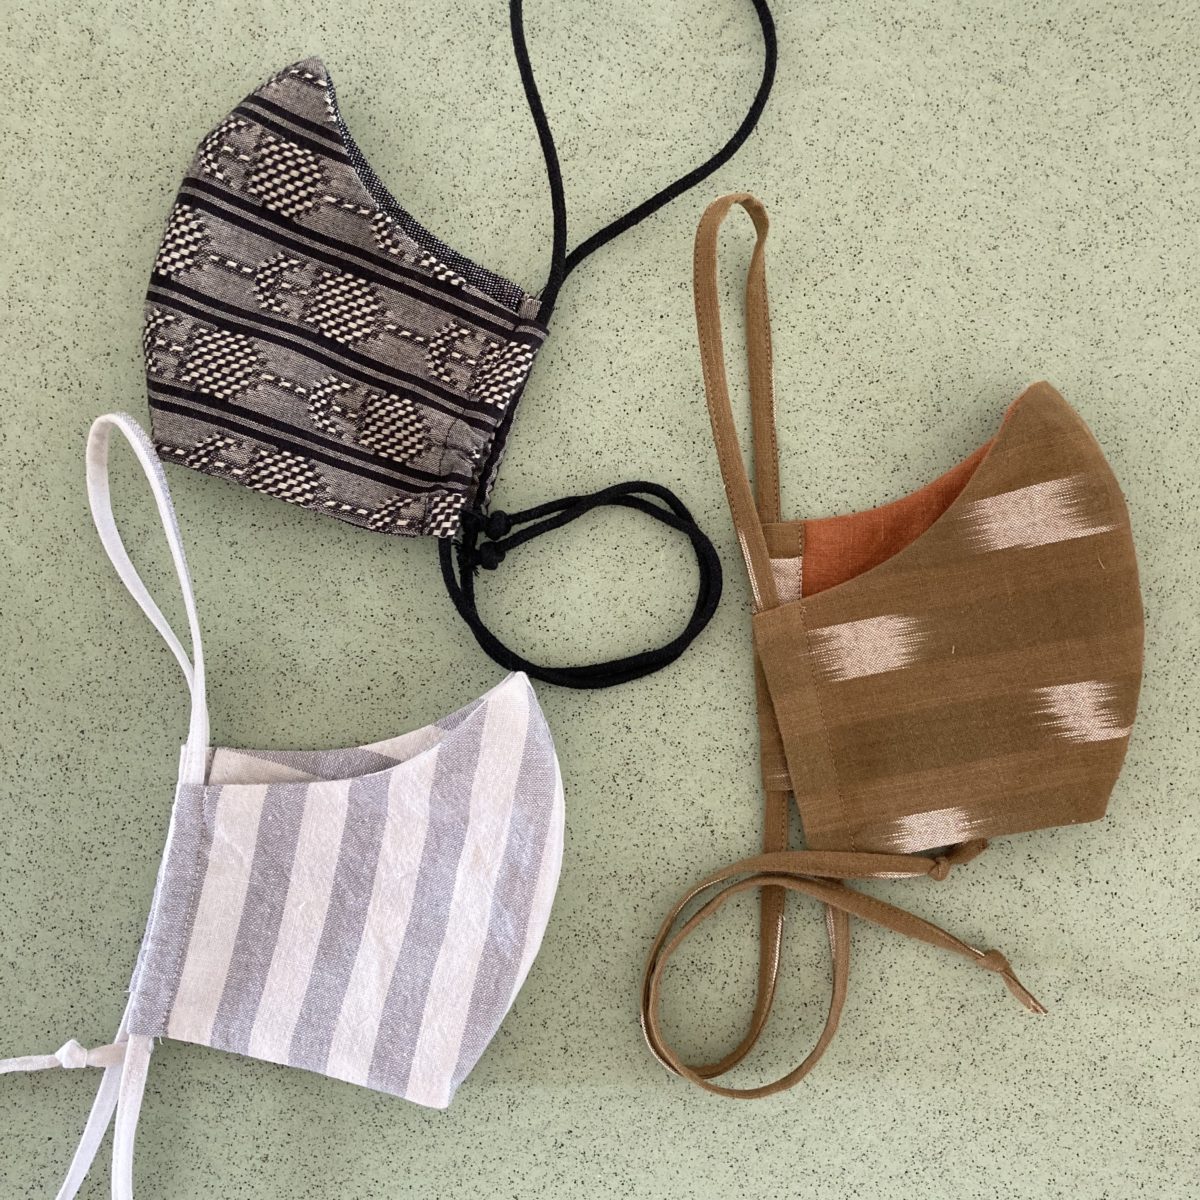
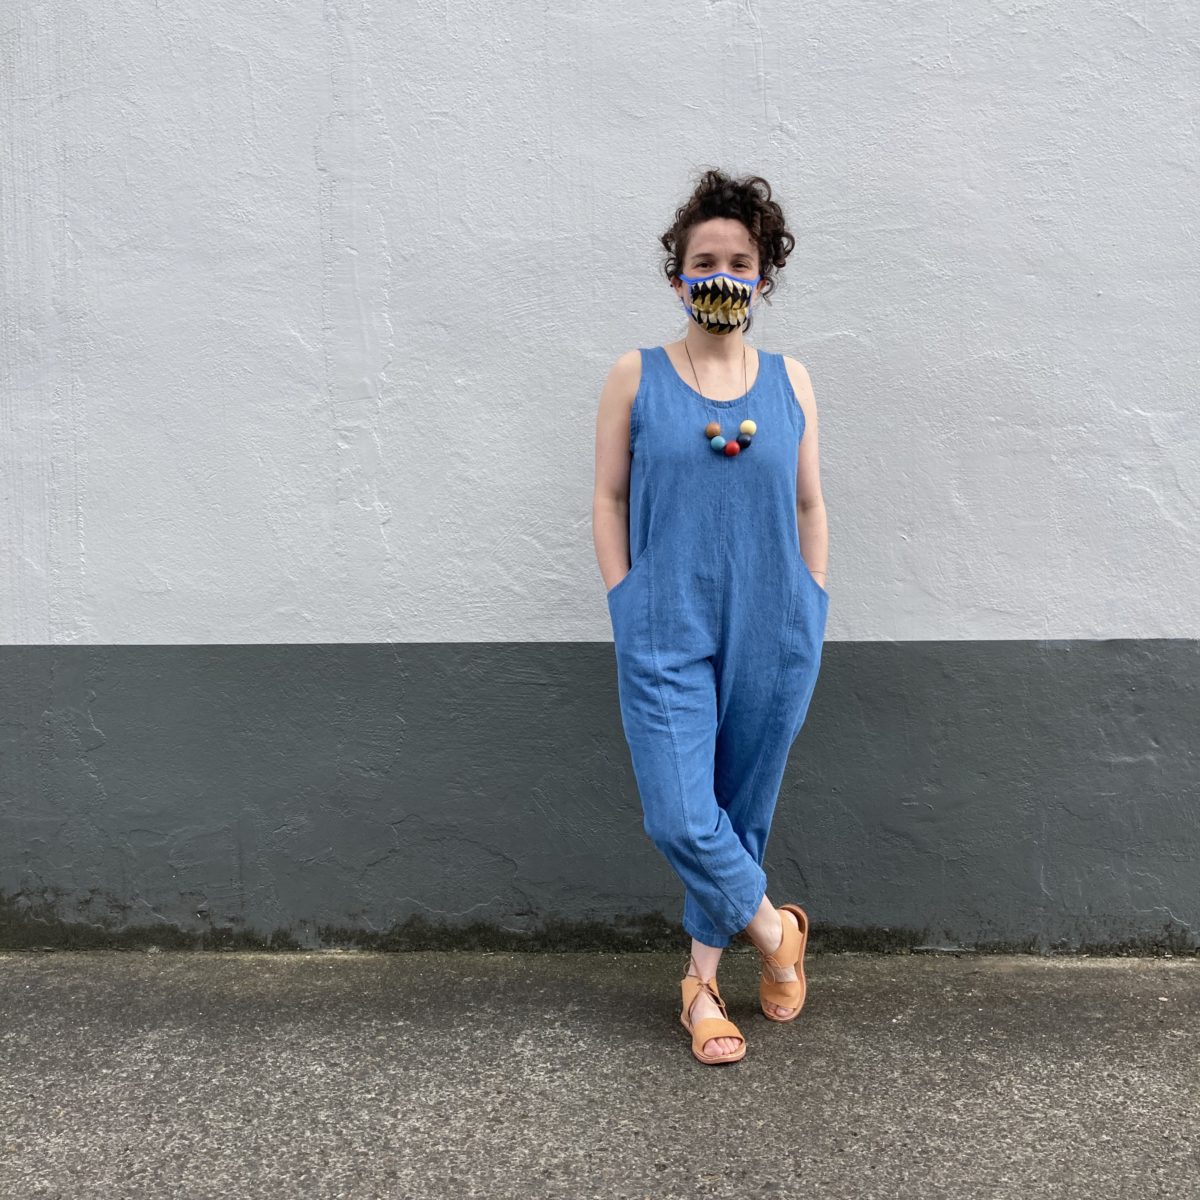
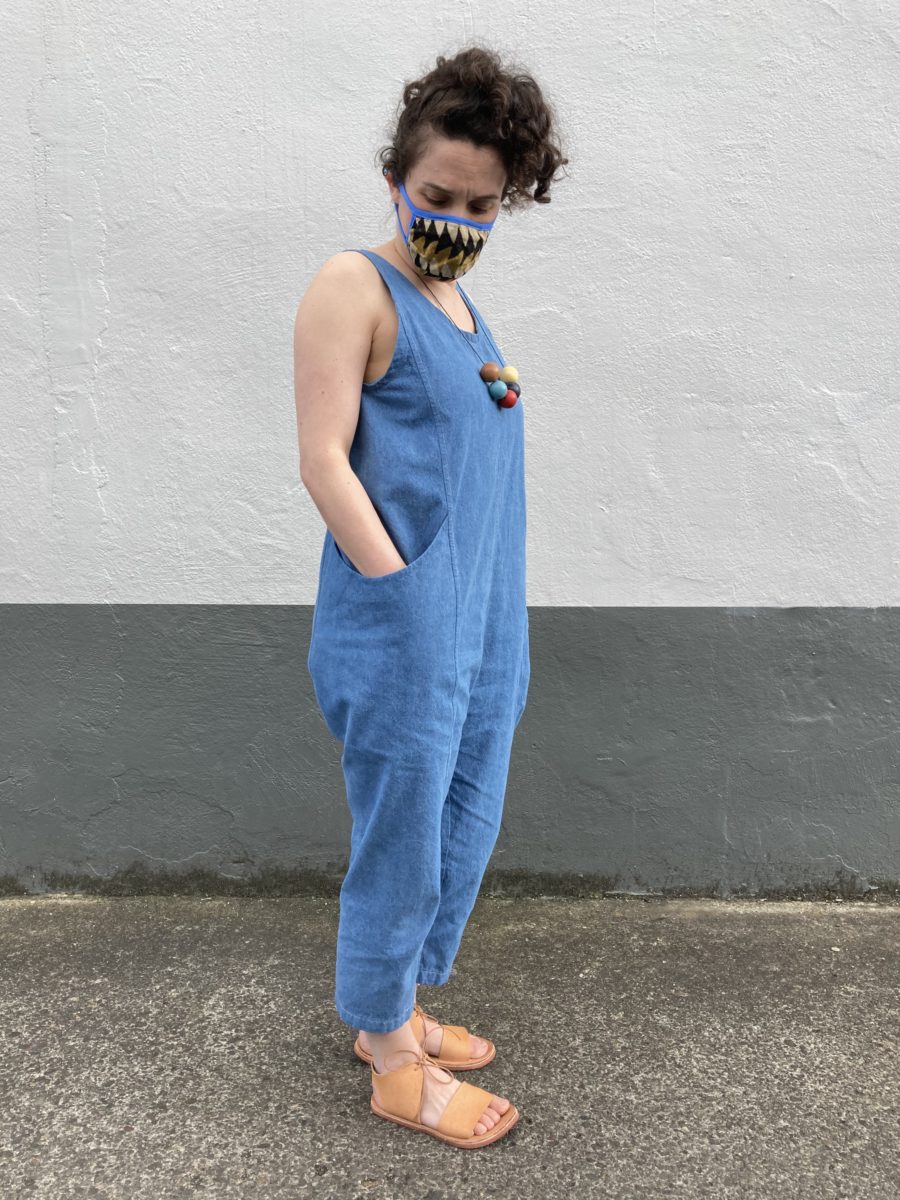
I can’t wait for the time when one of these things is unnecessary. Anyway, I love using leftover jersey knits for underpants and bras. I actually hate this mask pattern, it’s the only photo I’ve taken of masks. I prefer a 3D mask with a big loop of elastic to go around my head.

Ornaments & Wall Art

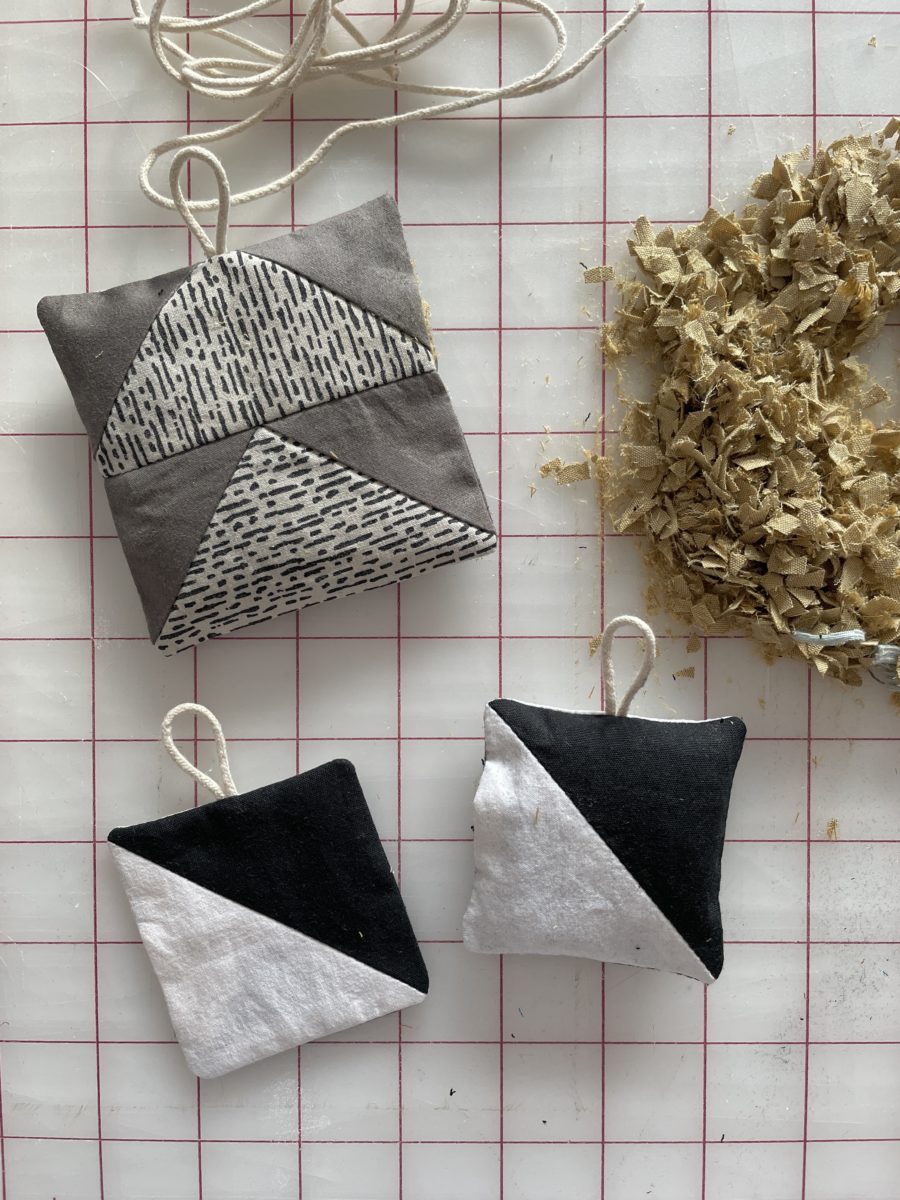
The square ornaments are stuffed with fabric mulch (left) and the circular vinyl ornaments use serger off cuts and scrap yarn.

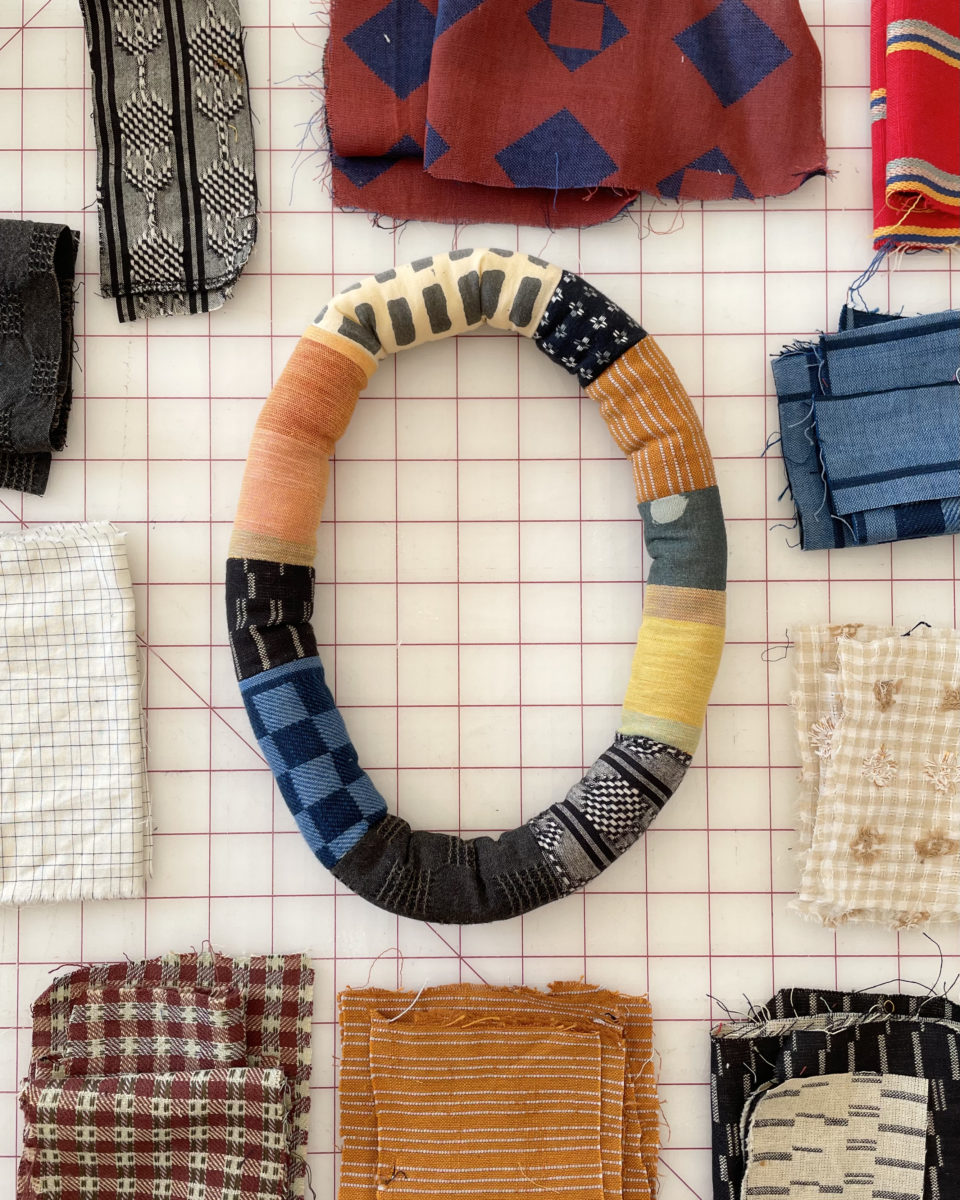
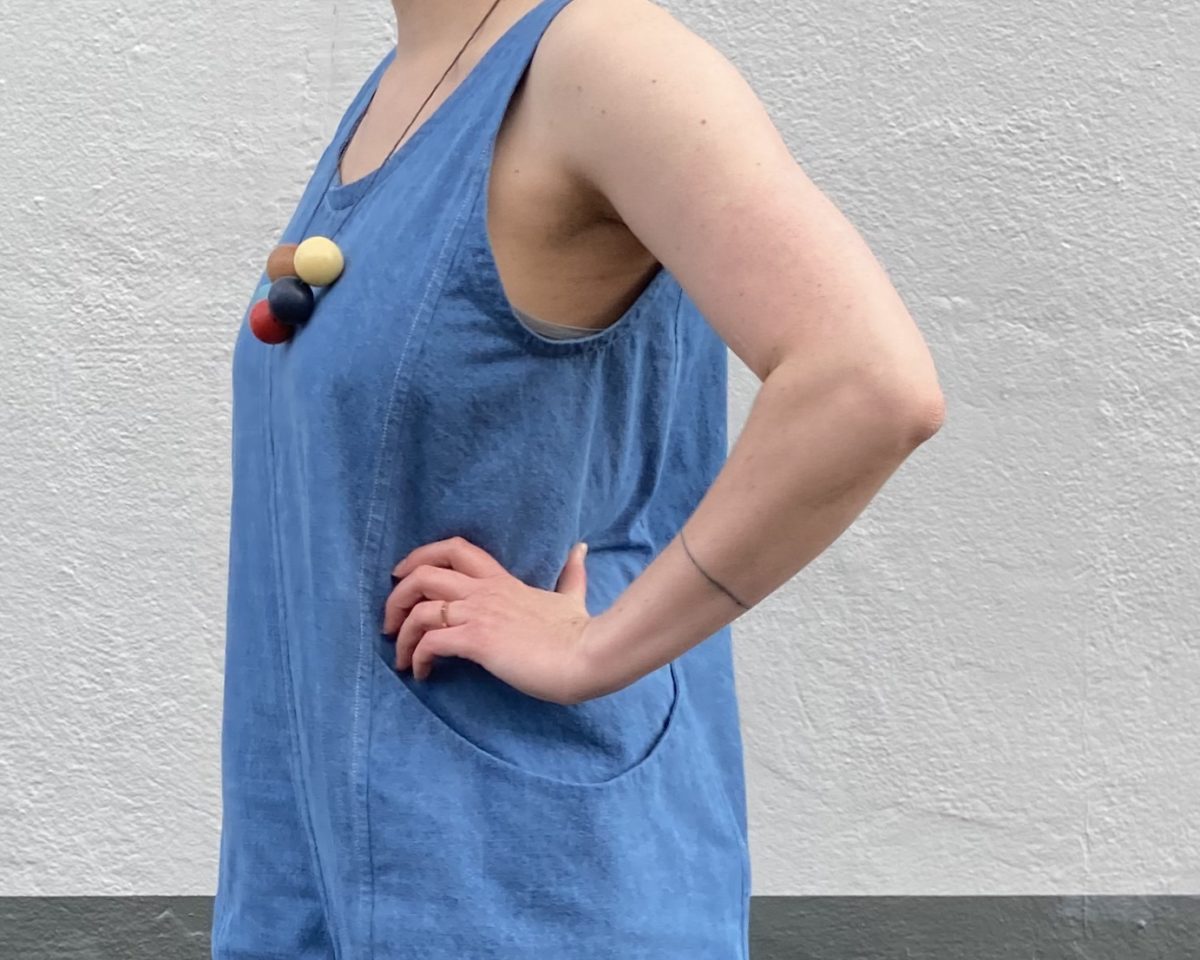
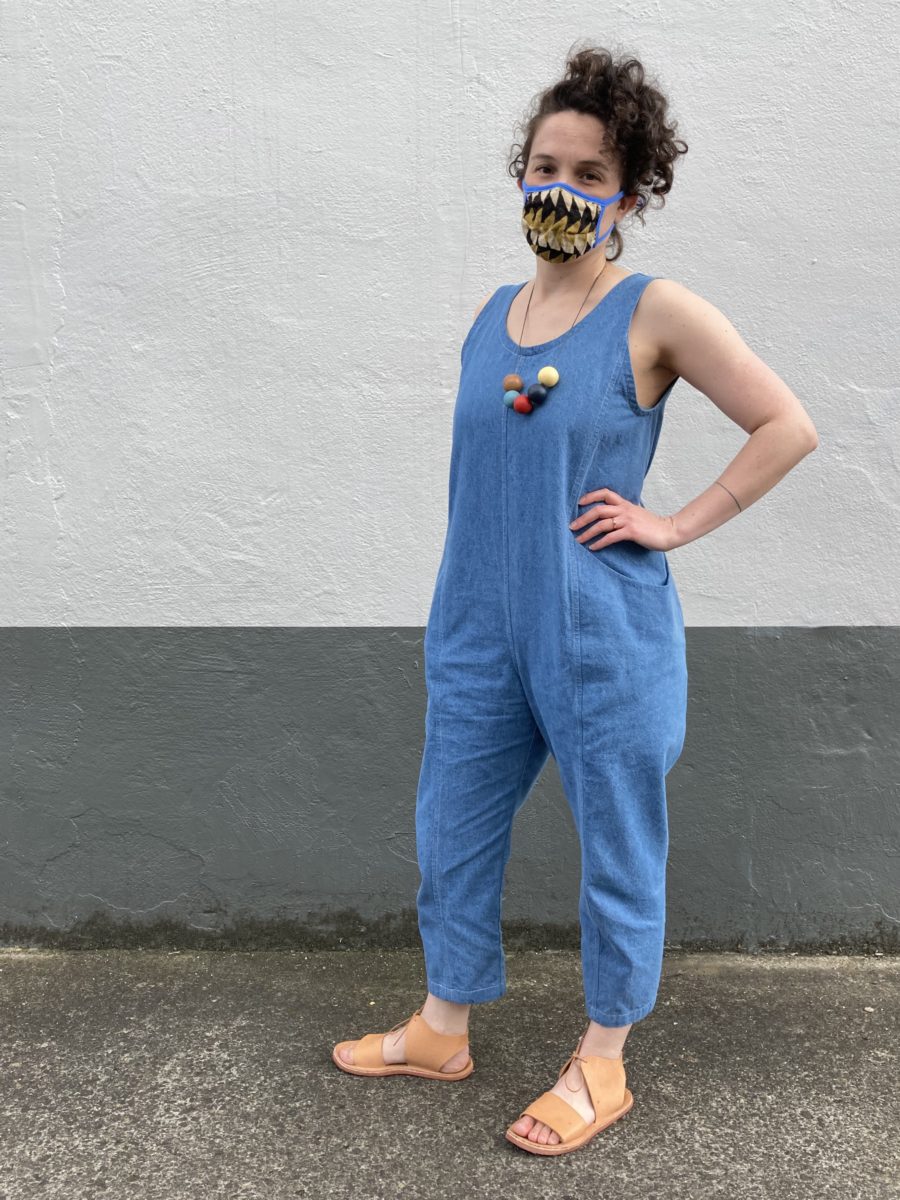
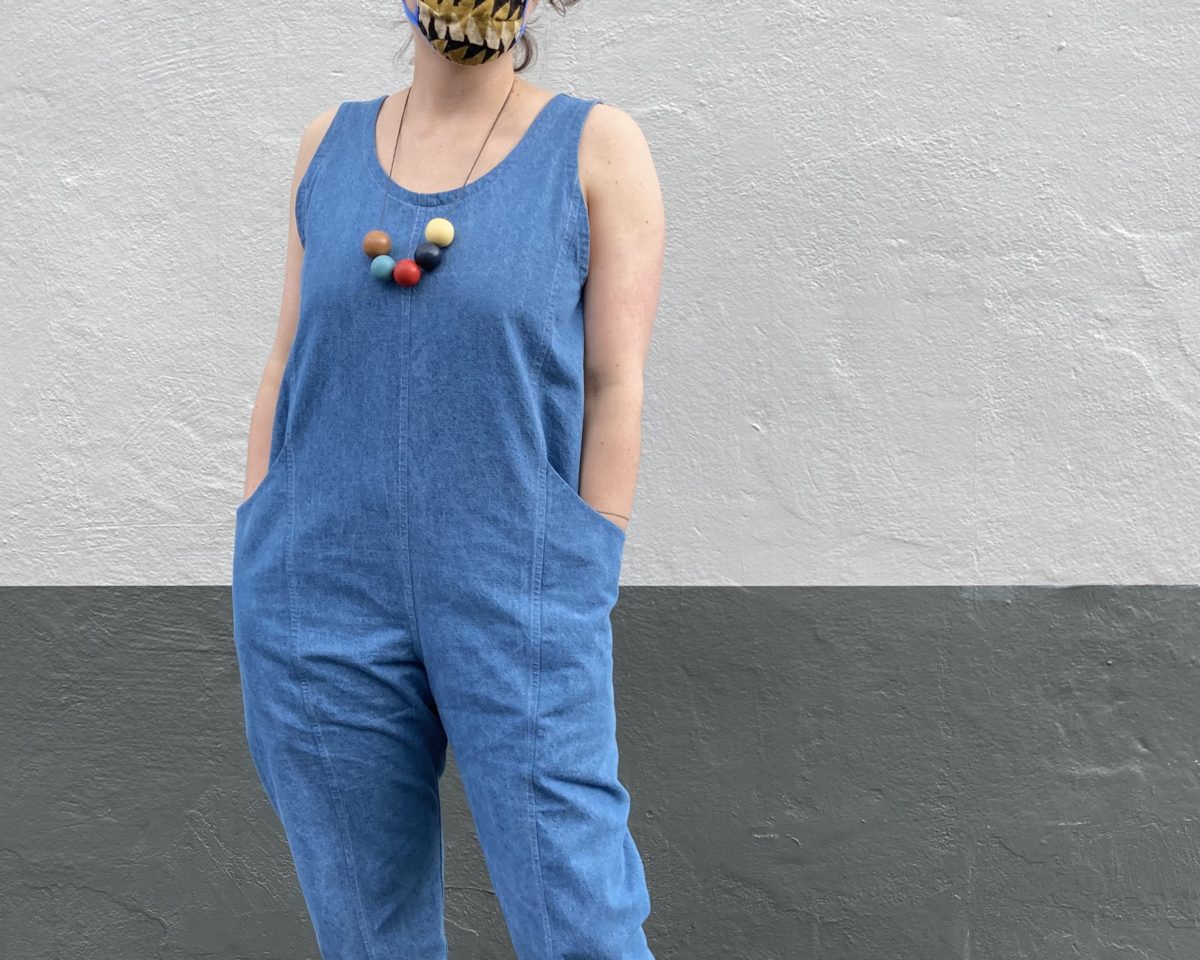
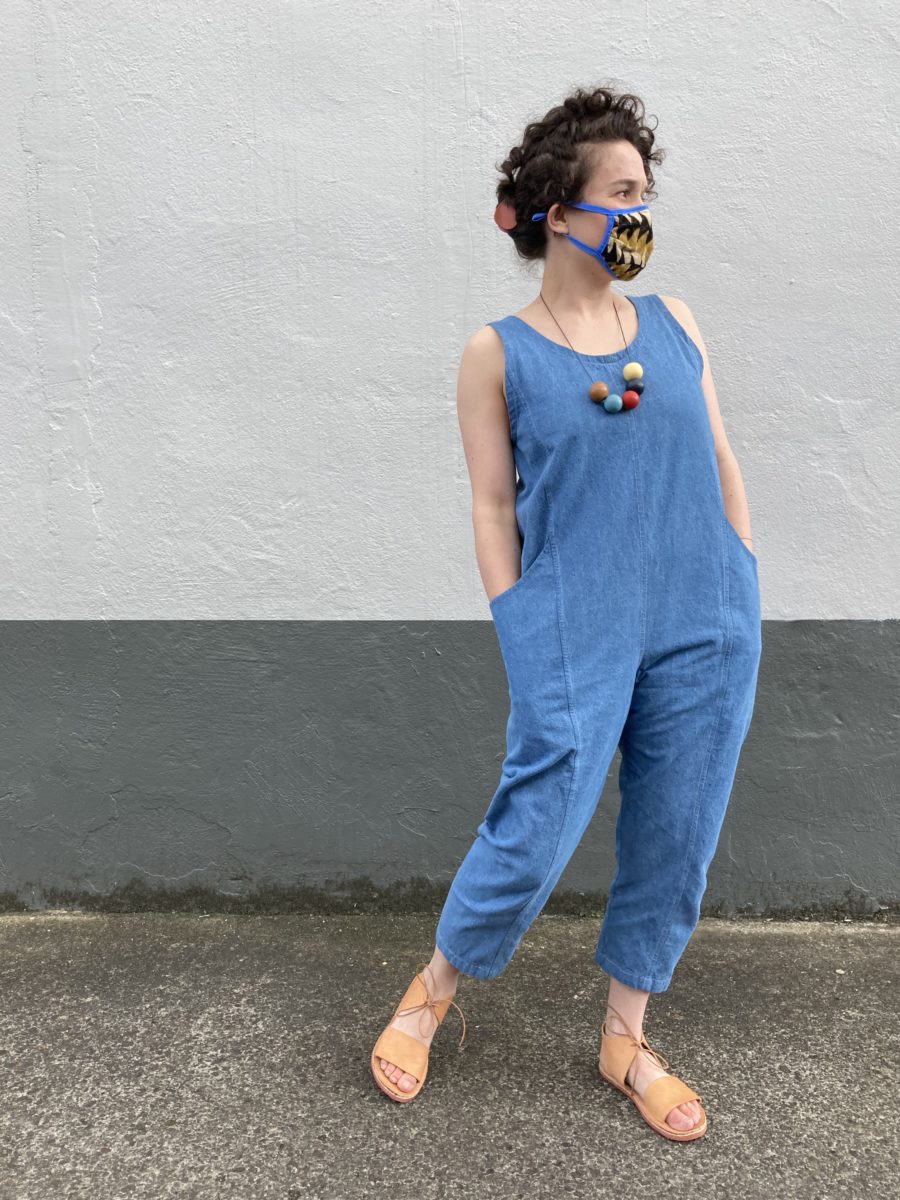
This squishy statement necklace is made exactly like a scrunchie, but instead of inserting elastic, it’s stuffed with polyfill. I think it’s a fun way to turn those precious scraps into something wearable.

What are your favorite scrap busting projects?

Clyde jumpsuits | #ESMadeByMe

12 Comments

Elizabeth Suzann was my introduction to ethical fashion. On the ES blog Liz Pape, the owner, would talk openly about pricing and consumption, business practices, environmental impact, and many other important topics. In addition to its unique business practices, ES had so many beautiful and functional designs.

Unfortunately, after a couple months into the pandemic, it was announced that ES would be closing. 2022 UPDATE: New Elizabeth Suzann Studio website.

This incredibly sad announcement also came with the promise of eventually making the patterns available (and free) to the public. Bittersweet news for the sewing community.

A few lovely folx – @minimalistmachinist, @thestoryclubpdx, and @mombasics began working together to make Elizabeth Suzann patterns accessible almost immediately.

Favorites like Clyde, Georgia, Harper, and Florence are available through this newsletter. The Dropbox link (the only thing you’ll be sent through the newsletter) will be updated with patterns until Liz Pape is able and ready to release them herself.

Currently, it’s just the patterns, no instructions, but many makers have already posted mini sewalongs on Instagram. Tutorials can be found via #ESMadeByMe. I’ve also shared how I constructed this in an IG highlight, but you can also view it at the end of this post.

Now for the most important part, donations. As these patterns are open source/free, we’ve been encouraged to donation to Black-led social justice organizations. Since I’ve downloaded the Clyde jumpsuit and work pants, as well as the Harper tunic, I’ve donated $15 to each of the organizations listed in the newsletter, and will continue to donate that amount per pattern download.

UPDATE: due to the overwhelming response to the newsletter, it has since been shut down. It became too large of a project for our community members to manage. Liz Pape will be making them available sometime in the future, so hang tight. I will not email out the patterns I’ve downloaded, so please don’t ask.

2022 UPDATE: Patterns can be found here.

PATTERN: Clyde jumpsuit by Elizabeth Suzann

FABRIC: 8 oz thrifted denim I had in my stash (blue denim), 10 oz natural bull demin from Stonemountain Fabrics (off-white)

SIZE: medium short (blue denim), small short (natural denim)

MODS: none

ACCESSORIES: me made shoes and necklace, Block Shop Textiles mask

I really love these jumpsuits. There aren’t any closures; the neckline should be wide enough to fit over your hips. The design is part of the ES signature collection and can be worn any season. The armholes can accommodate a sweater in cooler weather, or a t-shirt / on its own in warmer weather.

The iconic pockets are deep and sit slightly away from your body. They pretty much remove the need to carry a purse.

If you’re unsure about sizing, there are a lot of measurement available on the ES website. If after checking the size charts you’re still unsure, make a muslin.

UPDATE: recently learned all made-to-order ES products were washed after being sewn. The ES team did a lot of research into shrinkage rates for their fabrics, so I would not suggest you do the same. Prewash your fabric in the same way you will wash the finished garment, measure using the stitch lines on the pattern pieces to gauge if certain areas will fit you well, and make a muslin!

UPDATE: after wearing the small several days in a row, I think I will add 1/2″ – 1″ to the torso length. I still need to compare the finished “rise” on the medium to determine what additional length is needed to be able to bend comfortably in the small.

I will probably make two more jumpsuits. I’m imaging one in black linen and another in a brown linen. But before I make those, I’m off to make a Harper tunic.

This slideshow shares my method for sewing up the Clyde jumpsuit.

Tie Front Shirt No. 1 Hack

10 Comments

Yesterday morning, I was fondling fabric in my stash and inspiration hit. It hit so hard, I couldn’t do anything else until I worked through it.

The idea was pretty basic, but was engrossing enough that I forgot to eat or brush my teeth until 2pm. Gross, or awesome – I can’t decide.

It’s a pretty simple hack. I cropped and straightened the original curved hem, then just drew lines until I had a tie shape I liked. I made sure to square off from center front and the side seam for about a 1/4 inch before swooping down. I made the XS size and cropped it by about 3 inches. The tie length ended up being around 13-ish inches, I think.

I managed to cut the back piece so that the stripes don’t match up, but I’m going to blame that on the small amount of yardage I had… it totally wasn’t because of that. GAH!

Initially I wanted a snugger fit around the waist, but I actually like how it hangs away from my body.

I didn’t want to fuss with a tiny hem on the ties and decided to use a hem facing. To do that, I traced the bottom portion of the shirt front and back pattern pieces. The facing comes up about 3 inches from the bottom hem and ties (see last picture).

I assembled the shirt as instructed, but used faux-french seams for the sides. To finish the hem and ties, I sewed the front and back pieces of the hem facing together and pressed the seams open. I then pressed the top edge a 1/2 inch down toward the wrong side and pinned the facing to the shirt right sides together. I sewed around the bottom edge using a 1/4 inch seam allowance, clipped the corners of the ties, and turned everything right sides out.

I gave it a good press, then edgestitched the hem and the top of the facing to the shirt.

I had to use another fabric for the hem facing and bias neckline finish, but I kind of love the contrast. It’s leftover fabric from this Maya Top, which is a little heftier than the main fabric. It adds some structure to this squishy cotton-linen blend from Stonemountain. I think it also helps the ties not stretch out of shape. And it’s a thrifted tablecloth!

This pattern is great right out of the envelope (see here and here), but is also such a fun base to hack. I’ve turned it into a dress, an Ace & Jig-esque top, and now this fun top!

I have a feeling this will get a lot of wear this summer, but let’s be honest – I’m going to wear it under sweaters until it warms up.

Have you made a Shirt No. 1 yet?

Faux-French Seams for Curves + Another Shirt No. 1

6 Comments

I love a French seam. I’ll French any seam I can. Even curves. But, French seams don’t really work well with curves. They look great on the inside but are bunchy as heck when you turn the garment right side out. Enter the Faux-French seam!

Step 1 Sew a regular seam (right sides together).

Step 2 Press raw edges in. Above shows one side pressed.

Step 4 Topstitch as close to the edge as you can.

Voila! Encased edges without the bunching! Here’s the top right side out and it’s almost perfectly smooth.

Here are the steps in drawn form since the black fabric makes it a little hard to see what’s going on.

Shirt No 1 Hack I’ve been on a big Shirt No. 1 kick. It’s a simple sew and lends itself to so many fabrics. After making two (one solid, one in a print), I knew it would be the perfect pattern to achieve all of my Ace & Jig desires. This hack is a great option if you have a bunch of smaller fabric pieces.

First draw in the desired seam lines and cut. Add seam allowance where the pieces will join together (any side you cut along will need added seam allowance). I taped additional paper directly onto the pattern pieces so that I could use my rotary cutter and reuse this pattern again later. Square the seam allowance if pieces join on a diagonal line like it did along the shoulder seam. Squaring will help the pieces come together without extra fabric sticking out. I also squared off the hem and side seams. That’s pretty much it!