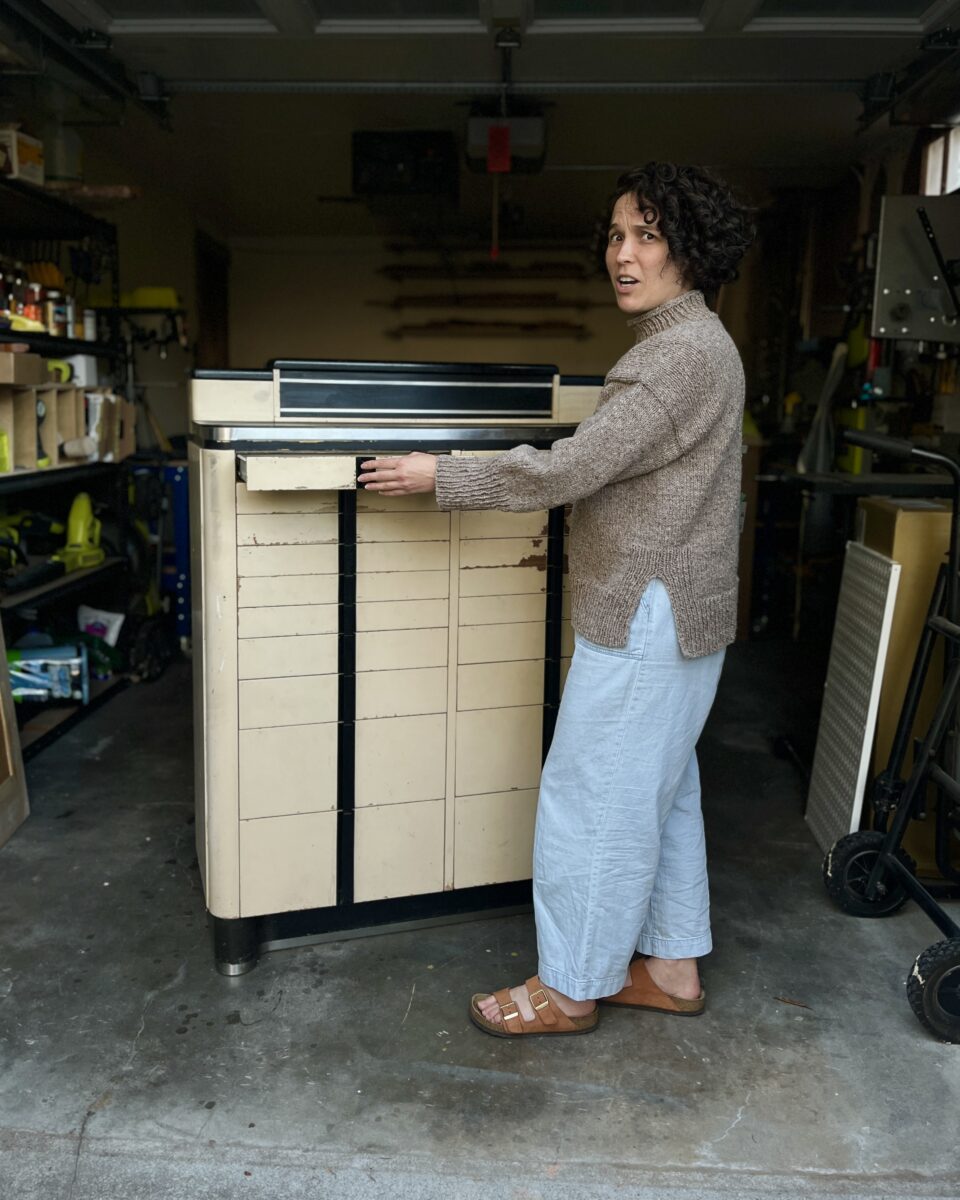
I bought this old, heavy, and apparently very dirty dental cabinet two years ago with the intention of cleaning it up and storing sewing supplies in it. I knew at the time that it was going to be a big job, but damn, I really underestimated it.
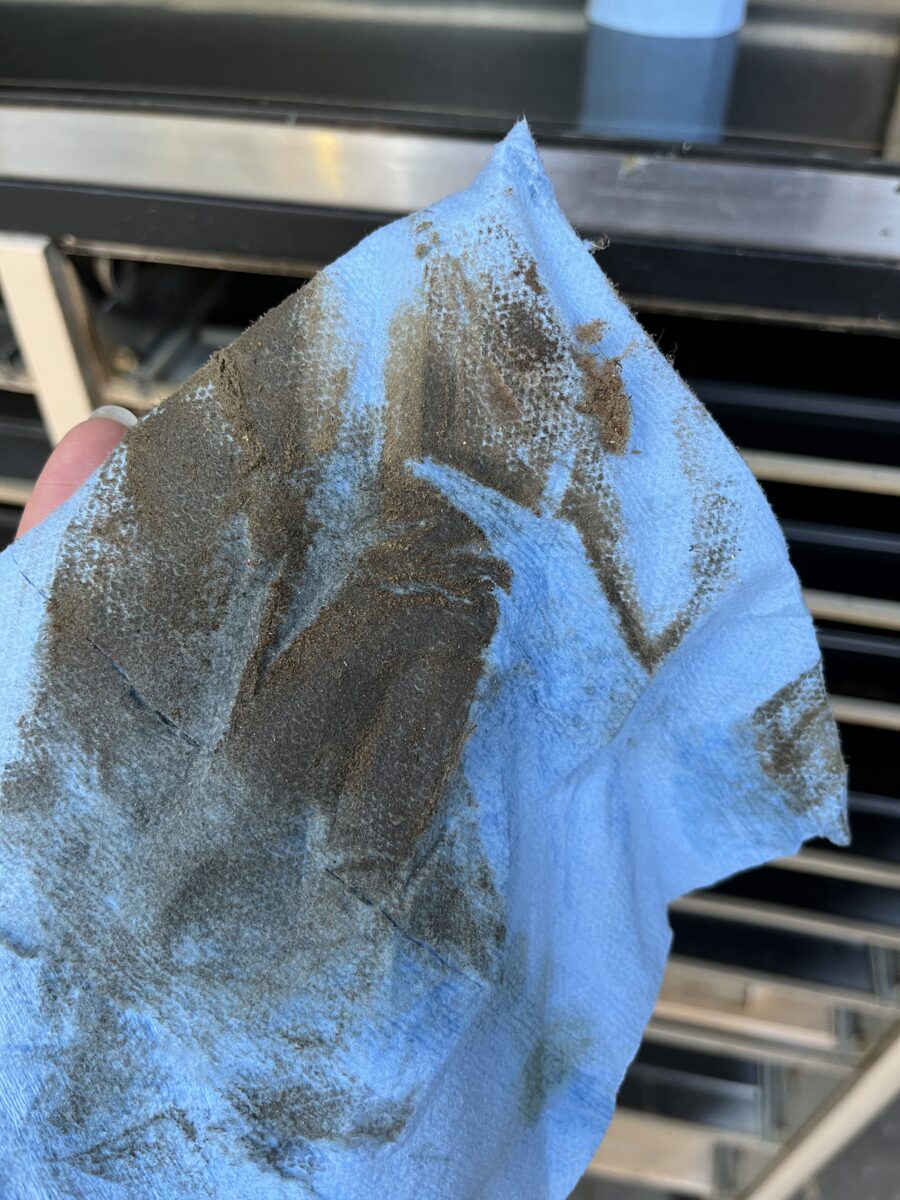
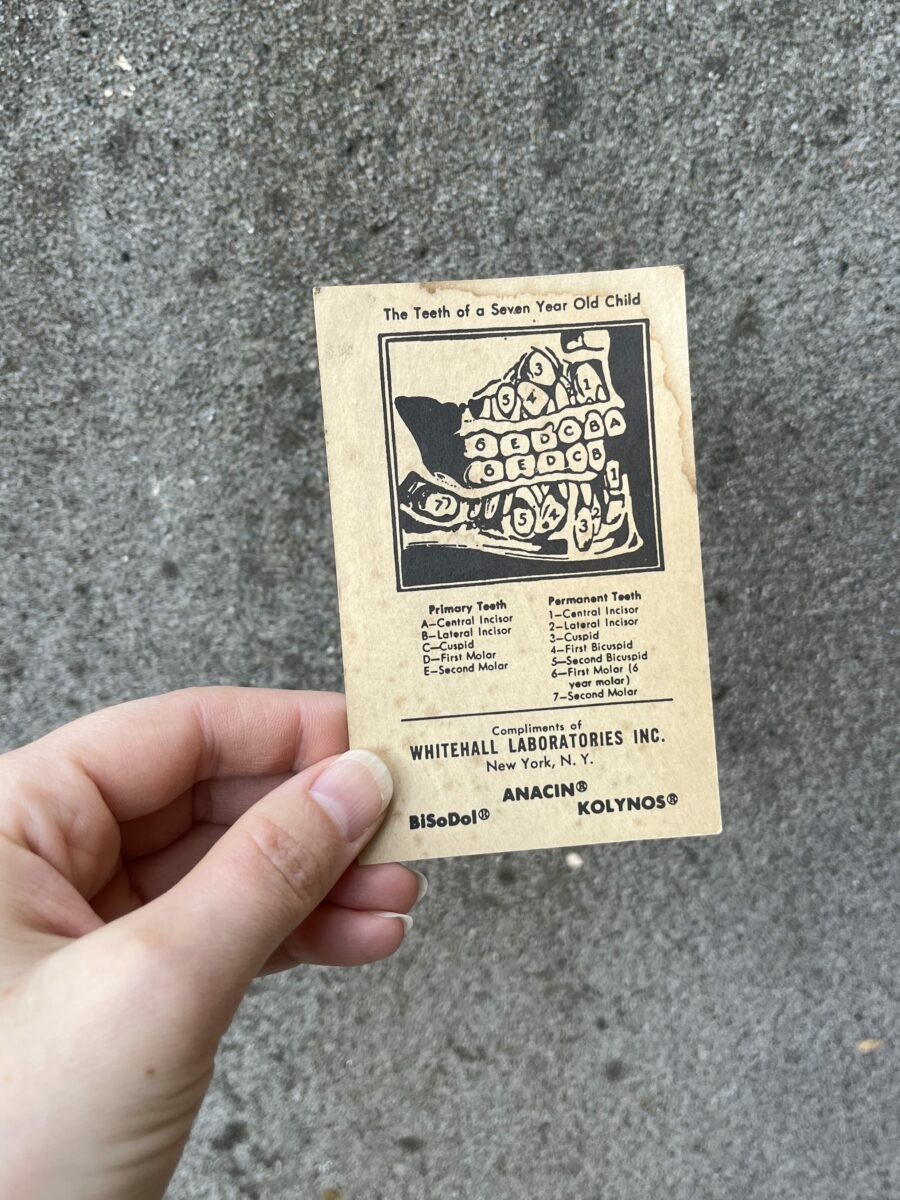
In addition to 75+ years of muck, and a little bit of mildew, there were a few forgotten treasures inside. The diagram of “The Teeth of a Seven Year Old Child” was my favorite find.
I cleaned the whole thing and stripped the drawer fronts of paint, but then simply couldn’t pick a color. Then winter hit and I didn’t have to choose a paint color… and then it was two years later…
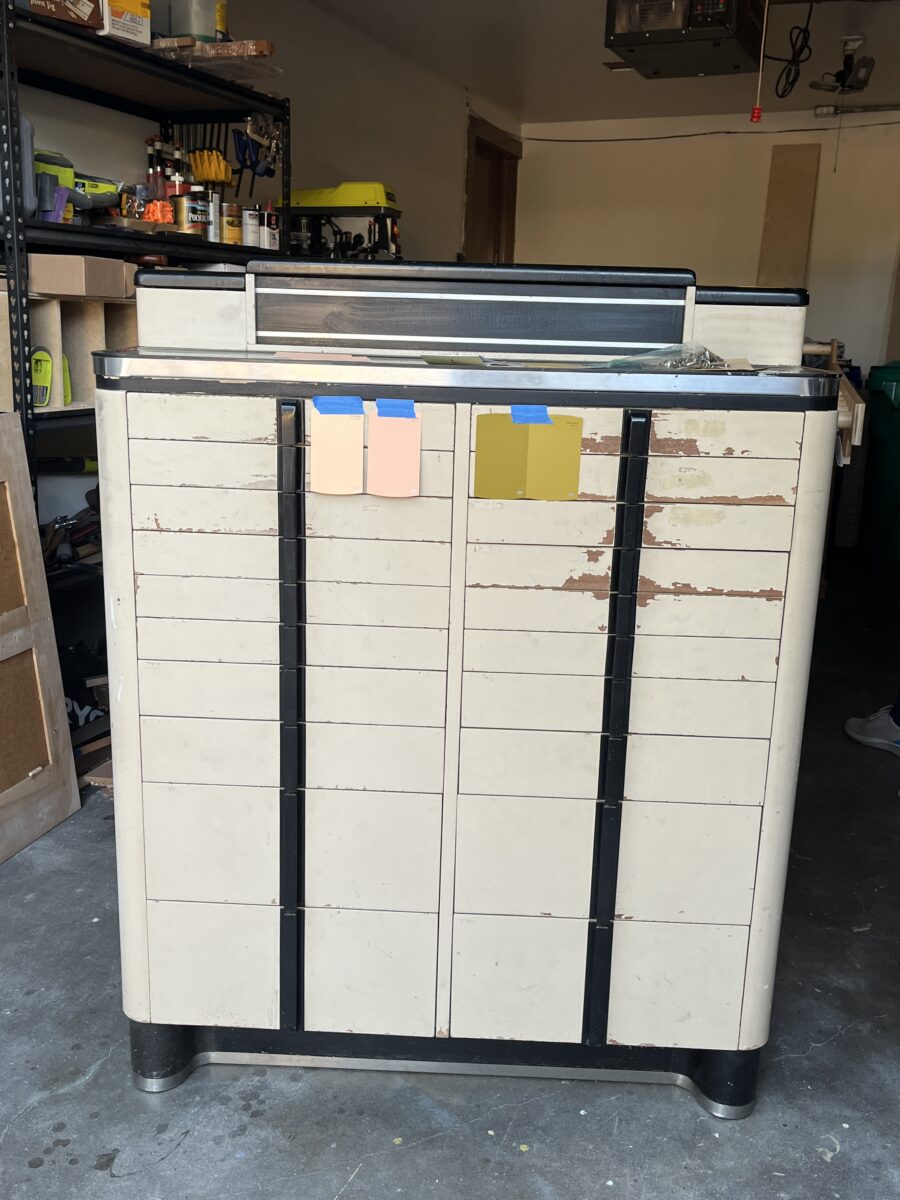
Well I think working through my sewing WIPs made me want to wrap up this furniture WIP. So I went back to the paint store and picked up even more color chips.
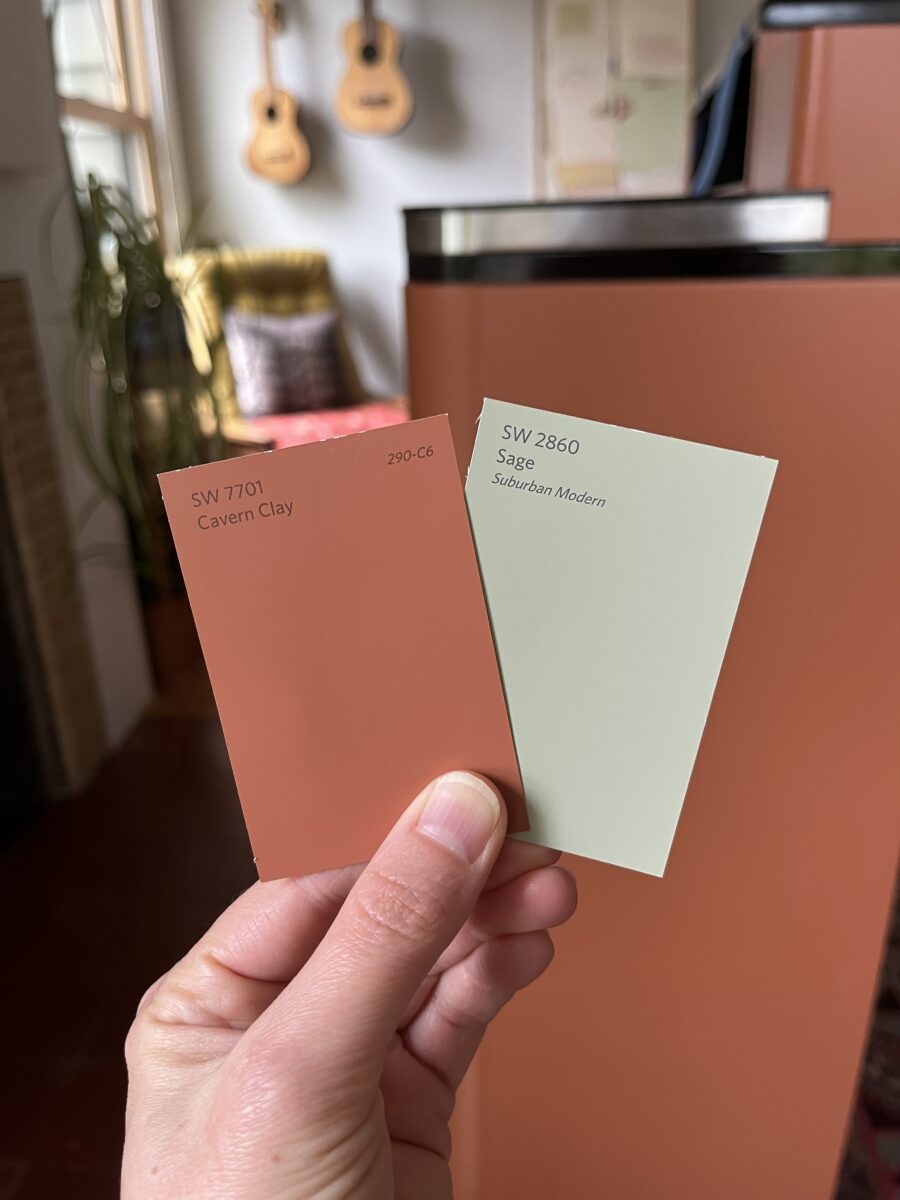
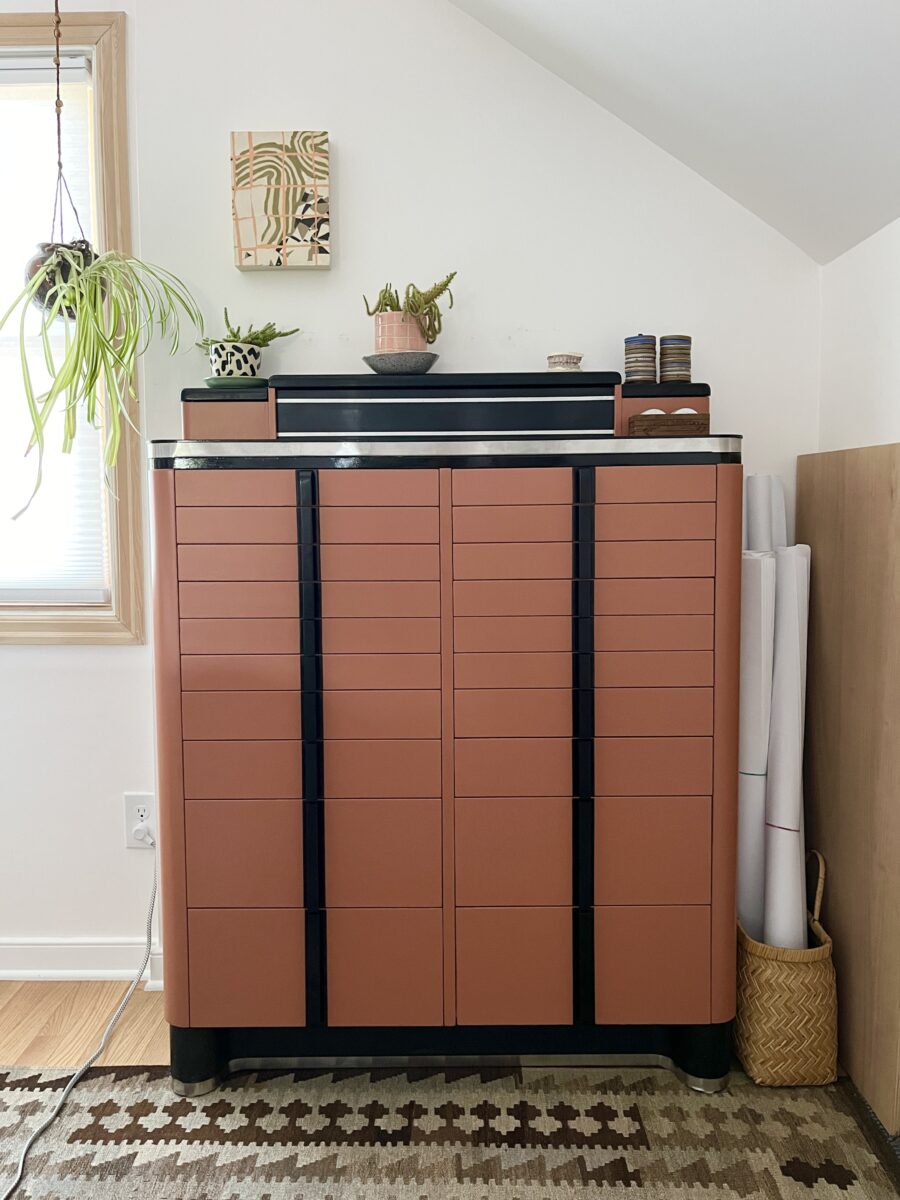
It came down to these two colors and since I already have a lot of green in my space, I went for clay. The basement lighting made it look like a Halloween cabinet and I did briefly question everything. But once the back was dry, I brought it upstairs and in natural light, it looked just as I’d imagined.
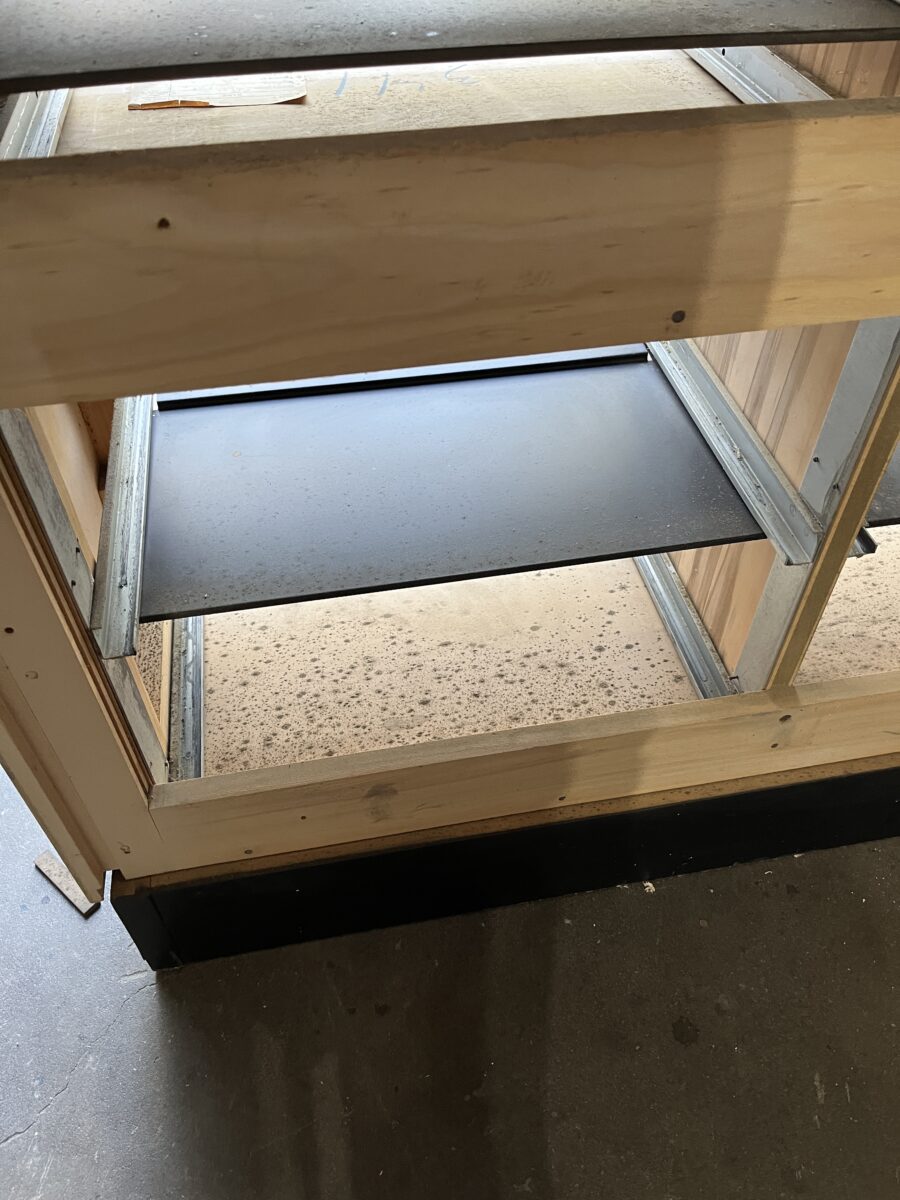
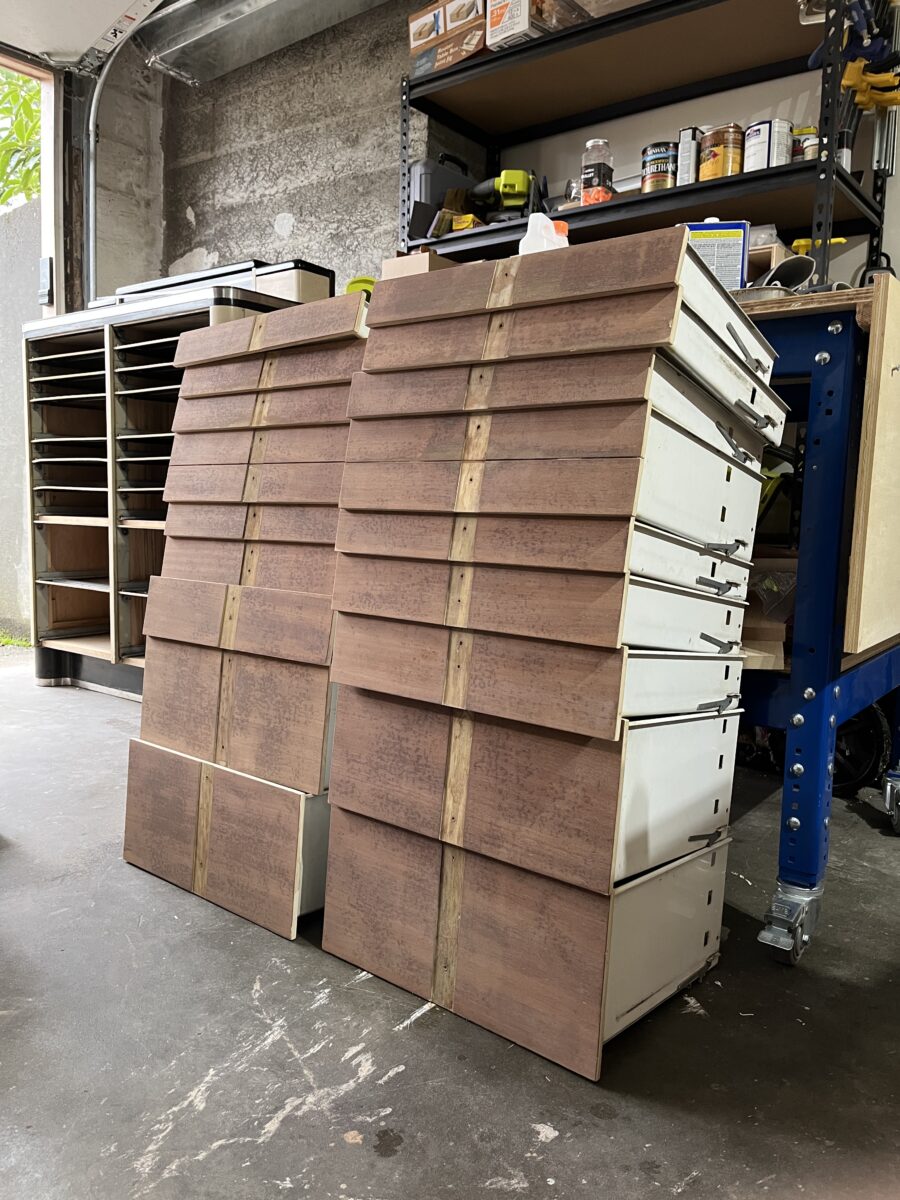
In the stripping process, I accidentally removed spots of the enamel on the insides of the drawers, which added MORE things I needed to paint. But ultimately the insides needed to be repainted because they were truly gross, even without my paint stripping damage.
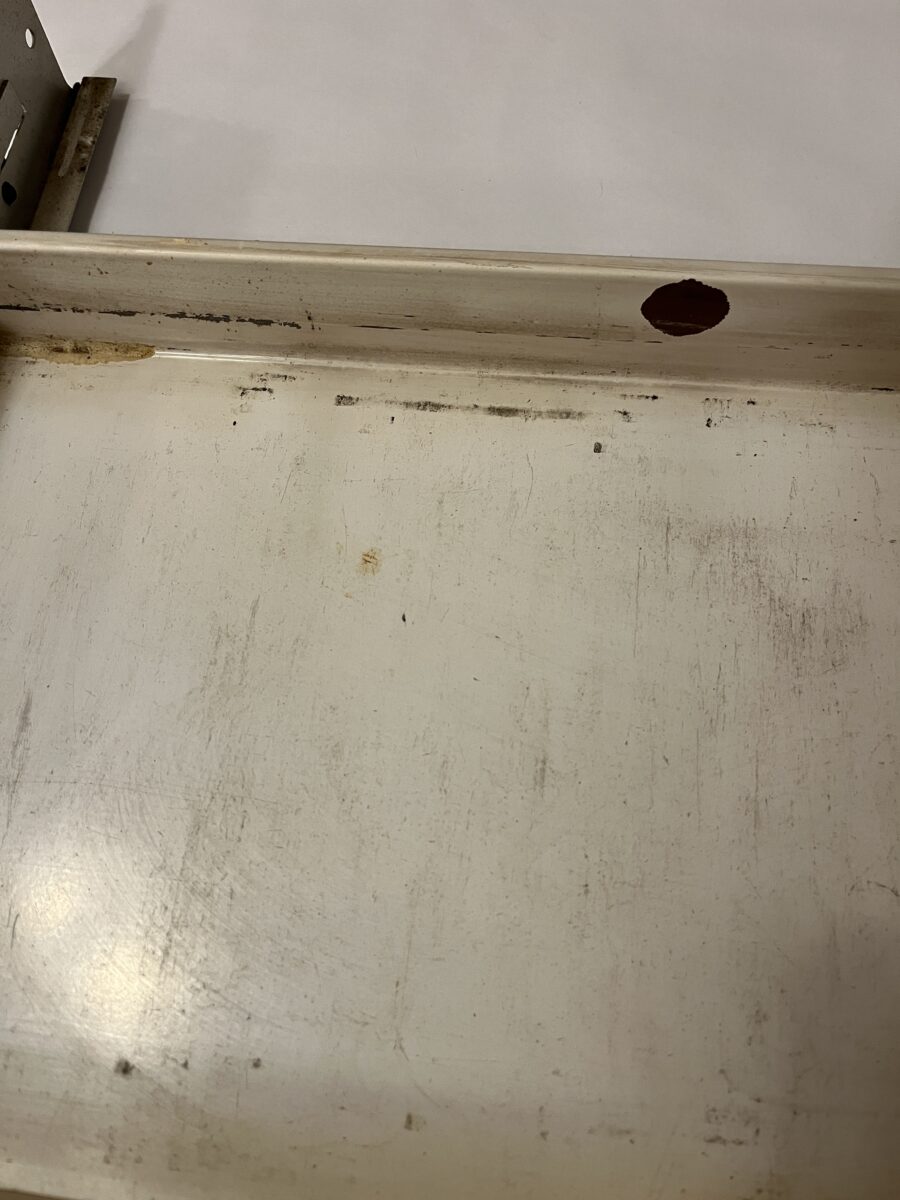
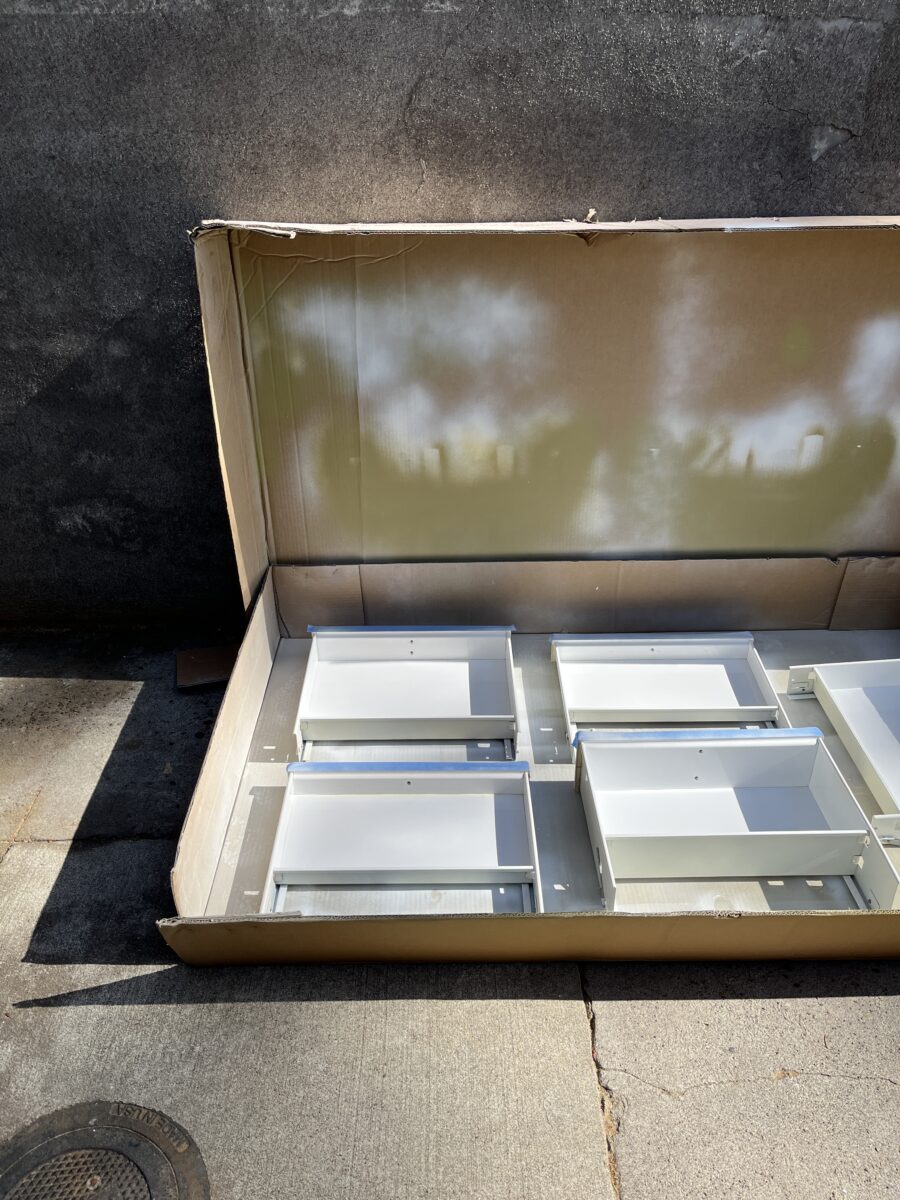
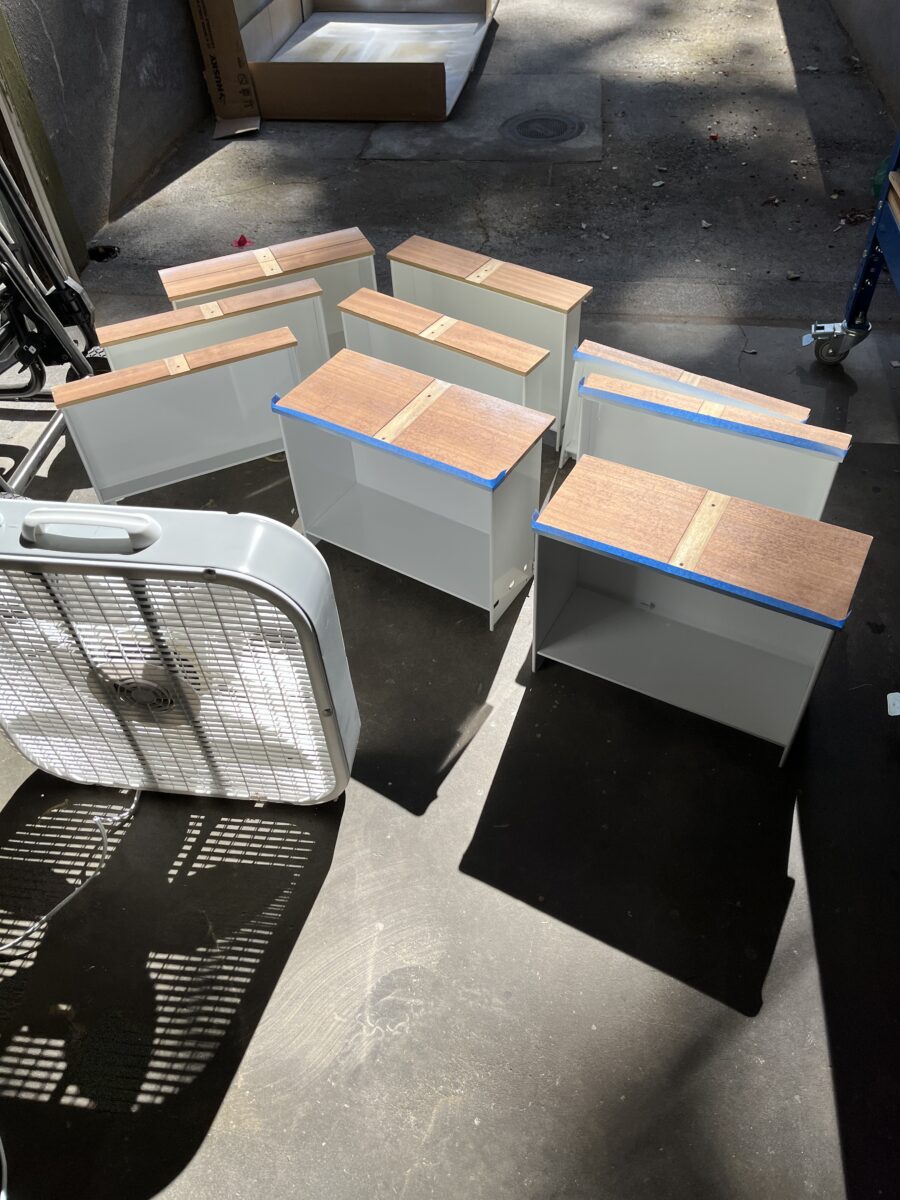
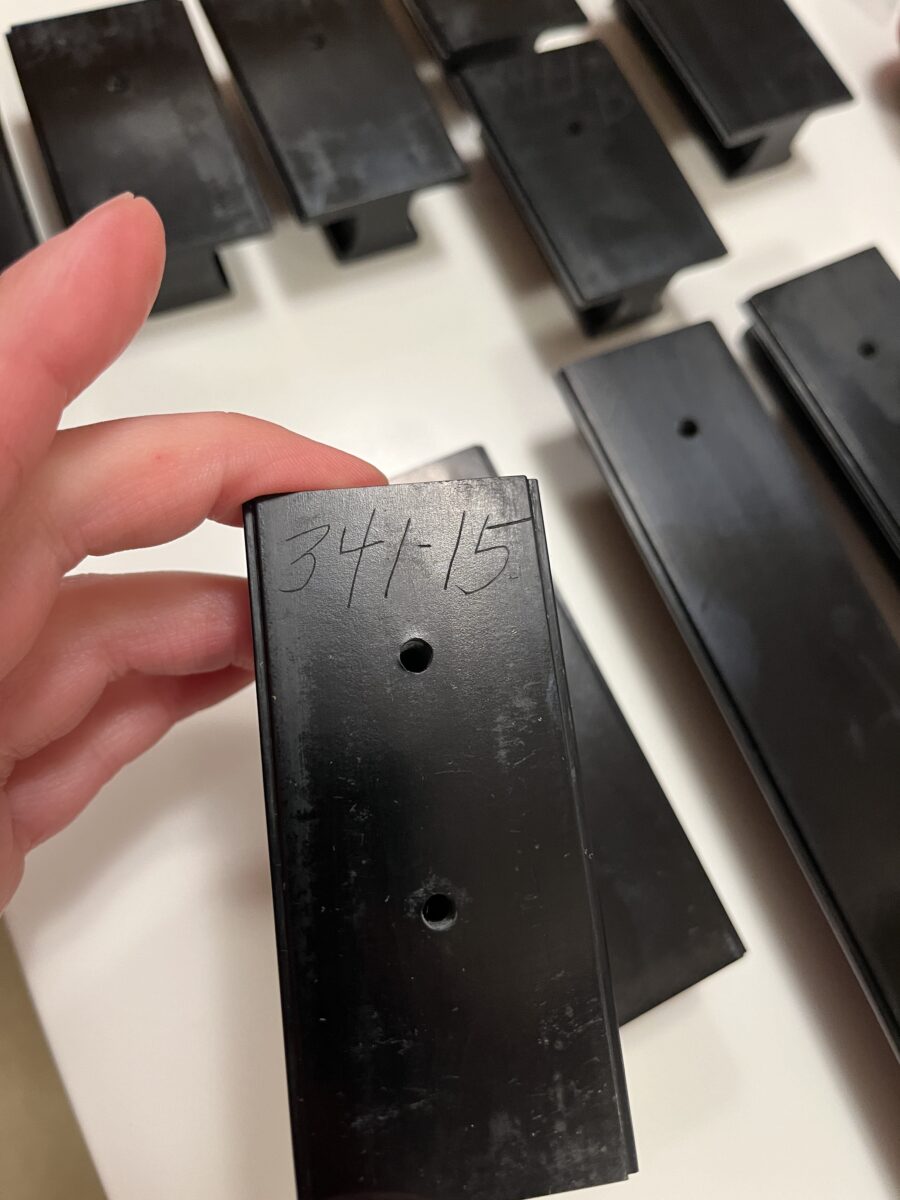
I used spray enamel for just the drawer interiors and left the original paint on the outside because of the locking mechanisms. There’s also writing on the bottoms of the drawers. This cabinet appears to have been built by a couple of people (they all initialed a little sticker) and the process included numbering the cabinet itself and each of its parts. So each drawer and each drawer pull has a hand written number, which is pretty cool, and I didn’t want to cover that up.
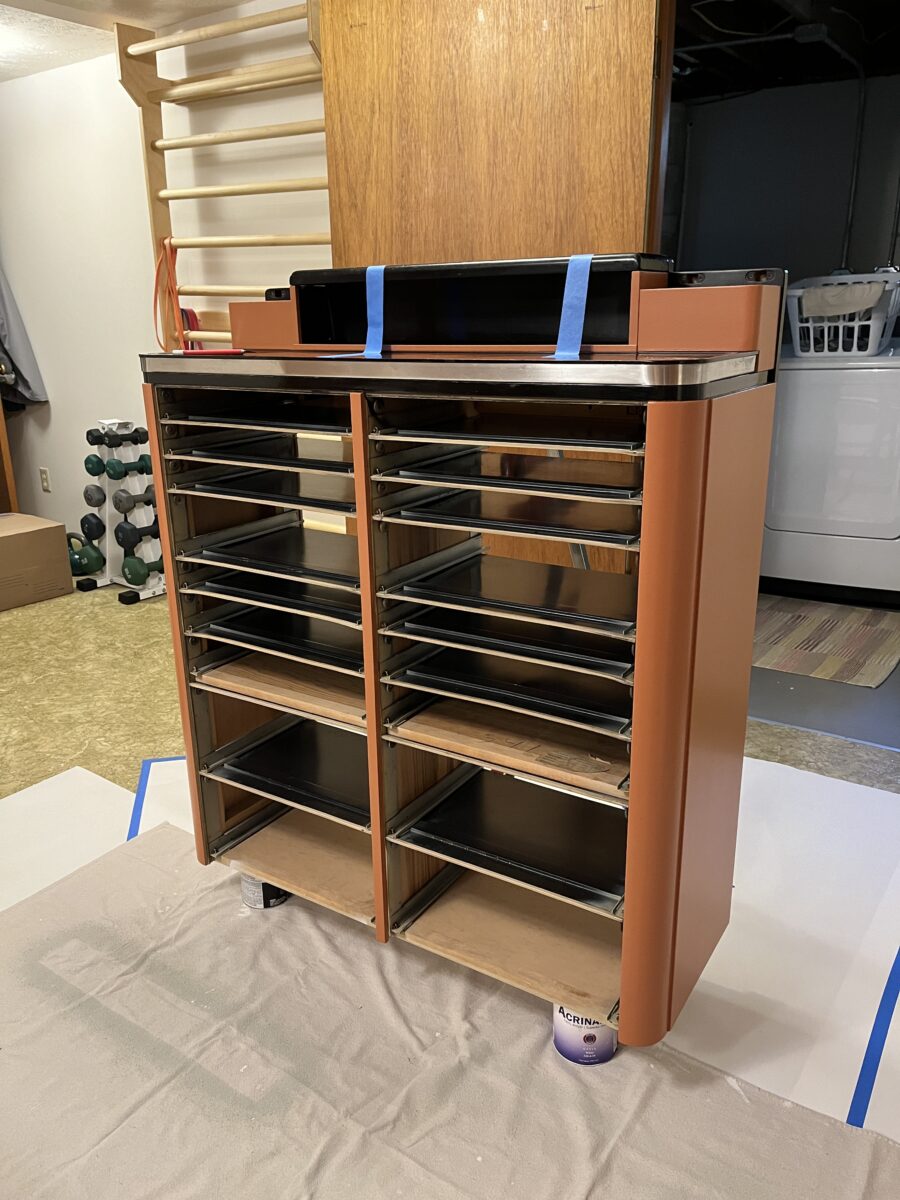
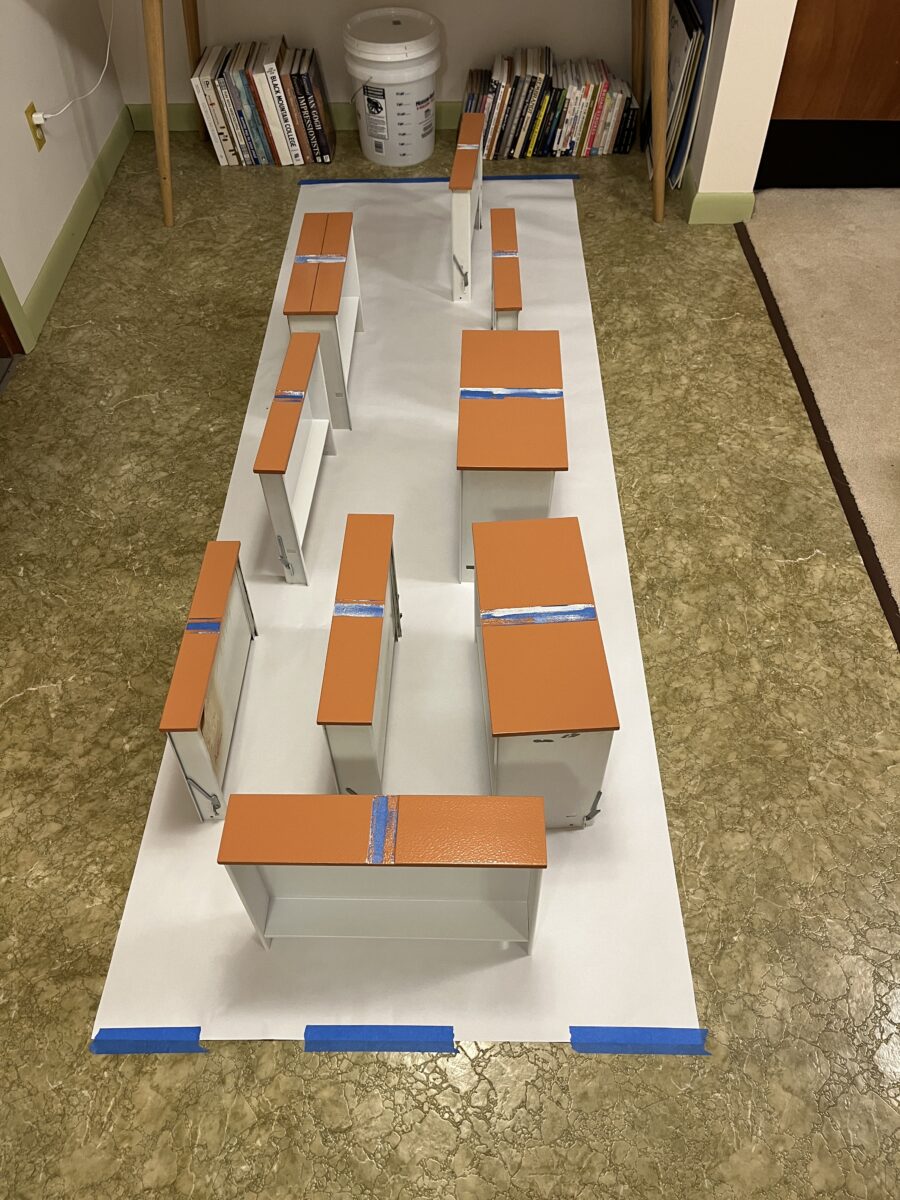
The cabinet probably weighs around 200 lbs and needed to be maneuvered up two flights of stairs. It was awkward and a little scary but we did it! Due to space restrictions, I had to work on the drawers in two batches. Getting the first batch done and in the cabinet was really exciting.
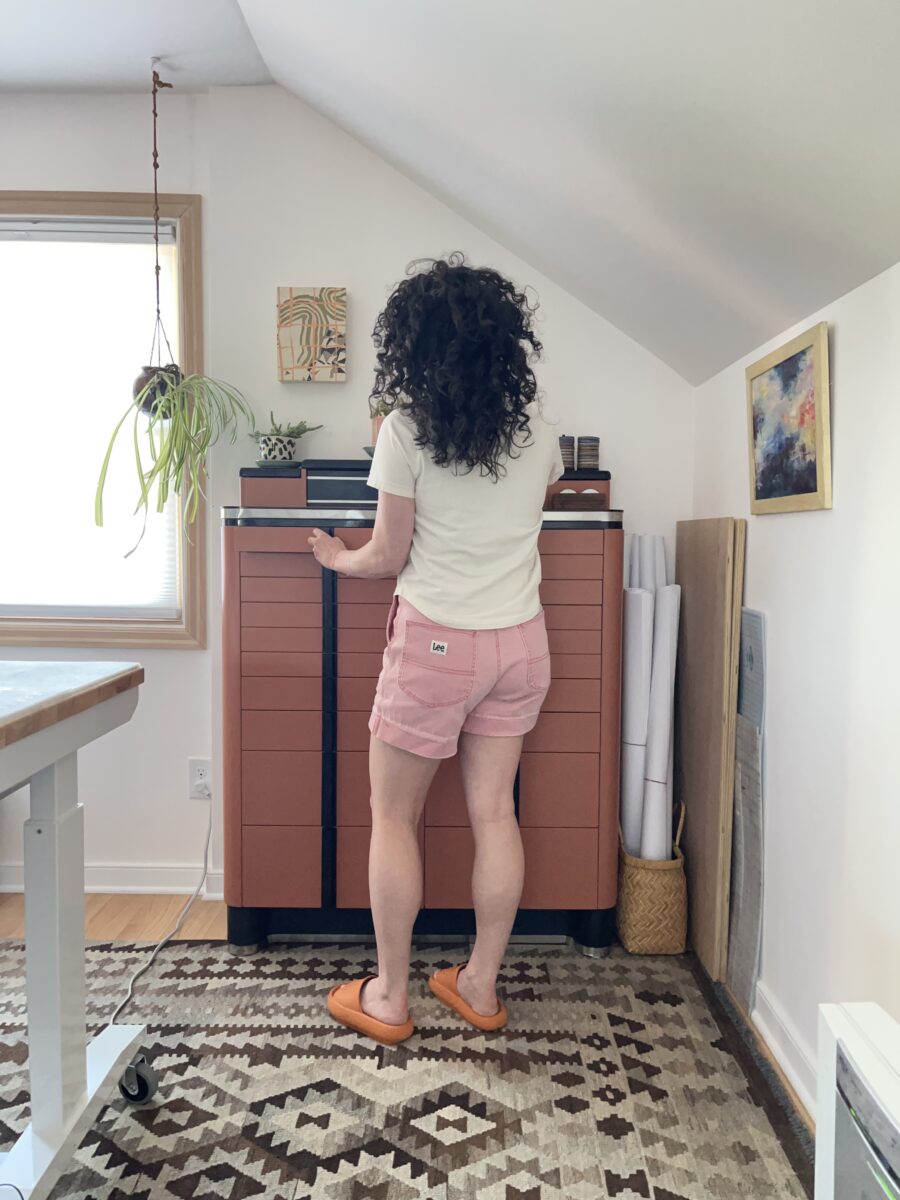
My paint job isn’t perfect, but I wasn’t starting with a perfect surface either. I did my best and think it looks a whole heck of a lot better. I added this photo to show how much time has passed – my hair is quite a bit longer than in the first picture.
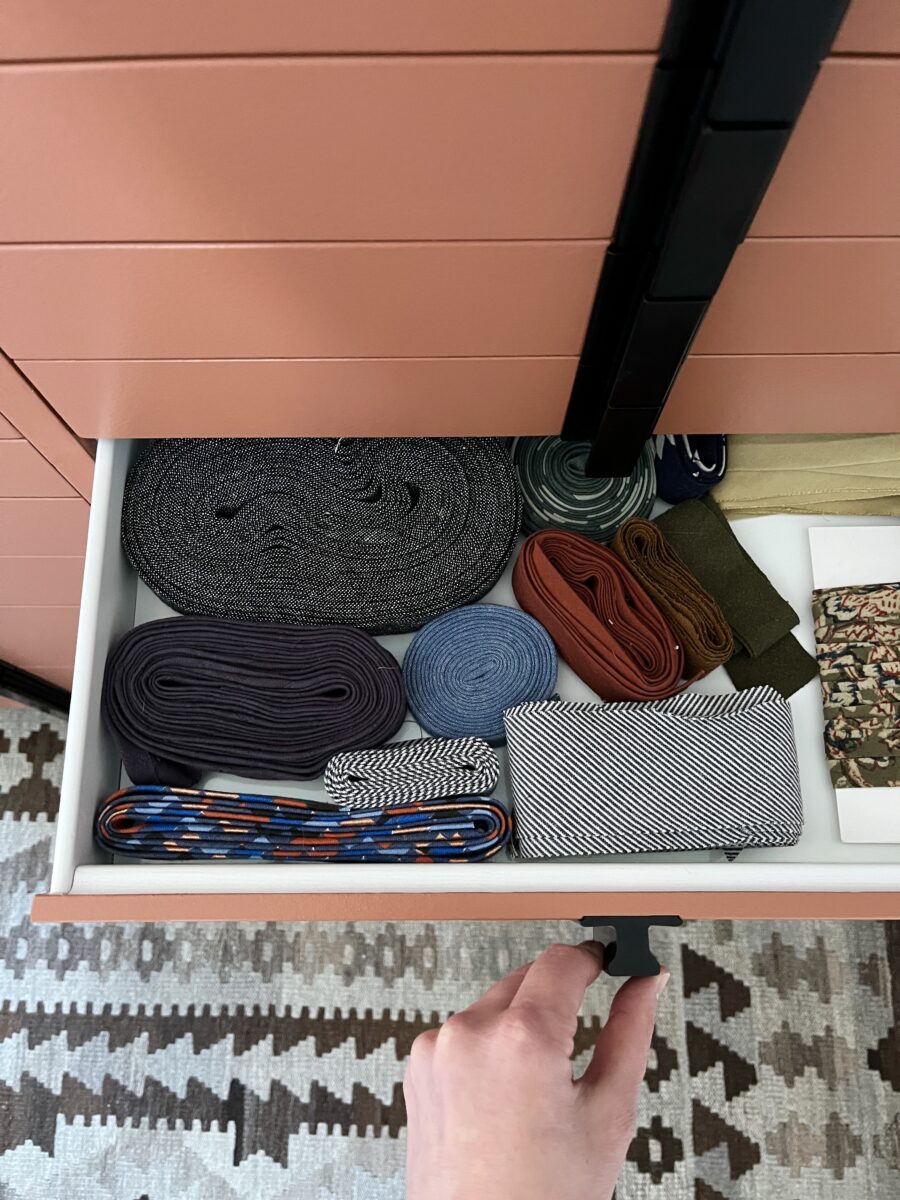
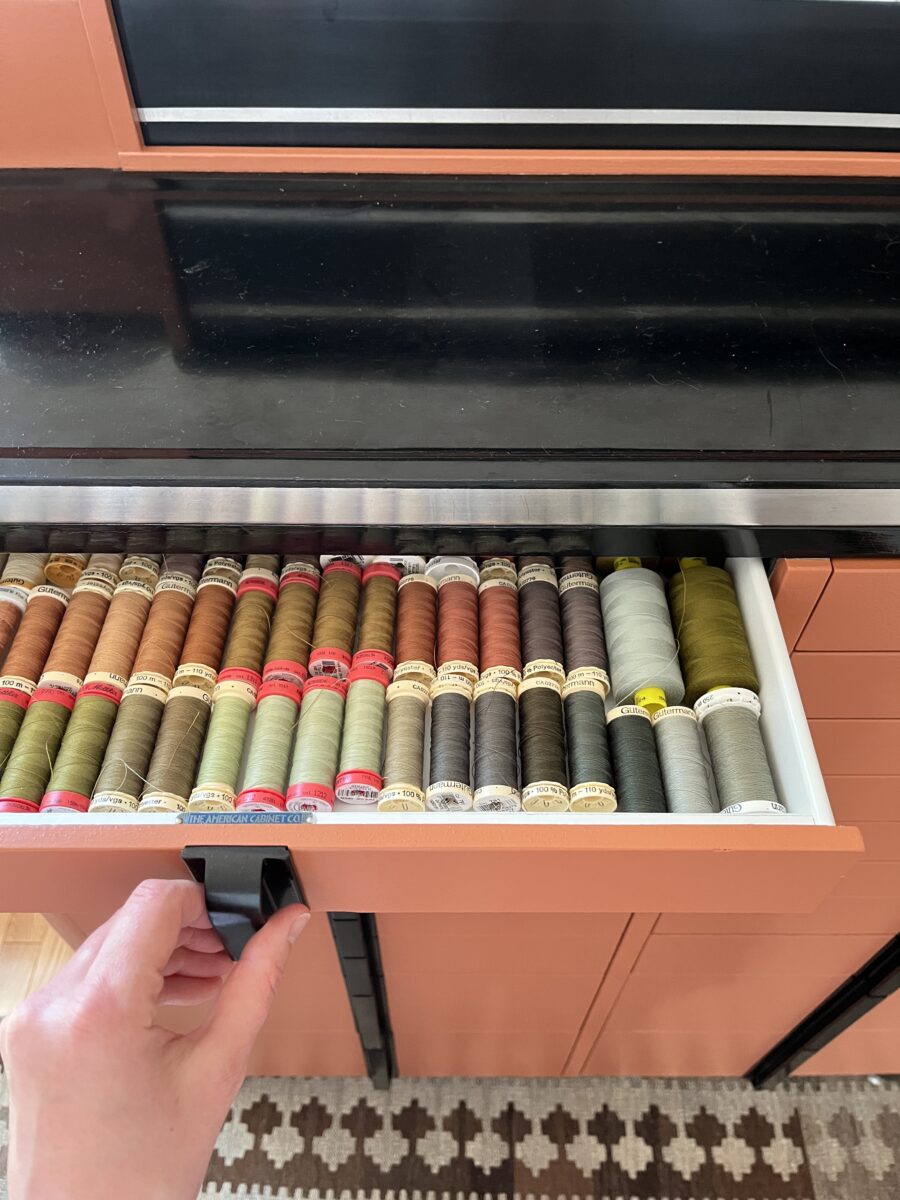
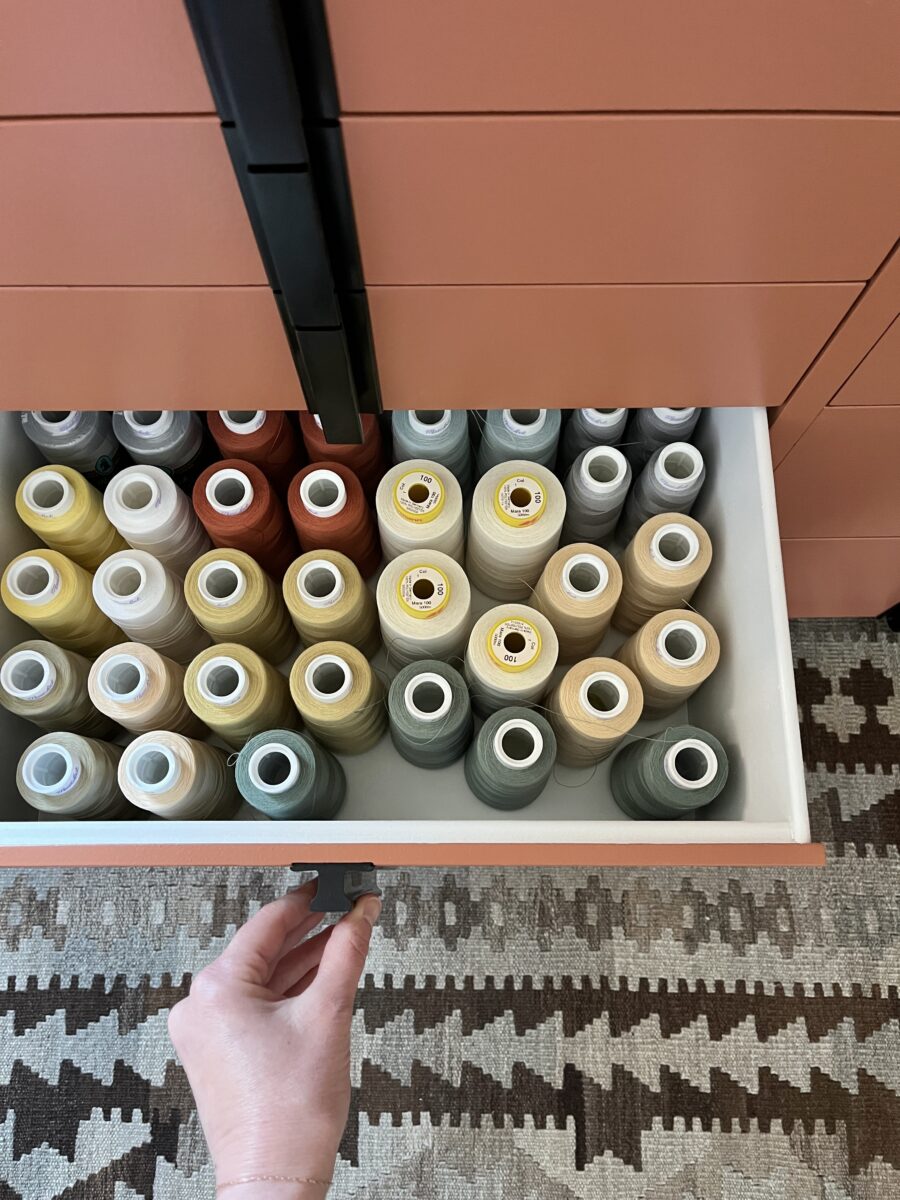
This cabinet holds a lot and I’m really enjoying that every drawer has a certain supply in it.