I started planning an ‘ultimate’ knitting case project in September of 2022 mainly because I hated the case my interchangeable set came in. The case’s function was fine, but I did not enjoy the way it looked. It also didn’t hold everything I like to have on hand for knitting.

I planned to use this pattern so that everything could live in one multi-layer case. After months of thinking about the pages, I finally started assembly in December. Everything was going great until I needed to attach the middle section to the first. I tried, but the combination of chunky zipper pulls, the B770’s giant presser feet, and my desire for neatness meant I needed to abandon this plan.
Initially I was really bummed. I’d spent money on supplies, cut up two shirts, spent so much time planning, and endured months of not knowing where anything was. I also thought having everything in one case was the best option.
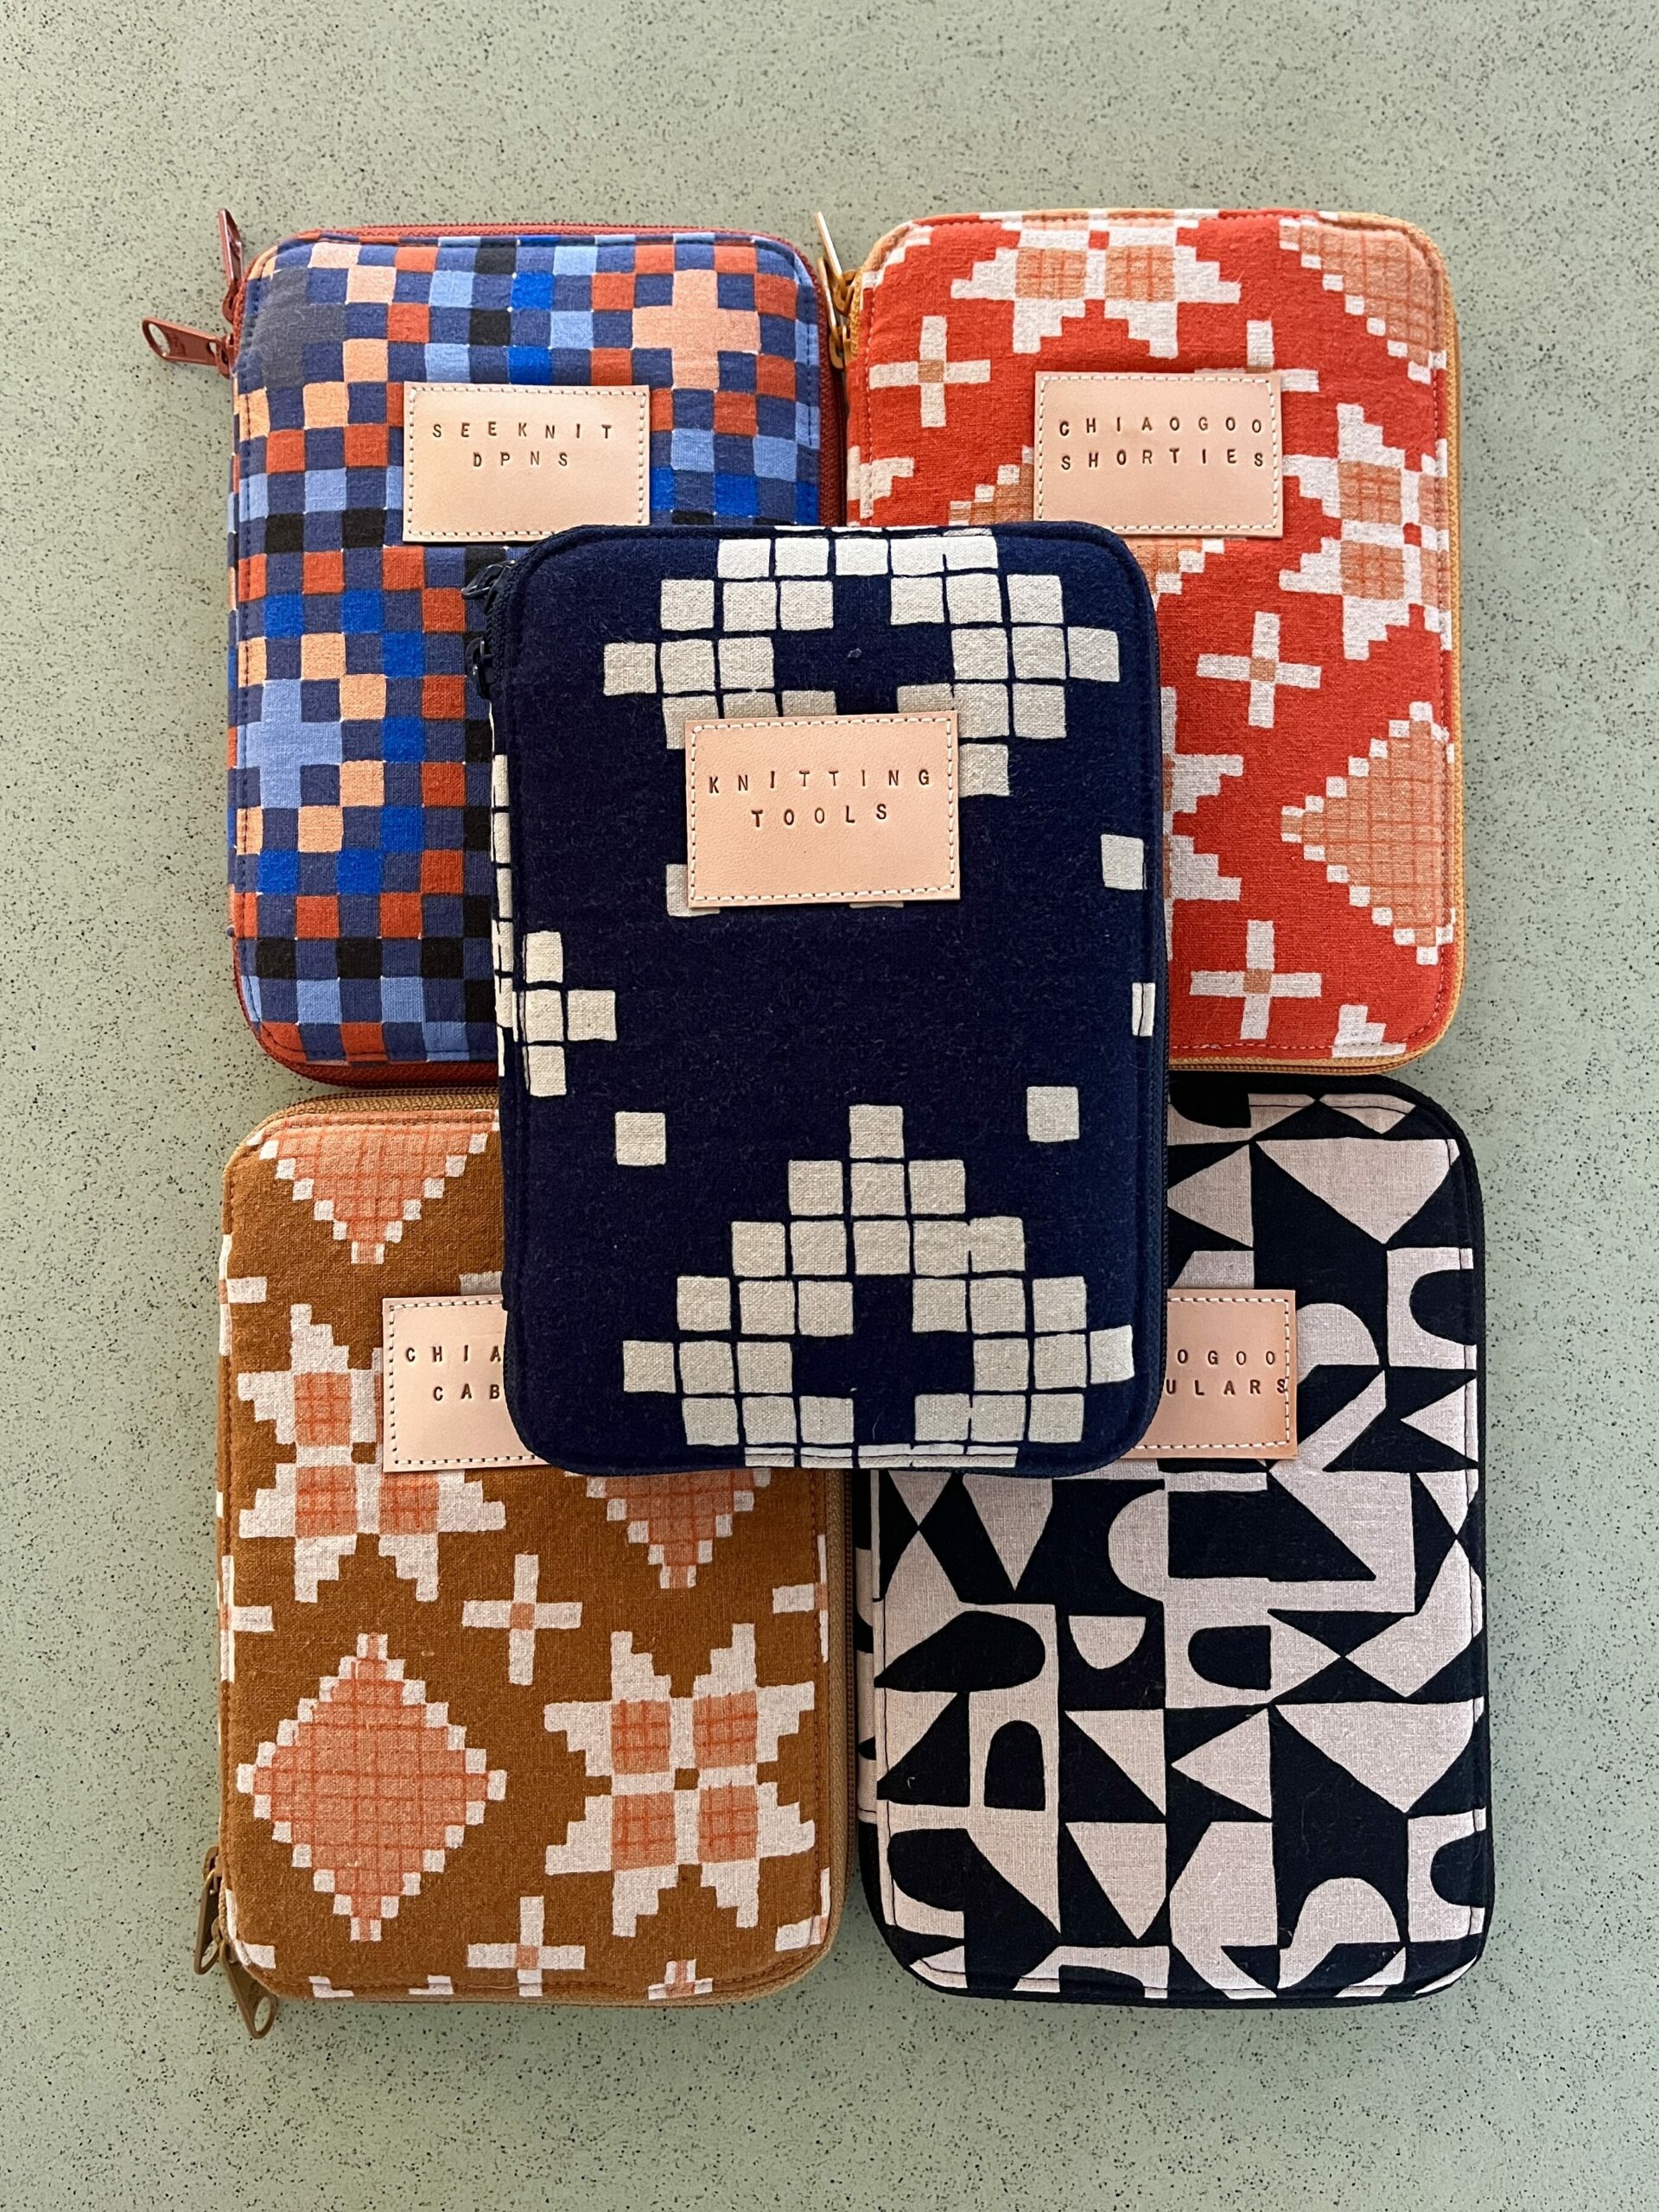
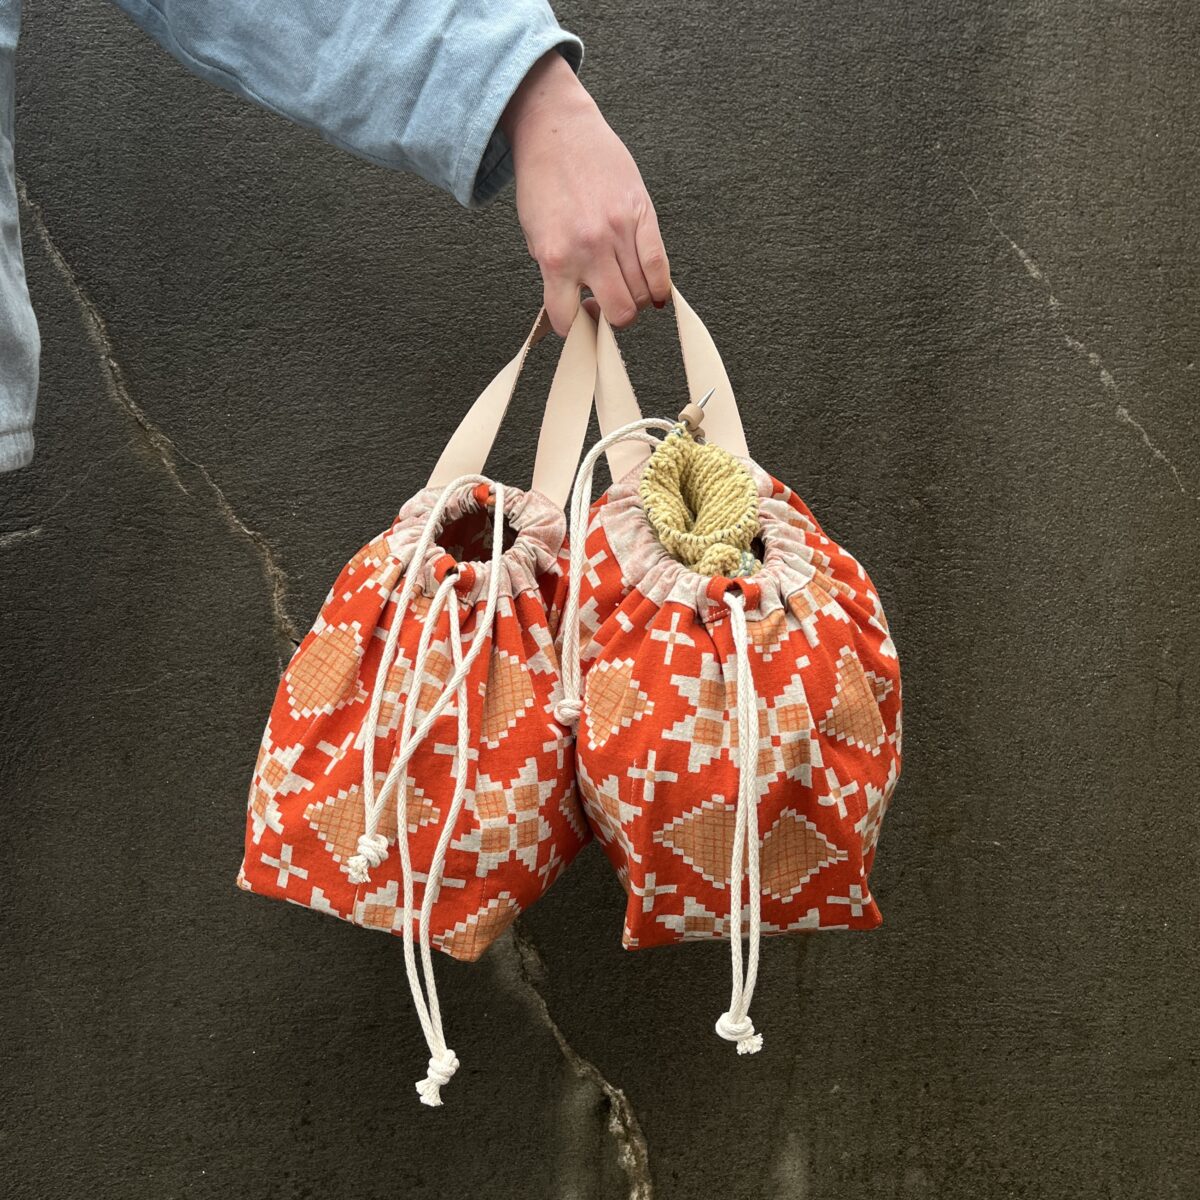
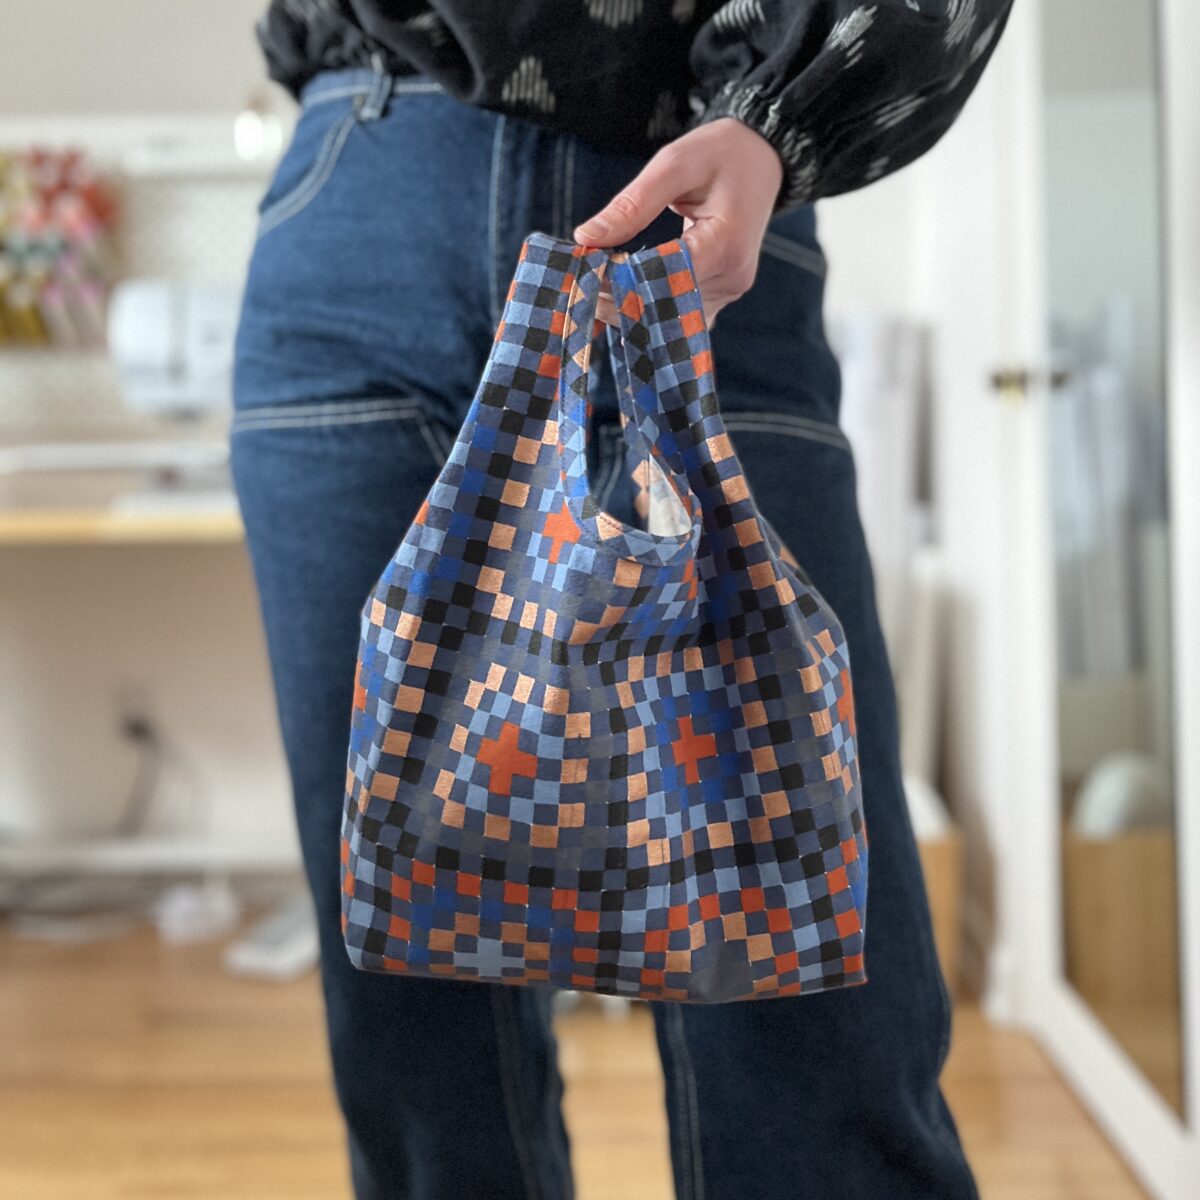
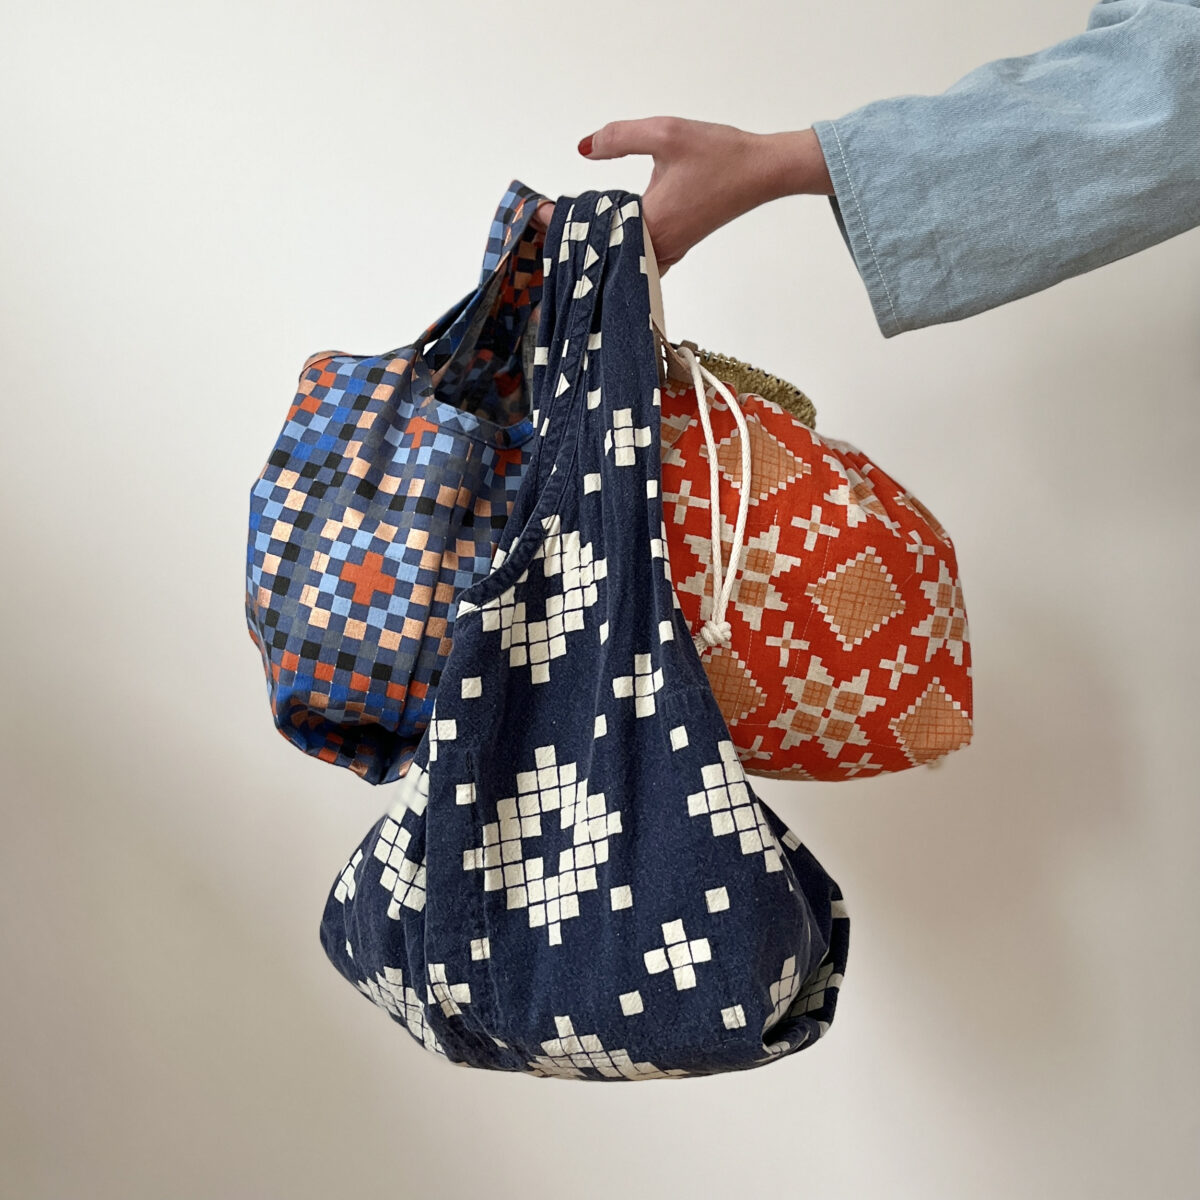
Since I had discarded the original Chiaogoo case, I had to do something. So I decided to make separate cases for my circulars, DPNs, tools, cables, and shorties. And since I’d used up all of the shirt fabric on my flop, I’d use leftovers from knitting project bags. Then everything would match!
PATTERN: Creative Maker Supply Case by Sew Sweetness
SUPPLIES: Handbag zippers and mesh from ByAnnie and leather patches from Noodlehead.
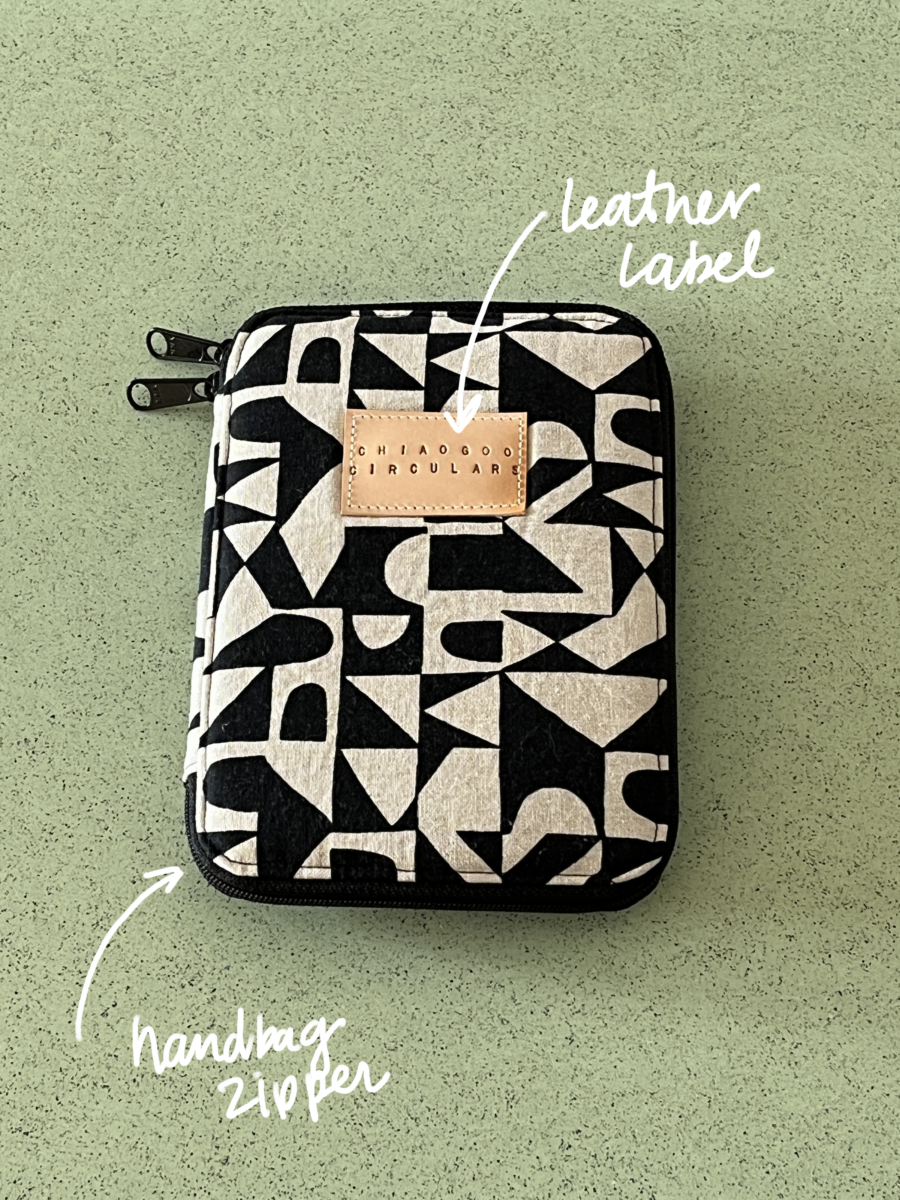
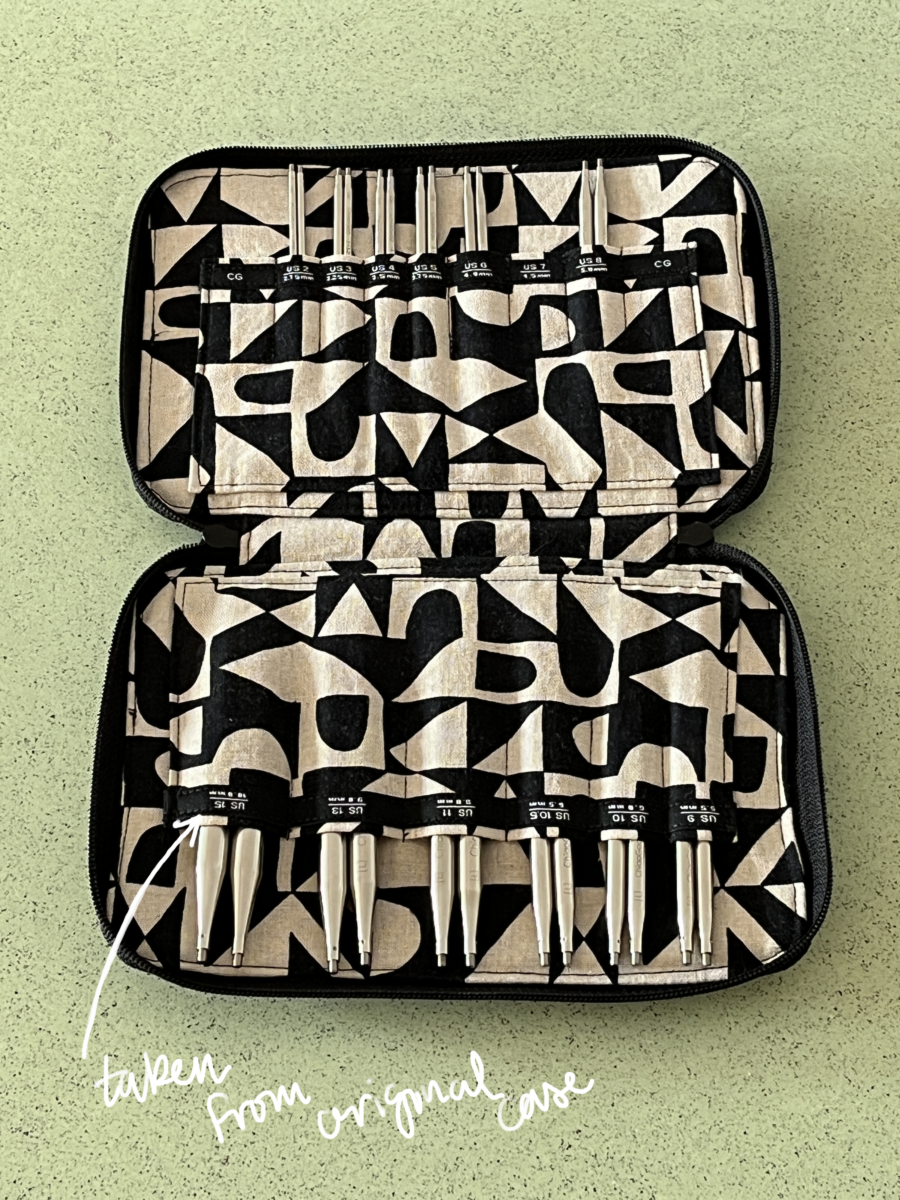
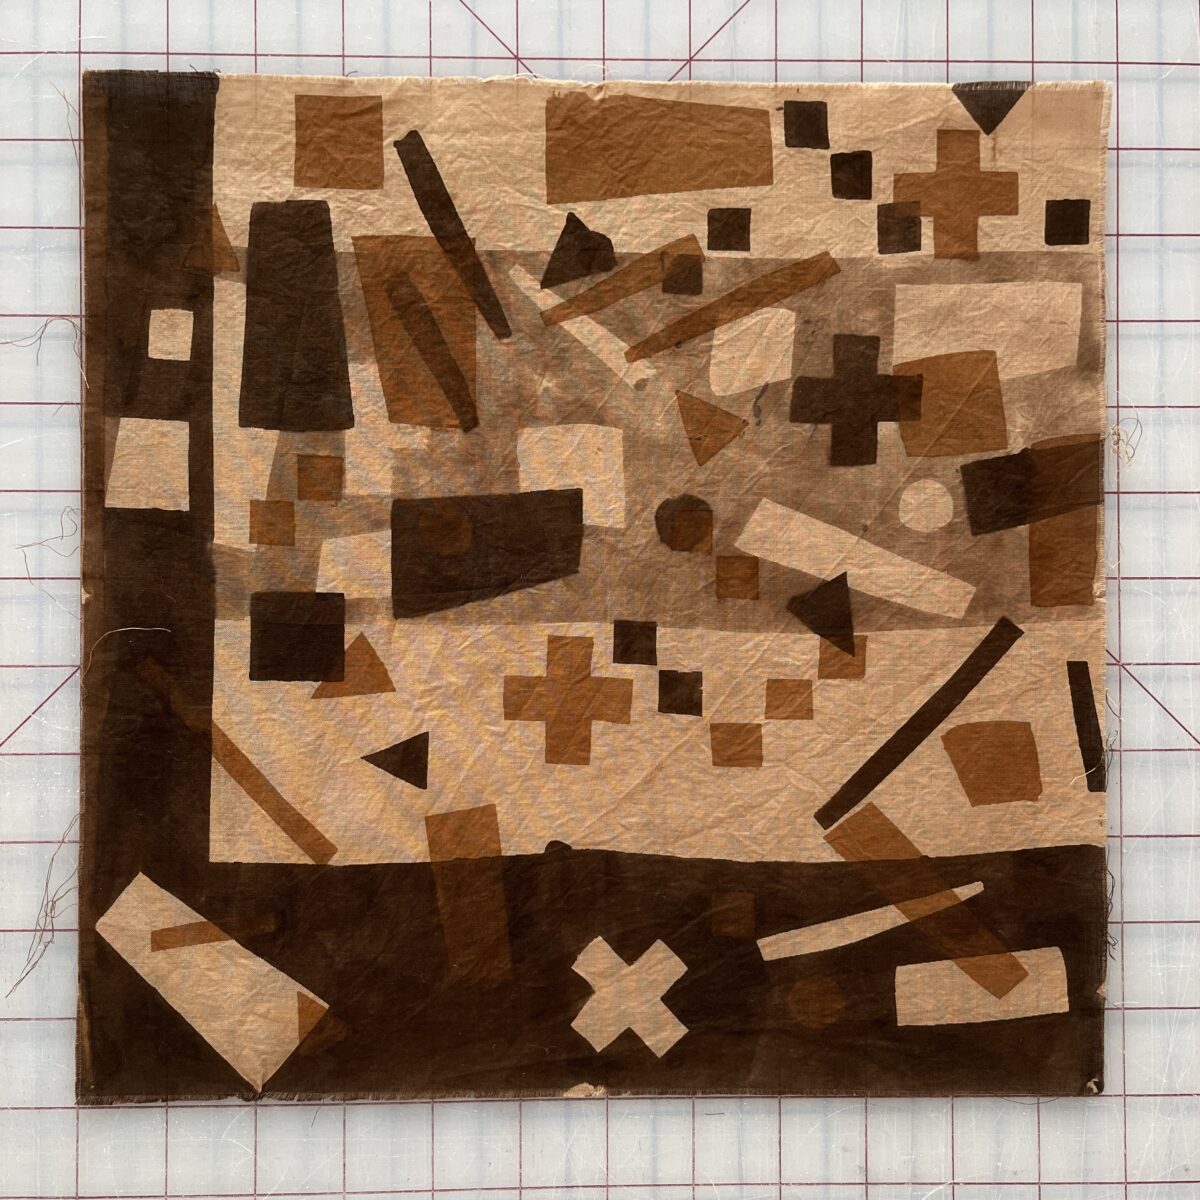
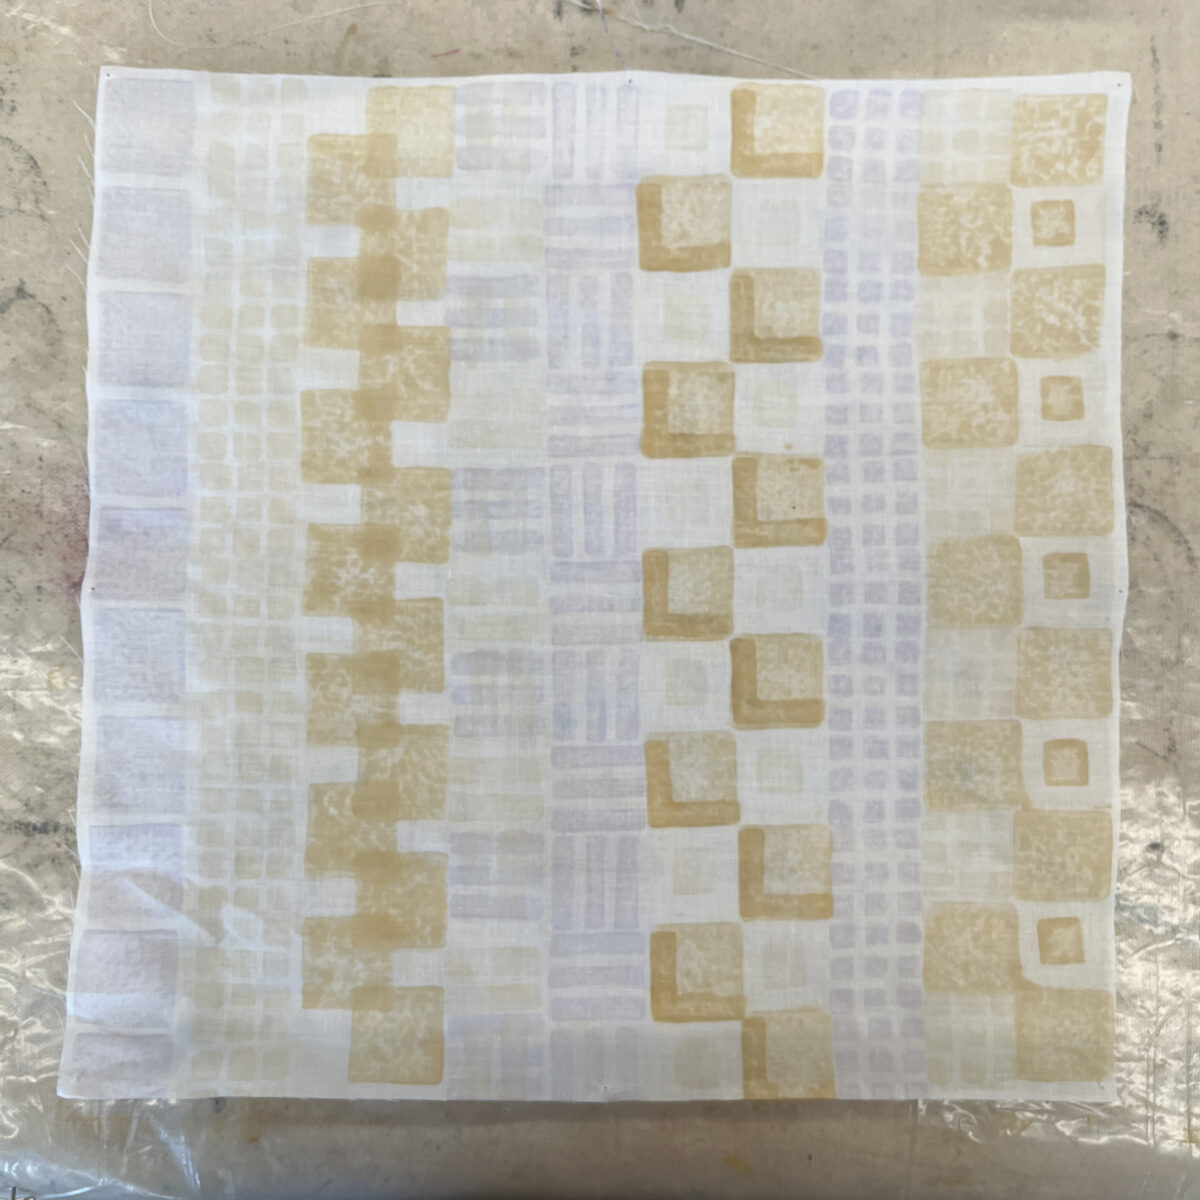
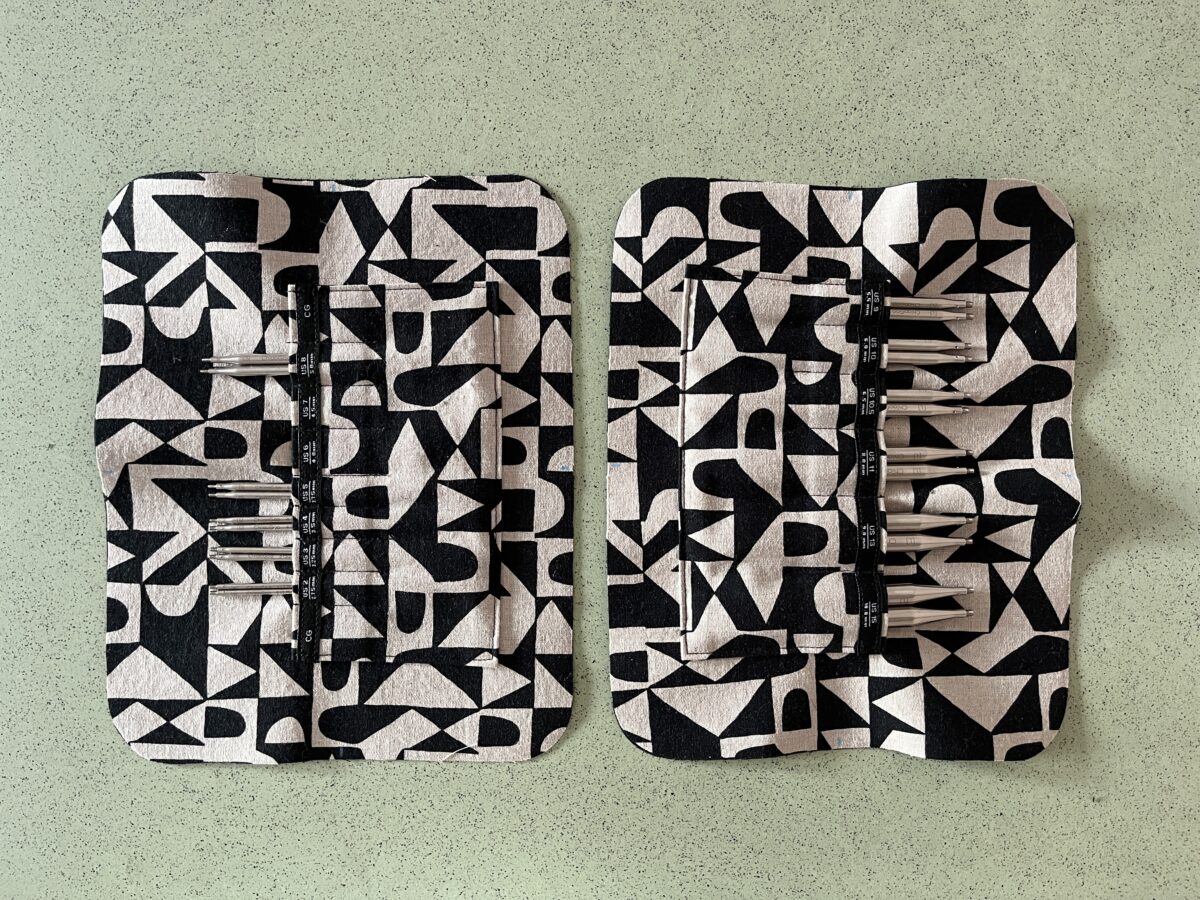
Here’s the case for my interchangeable circulars set. I was able to cut apart the flop and salvage these pages and one zipper. The fabric is by Sarah Golden for Andover Fabrics, which is no longer available.

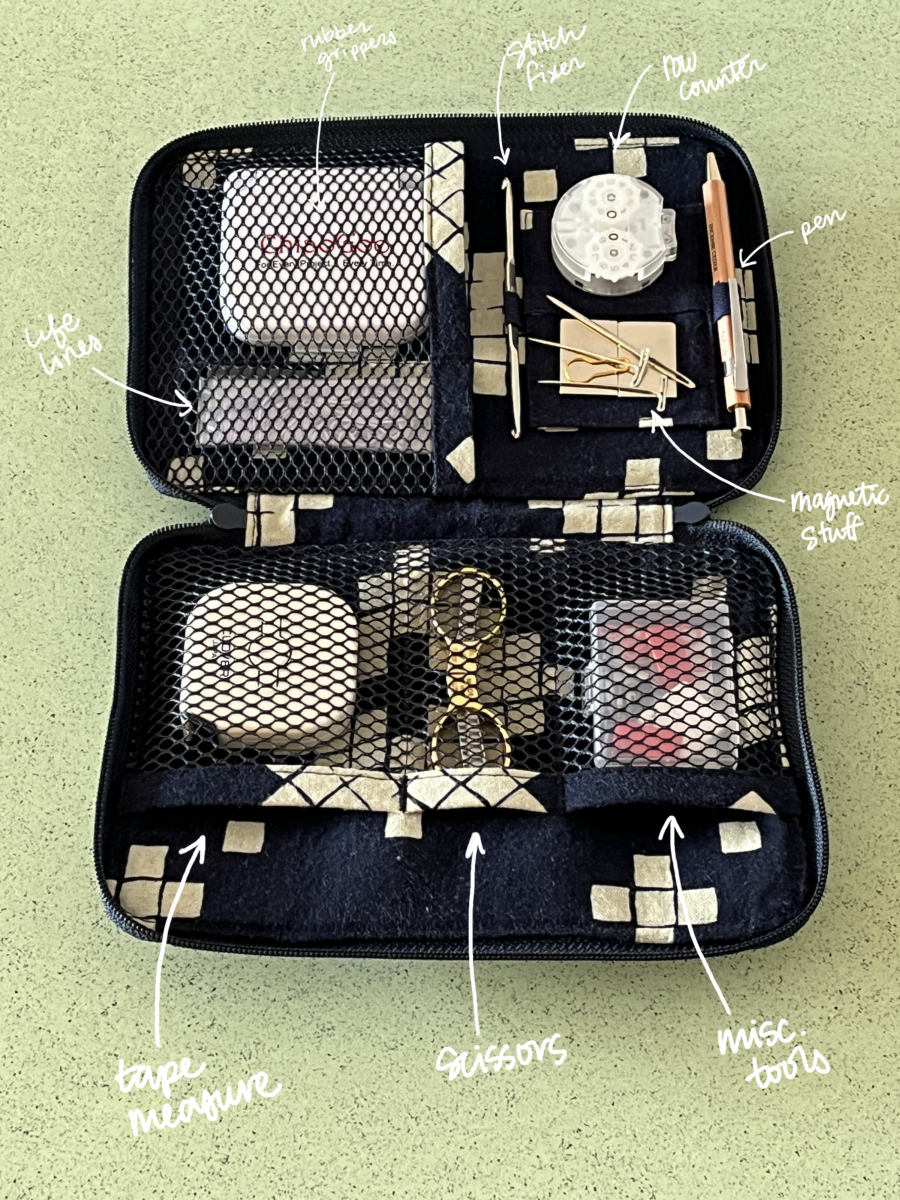
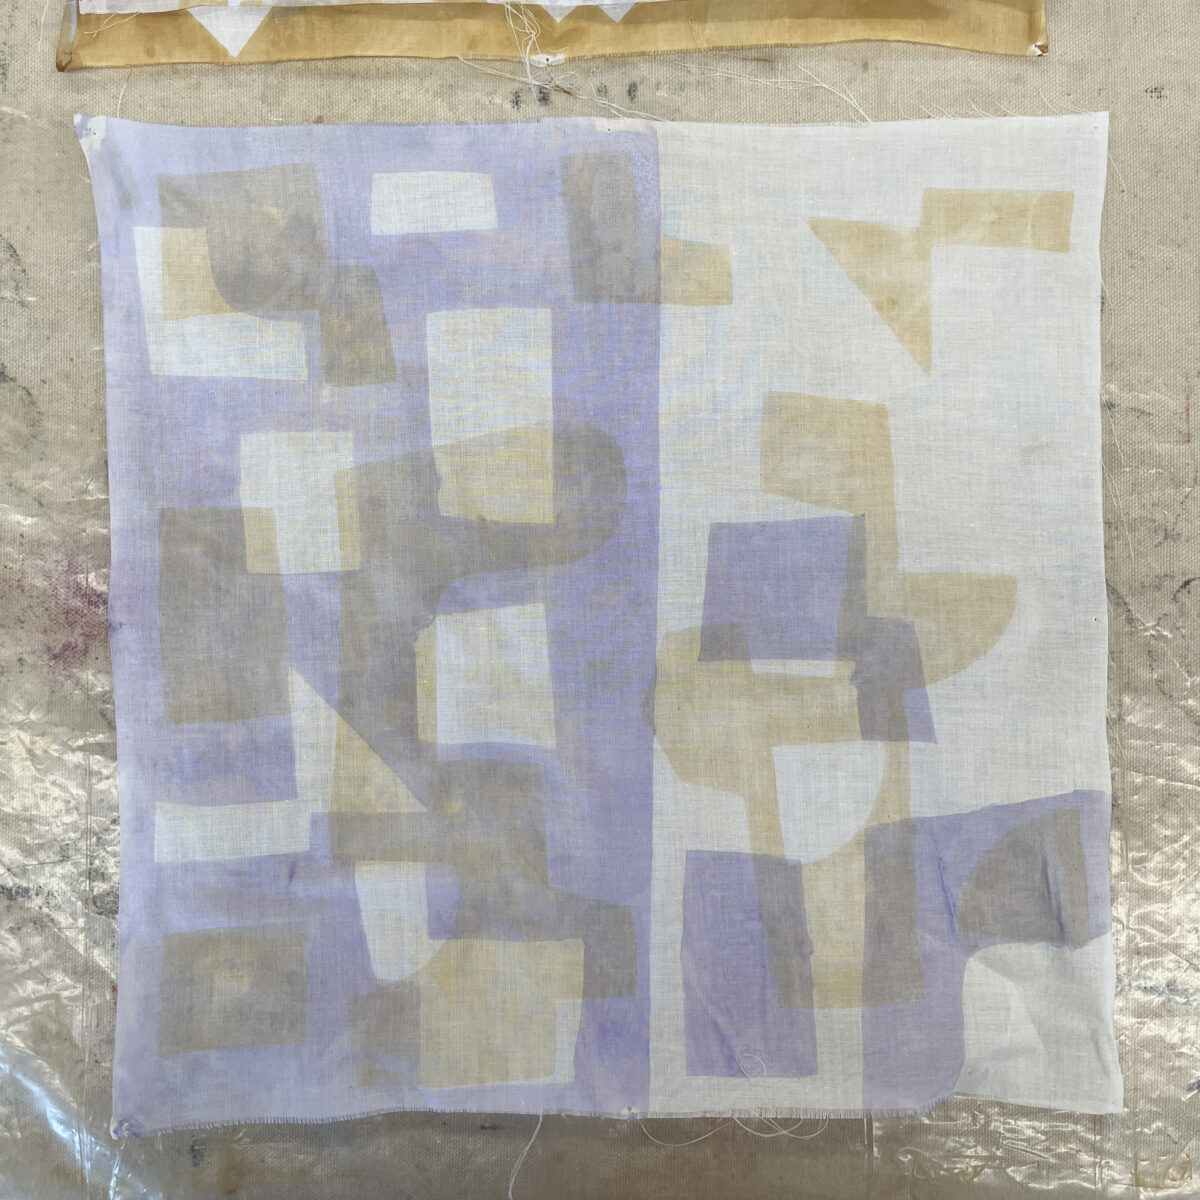
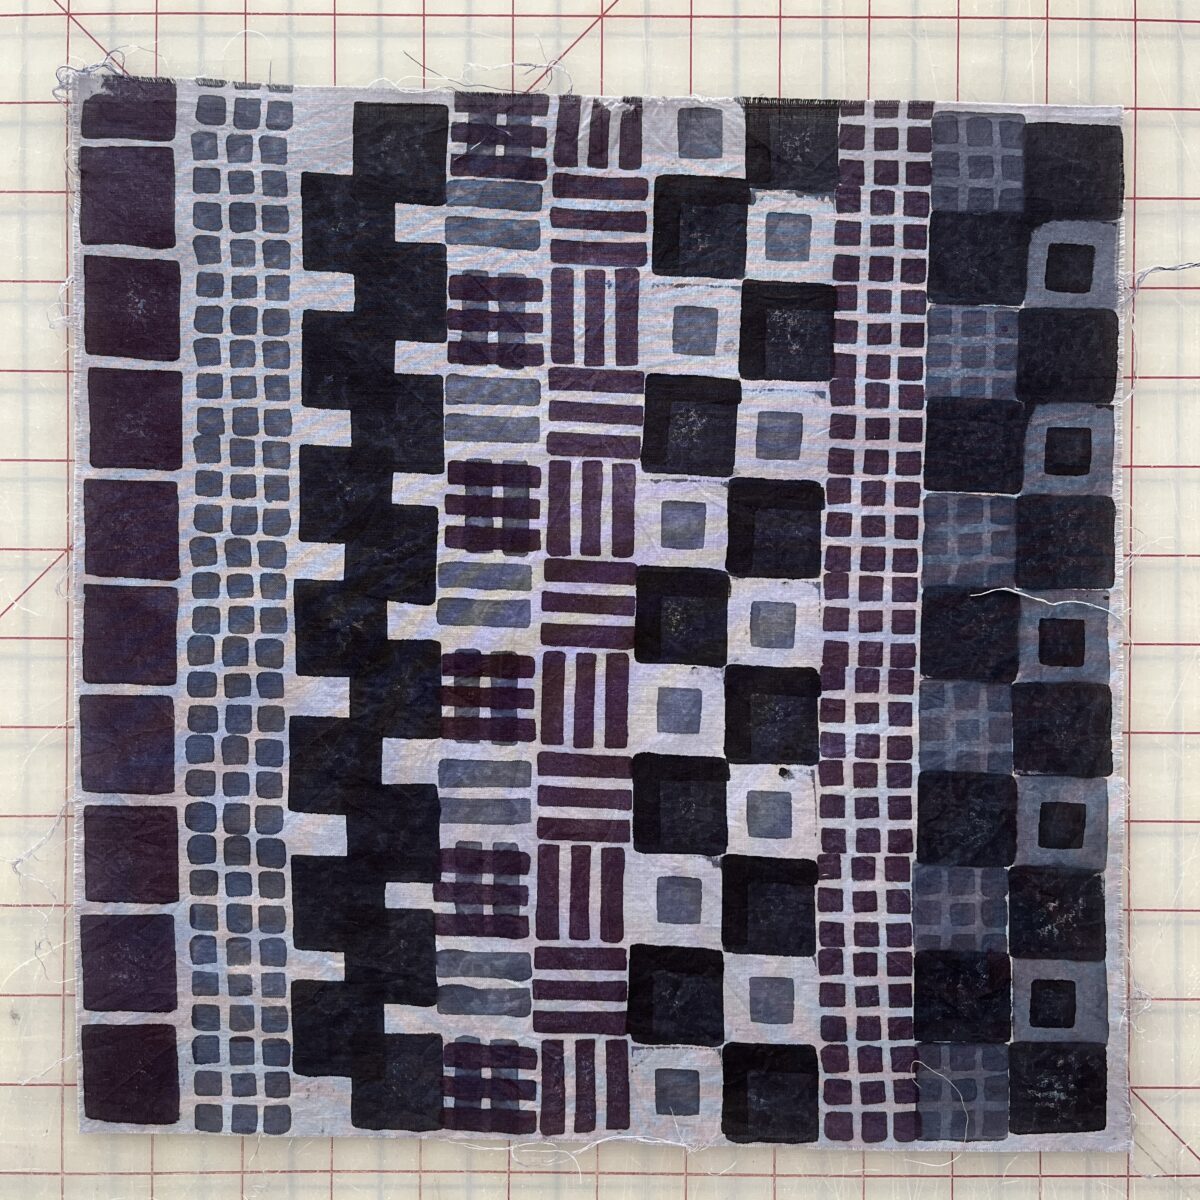
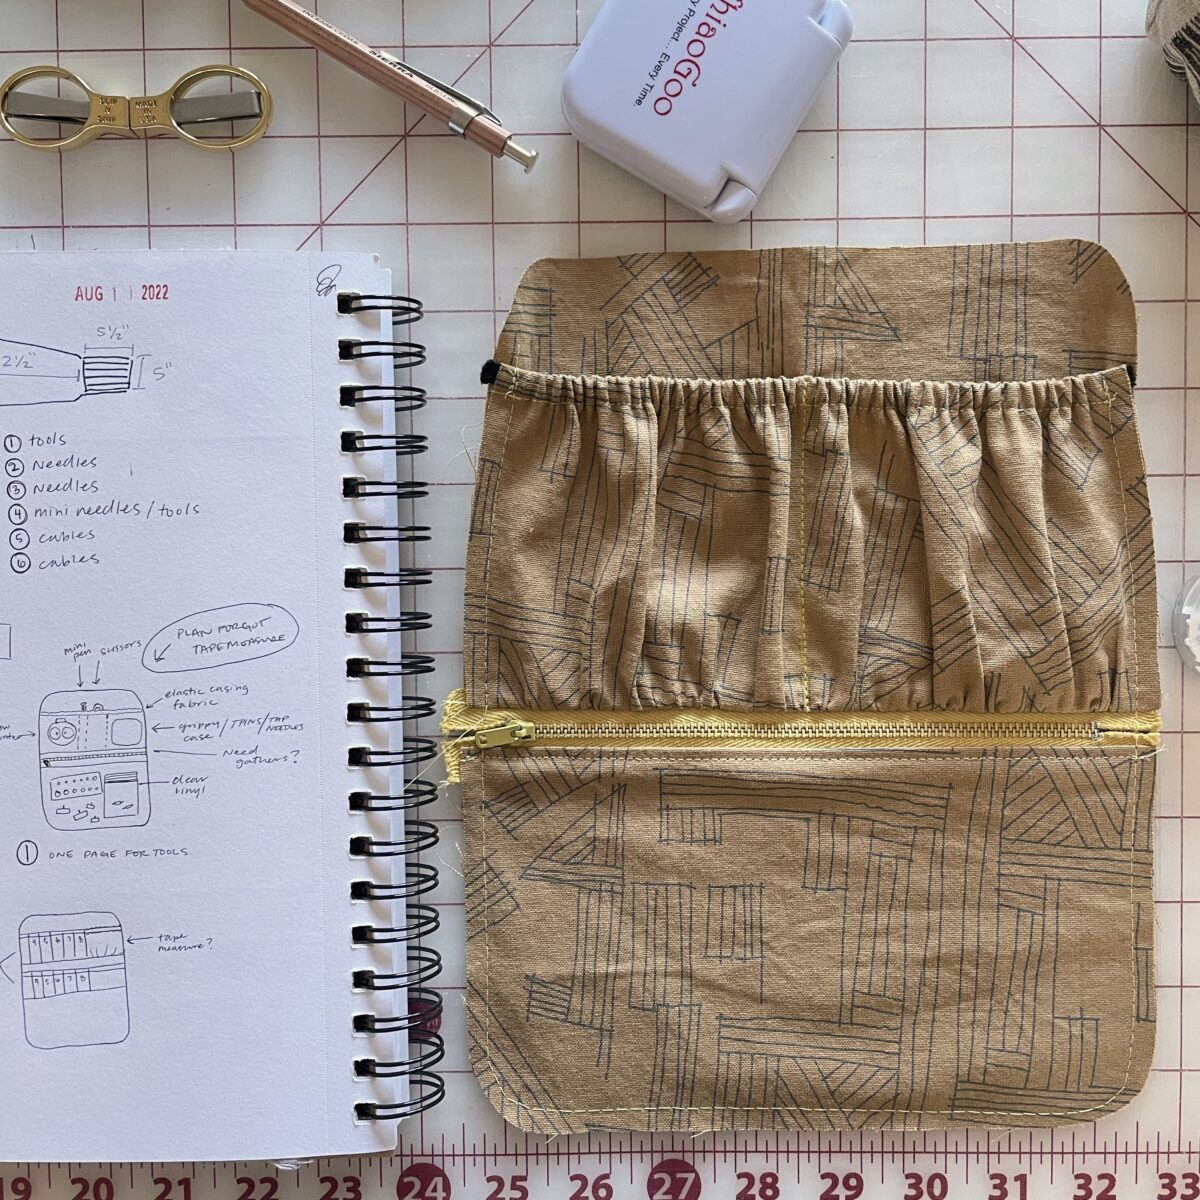
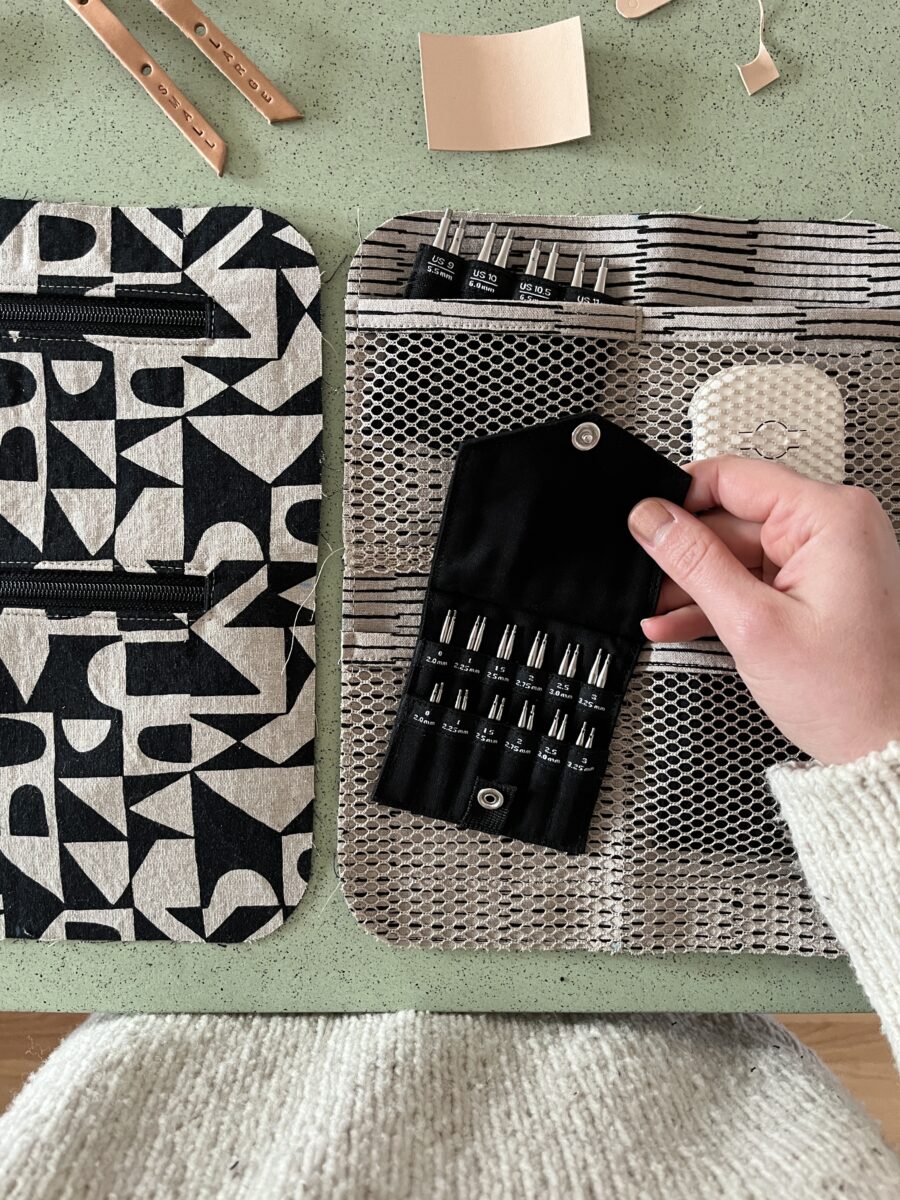
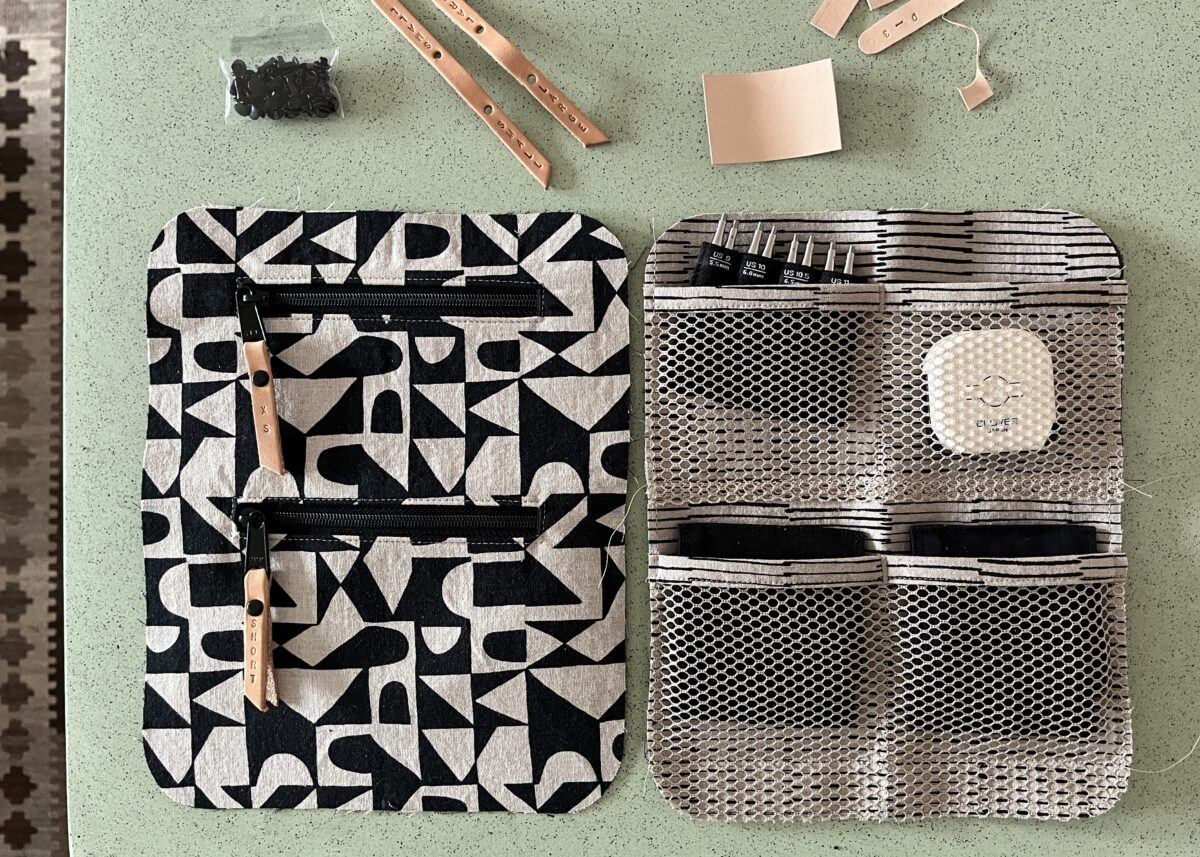
This case was the hardest one to figure out. I wanted it to house a lot and have a space for magnetic things. The fabric was designed by Alexia Abegg for Cotton & Steel, also no longer available.
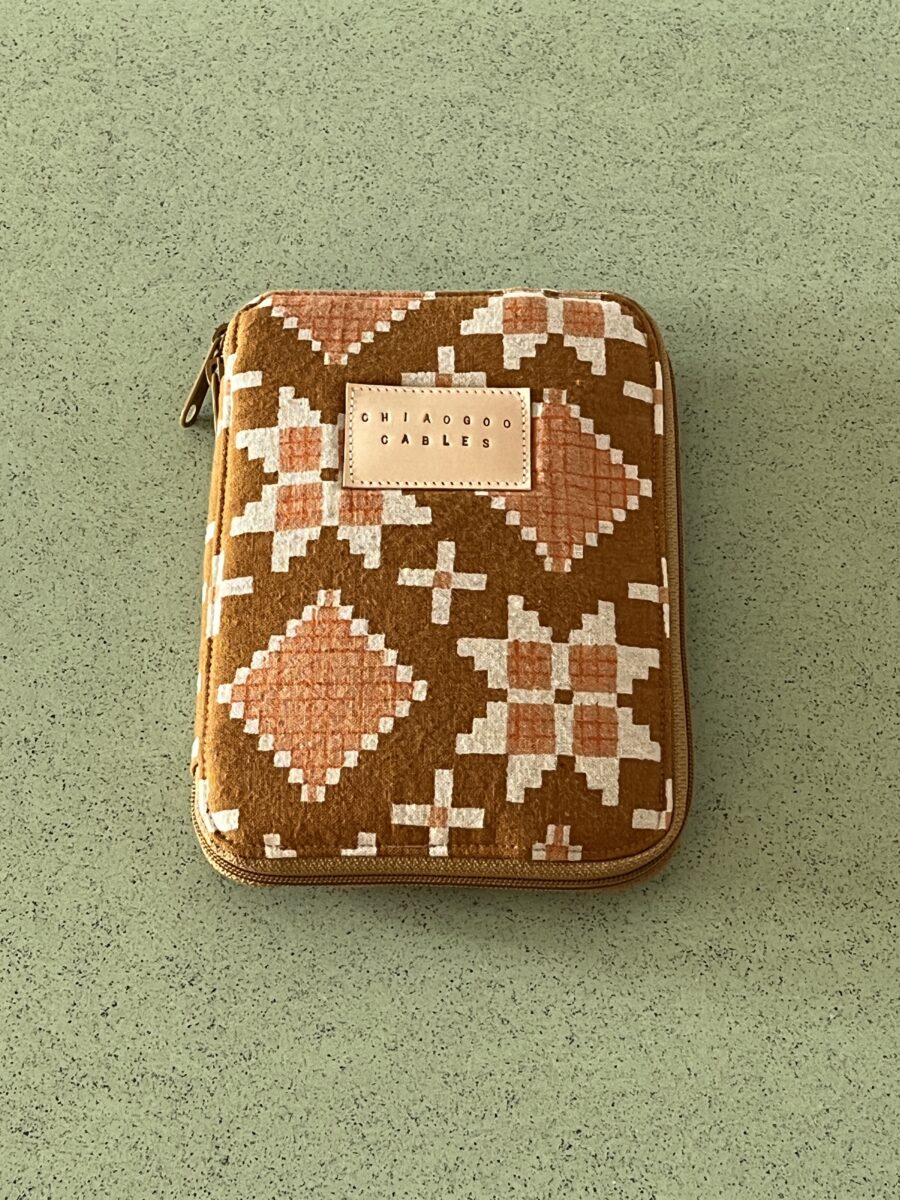
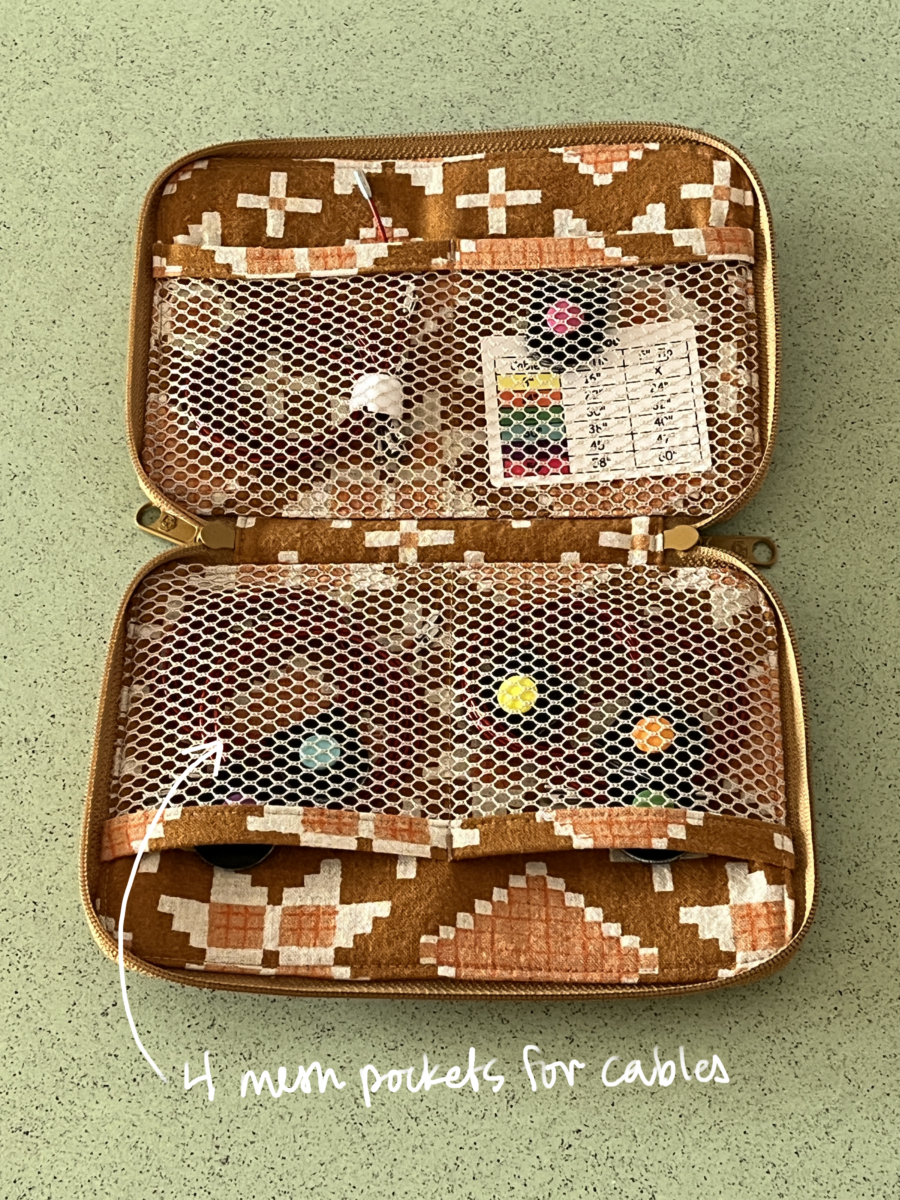
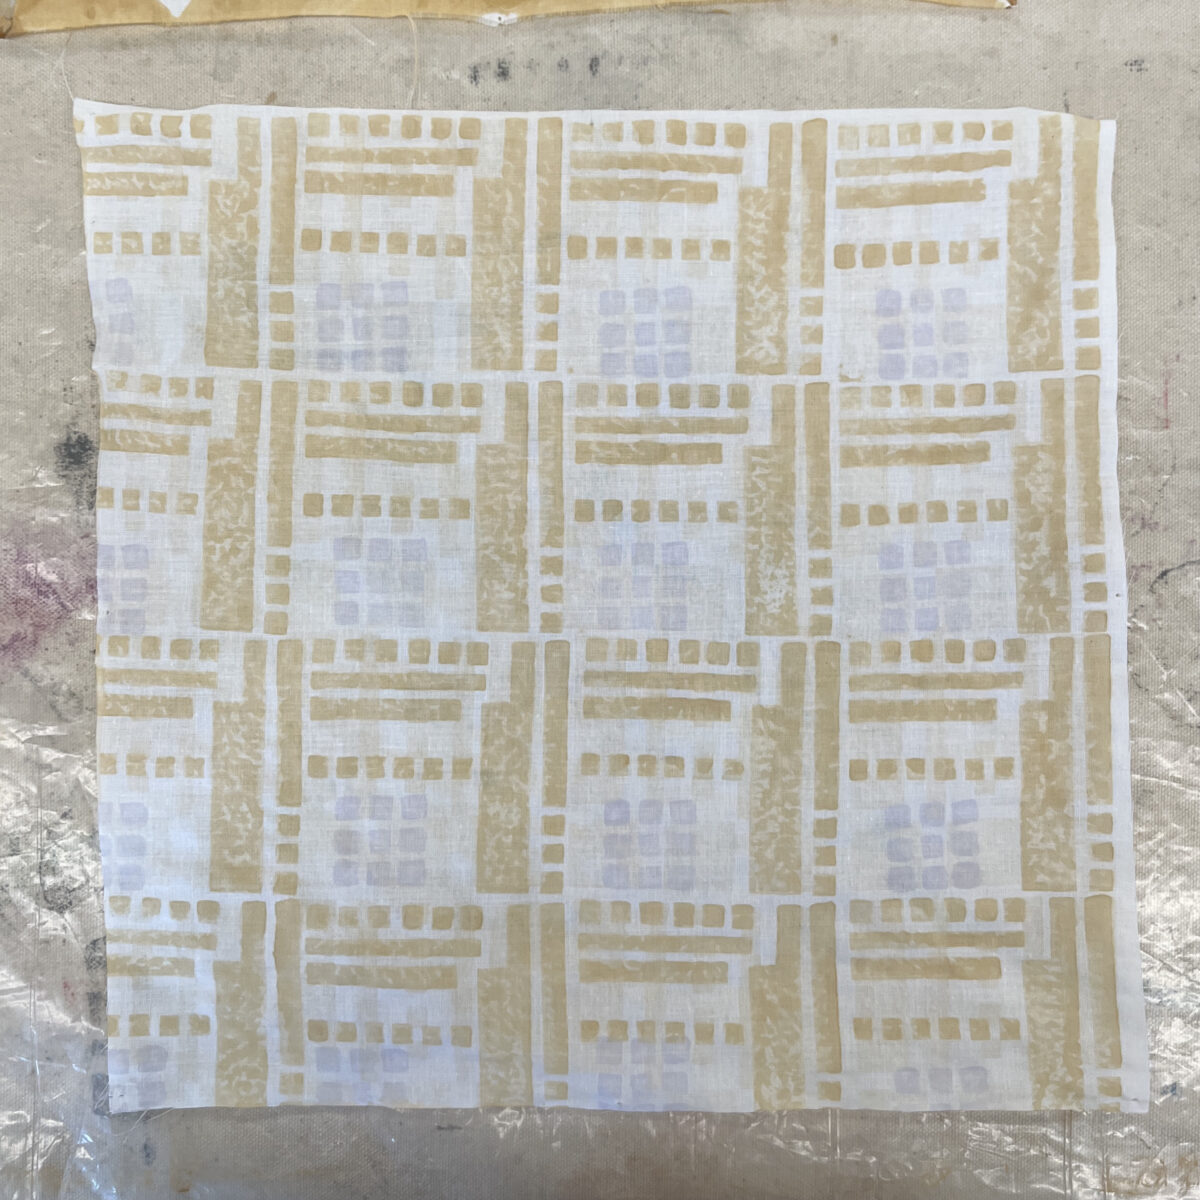
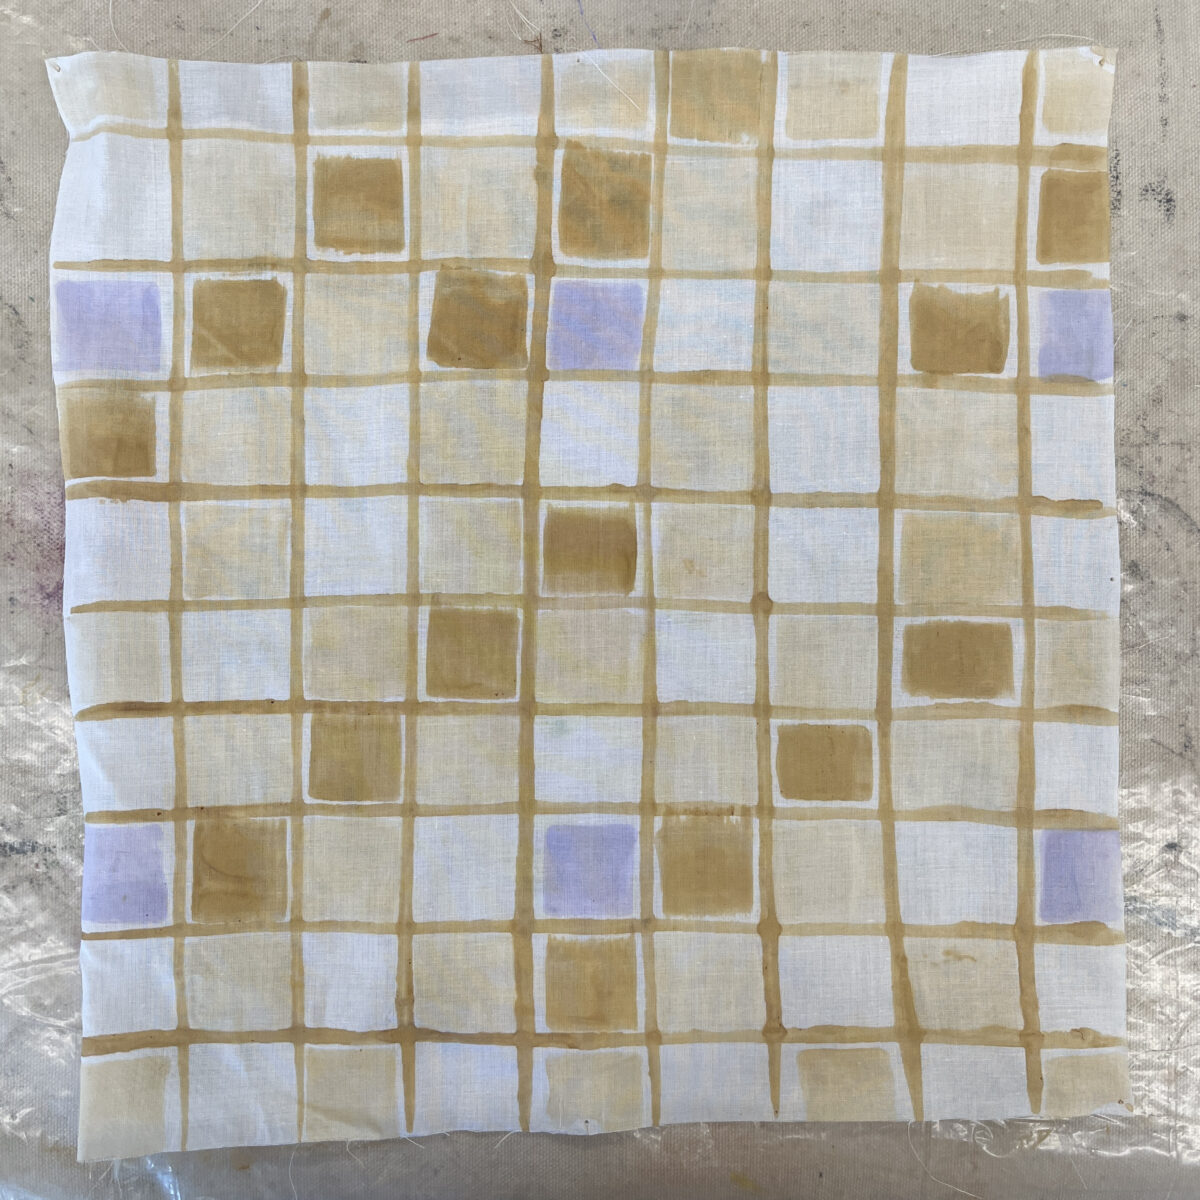
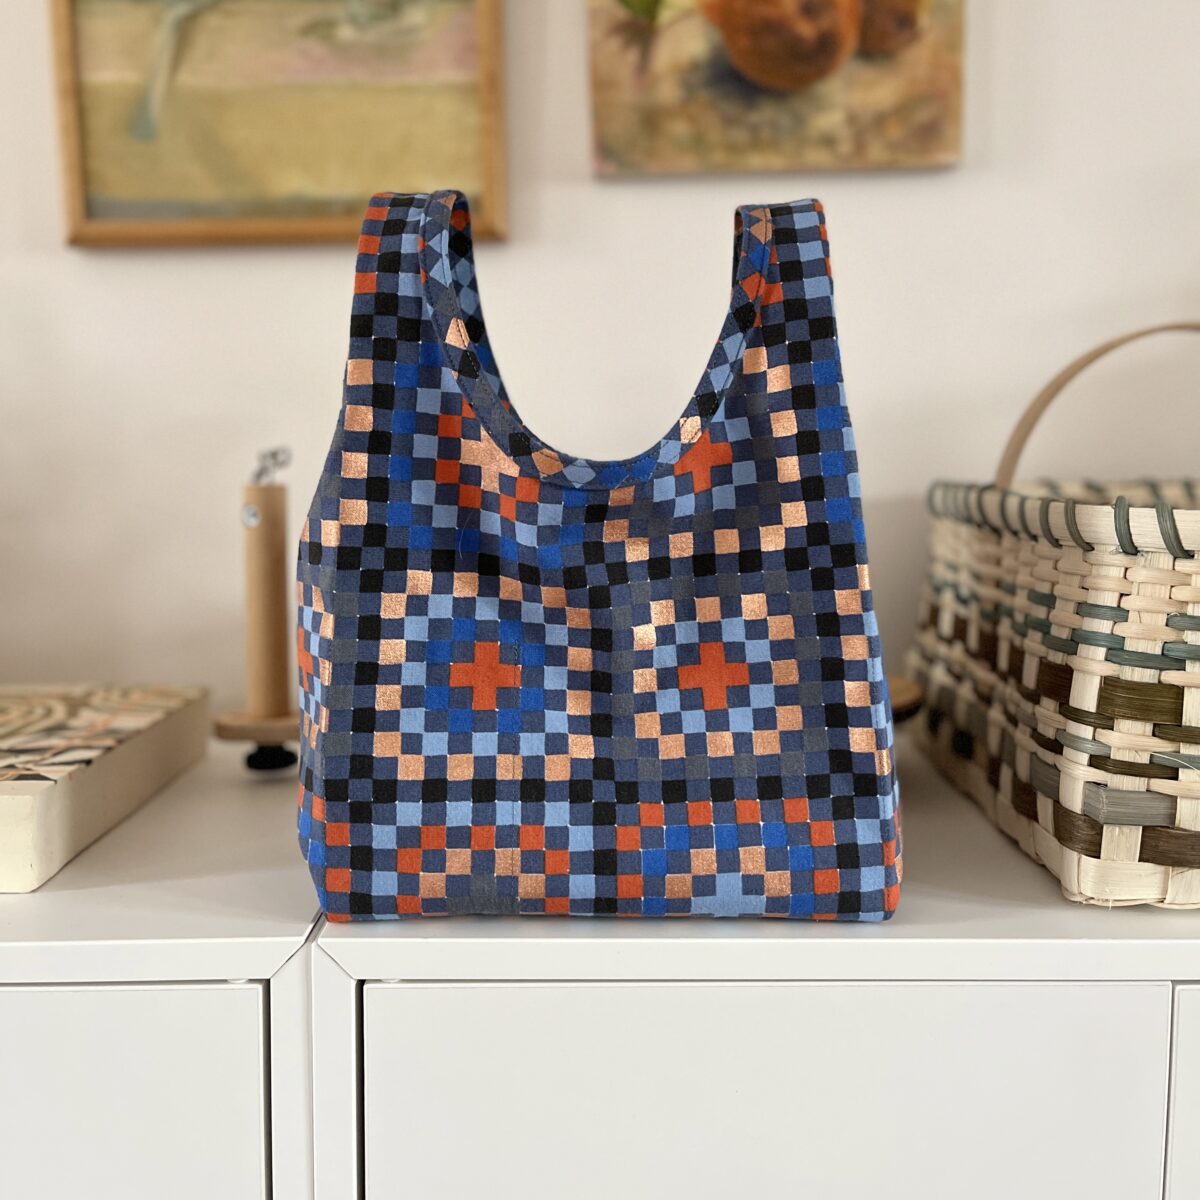
This case is for the interchangeable set’s cables. The fabric is also designed by Alexia Abegg for Ruby Star Society. This was the only new fabric I bought for this project. I needed one more case and wanted it to coordinate.
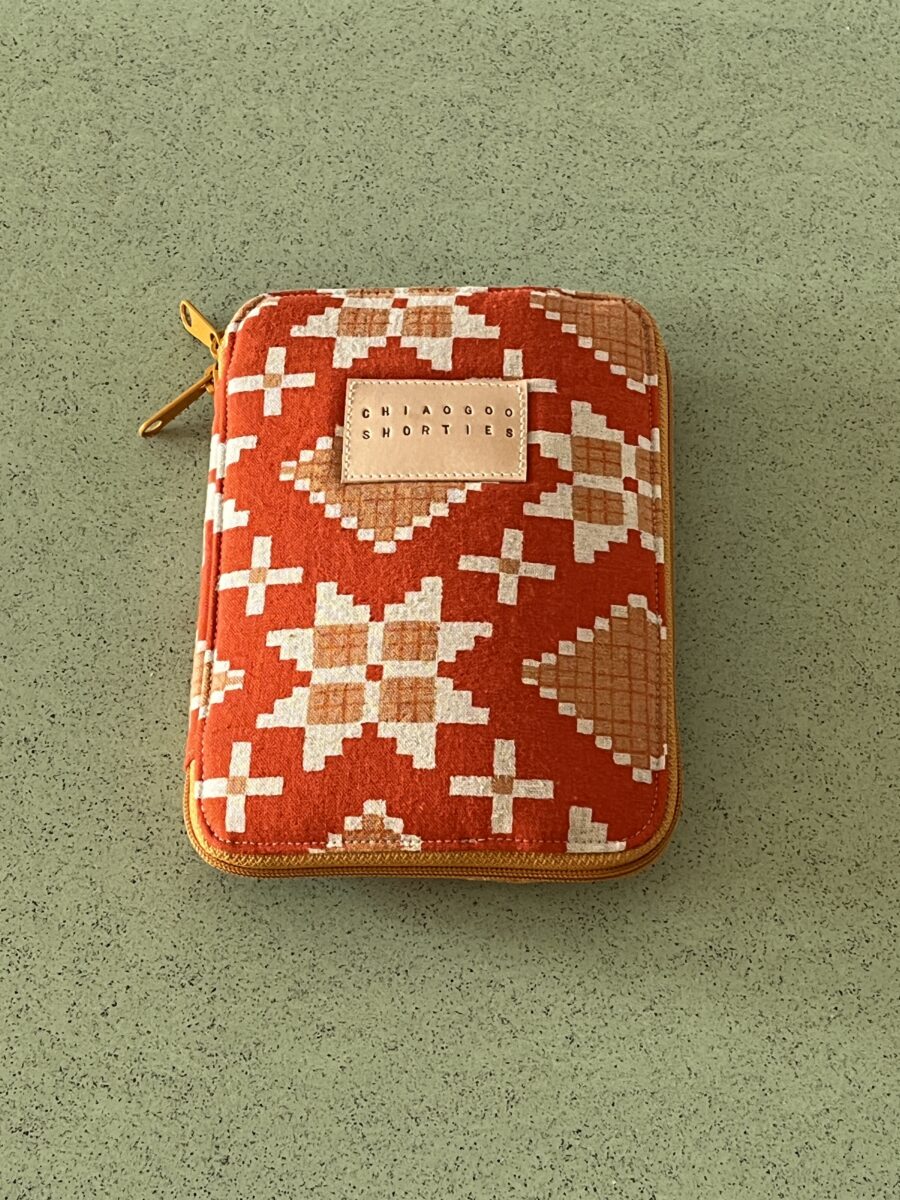
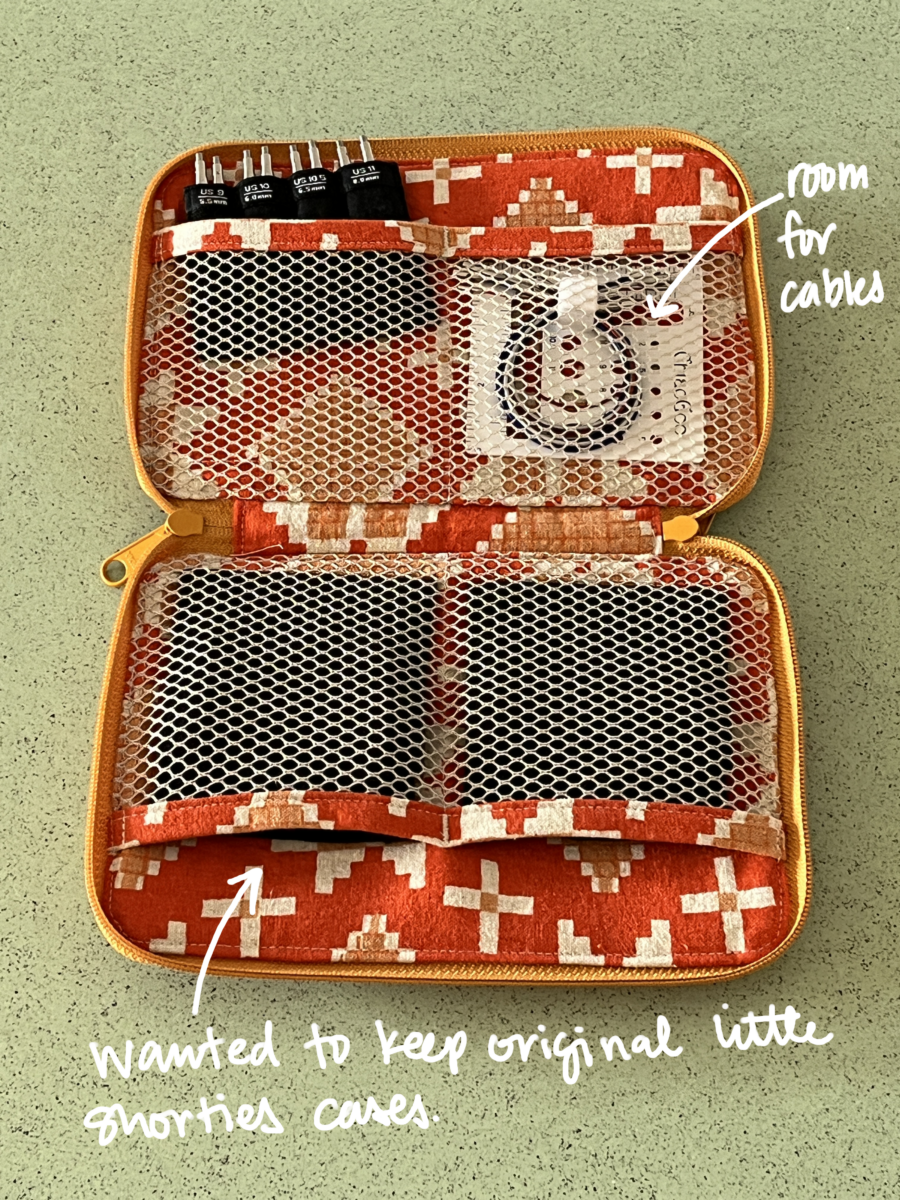
The Chiaogoo Shorties come in these weird, primary color key chain pouches, but also in these functional little black cases that I wanted to keep. They fit snugly in these mesh pockets with room for their own cables.

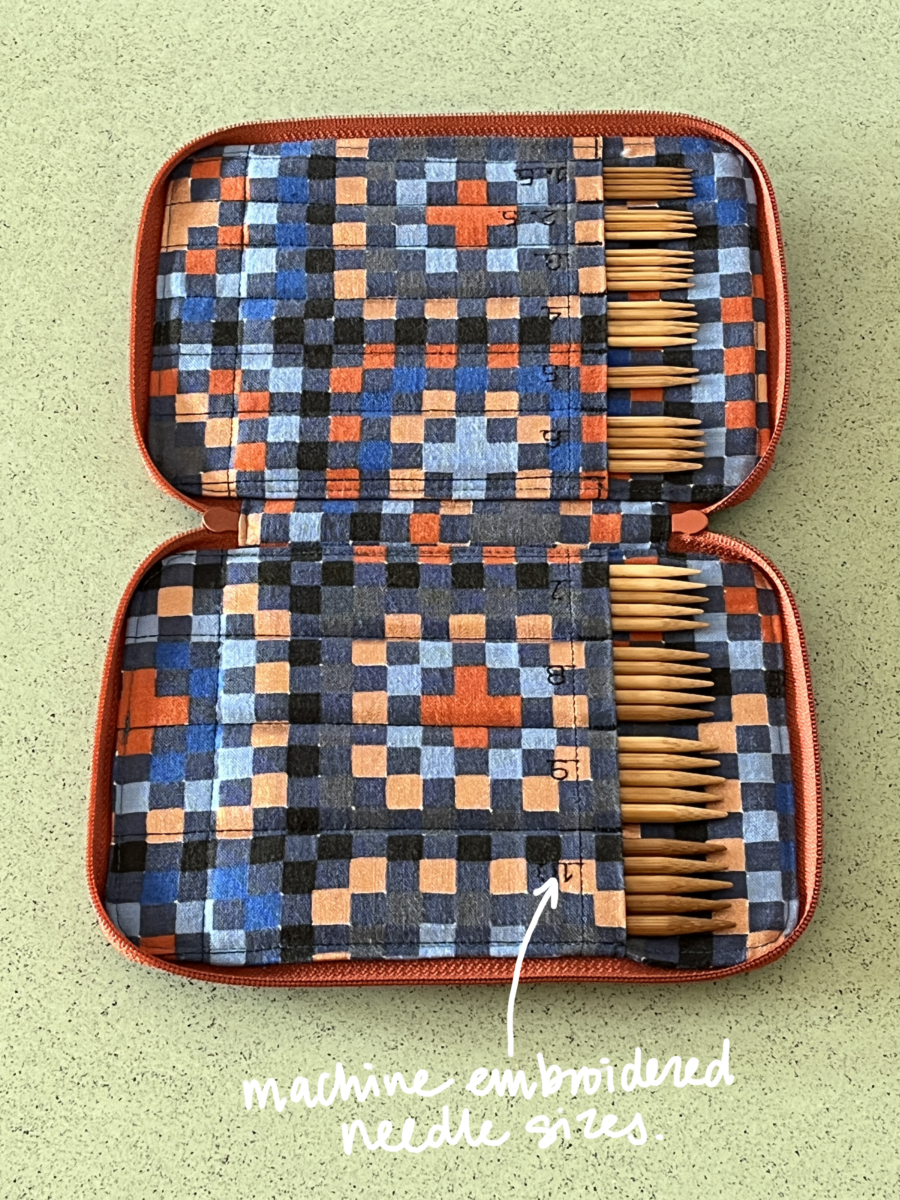
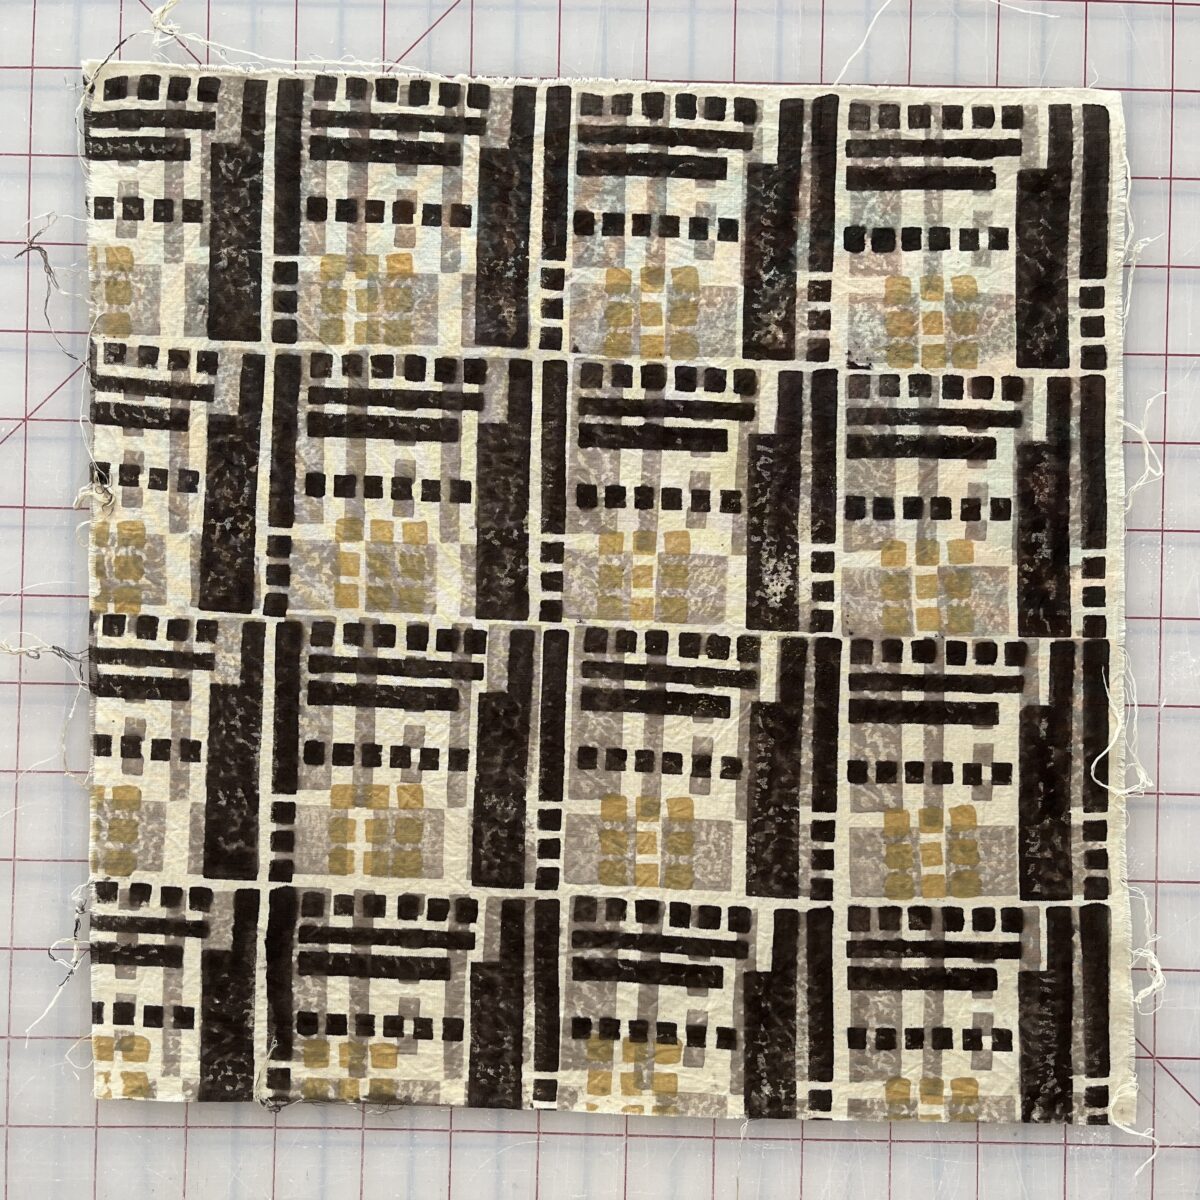
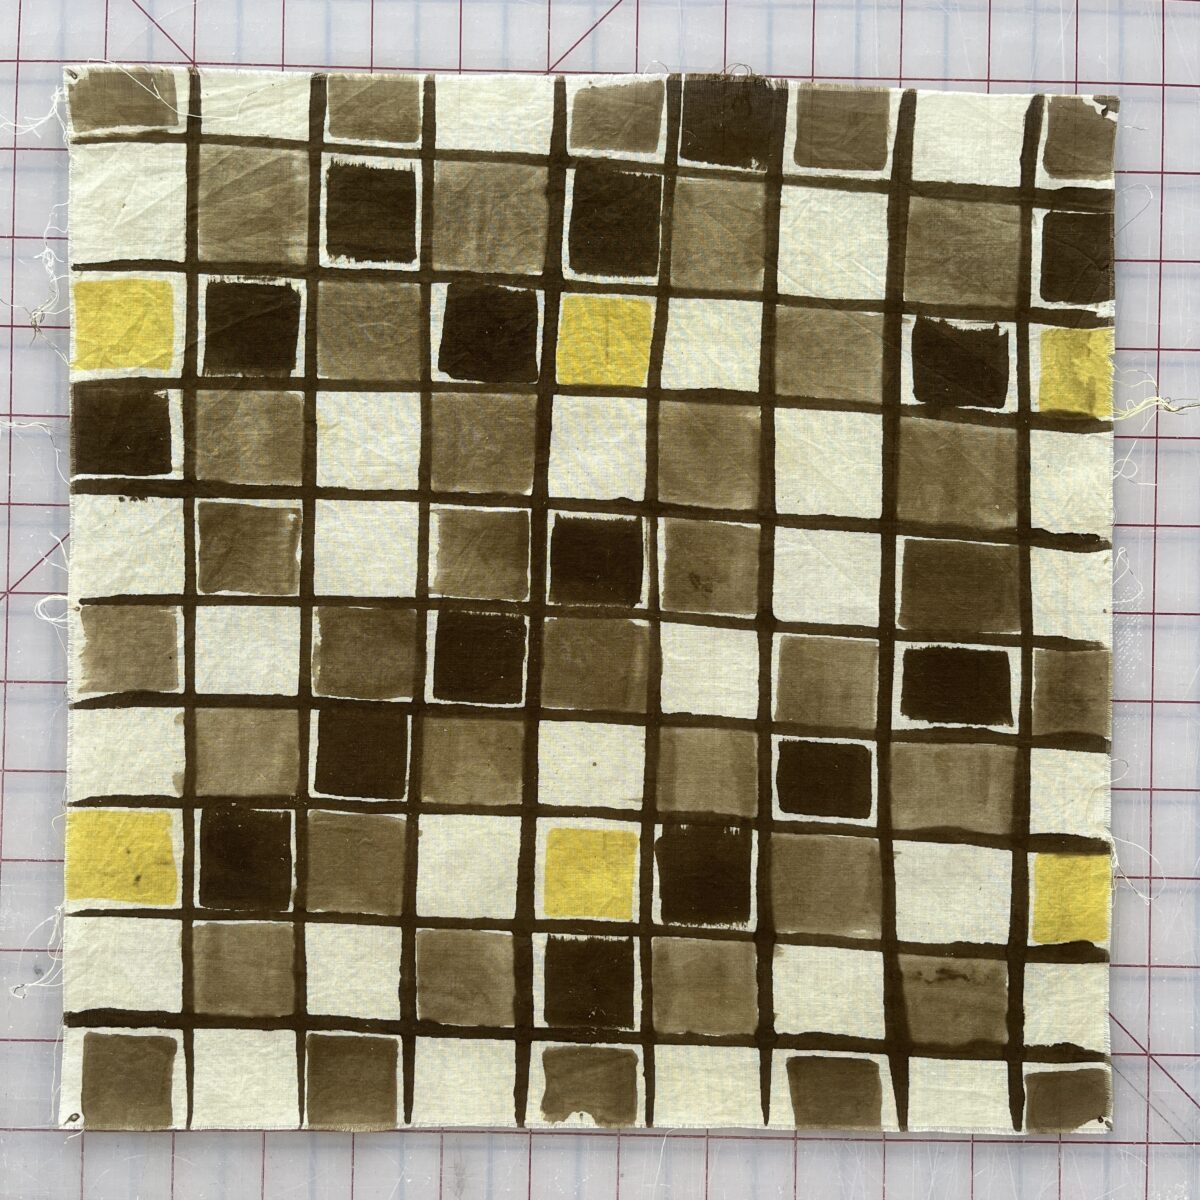
And finally, a case for my set of DPNs. I made an entire other case in the larger size for these before realizing the small would work best. The fabric is also from Alexia Abegg for Ruby Star Society.
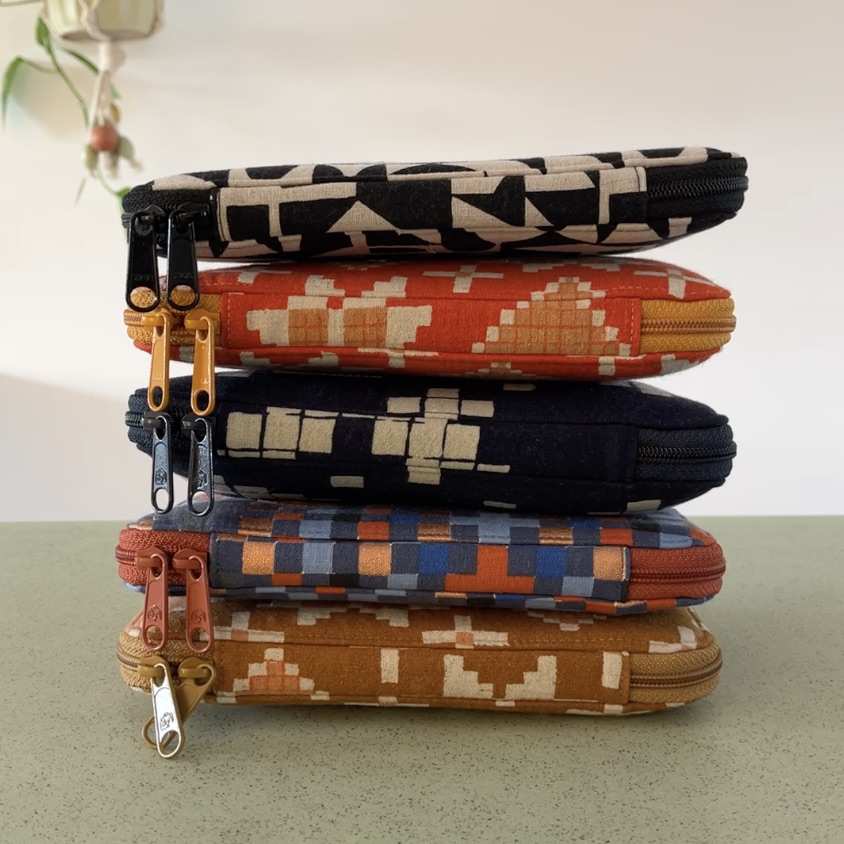
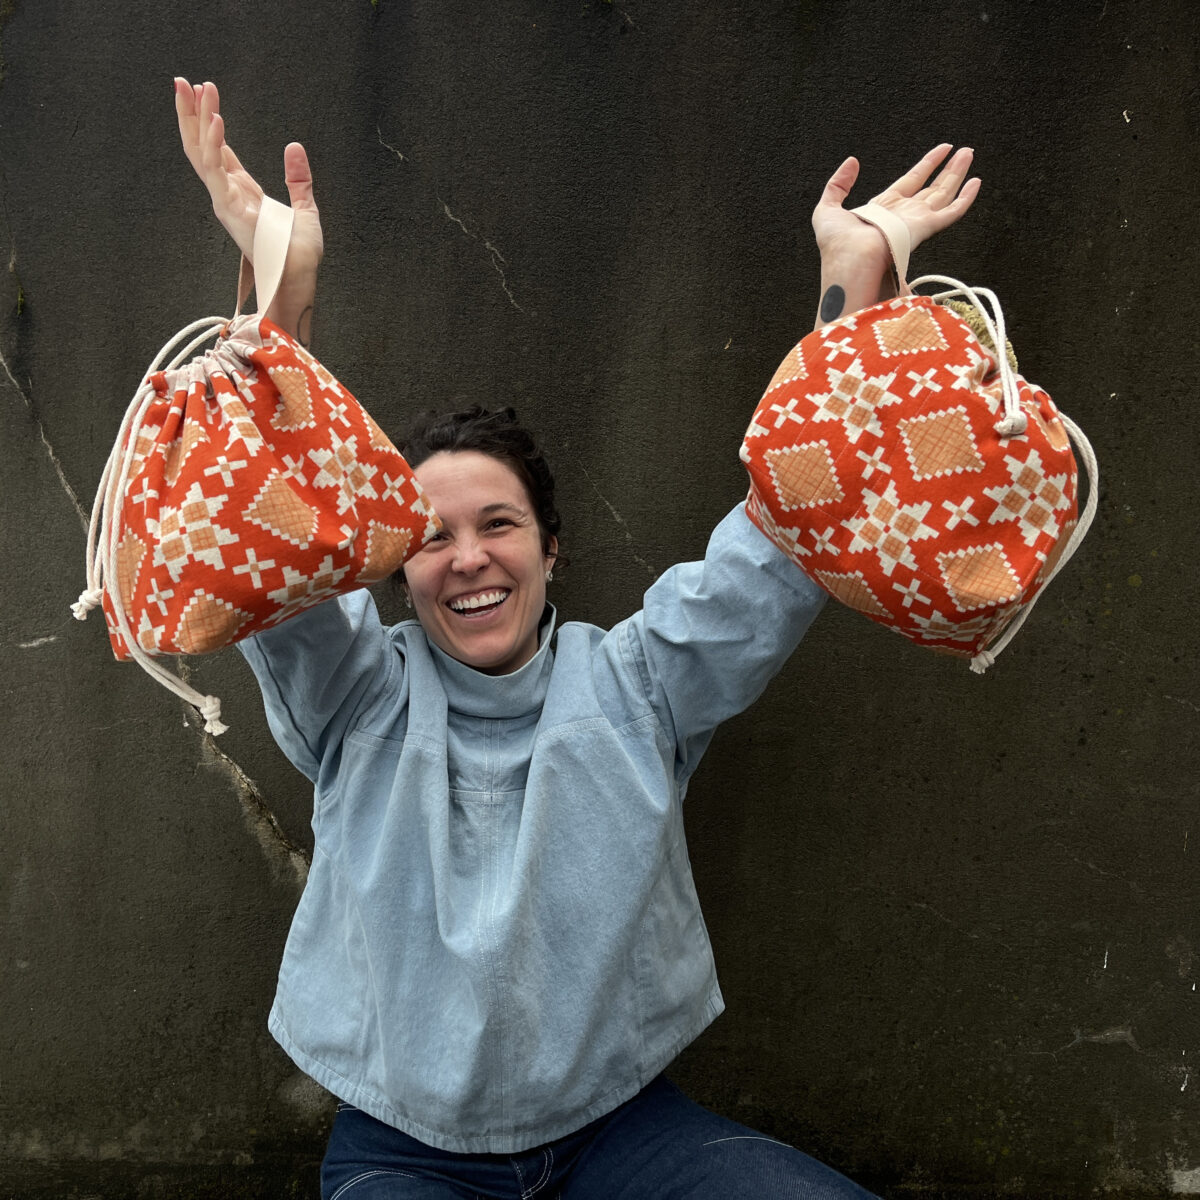
I am SO pleased with these and I think they’re much better than what I had originally envisioned. After making seven and half cases, I’ve gotten pretty fast!
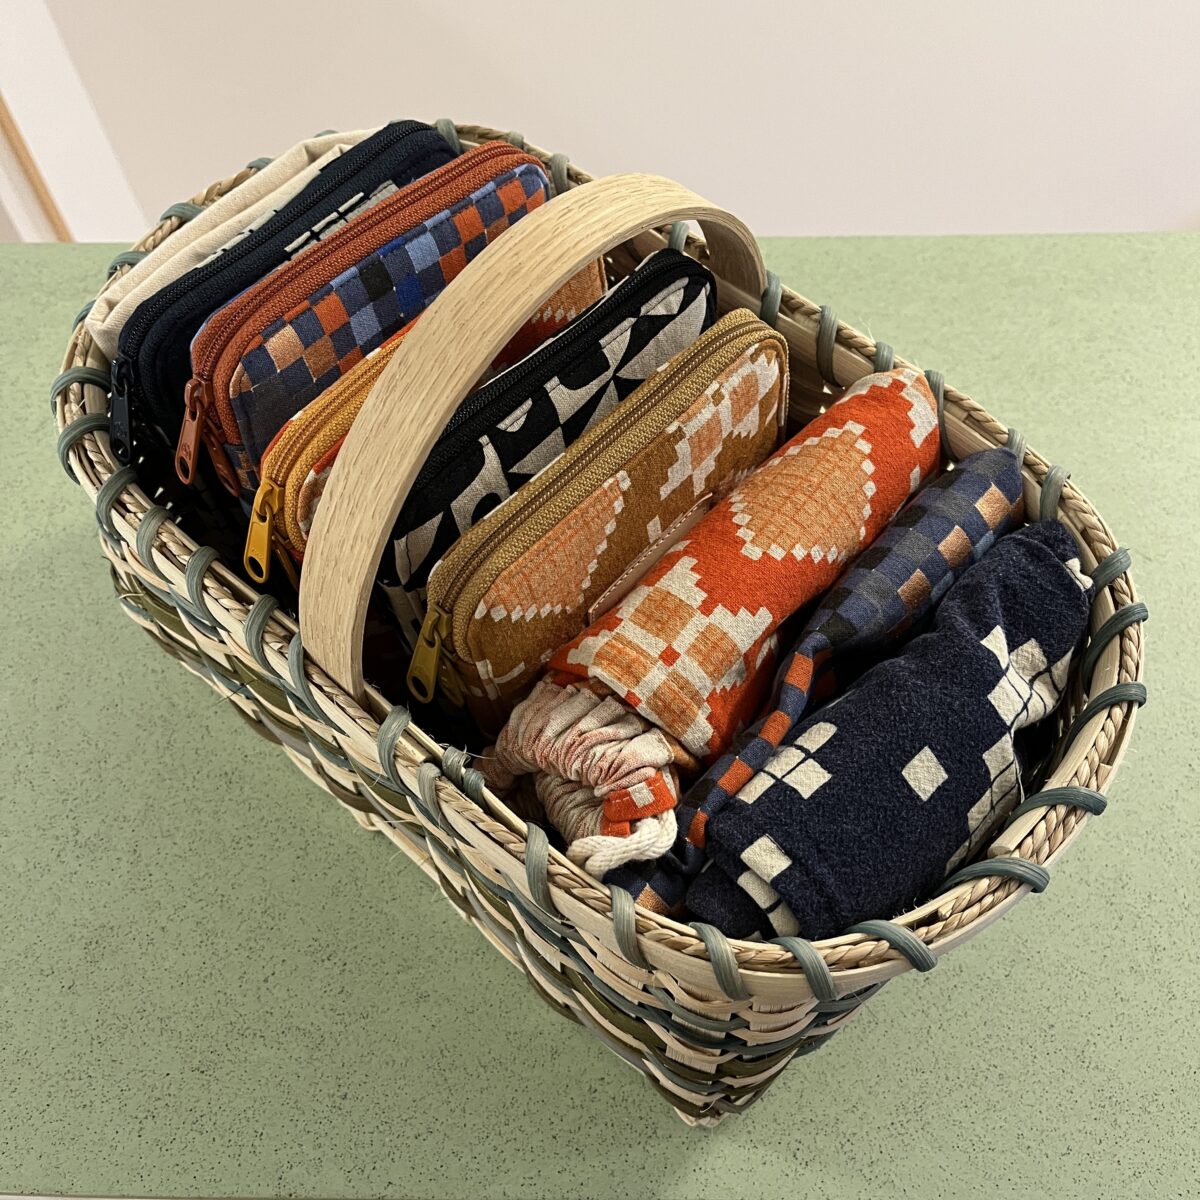
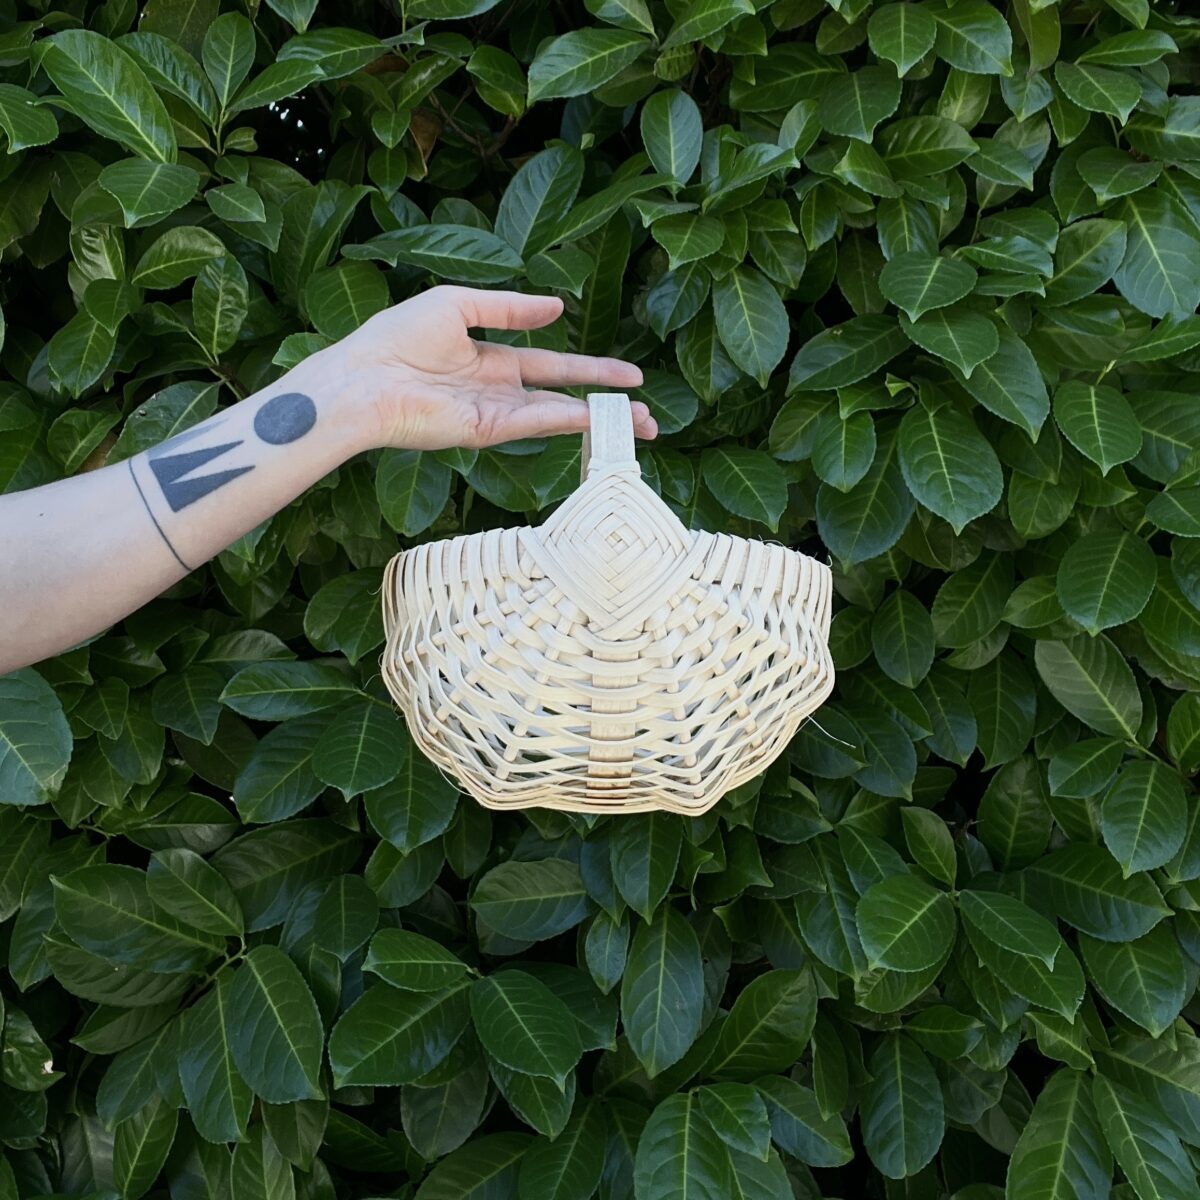
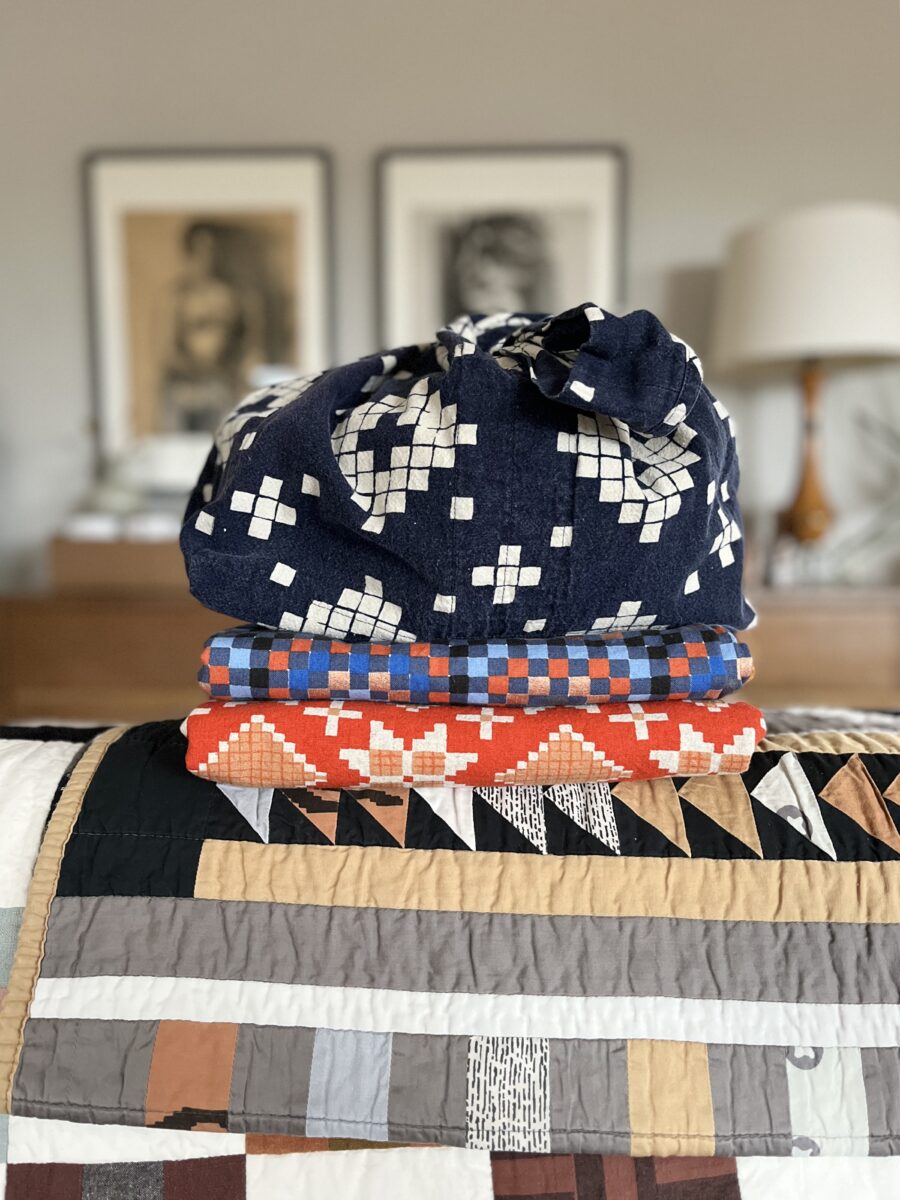
They all fit perfectly in this basket! Everything is organized and super portable now. It’s great!