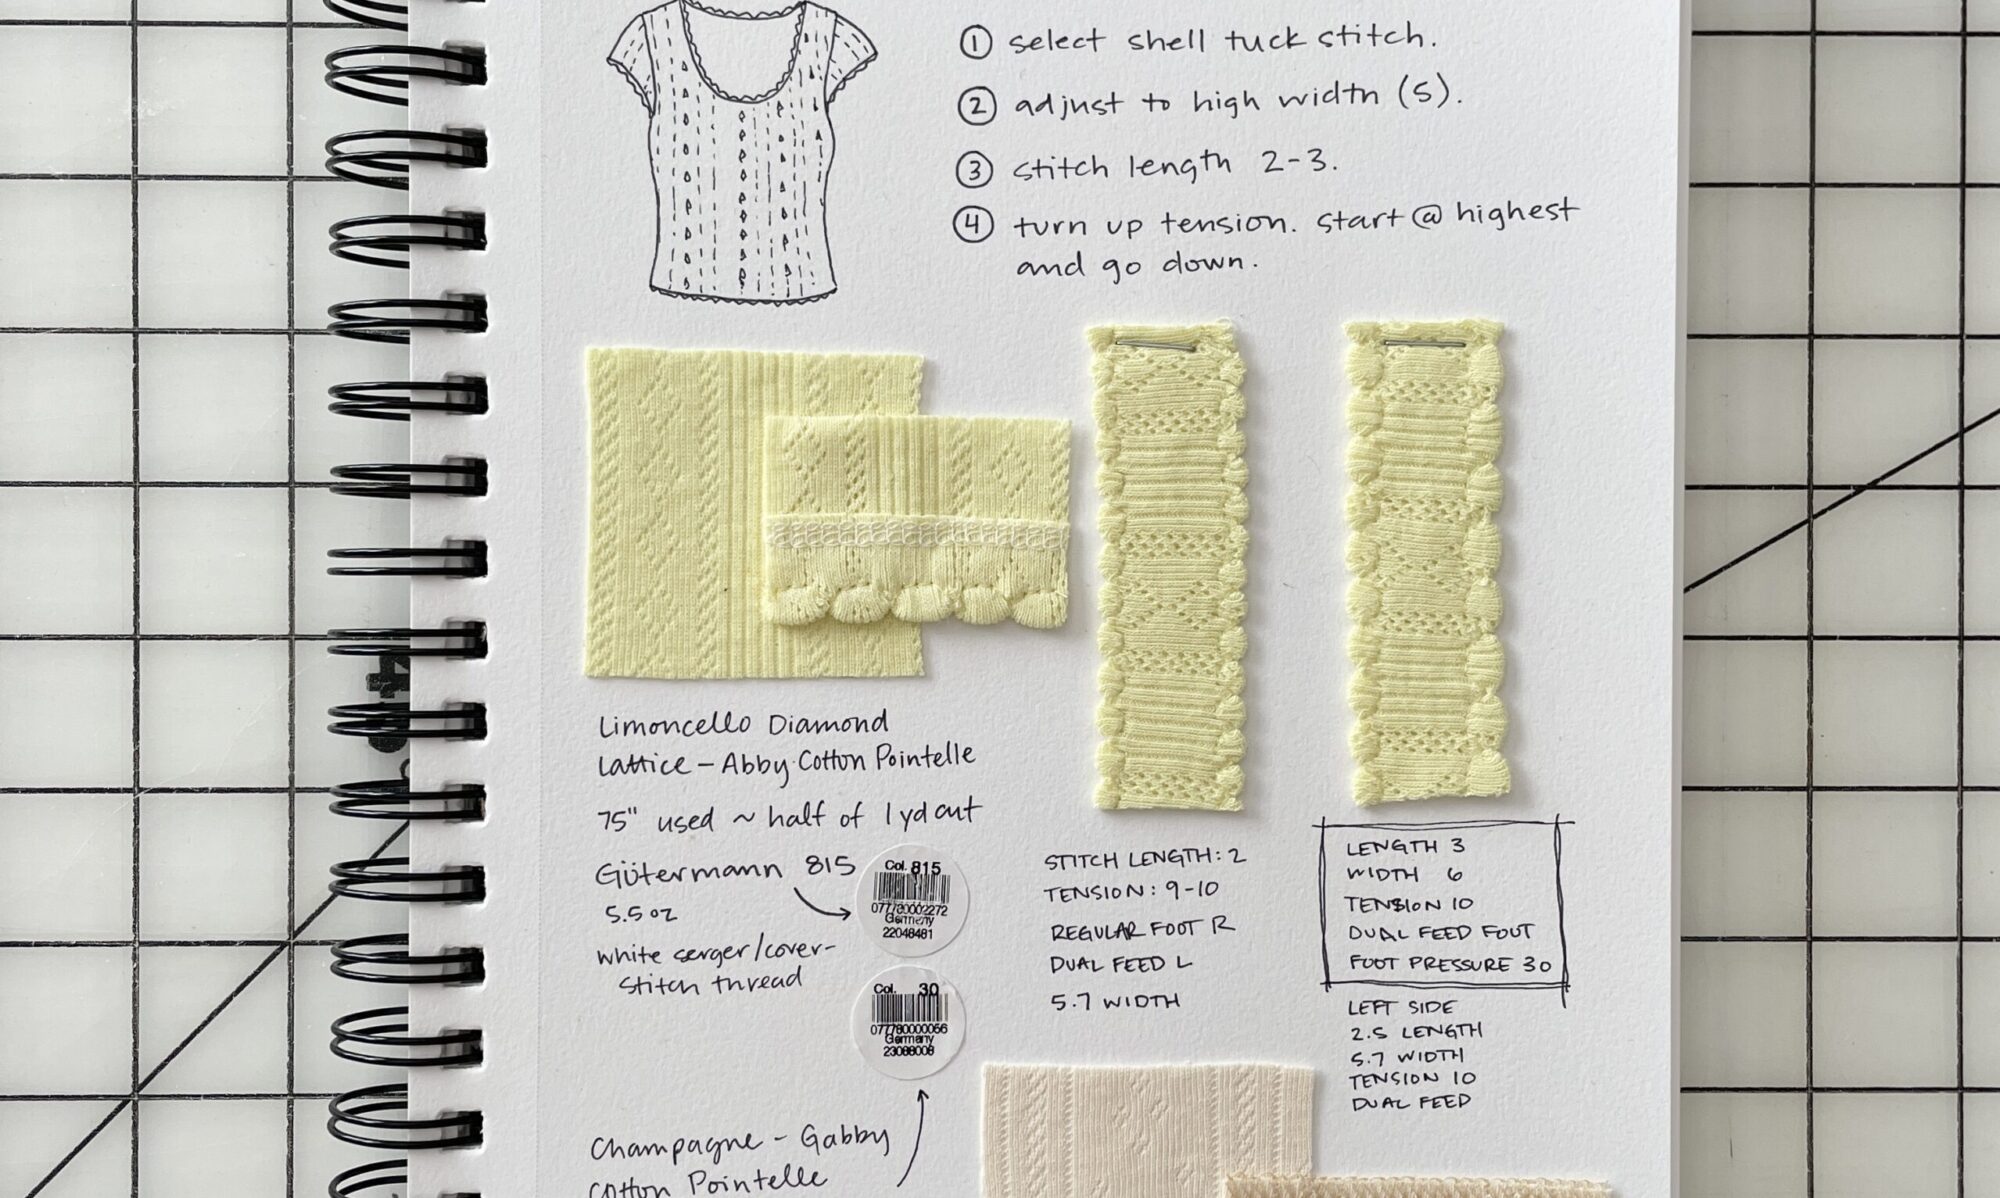
Learned how to create some shapes this week.

Documenting my sewing, knitting, ceramics, etc.
Learned how to create some shapes this week.
When I was first learning to sew, I painstakingly made one thing at a time, from start to finish. . . very, very slowly. My skills and brain just couldn’t handle juggling more than one project. I had a big fear of making mistakes, or ruining my sewing machine (?), or I assumed I didn’t understand the instructions. Little by little, I started to realize that things didn’t need to be cut out perfectly, seam rippers are there for a reason, and that instructions don’t disappear if you start a different project.
It appears that increased confidence sometimes comes with haphazard making. There are THREE (it’s actually more) WIPs / UFOs that I’ve been bouncing between for months. I kind of miss the extreme focus I used to dedicate to each project when I first started. So I’m doing a WIP Check and declaring a moratorium on starting anything new until these four are finished!
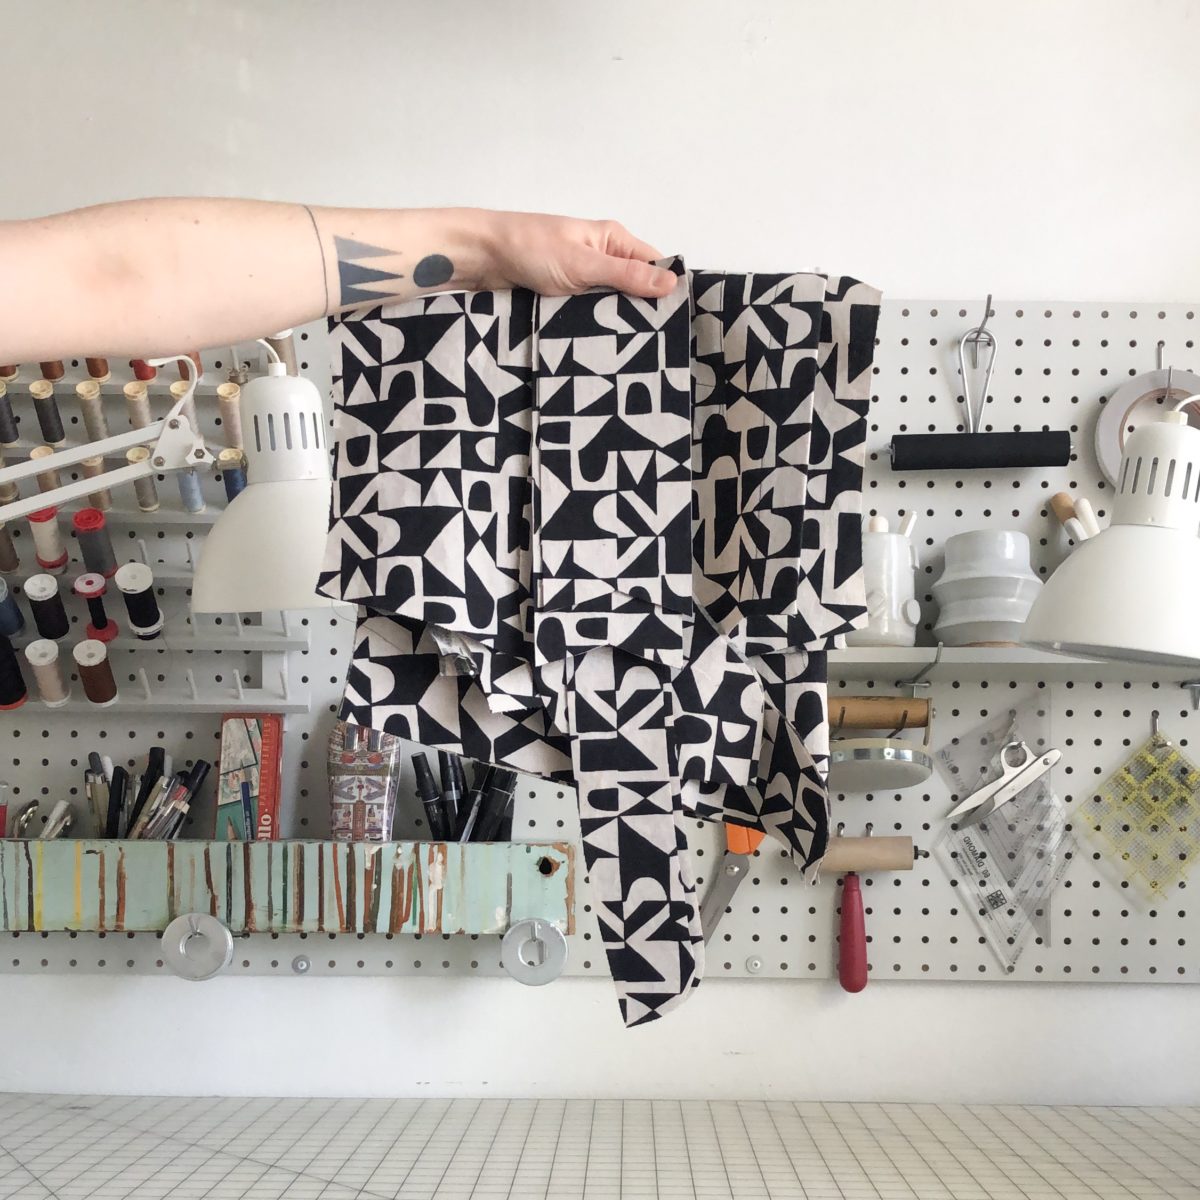
I planned this shirt in March of 2018, cut it out in May, actually started sewing it in June, and. . . haven’t touched it since. It needs one side of the button placket, the sides, cuffs, and collar.
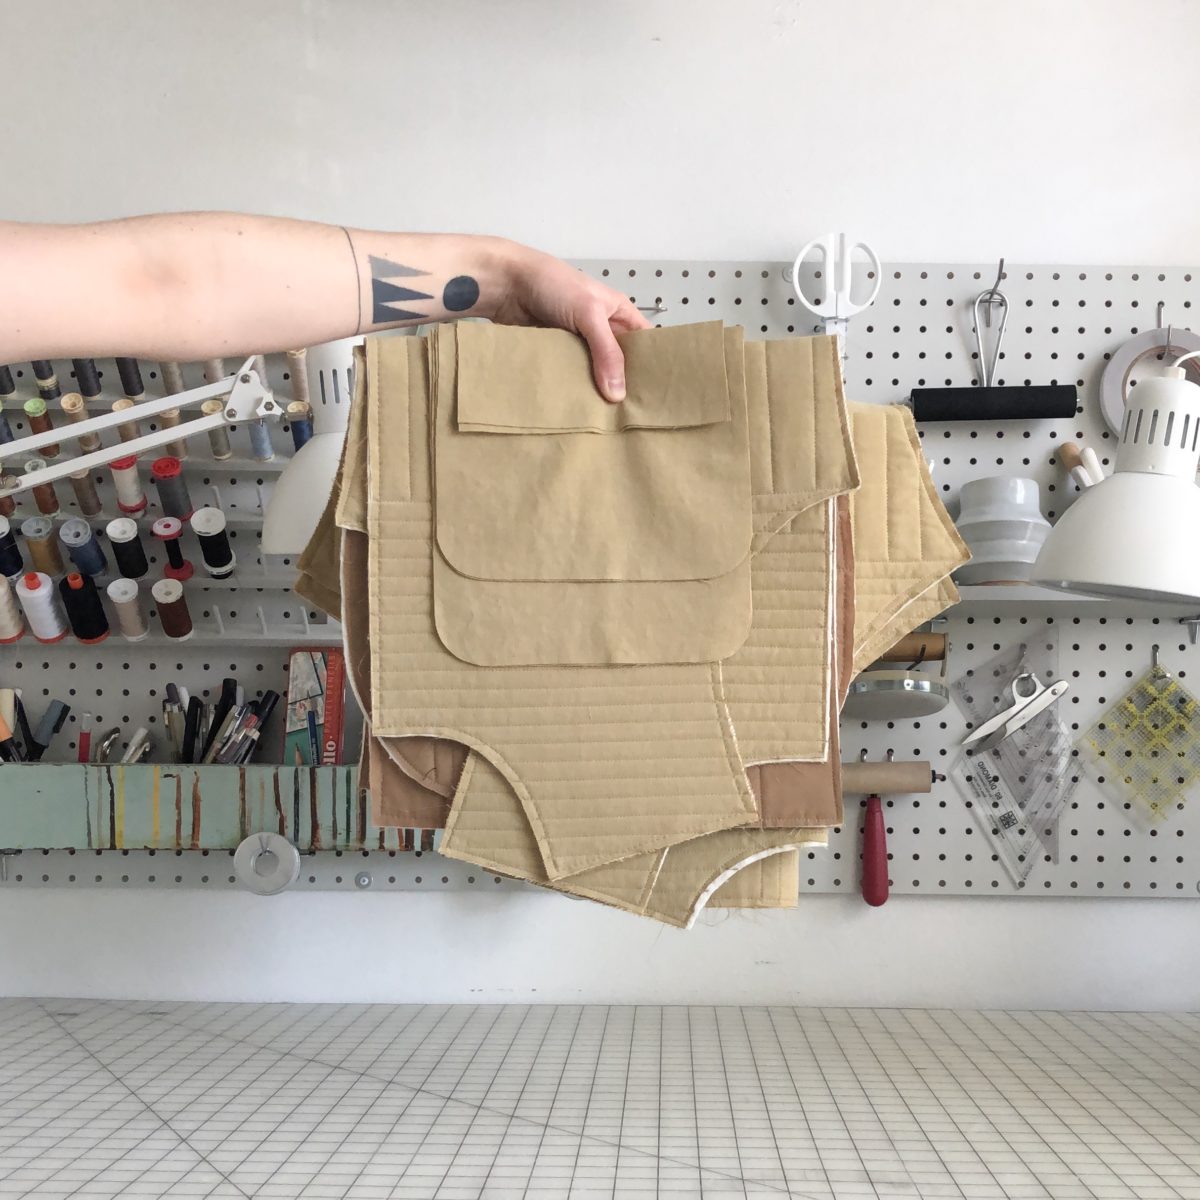
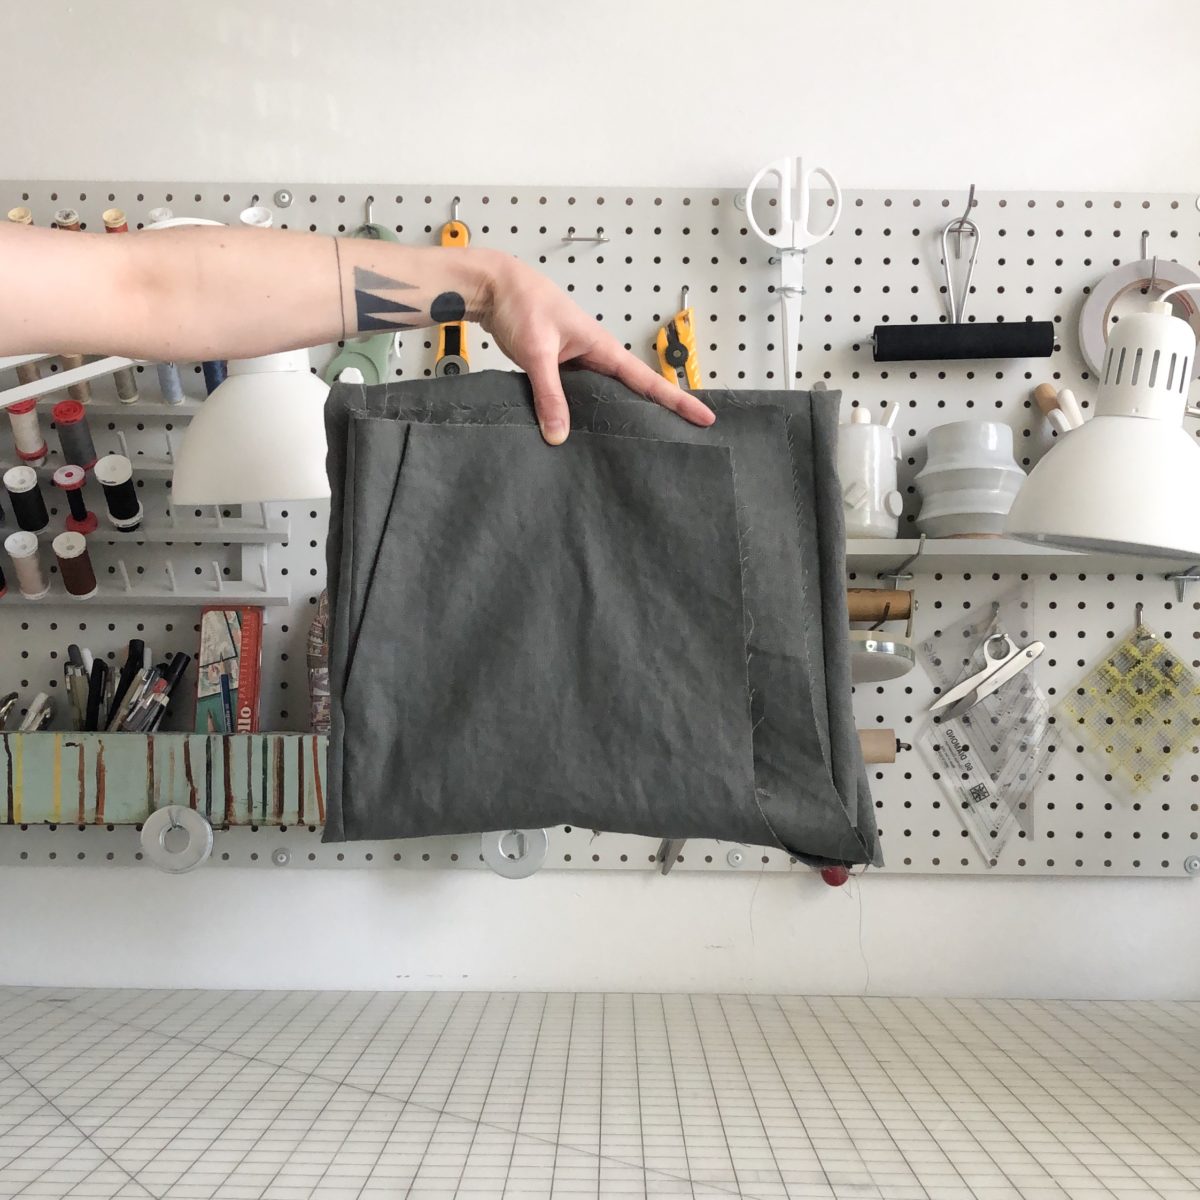
I don’t even know when the plan for this happened, but it was a LONG, LONG time ago. I cut it out on September 3rd and finished quilting it on October 14th, 2018. I installed one welt pocket over the weekend and plan to finish this WIP first since it’s still chilly jacket weather!
I’m not sure this hack is going to work out, but I’m going to push through because I used really nice fabric. Just need to sew up one leg, the crotch, waistband, and hem.
Are you a one project at a time sewist, or do you juggle?
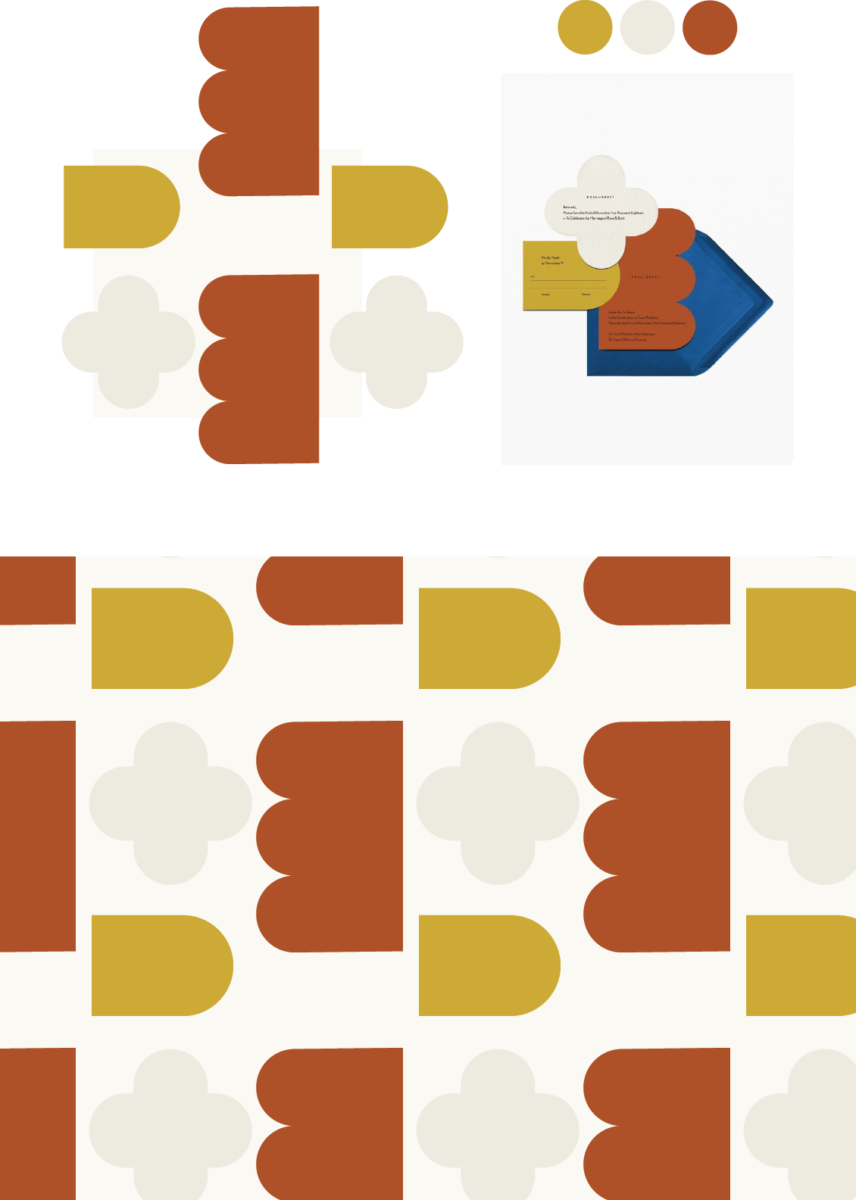
Hi 2019! You’re the year I’m going to figure out Adobe Illustrator! There are two main reasons for this goal: The first is I need to diversify my skills for that impending career change and the second is that I want to design and potentially even produce my own line of fabrics.
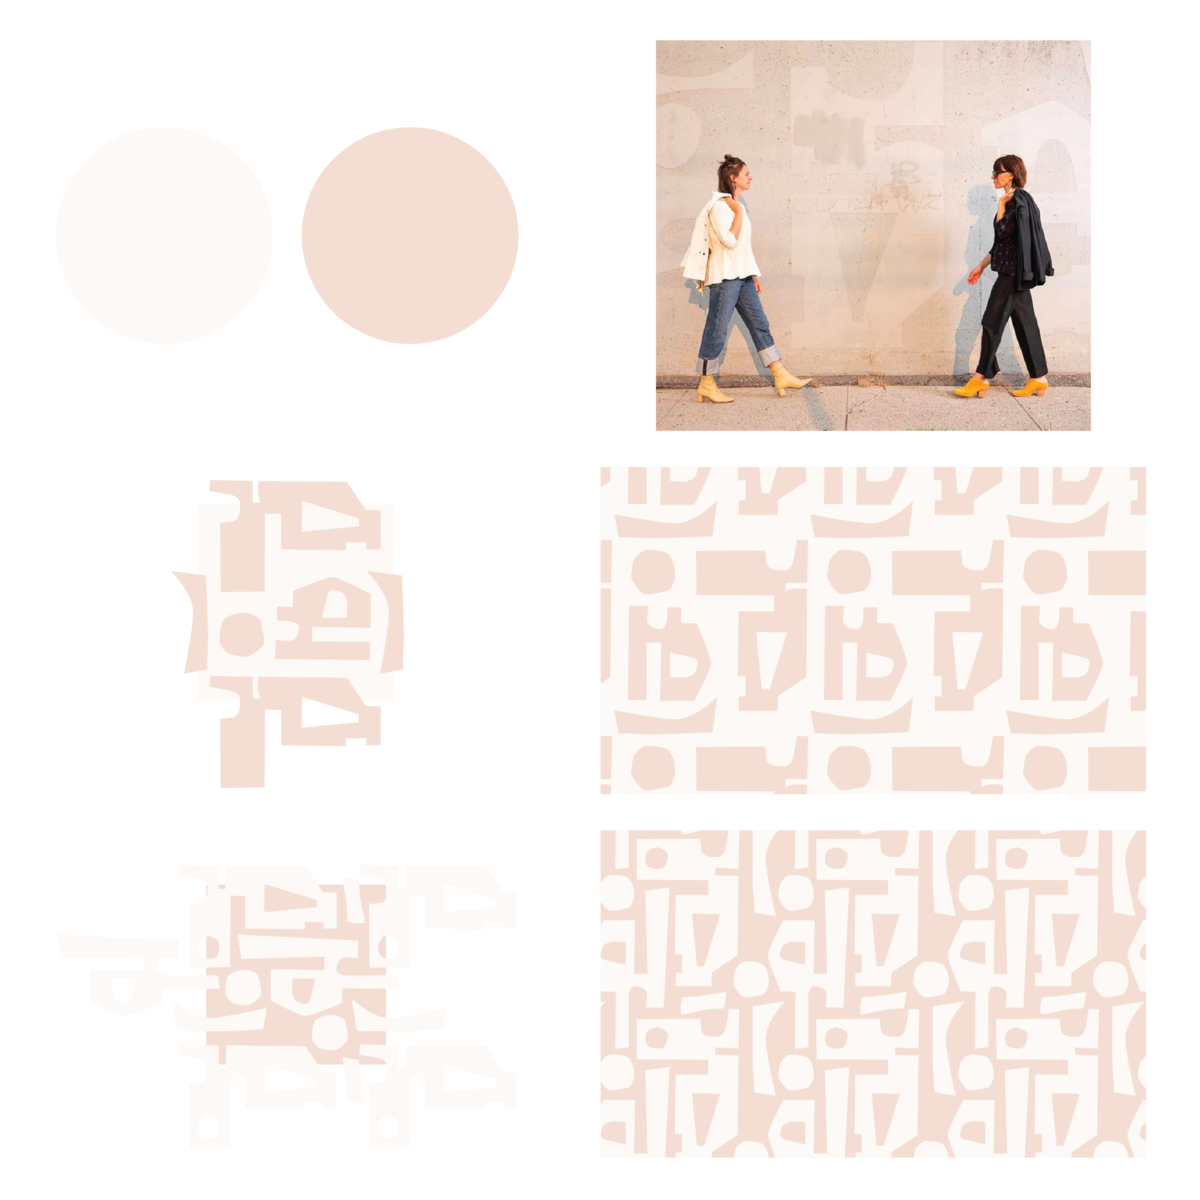
As the child of two graphic designers, I really missed an opportunity to learn this software well before my 30s. But, that type of thinking won’t help me now, so while I was home for the holidays, I sat down with my mom for several in-person tutorials.
It is a powerful and imperfect software. Aside from there being a million different ways to do one thing, it has some annoying glitches. It was actually a little comforting to see my mom, a person who has used the creative suite for many years, occasionally struggle to make a thing happen on our computer screens. But, with just a few curse words and a lot of ⌘z’s, I was able to get the basics down for creating repeat patterns!
In the name of learning, I’m going to challenge myself to create one repeat pattern a week for 10 weeks and share them here on the blog. I’m having a Repeat Pattern Party! Will those 10 repeats lead to a fabric collection? Maybe. Hopefully. But honestly, this self-imposed challenge is going to be focused on learning to navigate the software with some ease.
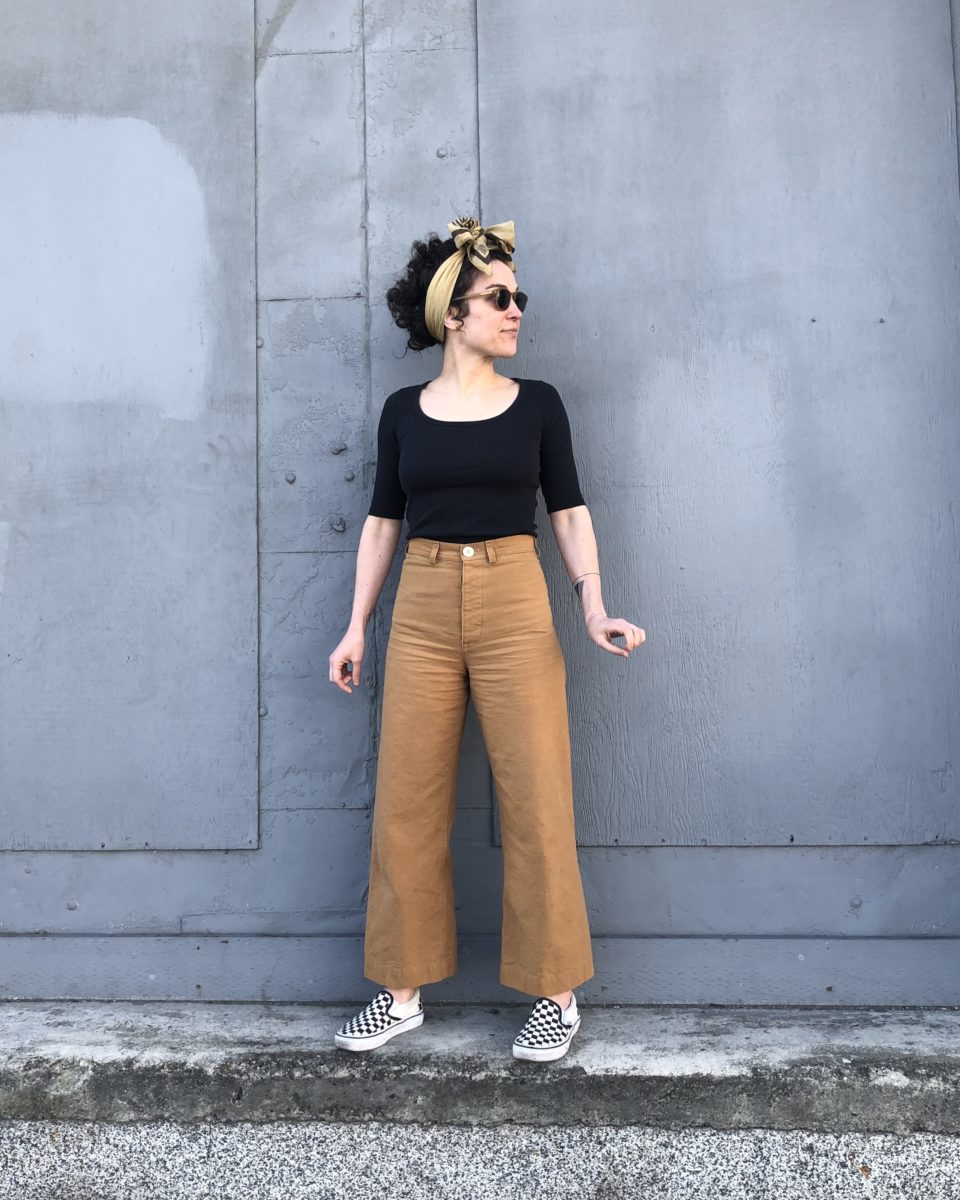
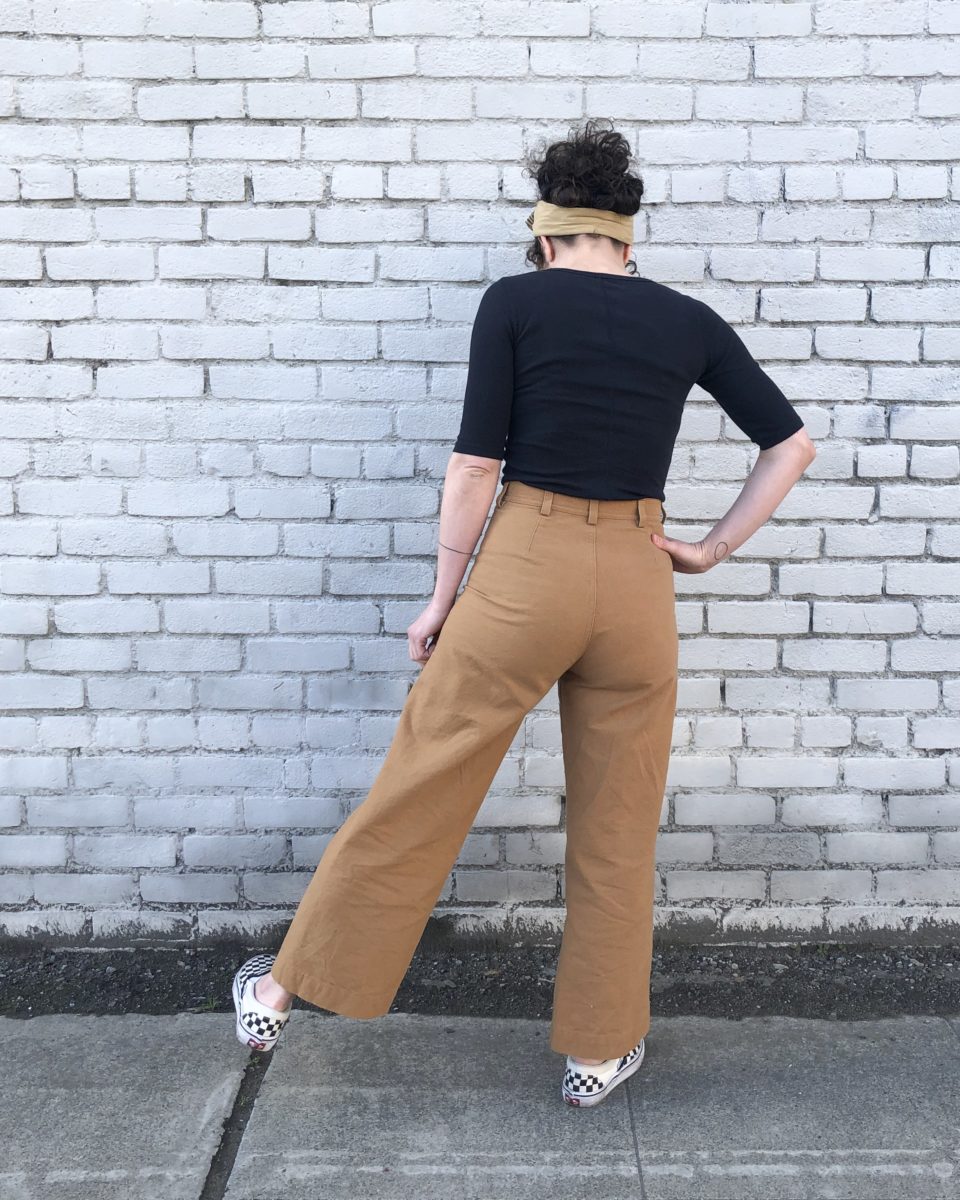
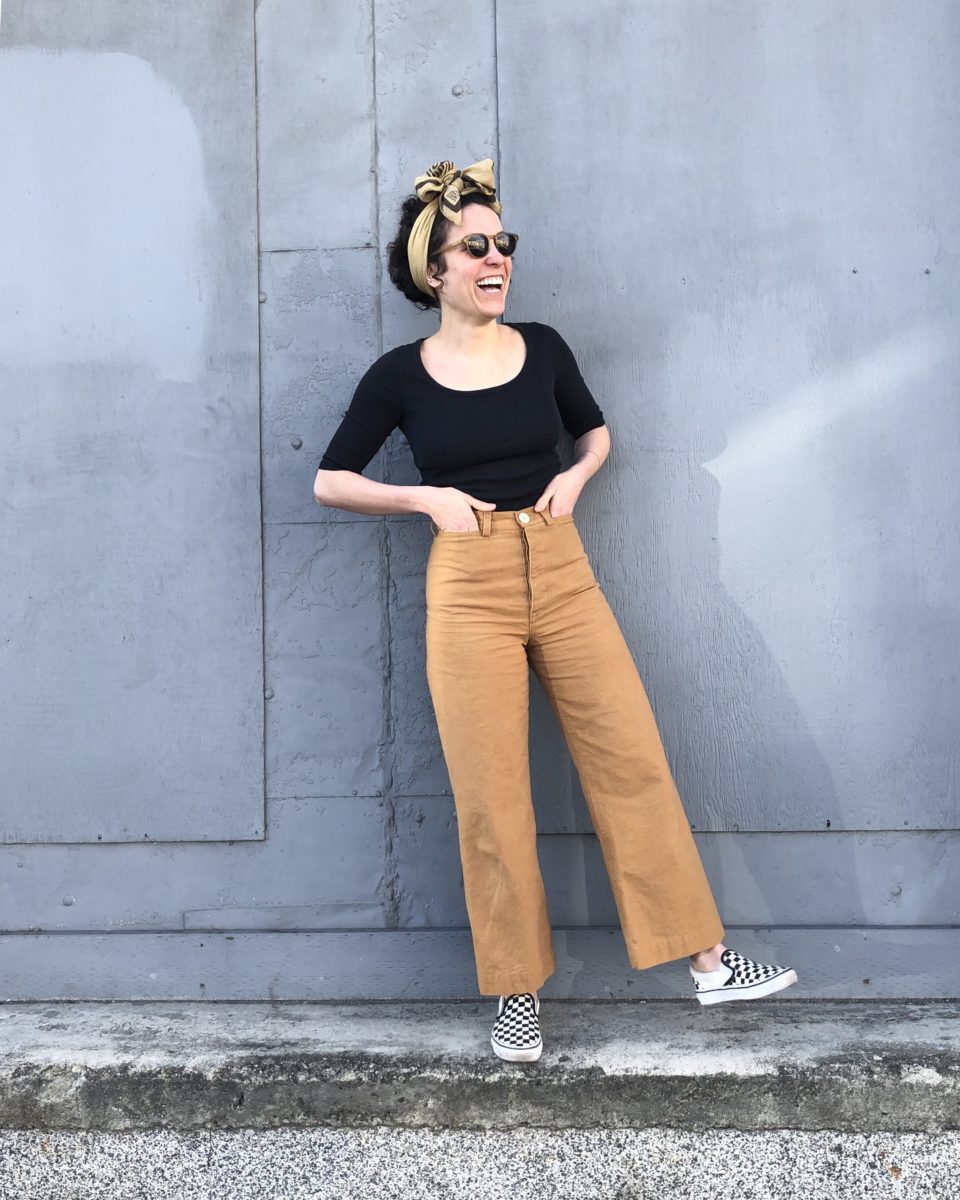
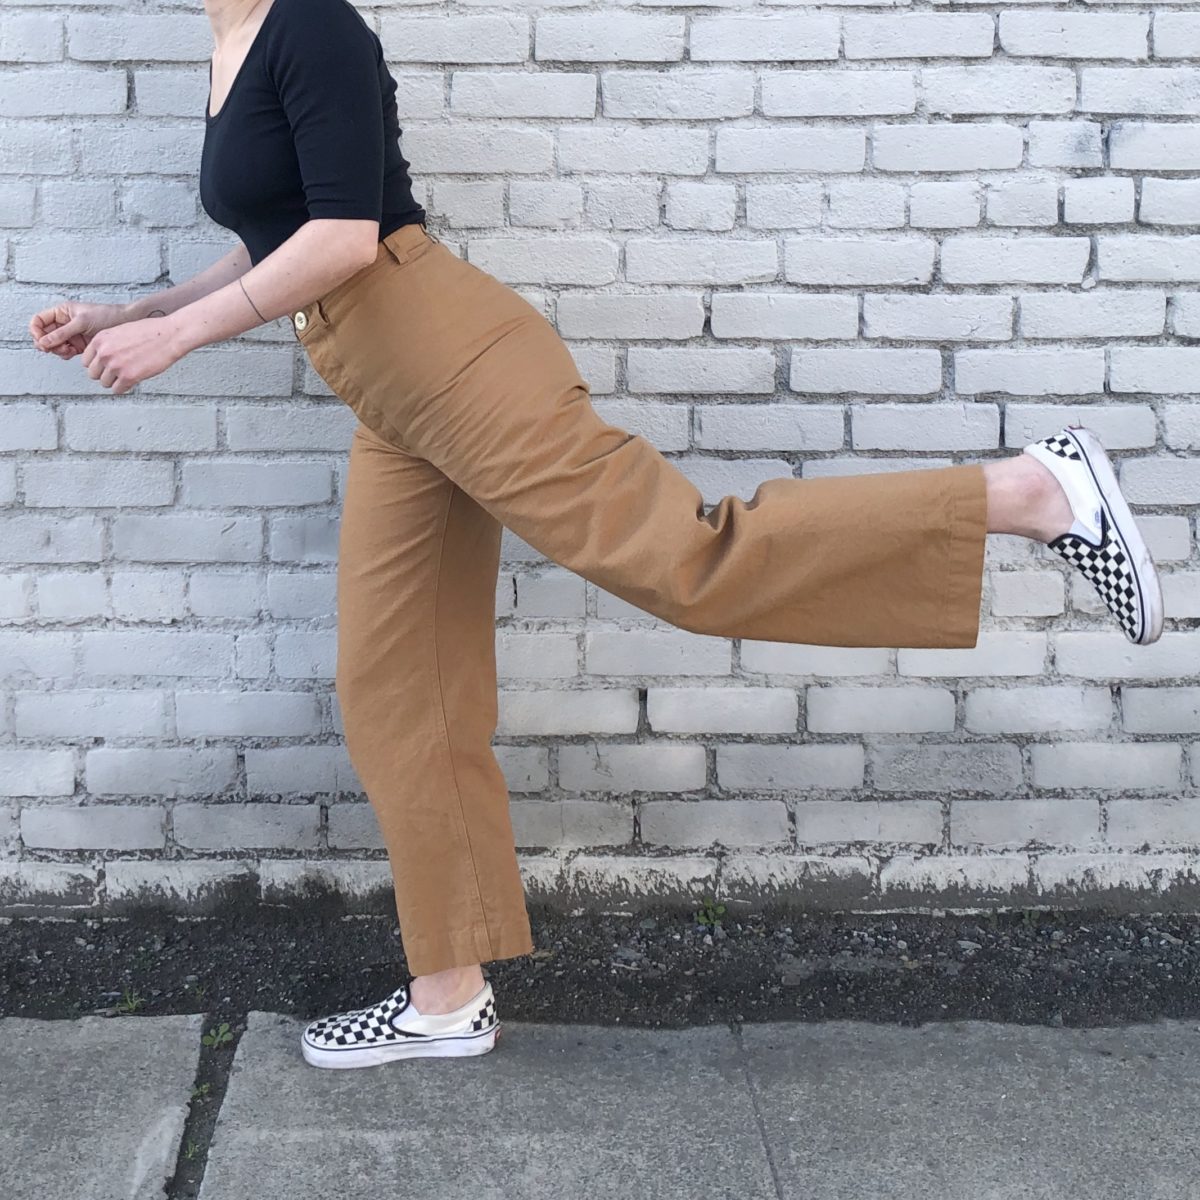
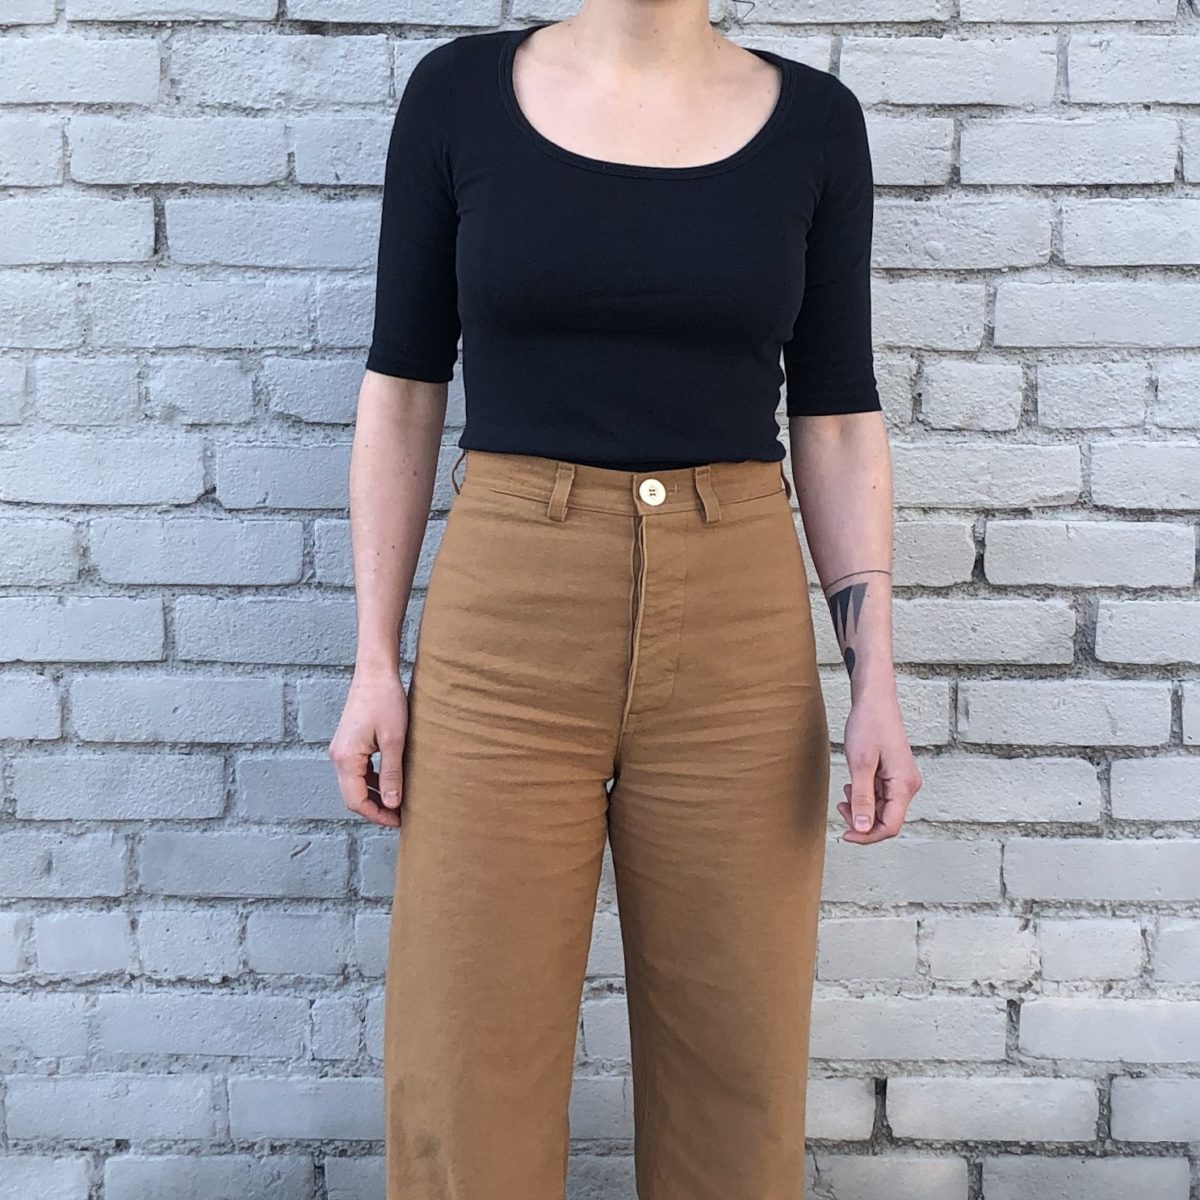
I’m late to the Persephone Pants party, but I’m glad I arrived. Anna drew inspiration from 1940’s sailor pants by including a super high waist, waistband inseam pockets, a button fly, and the design element that explodes most people’s heads: no side seams.
For me, one of the most appealing things about the pattern is how similar they are to highly coveted RTW sailor pants. Instead of paying $400, I could make a pair for under $40. Don’t get me wrong – I love supporting small women-run businesses and that $400 price point makes sense, but if the option to make it myself is there, I’ll take it! Also, the instructions are so stellar I’m certain a novice sewist could make them!
Shortly after the pattern was released, I did give it a go, but they just didn’t work out. My waist measurement ranges from 26.5″ to 27.5″ and my hip measurement ranges from 37″ to 38″. Even though that put me somewhere between a size 2-ish to a 6, I settled on cutting out a size 4 (waist 27″, hip 37″). They came together really quickly, but once I put them on, I had a bad case of dumpy butt. They were just too big.
I wasn’t entirely sure what the issue was; Was it fit? Fabric choice? Both? Was it an actual dumpy butt? I suspected the cheap bull denim I bought at Joann Fabrics may have grown, but in an effort to salvage them I tried taking in the back seam and crotch. Those efforts proved unsuccessful and I ended up setting the mutilated pants and pattern aside for a while.
After reading a couple folks had some luck with sizing down, I chopped my pattern pieces down to a size 2 and cut into some 10oz Duck Canvas hoping for the best. And it worked! I didn’t need to make any adjustments after sizing down.
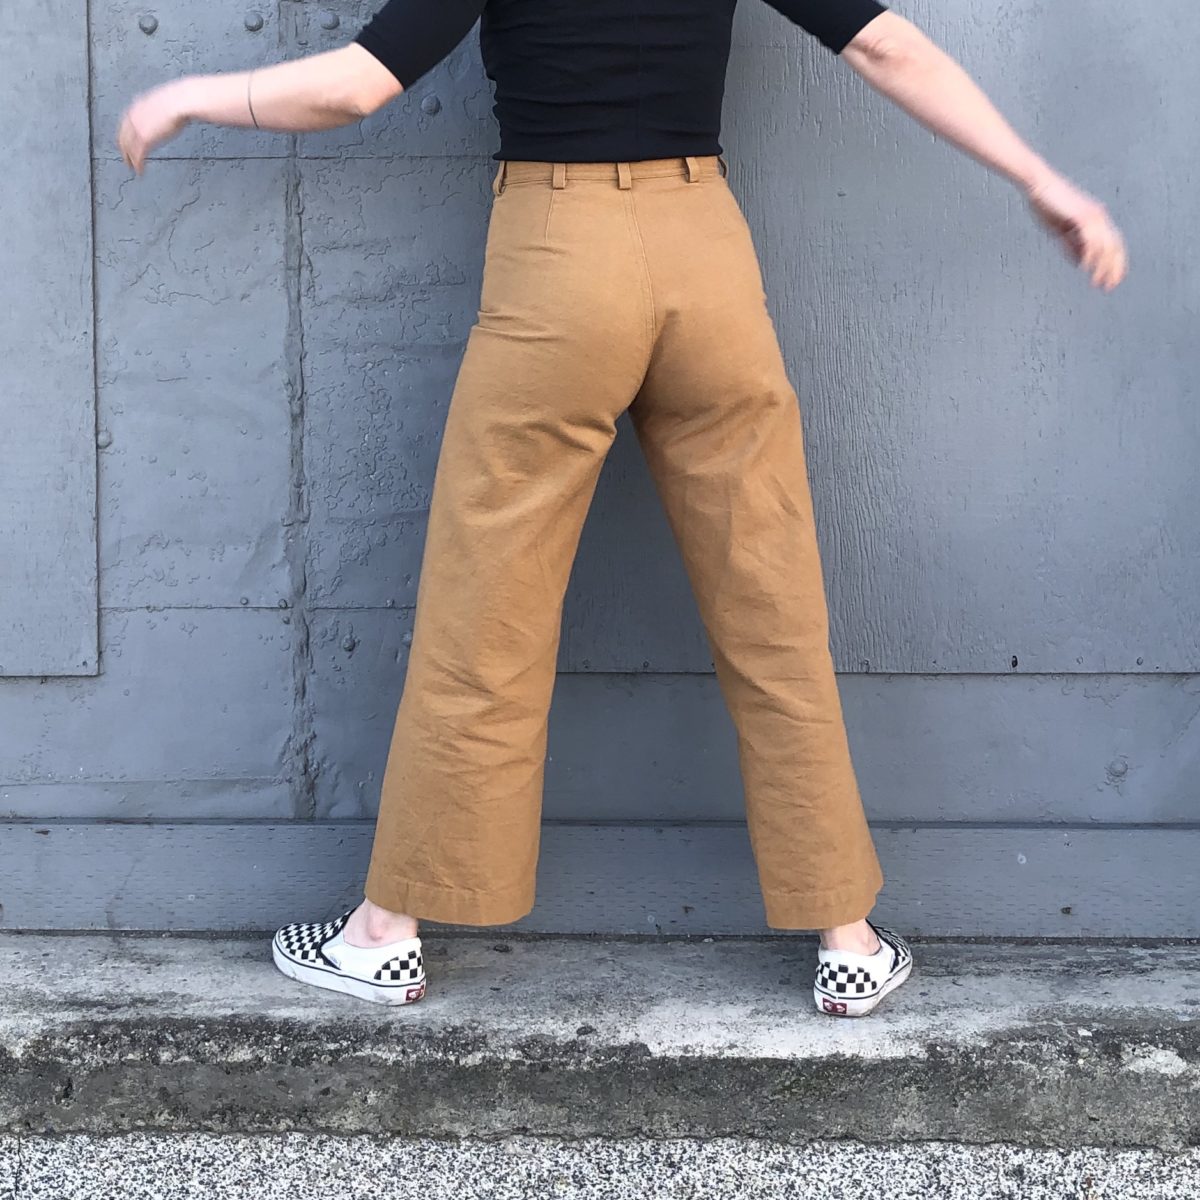
Although I have a lot of love for this pattern, the lack of side seams and rear pockets leave your booty and thighs on display. What the hell type of underwear do you wear with these? Or do you just not give a damn?
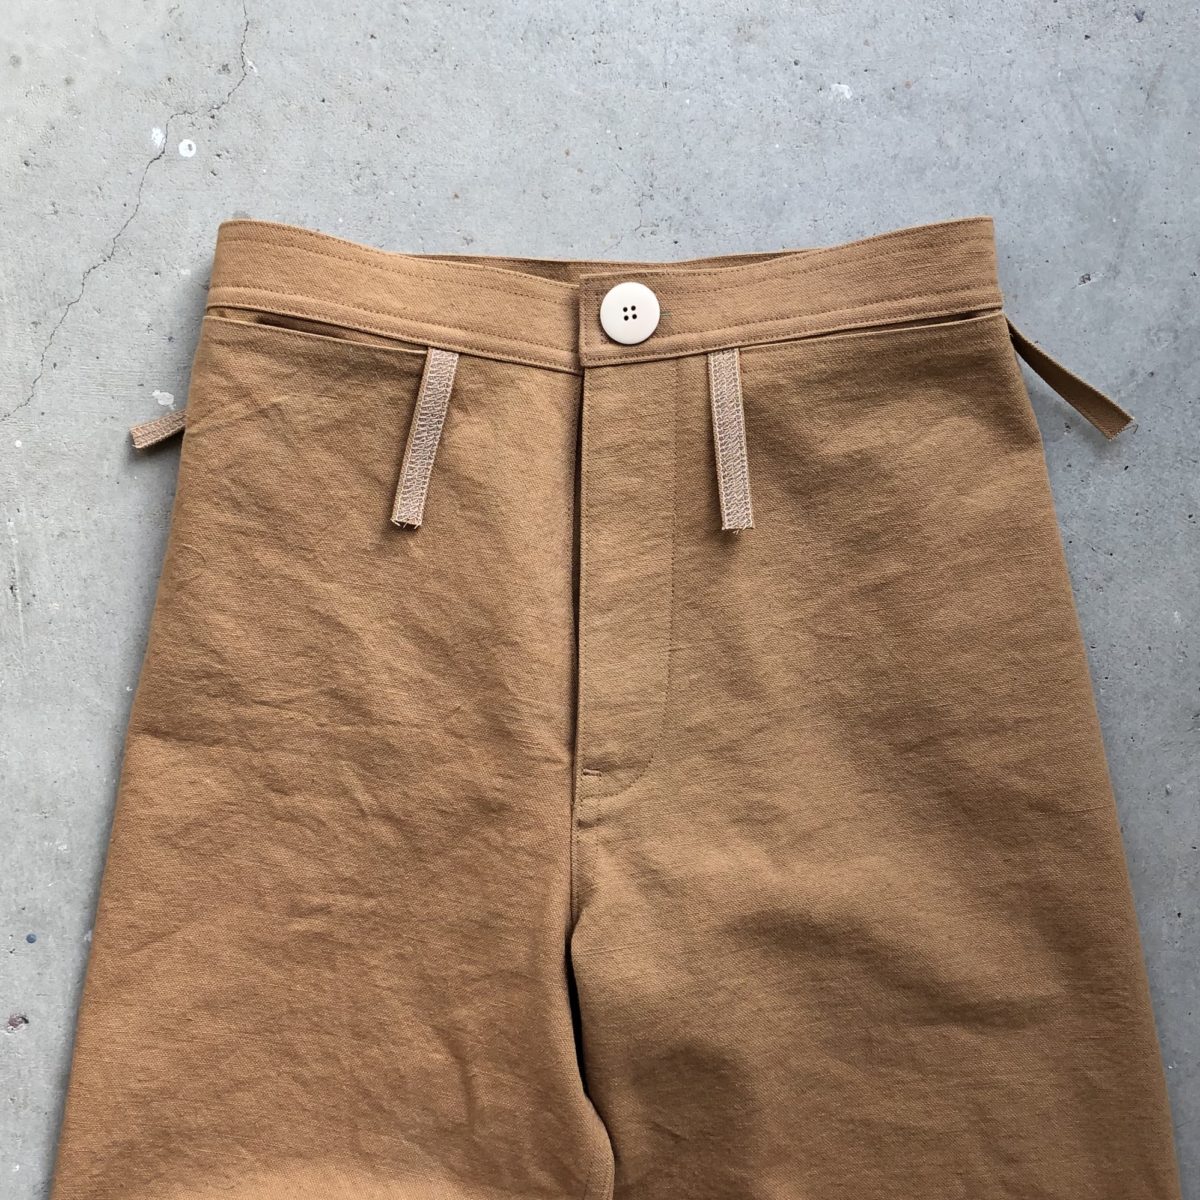
I have fabric set aside for two more pairs – more 10oz cotton duck, but in black and some Kaufman speckled denim that I’m really excited about. I thought I’d hate the button fly, but I’m warming up to it and will probably keep it on future pairs. It appears I adjusted the position of the left pocket in the wrong direction (step 30), so I’ll be careful not to do that again ¯\_(ツ)_/¯.
Hot tip: sew a line of stitching in between each buttonhole to connect the button fly and facing together (check out this Tessuti blog post for a visual). It definitely helps keep the fly from peeking open!
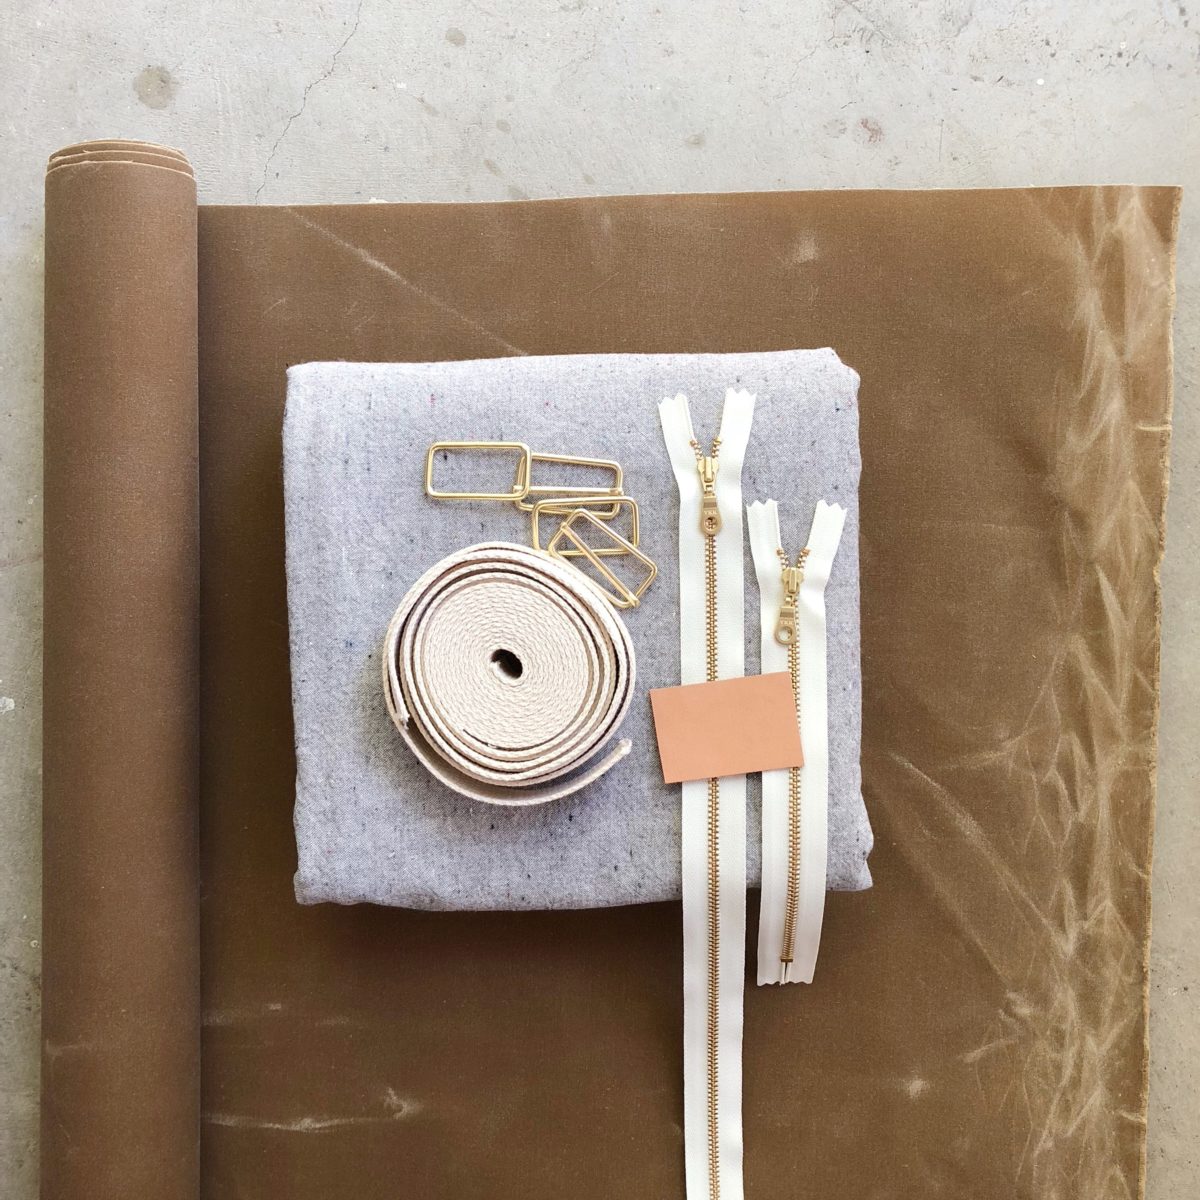
I love a good bag pattern, and boy does Klum House have some bags. Not only do they have a variety of awesome patterns, they also carry different levels of kits. A Maker Kit comes with EVERYTHING you need, even the fabric. And it’s pre-cut! And marked! A Finishing Kit comes with all the hardware and pre-cut/punched leather needed to finish a bag, eliminating the challenge of sourcing all those bits and bobs. Or just the pattern of many Klum House designs are available to purchase for ultimate customization options. All of the kit materials are high quality and there are so many colors to choose from. One thing to note is that all of the zippers appear to be brass, so take that into consideration when choosing the other hardware options!
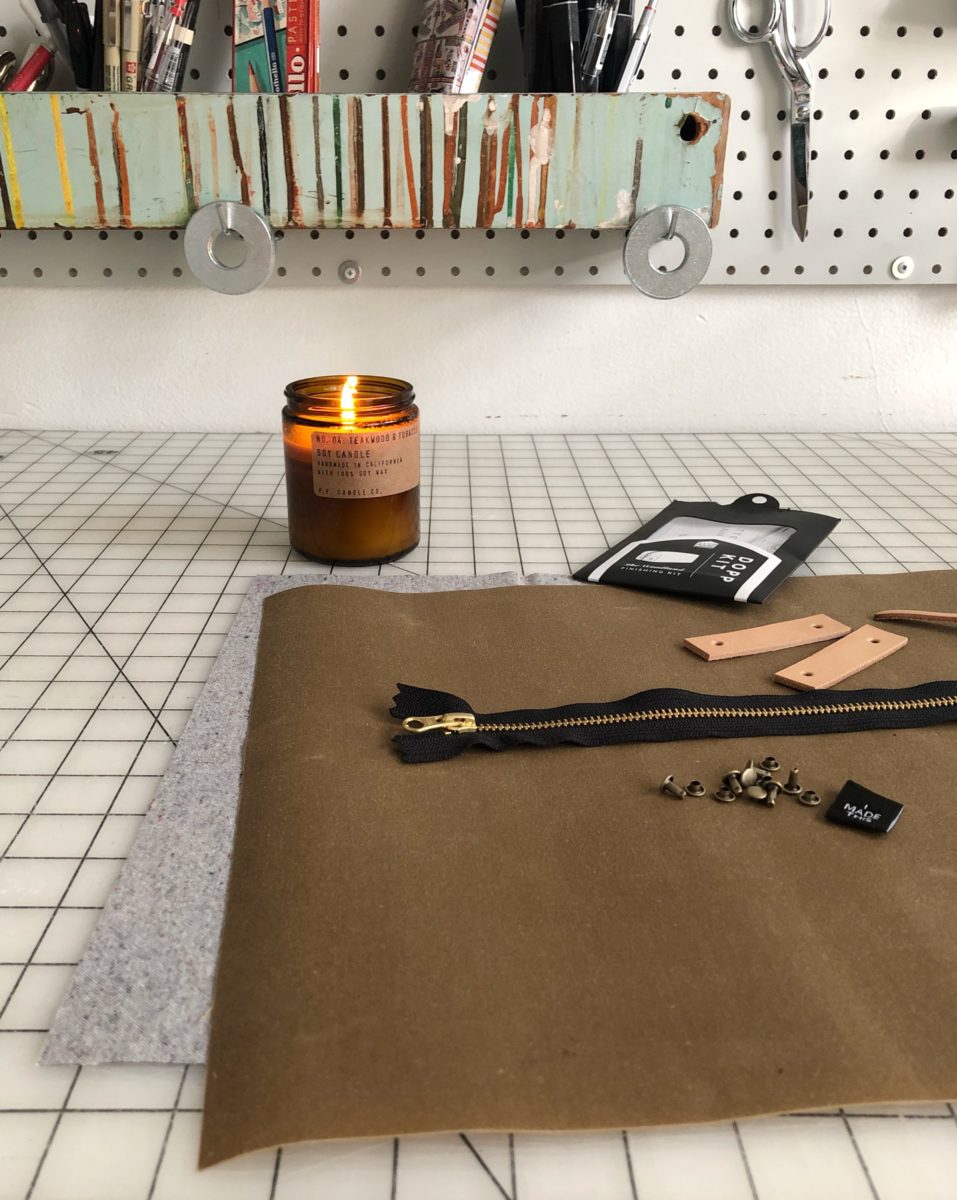
Way back in October, I was excited to see Klum House was getting ready to release a dopp kit pattern. Late October is when I start to fret over the task of finding (and sometimes making) both a Christmas gift and a birthday gift for my husband. He’s a minimalist and doesn’t want for much, so it’s an annual struggle. The Woodland Dopp Kit was a perfect fit! For years he’s been using an old Kinkos lunch box to hold his beard trimmer. The Woodland felt like a project I could commit to making in time and would serve as a nice update for the lunch box.

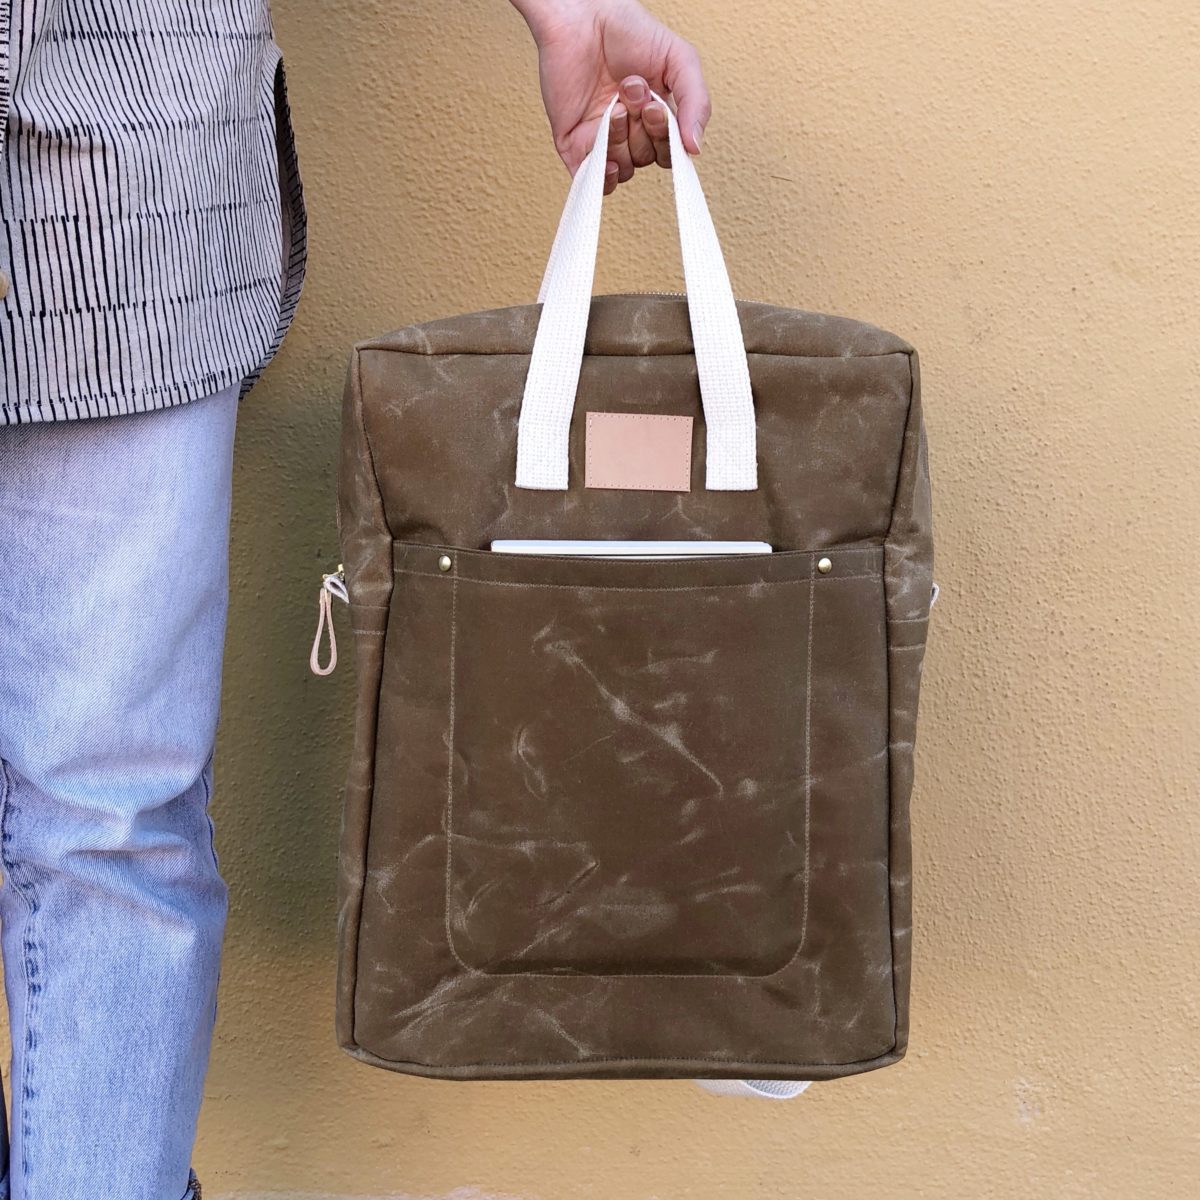
I can’t keep a gift secret to save my life (plus I wanted his input) so once the pattern/kits were released I had him take a look at the Woodland Finishing Kit. He settled on using leftover waxed canvas and lining from my Making Backpack, a black zipper, antique brass hardware, and tan leather. Klum House packs and ships orders at lightning speed, so I had everything I needed well before I was ready to start sewing.

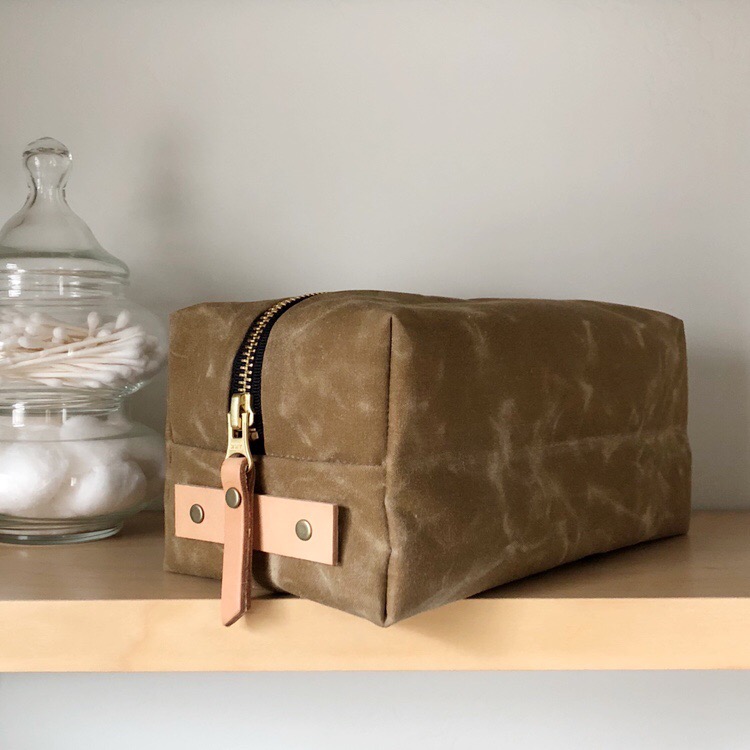
It came together really quickly, in fact I think the sewing took less than an hour. The instructions and illustrations are great and they even remind you take a snack break. Installing the hardware took maybe ten additional minutes. It was a little challenging to hammer the rivets in, but the end result is totally worth the effort.
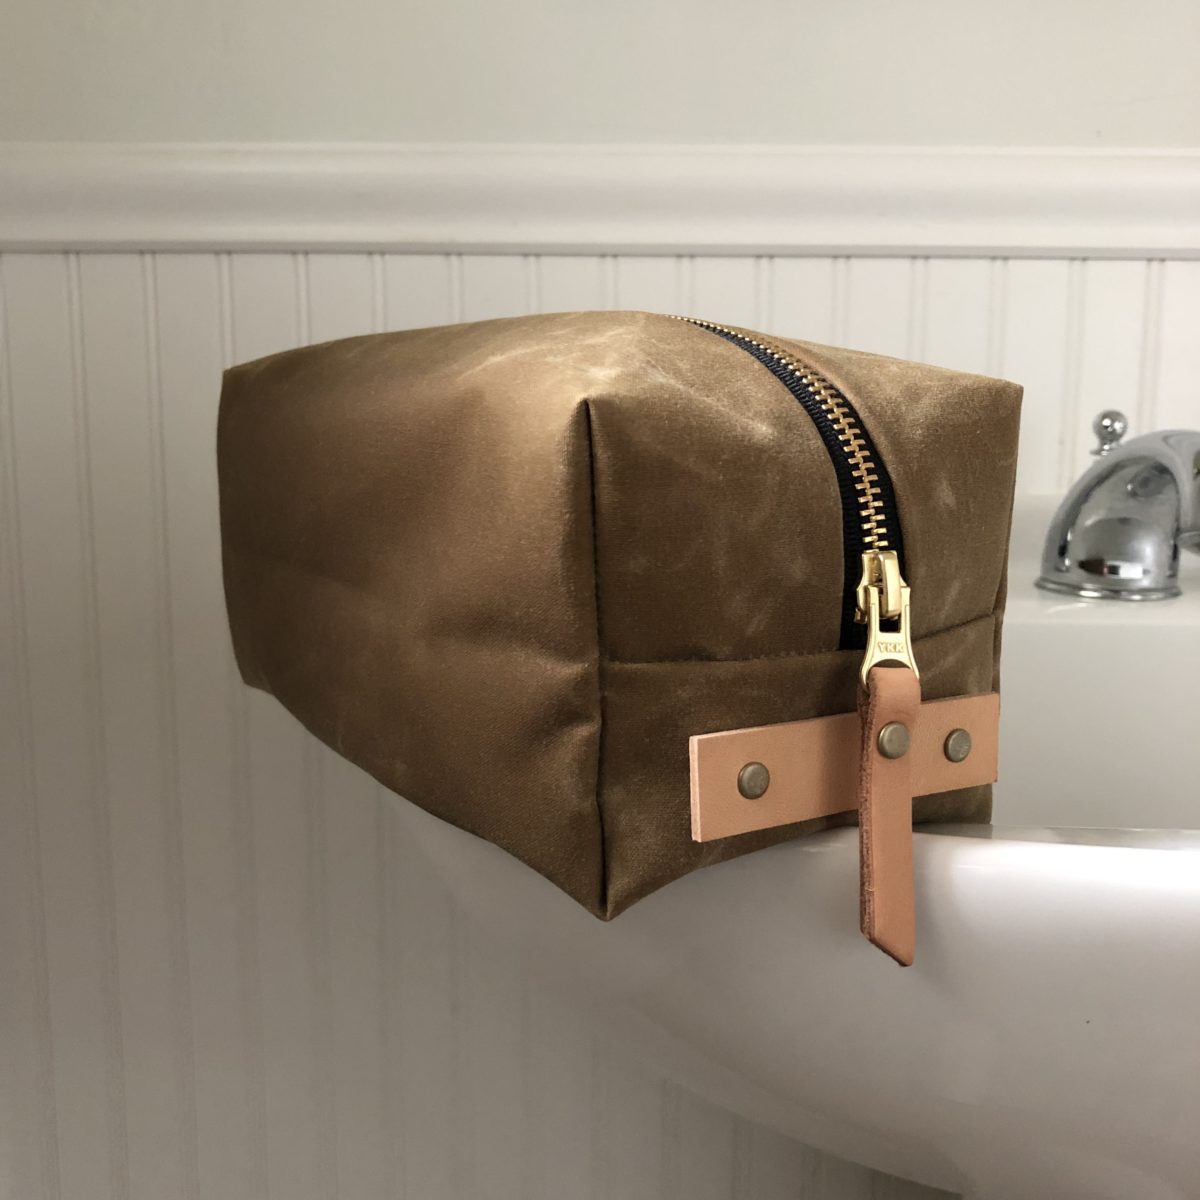
One thing I’d like to puzzle out on the next Woodland is how to conceal the raw edges inside the lining. I’m sure there’s a way to do this, but I decided to make one as the pattern is written before making any modifications. My serger really struggled to get through all of the layers and I just prefer the look of clean, concealed seams. Another mod I’d like to make is a more functional handle. I love the look of the leather, but I can’t really grab it.
One tip I have for working with waxed canvas is hitting it with a hot blow dryer. It melts the wax and helps get rid of the creases you make during construction.
I’ve already ordered another Finishing Kit from Klum House – the Maywood Totepack and I’m patiently waiting for the Slabtown Rolltop Backpack pattern to be released. Yes, both would be for me… like I said, I just love a good bag pattern.
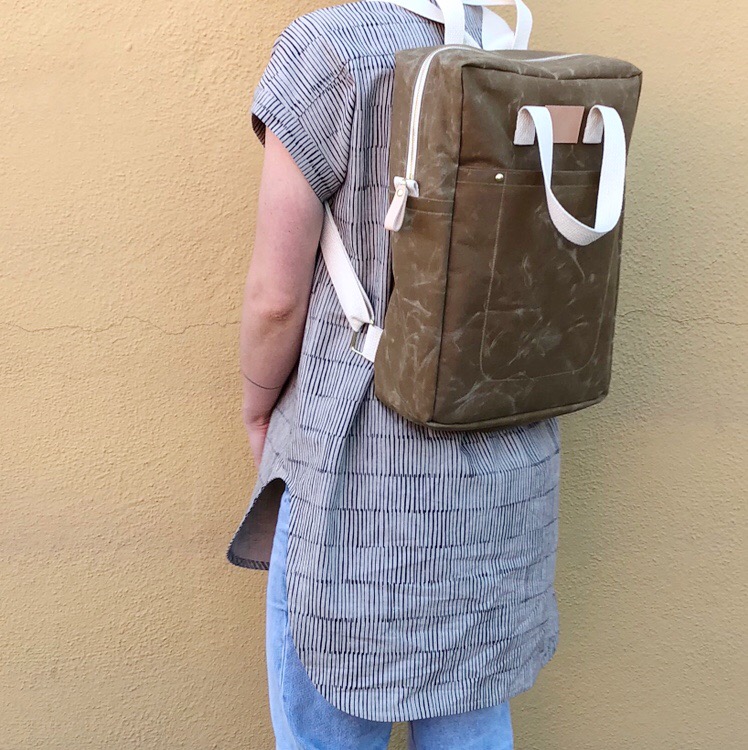
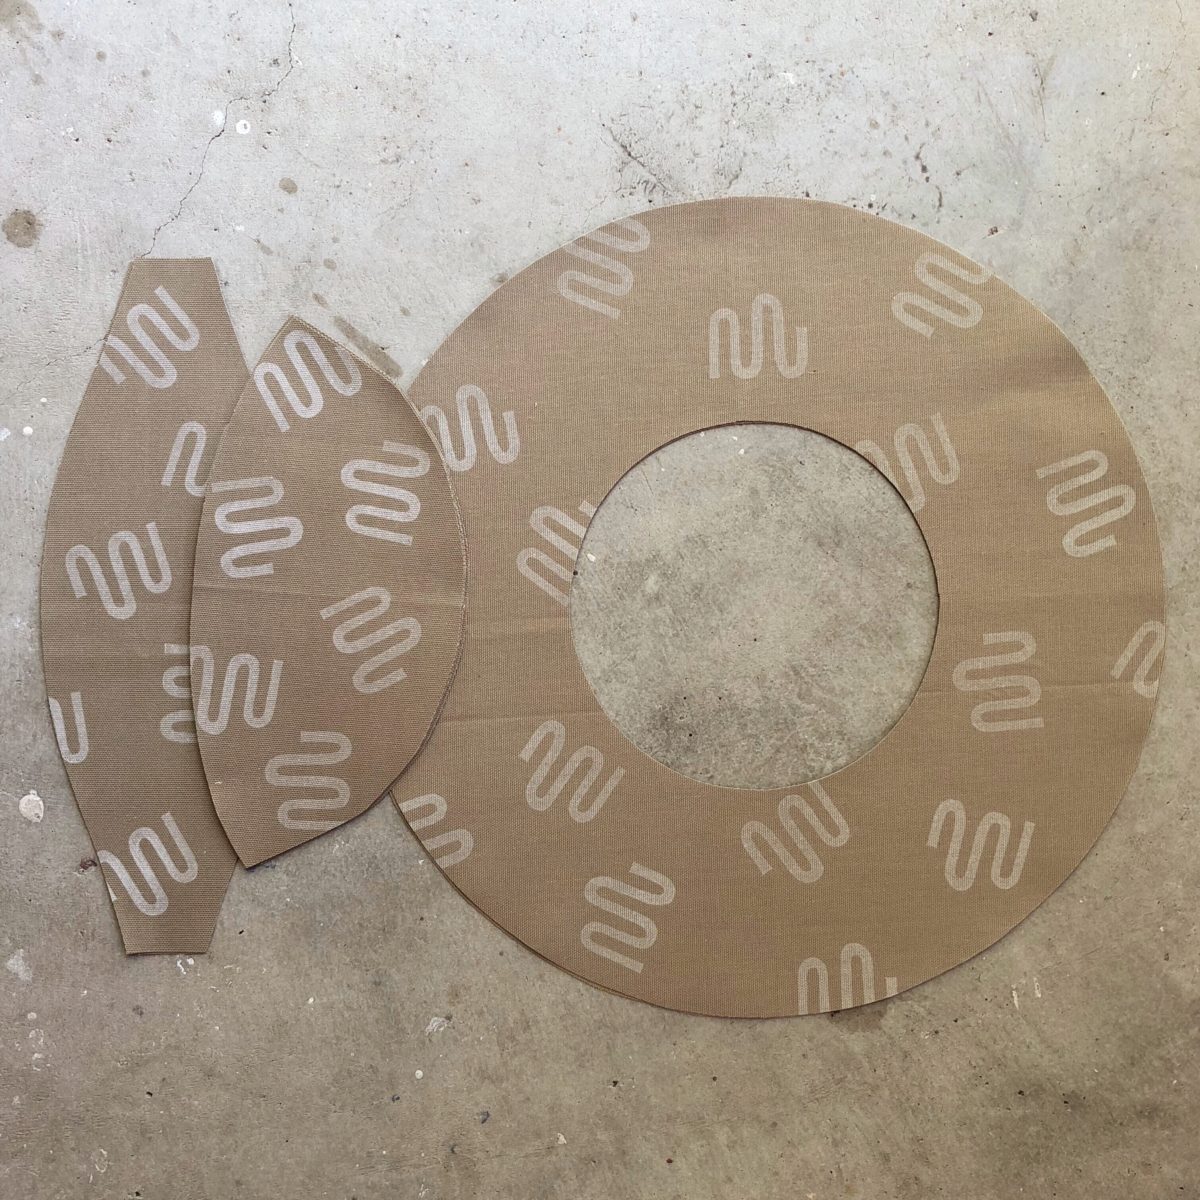
Sometimes you make a thing and although you love it, there’s just something not quite right about it. While making the Making Backpack, I KNEW it needed an additional pattern piece for the straps, but my desire to finish it quickly got the best of me.
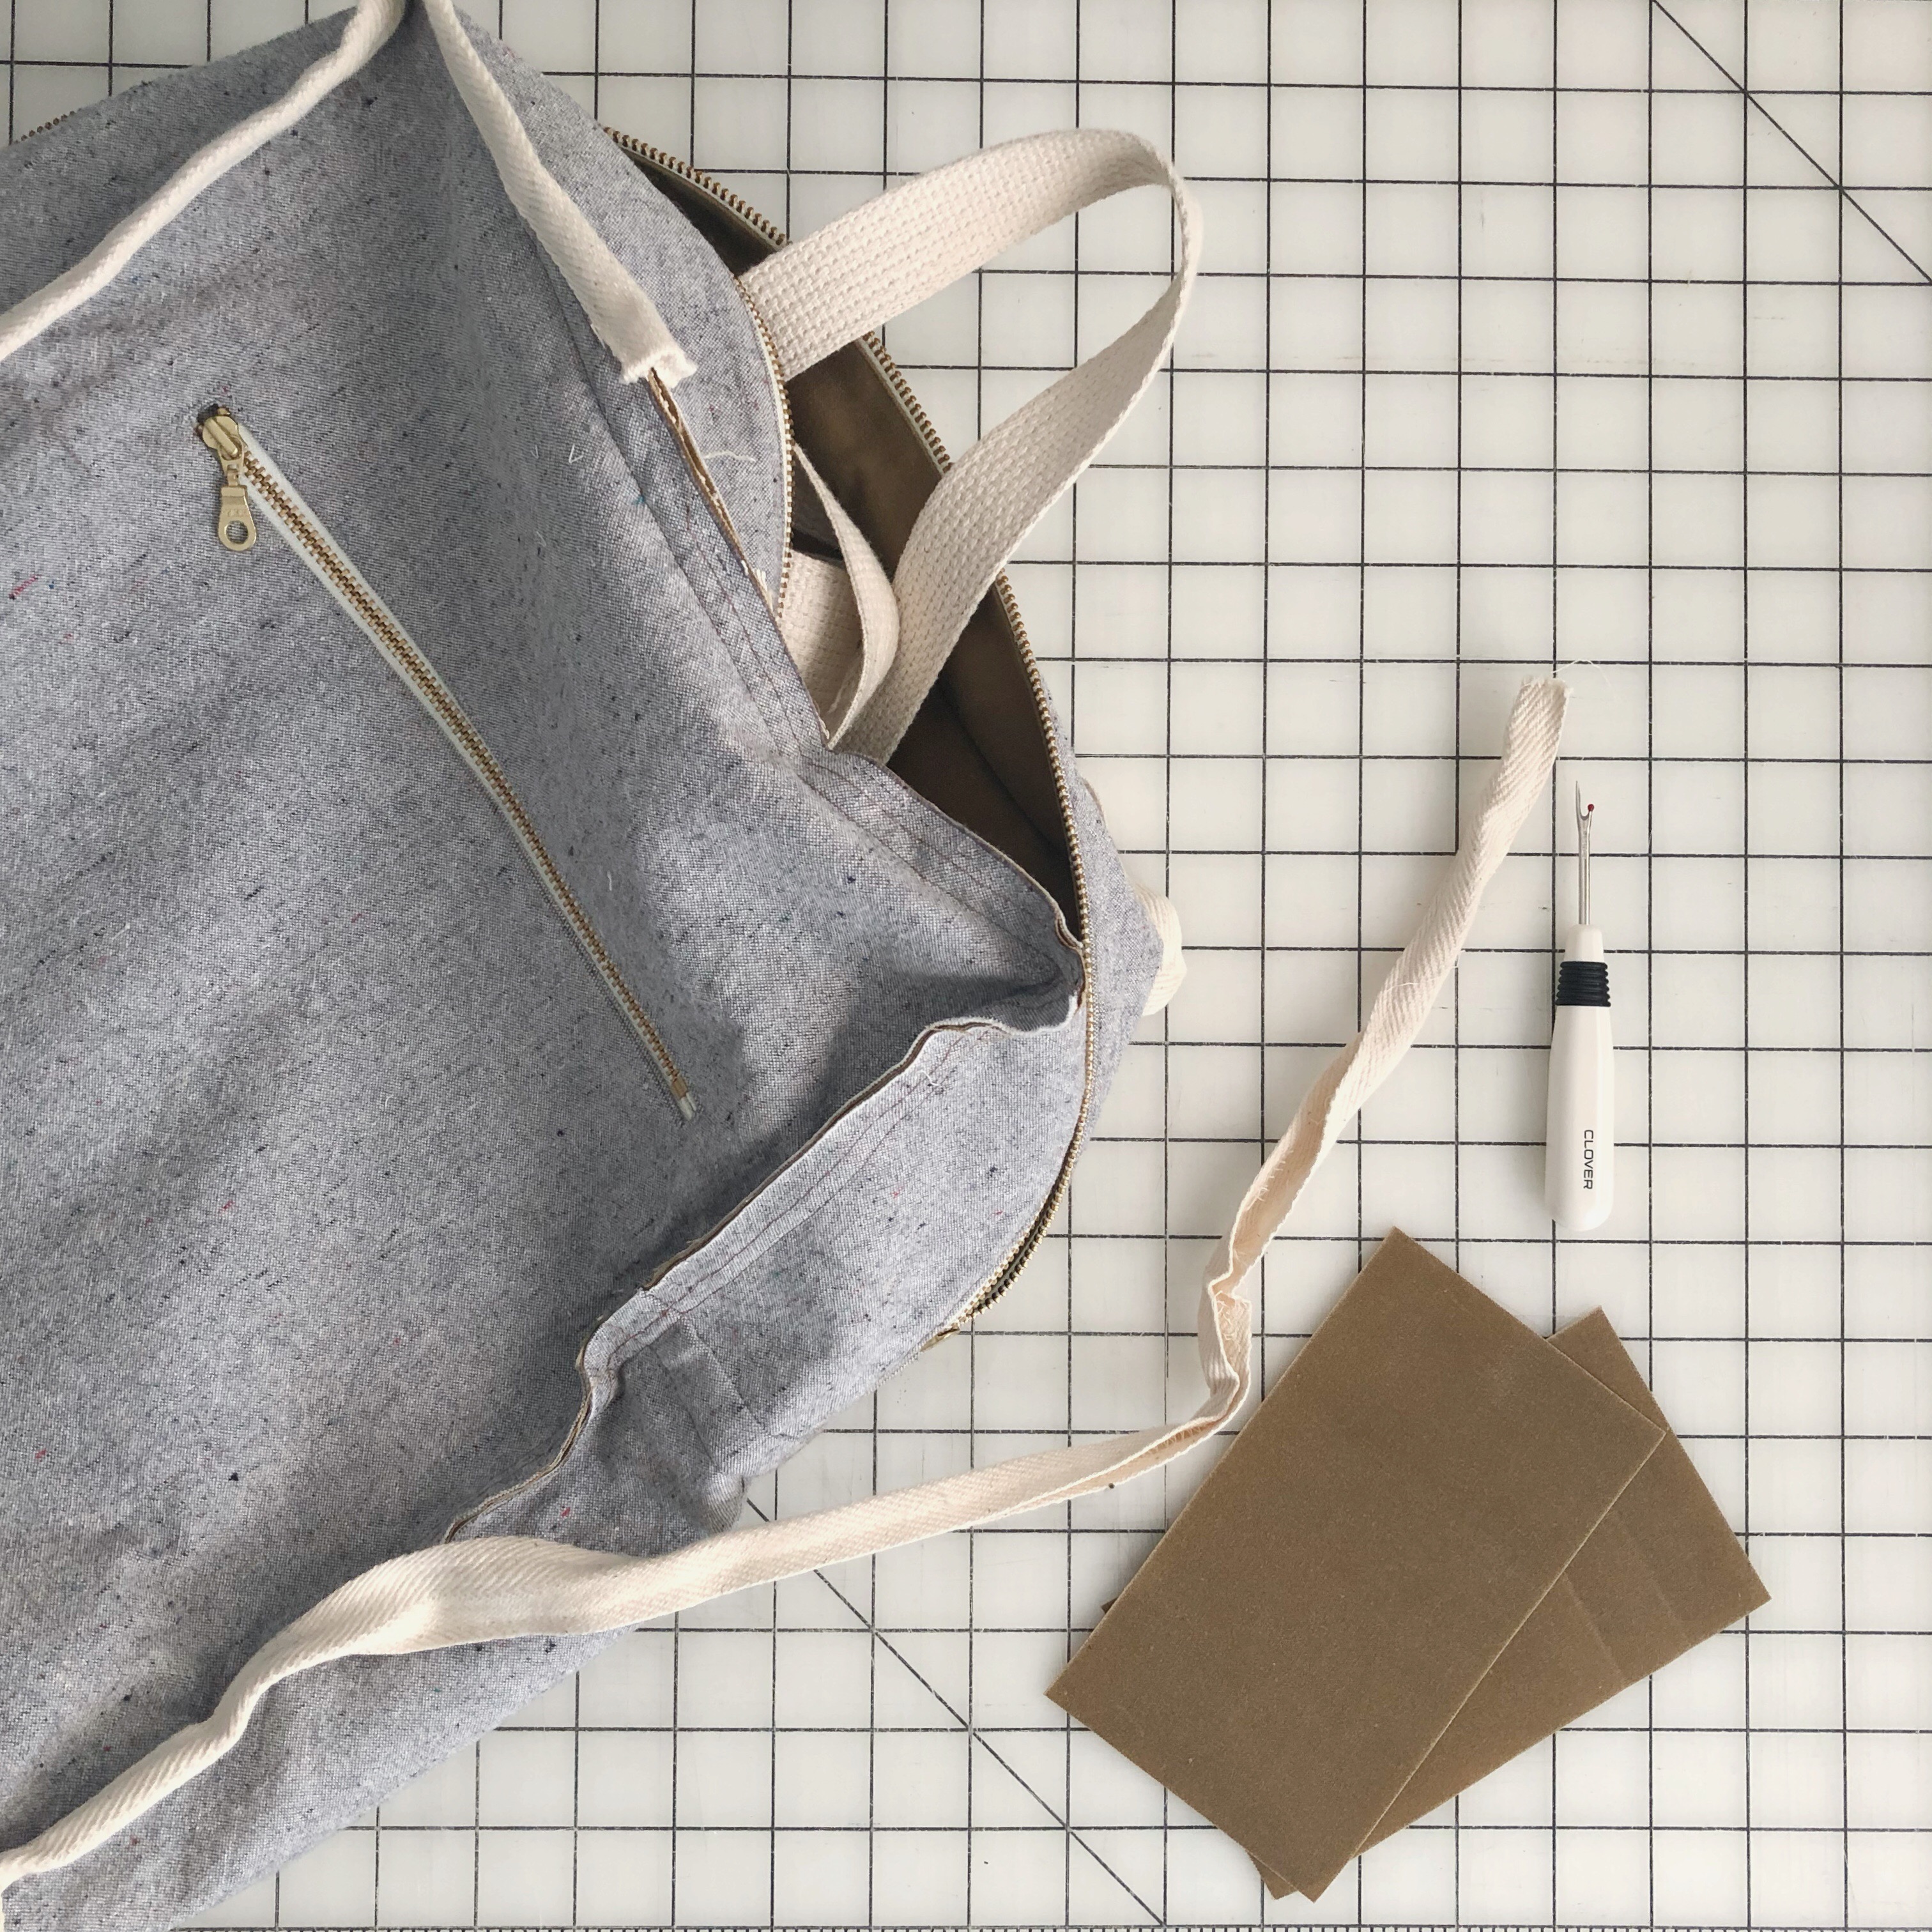
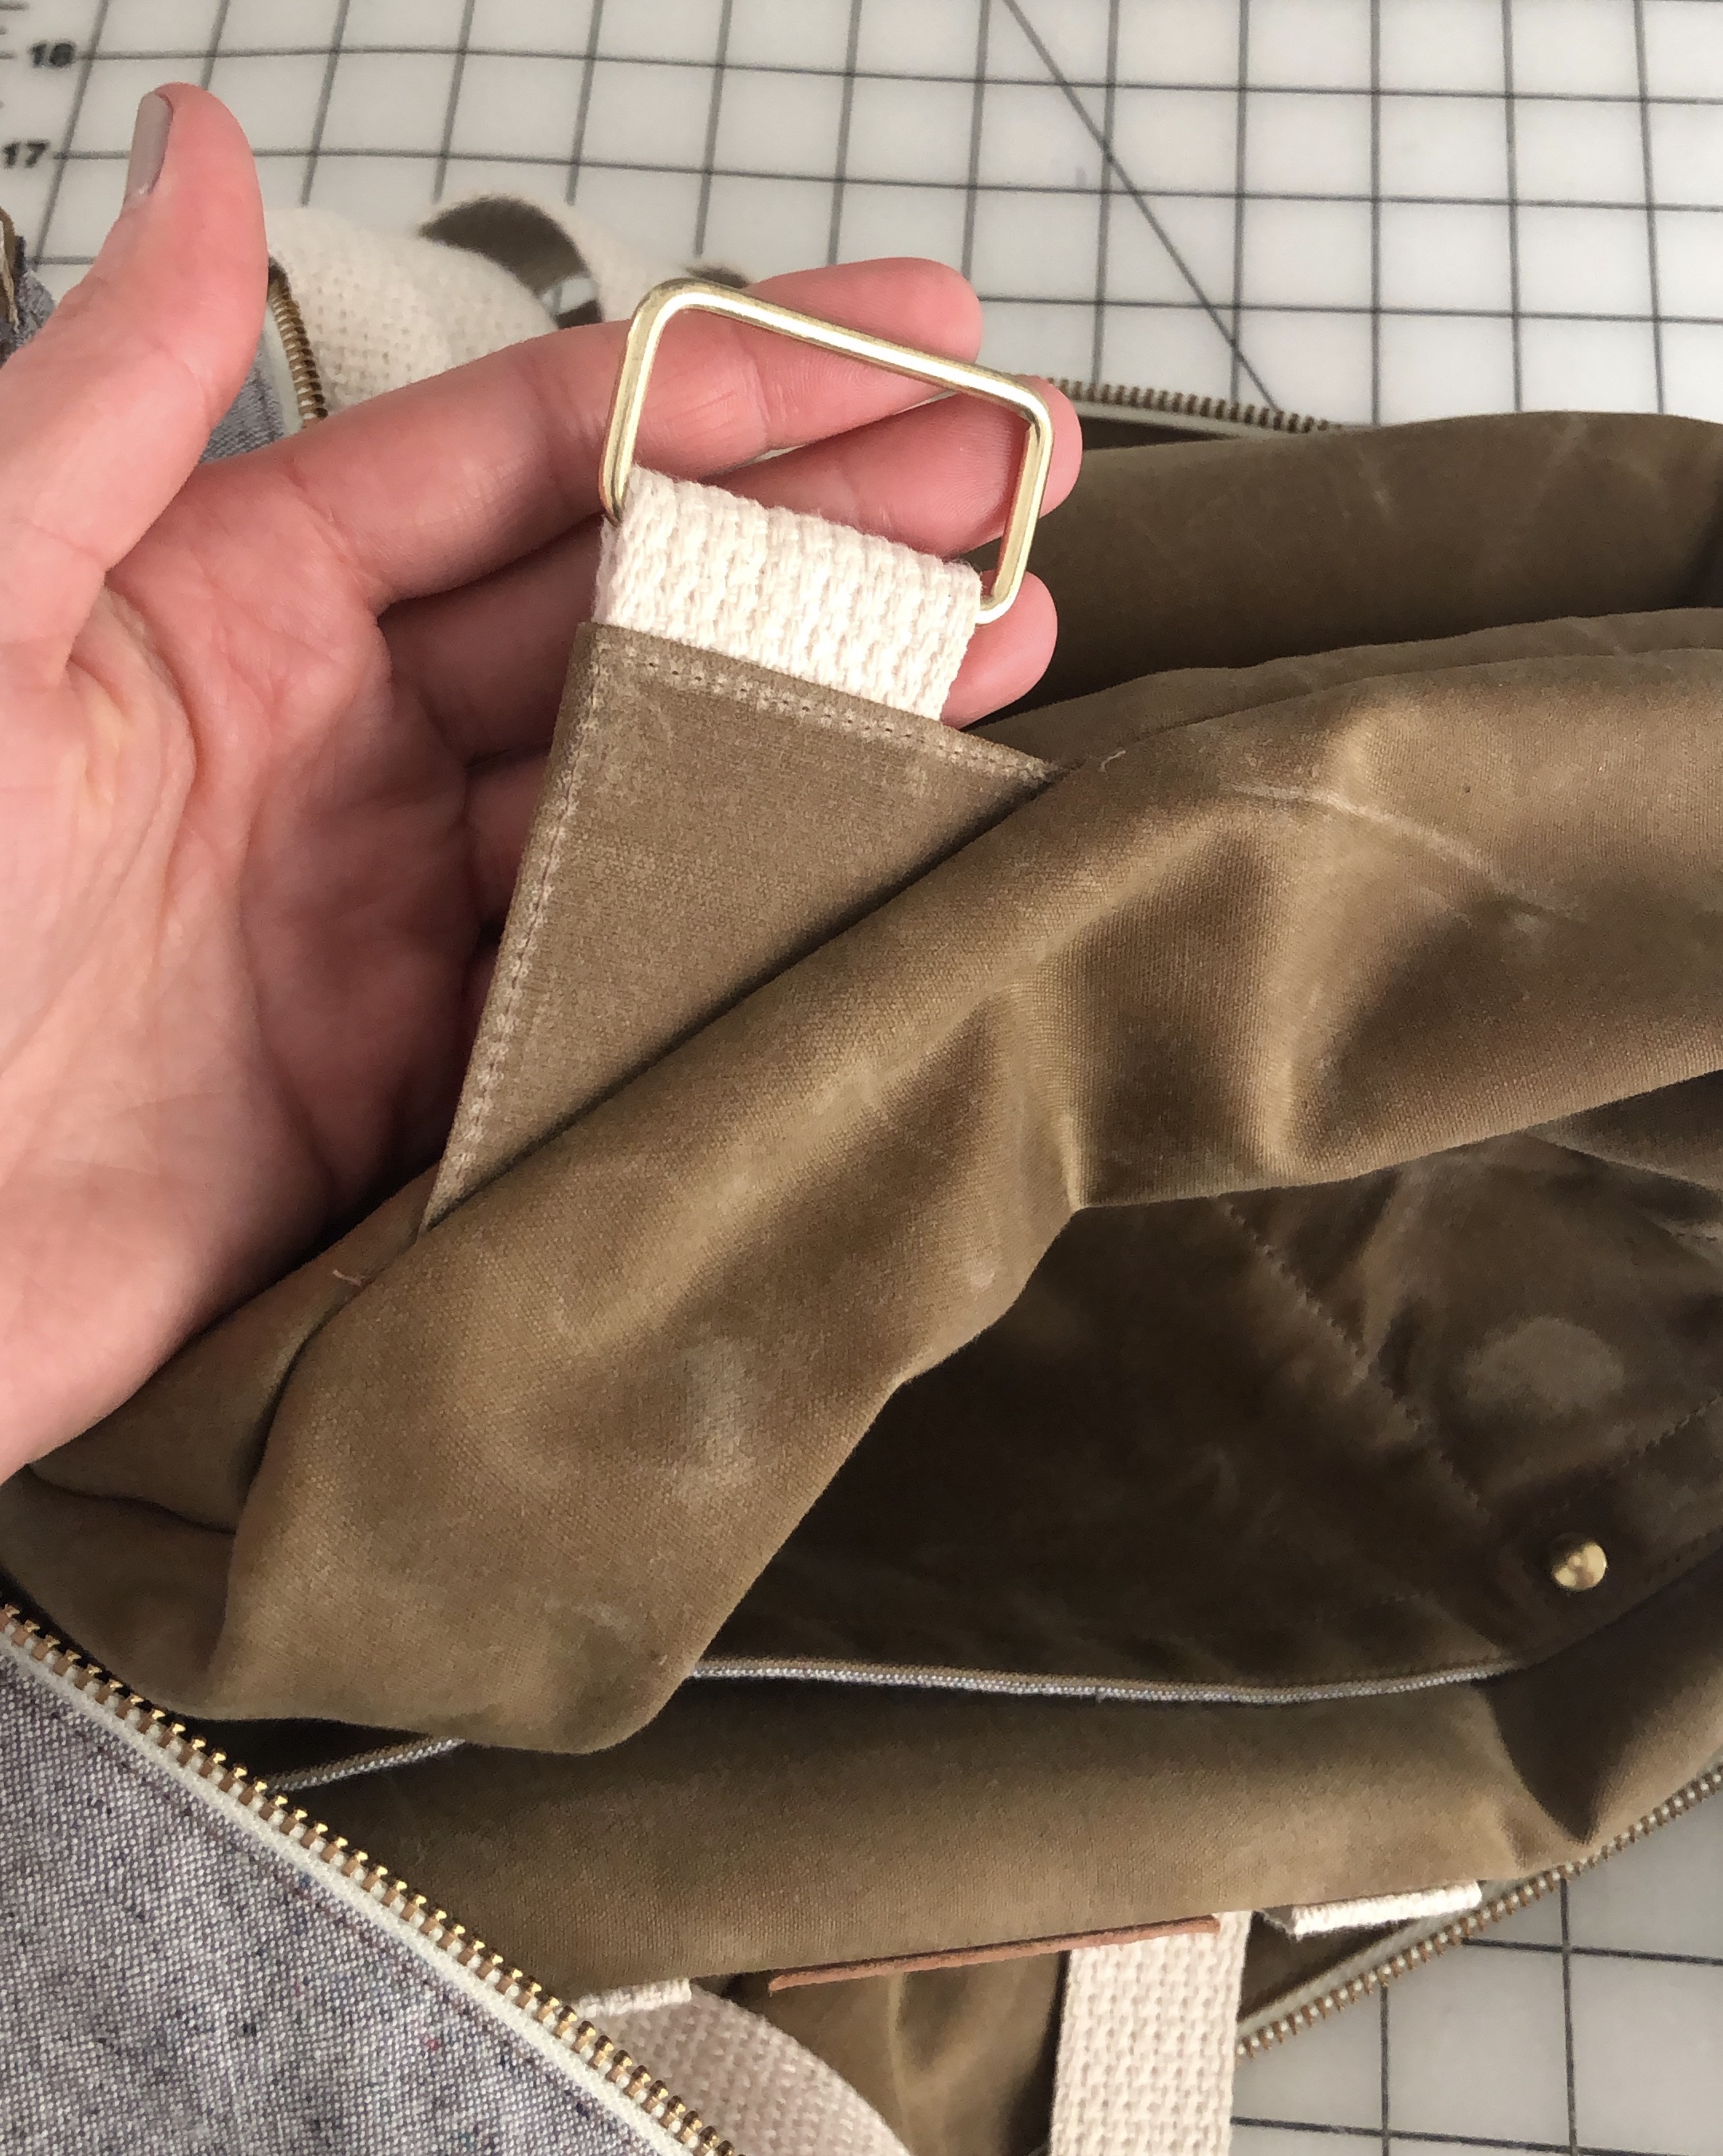
So about two weeks ago I decided to fix it. I used the pattern pieces from the Noodlehead Range Backpack and followed the steps to sew. The construction was different than what I thought it would be, and was much easier to sew! I’m glad I referenced this pattern instead of making it up.
I thought I would need to seam rip both the sides and the top to make the straps work, but I ended up only needing to take apart the sides.
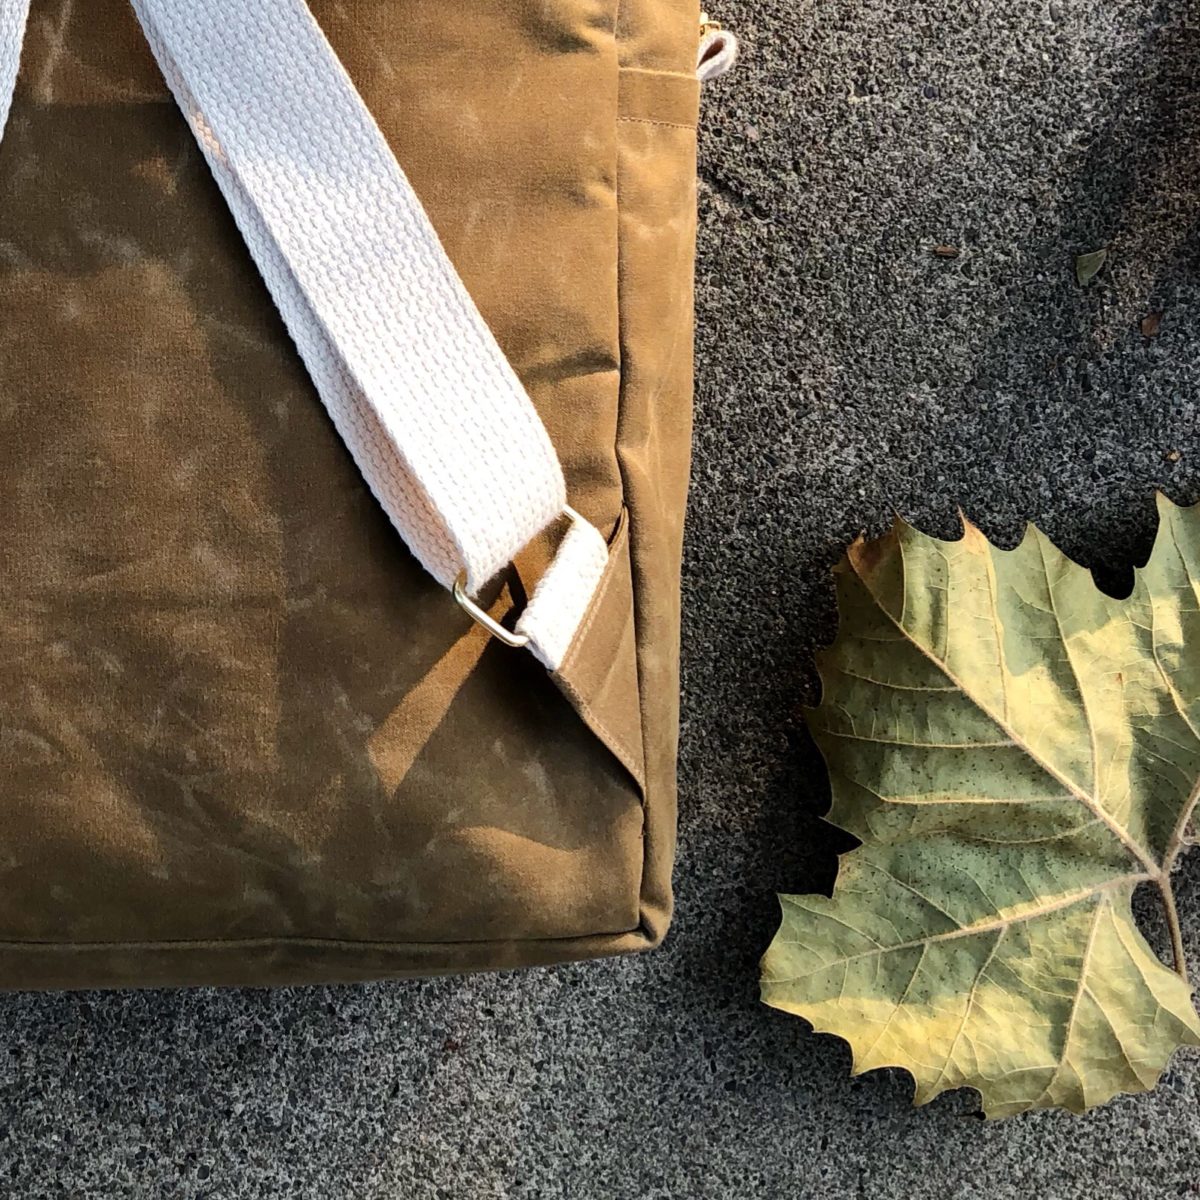
It ended up being a really easy fix. I’m glad I pushed through the fear of taking the finished backpack apart. I was really nervous!
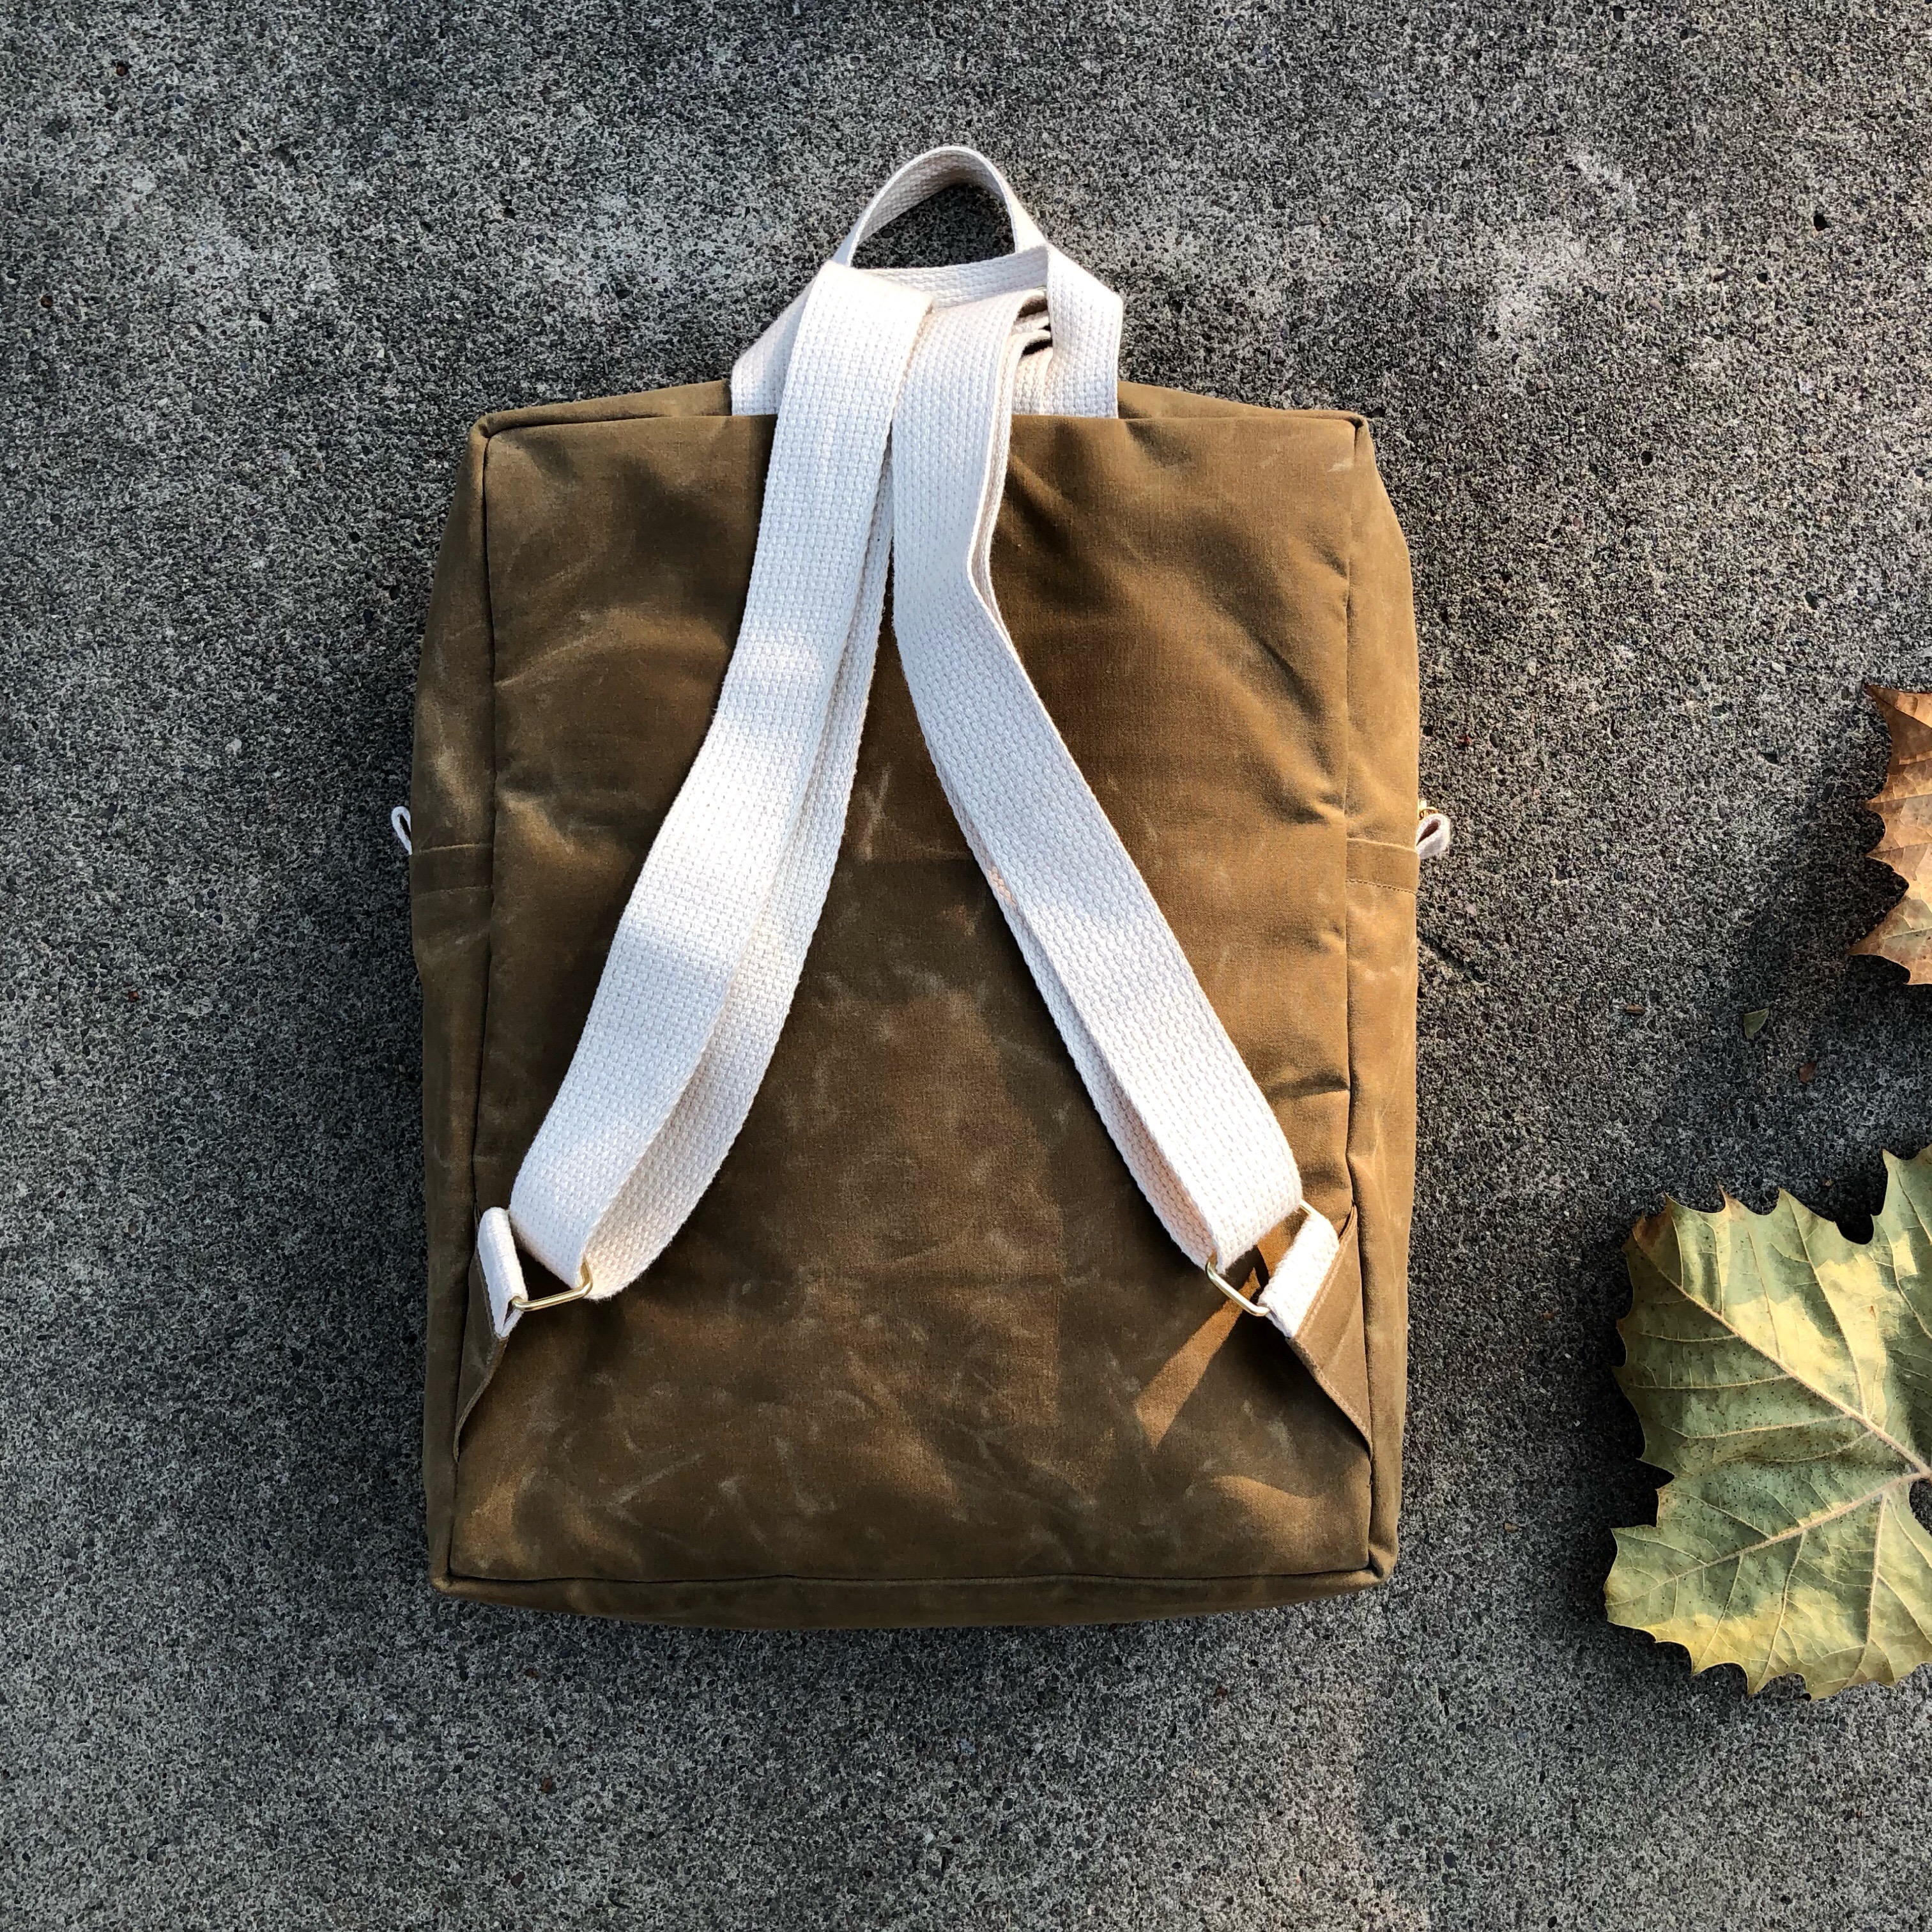
The Making Backpack pattern was originally available in Making Magazine, but Anna has updated her pattern to include these triangle connectors. You can find the updated pattern in her shop!
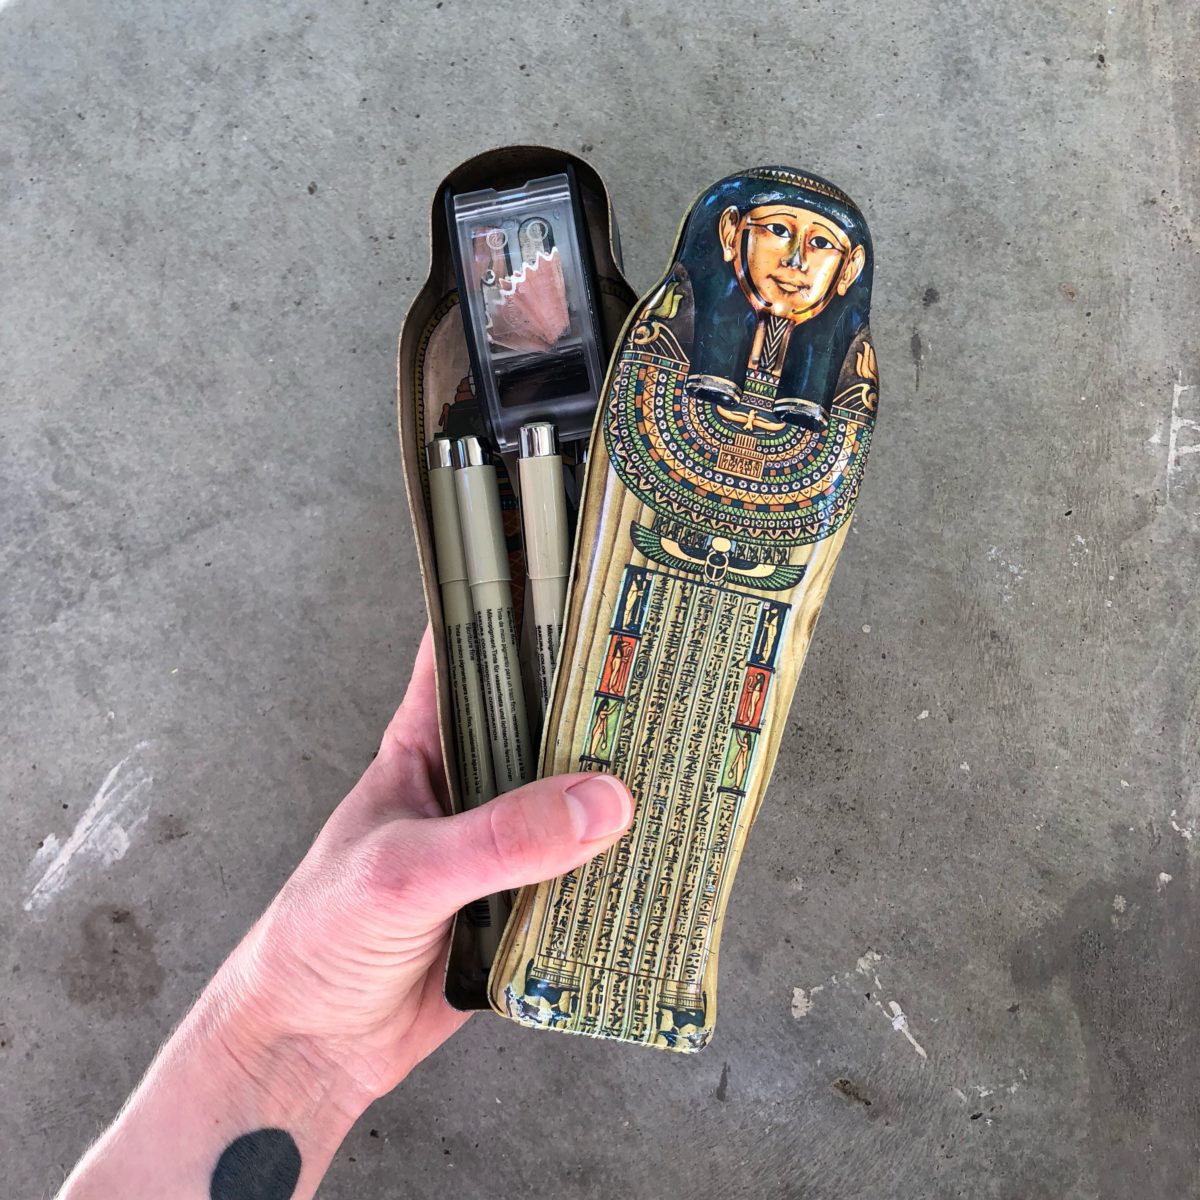
A few folks have asked which sketchbooks, pens, and general art media I prefer. Here’s a partial dive into what I use:
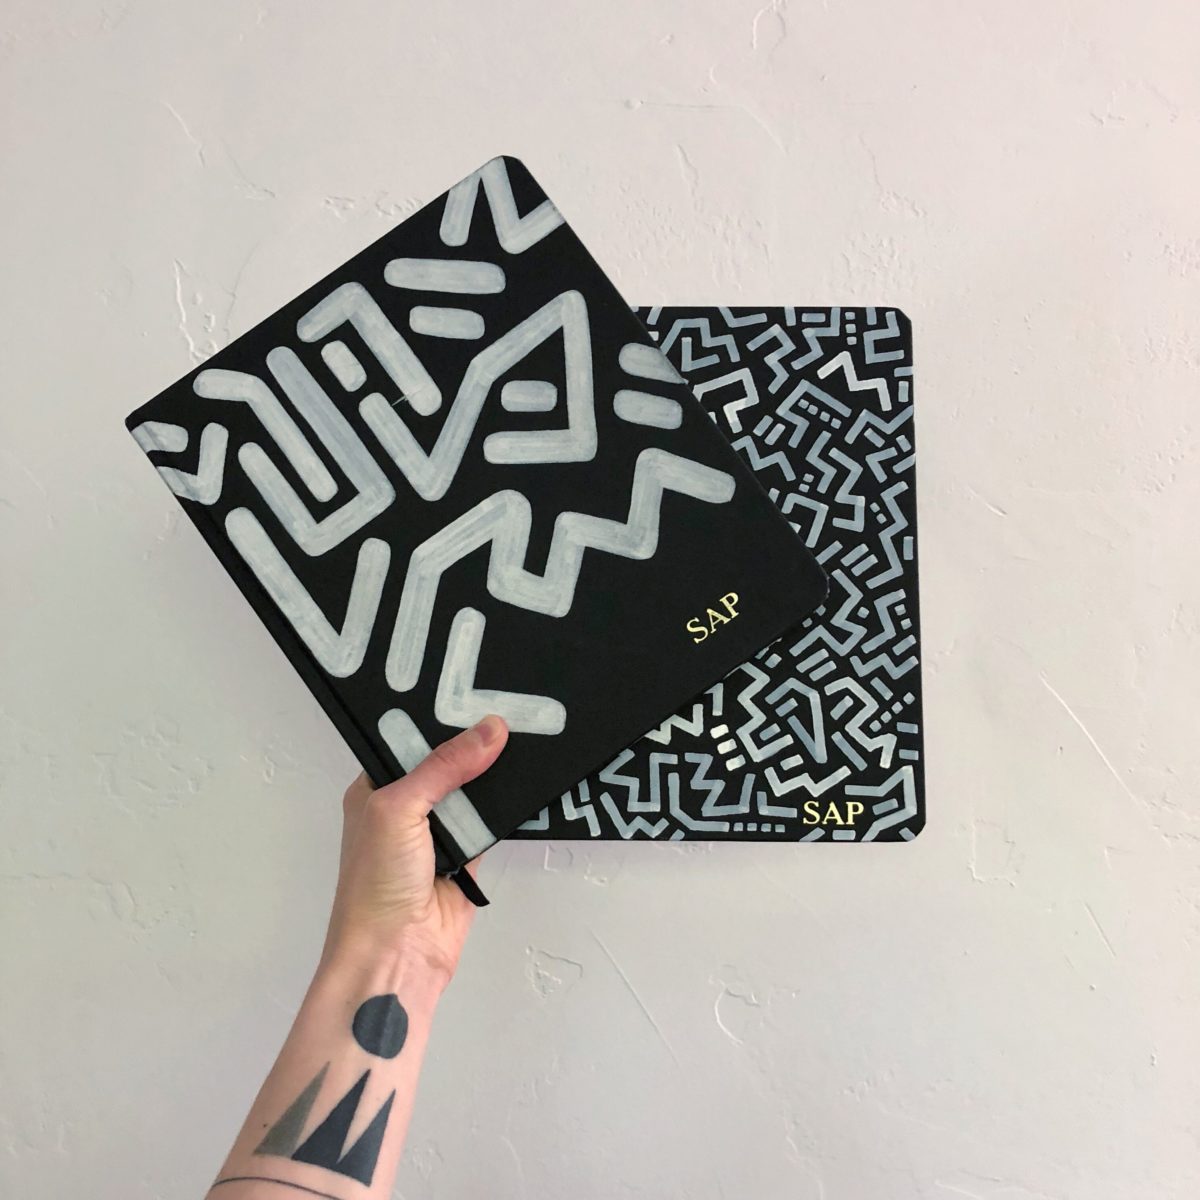
Sketchbooks – I regularly use several different sketchbooks depending on what I’m doing. For sewing plans, media experimentation, and more in-depth drawings/paintings, I LOVE the Shinola sketchbook. It has the exterior beauty of a Moleskine, but with higher quality paper. The paper is a crisp white with a bit of tooth and can actually hold wet media unlike Moleskines.
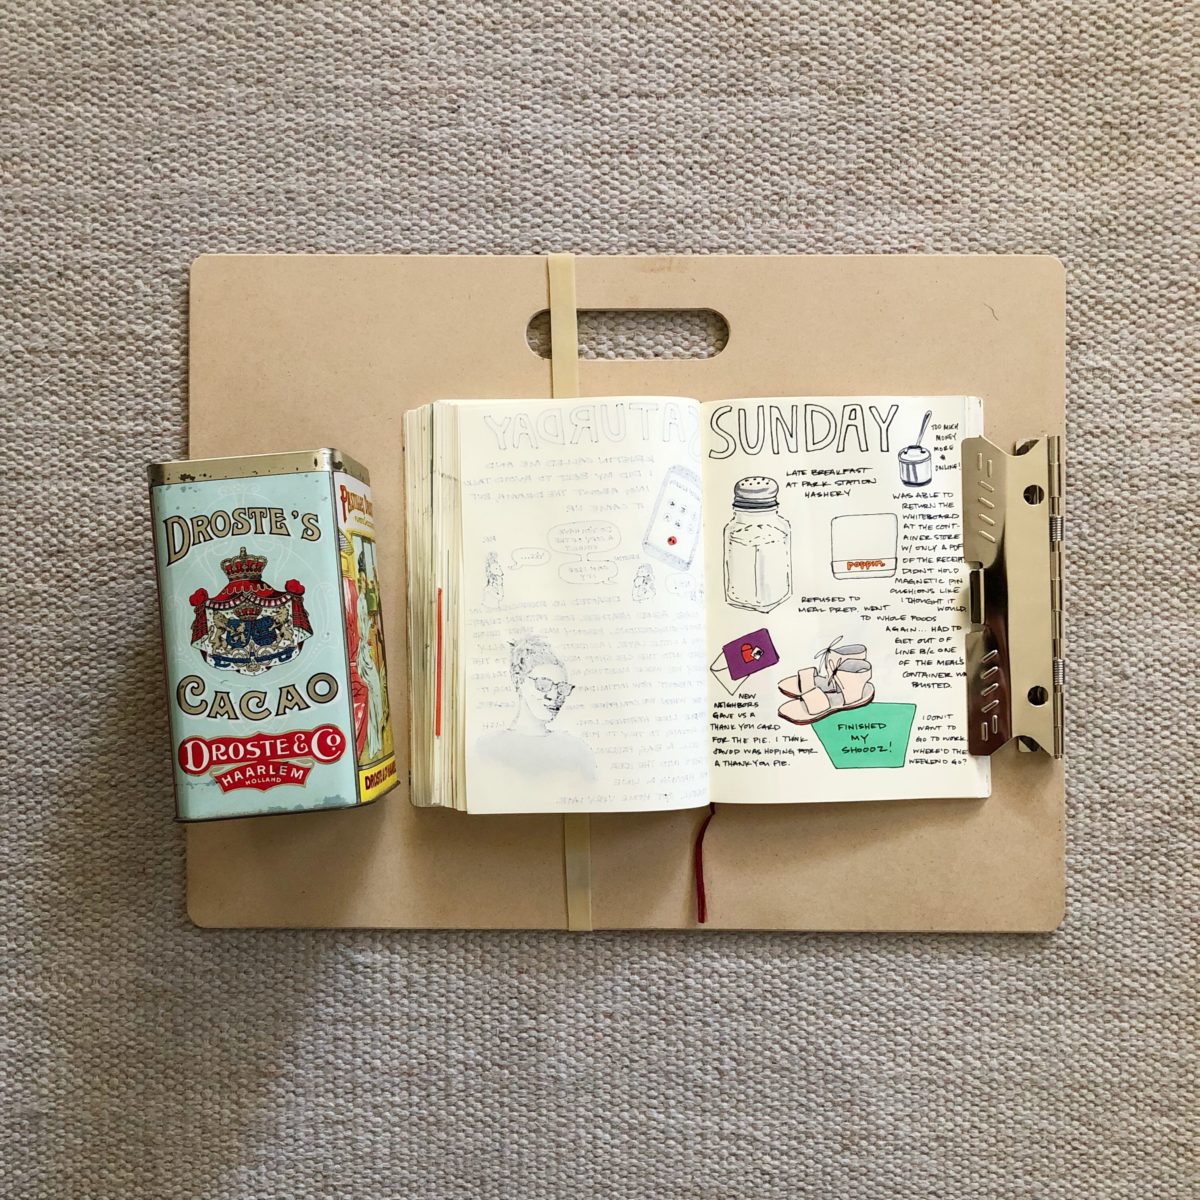
For my Logbook, I use a cheap notebook from Muji. This isn’t the exact one but it’s very similar. I love it because it’s cheap and kinda crappy, which almost eliminates the fear of the blank page.
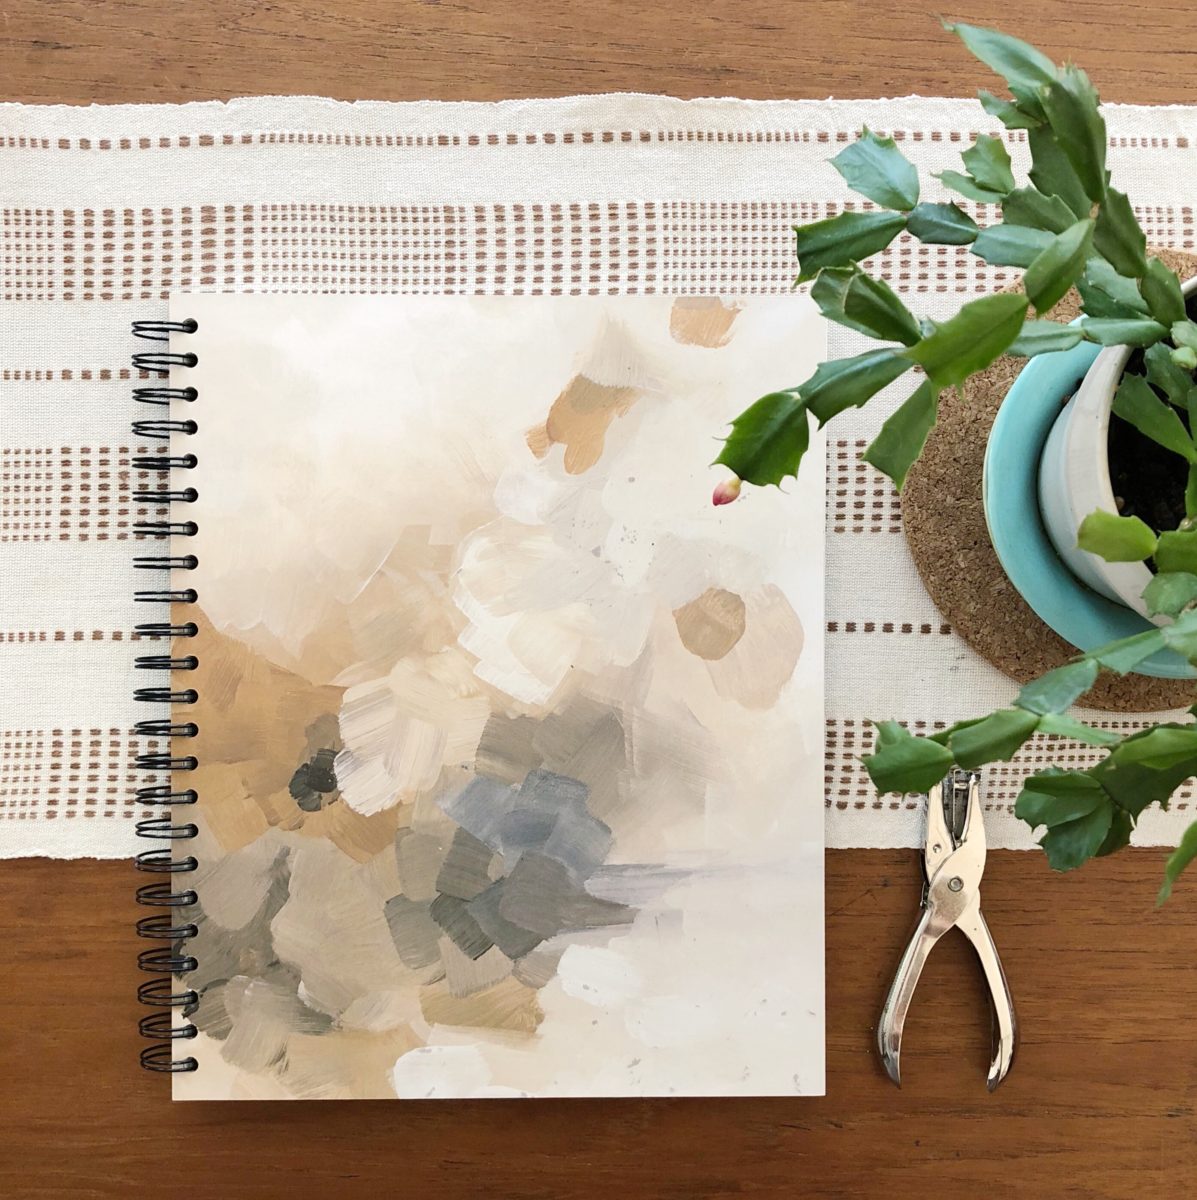
To capture my patternmaking class notes and ideas, I use a Canson XL Mixed Media sketchbook. I always affix some fancy paper to the cover, like this Elizabeth Suzann packaging.
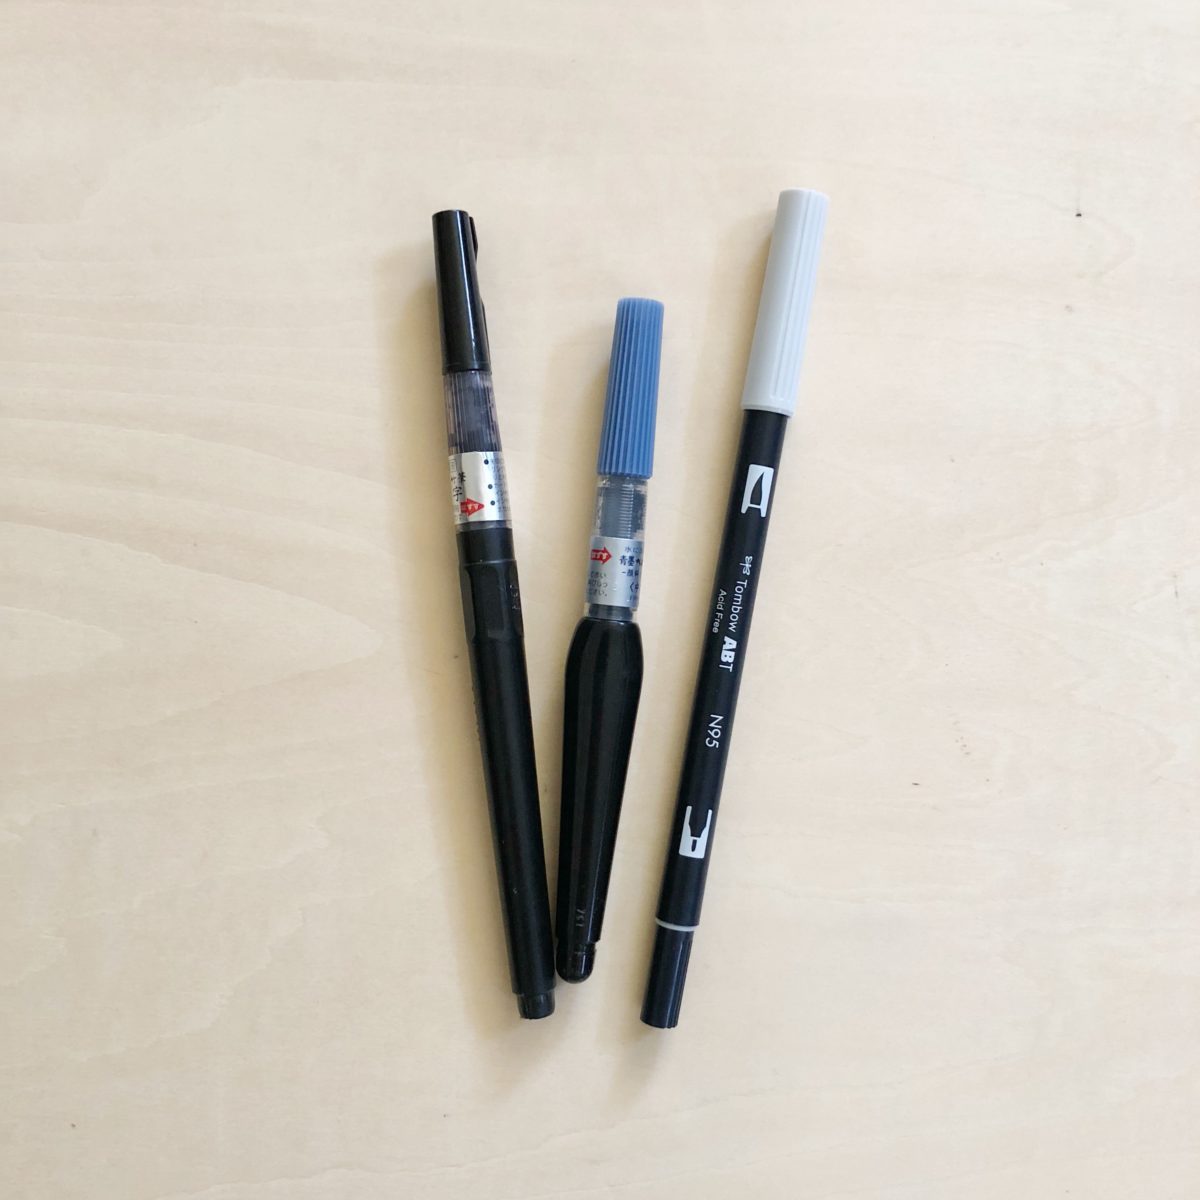
Ink Brushes – I use gray and black ink brushes for both shading and covering larger areas (and mistakes!).
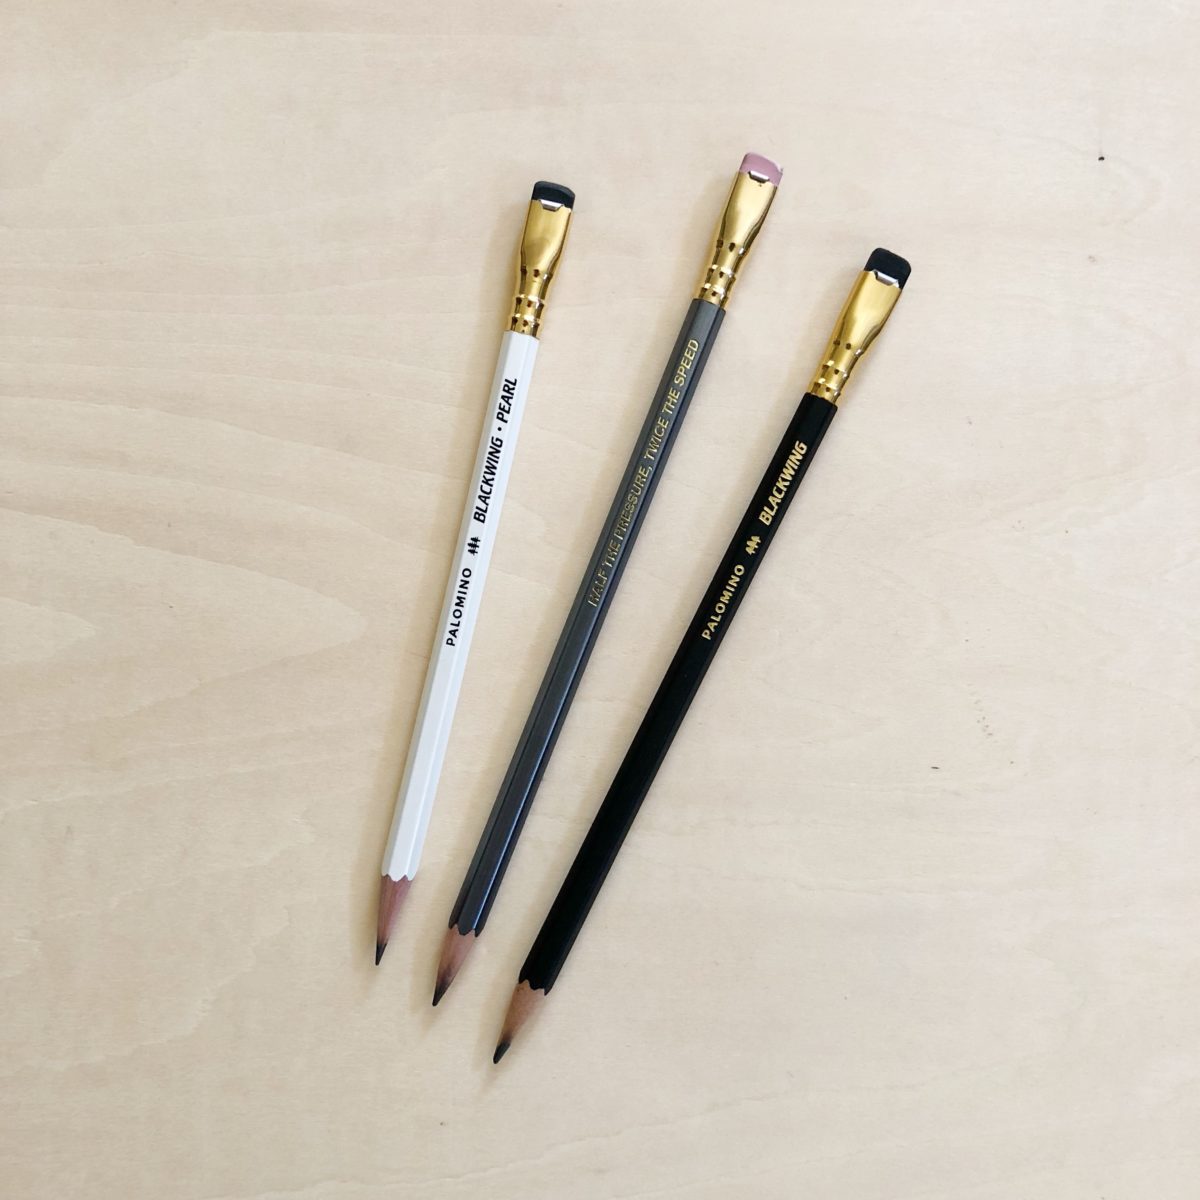
Pencils – I haven’t been doing much with graphite lately. I made the conscious decision to draw mostly with ink because it forces me to slow down and commit to the mark. When I do use pencils, Blackwings live up to the hype.
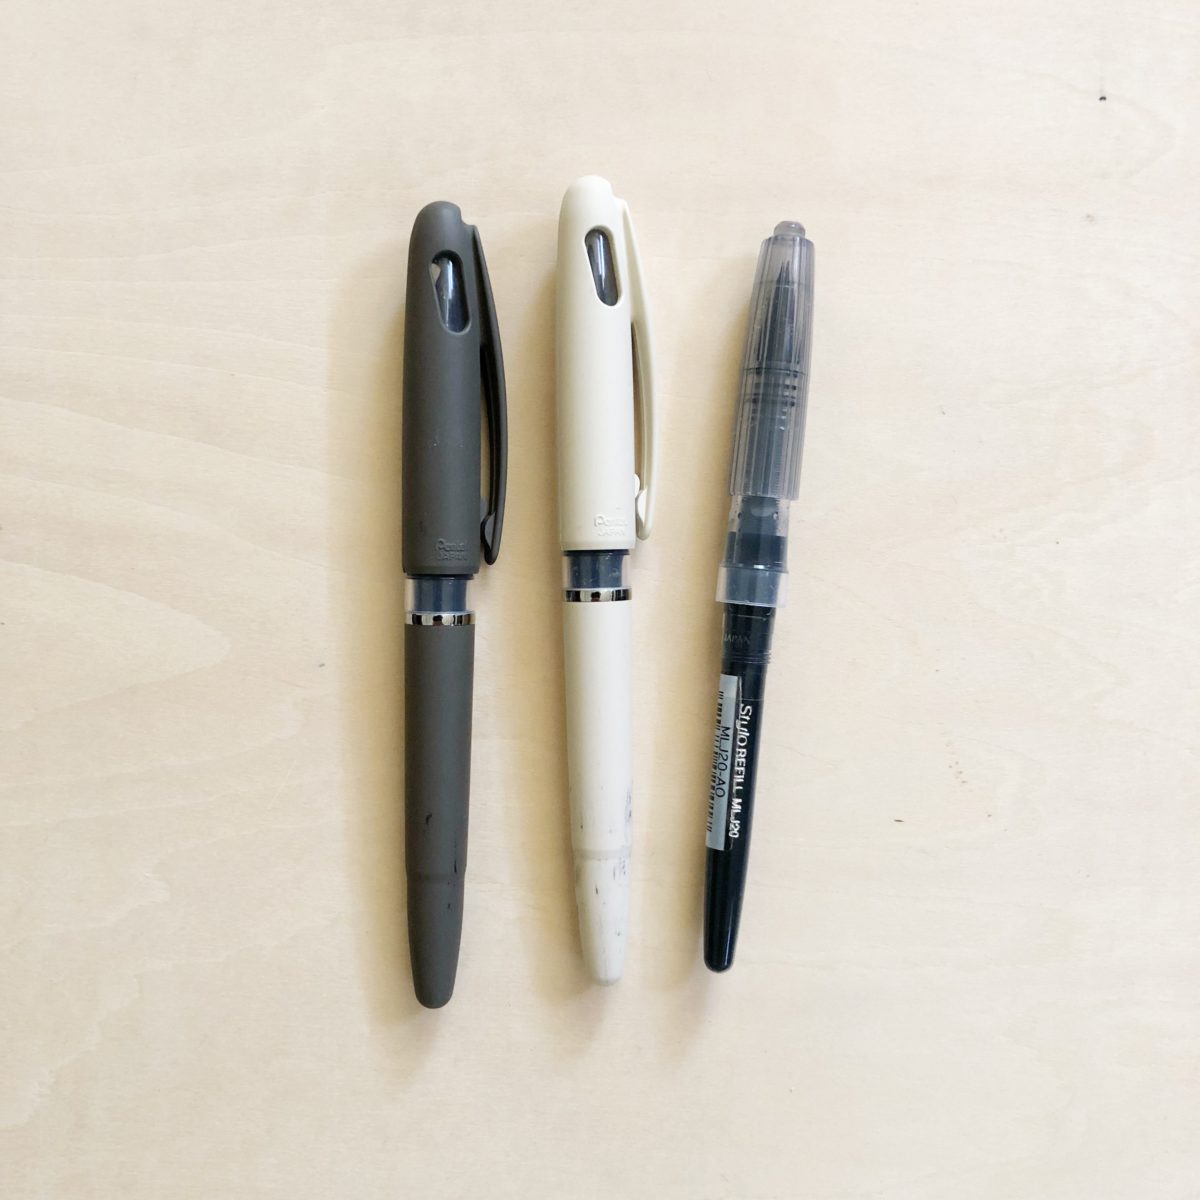
Pens – I use a lot of pens but these Pentel Arts Tradio Stylo pens are super messy and fun to use in my logbook. For a while, I didn’t realize I was using just the refills, which were a pain to hold. Then when we were in Paris I found the case that they fit in.
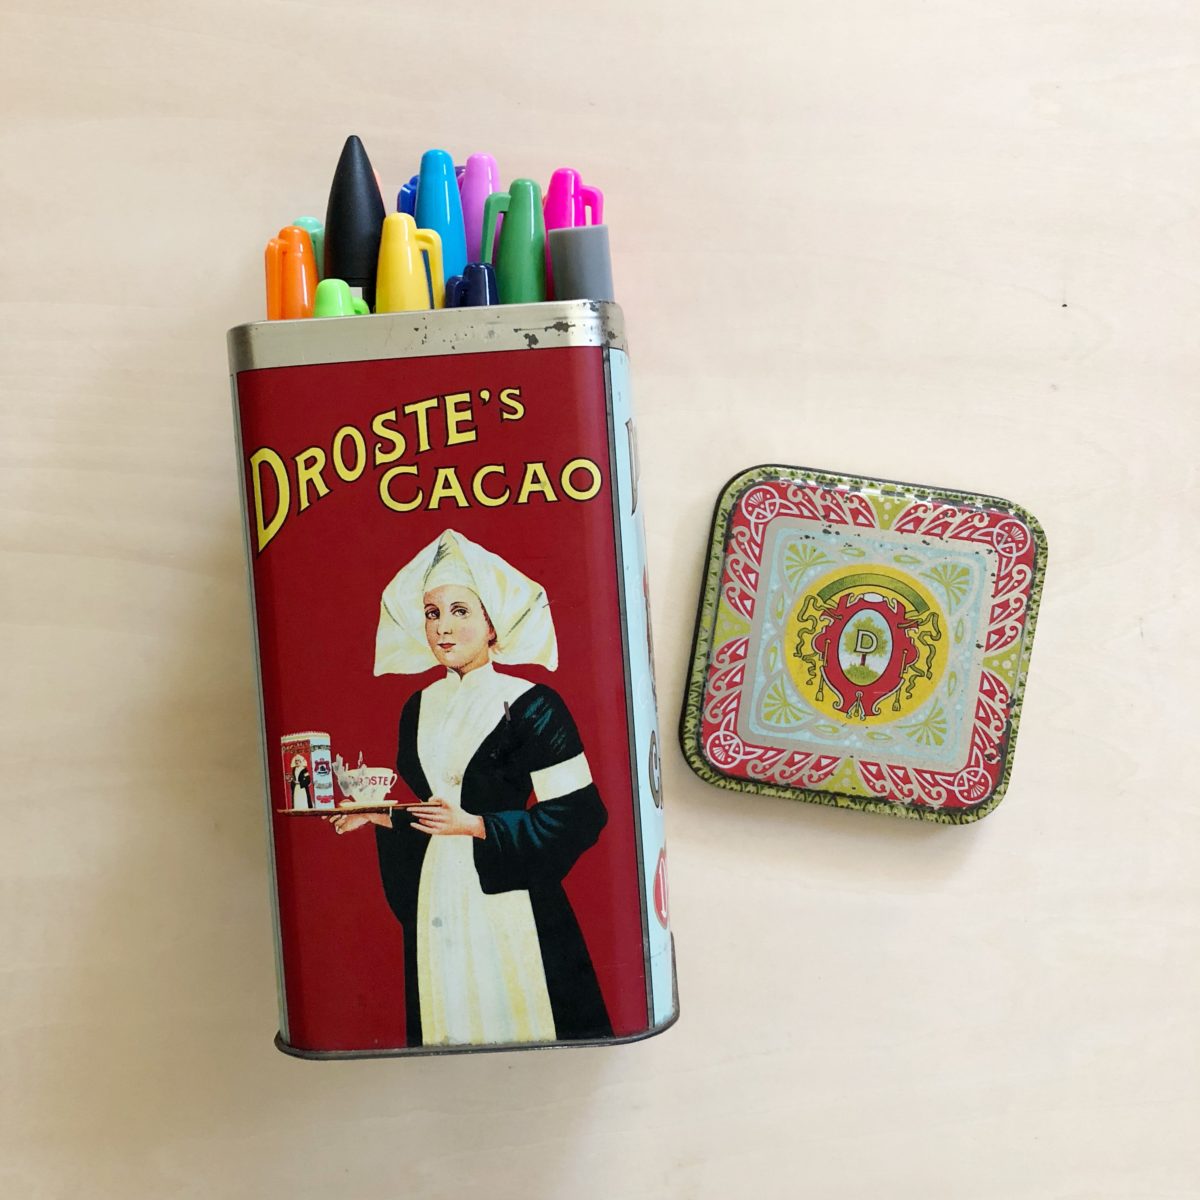
Sharpies – For my logbook I use a variety pack of Sharpies. I like how they bleed through the cheap Muji pages of my logbook.
Watercolors – I use Case For Making watercolors which are handmade in San Francisco. I took two workshops with Alexis (owner) and most of my pans are from those workshops!
They really are the best watercolors. So much pigment!

I also do love a good Micron Pen. I use a combination of handmade bags and tins to carry these supplies with me.
My best advice for starting a drawing practice is to just start. Be fine with it not looking how you want immediately. It took me about three weeks of daily logs to find my style and I’m sure it will change. Draw your making plans! Drawing became more of a daily thing for me when I started documenting all of my sewing plans in a sketchbook. There’s so much inspiration out there, it’s really helpful to capture it on paper. Also carry your sketchbook with you everywhere. I used to feel really self conscious about drawing out in public, but the truth is, no one is looking at you. And if they are, they’re probably interested in drawing too!
And read this article to re-frame your drawing mindset.
I attempted the Summer of Basics challenge last year and it was a total flop. I was in a bad place professionally and summer break ended up being all about recovering. After a much better school year, I was feeling super productive and up for a challenge.
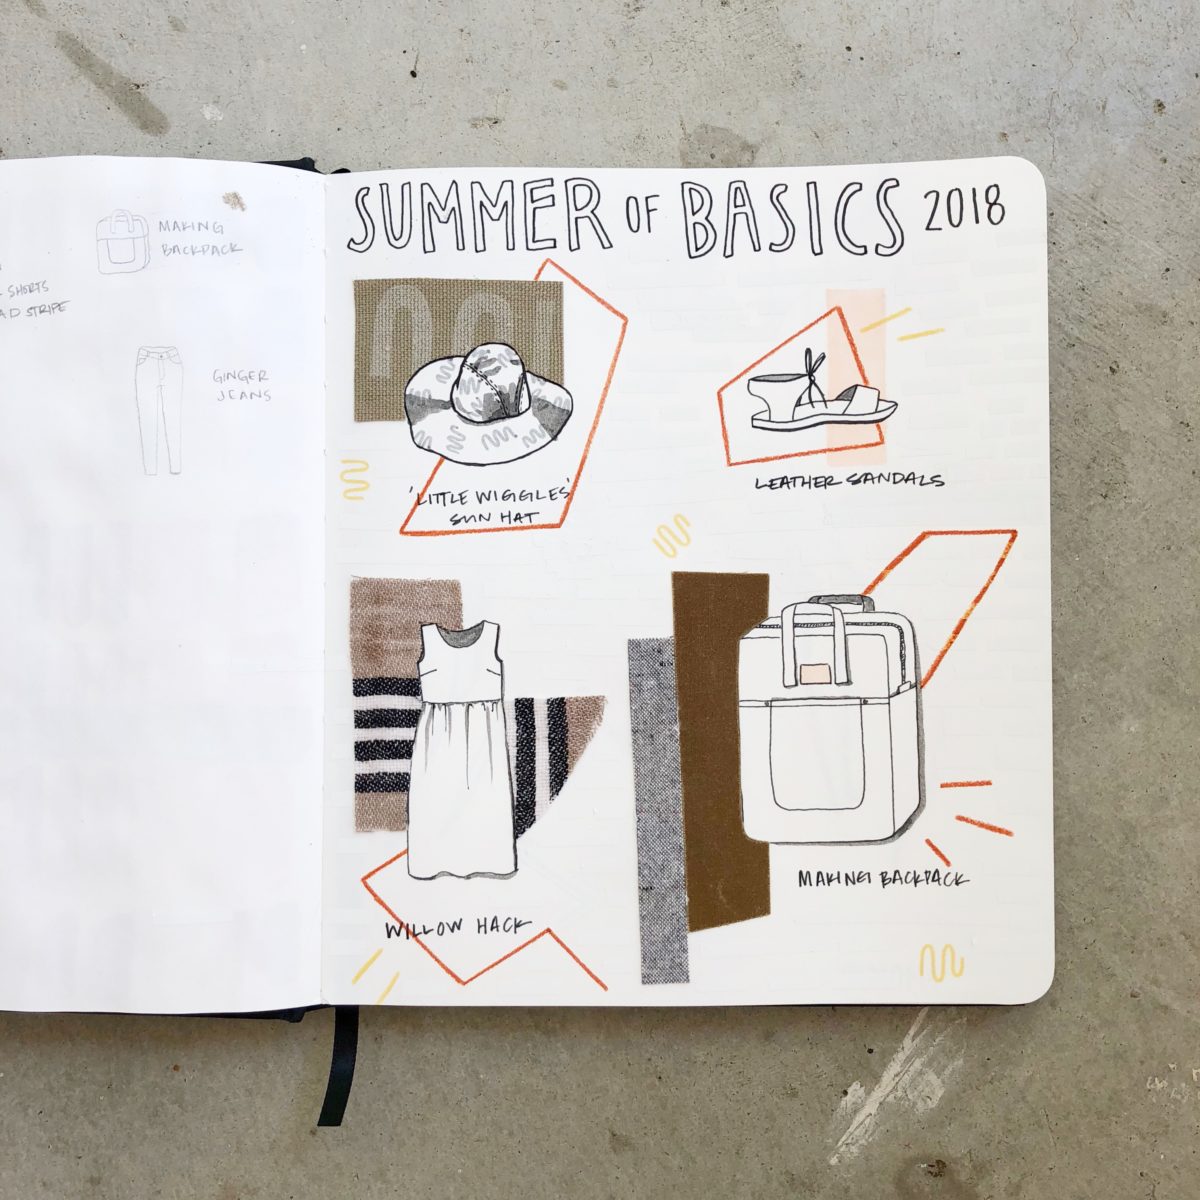
Summer of Basics is hosted by Fringe Association and its only parameters are that you create 3 workhorse garments between June 1 and August 31. I chose 4 projects because as a teacher I have time off and can handle it.


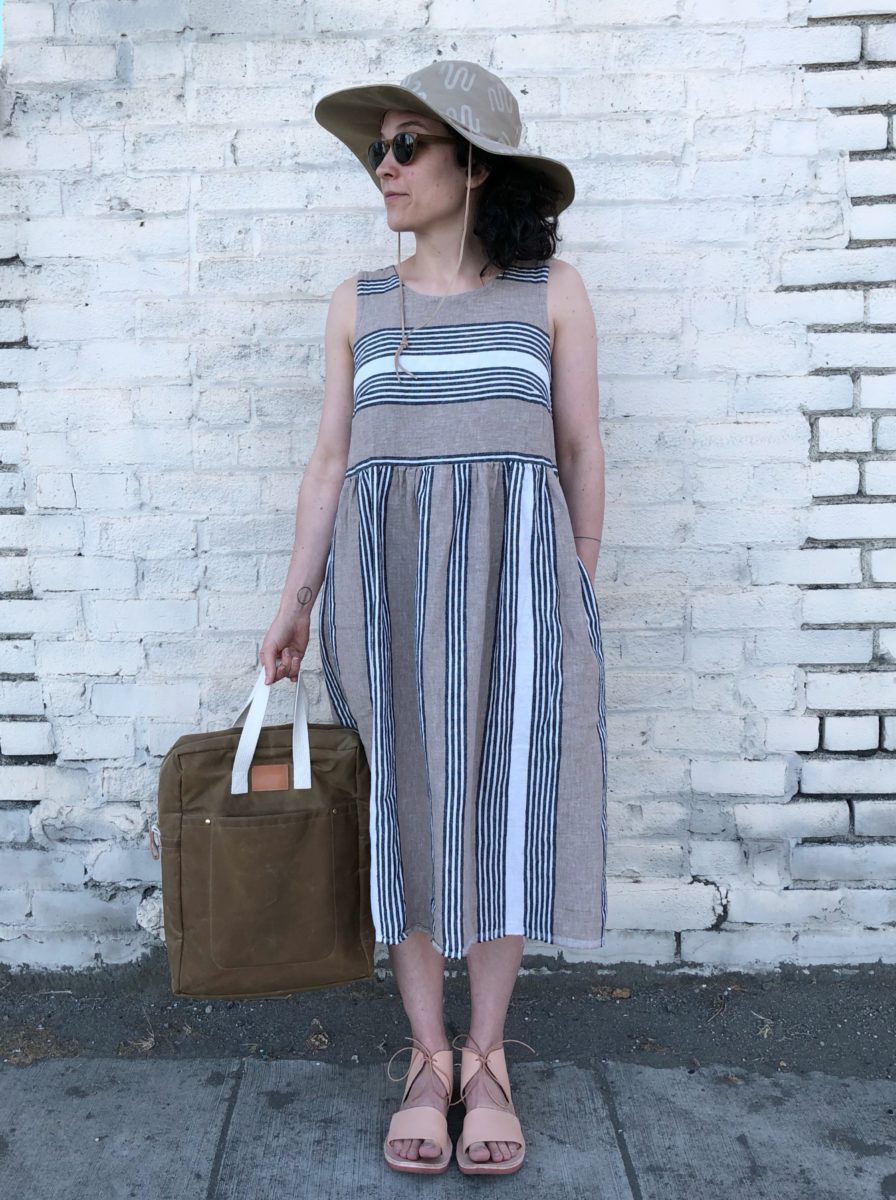
1. Willow Hack – My first make was a Willow Tank / gathered skirt mash up. I’m super pleased with this make and think it’ll be one of the few dresses I wear often. You can read more about it on its original post here. Finished: June 29th.

2. Little Wiggles Sun Hat – My second make was the ‘Little Wiggles’ Sun Hat. Sun hats are just a silly, albeit sometimes necessary accessory so I thought I’d lean in and make it a little extra with a fun block print. I added two grommets and a leather strap for even more utility. You can read more about it here. Finished: July 2nd.
3. Making Backpack – Bag making is so satisfying and Noodlehead is a pattern genius. The Making Backpack is Anna’s contribution to the Making Magazine No. 5 / Color issue. You can read more about it here. Finished: July 8th.
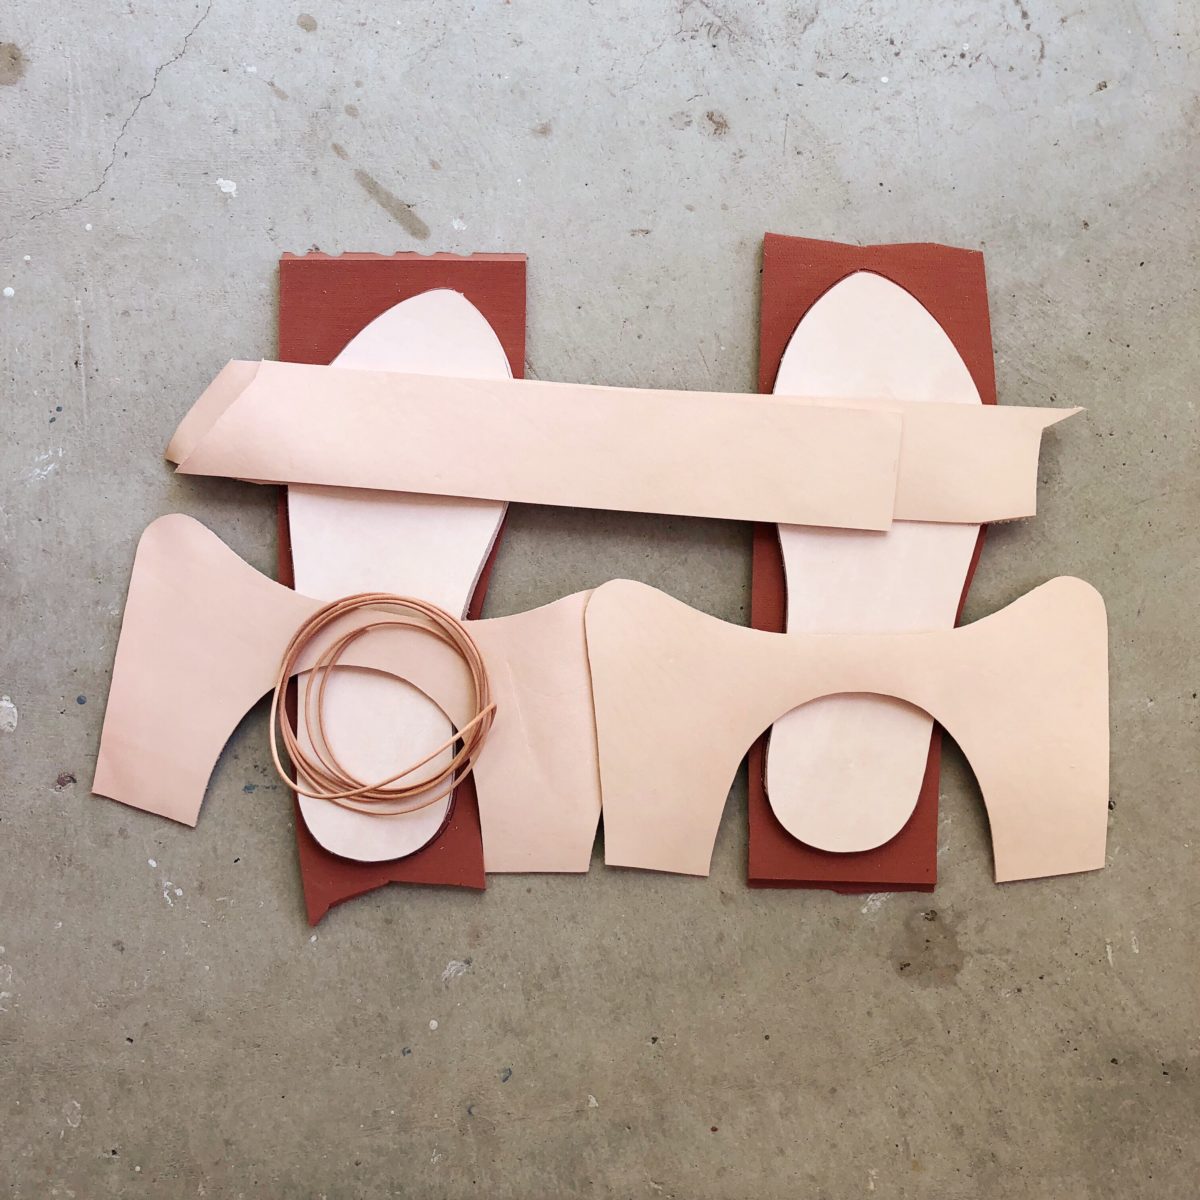
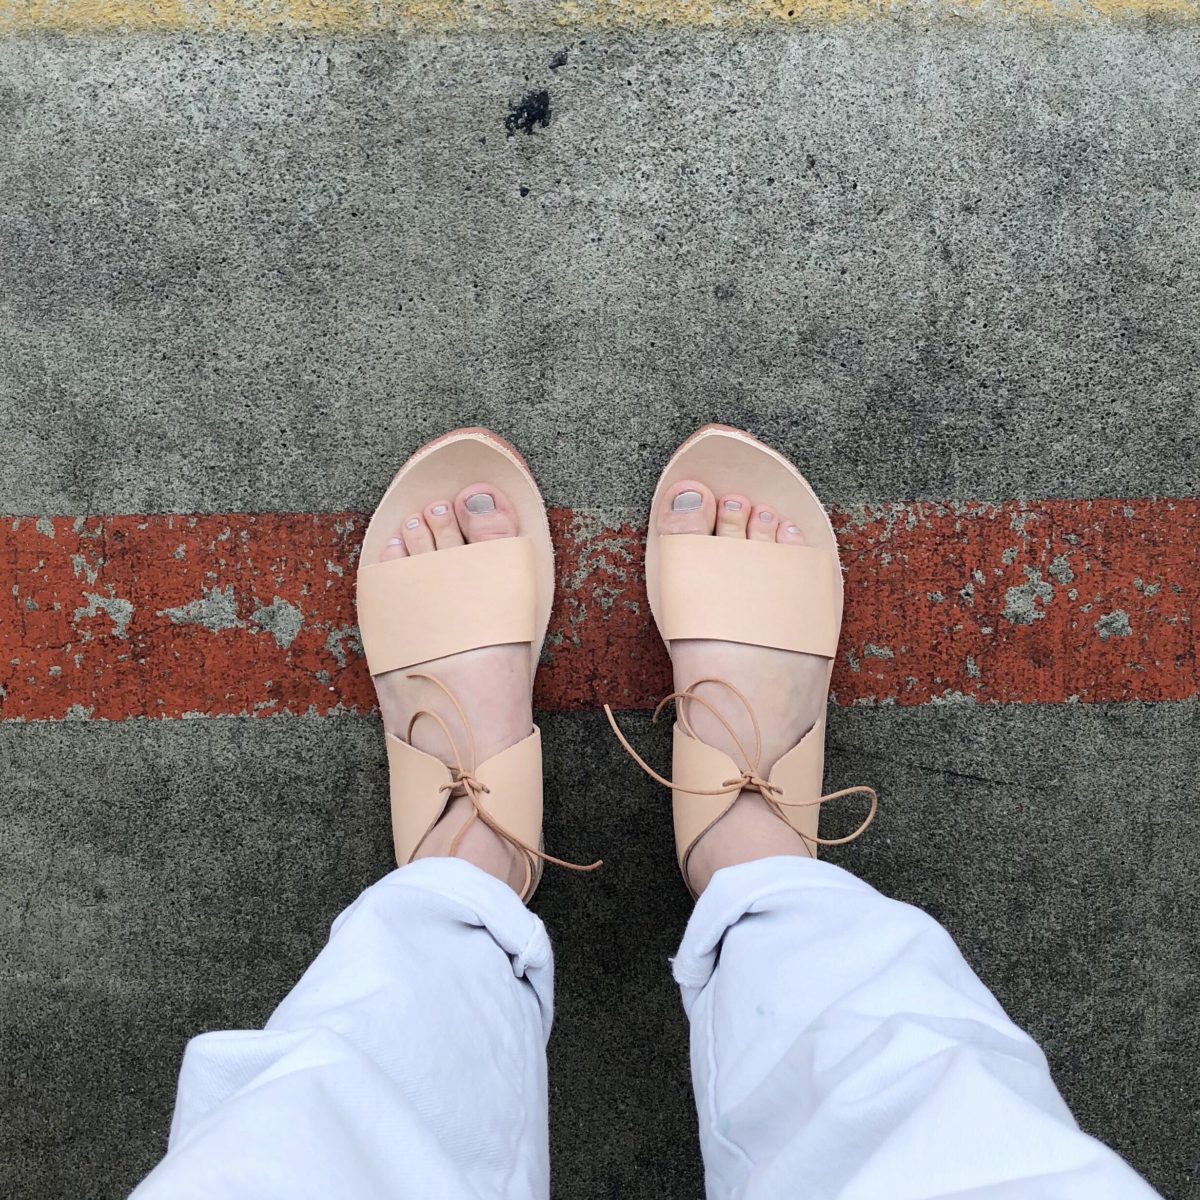
4. Sandals – I made sandals using this kit from Rachel Sees Snail Shoes. This was an intimidating project I had put off for years, but after each step I thought “Oh. That wasn’t that bad.” The kit comes with everything you need except for a belt sander, so my edges are a little rough and the size is a wee bit too big but I MADE SHOES. Finished: August 26th.
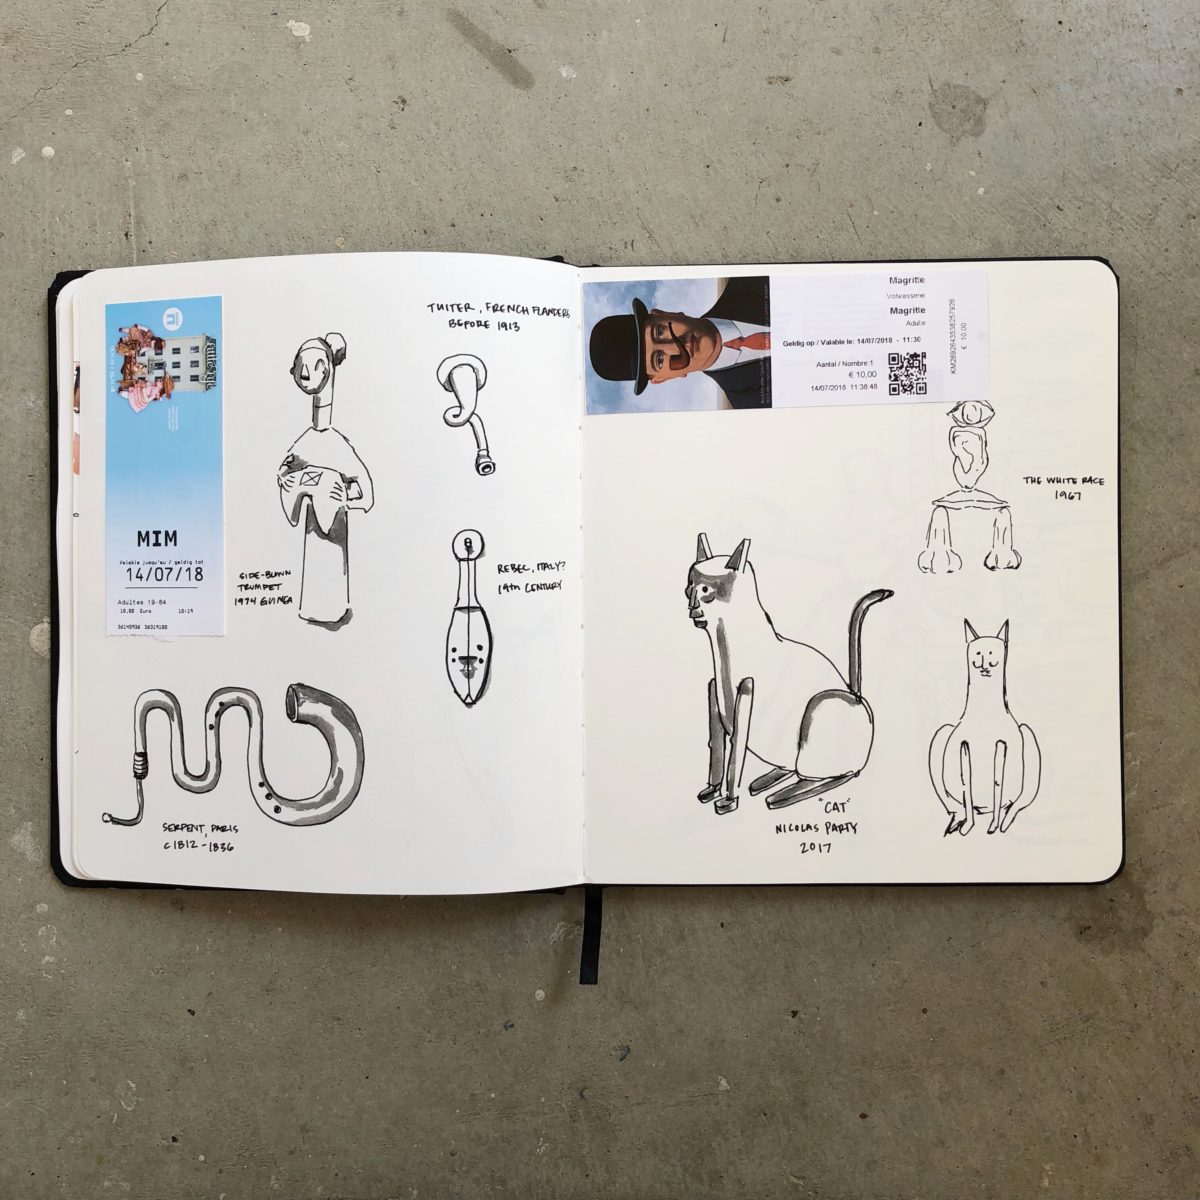
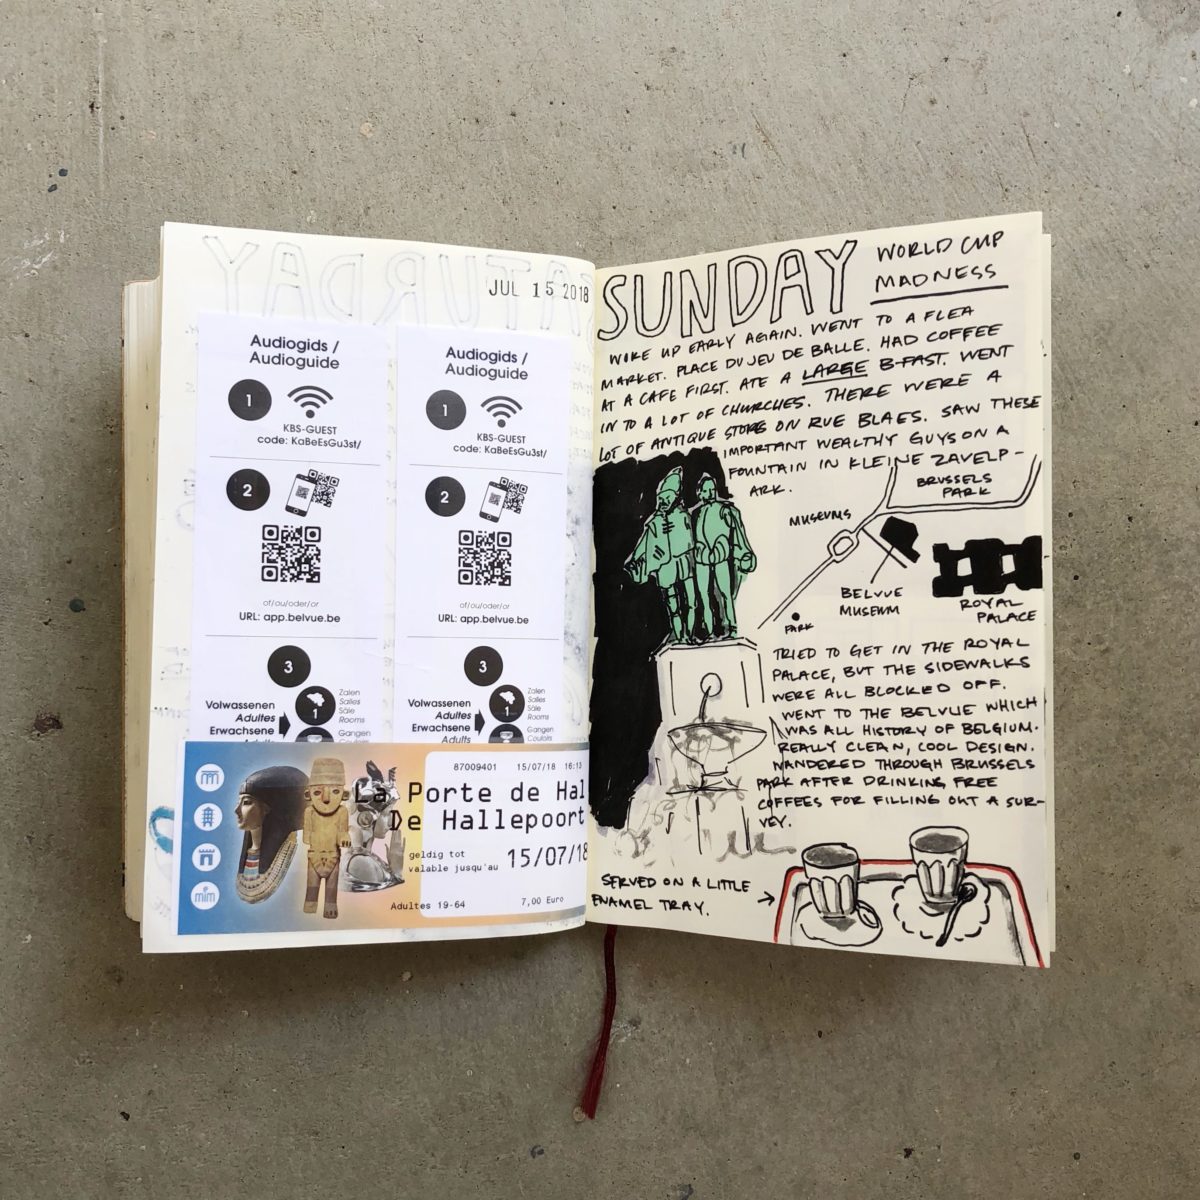
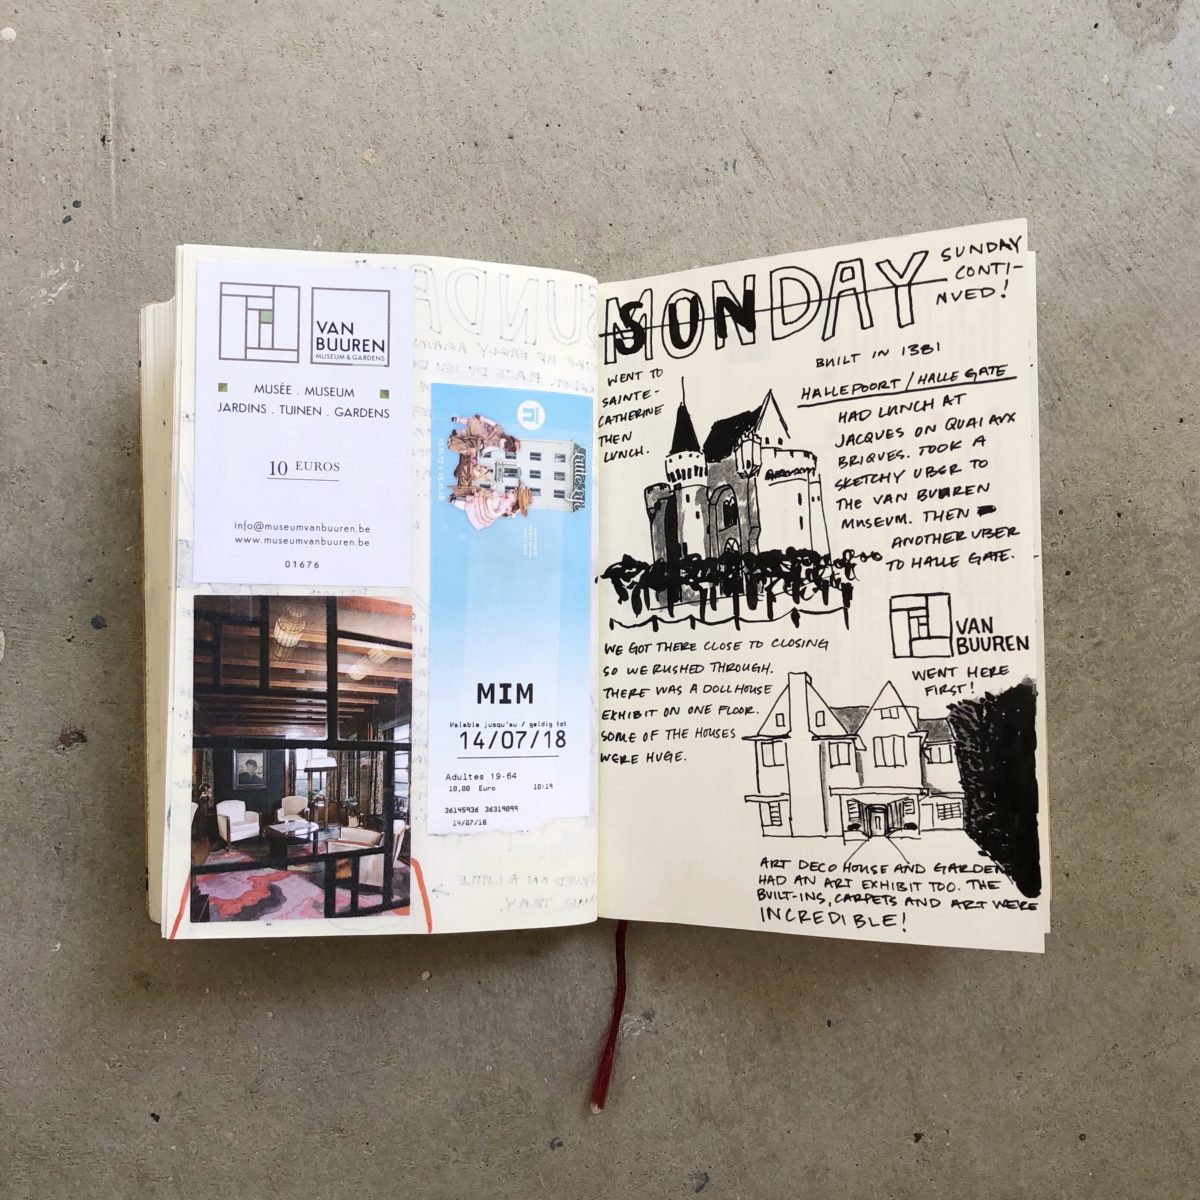
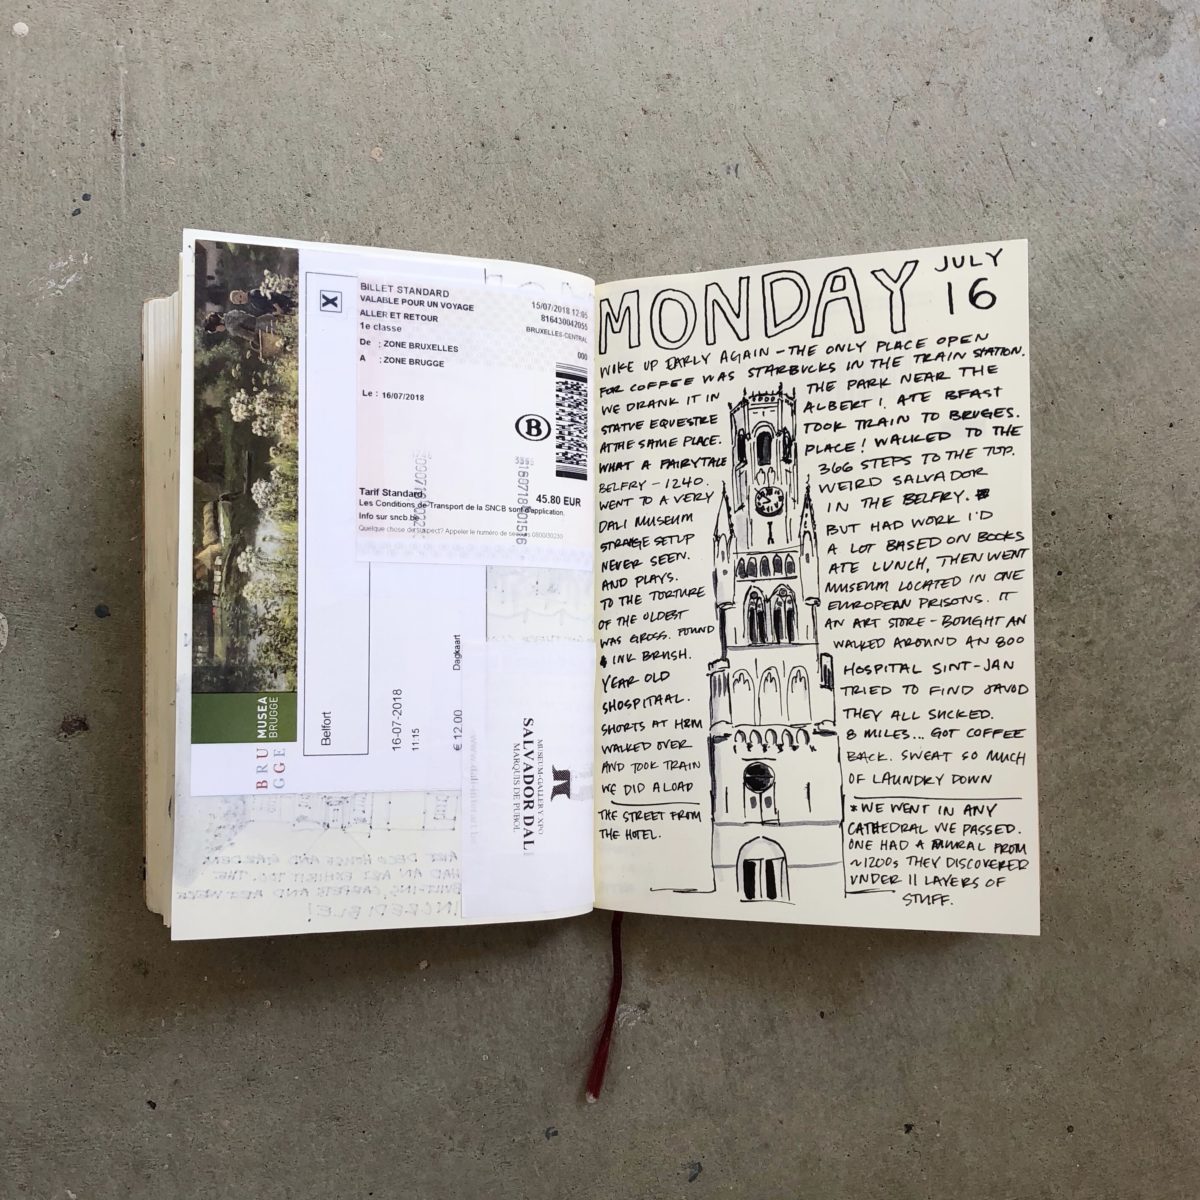
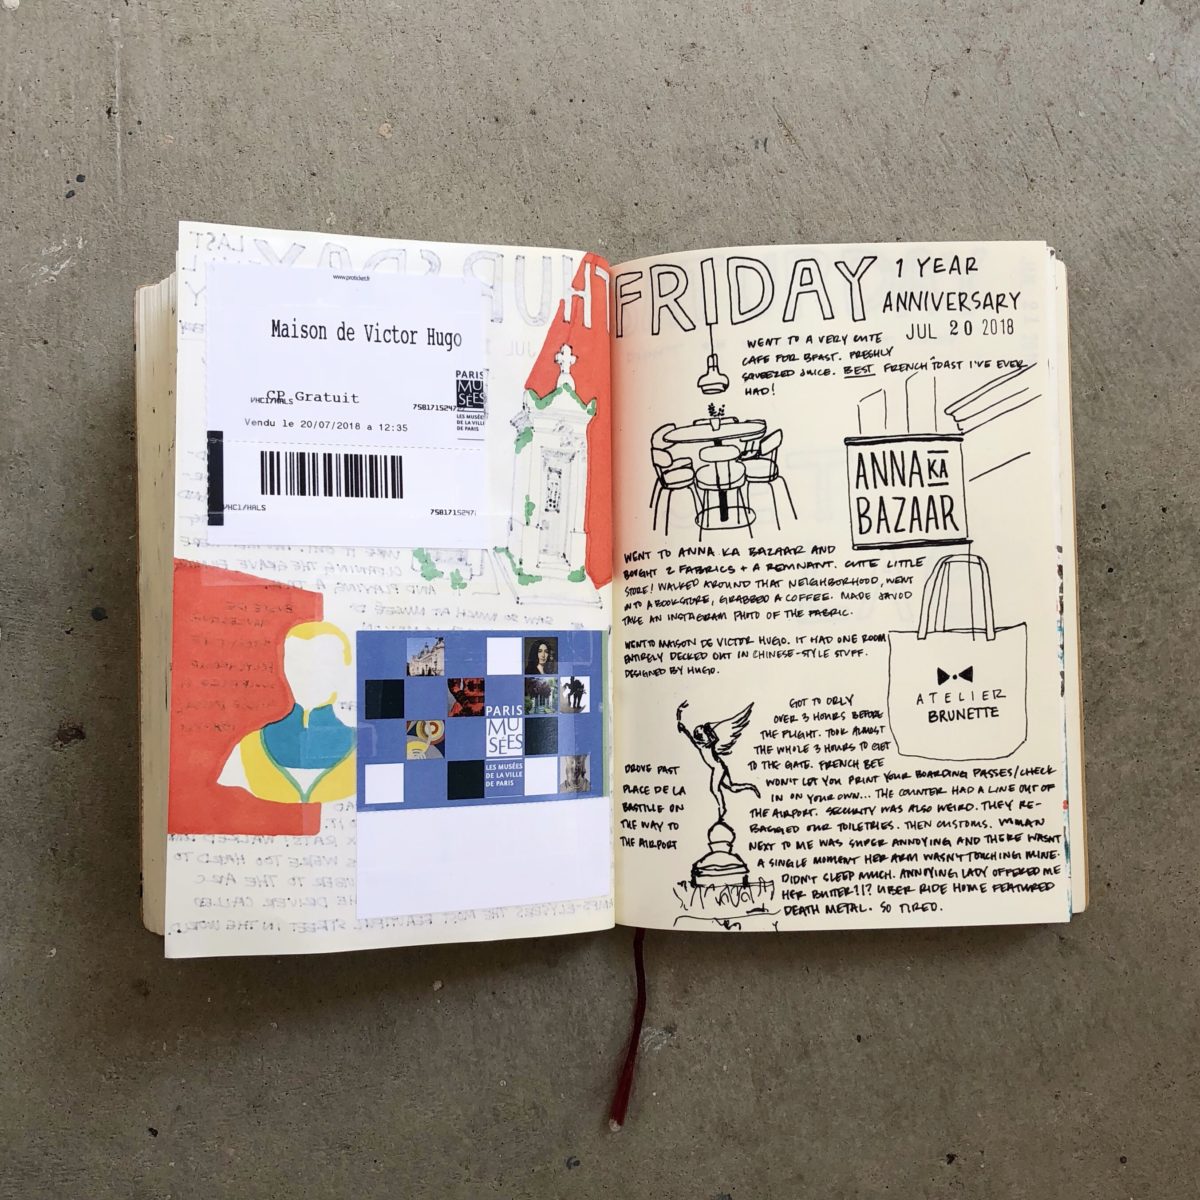
My main goal for 2018 was to Draw More. It wasn’t until mid-May and after re-reading Austin Kleon‘s book, Steal Like An Artist, that I was able to figure out how to make it an almost daily thing. I’m so glad I started this practice. I’m so humbled by the challenge of keeping it up, especially when traveling.
These pages include our trip to Belgium and France:
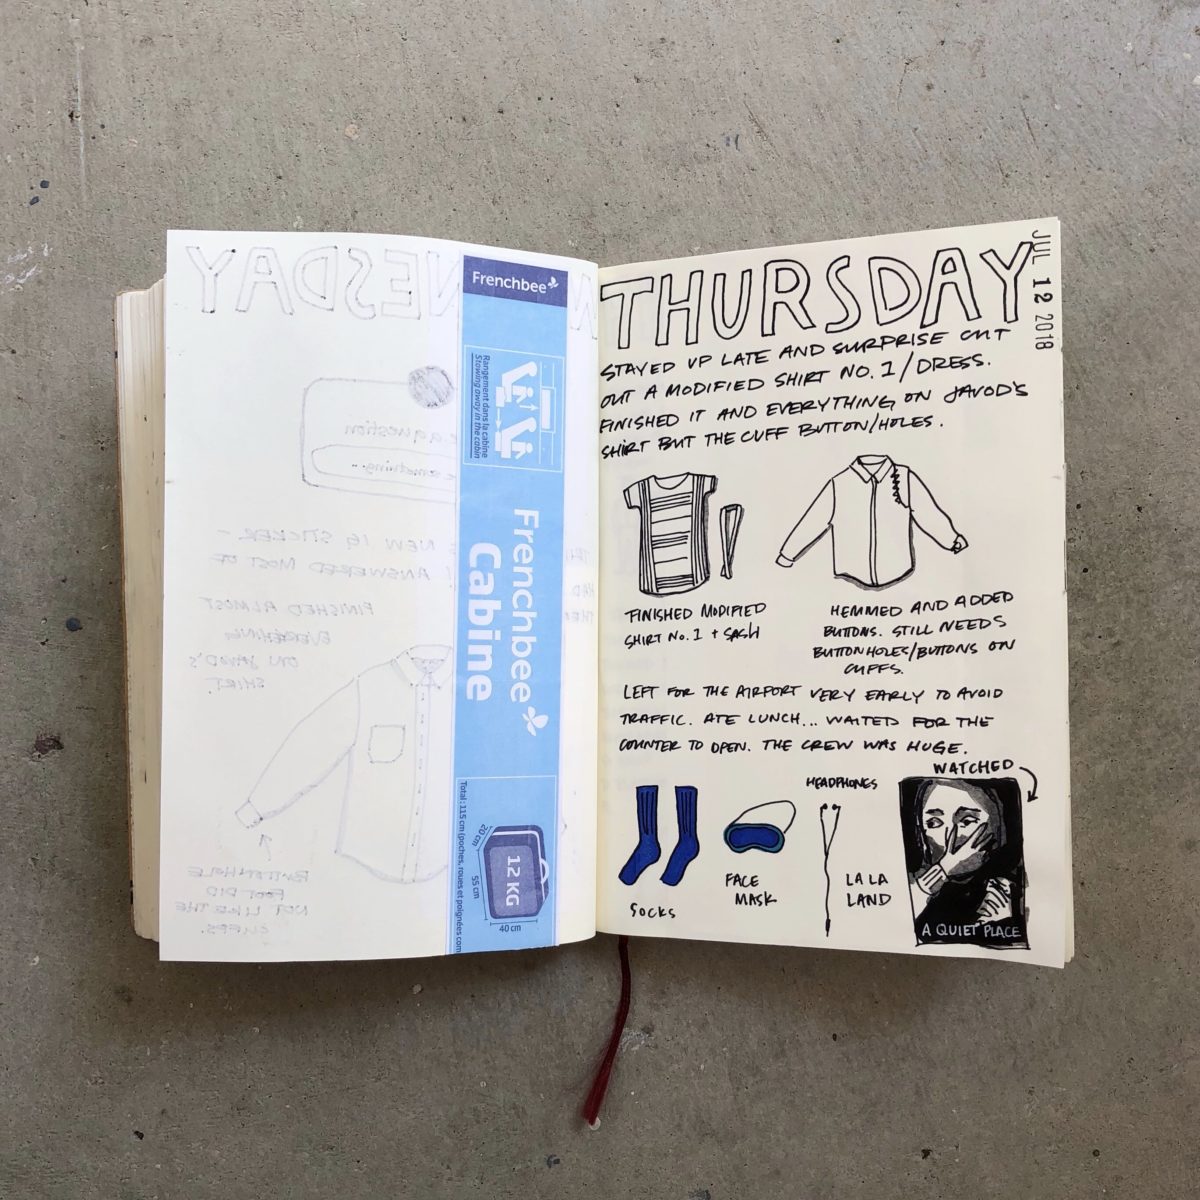
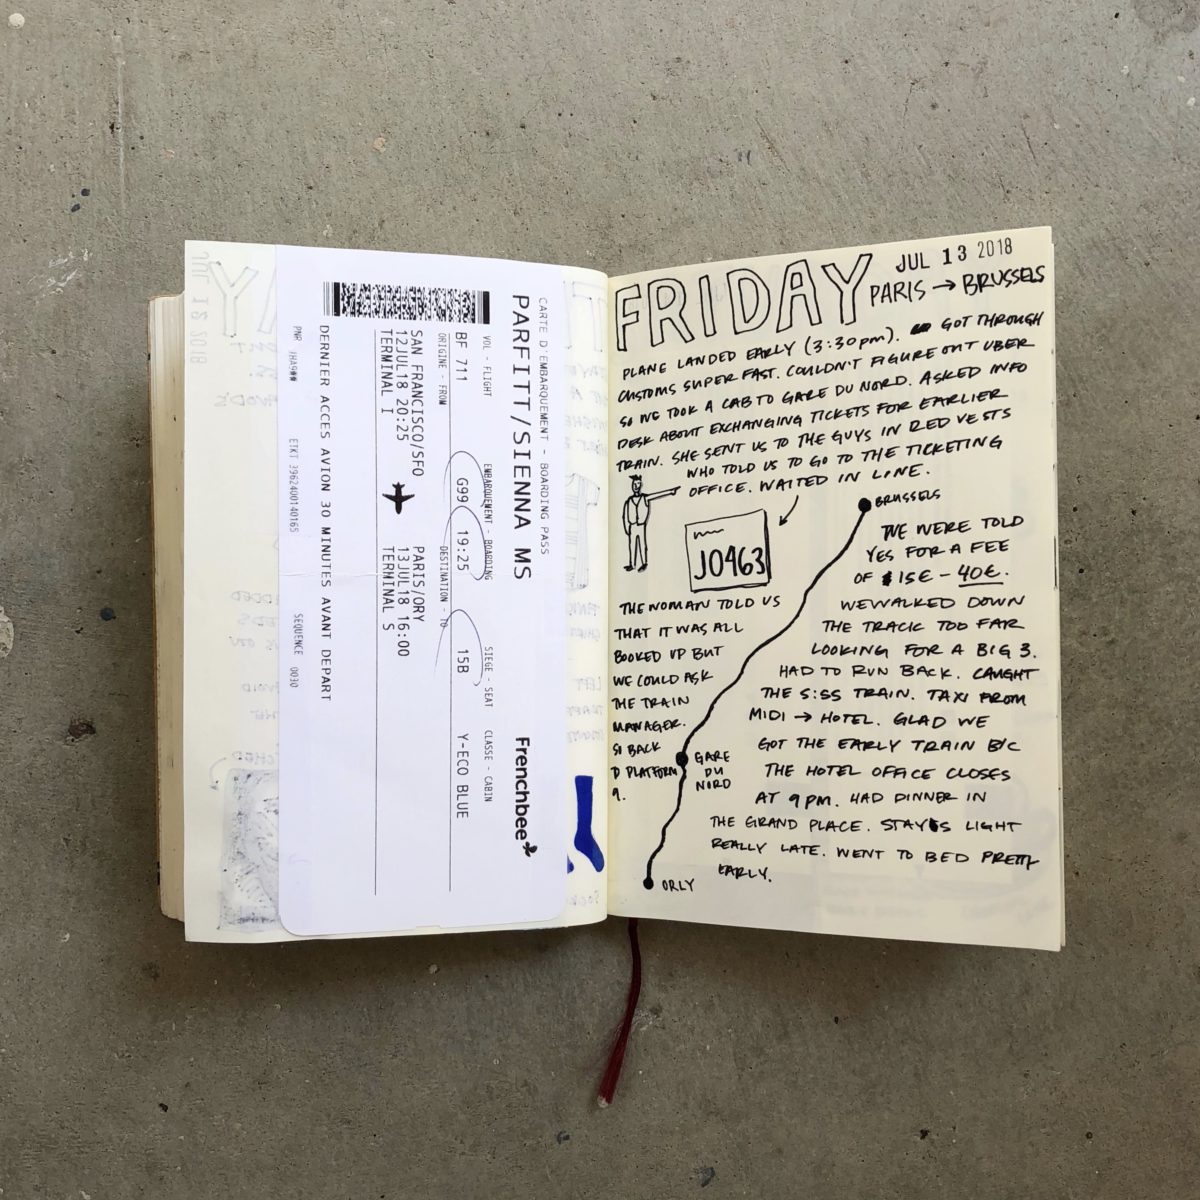
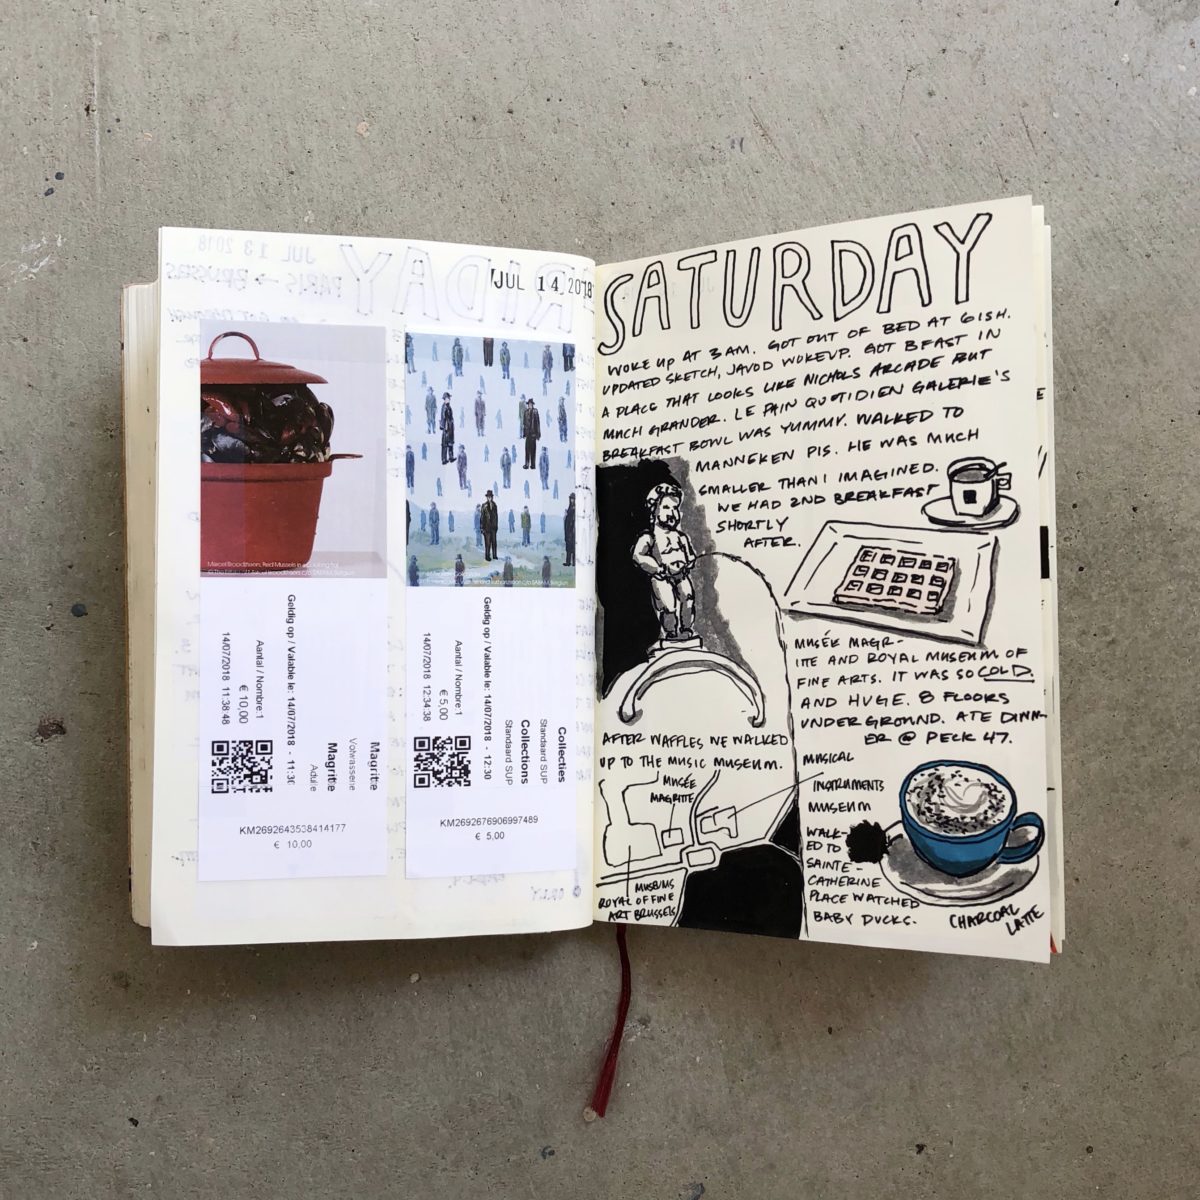
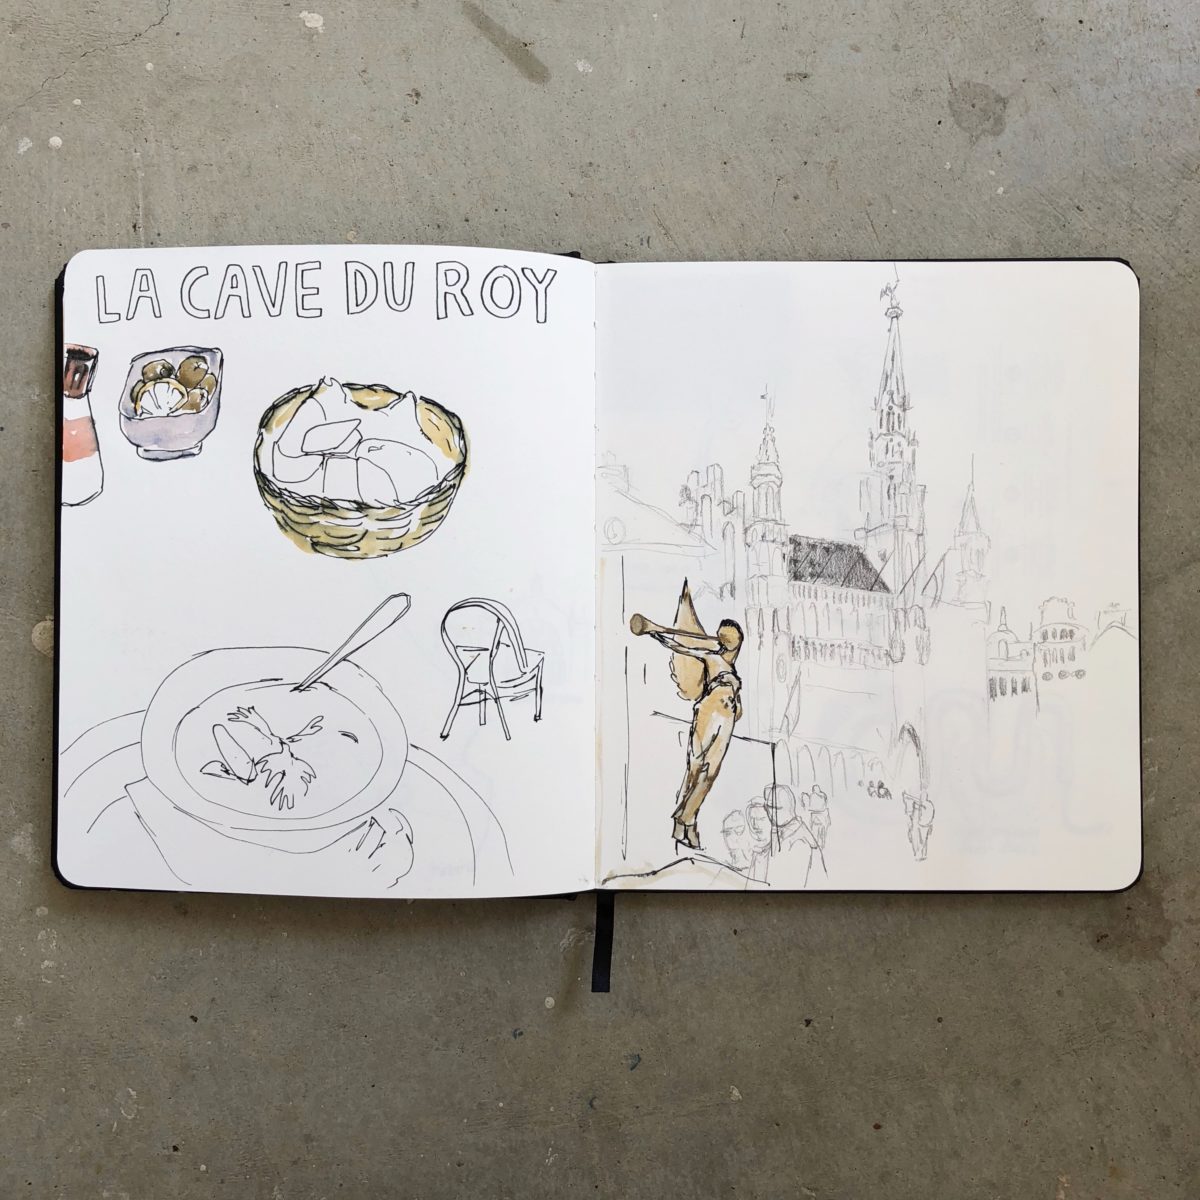
I didn’t bust out my Shinola Sketchbook as much as I thought I would. BUT I did draw a few things and that’s a win.


I had a huge boost in sewing productivity this summer break. Once I’d cranked out a few pieces, the idea to create an entire summer travel capsule for our honeymoon overwhelmed my time off.
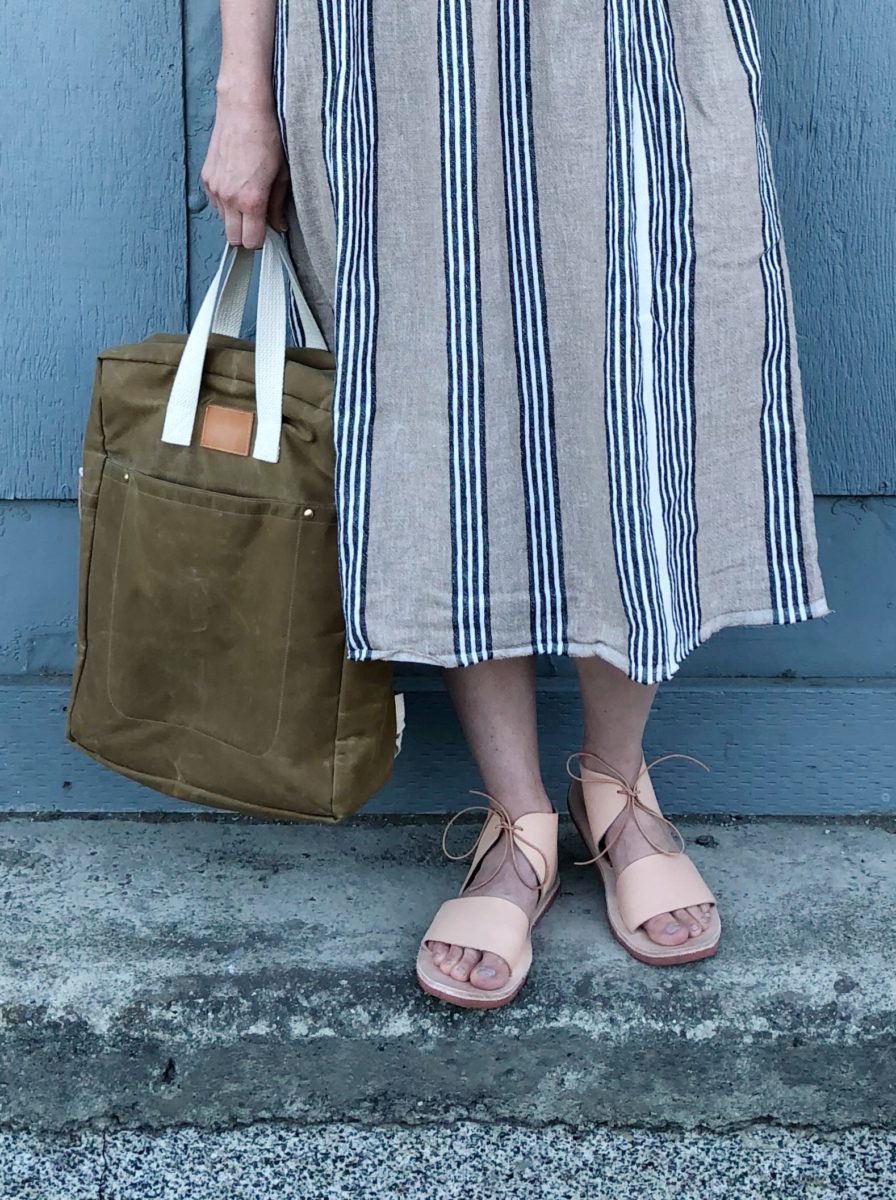
Day 1 | Thursday/Friday | SFO to Paris to Brussels
Modified Shirt No. 1 with sash and Making Backpack.

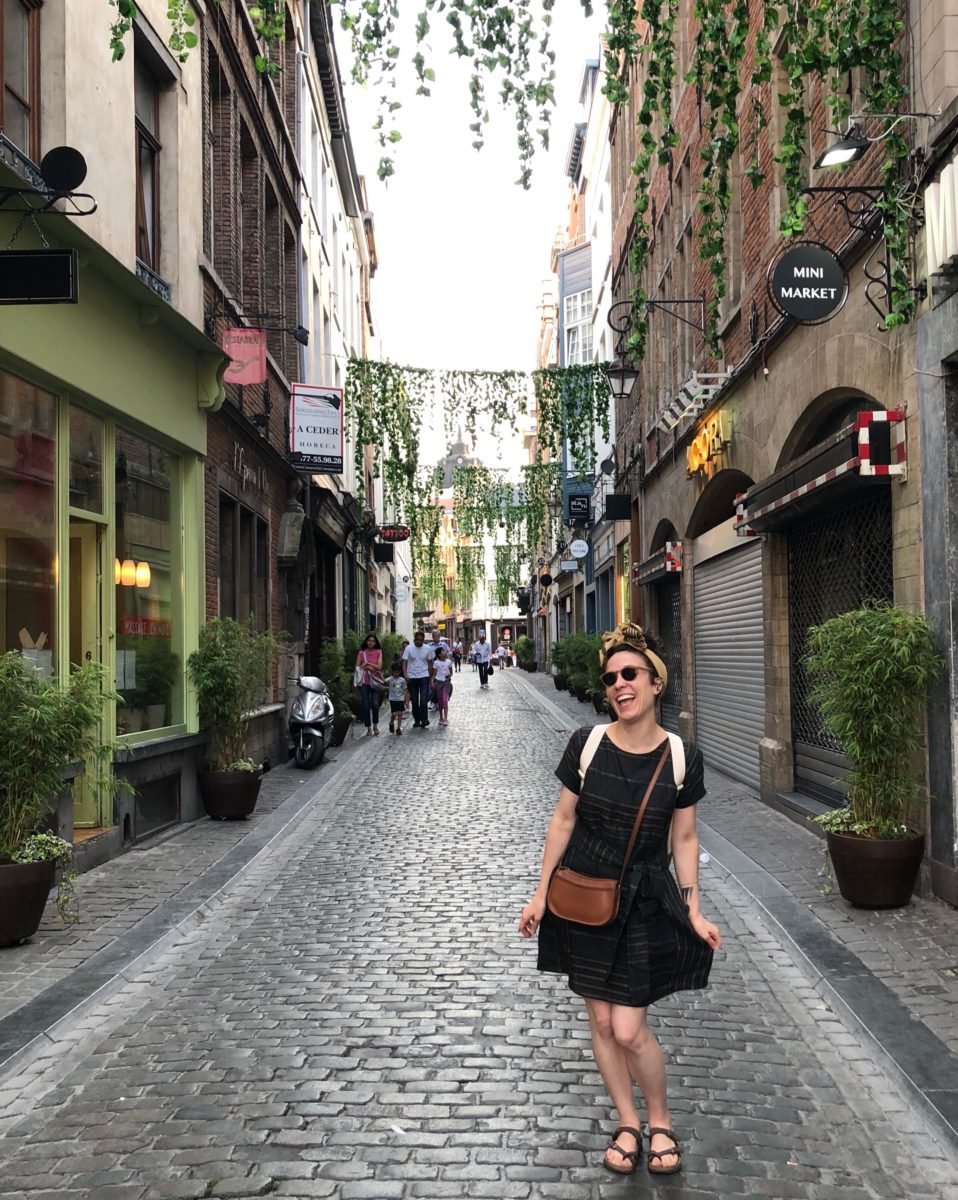
Day 2 | Saturday | Brussels
Maya Top with cuffs, self-drafted linen culottes, and Making Backpack.
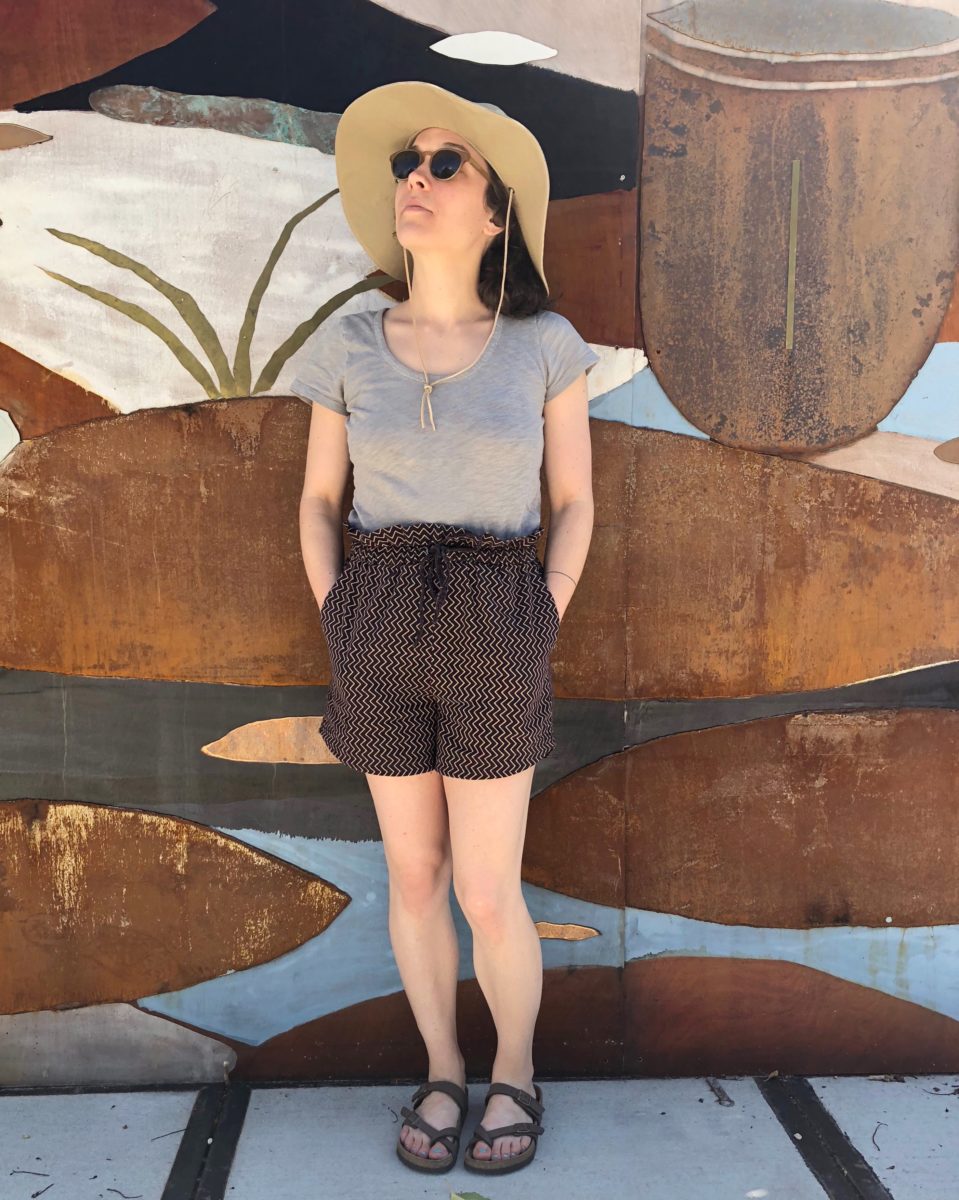
Day 3 | Sunday | Brussels
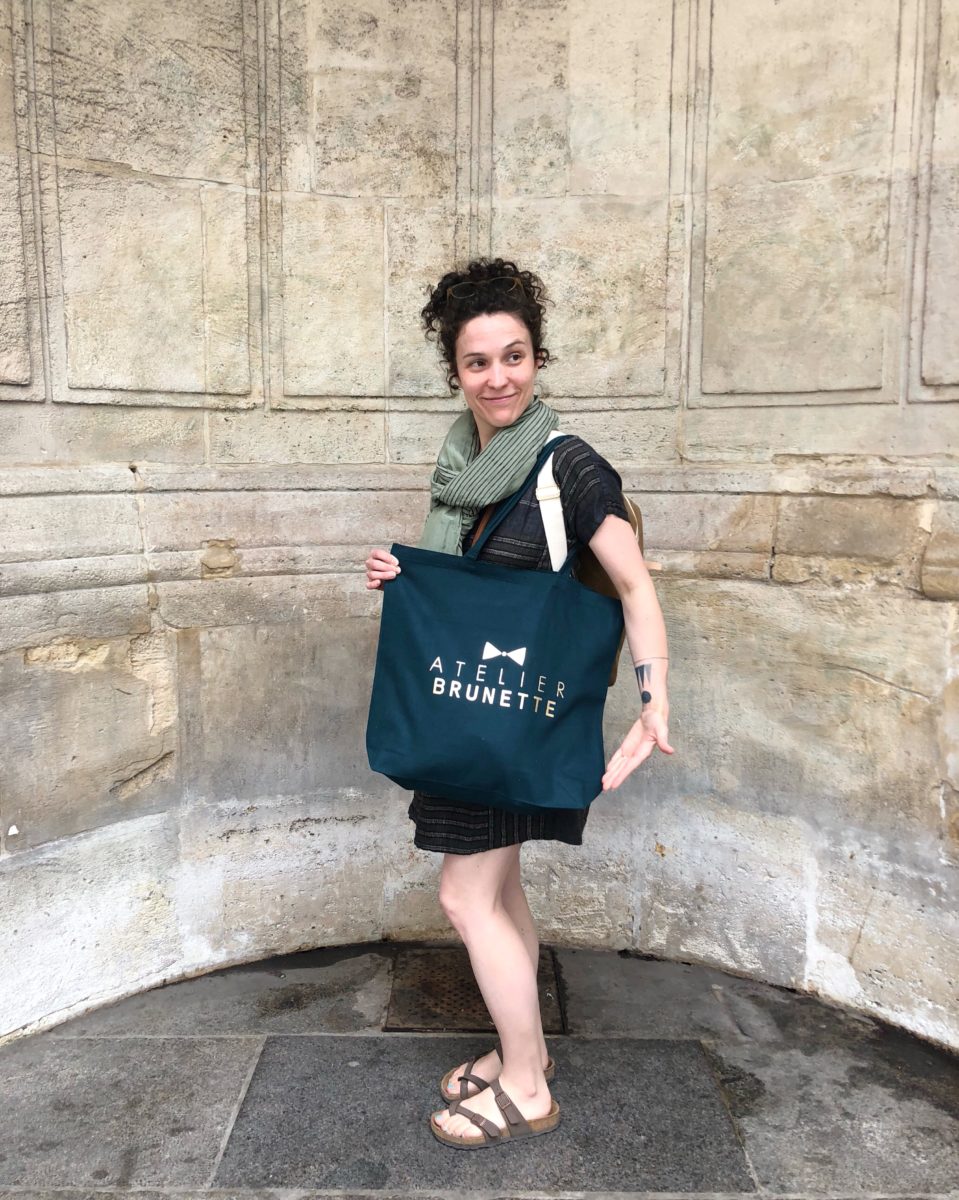
Peppermint Magazine Drawstring Shorts and Set Sail Hat.

Day 4 | Monday | Bruges
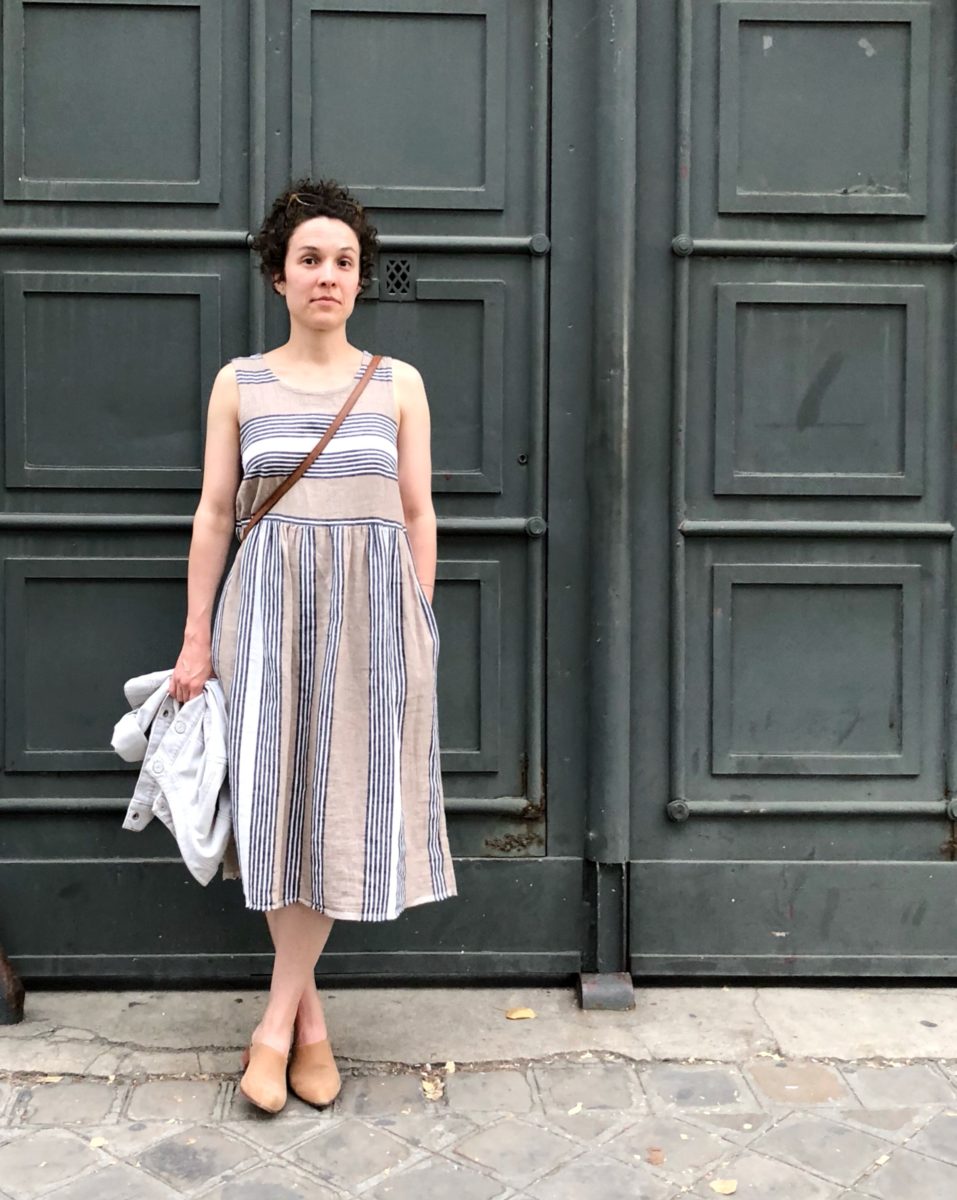
Modified Shirt No. 1 dress and Making Backpack.
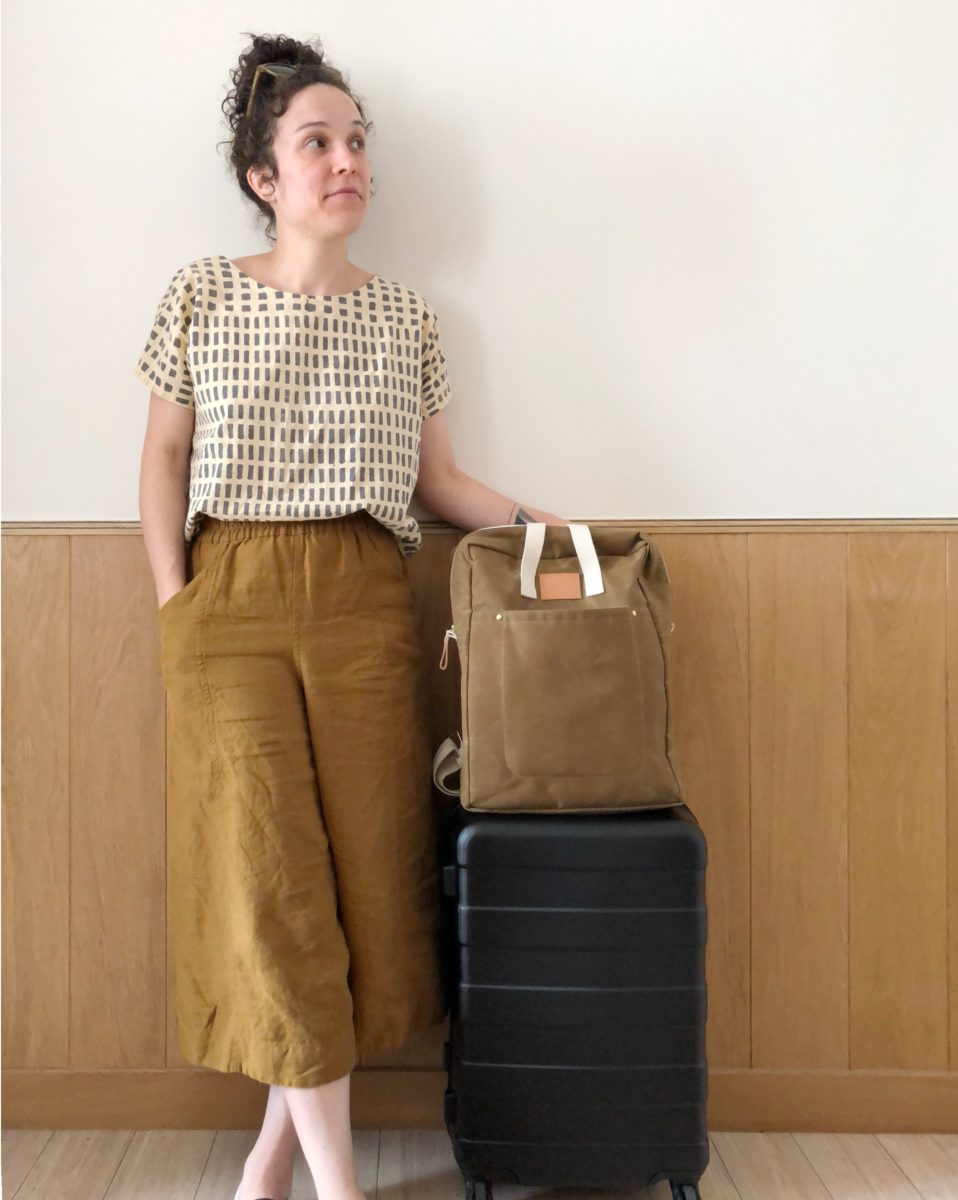
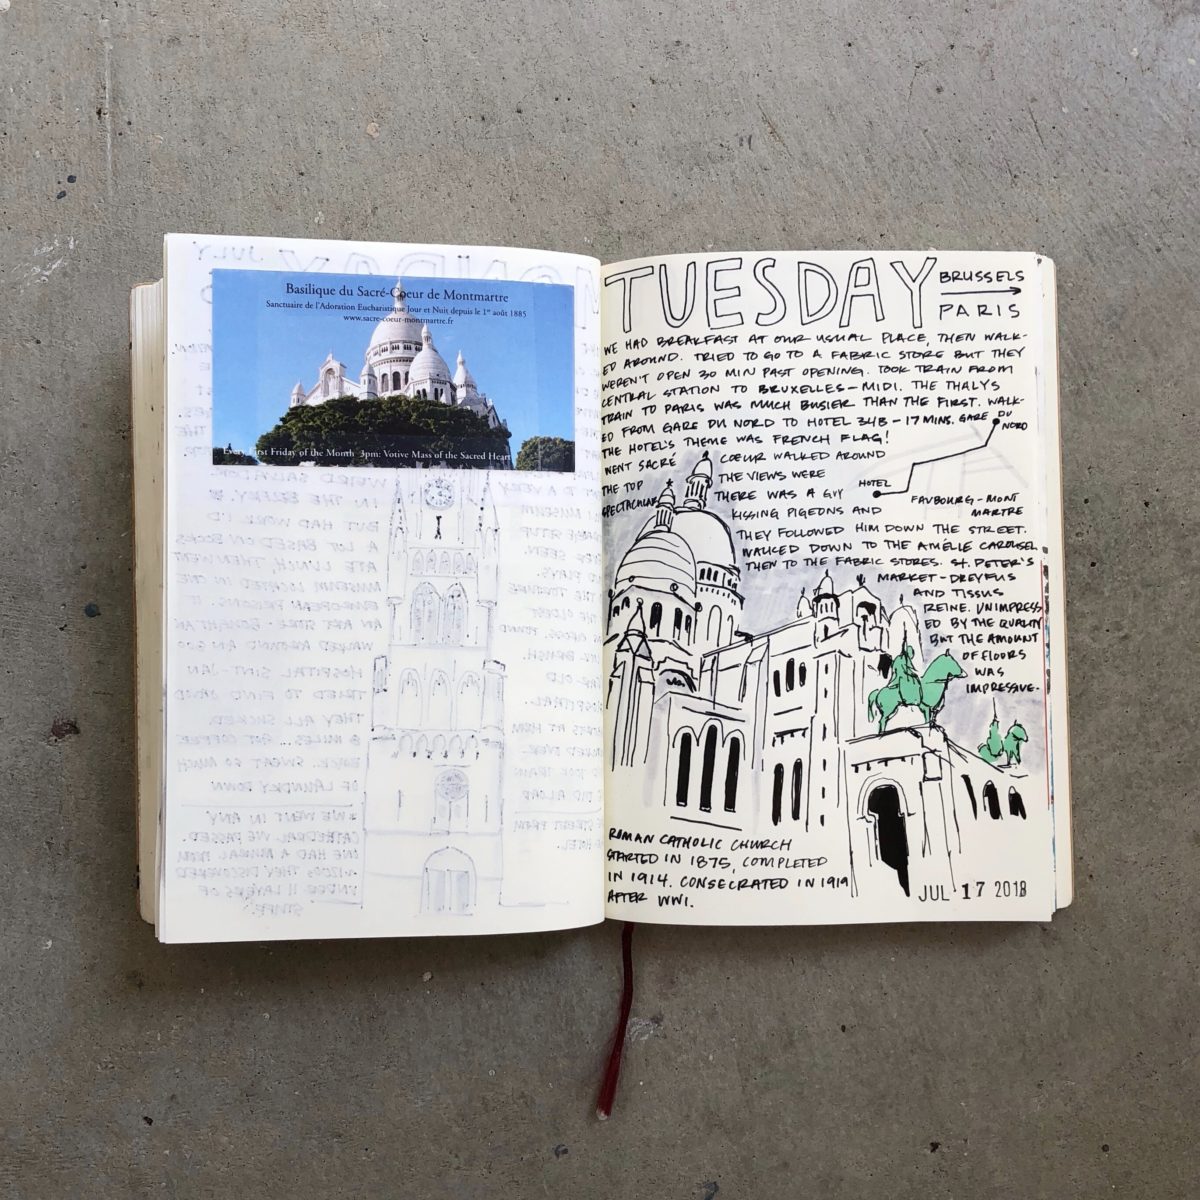
Day 5 | Tuesday | Brussels to Paris
Shirt No. 1, self-drafted linen culottes, and Making Backpack.
![]()
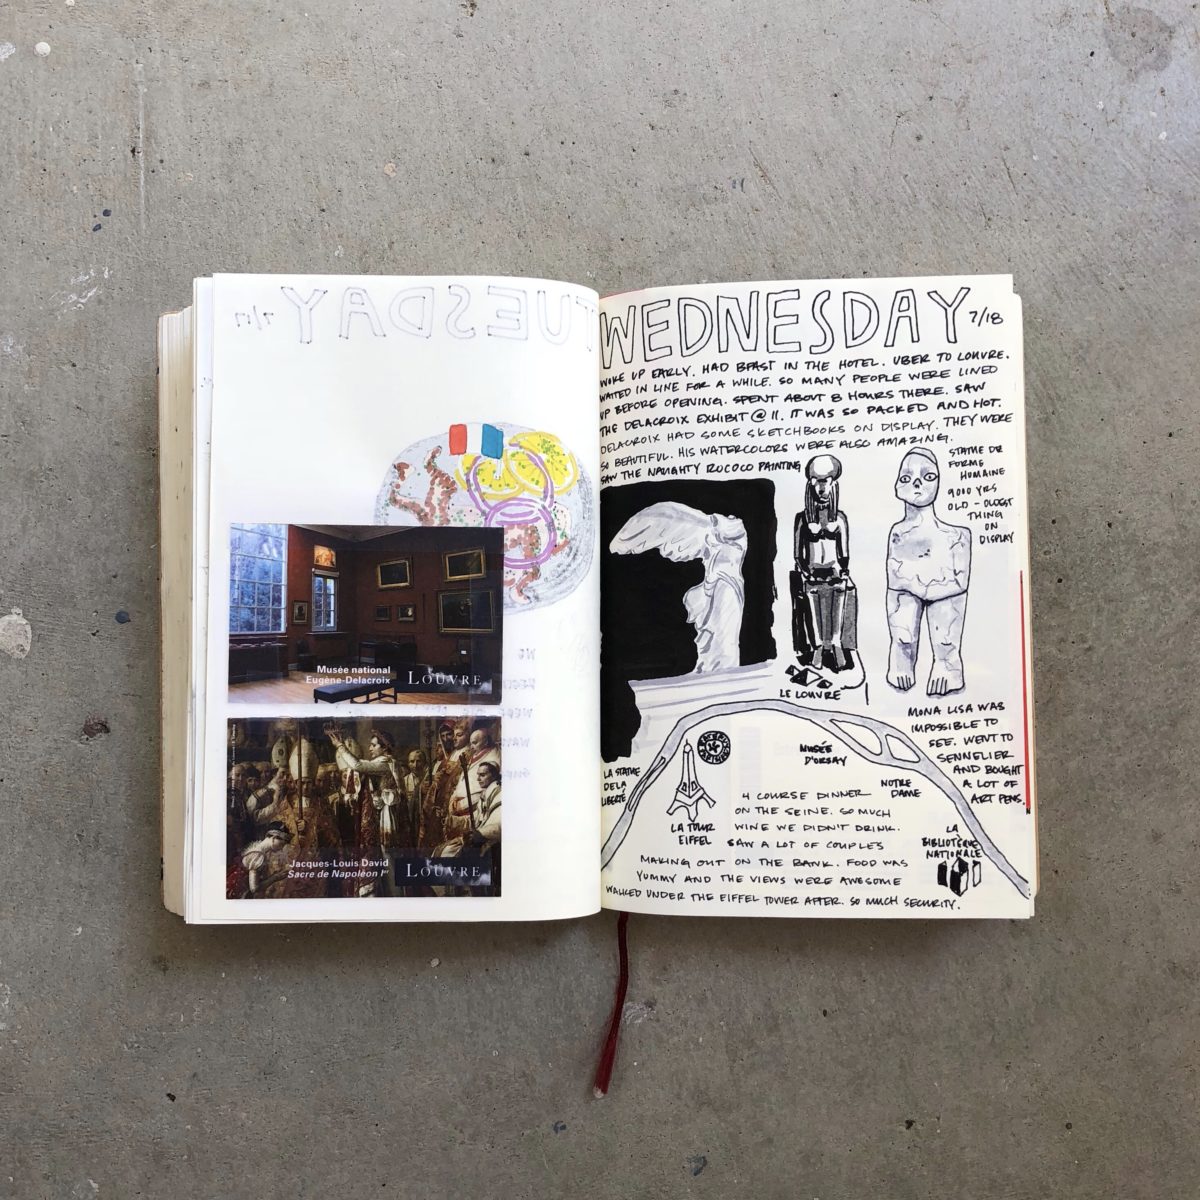
Day 6 | Wednesday | Paris
Maya Top with cuffs over Willow Tank hack dress.

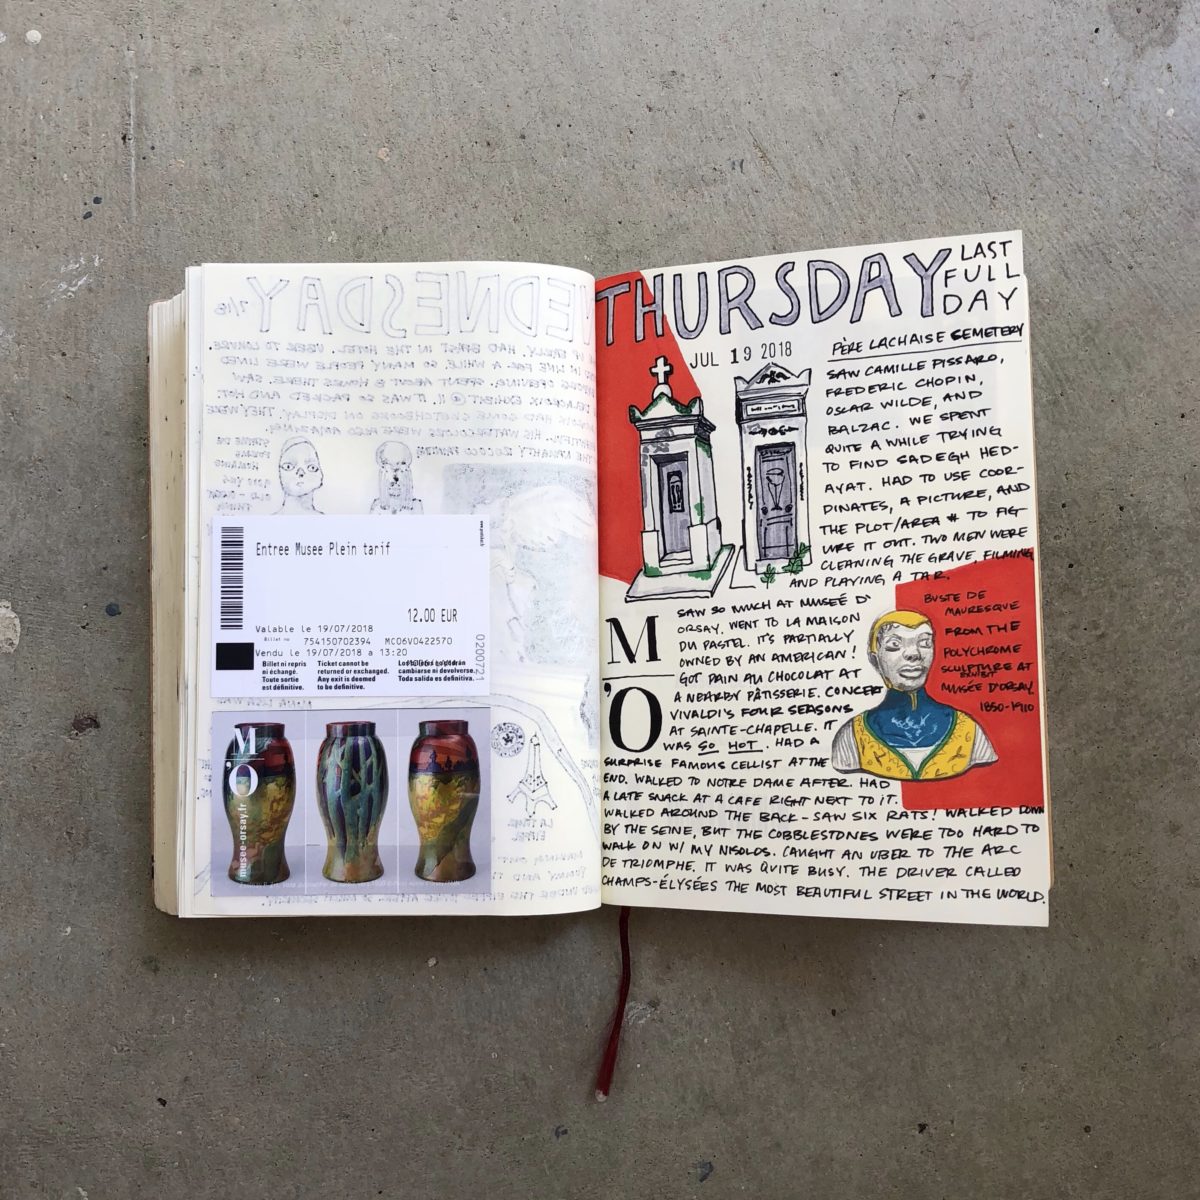
Day 7 | Thursday | Paris
Morning: Cropped Willow Tank, Peppermint Magazine Drawstring Shorts, and Making Backpack.
Day 7 | Thursday | Paris
Evening: Willow Hack Dress.
Day 8 | Friday | Paris to SFO
Modified Shirt No. 1 dress and Making Backpack.
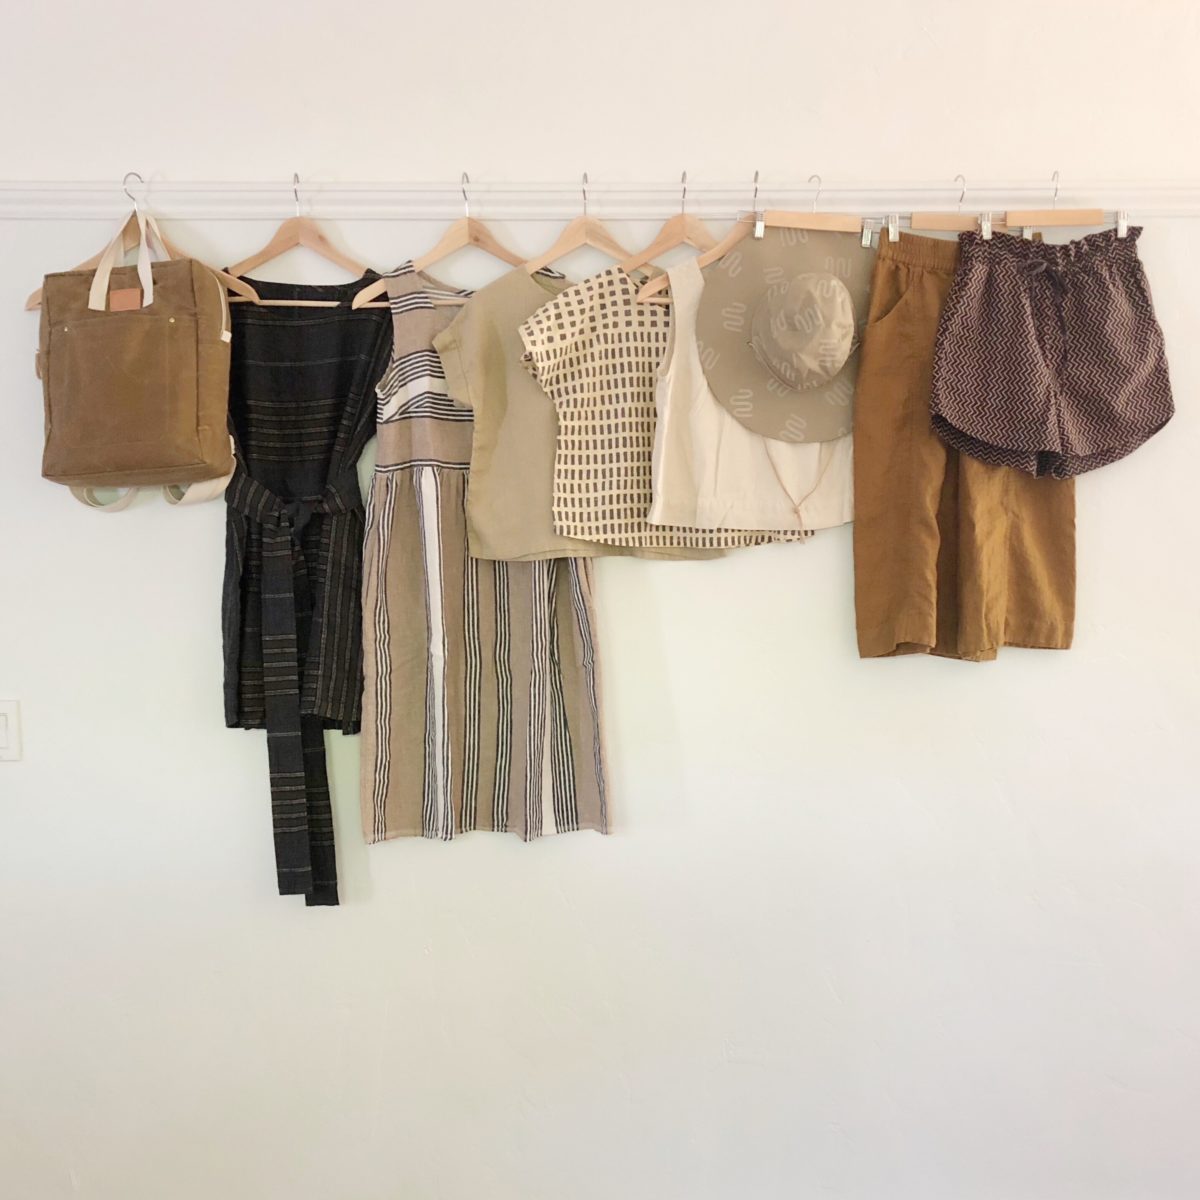
The neutral color palette allowed for a decent amount of mixing and matching. Four tops, two dresses, culottes, shorts, two scarves, one sun hat, and three pairs of footwear worked out perfectly for eight days. I also brought a RTW jean jacket for cool mornings and evenings.
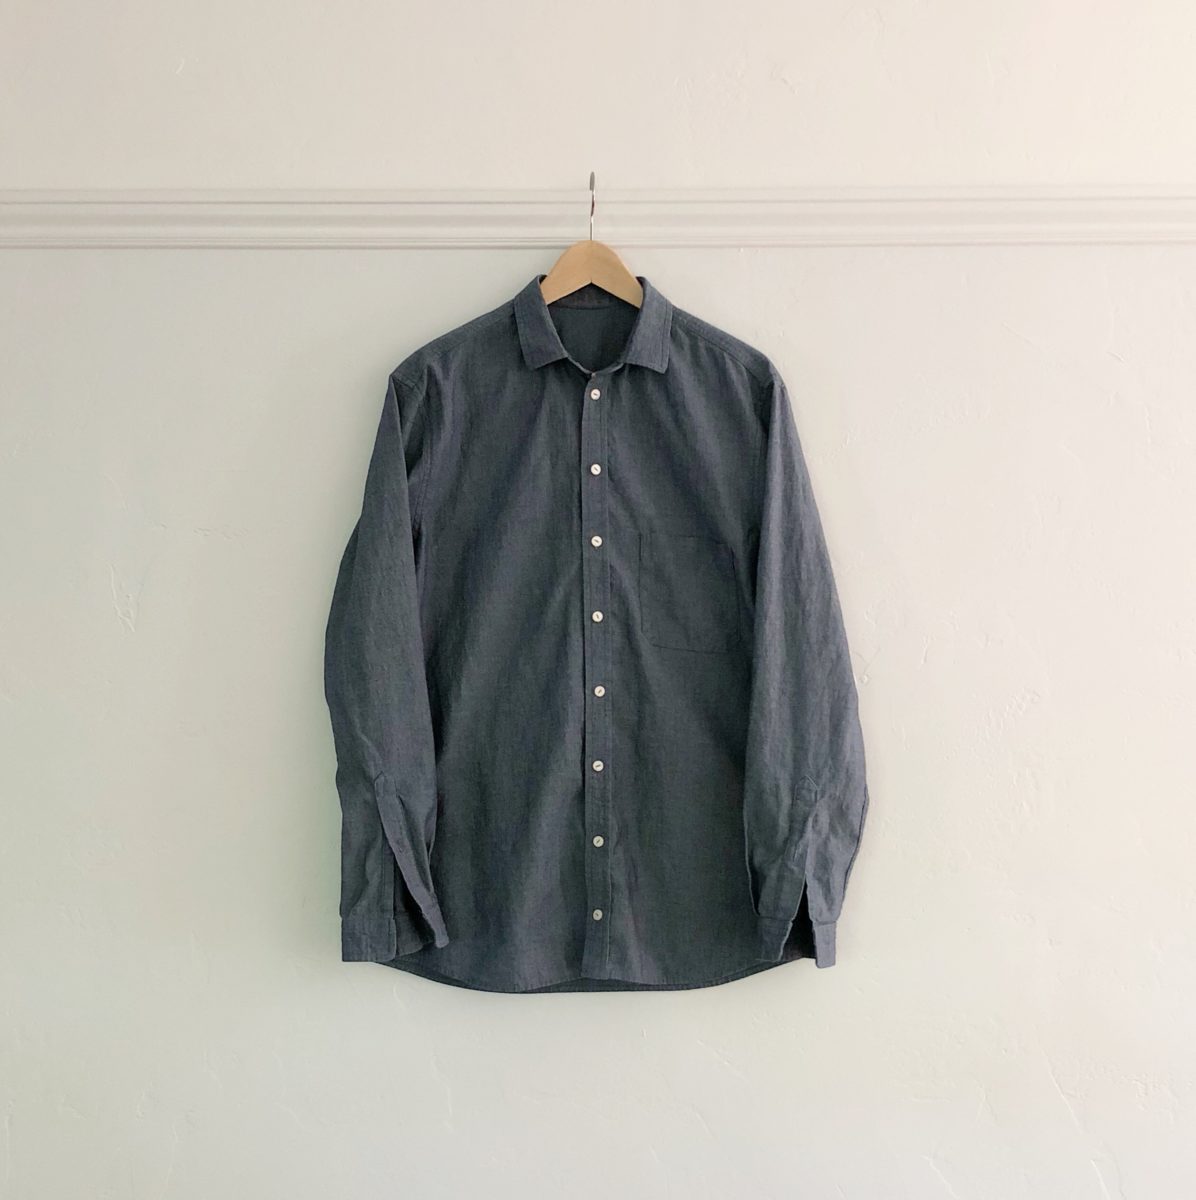
I even made my husband a Fairfield Button-up for the trip! We had two fancier events (dinner on the Seine and Vivaldi’s Four Seasons at Sainte Chapelle) which required more put-together looks. Otherwise I wouldn’t have needed the third pair of shoes. His shirt still needs buttonholes/buttons on the cuffs, but he wears the sleeves rolled up most of the time so it wasn’t a huge deal I couldn’t get them in before the trip.