After years of being mad at knitting, I’m feeling pretty great with these last few projects. And I might even try more complicated patterns soon. I’m looking at you, bobble sweater and fancy cardigan.
I’m still figuring out how to loosen up and “get gauge.” I knit very tightly because my brain tricks me into thinking that’s the “correct way” to do it and that there will be huge holes if I don’t. No clue where these ideas came from.
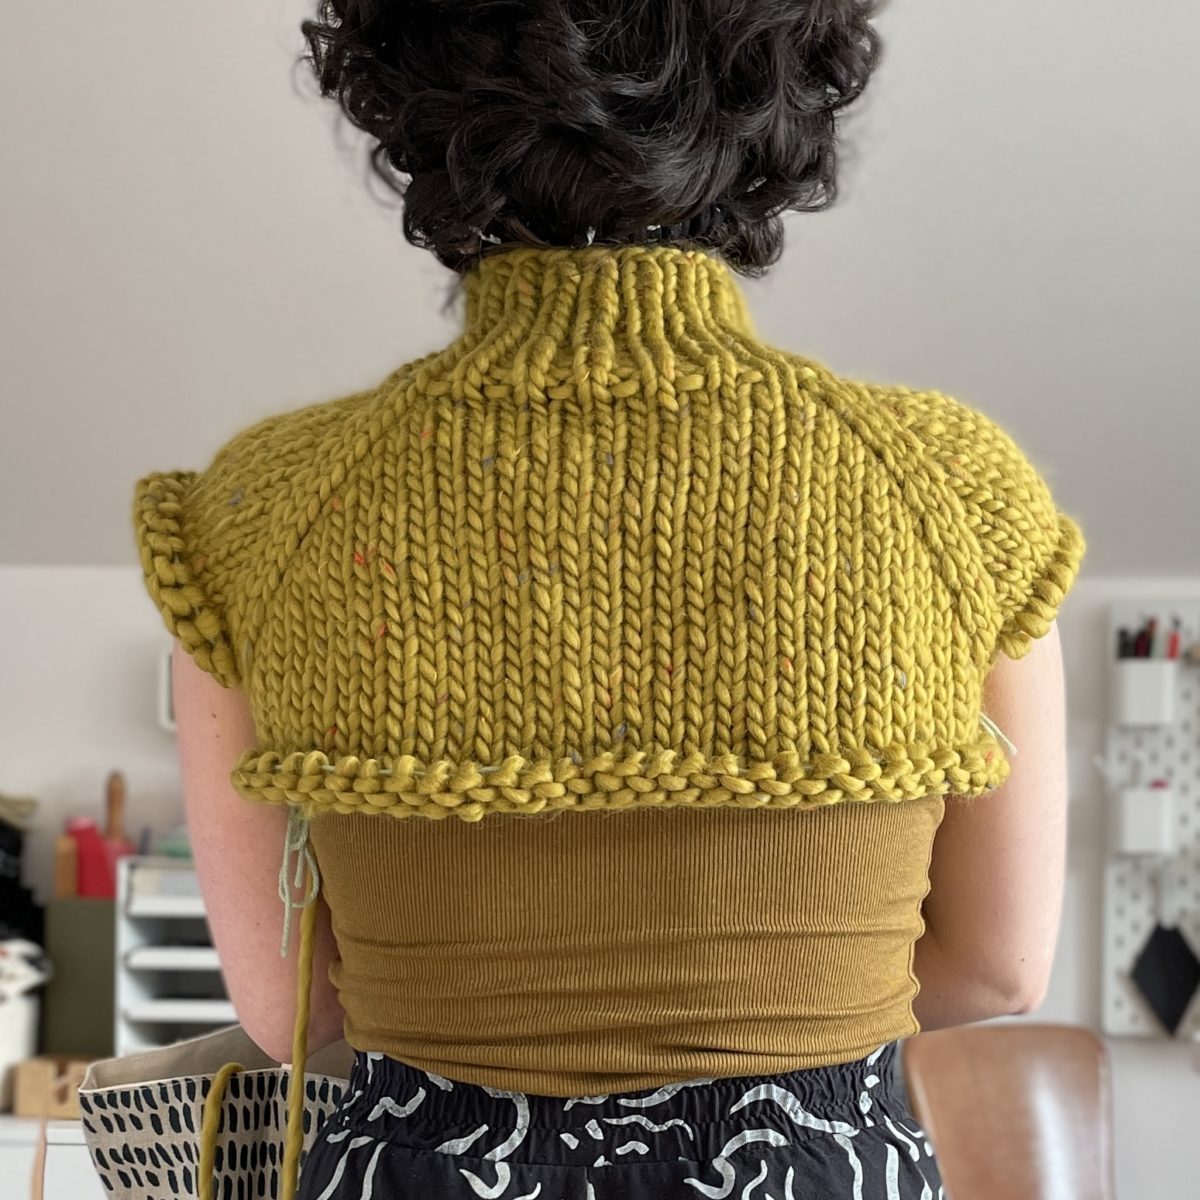
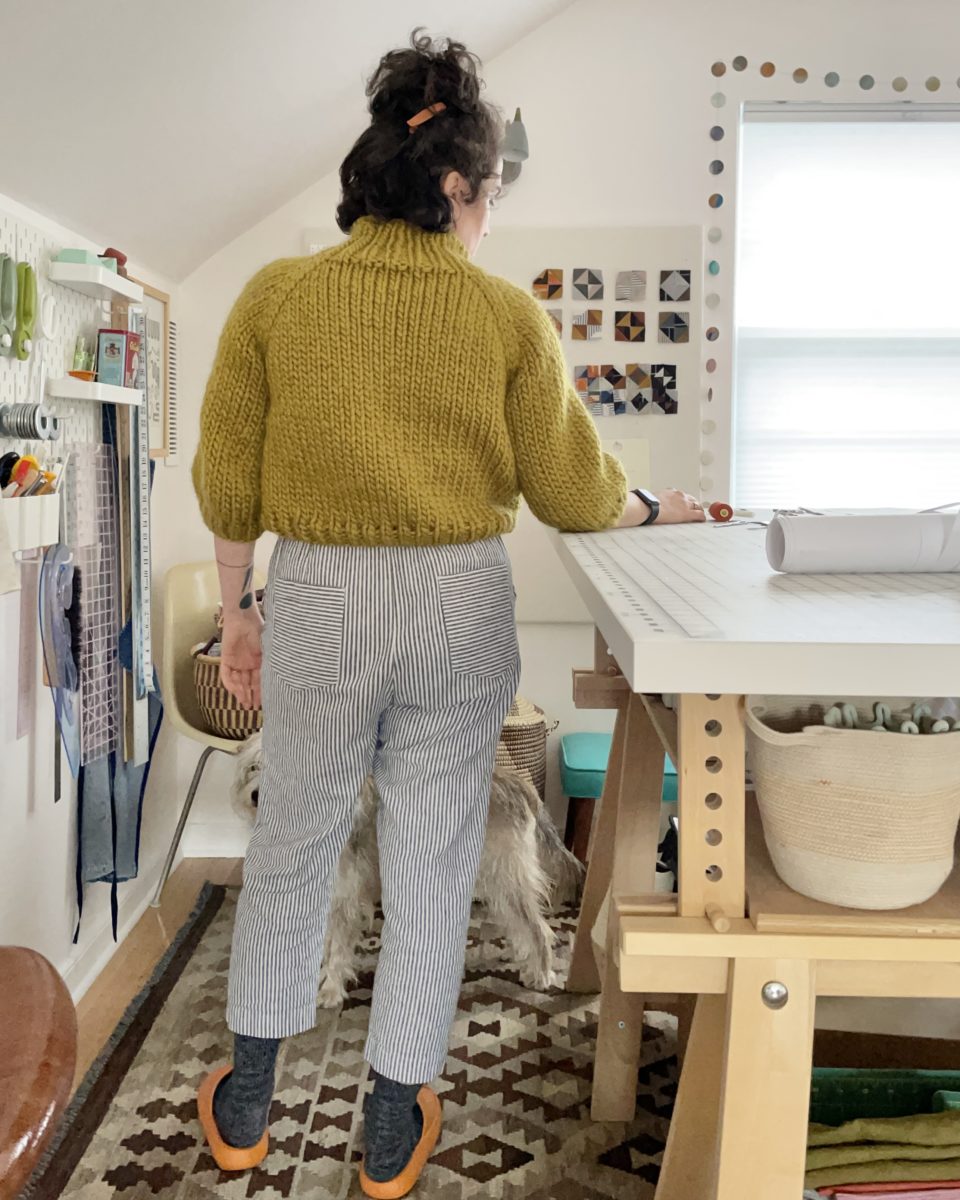
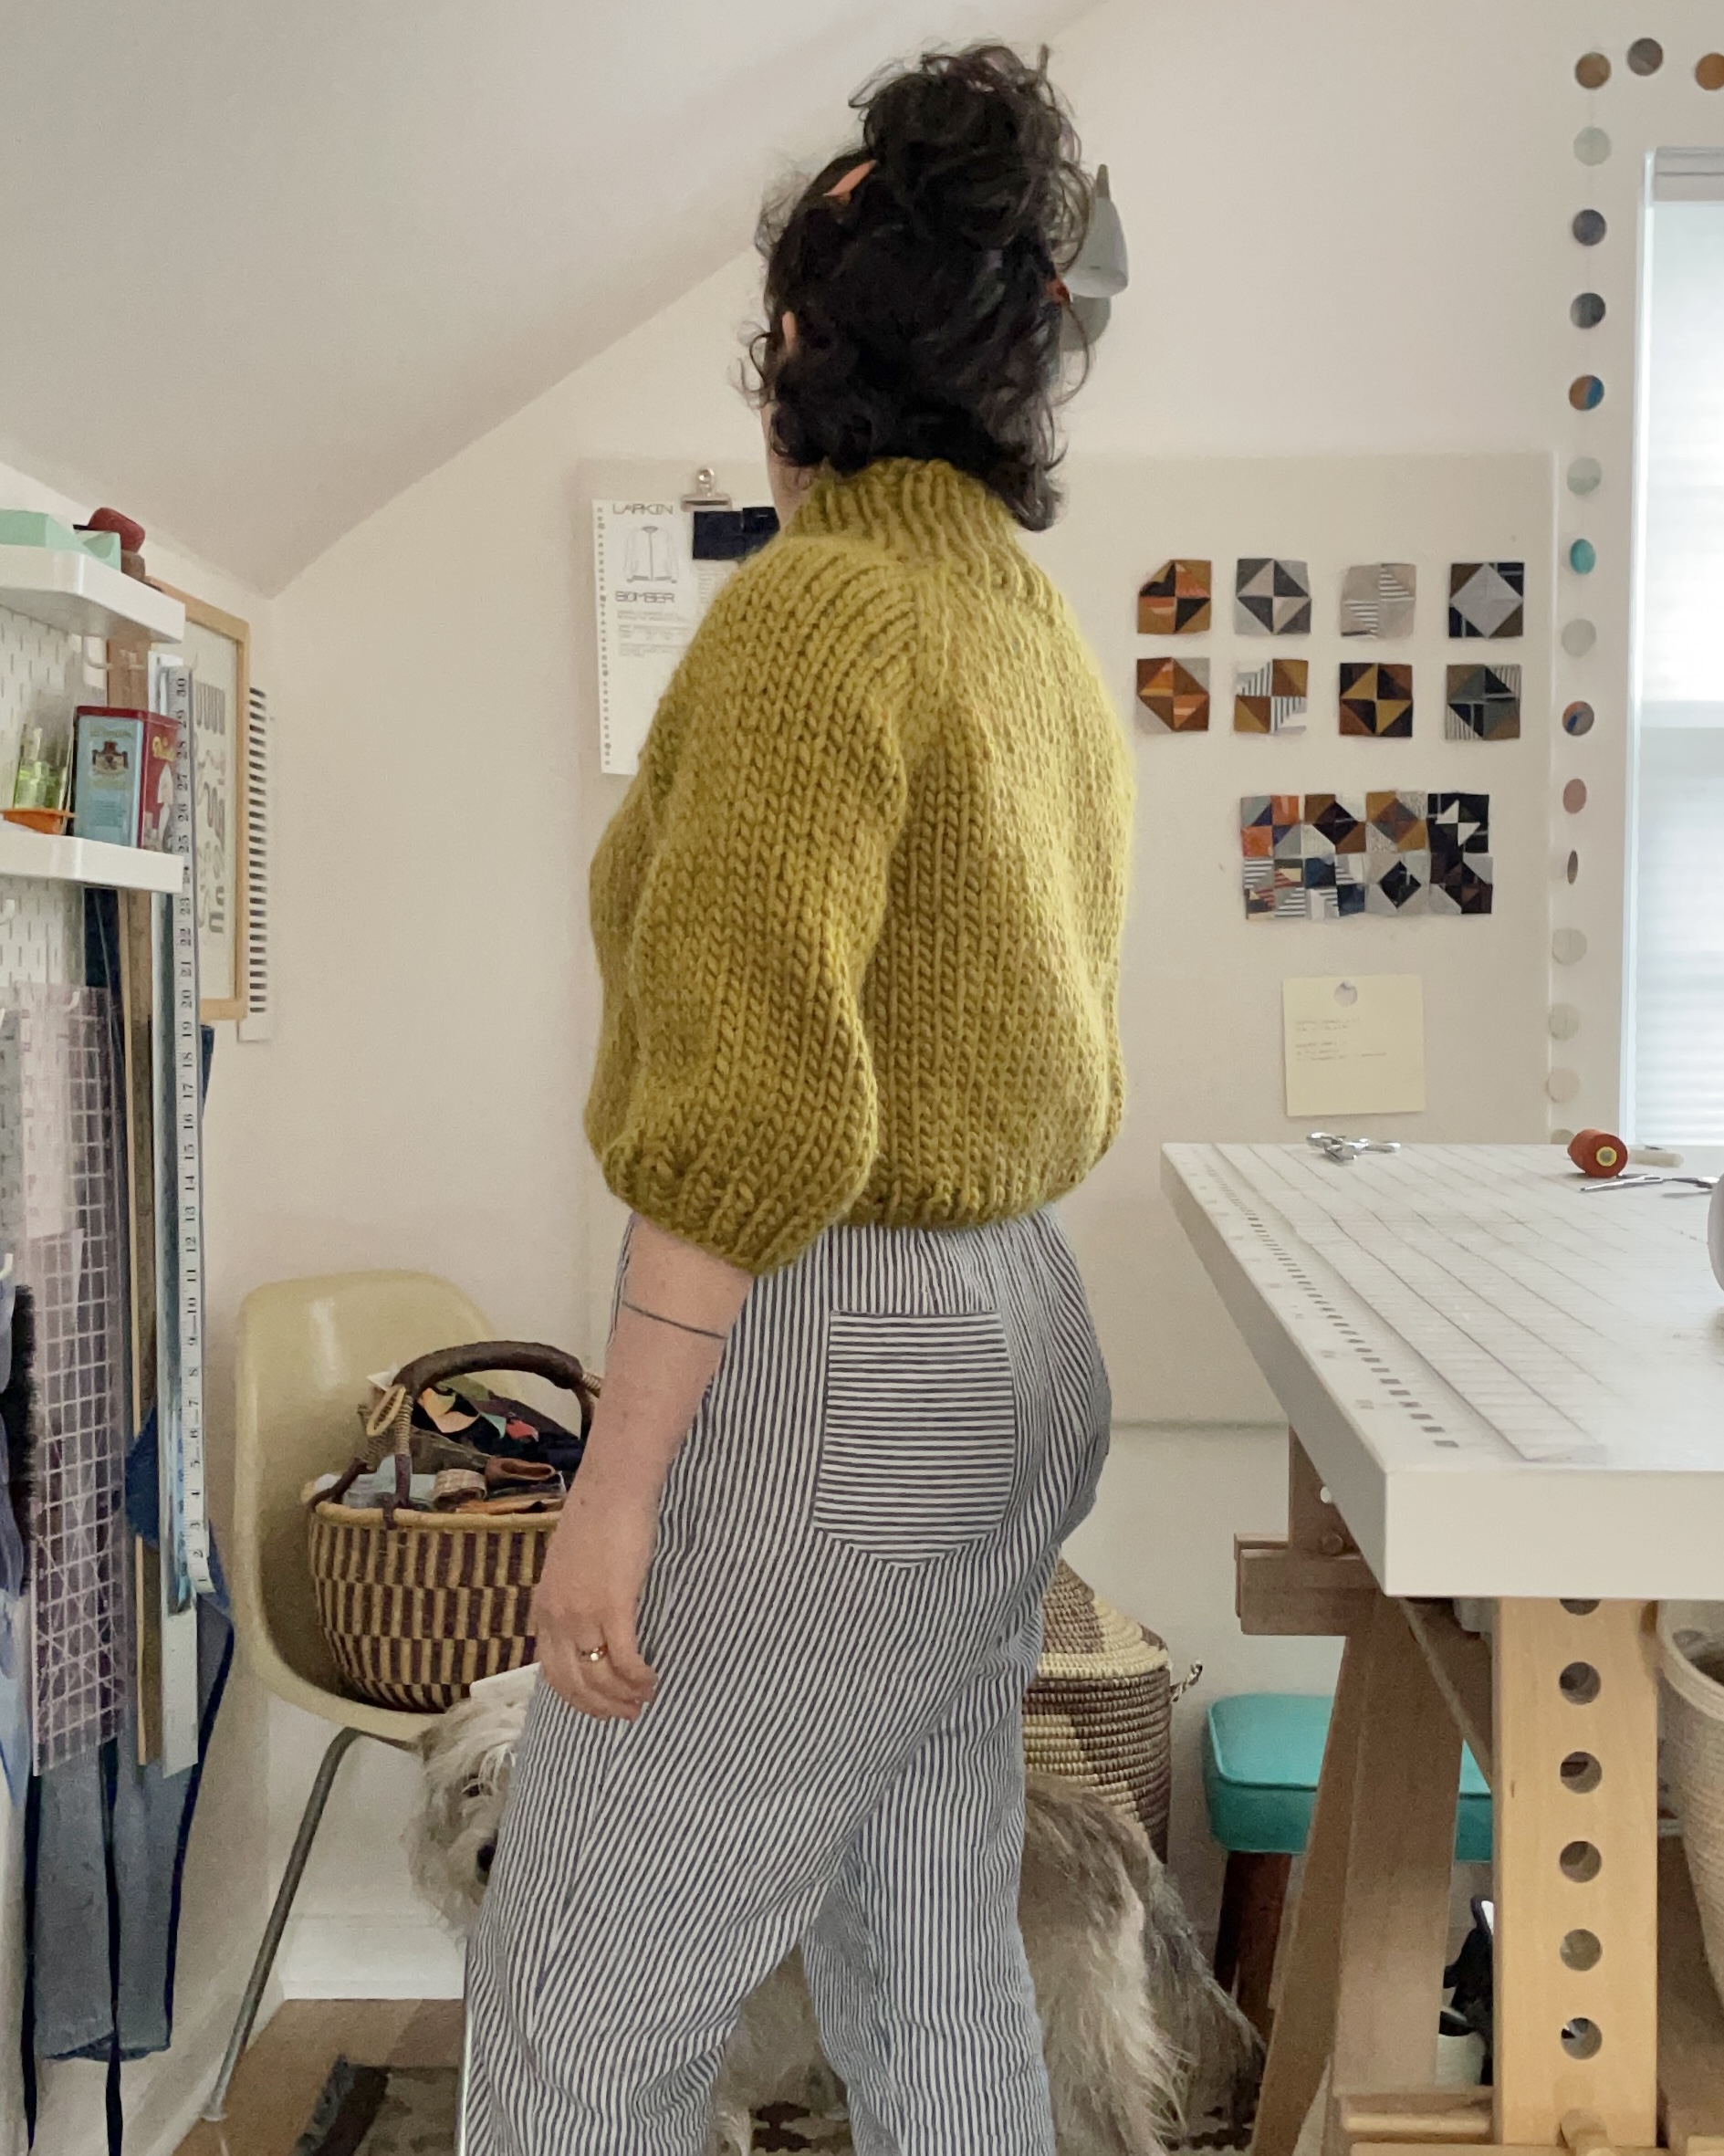
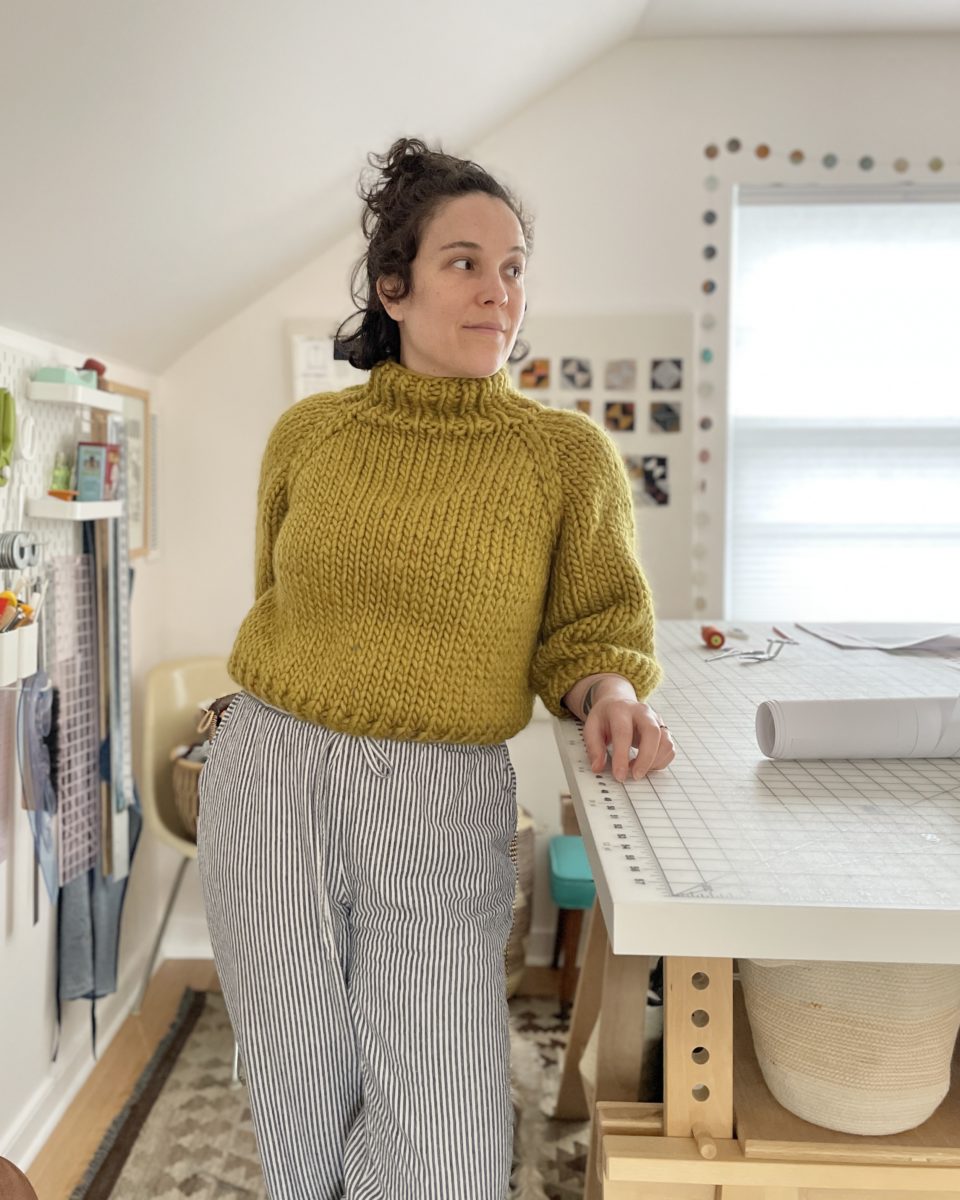
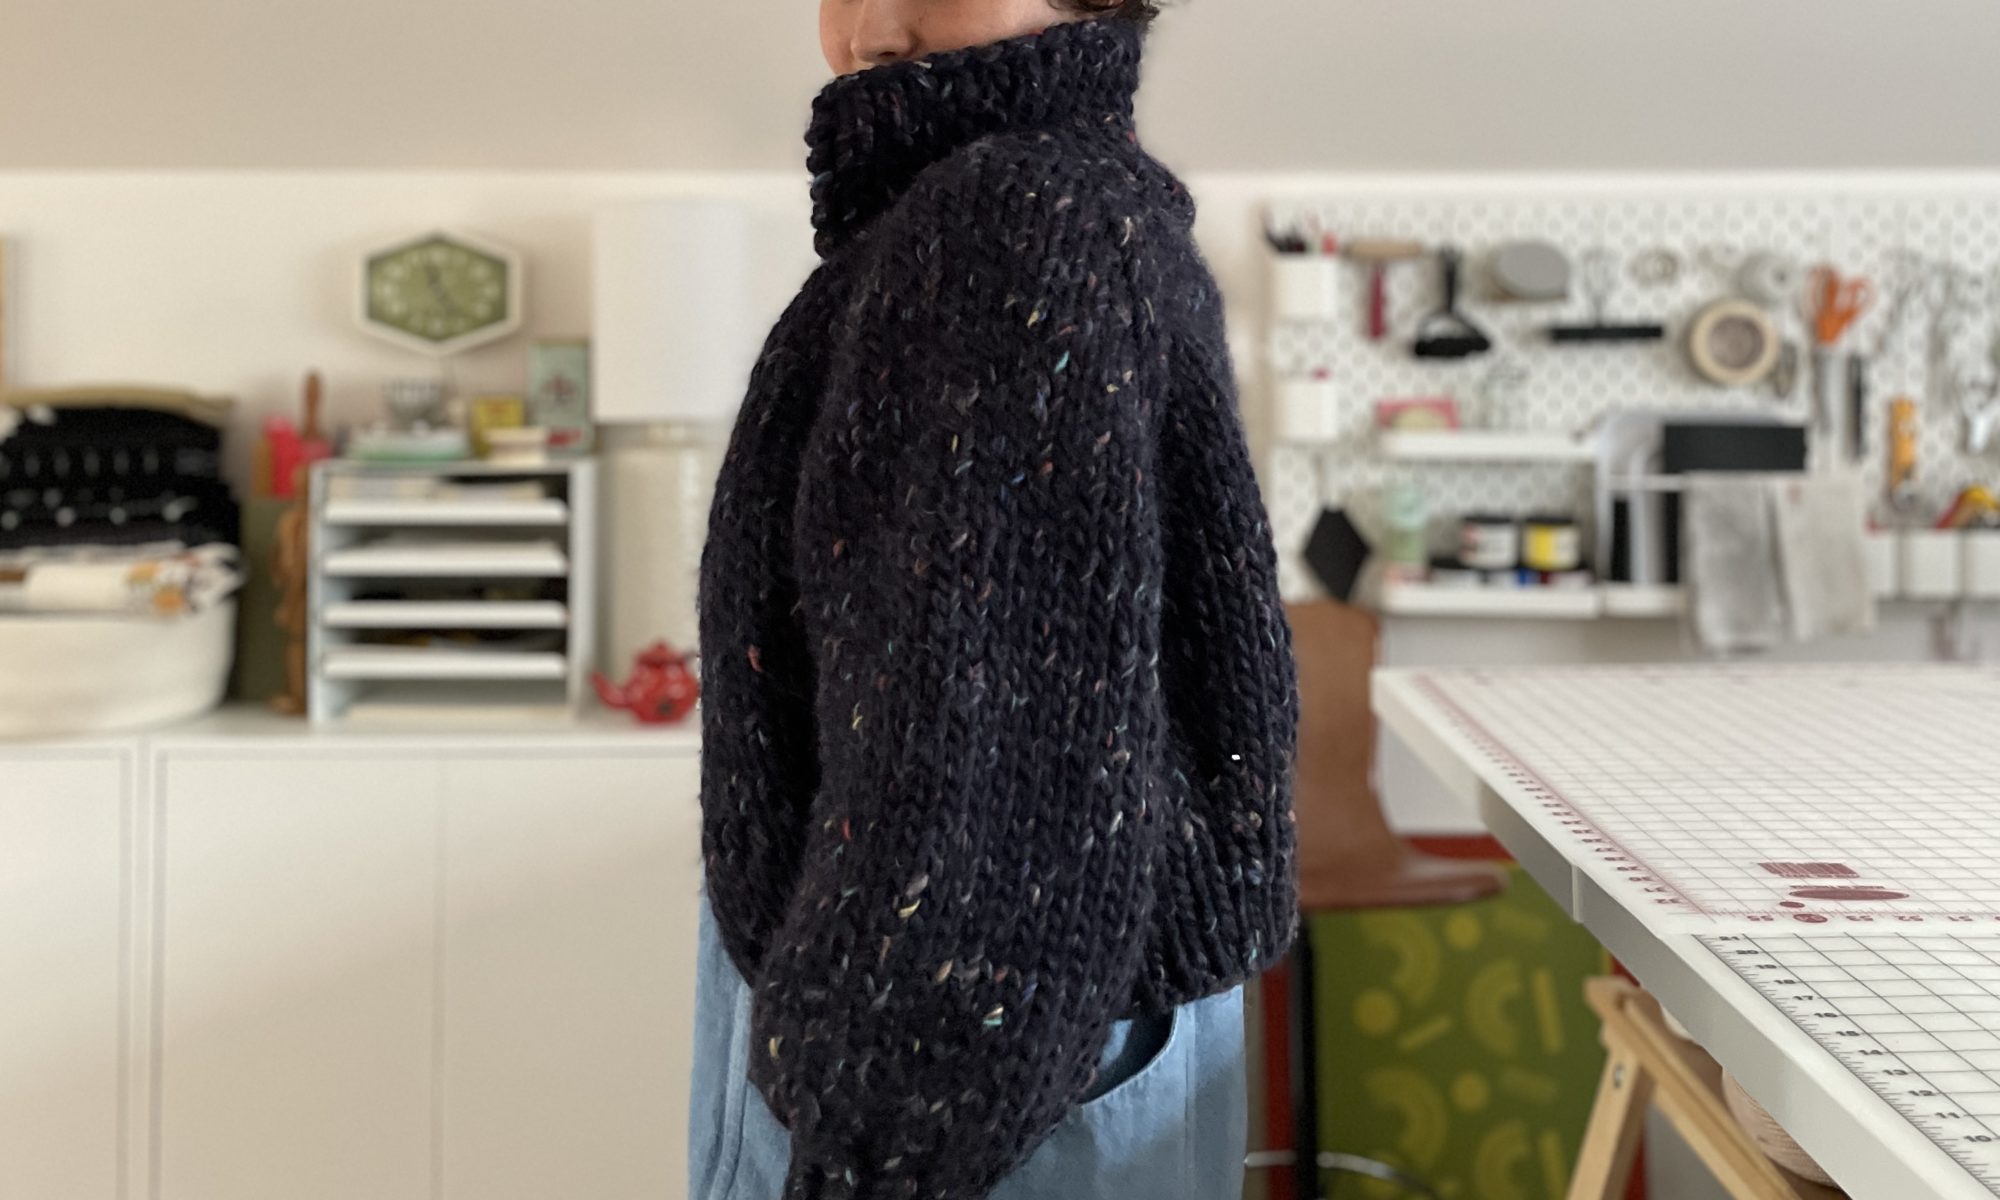
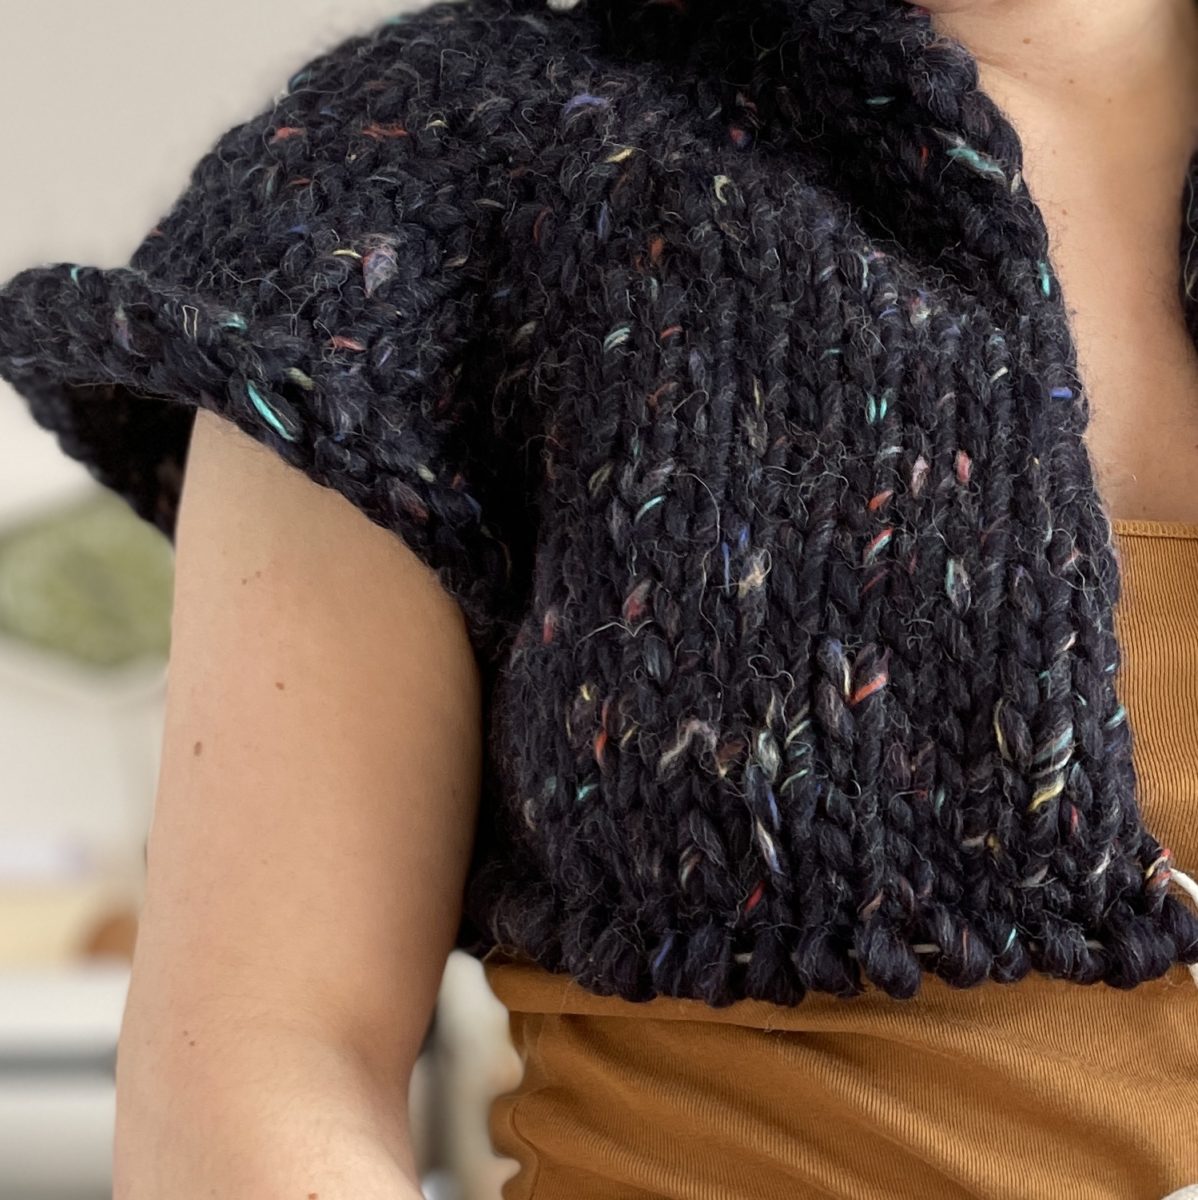
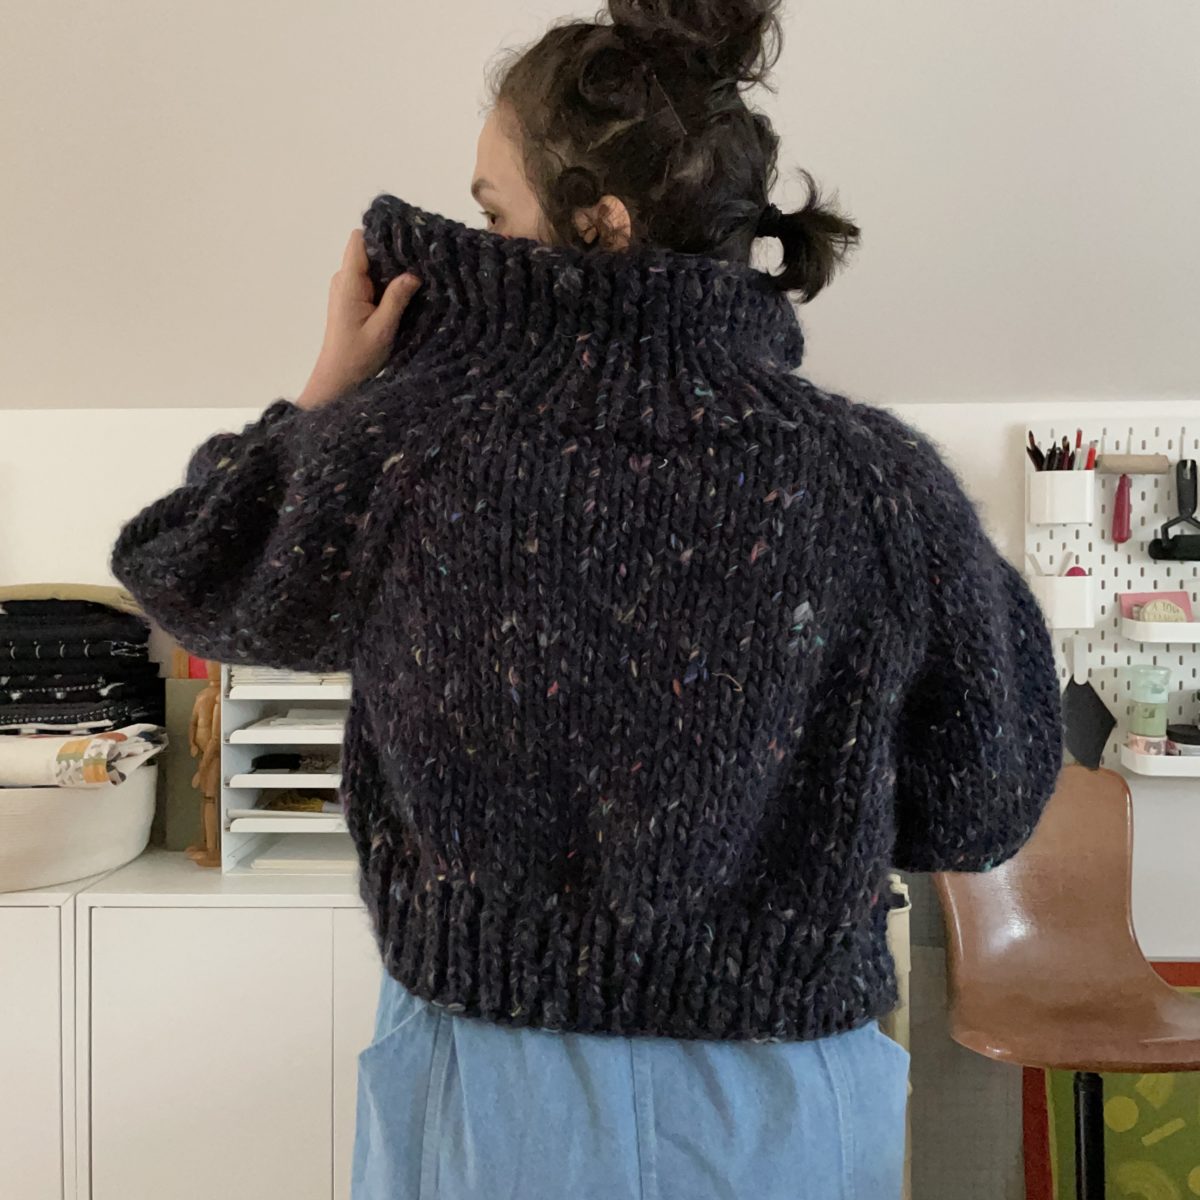
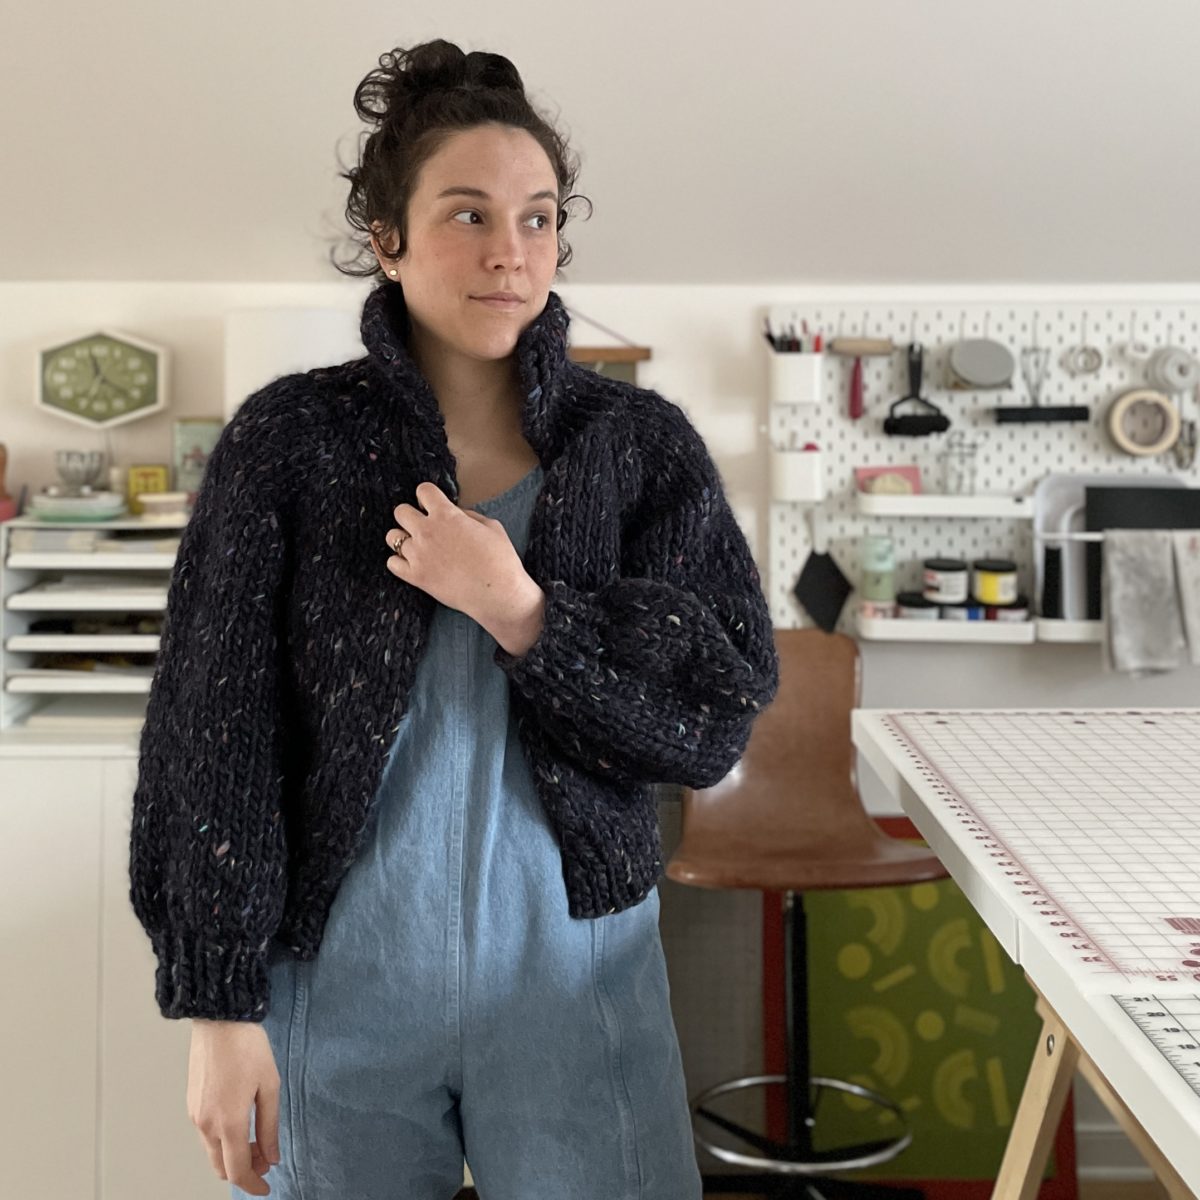
At this stage I did question the fit, but I had enough room at the underarms and decided to keep going. This sweater is probably smaller than it should be, but I actually like the way it ended up fitting.
The sleeves are a bit shorter than the pattern called for, but it’s so warm, I kind of appreciate some of my arms being exposed.
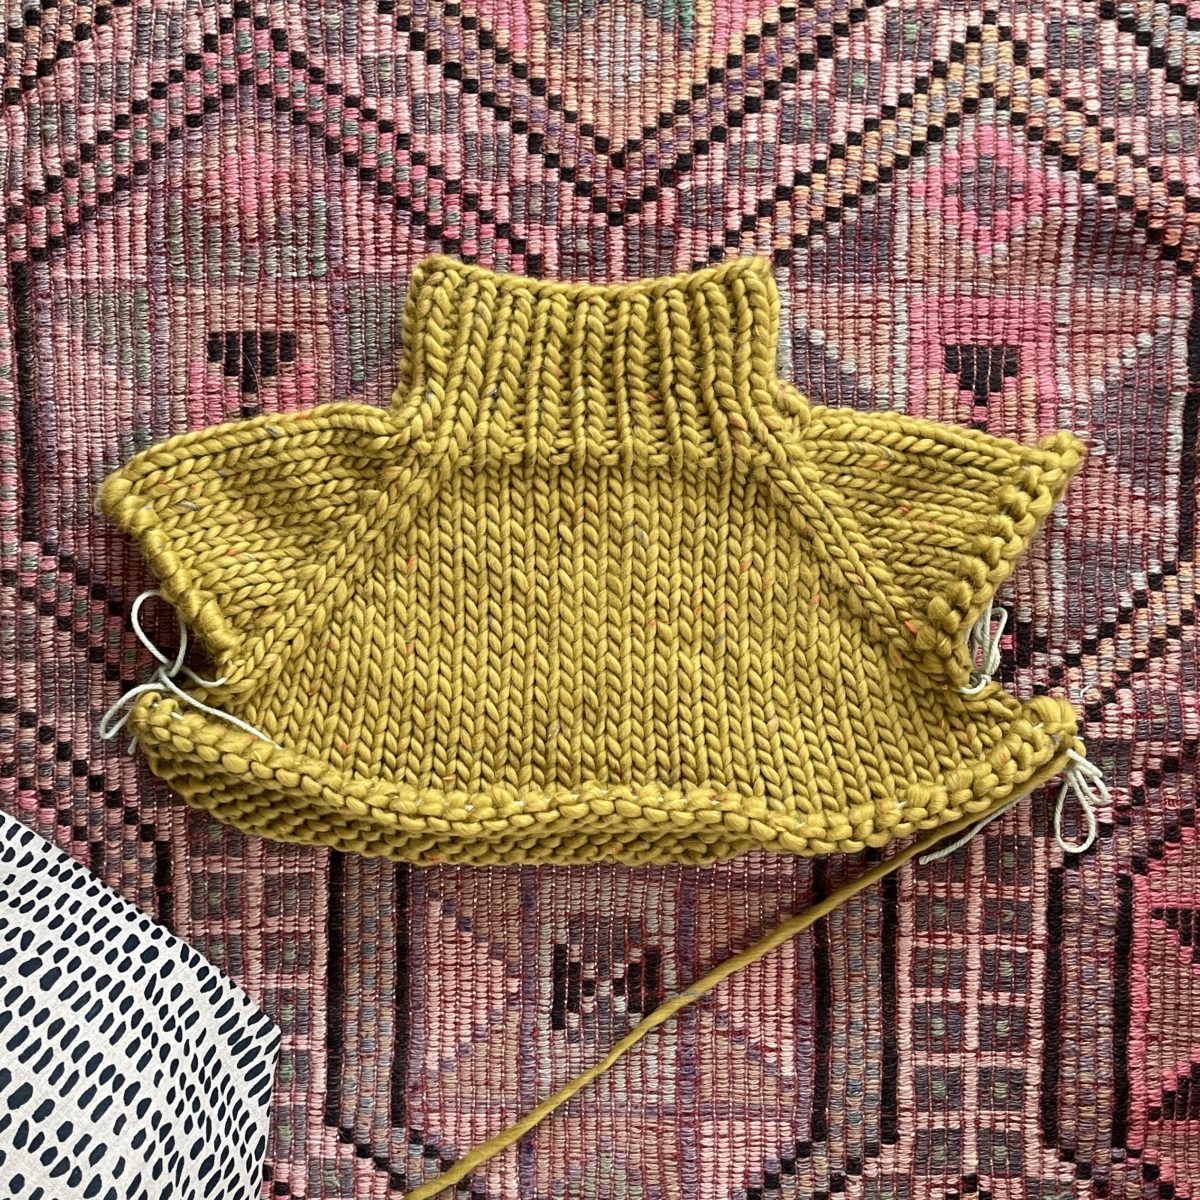
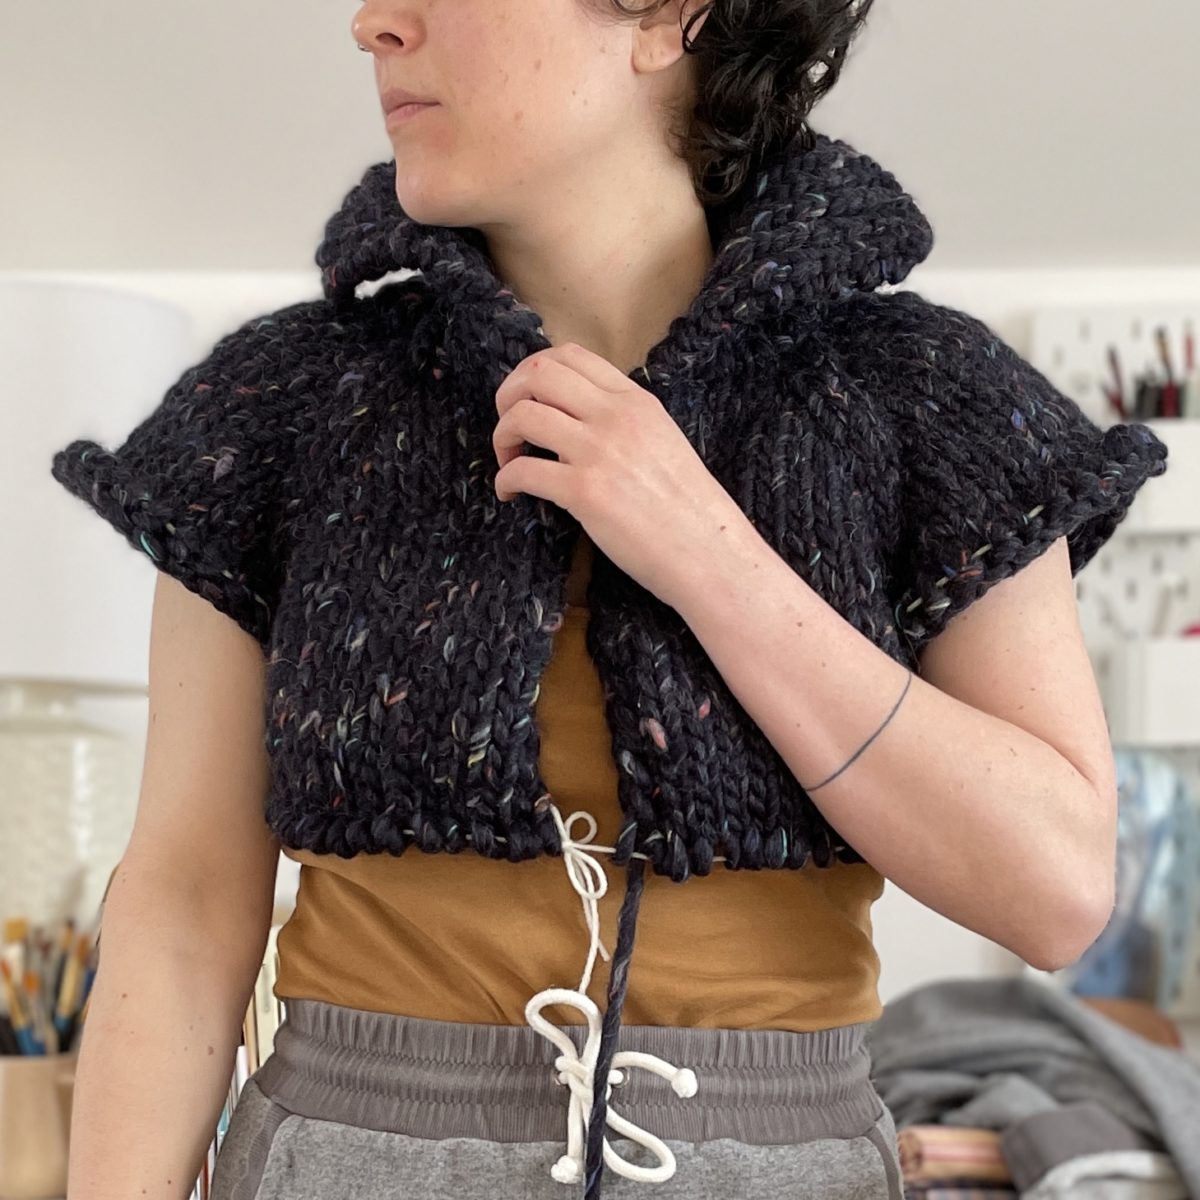
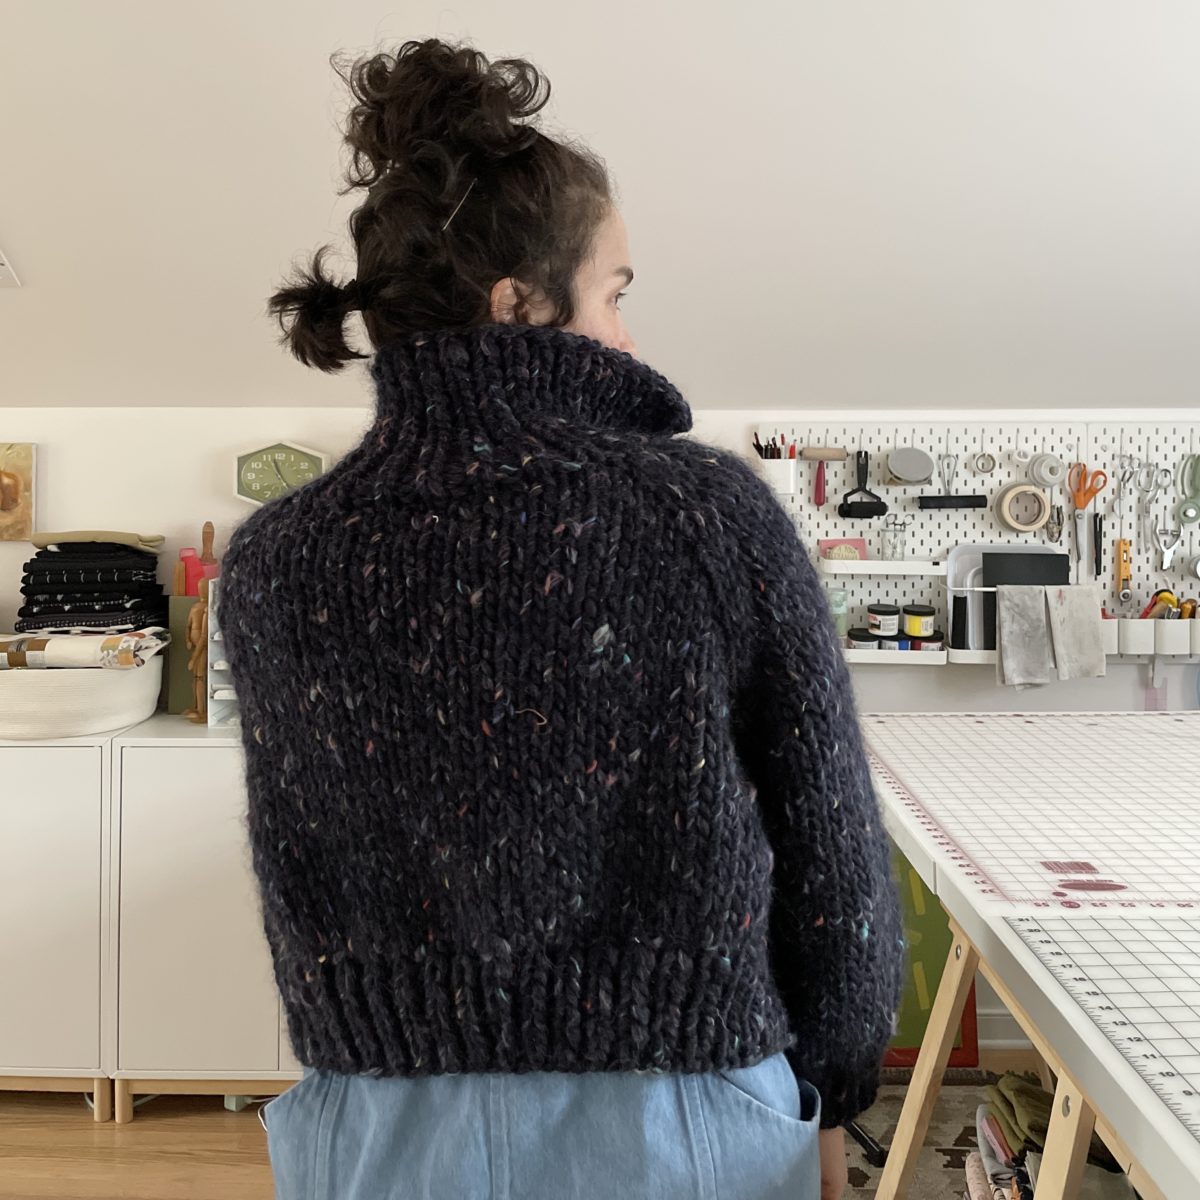
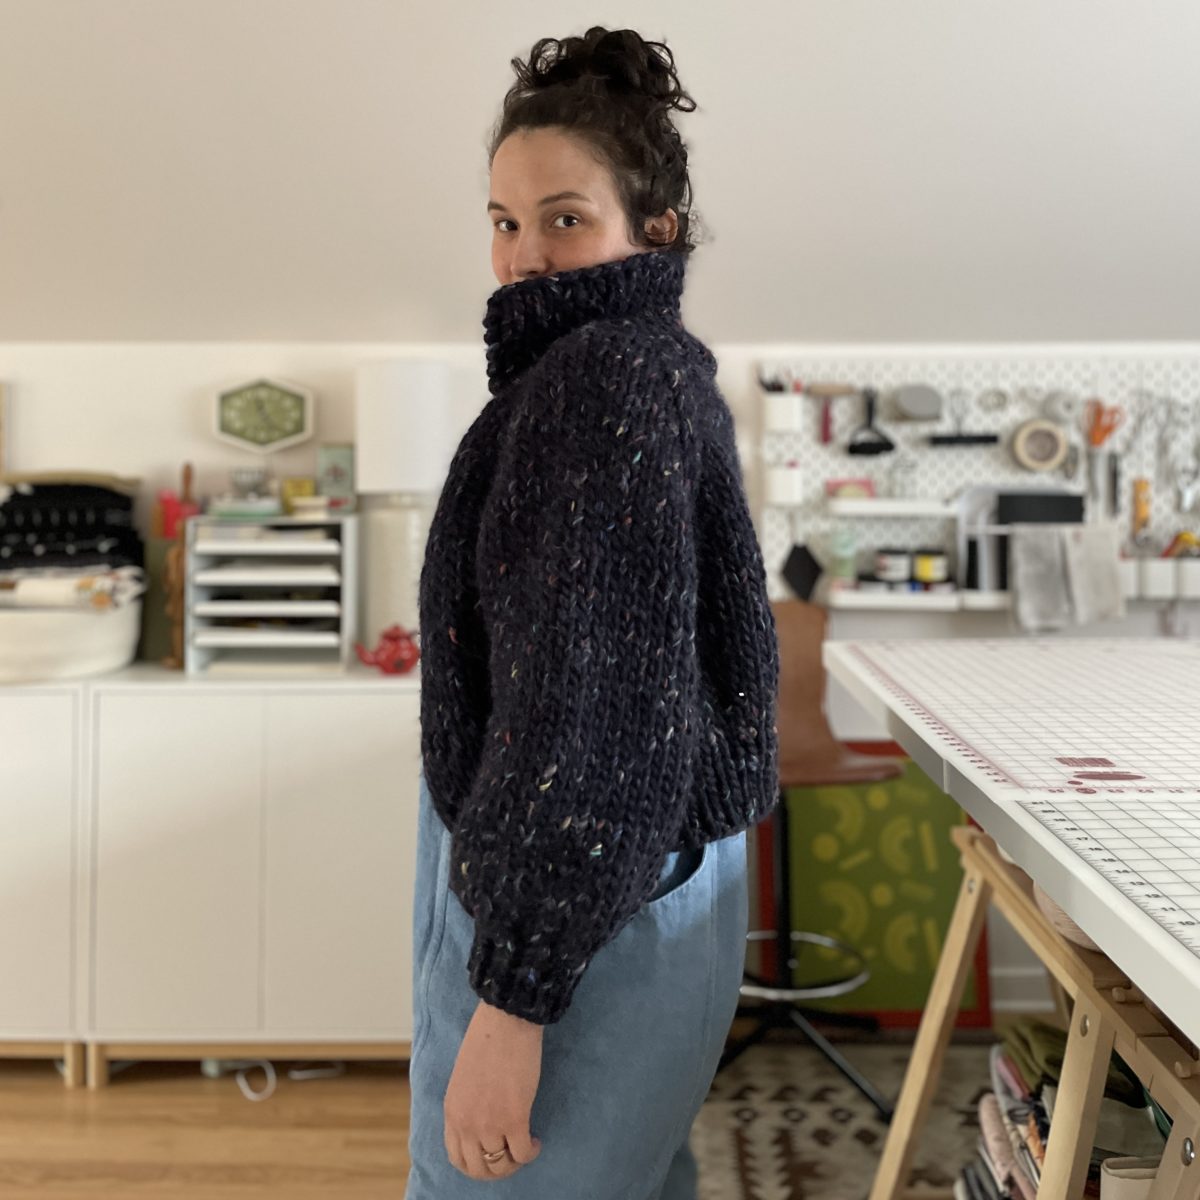
I don’t love the way the neckline collapses under my chin. I probably should have done fewer rows, but I think this is also just how it goes without any shaping. I’m intrigued by those German short rows I’ve read about. And looking at the sample photos, my neckline is definitely knit tighter so, whoops!
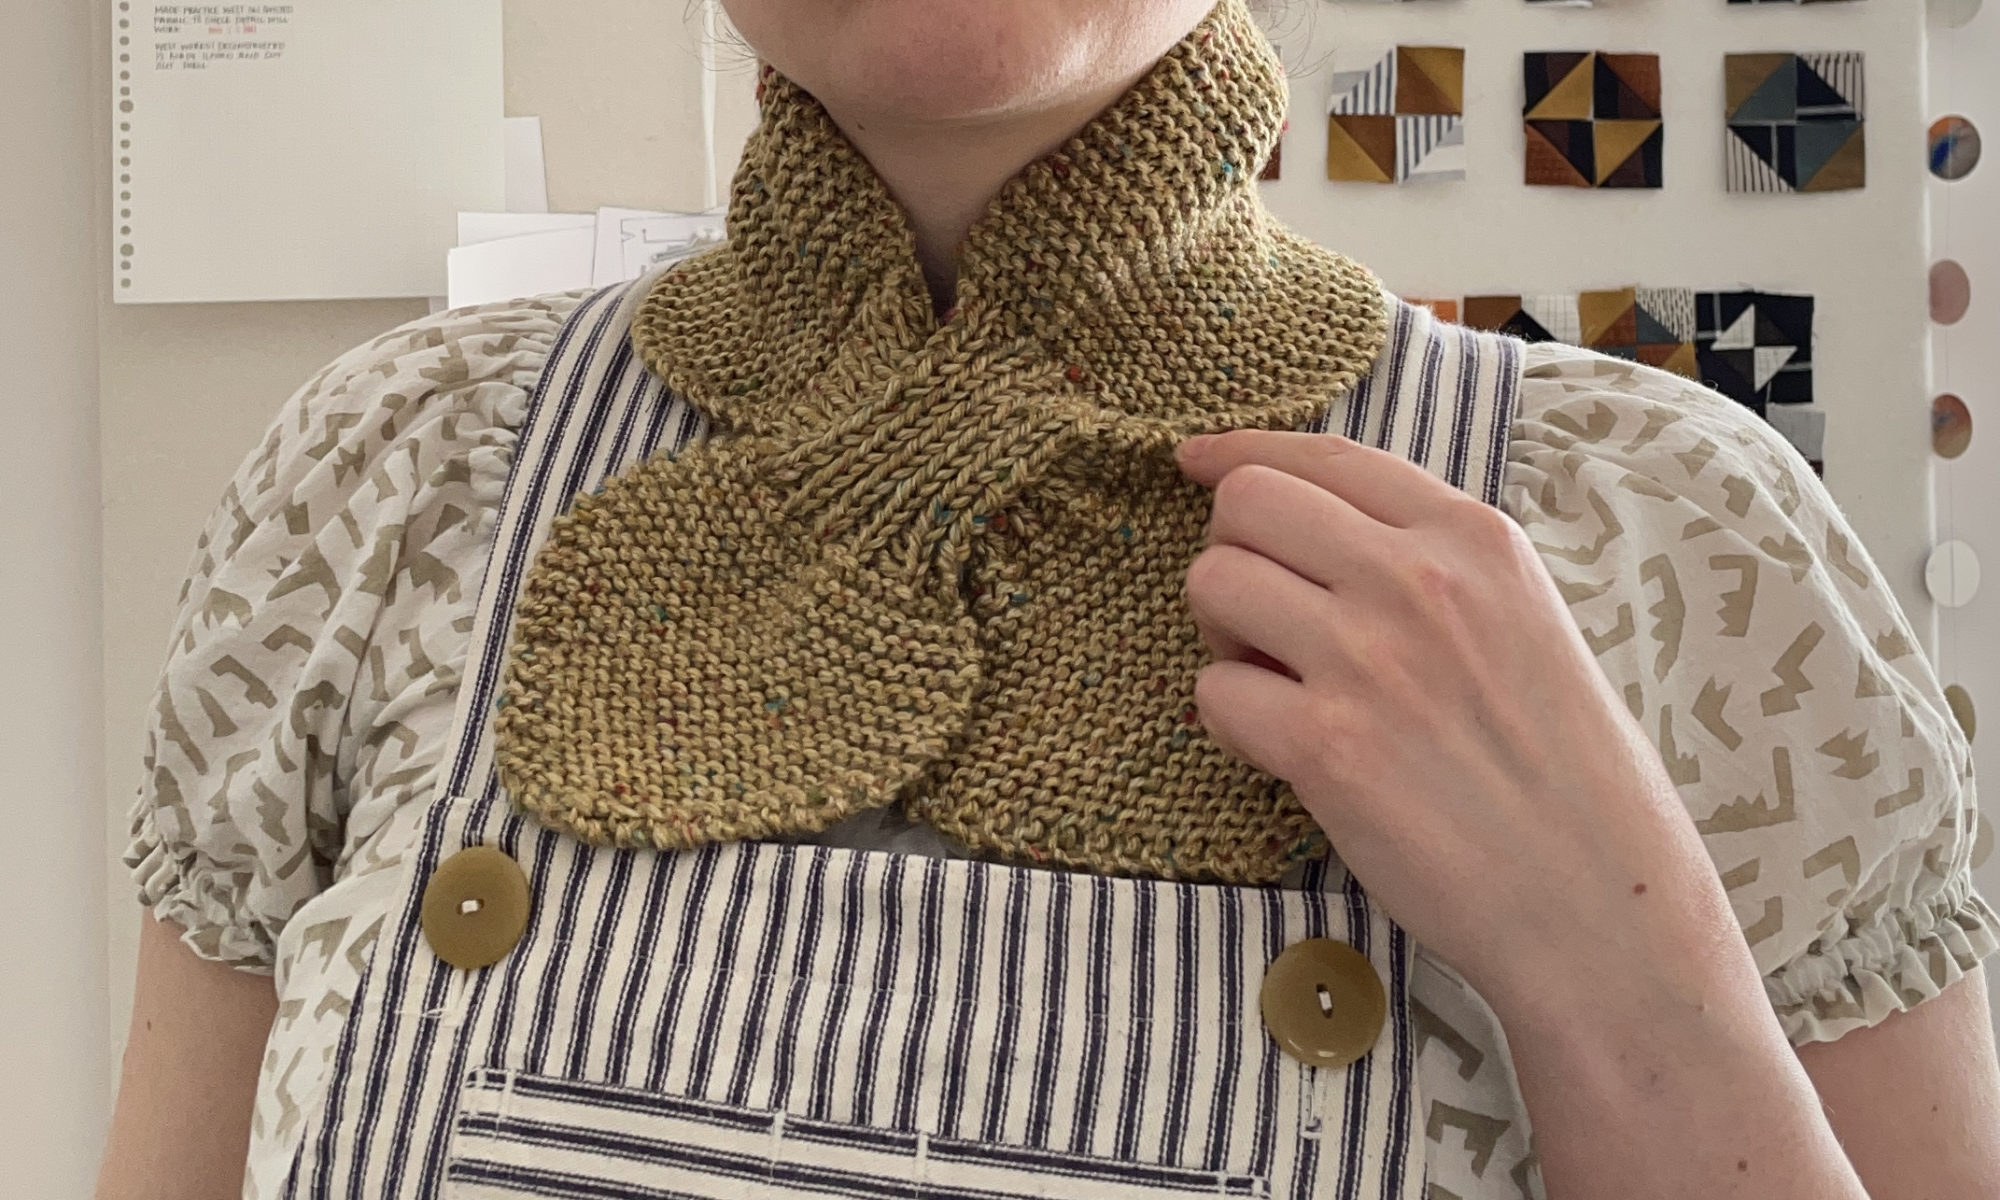
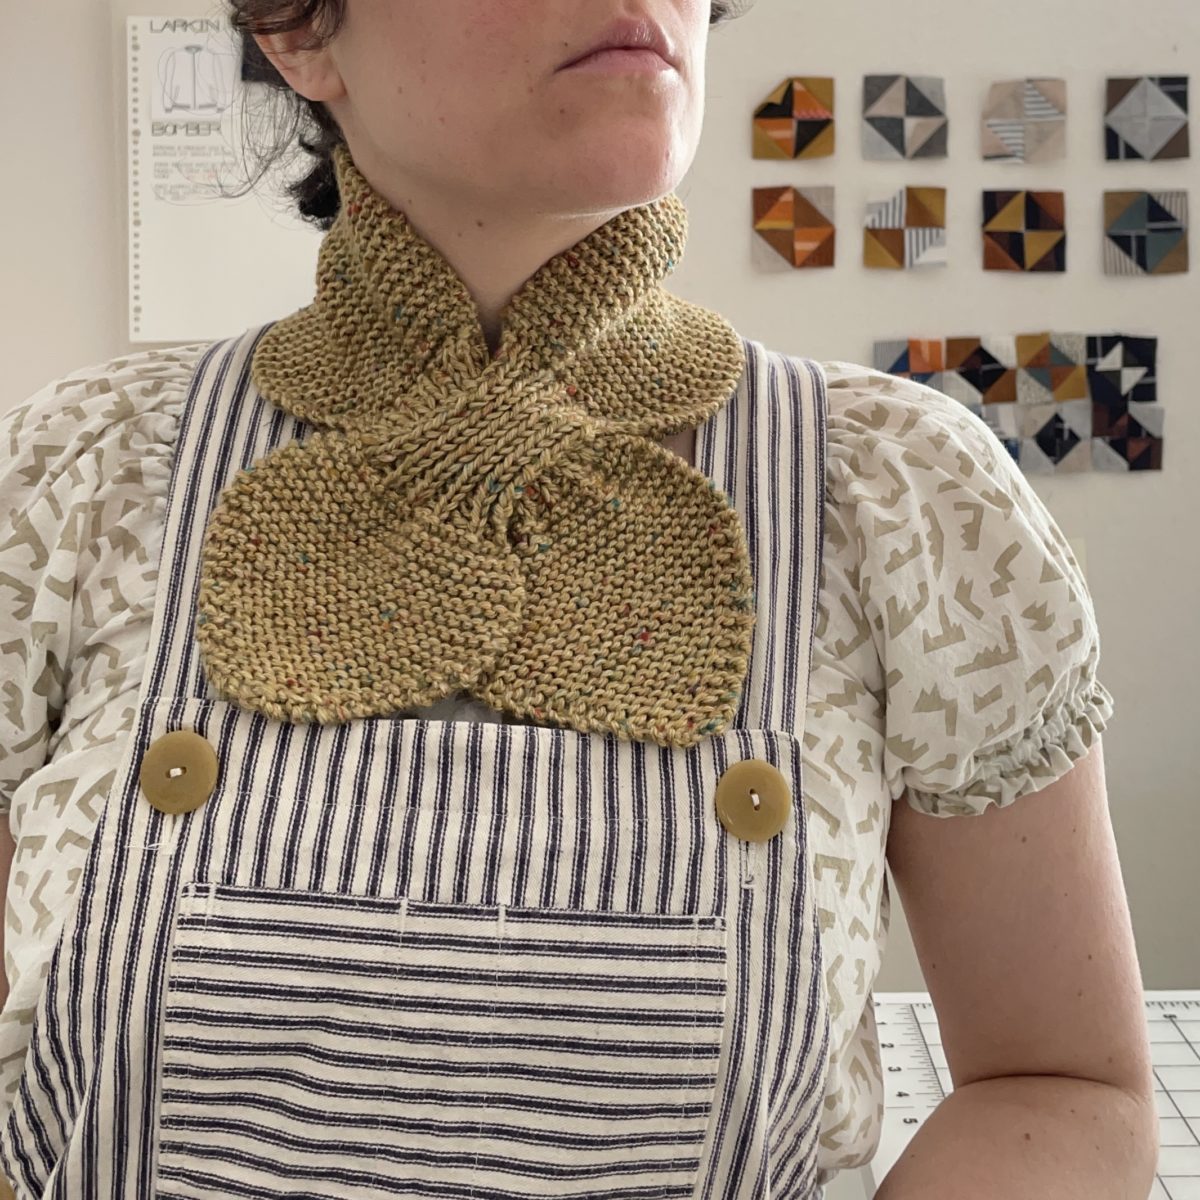
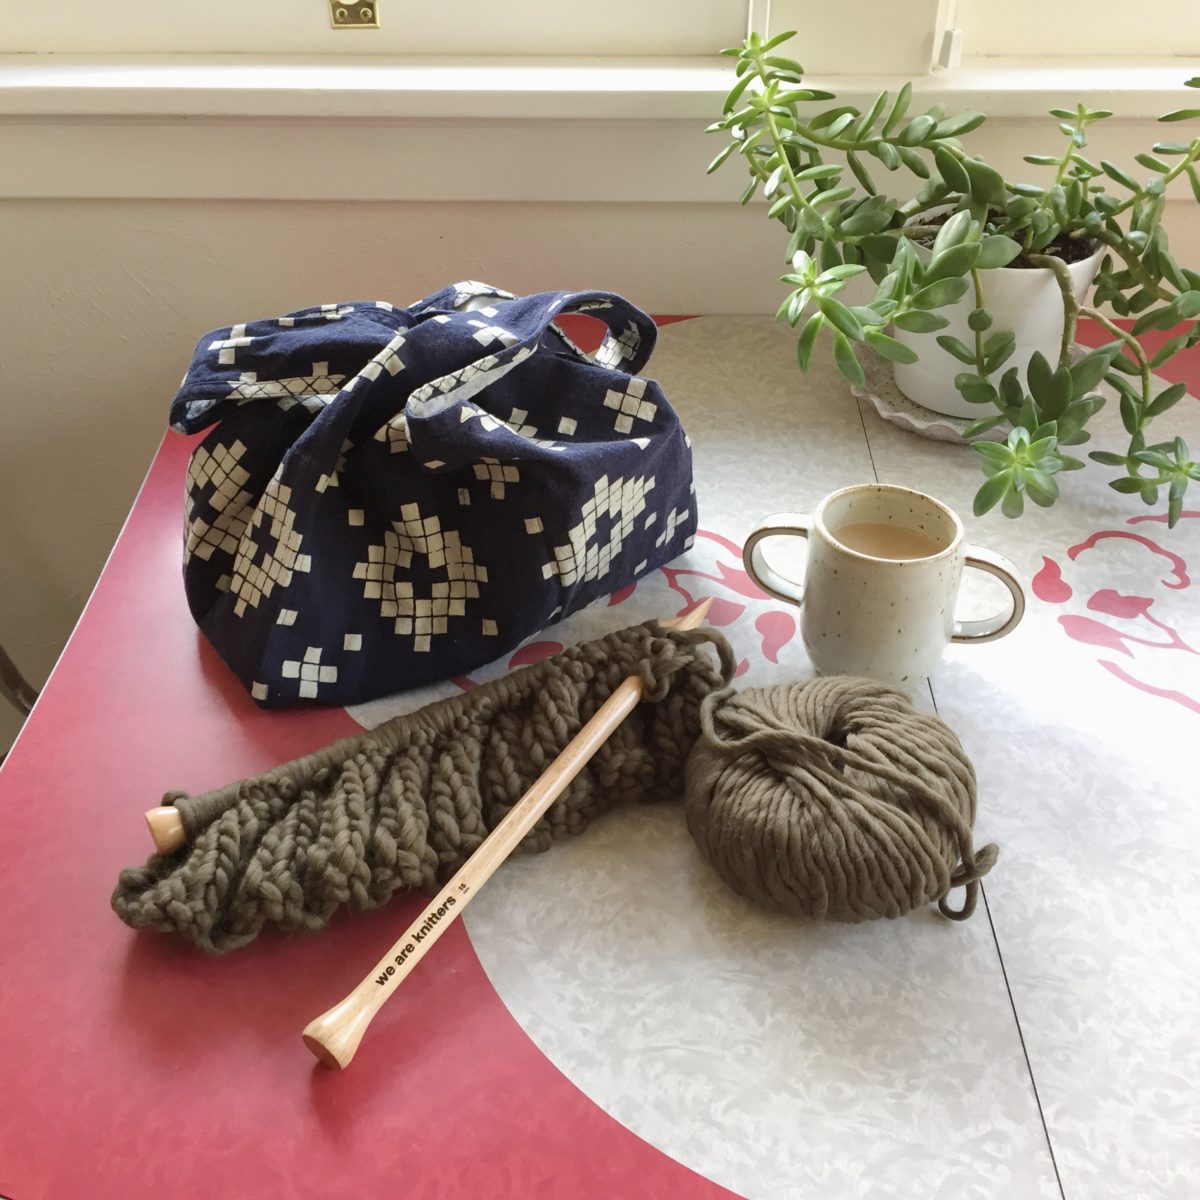
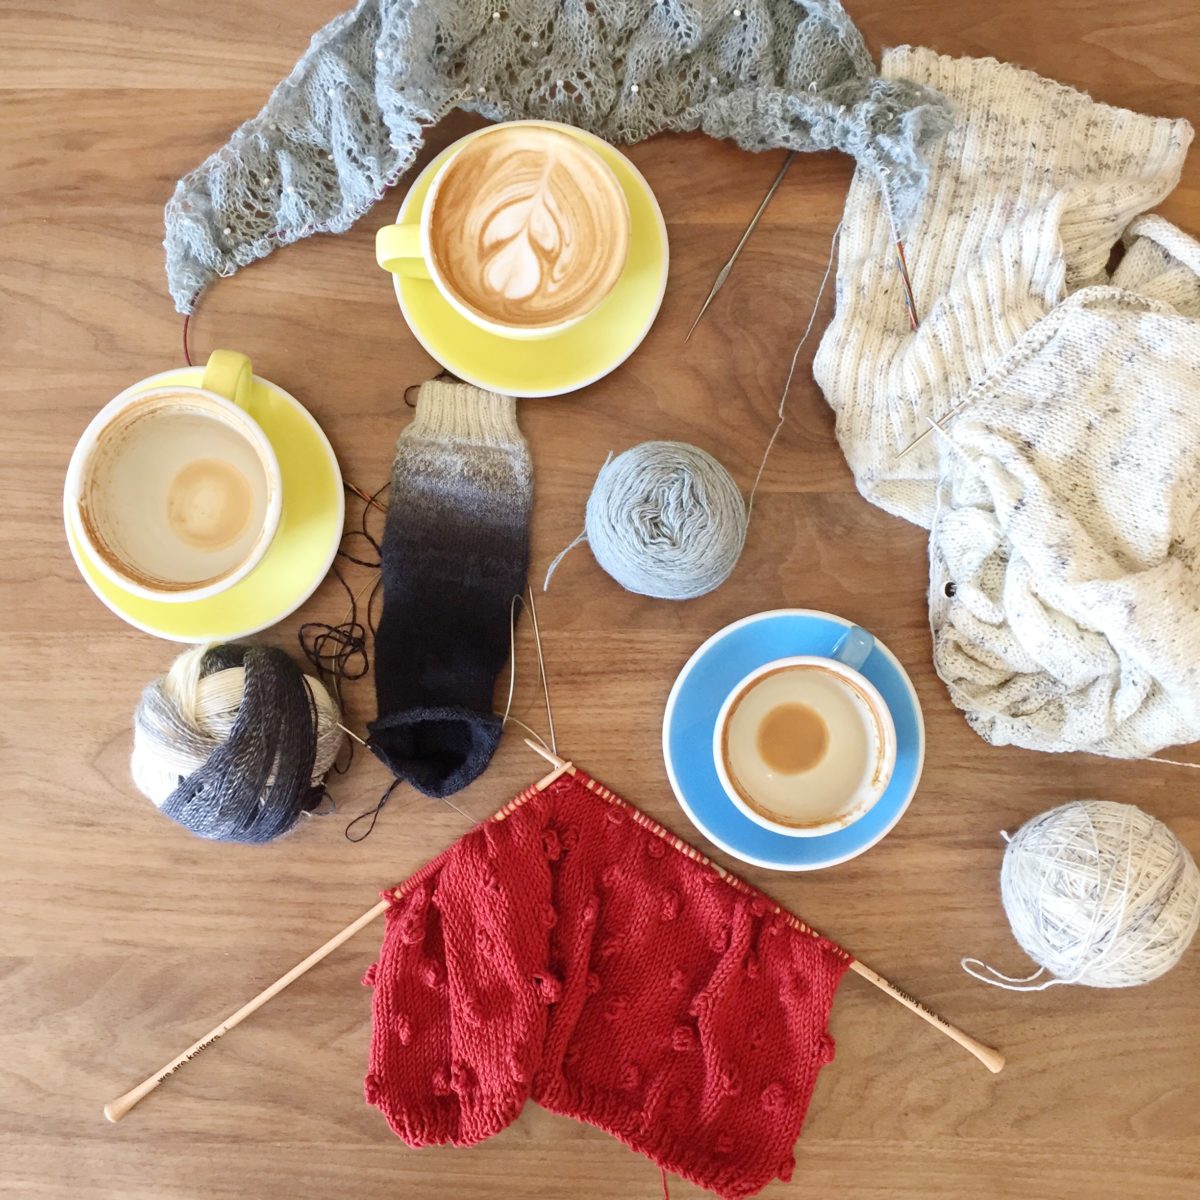
While working on my second Good Night, Day sweater, I decided to take a break to knit up this fun scarf.
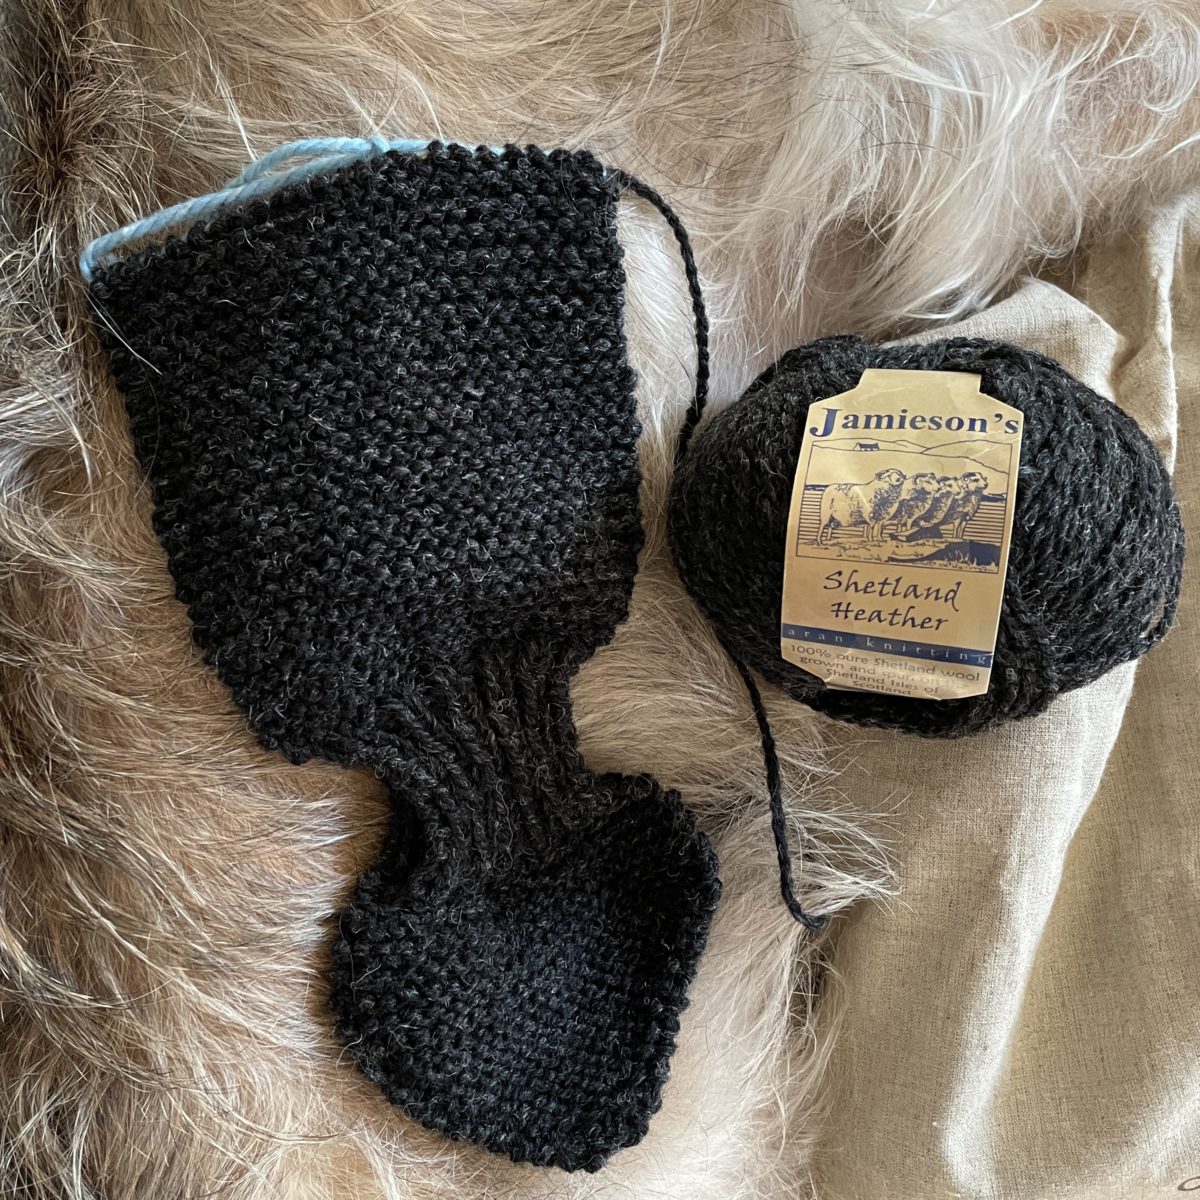
I had a little bit of false start though with this too scratchy wool from my stash . Maybe I’ll finish it anyway and give it to someone who can tolerate itchy neck things.
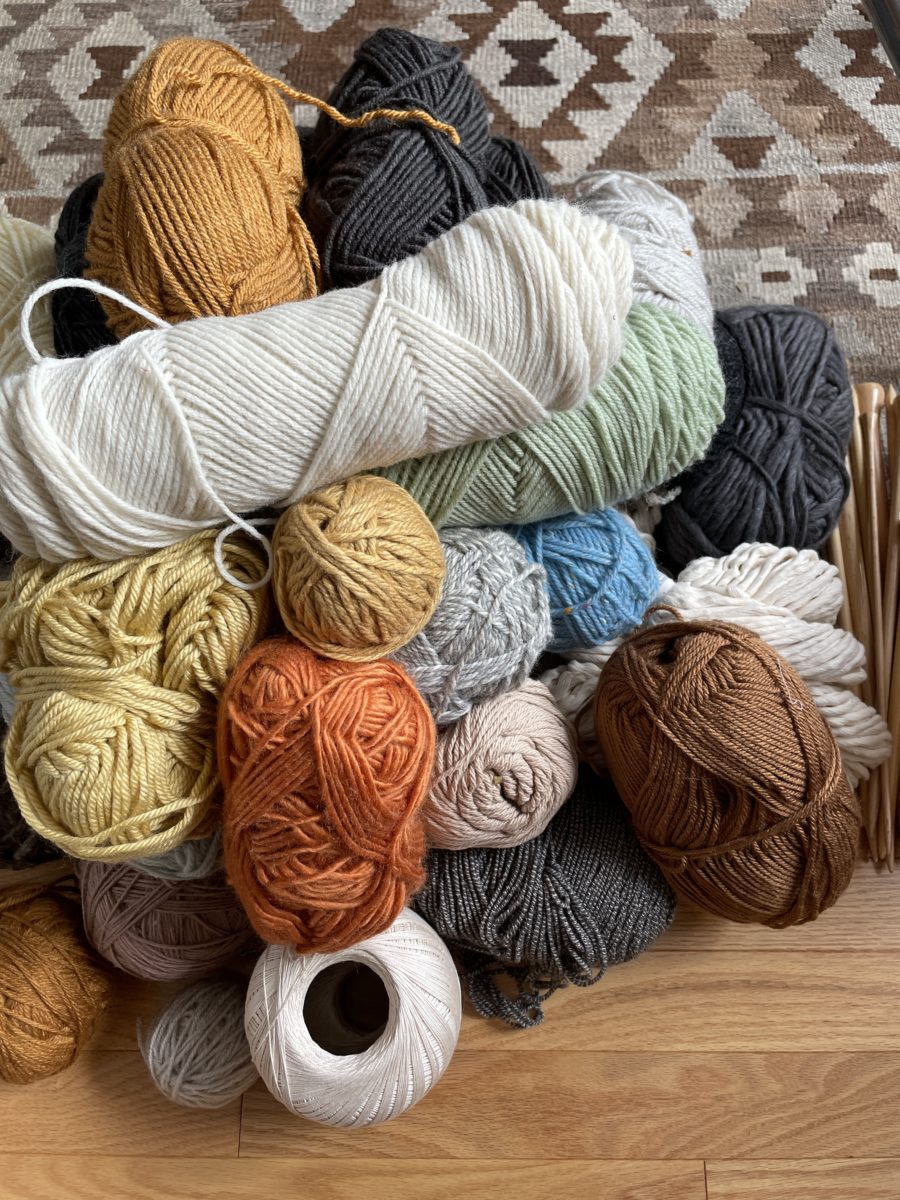
Determined to make one I would wear, I dug into my yarn stash and found a fun speckled yellowy-brown color. This is all thrifted yarn that will soon return to the thrift store. It takes up too much room and I’ve had all of it for too long.
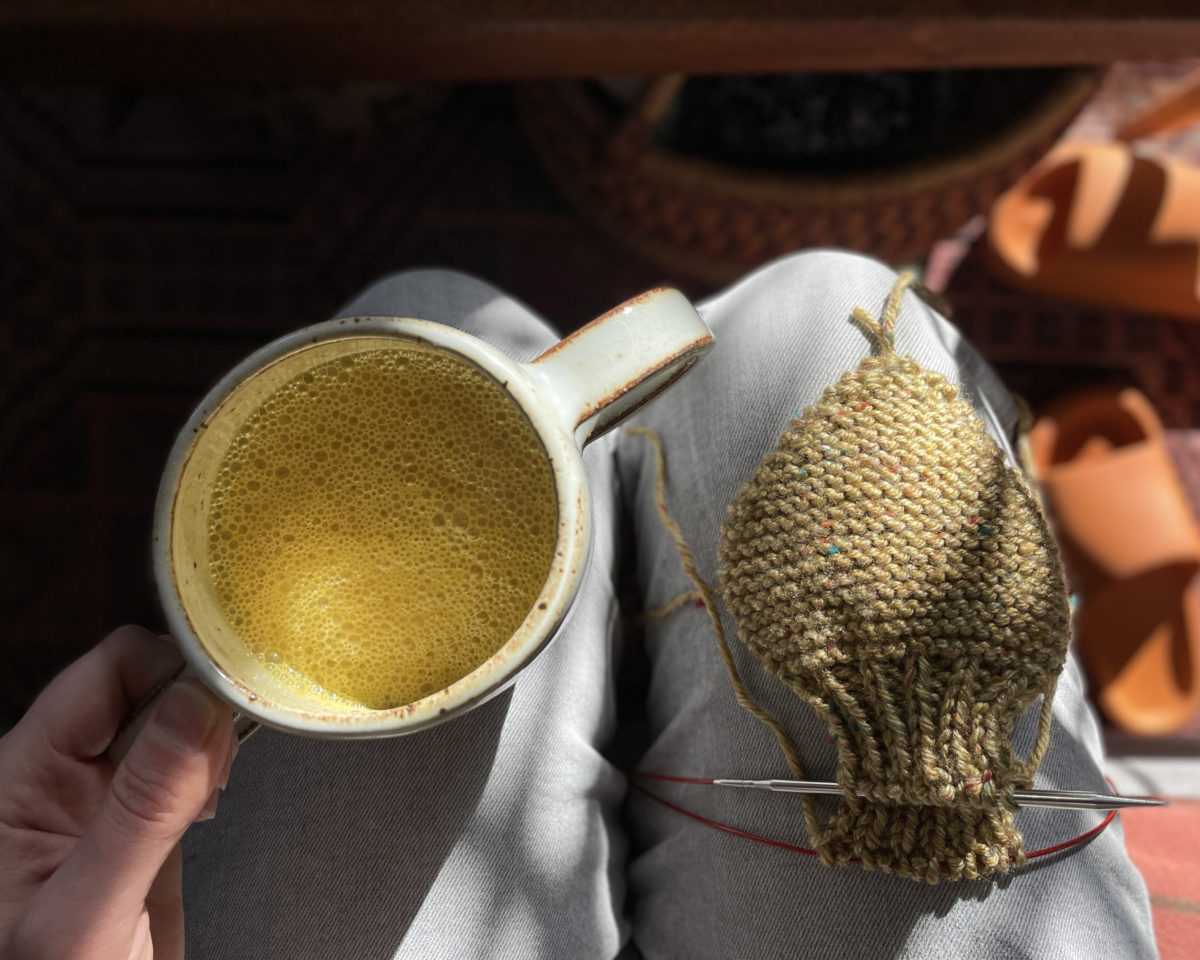
The tutorial I used is by Northside Knit Co. It’s free and can be found in a story highlight on their Instagram. My brain appreciates any knitting project that includes video demos.
This was a great project do while my work computer needed to think about rendering video clips. Spinning pinwheel of doom, knit a row, spinning pinwheel of doom, knit a row…
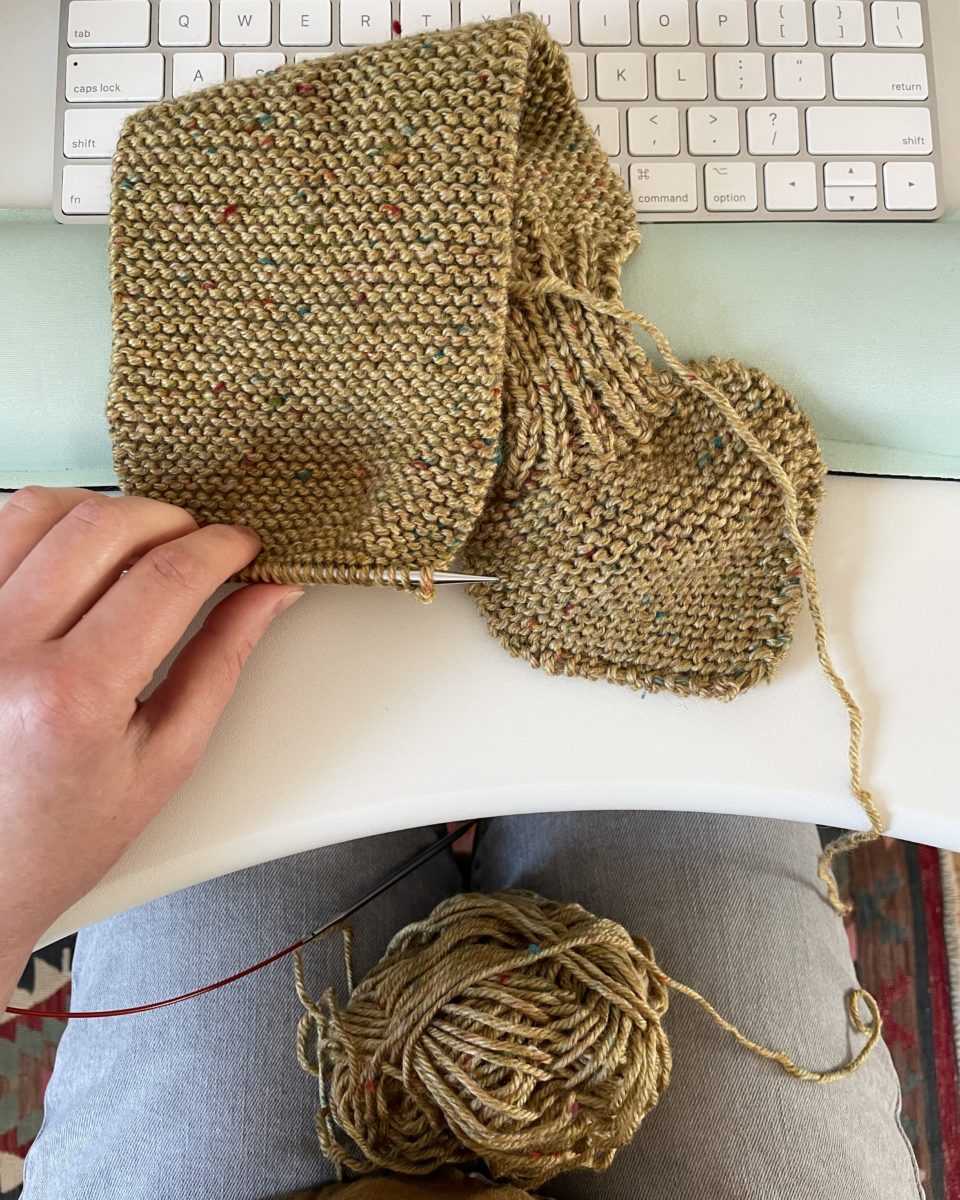
I think this yarn is some sort of synthetic, so not my favorite, but it’s soft and in a color that works with a lot of my clothes.
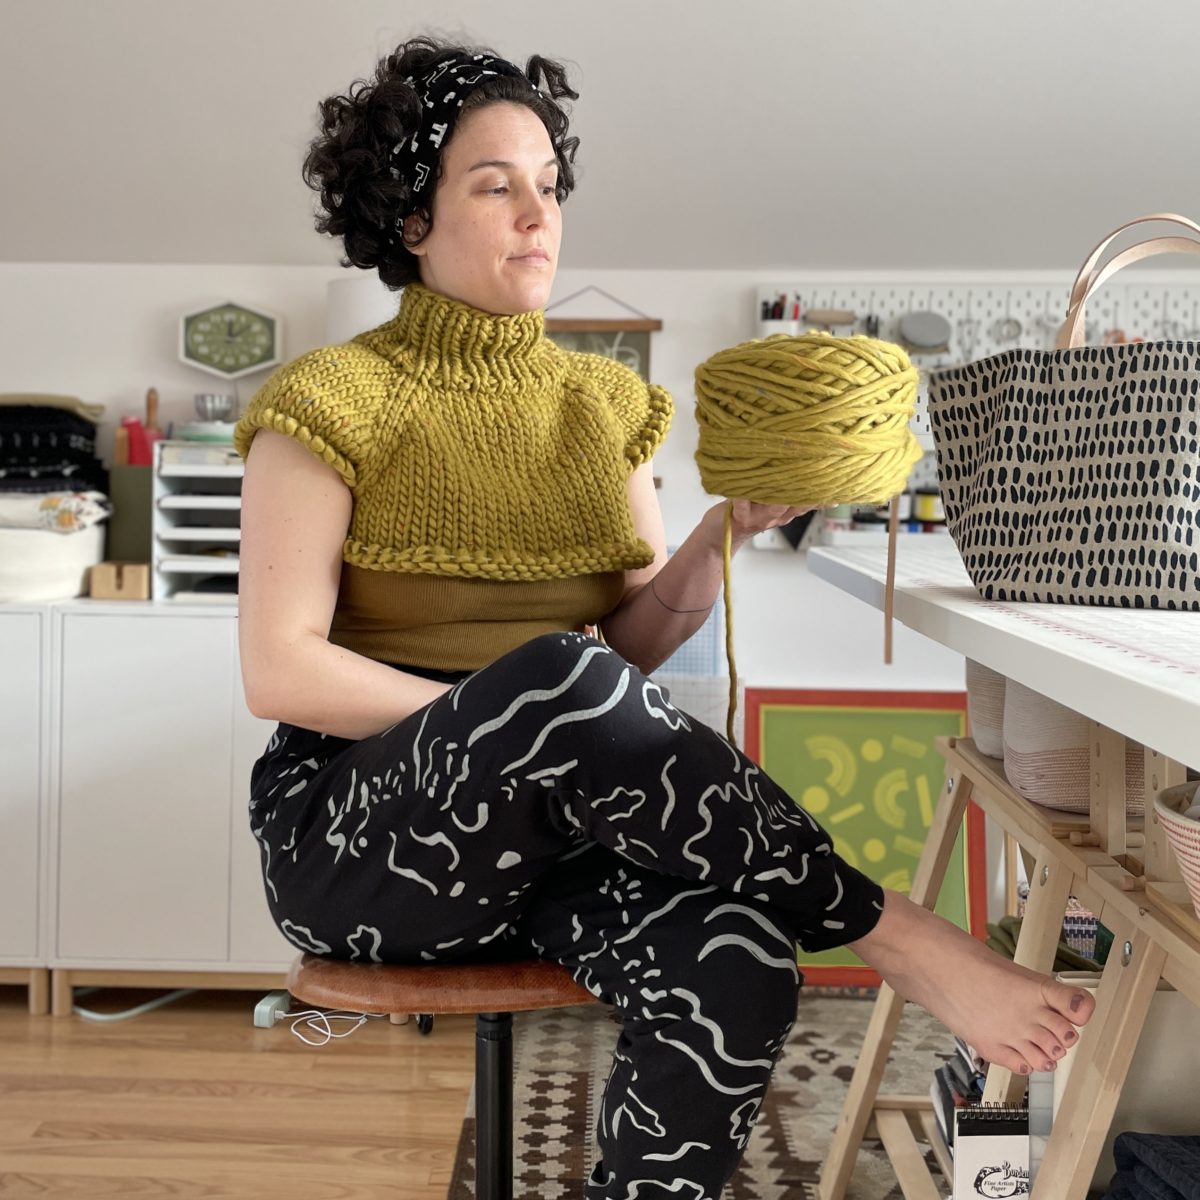
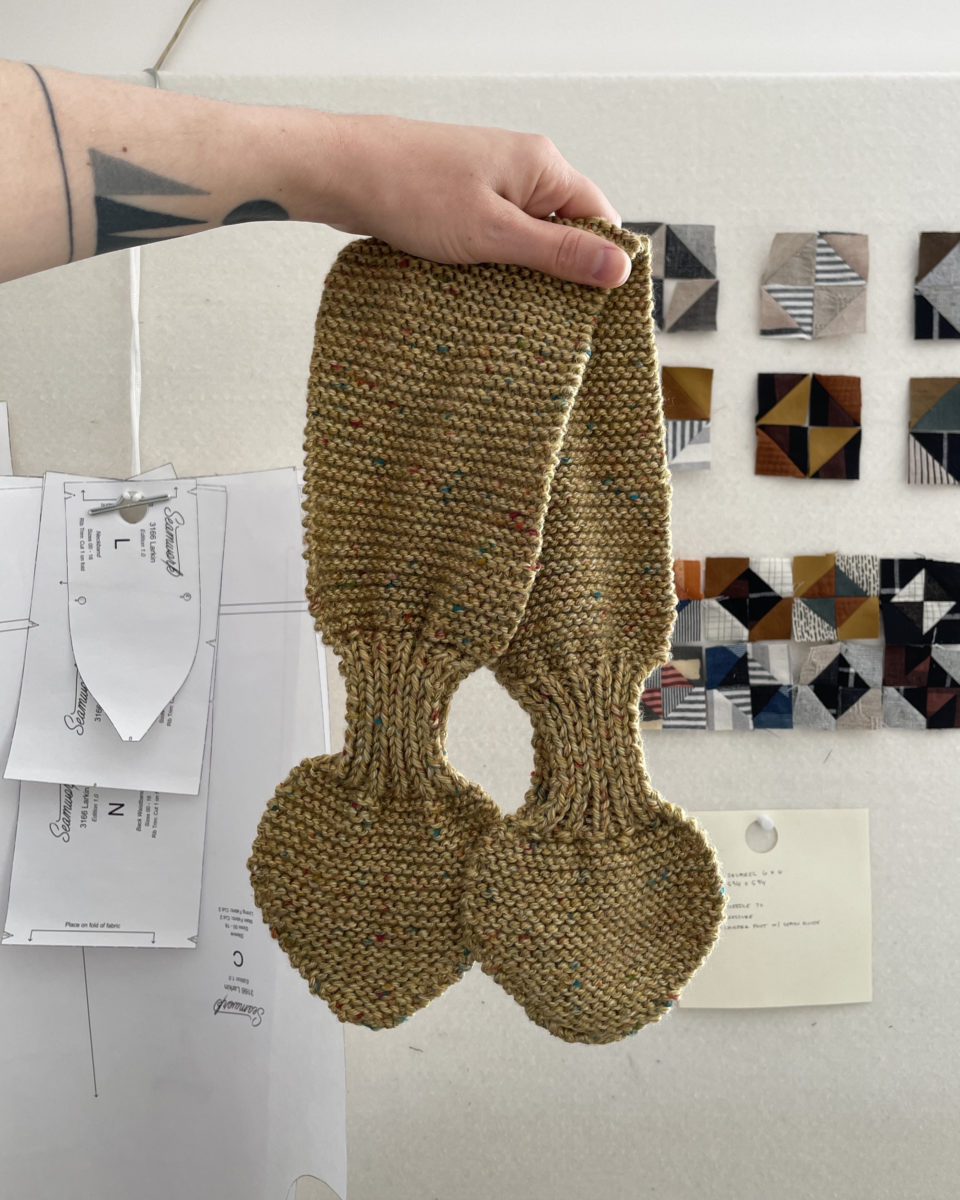
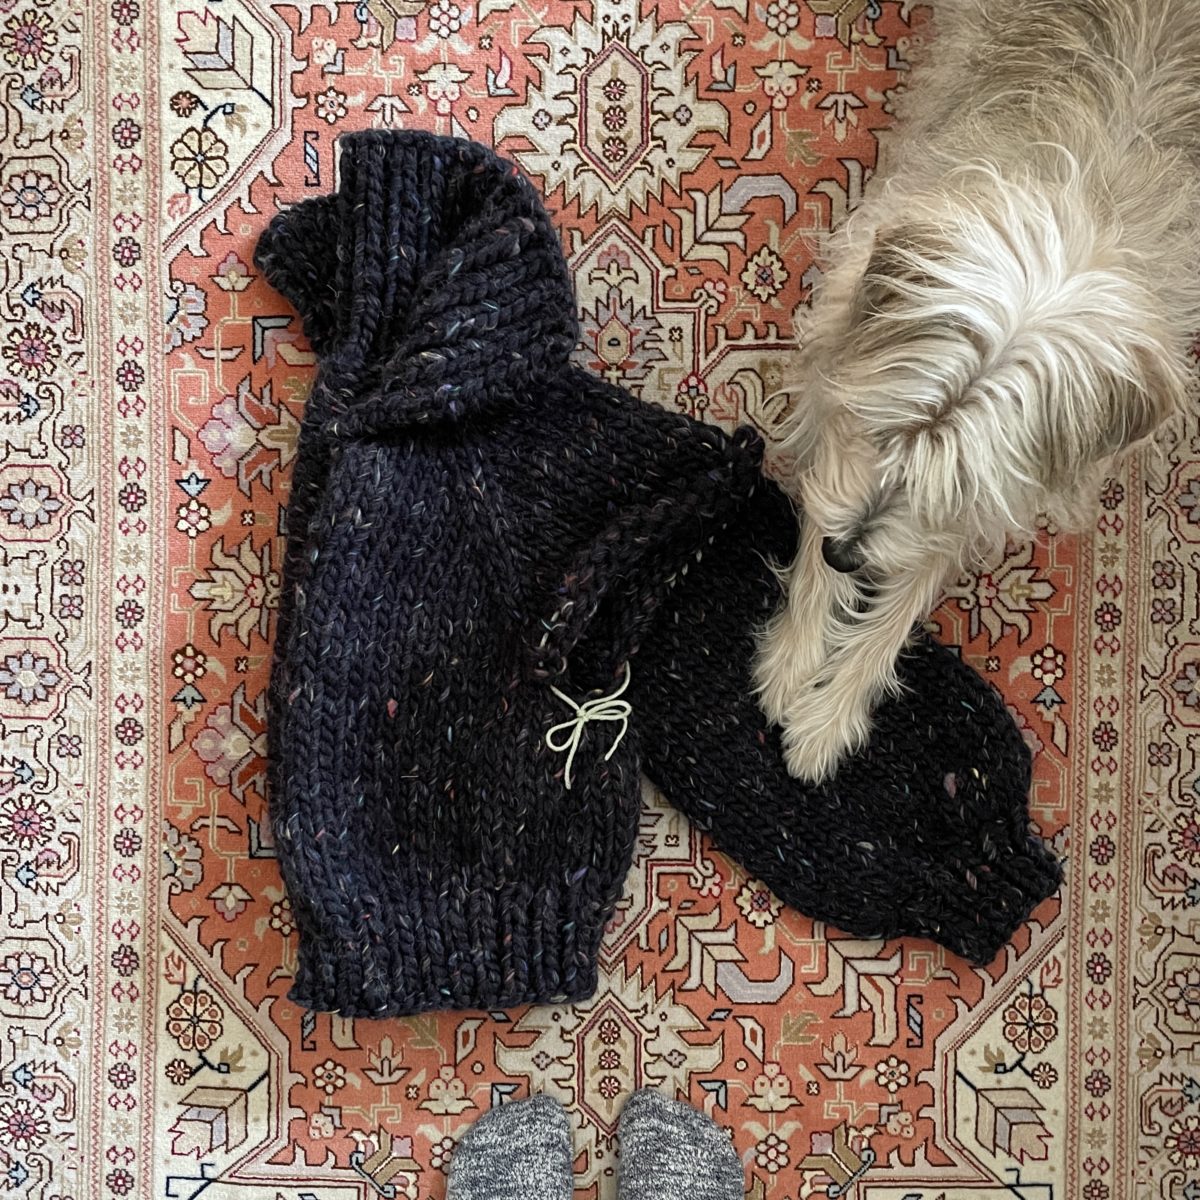
I did it. I knit something I like and will wear! And best of all, I actually want to cast on another project asap.
If you read my last post about knitting, you know it’s a practice I’ve struggled to find a groove with. Knitting patterns are so bare bones, but I’m starting to understand the lingo. I’ve also said to hell with small projects like hats and scarves.
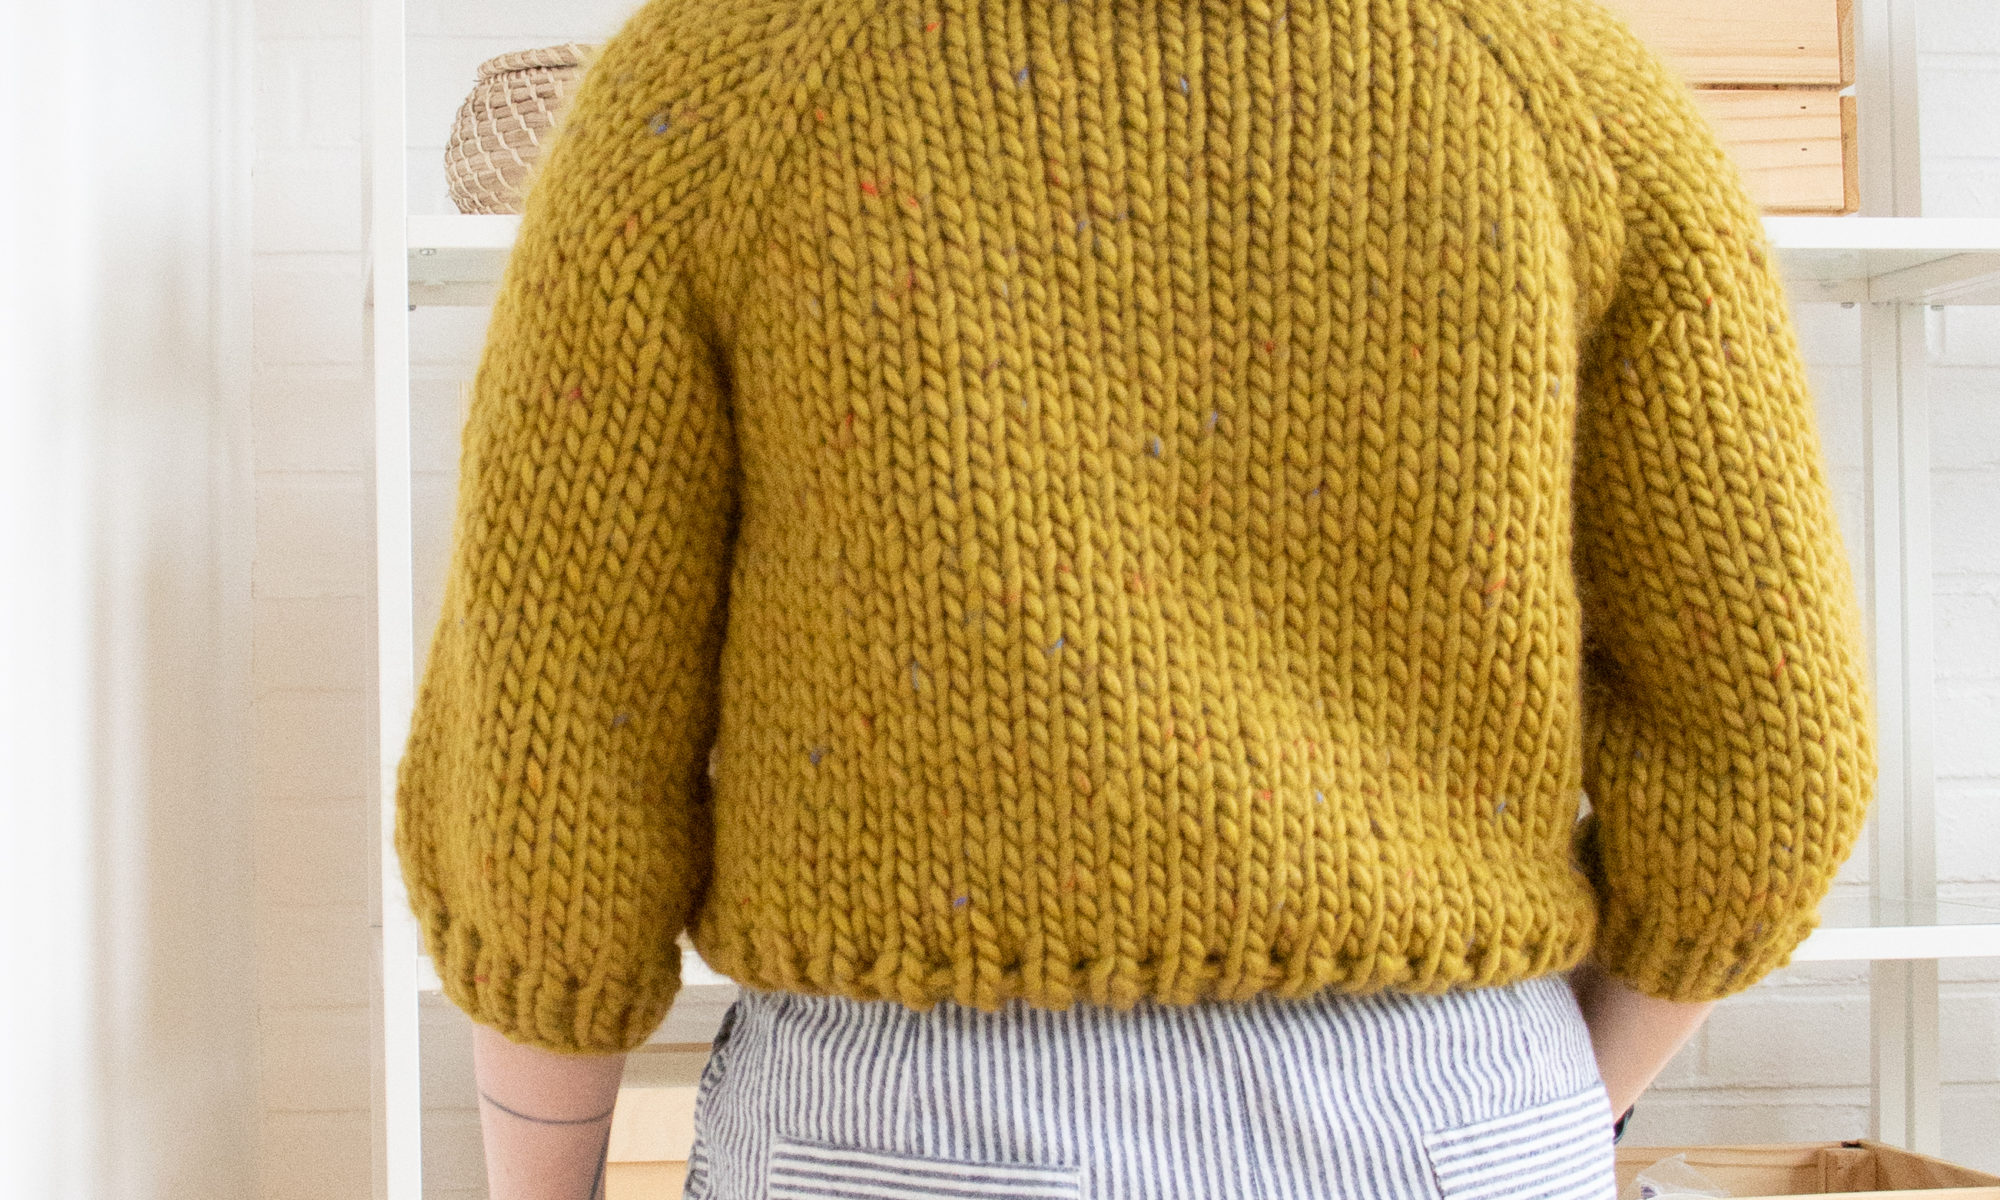
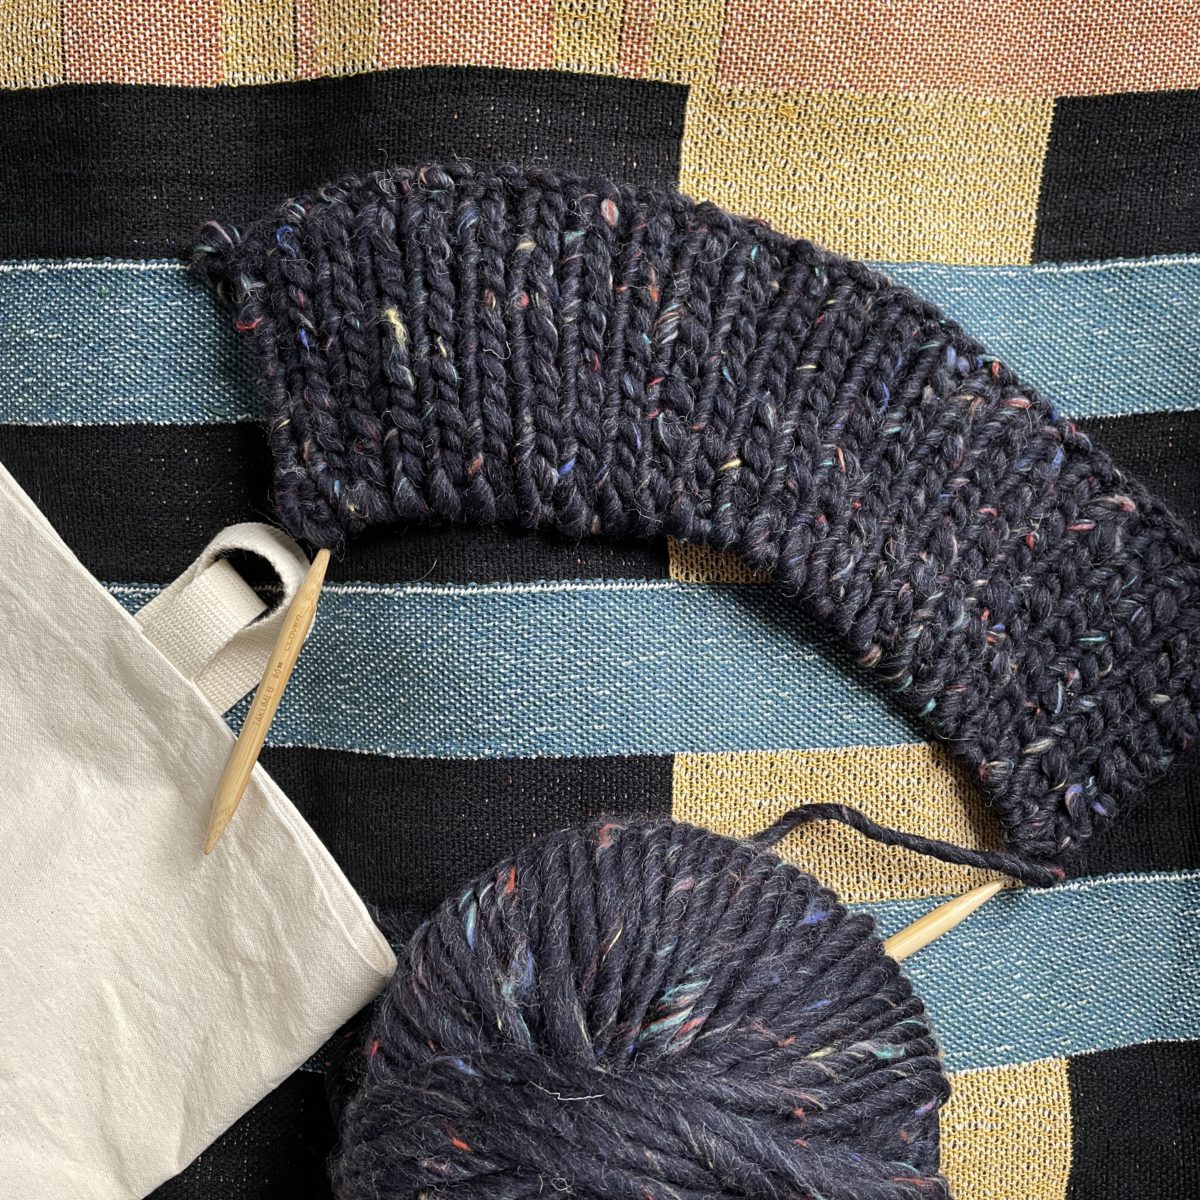
YARN:Crazy Sexy Wool from Wool and the Gang in Cosmic Navy. I bought 5 skeins and used exactly 4. I’m pretty sure I knit TIGHT. Nope, I didn’t test gauge.
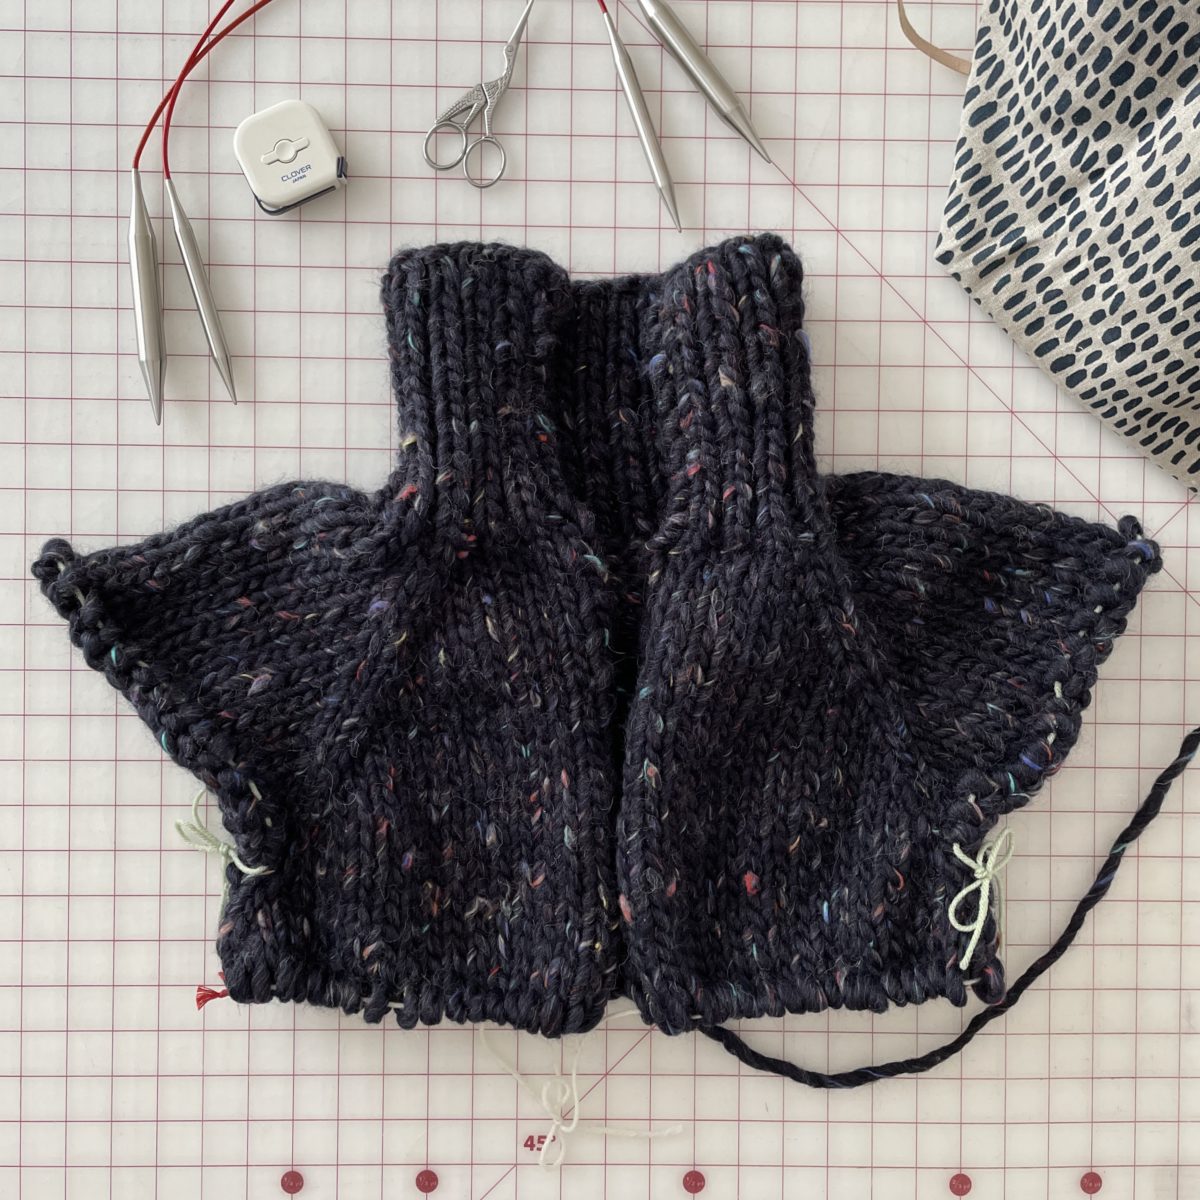
Before adding the waste yarn, I had to rip back two rows because my stitch count was off by one. My cousin helped me figure out that I had missed an M1 somewhere, so I pulled out the needles and carefully pulled out the rows. Once everything was back on my circulars, it was pretty cool to be able see that I’d put some stitches on the wrong way. I felt like a real knitter! A knitter who can see AND fix problems!
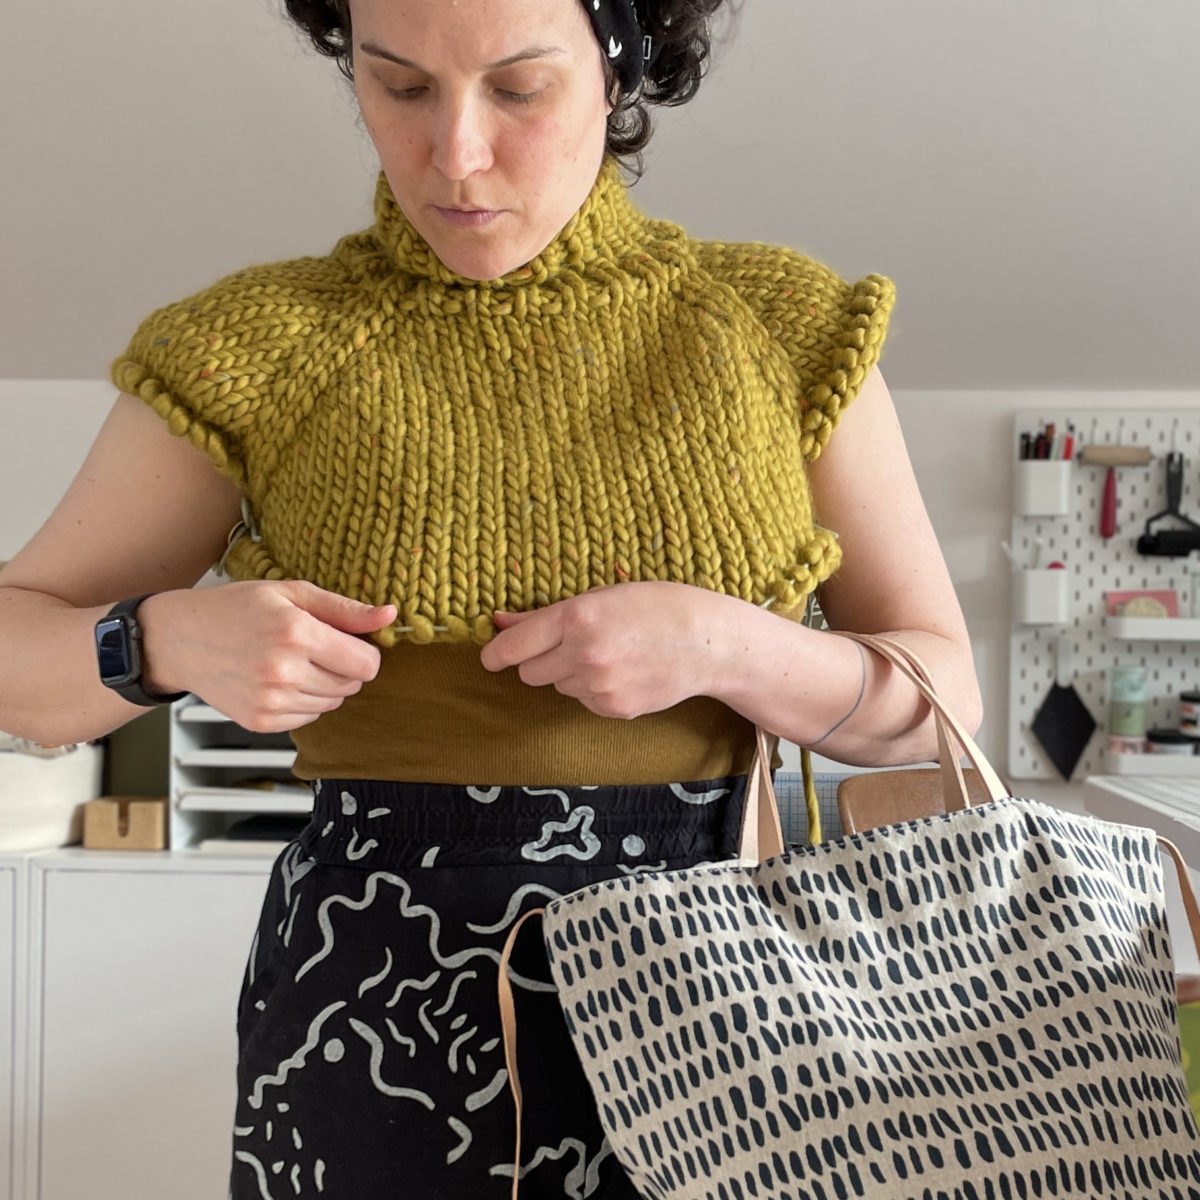
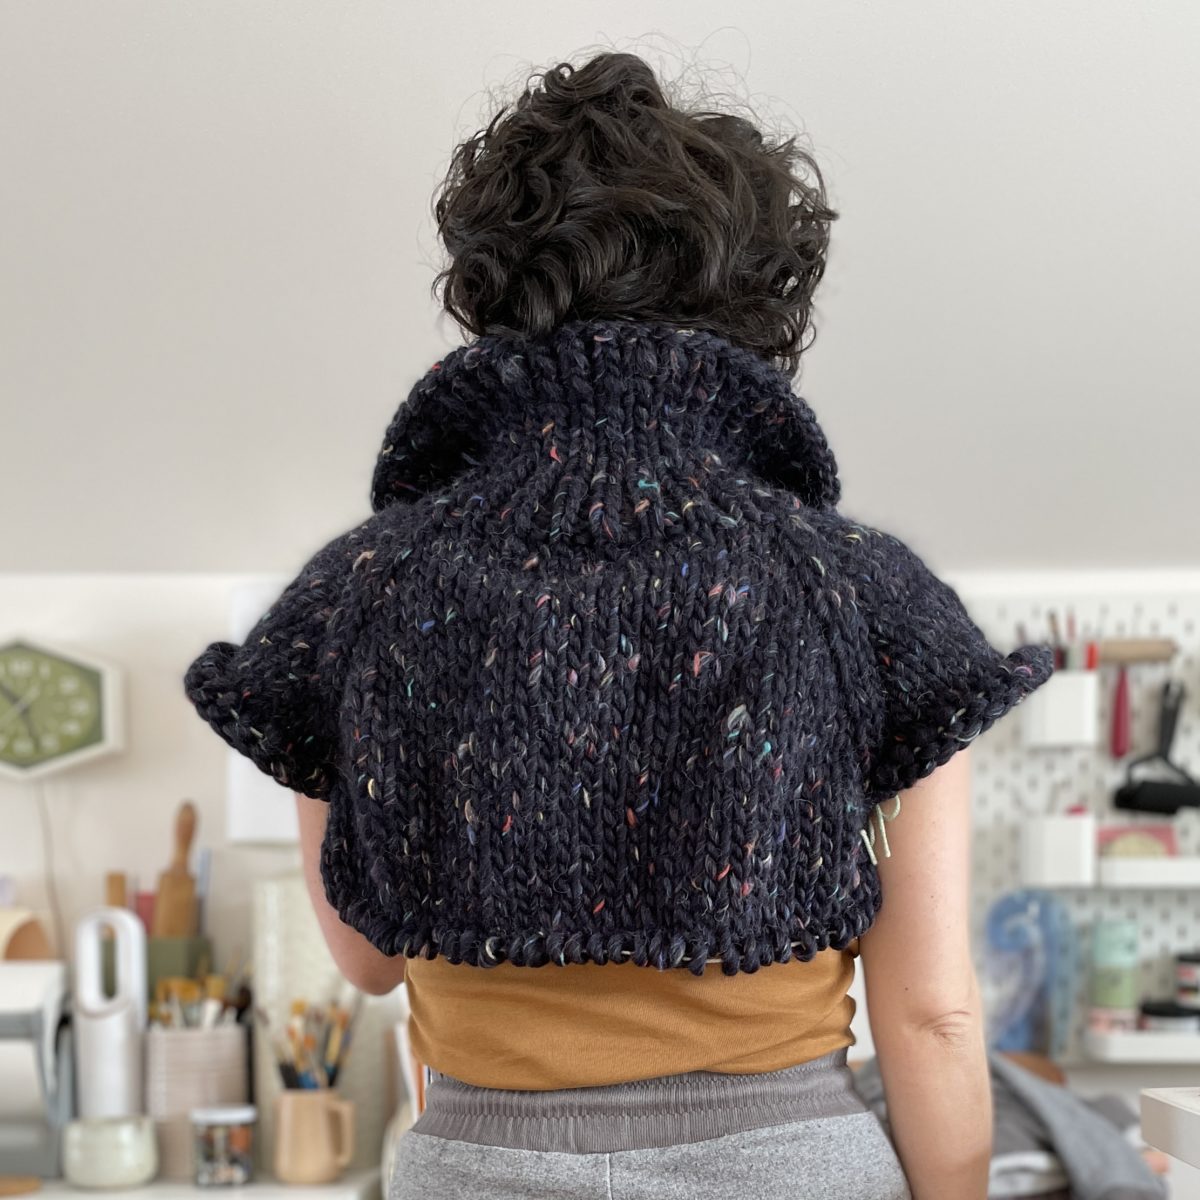
Once I finished the increases, I was able to try it on. This is my first top down project and I really liked being able to test the fit midway through.
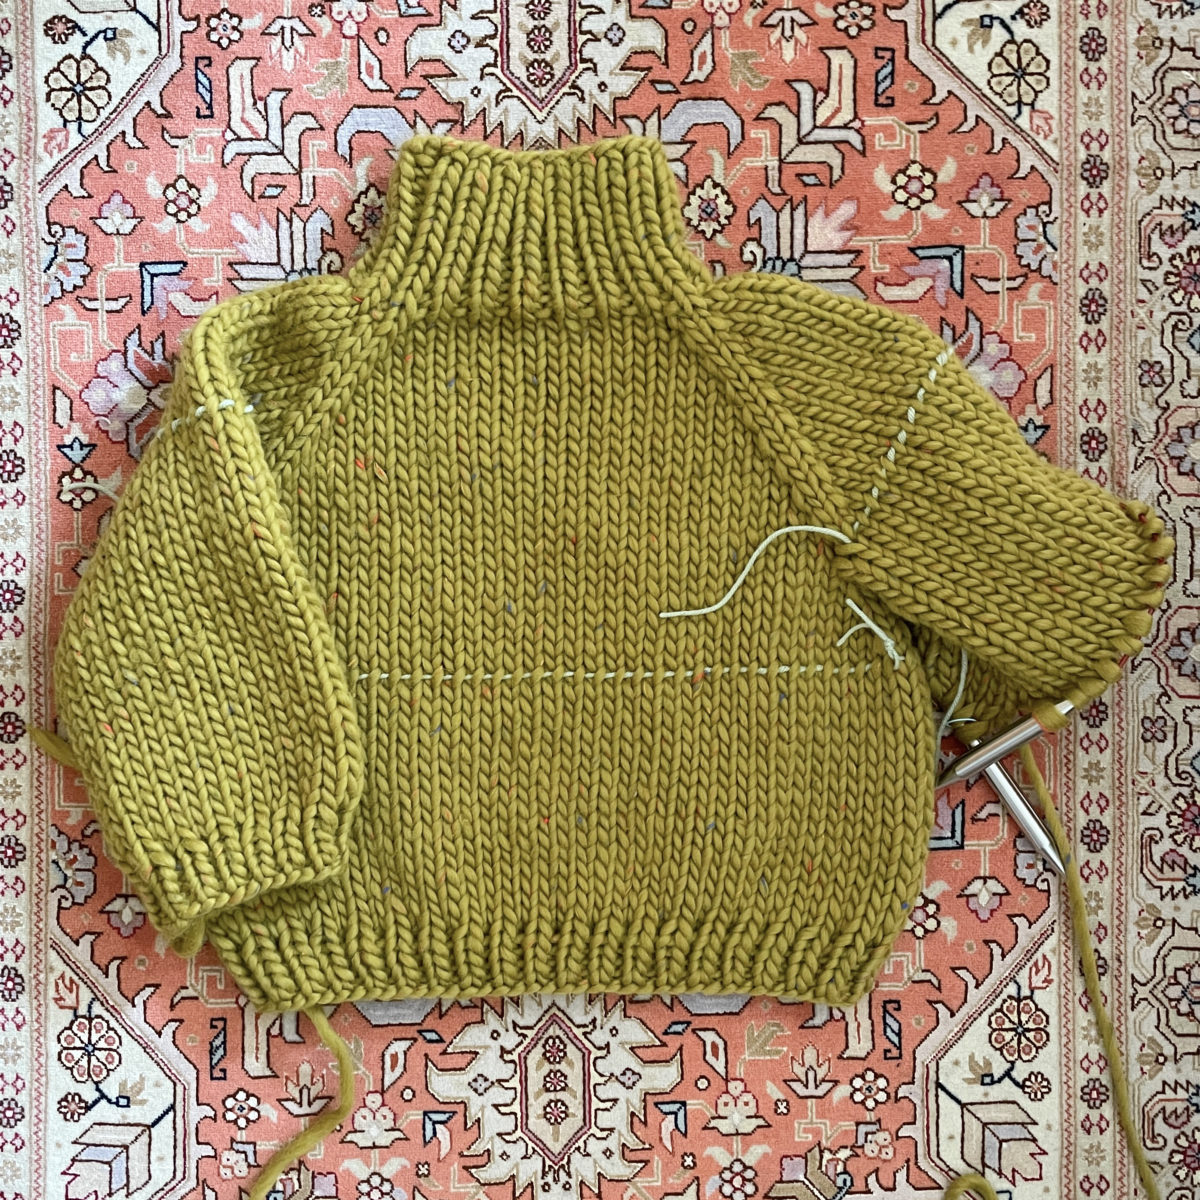
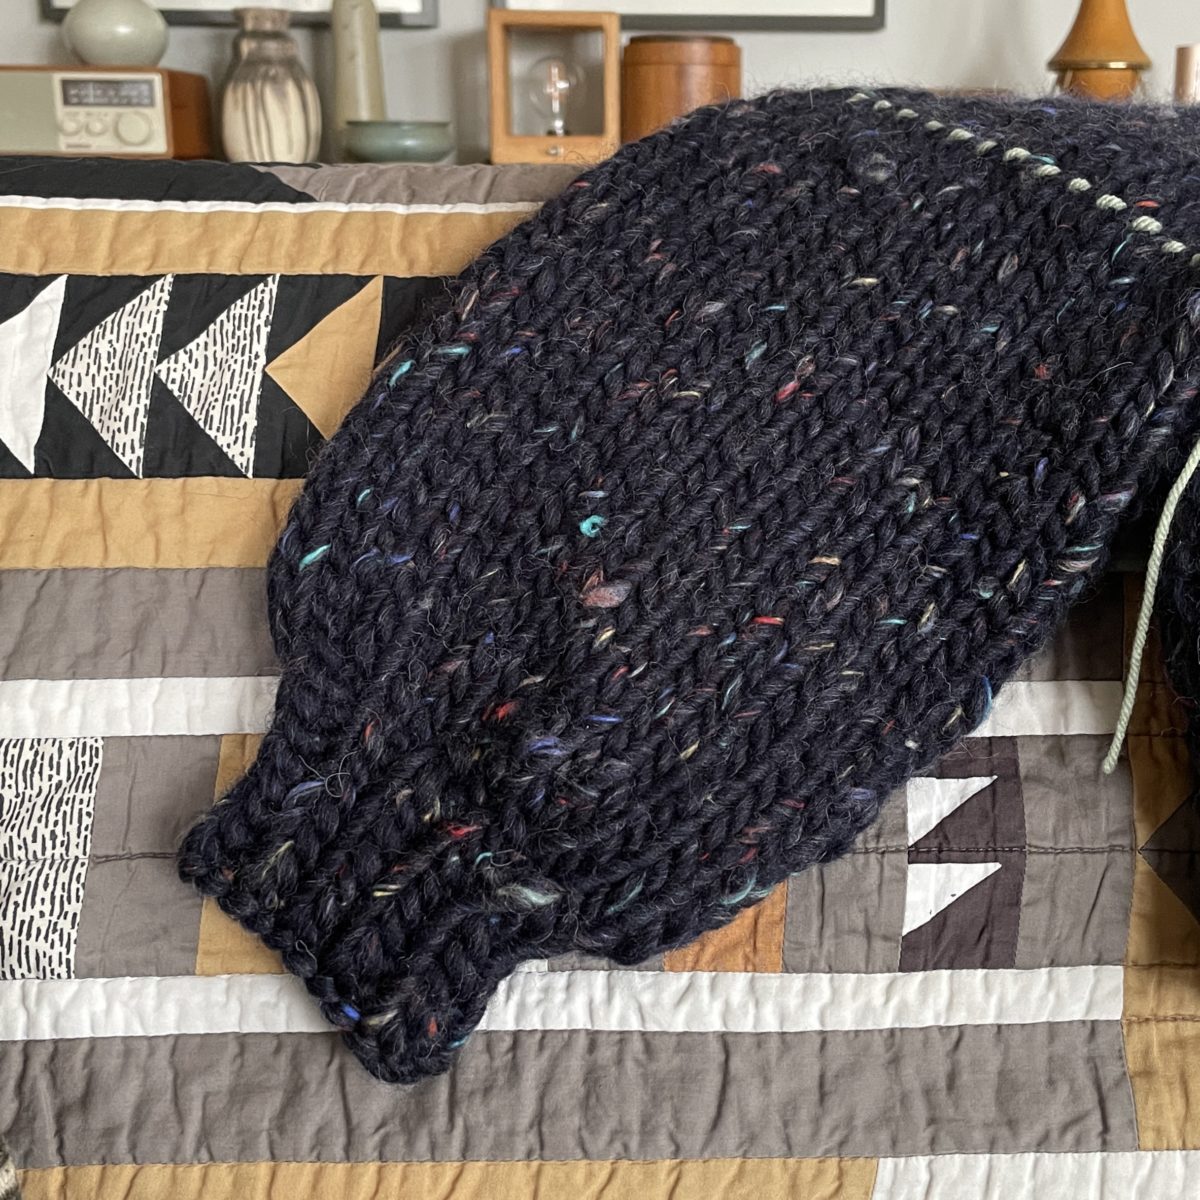
Picking up stitches at the armpit ended up not being as difficult as I thought it would be (I had virtual help for the first one) and the sleeves knitted up so fast in the round. I did need quite a few more rows than the pattern called for in order for the sleeve to measure the right length. Probably because I knit tight?
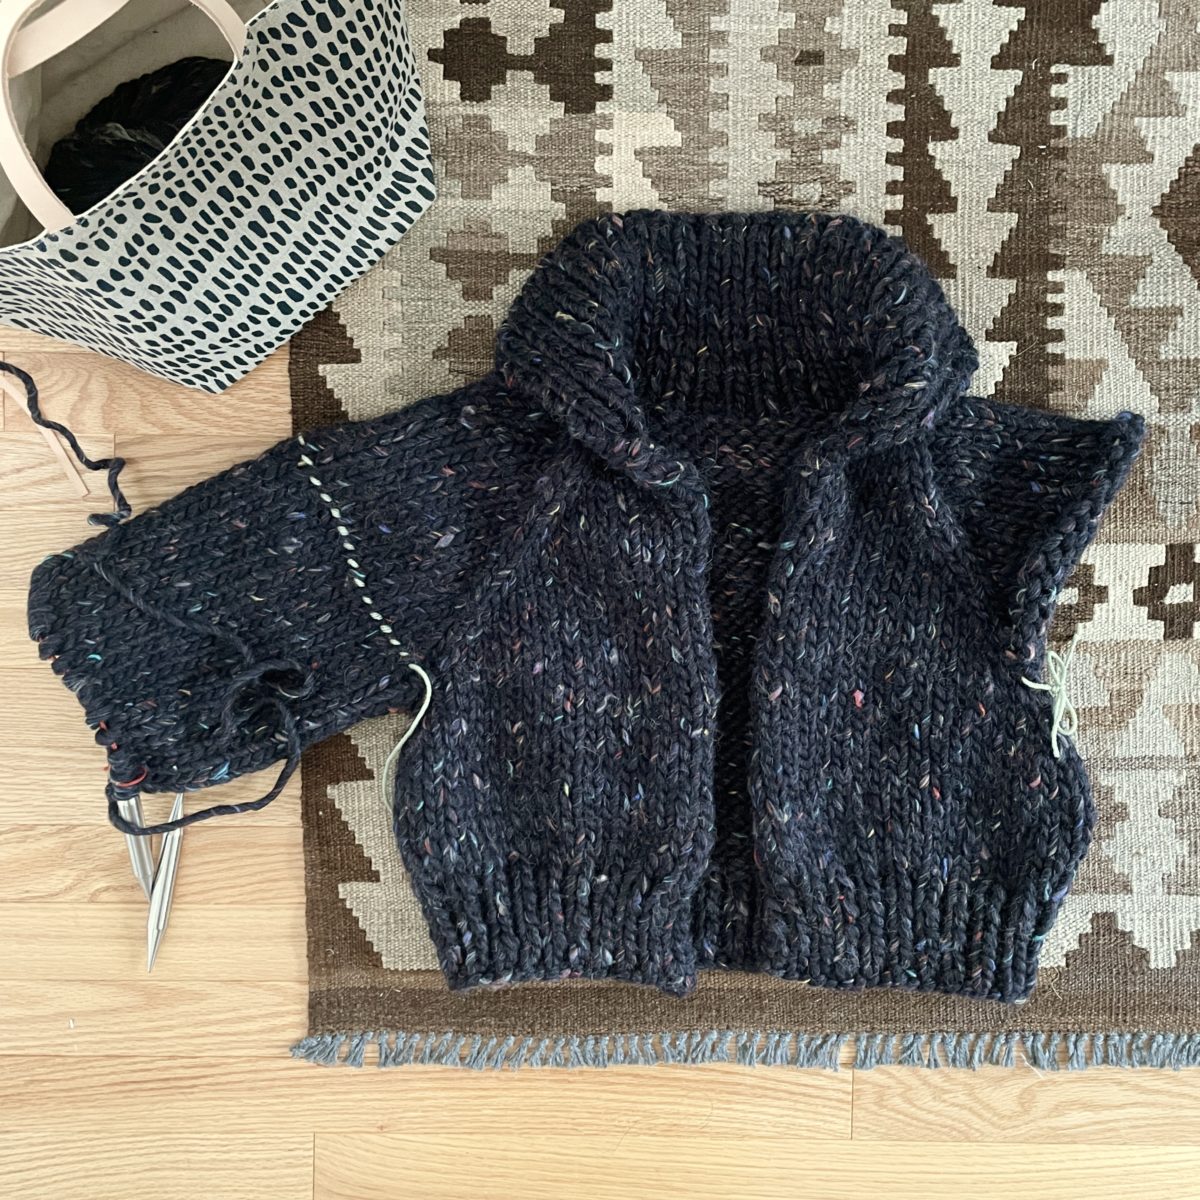
The cuffs were a little difficult since I was using 20″ circulars. I have since learned about the “magic loop” technique and I can’t wait to try it out. I did more of a frustrating stretched blob technique that I don’t recommend.
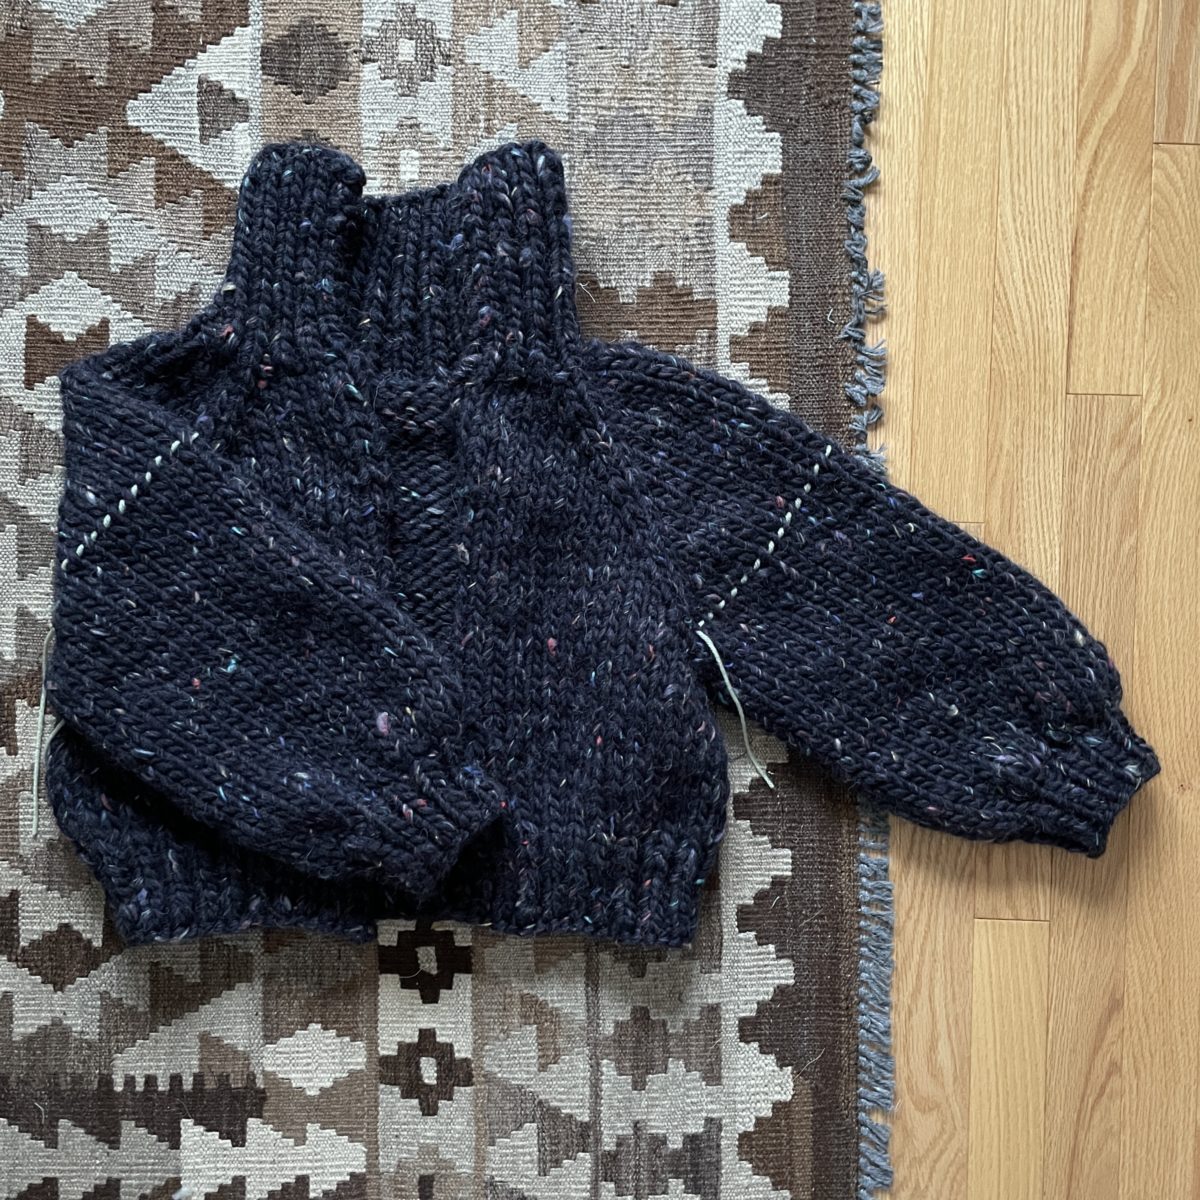
This was such a satisfying project and it took under a month to make. I think this practice will be good physical therapy for my wrist too.
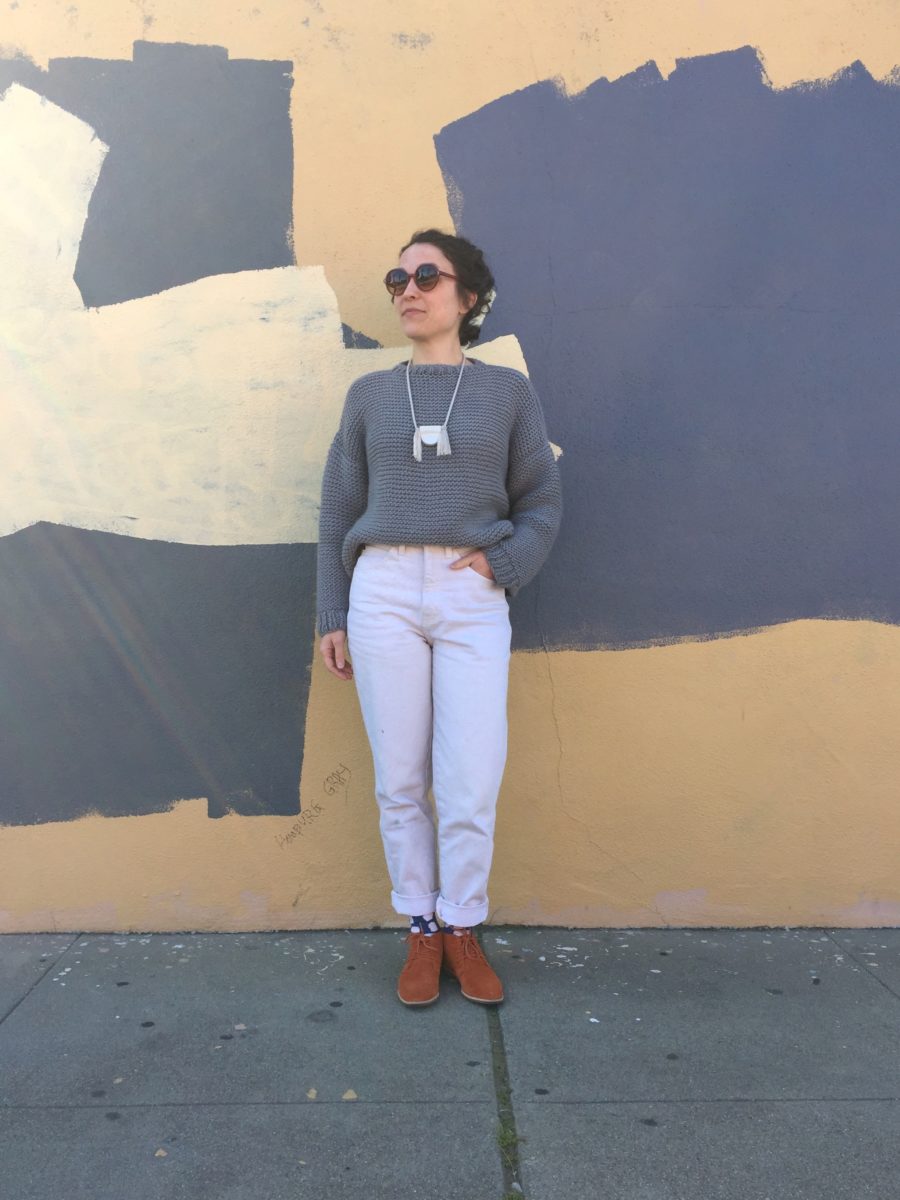
I know chunky yarn isn’t what “seasoned knitters” like to use but I dig it. I’ve worn this thing every day since I finished. I haven’t blocked it yet, whoops!
I LOVE Good Night, Day’s aesthetic and style. I’m planning to make the Strathcona and Trefann sweaters next.
Before I even cast off this project, I bought more yarn, more patterns, an interchangeable circulars set, some cute stitch markers, and a row counter. I guess I’m hooked.
When it comes to making stuff with my hands, I can usually pick up new skills pretty quickly. However, that seems to go to shit when I’m knitting. I think it’s because I can’t visualize what’s going to happen. I don’t have enough practice to know what I’m seeing. And that frustrates me. A lot. And fixing mistakes? Nope. Frog it. Frog it all.
My grandma taught me some basics when I was in high school, but we didn’t visit very often and I really needed some hand holding for it to stick.
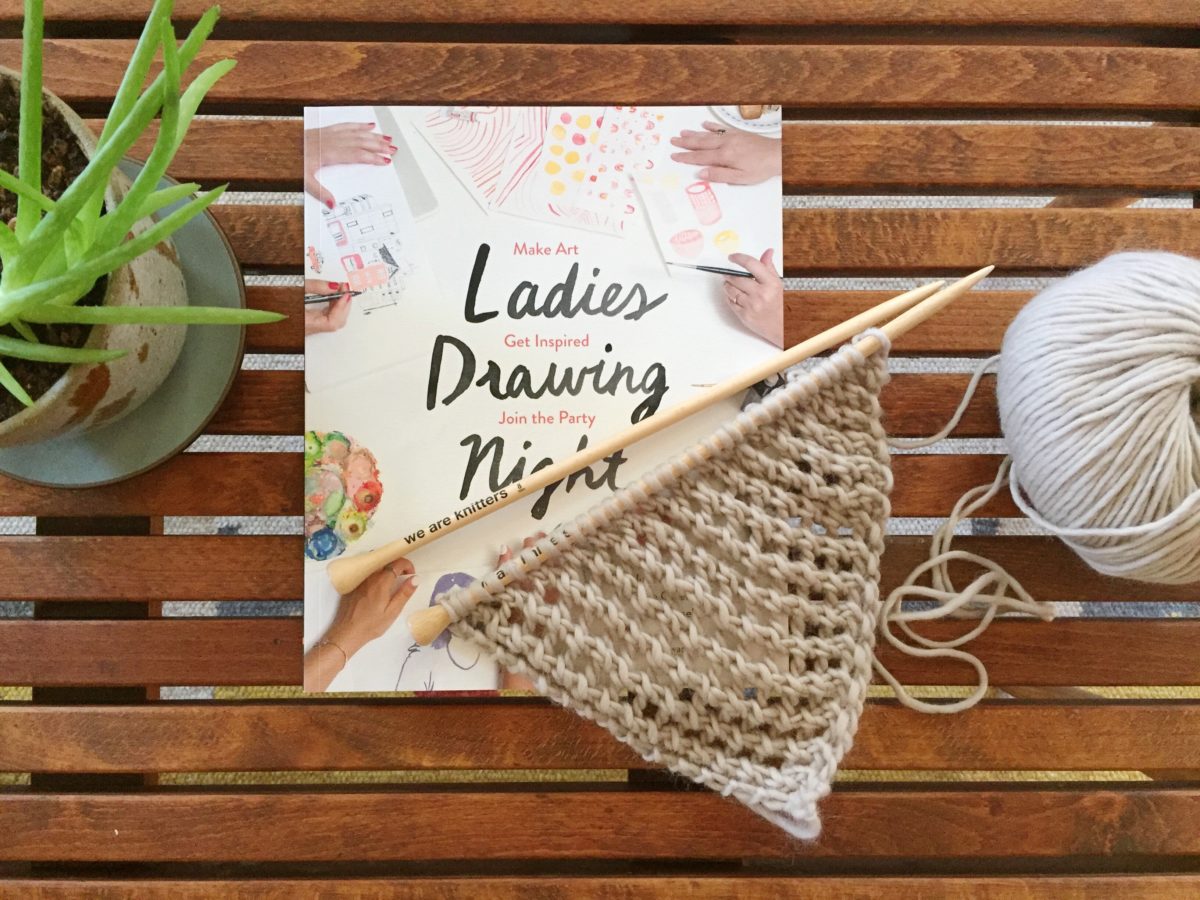
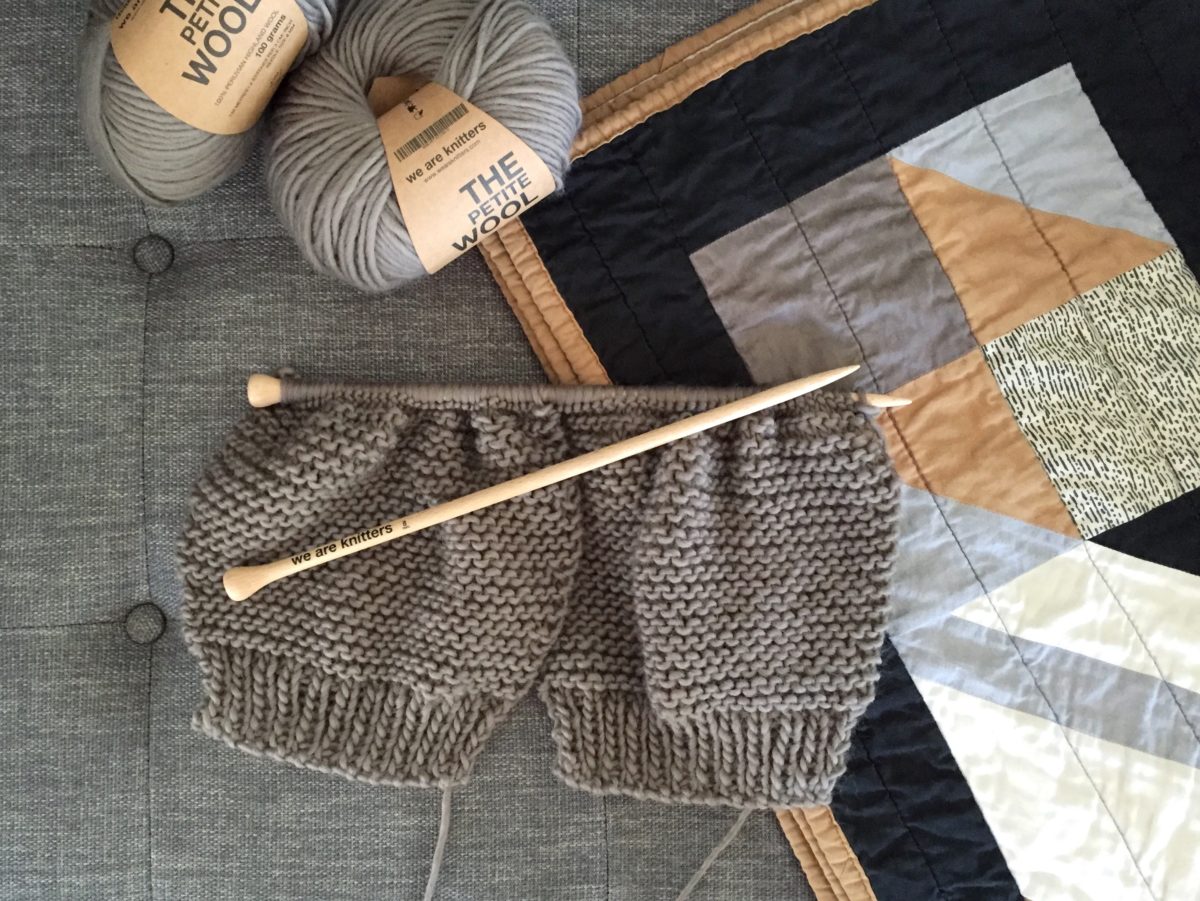
In-progress snood, 2016
Anyway, after abandoning learning to knit in 2017, I’m trying again. And taking a peek at past projects to show myself that I can in fact, do it. Above is some snood pattern from WAK that I’m pretty sure I donated.
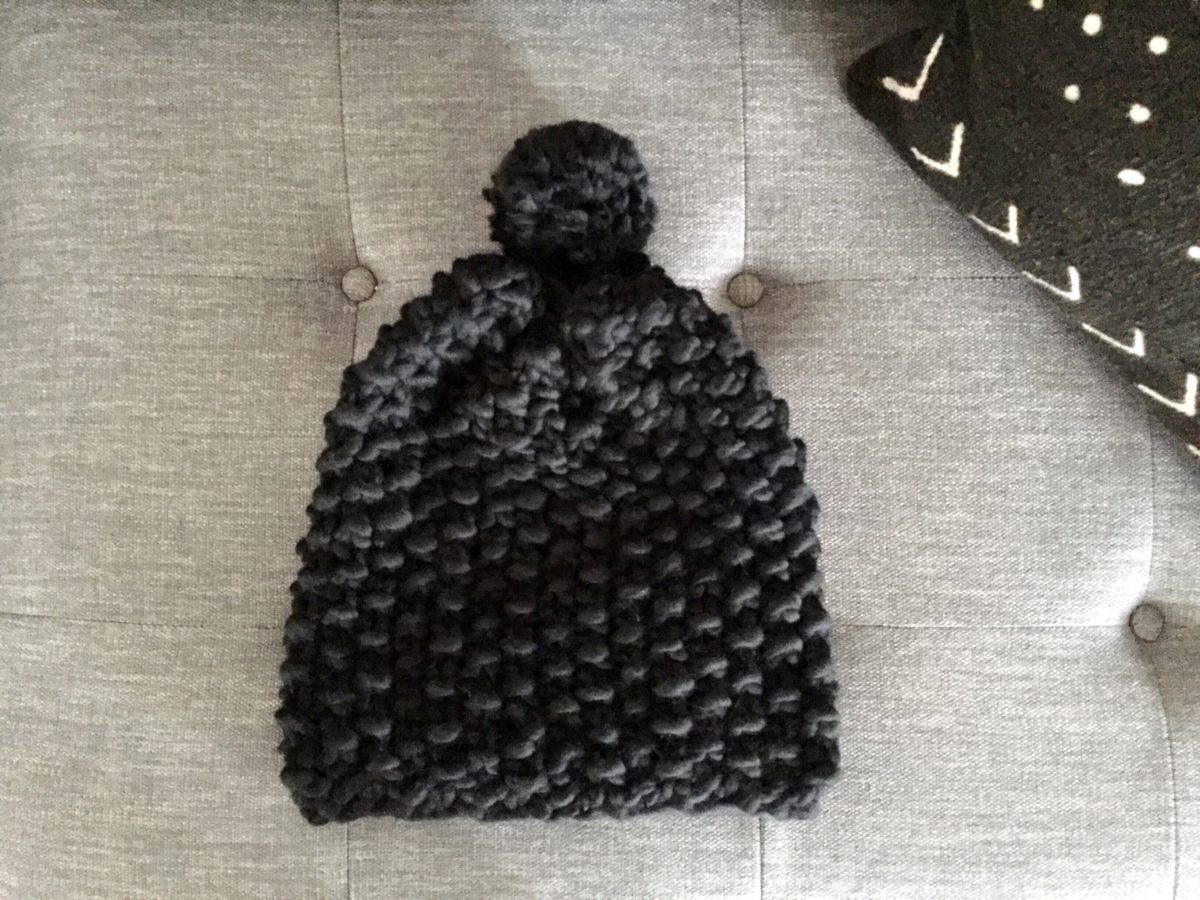
Finished hat, 2016
After making that snood, I tried another WAK kit. I think it’s the Sienna beanie that I probably chose because of the name. I think it might have also been donated. I hate wearing hats since I have curly hair (such a commitment), but was told hats are a good place to start.
In-progress scarf, 2016
Shortly after the hat, I tried the Ranta scarf, which I ended up being pretty proud of. I was able to find a groove while knitting, but I also remember writing so many notes to keep track of where I was in the project. I don’t have any finished photos, but I did end up keeping it! Maybe one day I’ll even block it!
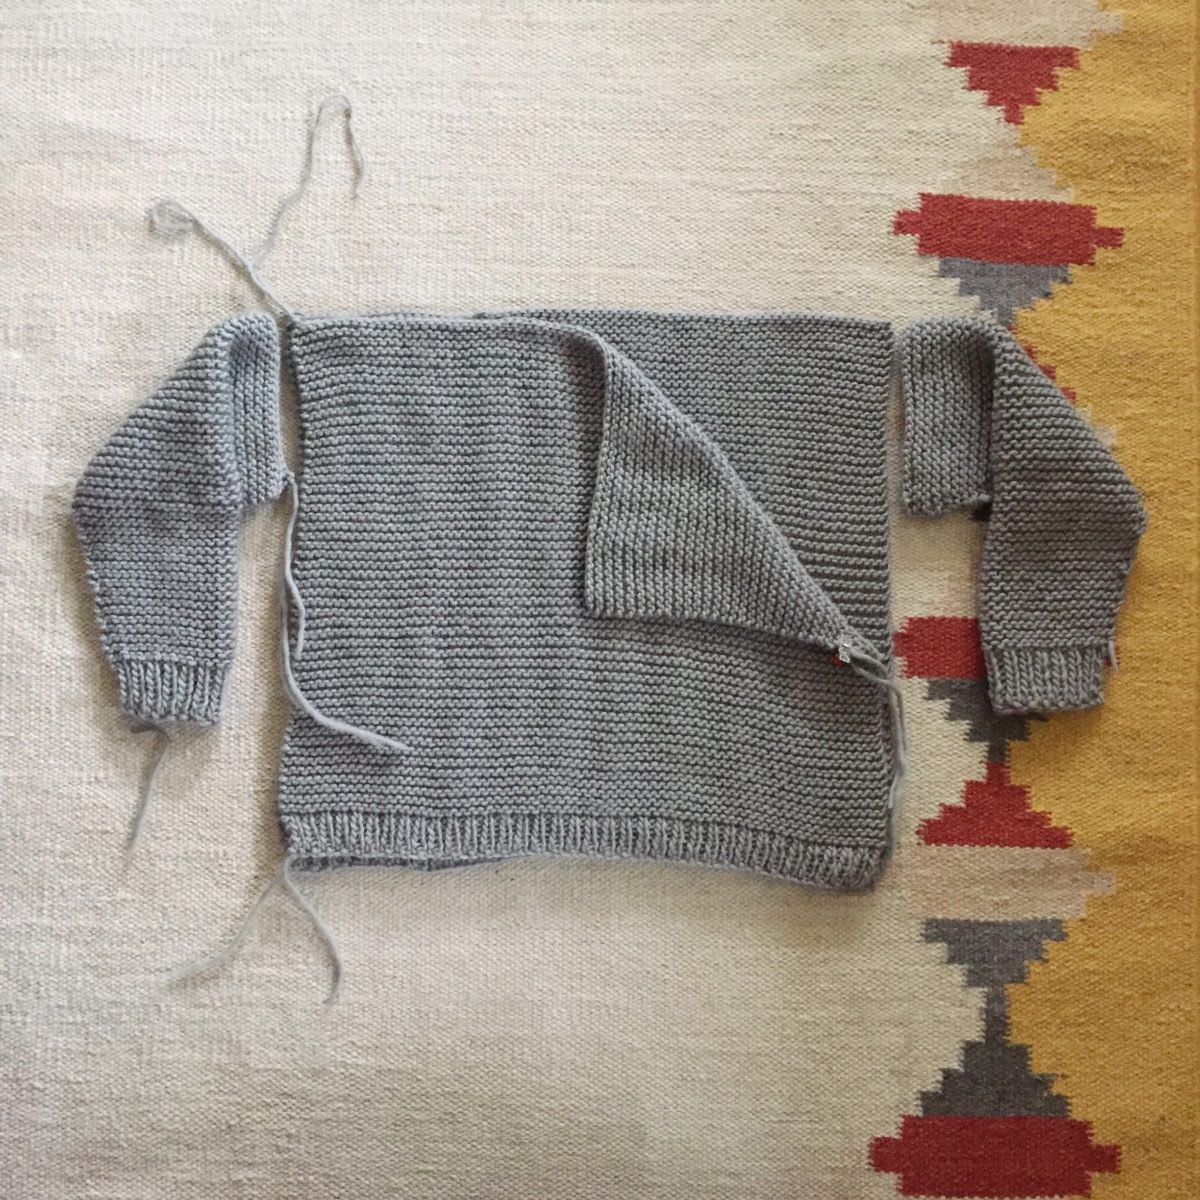
In-progress sweater, 2017
After making a snood, a hat, and a scarf, I thought I was ready for a sweater. Sweaters are the whole reason I have any interest in knitting in the first place. The dream is to add Babaà and Misha & Puff style sweaters to my skill set and wardrobe.
My Classic sweater turned out okay, but there are a few things I hate about it. Firstly, it’s constructed in pieces and seamed together. I cannot make the seaming look good. It also doesn’t have any shaping at the neckline (the front and back pieces are exactly the same) so I feel like I’m being choked when I wear it. And lastly, it’s HOT. I can’t wear it without sweating, but I get that chunky yarn is a good way to learn and it knits up faster.
In-progress sleeves, 2017
After finishing the first sweater, even though it had problems I didn’t know I how to fix, I started a second. I finished making the sleeves, but that was it. I recently discovered them in bag filled with other unused yarn.
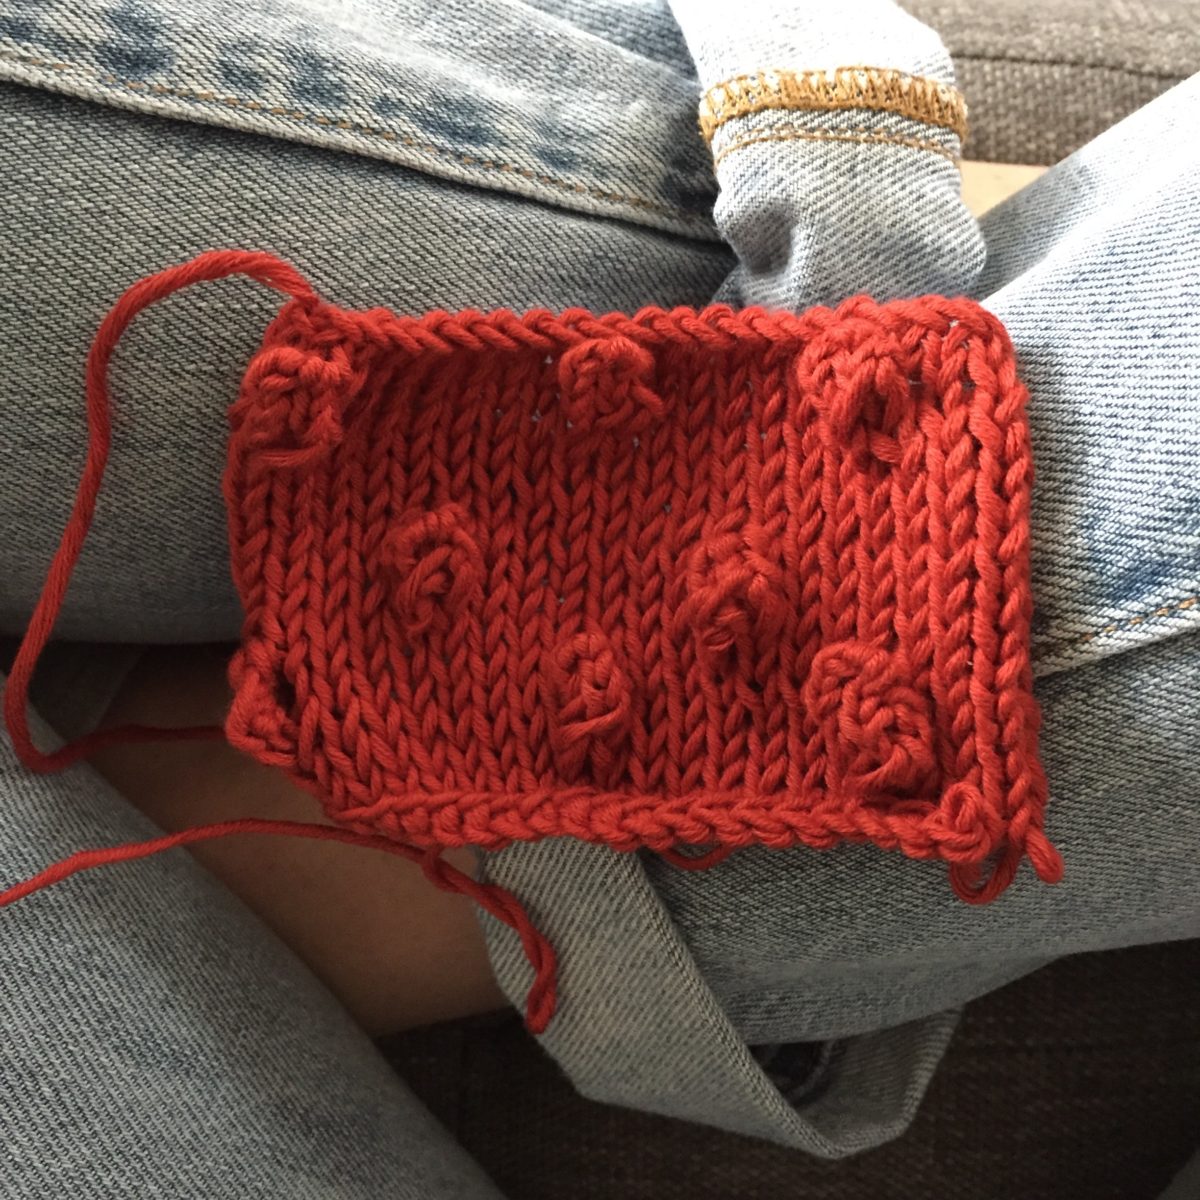
Test swatch, 2017
I abandoned the second Classic sweater for this bobble sweater. I was freaking ready for a M&P popcorn sweater to be in my life.
Sweater in Denver, CO. 2017
It even traveled with me! But after working on it for three months, I made a teeny tiny mistake and gave up. It was another knit flat and seam up pattern, which I was also not happy about so abandoning it was easy.
2021
Ever since, I kinda told myself knitting wasn’t for me. But I really don’t like that I gave up on it because I wasn’t instantly good at it. I wasn’t instantly good at sewing, or drawing, or ceramics, or painting, but I kept learning because I got more immediate gratification from those practices.
Anyway, I’m giving it another go. My amazingly skilled cousin is helping me and I found a LYS that has “get unstuck” sessions. Wish me luck!
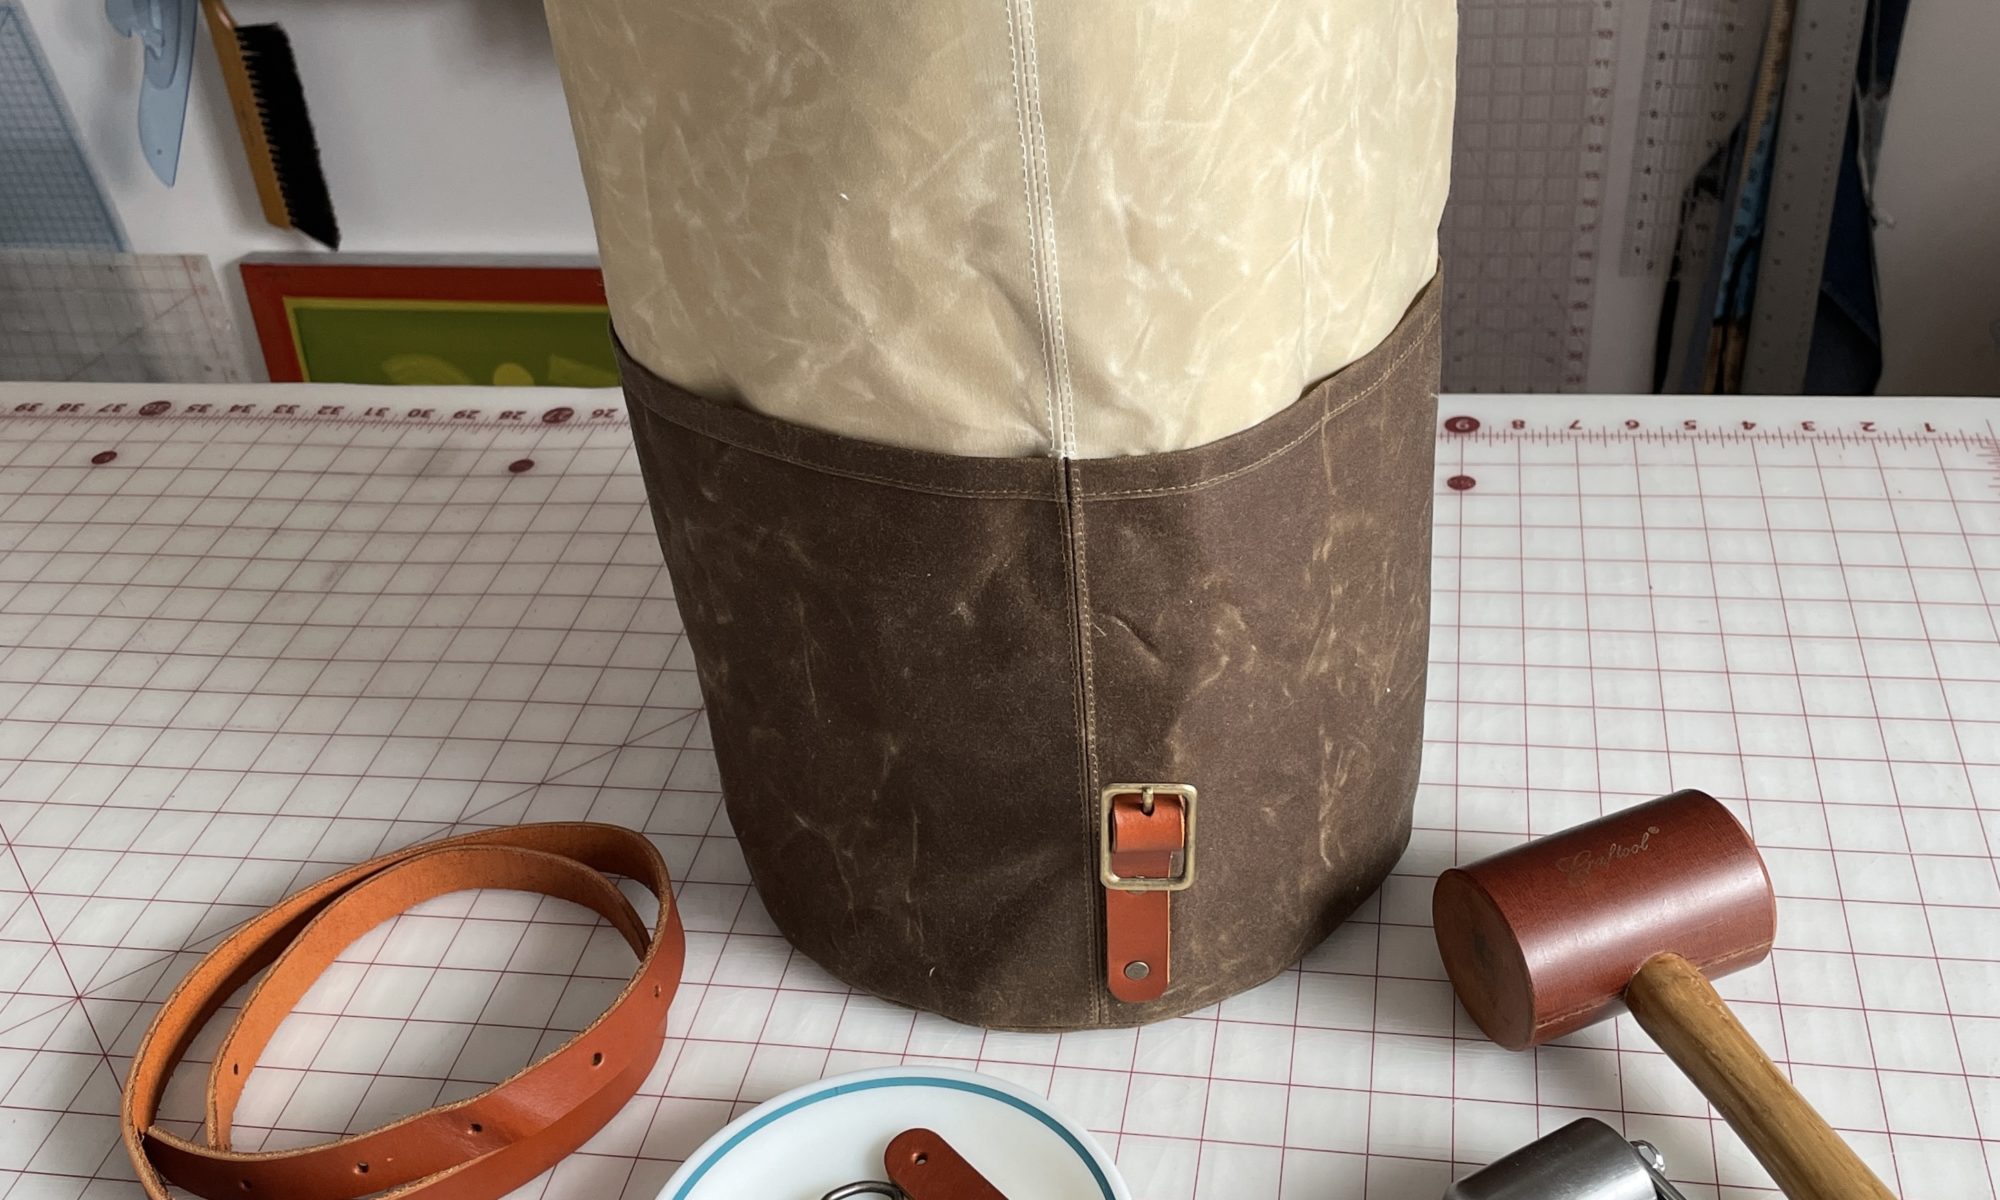
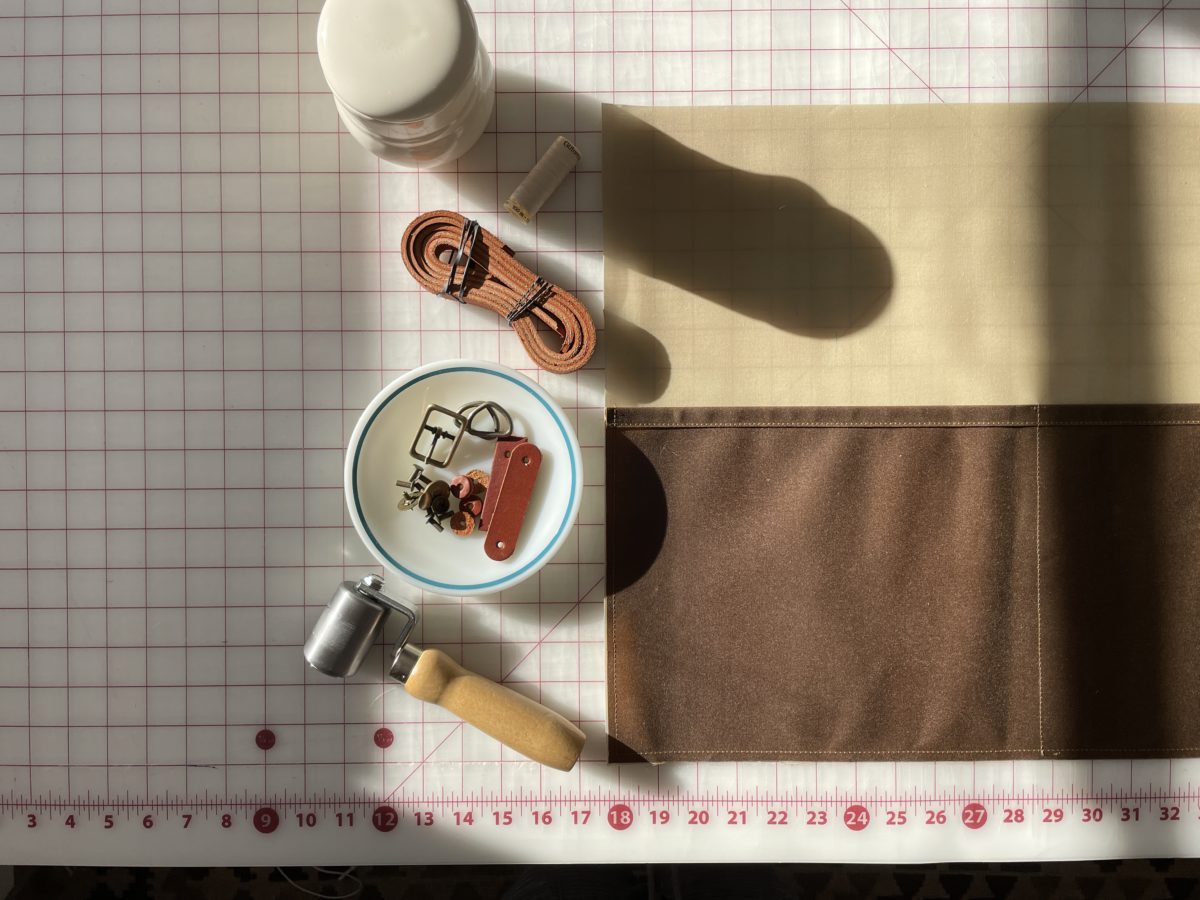
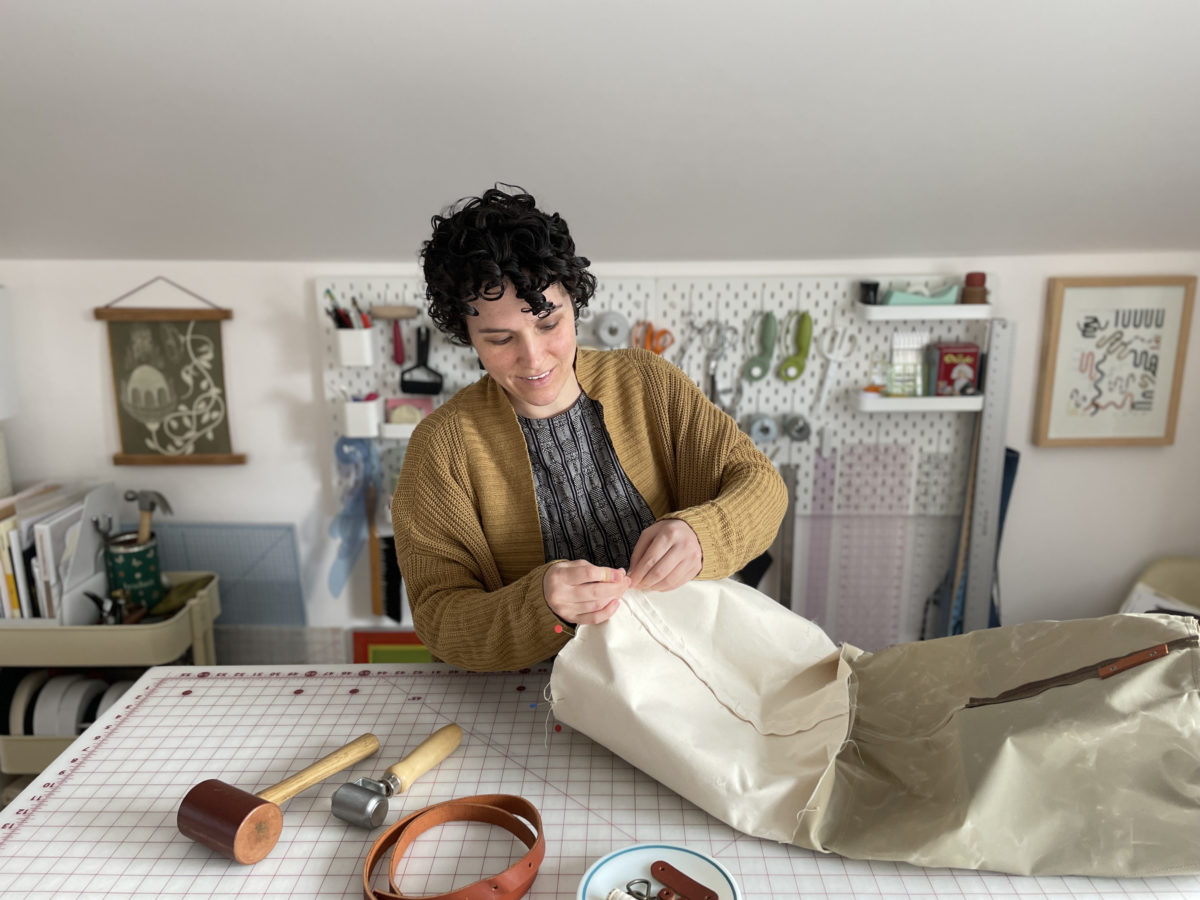
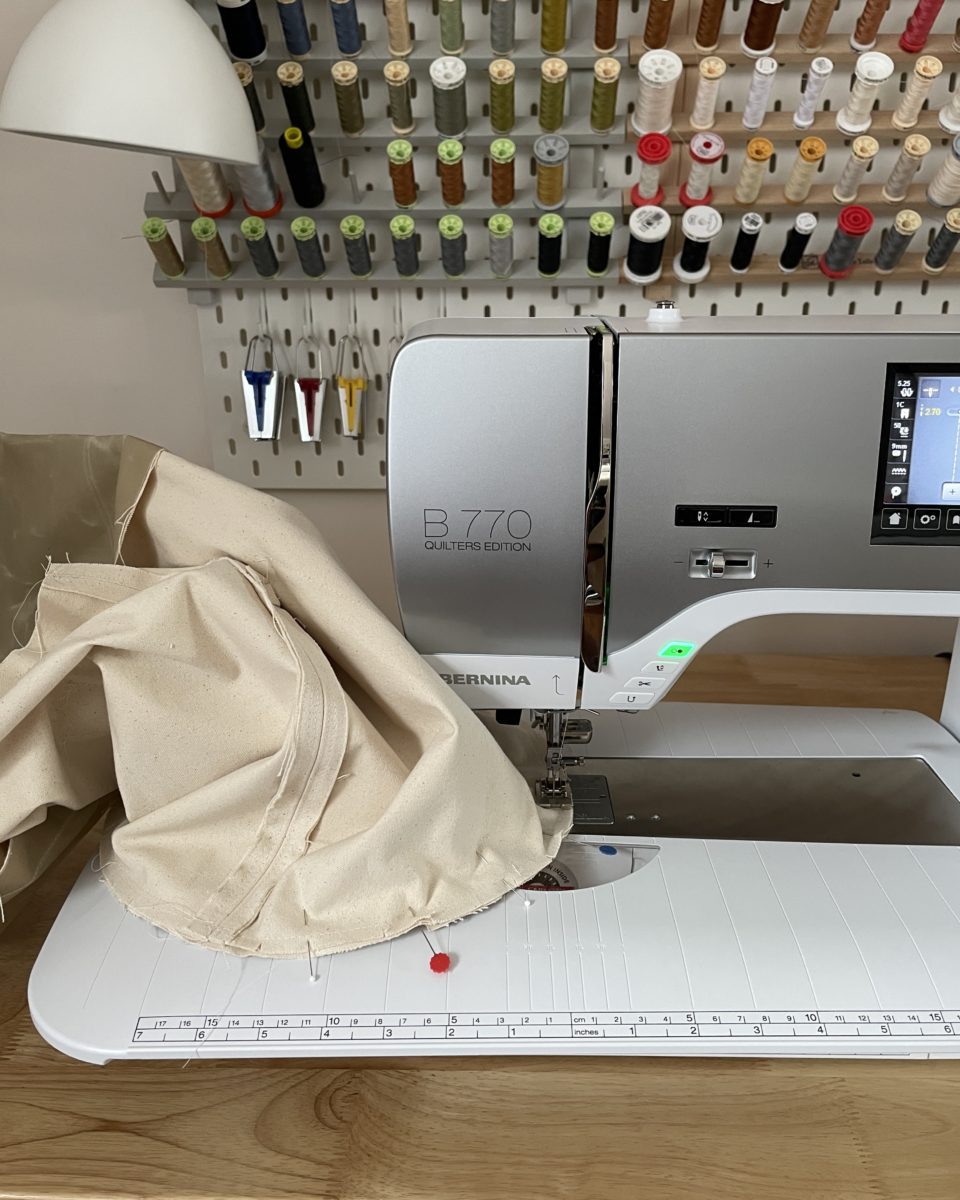
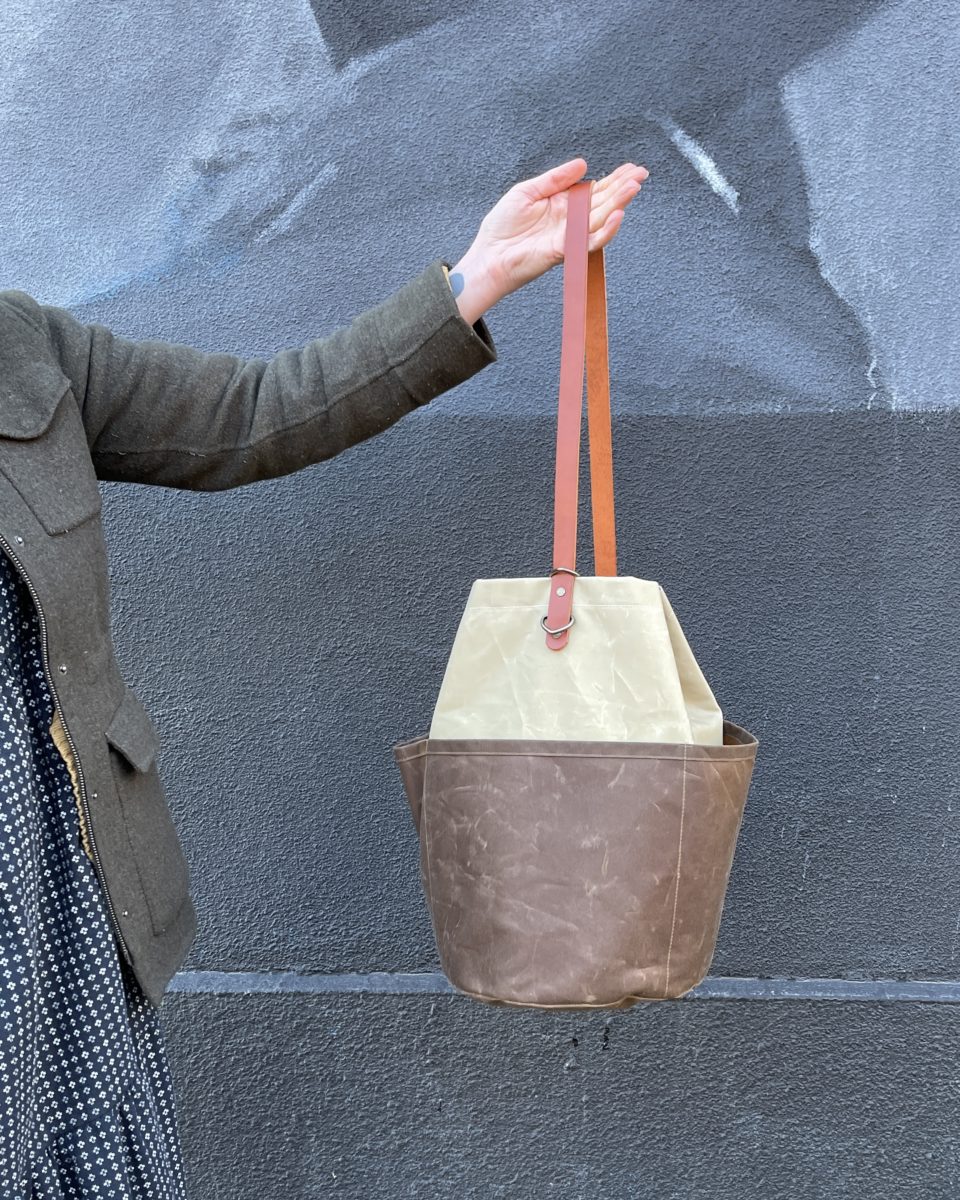
Klum House gifted me this Naito bucket bag kit shortly before its launch and I was super stoked to make it. Klum House creates the best bag making experience around, so anytime they launch a new pattern, I know I’m going to make it. I got as far as assembling the lining, took a break for dinner or something and the next day broke my wrist.
It sat partially constructed for two and a half months before my hand was strong enough to continue. My splint and cast were only on for a total of five weeks and I’m still shocked by how much muscle and range of motion I lost. Bodies are wild.
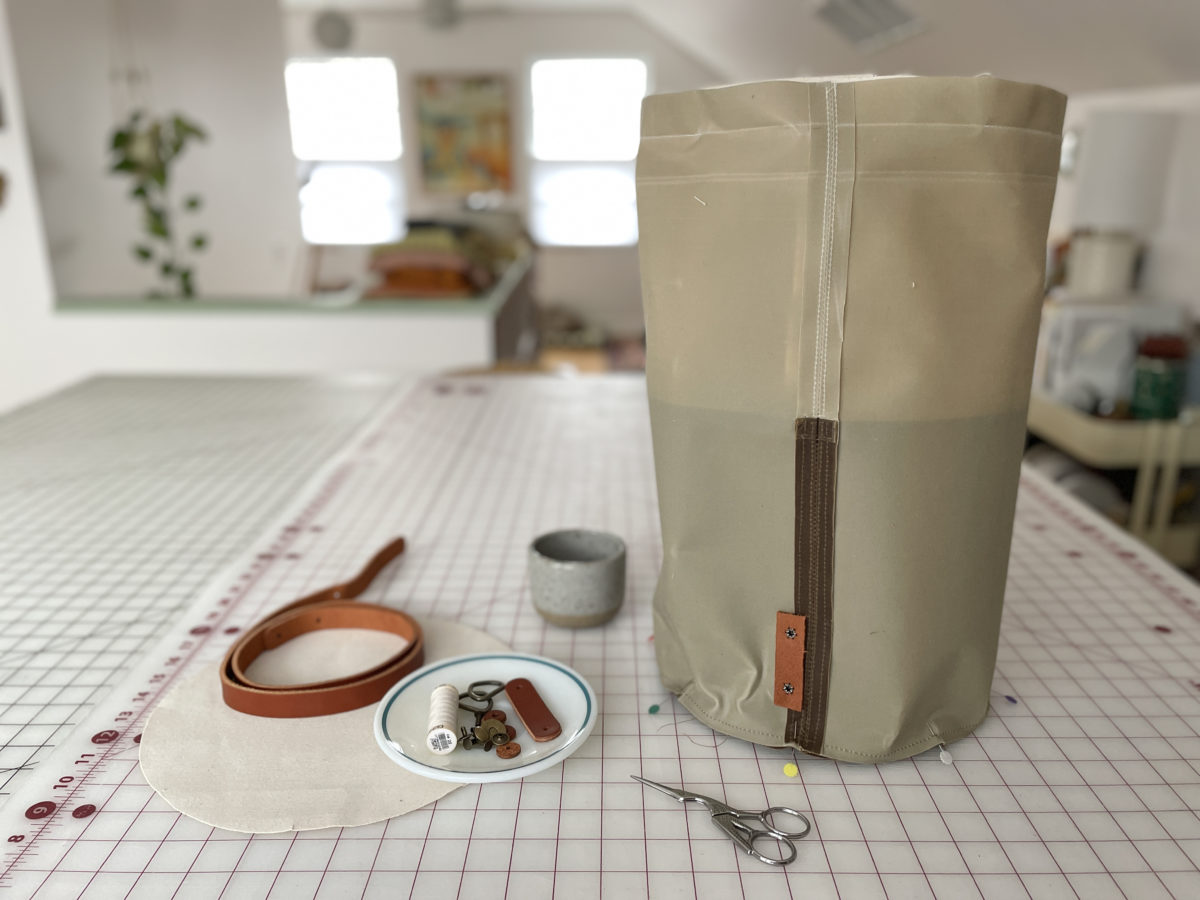
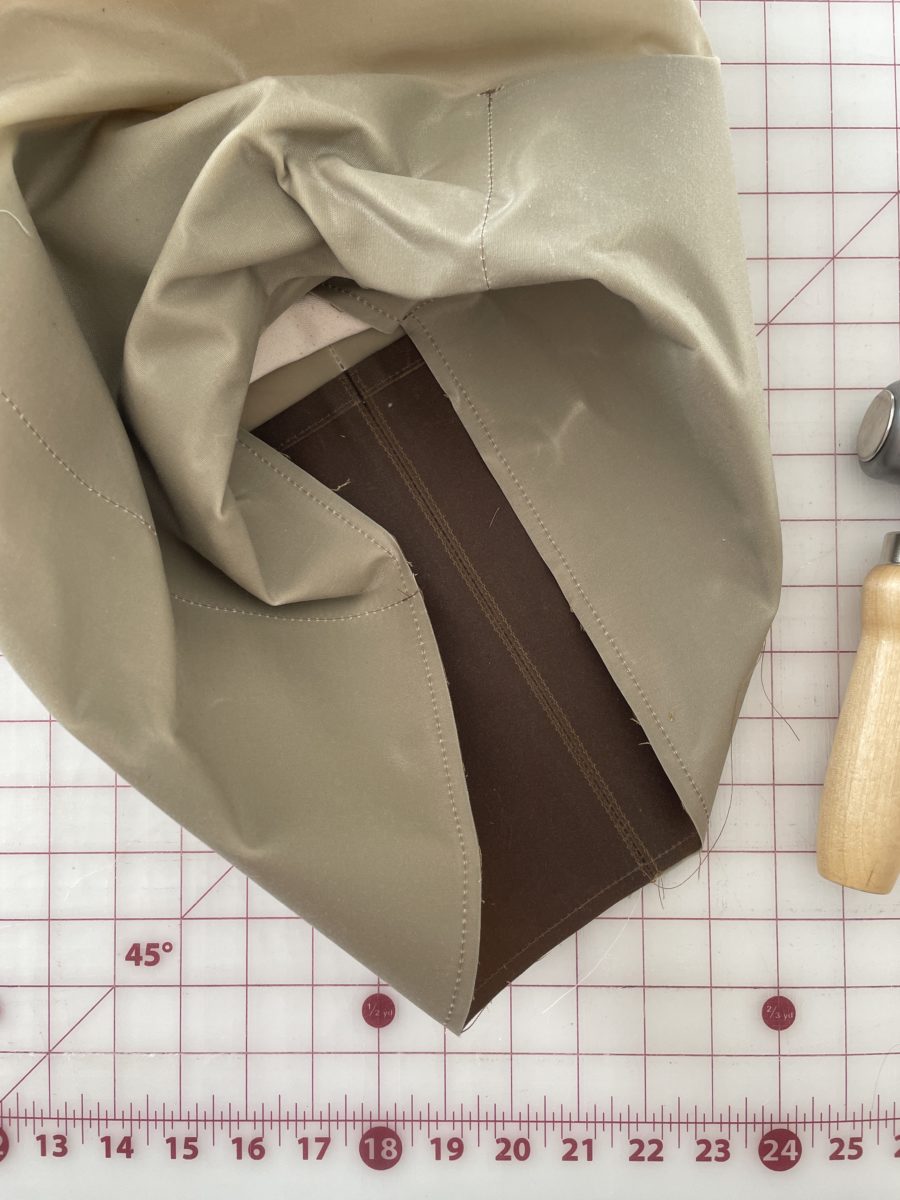
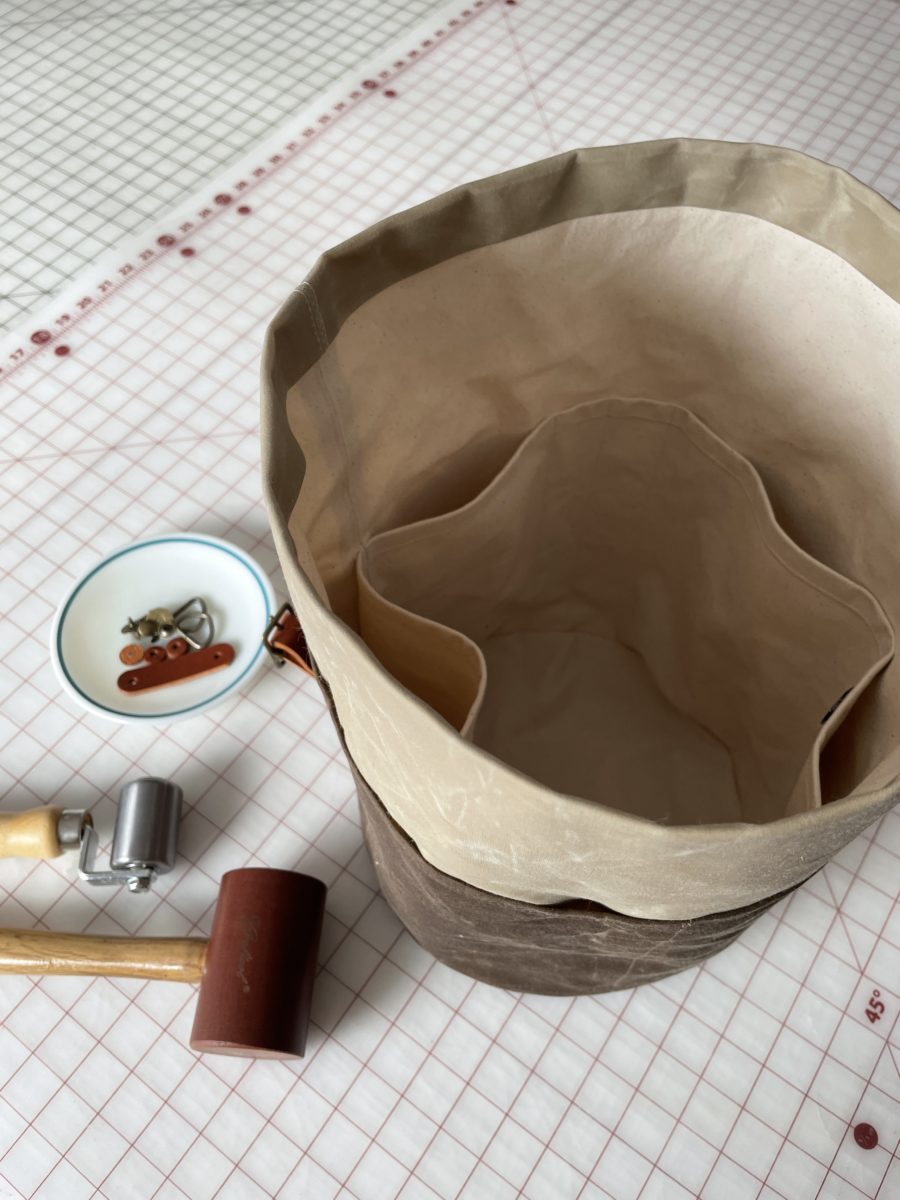
The Naito has a really clever construction. The lining is attached in such a clean and cool way. I always learn something new with a Klum House kit.
I’ve made a couple other bucket bag patterns before and attaching the circle base has always been unpleasant. I always had to make adjustments to the tube’s size to make it all line up. This base aligned perfectly and Ellie’s class demoed how to guide it through your machine.
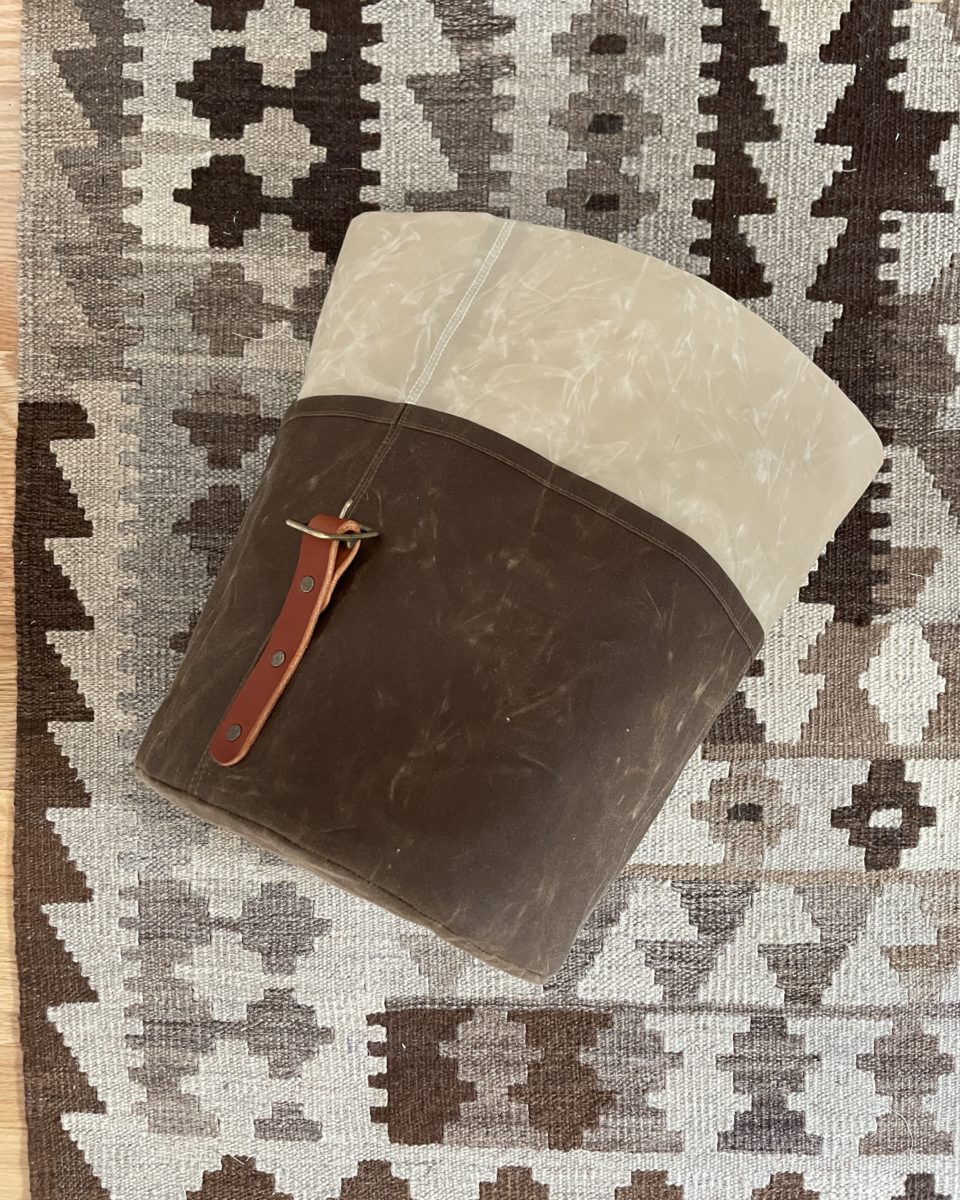
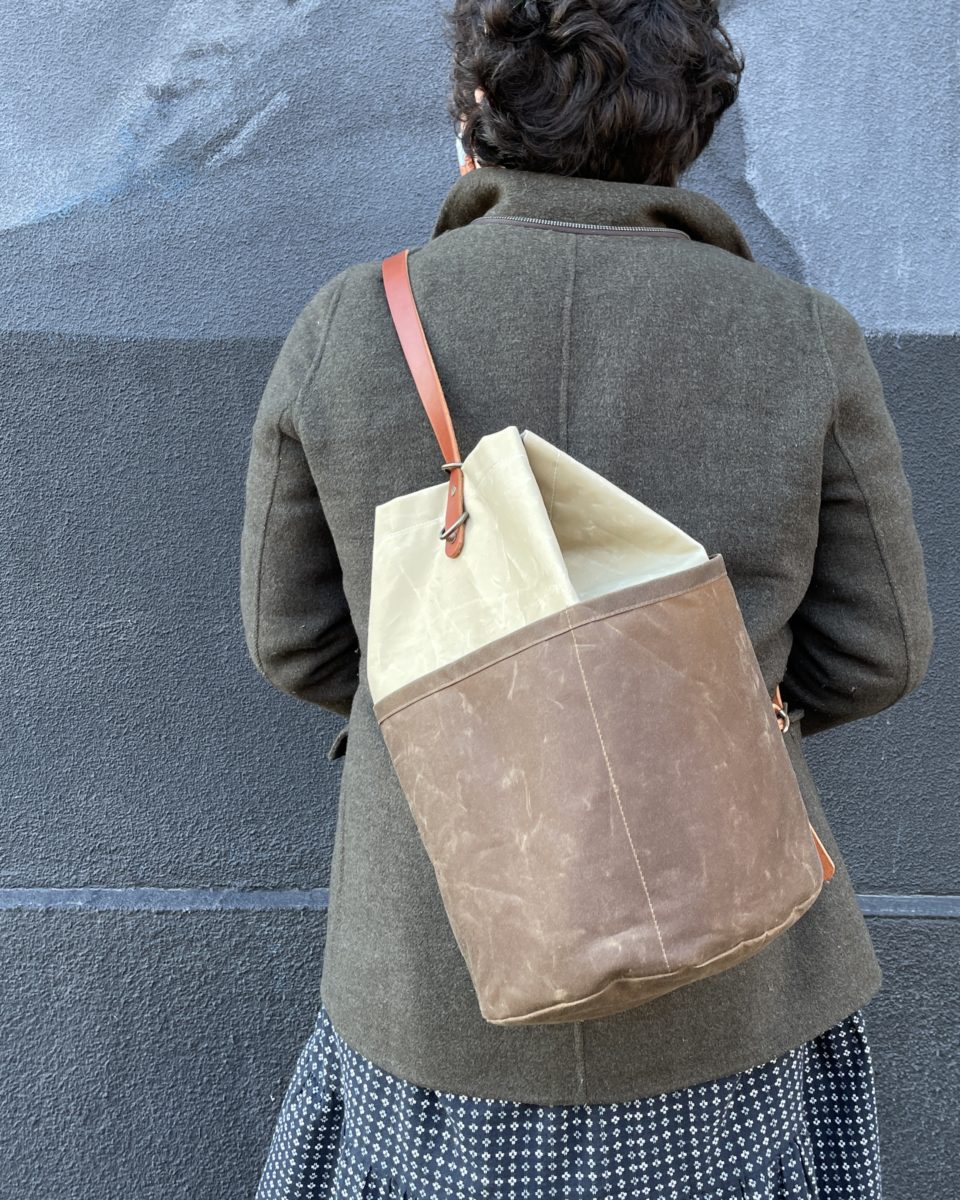
Look at all of those handy pockets! In the lining there are four large pockets, plus one for your phone and two pens. The exterior has three large pockets and a d-ring for your keys. The coolest part is how the adjustable strap can be used as either a sling or a tote. The body cinches closed with a magnetic snap and the strap.
I chose the Bone + Field Tan colorway. If you sign up for the Klum House newsletter, you’ll be able to take 20% off everything in the online shop from from November 26 – 29, 2021!
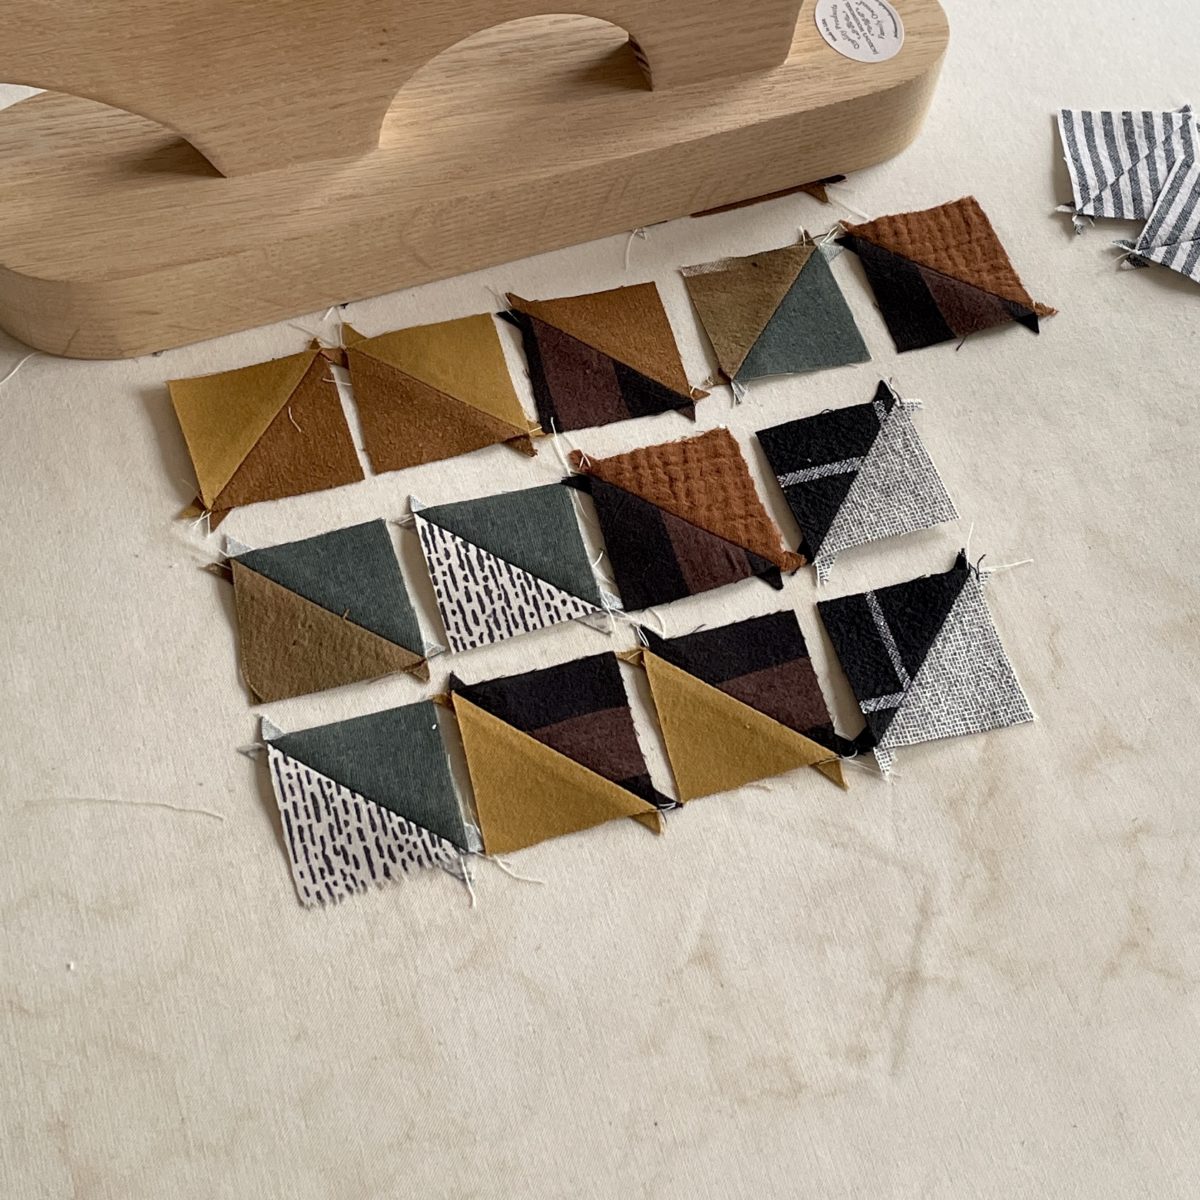
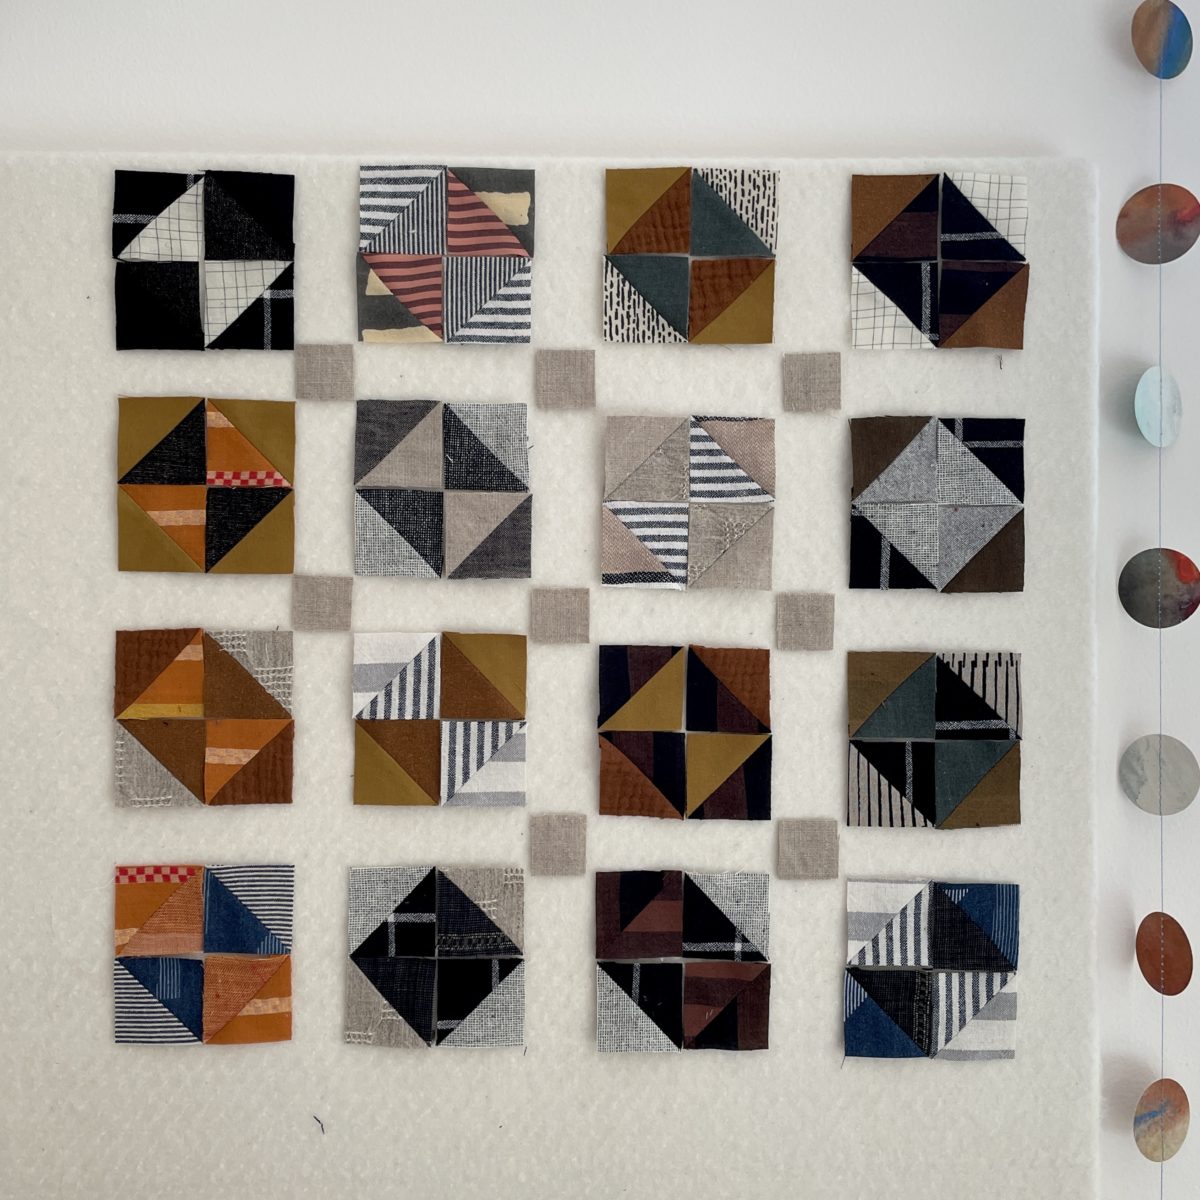
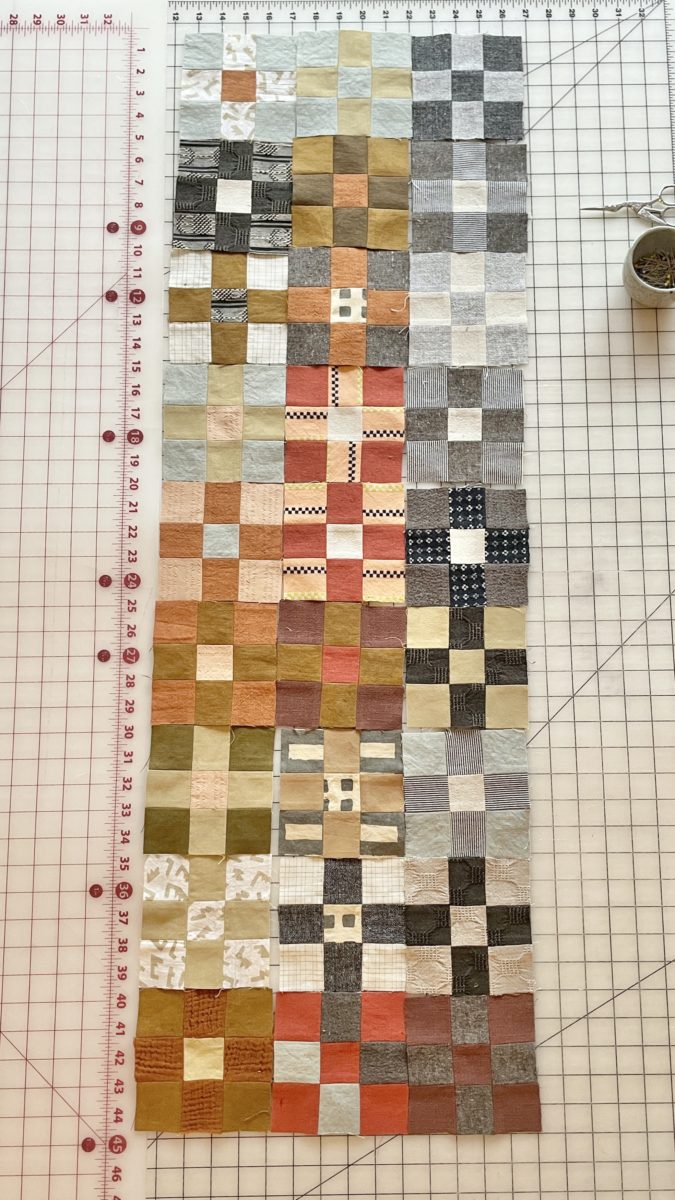
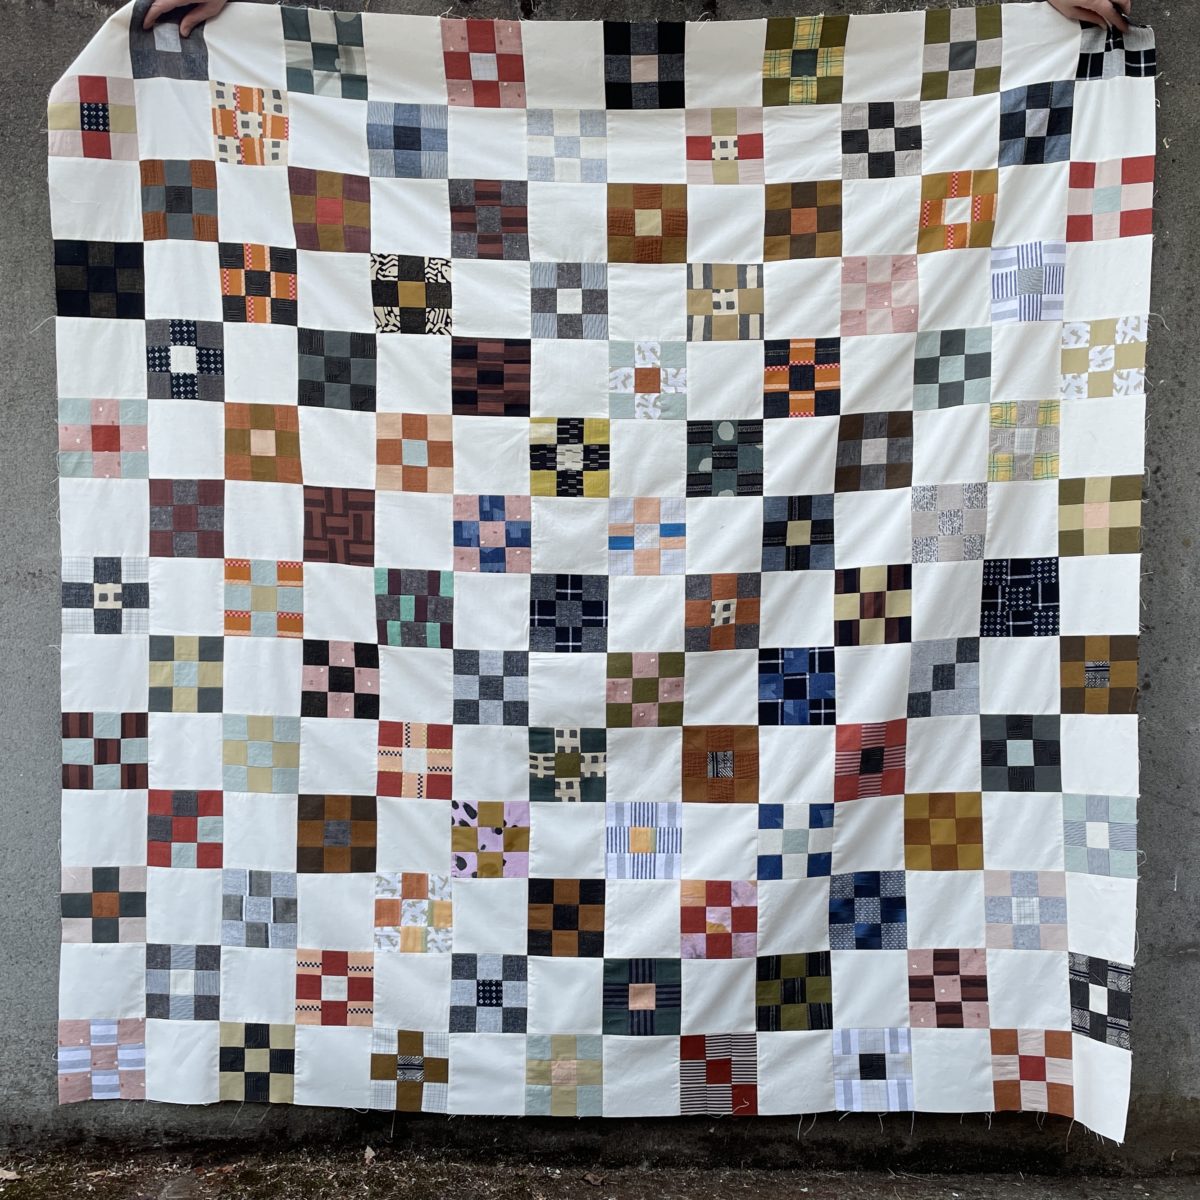
Garment sewing produces waste, sometimes a lot of it. After years of sewing, my woven scrap pile was getting pretty large and I really wanted to turn some of it into a quilt. Then in 2019 Farm & Folk posted this on Instagram and I had a solution: I’d make 100 nine patch blocks using only scraps from previous projects.
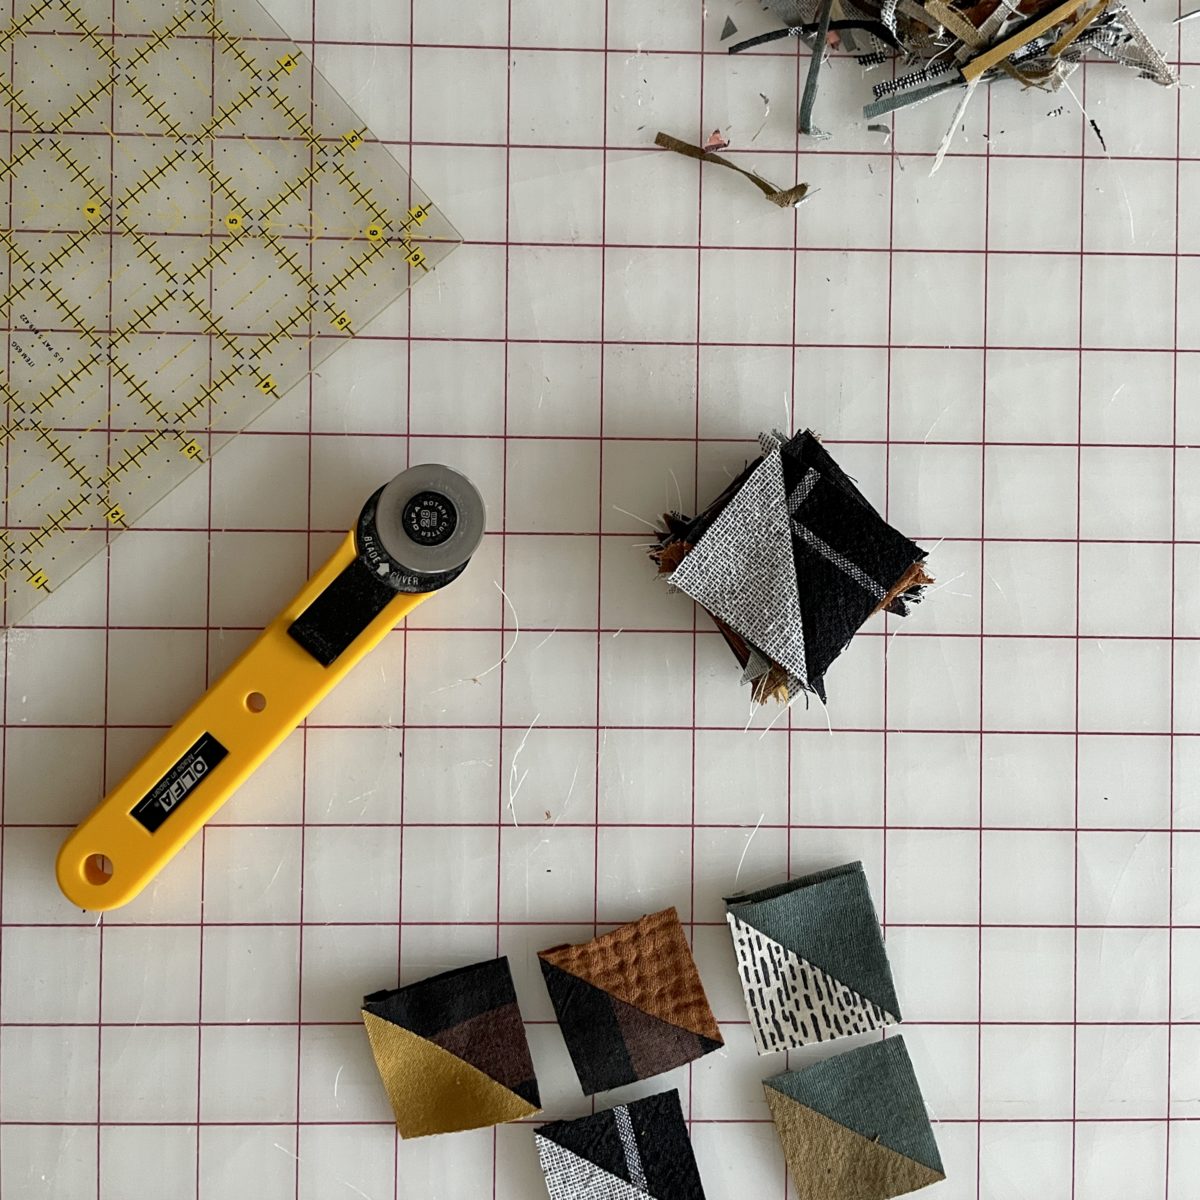
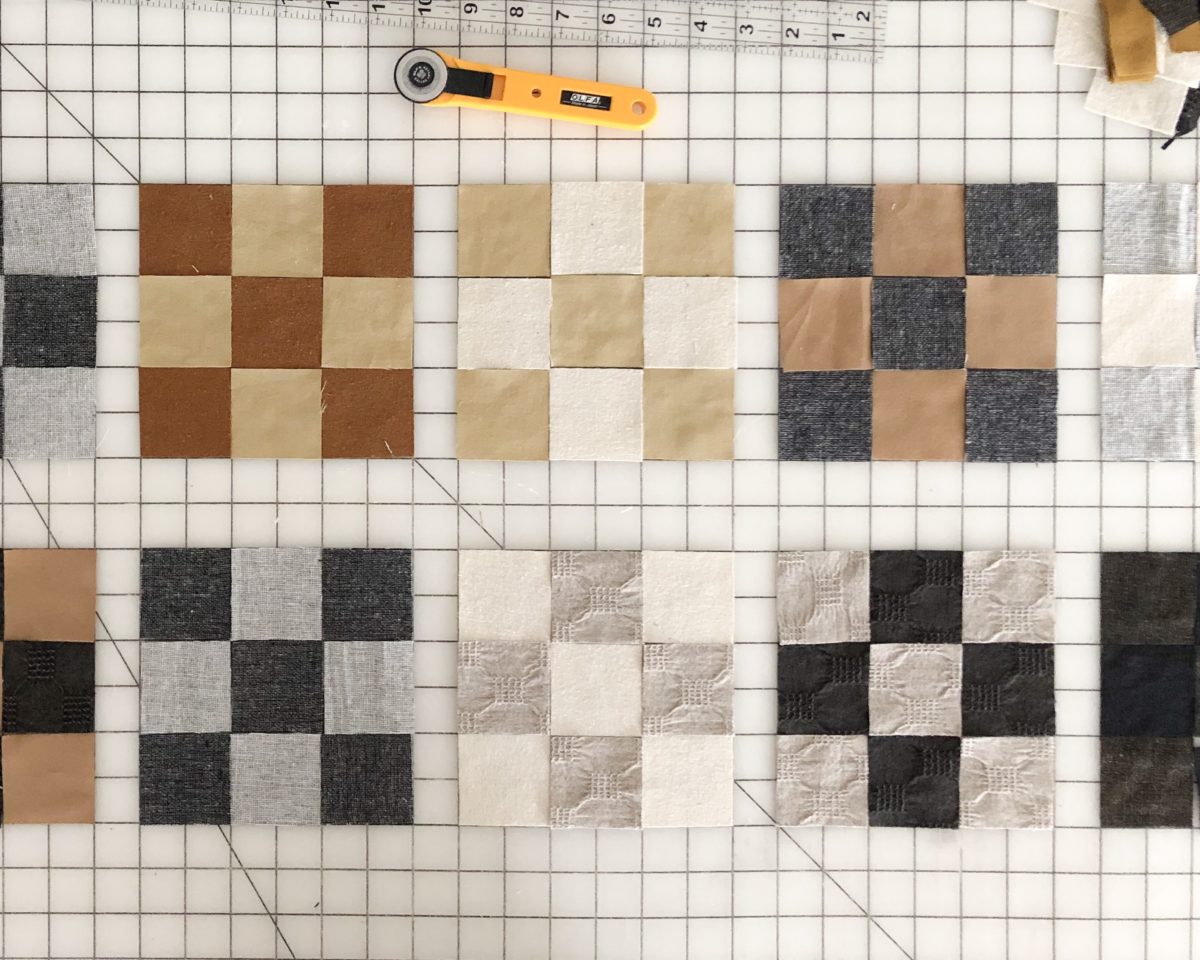
Almost immediately, I started cutting 2″ x 2″ squares and arranging them. It’s pretty amazing how different fabrics and textures can come together and look so cohesive.
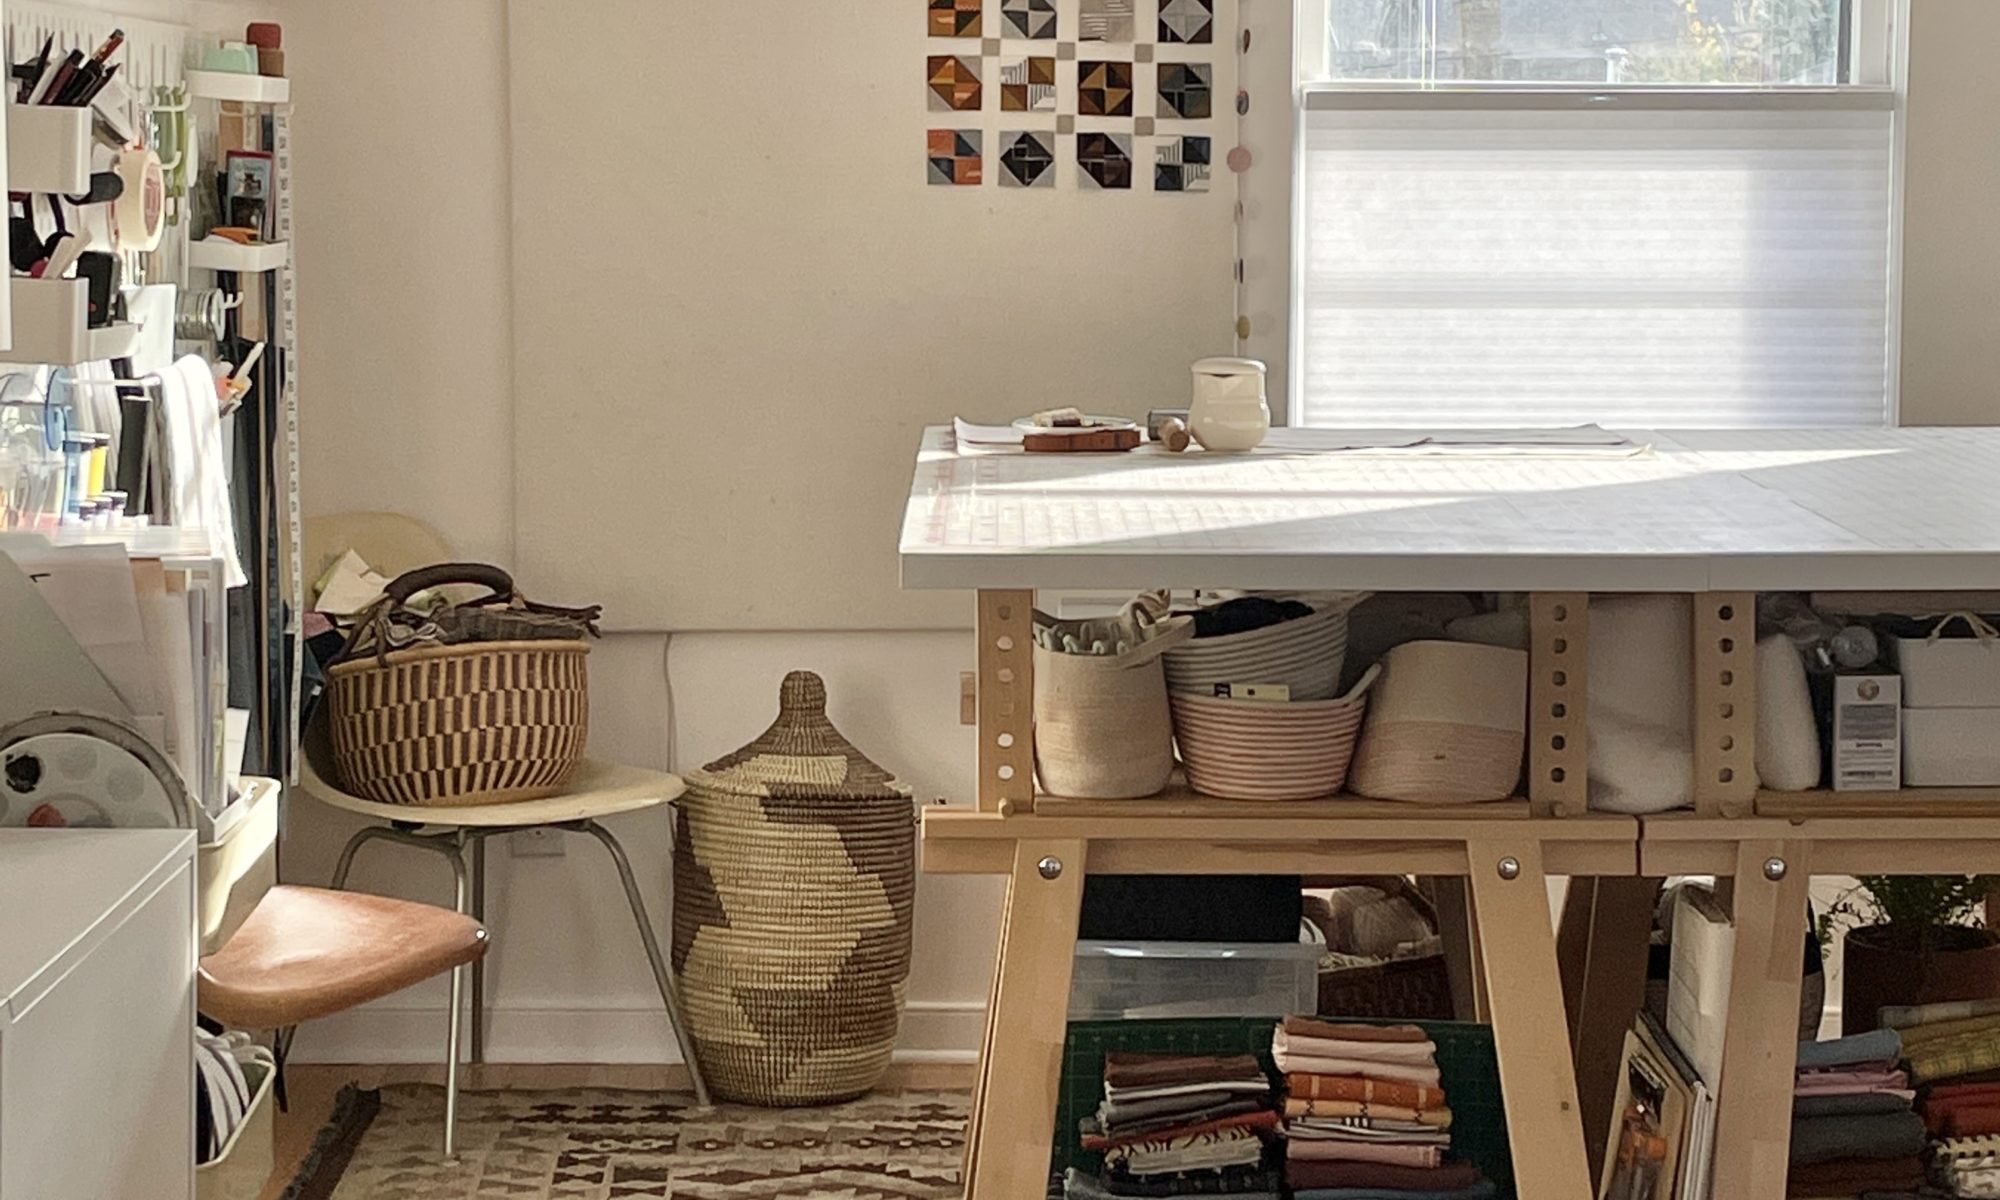
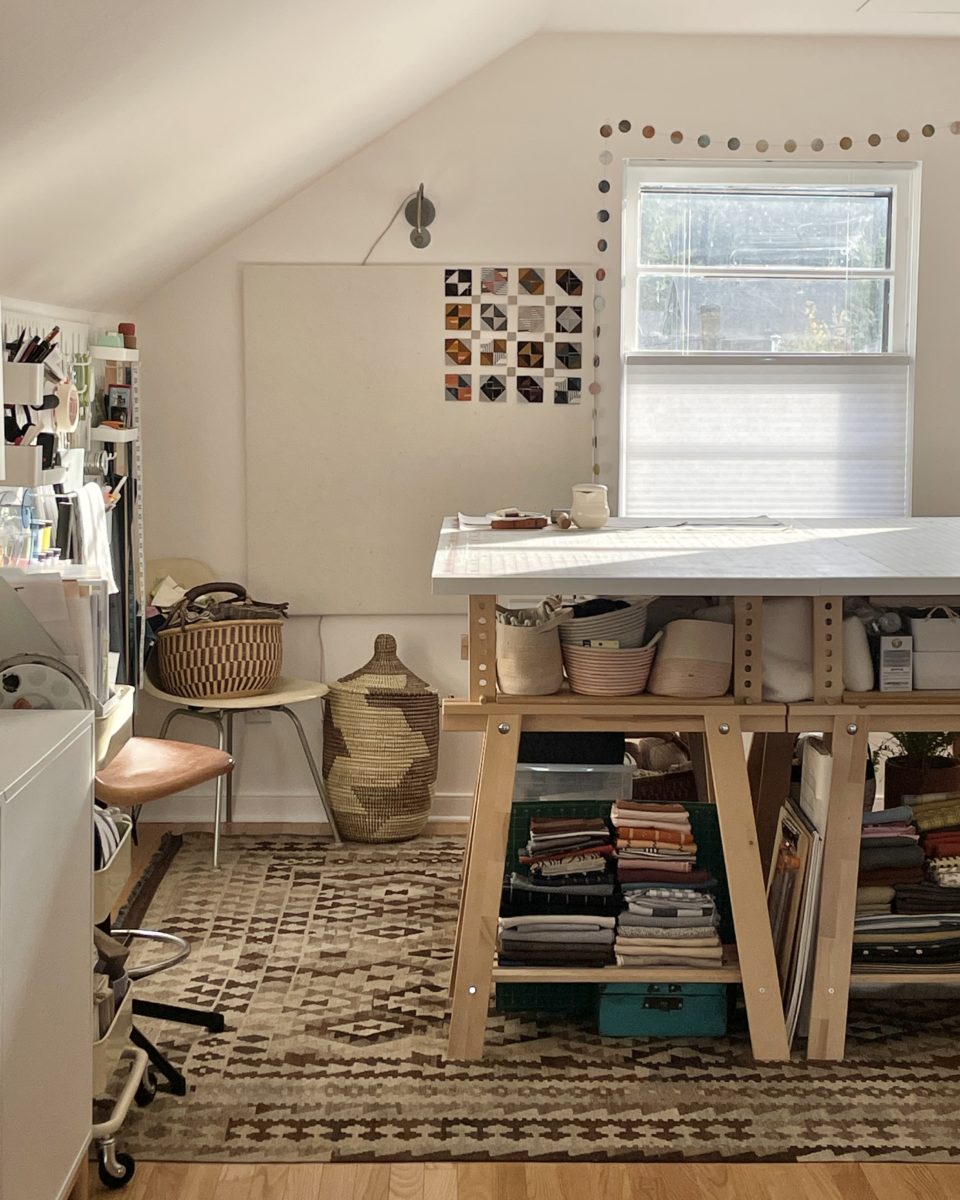
I only made a handful at the start and then set this project aside for a while. Almost a year later, I made a quilt design board out of homasote and canvas and picked this project back up. Briefly I wanted to try out a 100 day project but I didn’t enjoy the pressure and I wanted this process to be fun.
There was also a moment where I thought about making the quilt top entirely out of nine patch squares. After realizing this plan would require almost 200 blocks, I abandoned that idea.
A few months later, I had over 50 blocks and this was the point where I actually calculated how many blocks I’d need for this layout and it was not 100, it was 98.
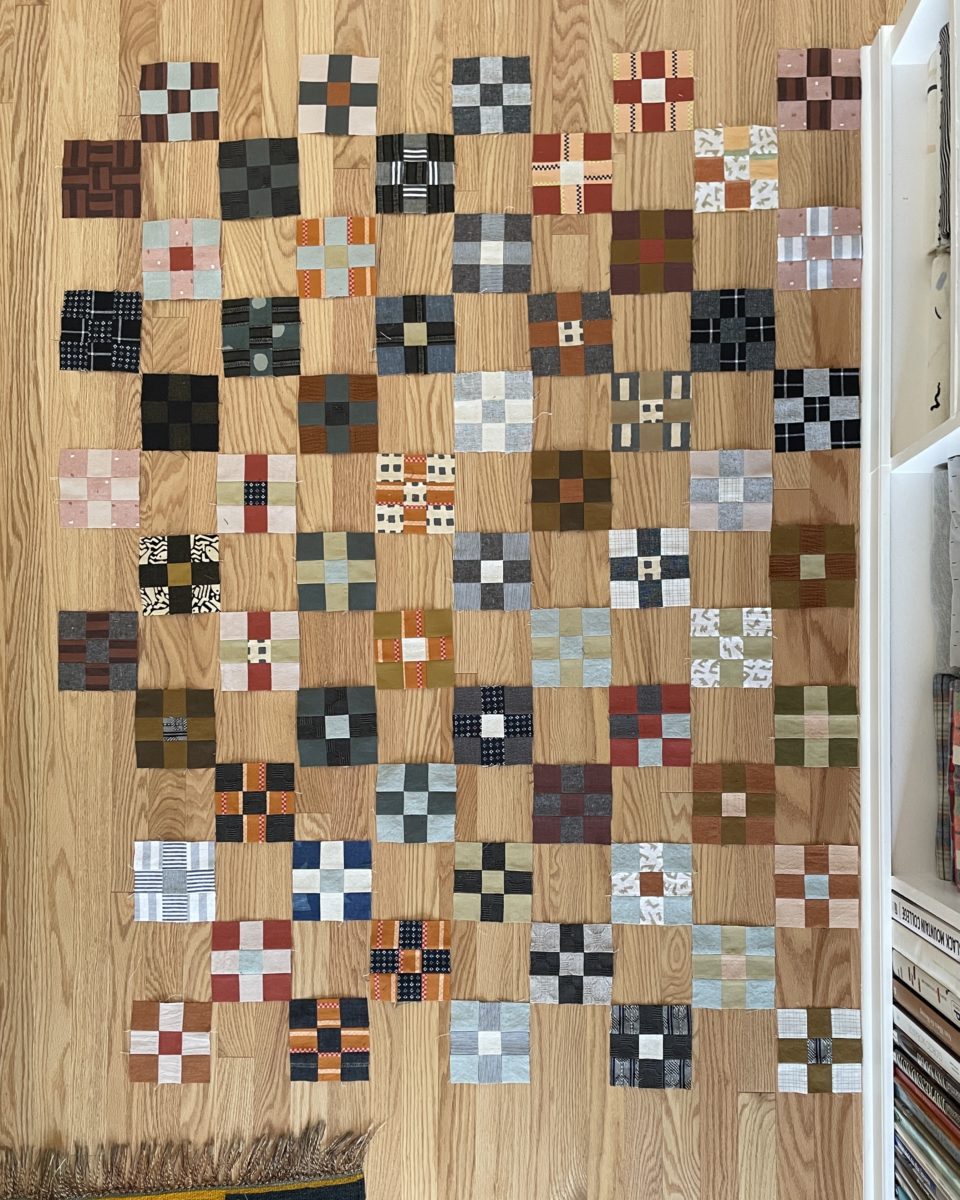
I decided to make 100 anyway and then I’d have some flexibility if I ended up not liking a couple squares.
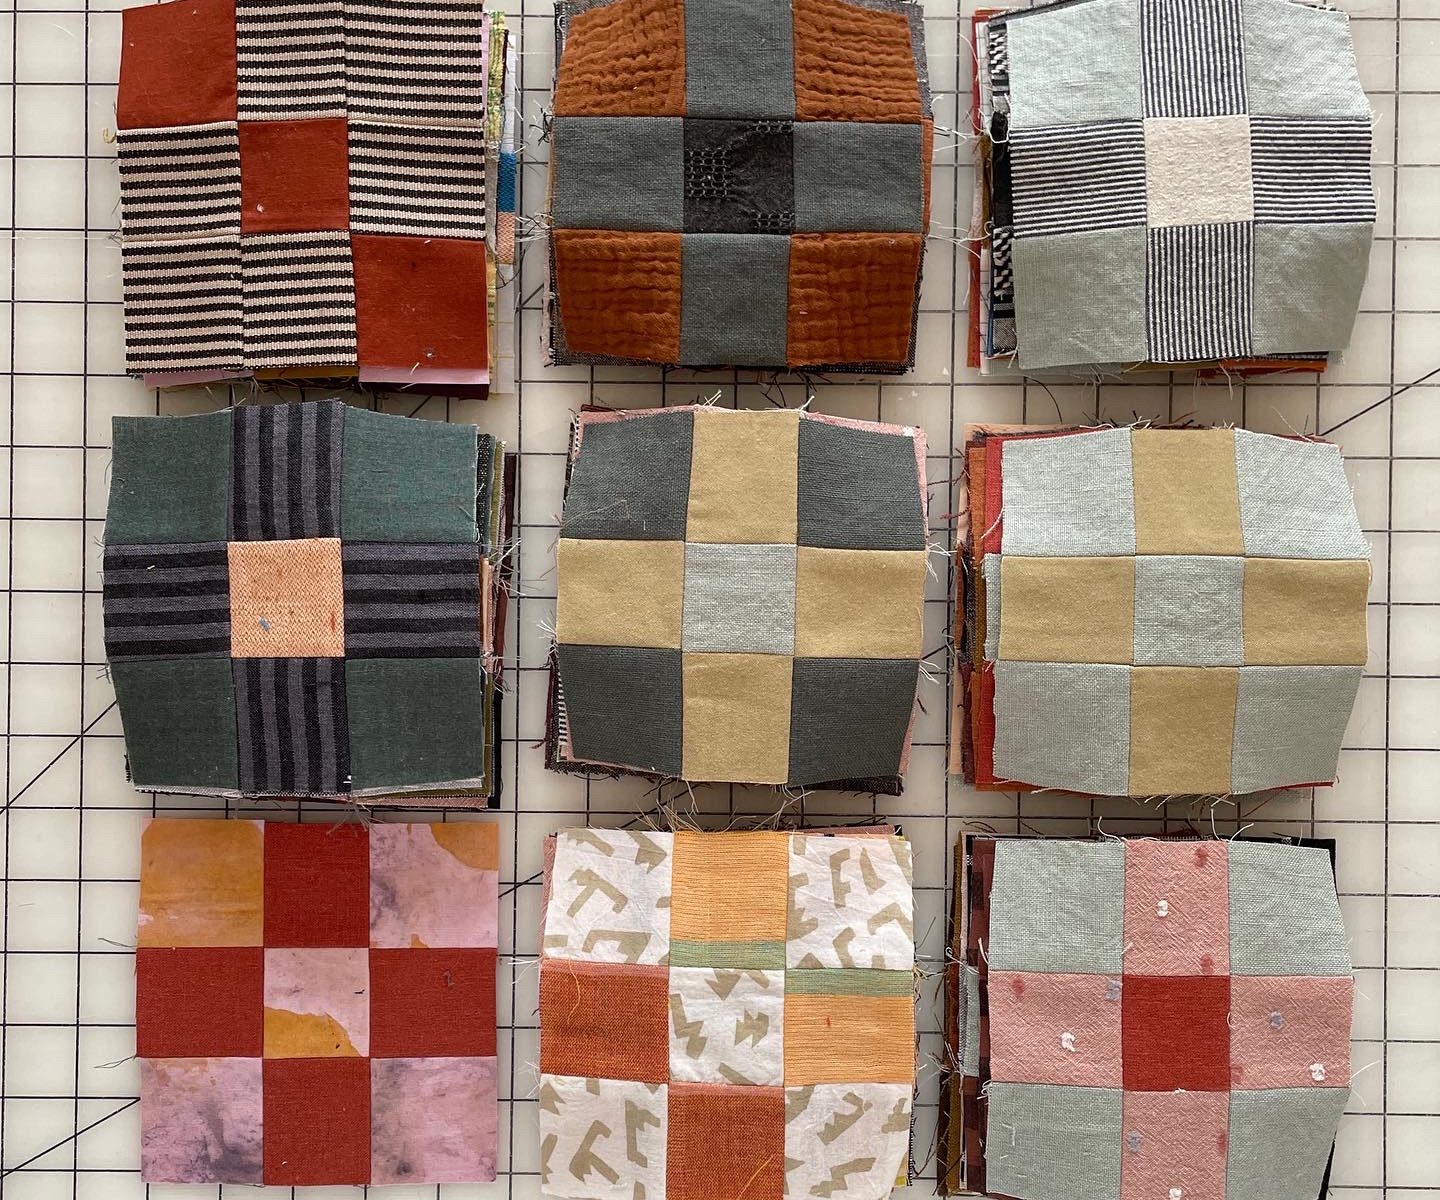
Once I had 100 blocks, I removed the two I didn’t really like (seen on the board above), made seven piles of seven blocks, and laid them out on my table. My table wasn’t large enough so I tucked some foam core underneath the cutting mats. I ended up only moving about three blocks once everything was in place.
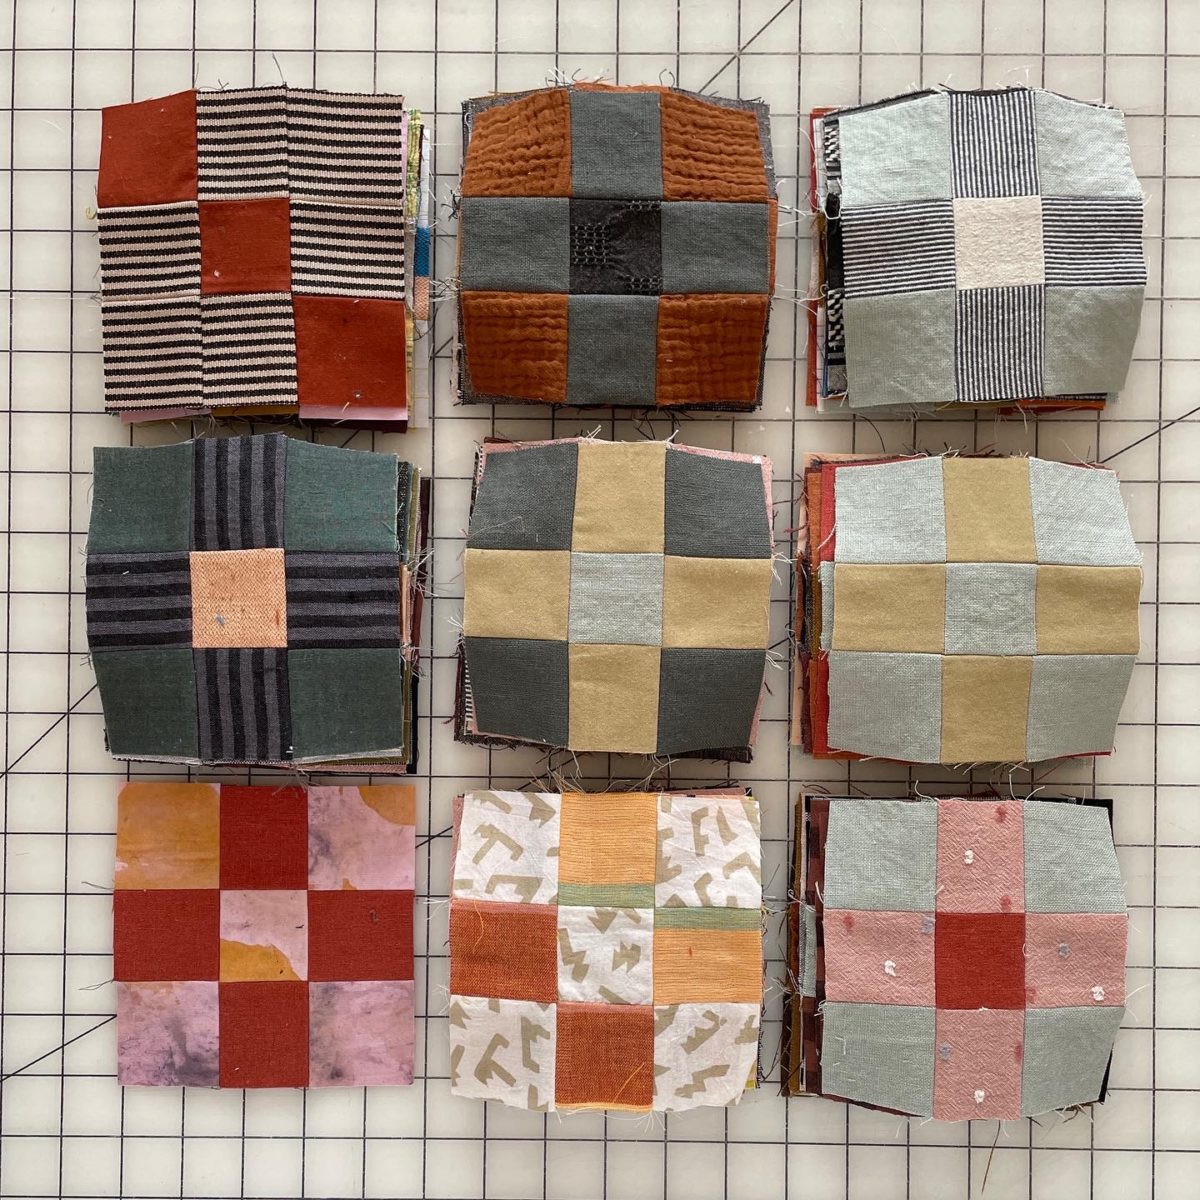
This project taught me that sometimes my 1/4″ seam allowances… vary and that using a bunch of different fabrics can really change the size of a block. The blocks that had double gauze were especially wonky. I ended up having to ease some of the blocks together so the corners were aligned. I could have trimmed everything down to match the smallest block but I threw caution to the wind and just forced the blocks to work together.
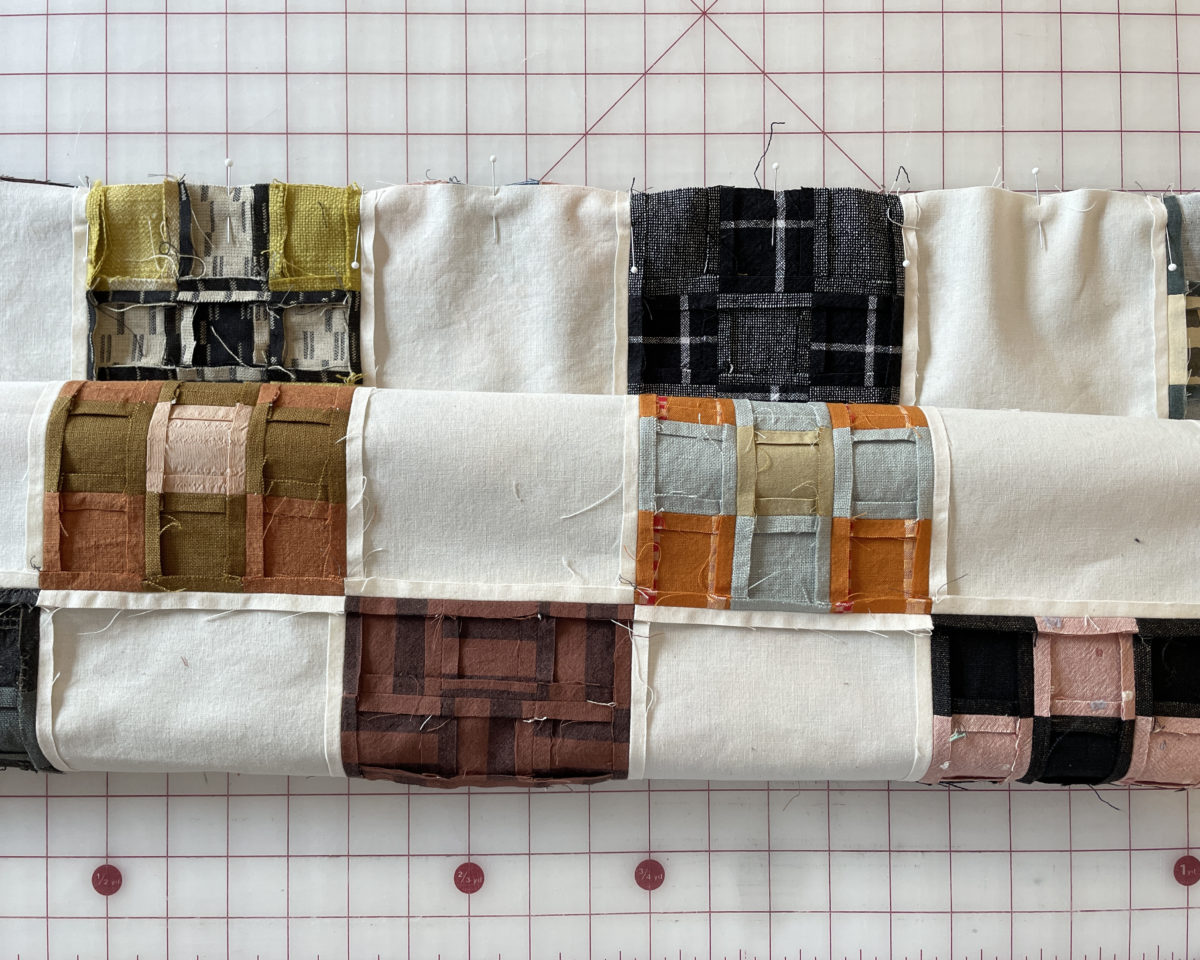
I used Kona cotton in natural for the solid squares. Before I had 100 blocks, I tried using scrap fabric in lighter colors but it made the nine patch blocks disappear. I think the bright solid color really makes the patchwork shine.
Next I’ll make the backing, baste the layers together, quilt, bind, and then wash.
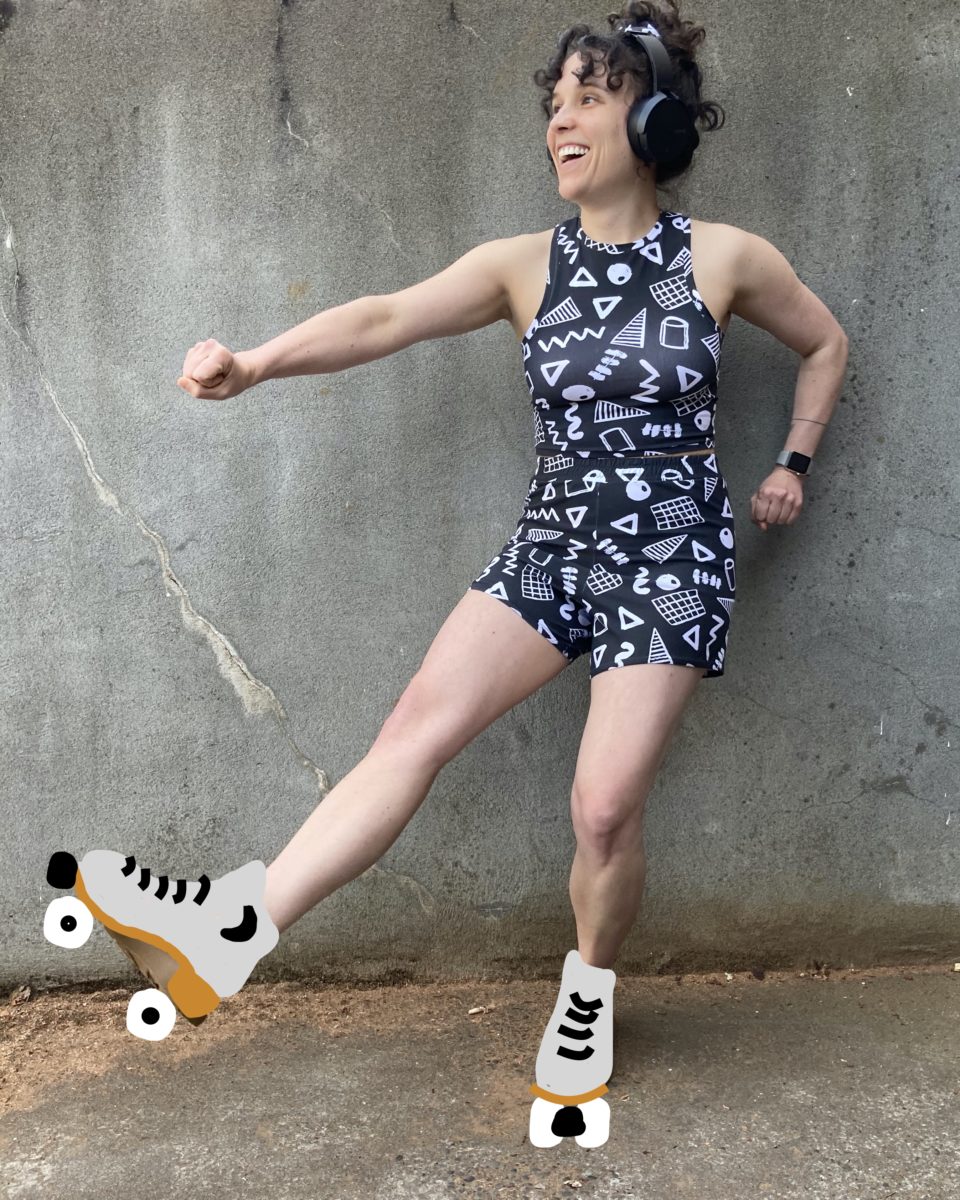
I made this skating outfit shortly after ordering a pair of Moon Boots from Moonlight in 2020. It’s the Axis tank by Sophie Hines and the Summer shorts by Sew DIY. The fabric is from Spoonflower and I kinda hate it.
I didn’t quite get the fit right on the shorts, but I also think the fit is meant to be cheeky and that’s definitely not what I’m into when it comes to shorts. I’m a full-coverage gal, especially when exercising. I lengthened the pattern attempting to get more fabric over my butt, but it all pools under the waistband.
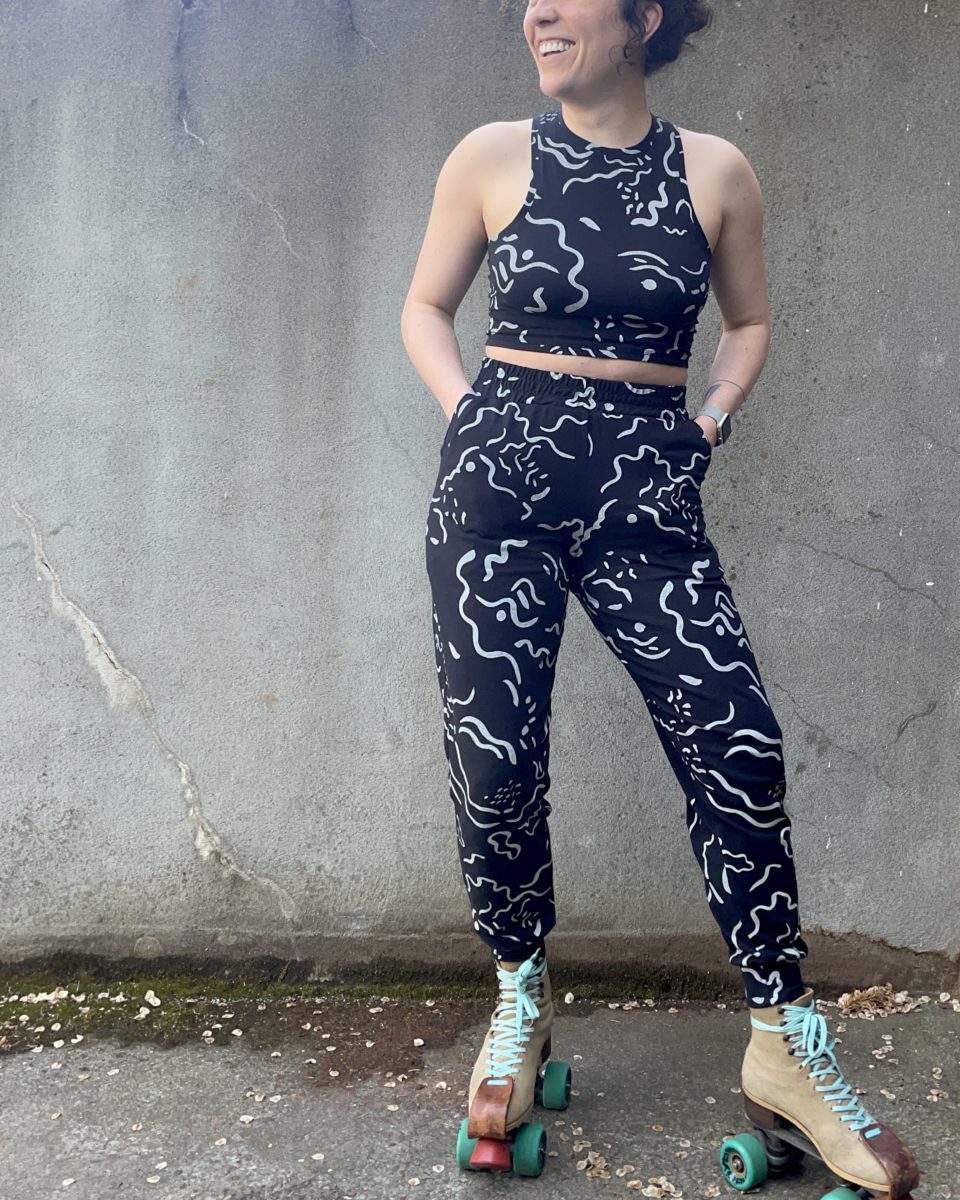
I made this skate ensemble at the beginning of May. It’s another Axis tank (it’s truly an excellent pattern) and a pair of Seamwork Mel joggers. For the joggers, I shortened the legs by 2″, added 1″ to the cuff length, and omitted the drawstring. I thought about testing out using a chain stitch (coverstitch) for the waistband, but chickened out and went with a zigzag. I’m pretty sure it would have worked. The fabric is a screen printed cotton jersey from North of West‘s warehouse sale.
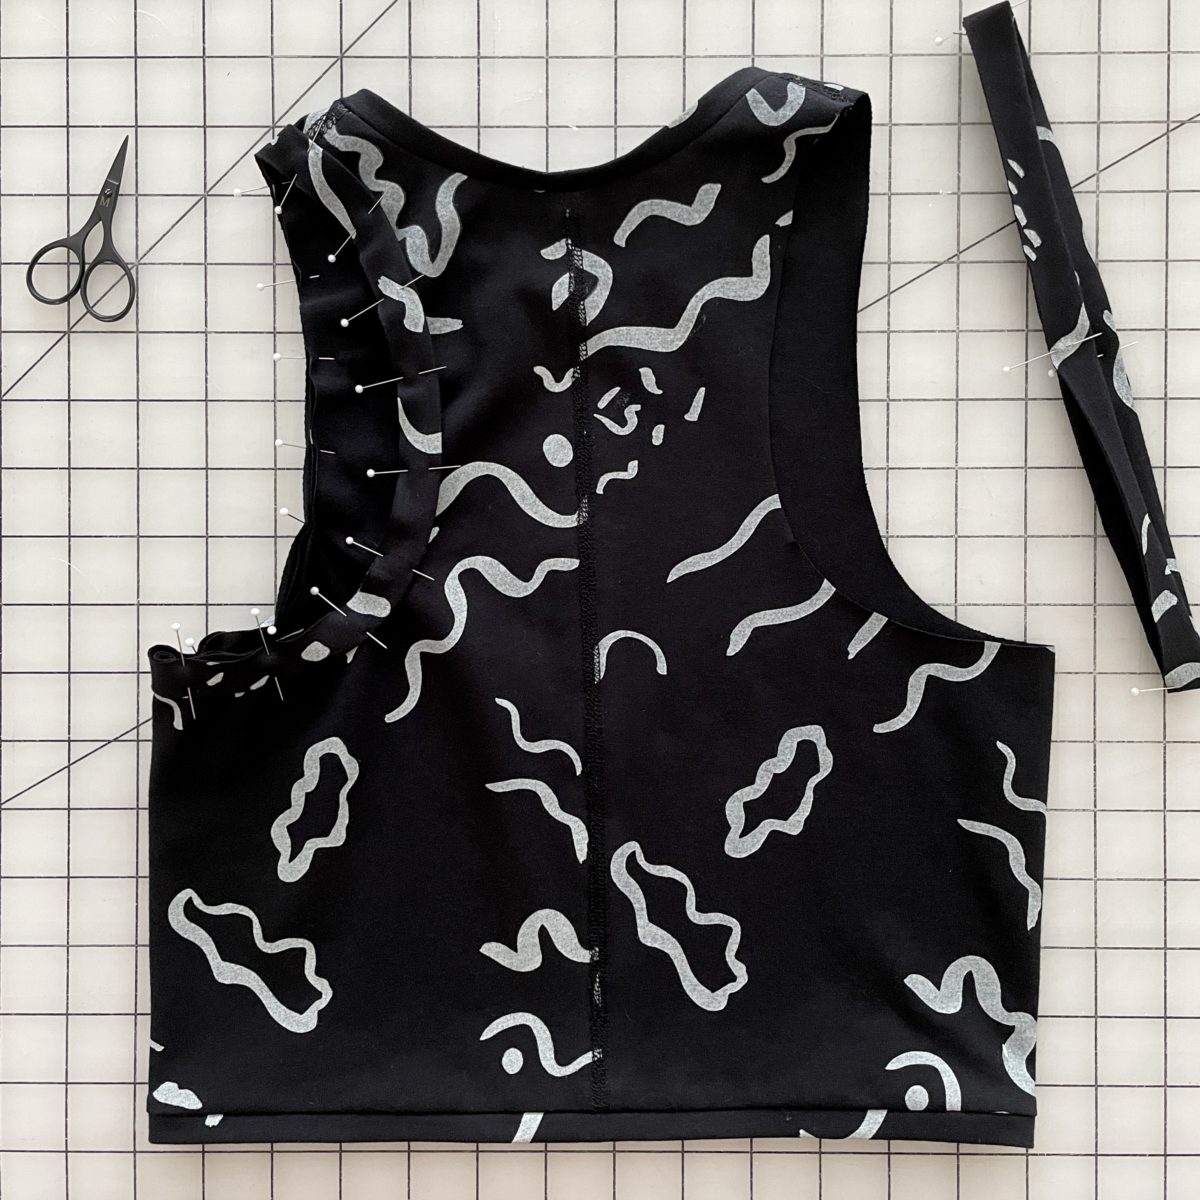
I didn’t use my serger at all when constructing this Axis tank. I used the lightning stitch on my regular sewing machine for the back and shoulder seams, then reverse coverstitched them. I pressed the seam allowances open, but think I should press them to one side next time I use this construction method. The bands were also attached with the lightning stitch, then I used the narrow double needle coverstitch to topstitch in place.
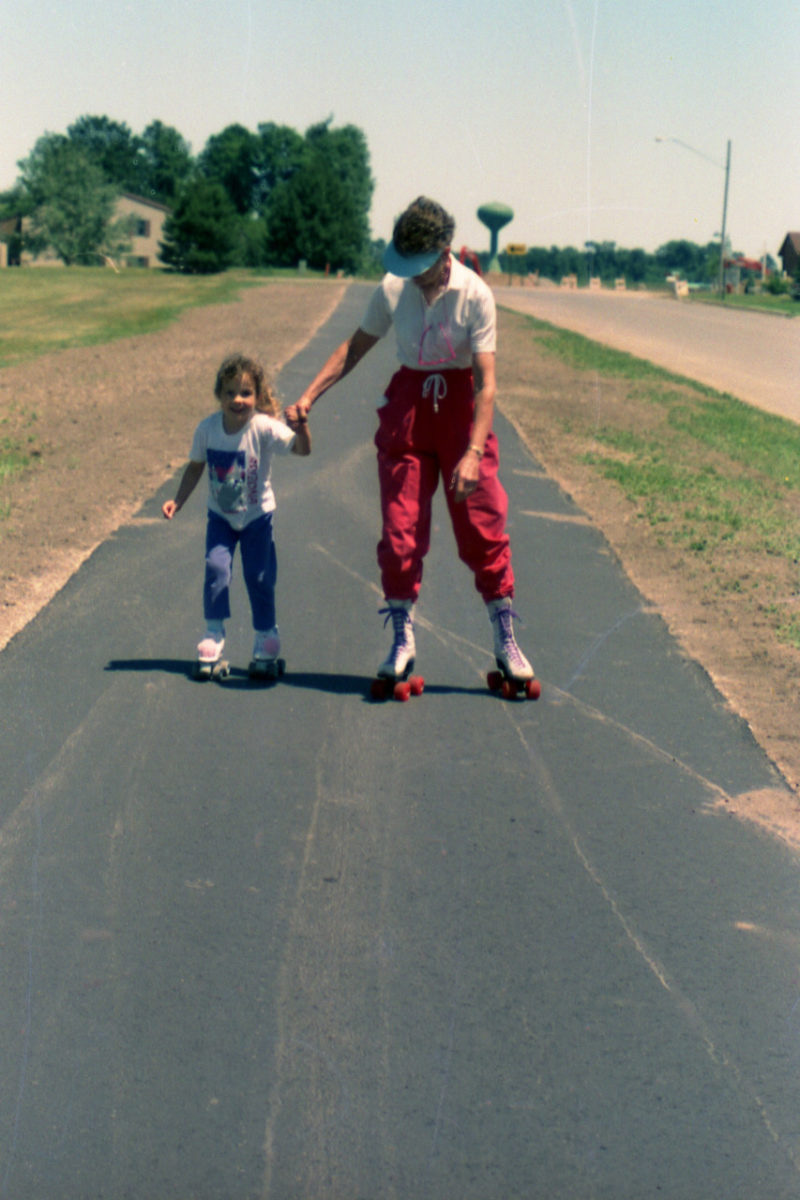
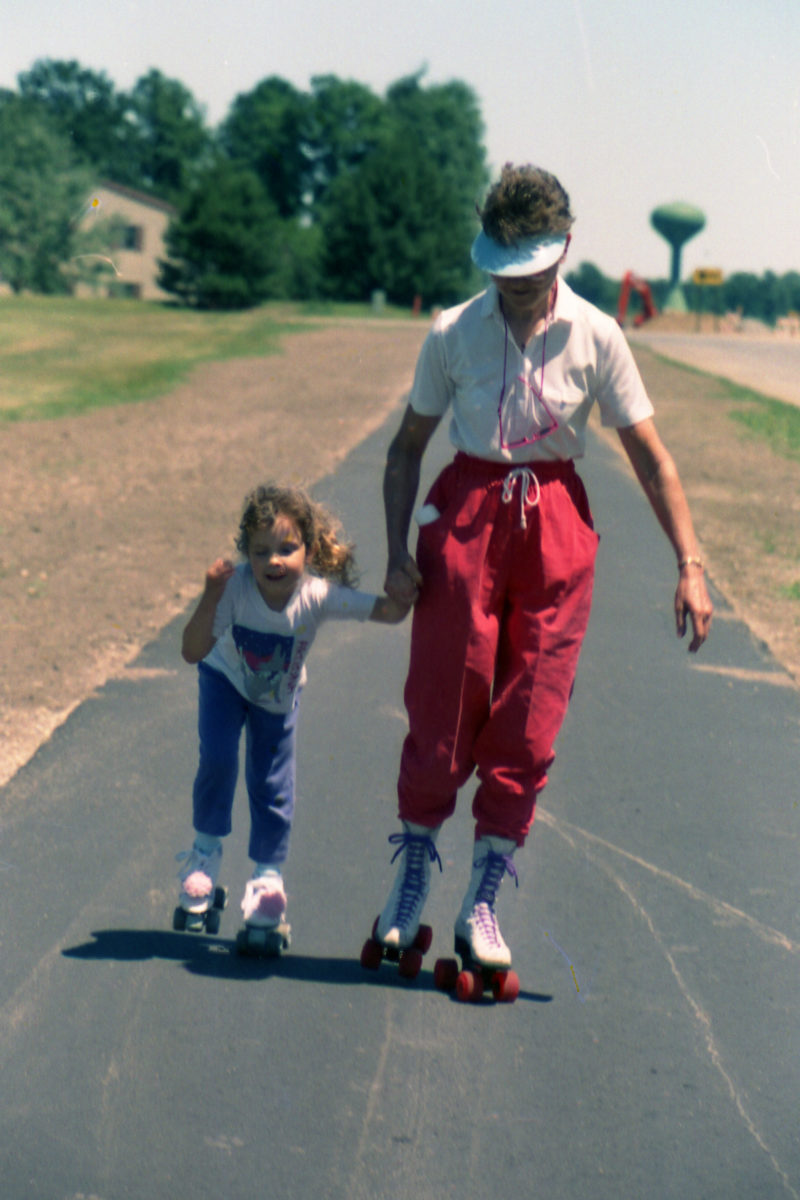
Here’s baby me with my grandma who’s the reason I have any balance on, or interest in quad skates. She also made the pink pom poms on my skates.
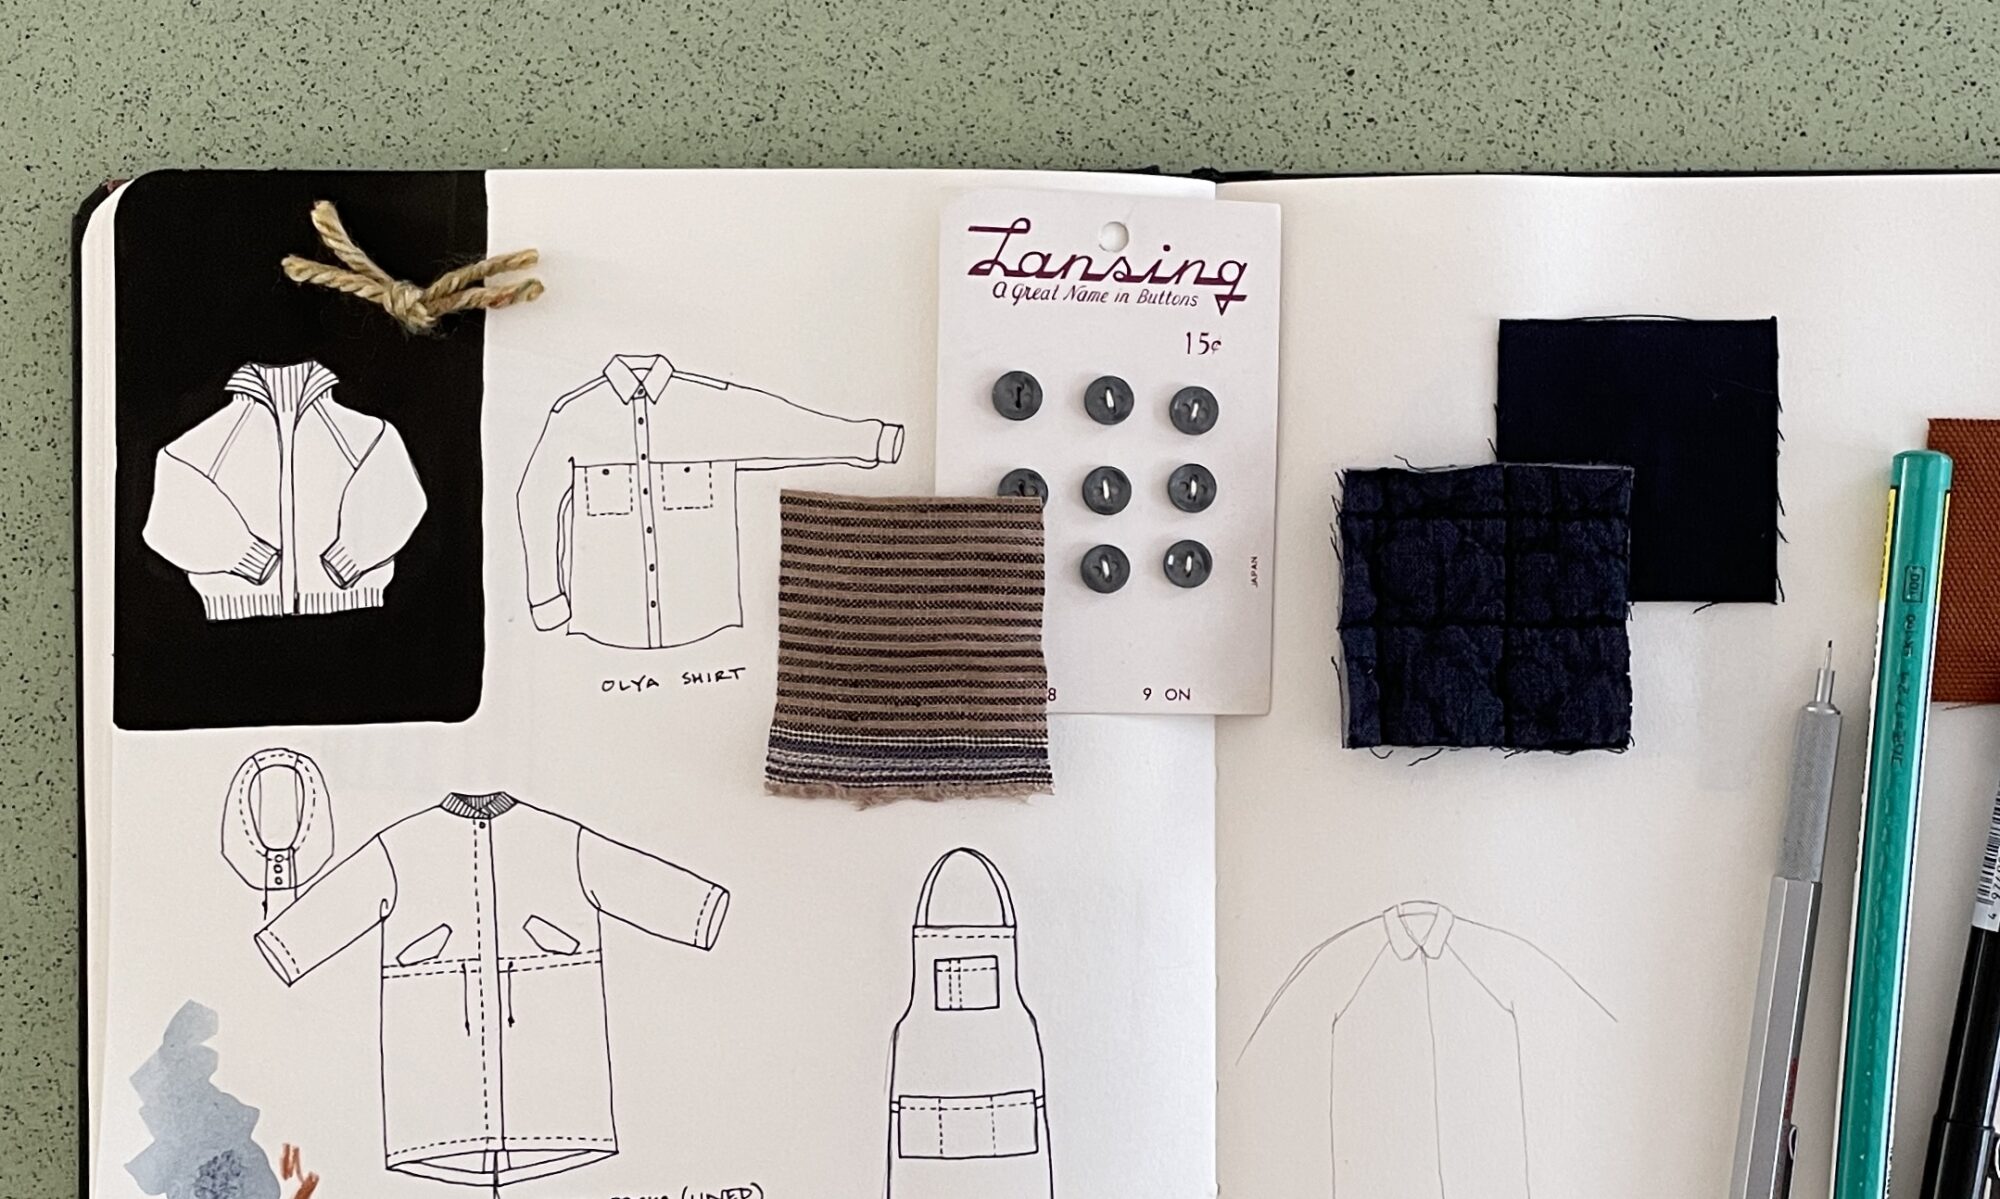
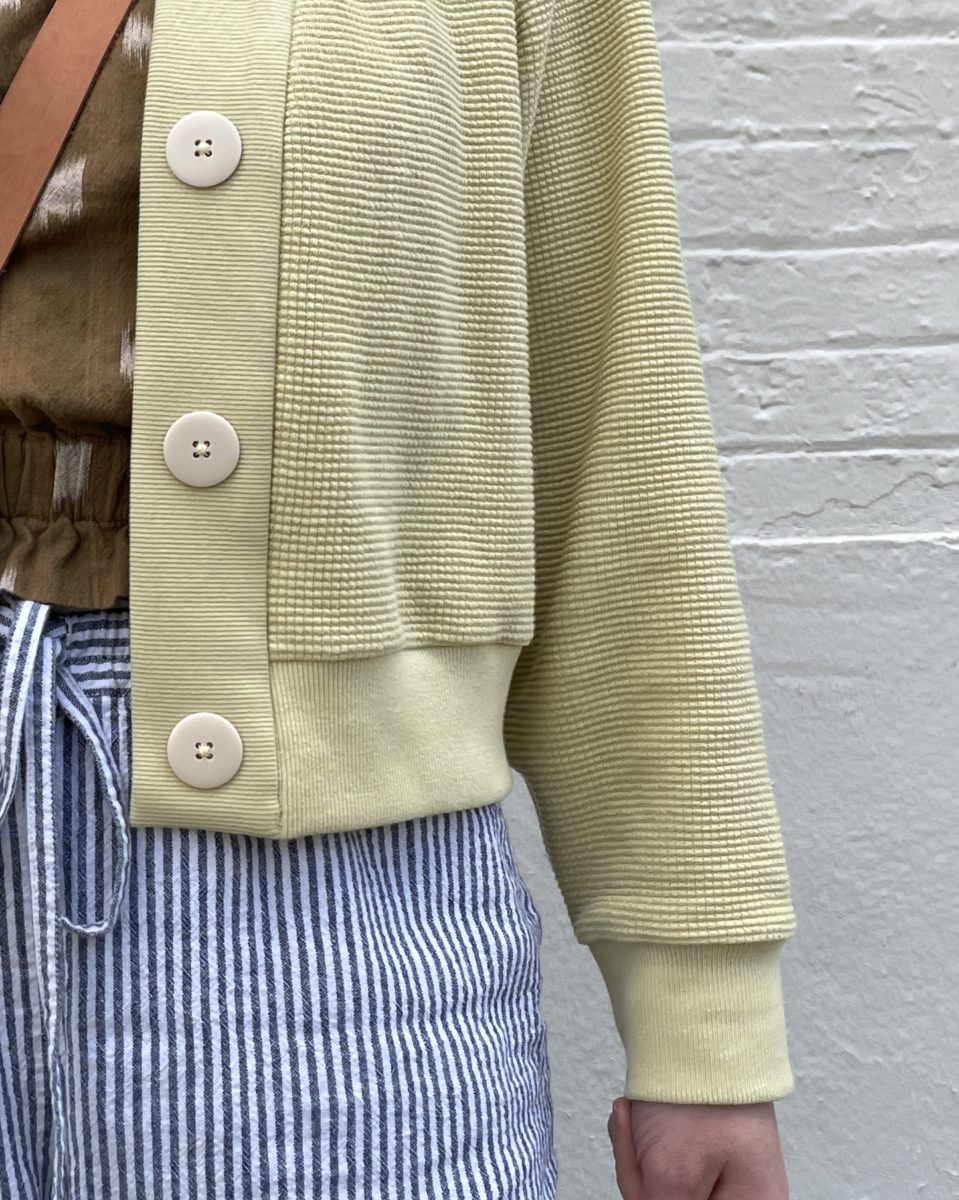
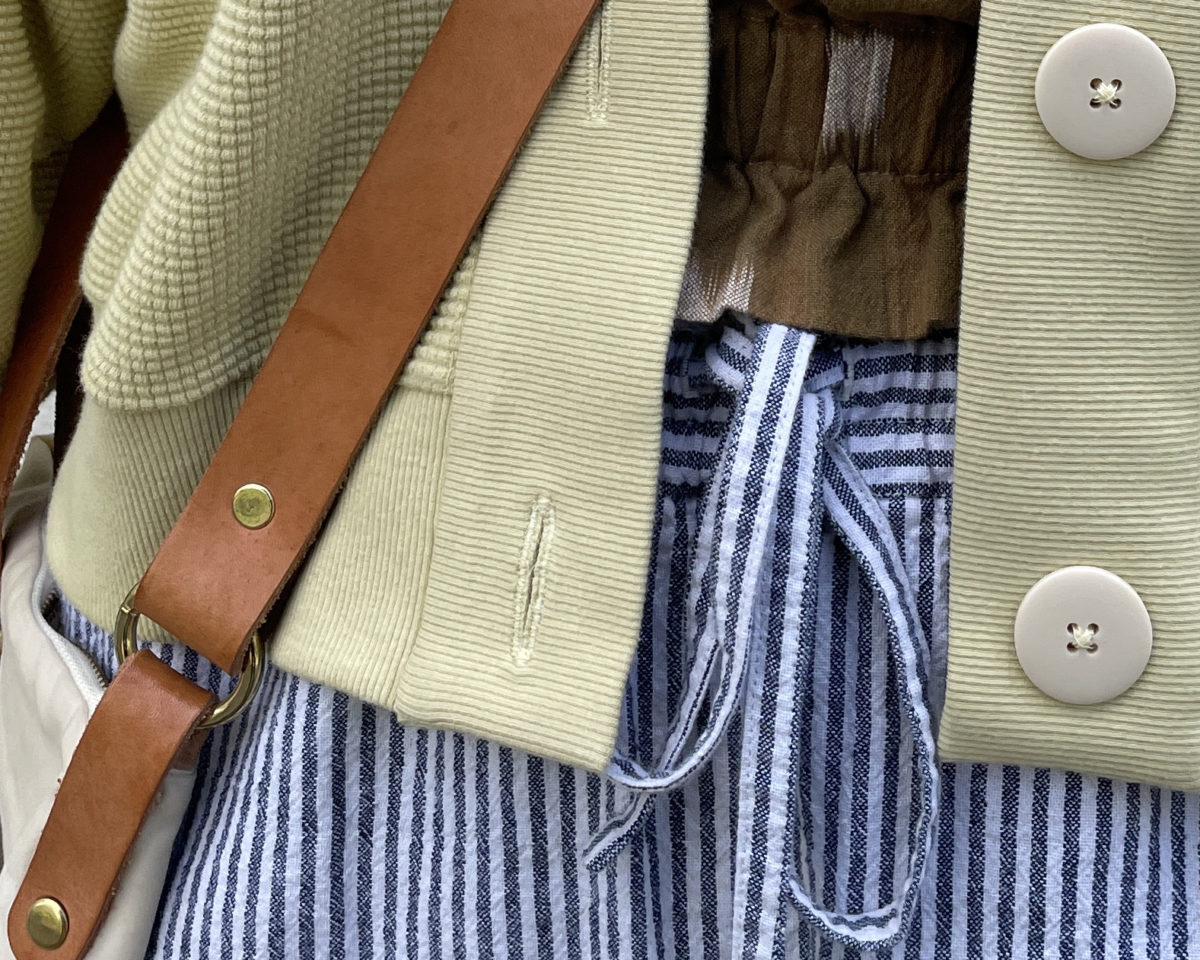
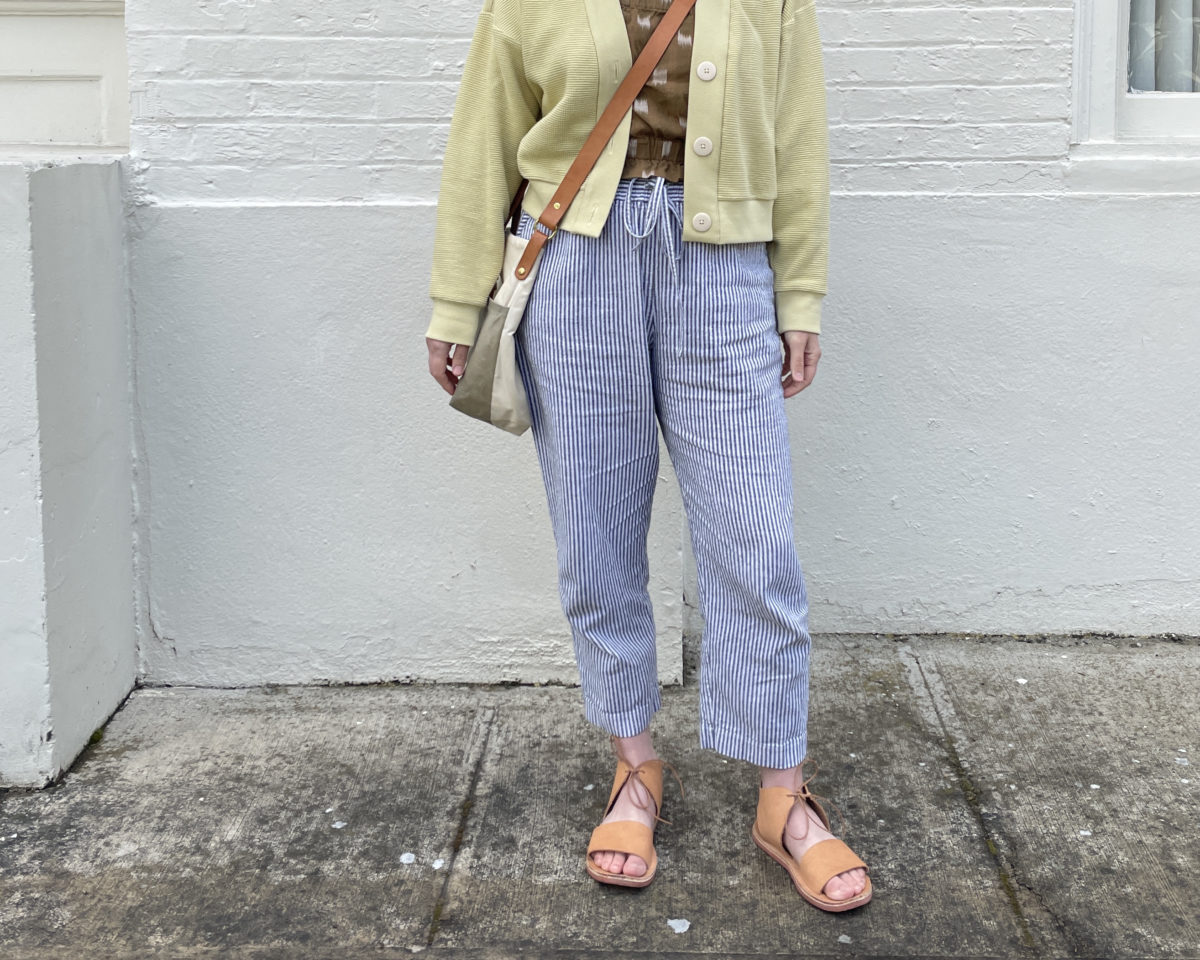
You know those makes that you want to wear every single day? The Marlo Sweater is definitely one of those makes.
This waffle knit and matching ribbing are an absolute dream. The color is “Mellow” and I think it goes with everything! These buttons are from a Tub-O-Buttons in my former classroom. My students thought they were too basic for their projects. The only thing I changed up about the construction was stitching the neckband in the ditch with a lightning stitch.
My auto-buttonhole foot got stuck on the bottom buttonhole – I wasn’t following my no buttonholes after 9pm rule. The manual buttonhole process on my 770 appears to be different from my 530, and instead of sitting down with the manual, I just made a really weird franken-buttonhole. I’m curious to see how it’ll hold up with wear.
I made a straight size 6 without an mods. Since the ribbing is really stretchy, I cut the neckband using the 40%+ stretch pattern piece. I’m already making another Marlo out the same waffle knit and matching ribbing, but in the colorway “Rose Clay.”