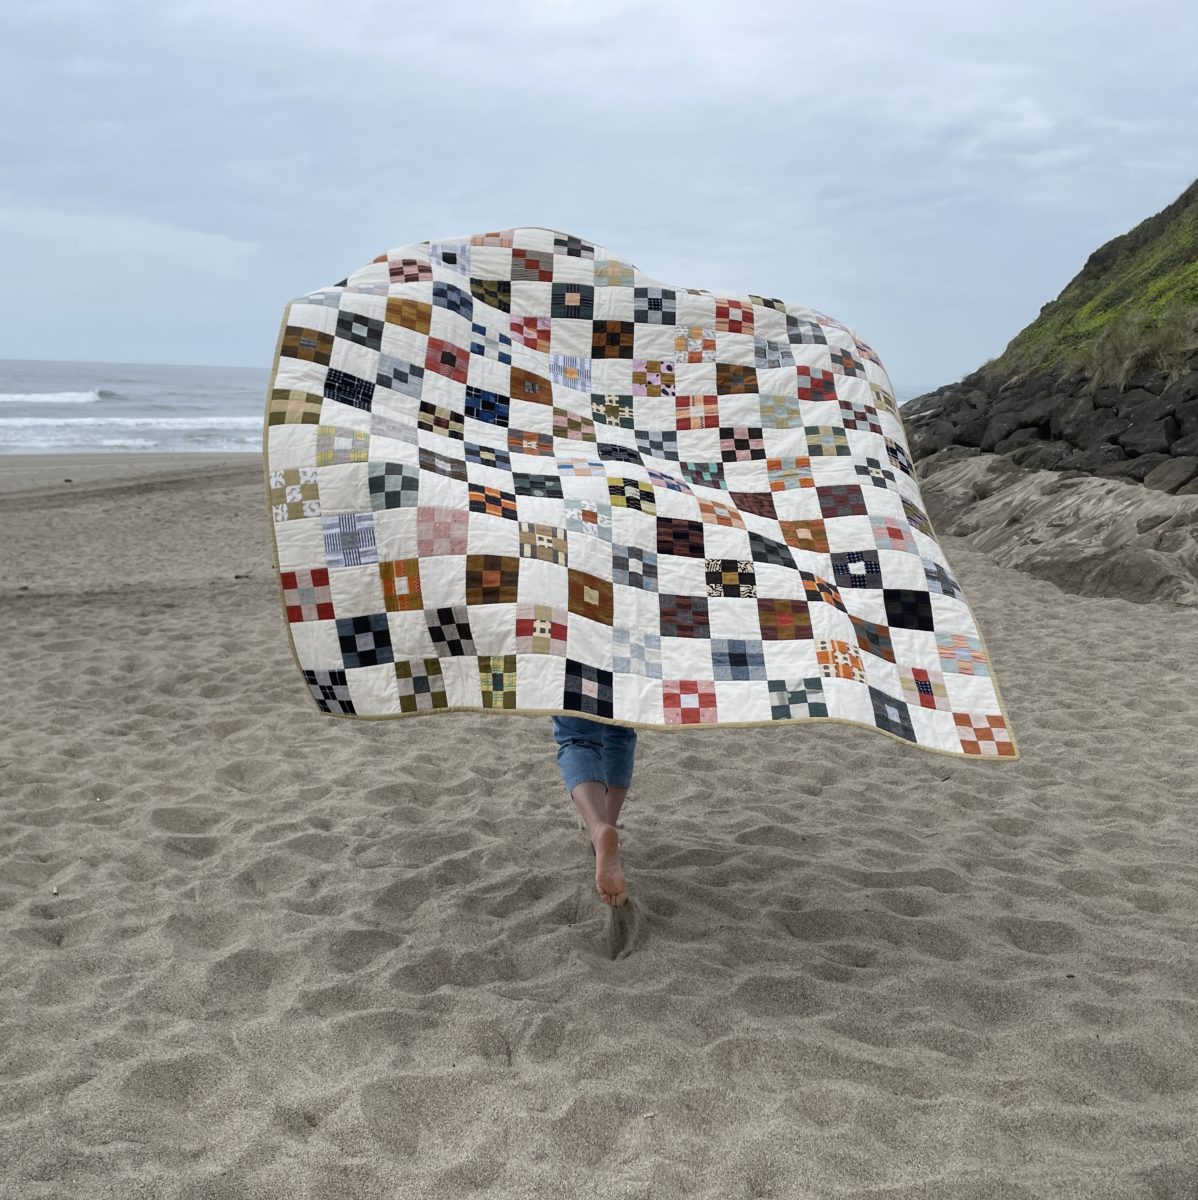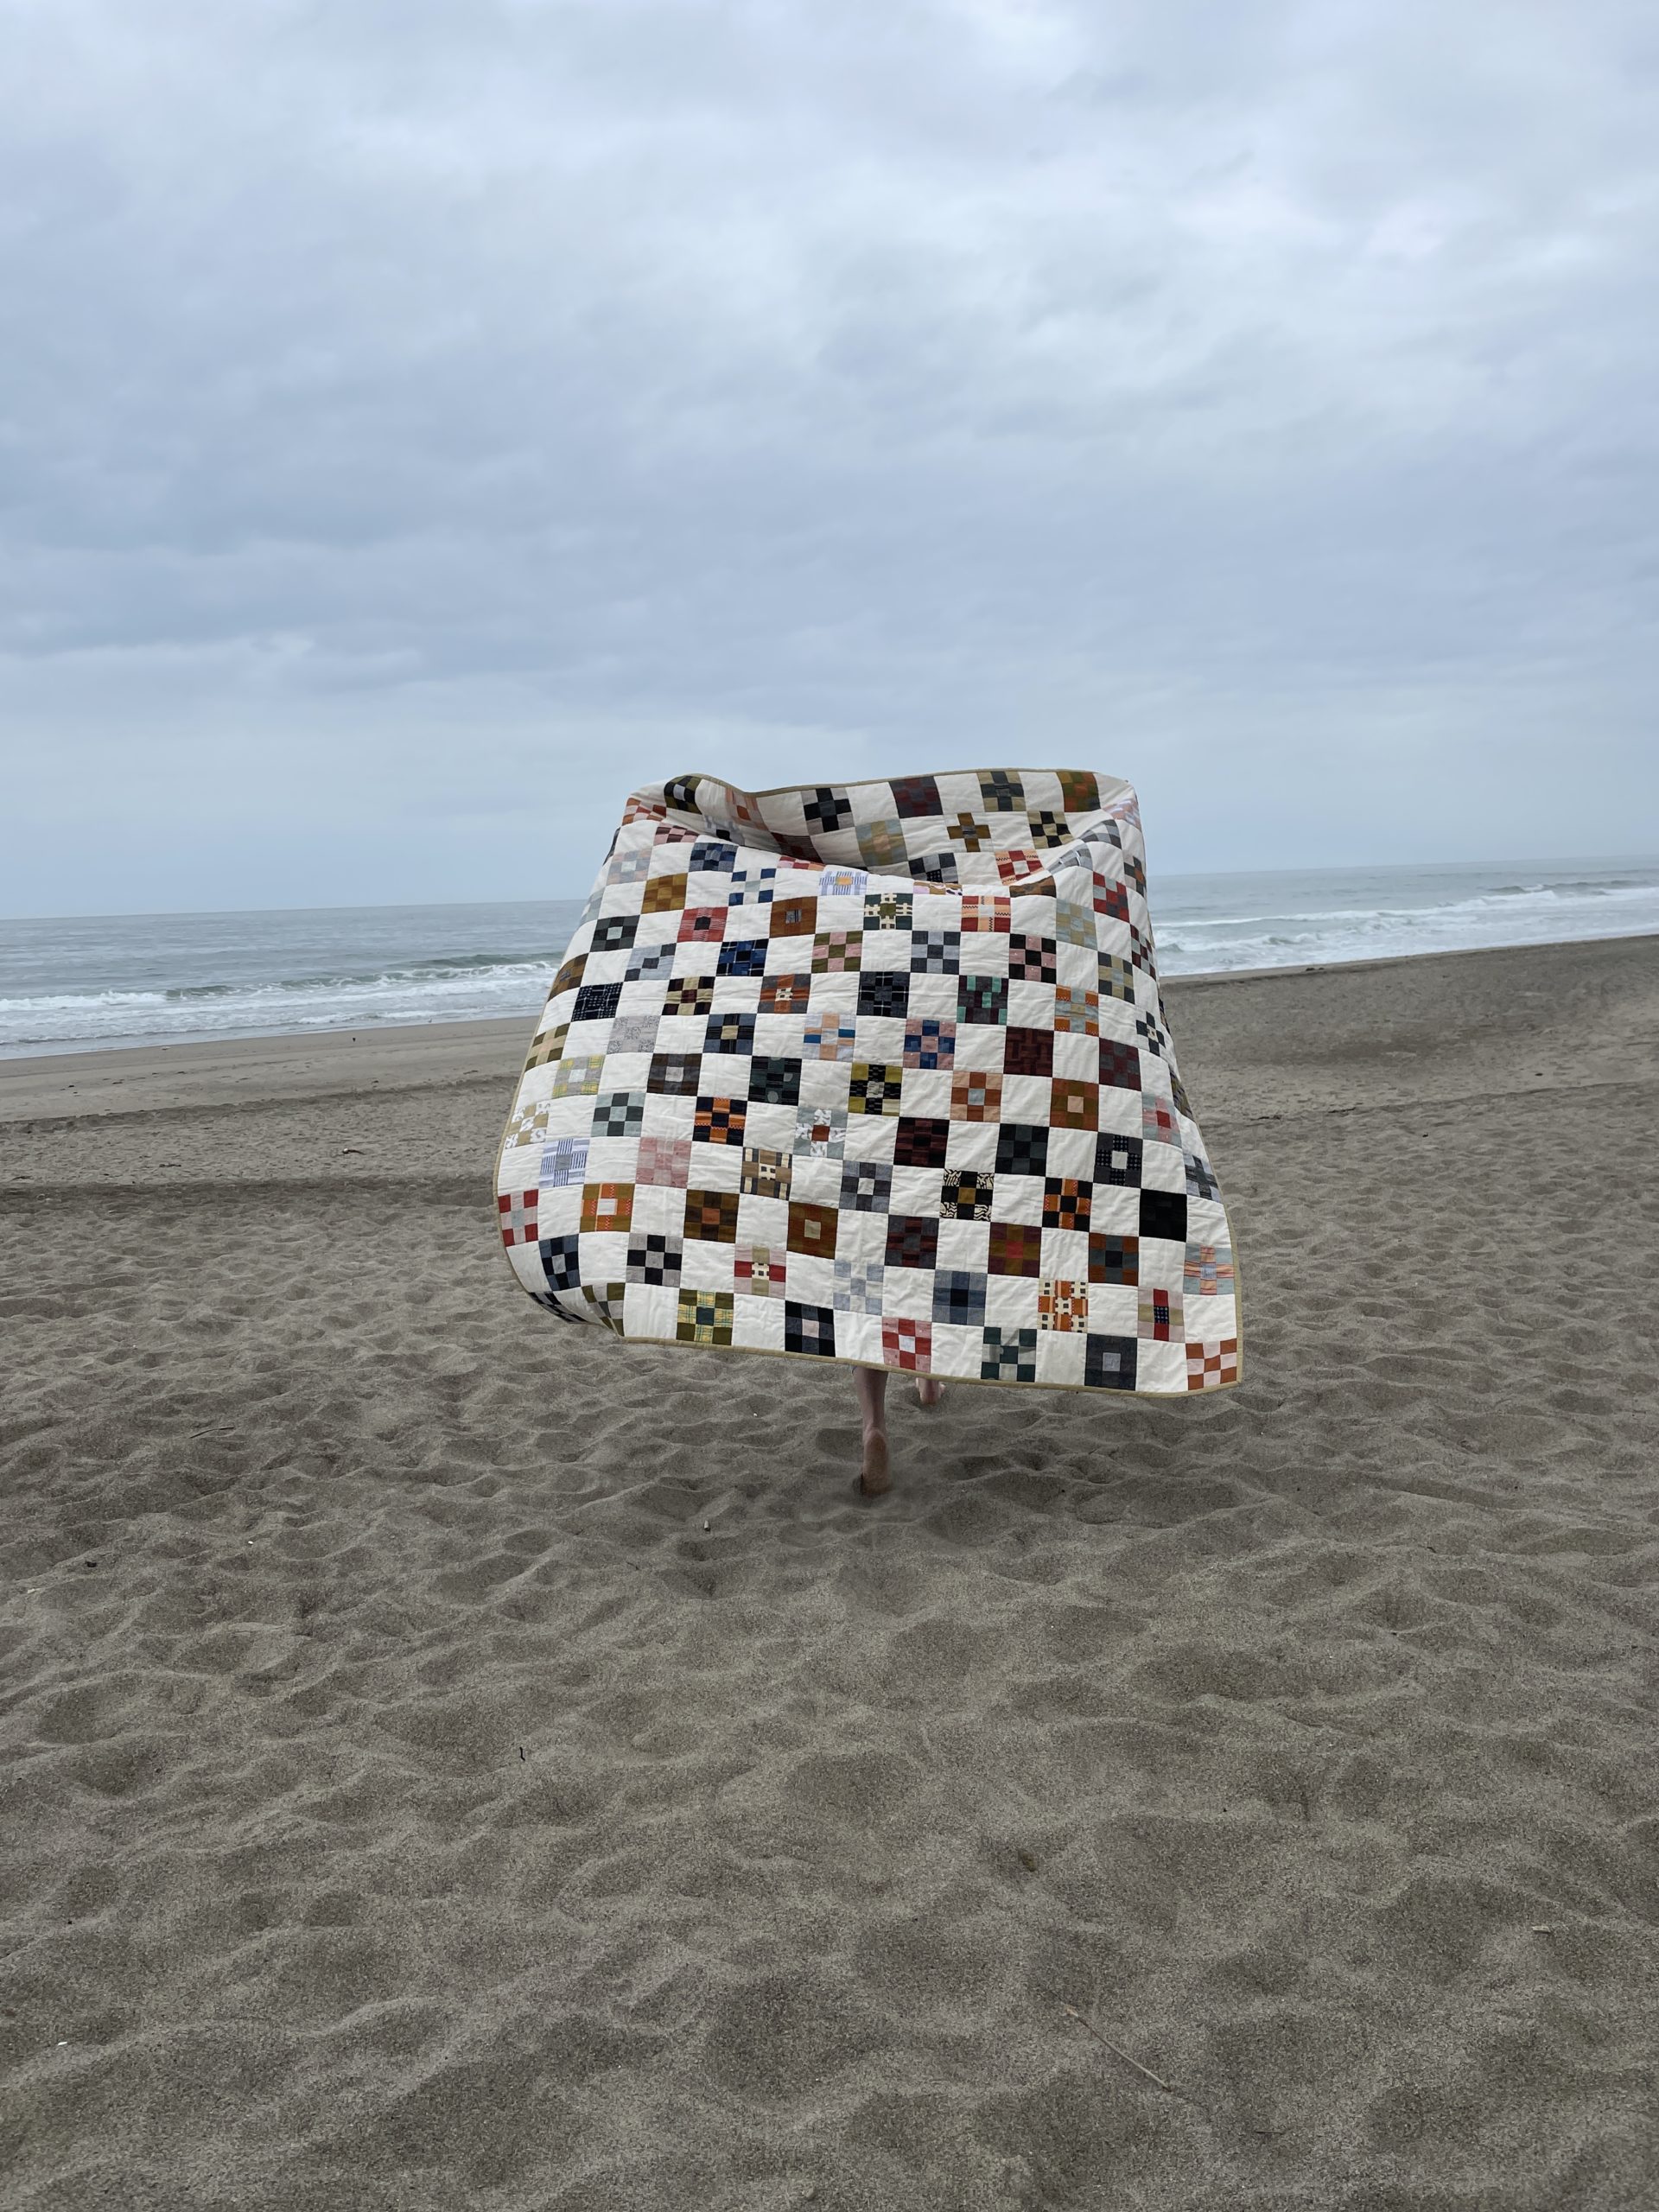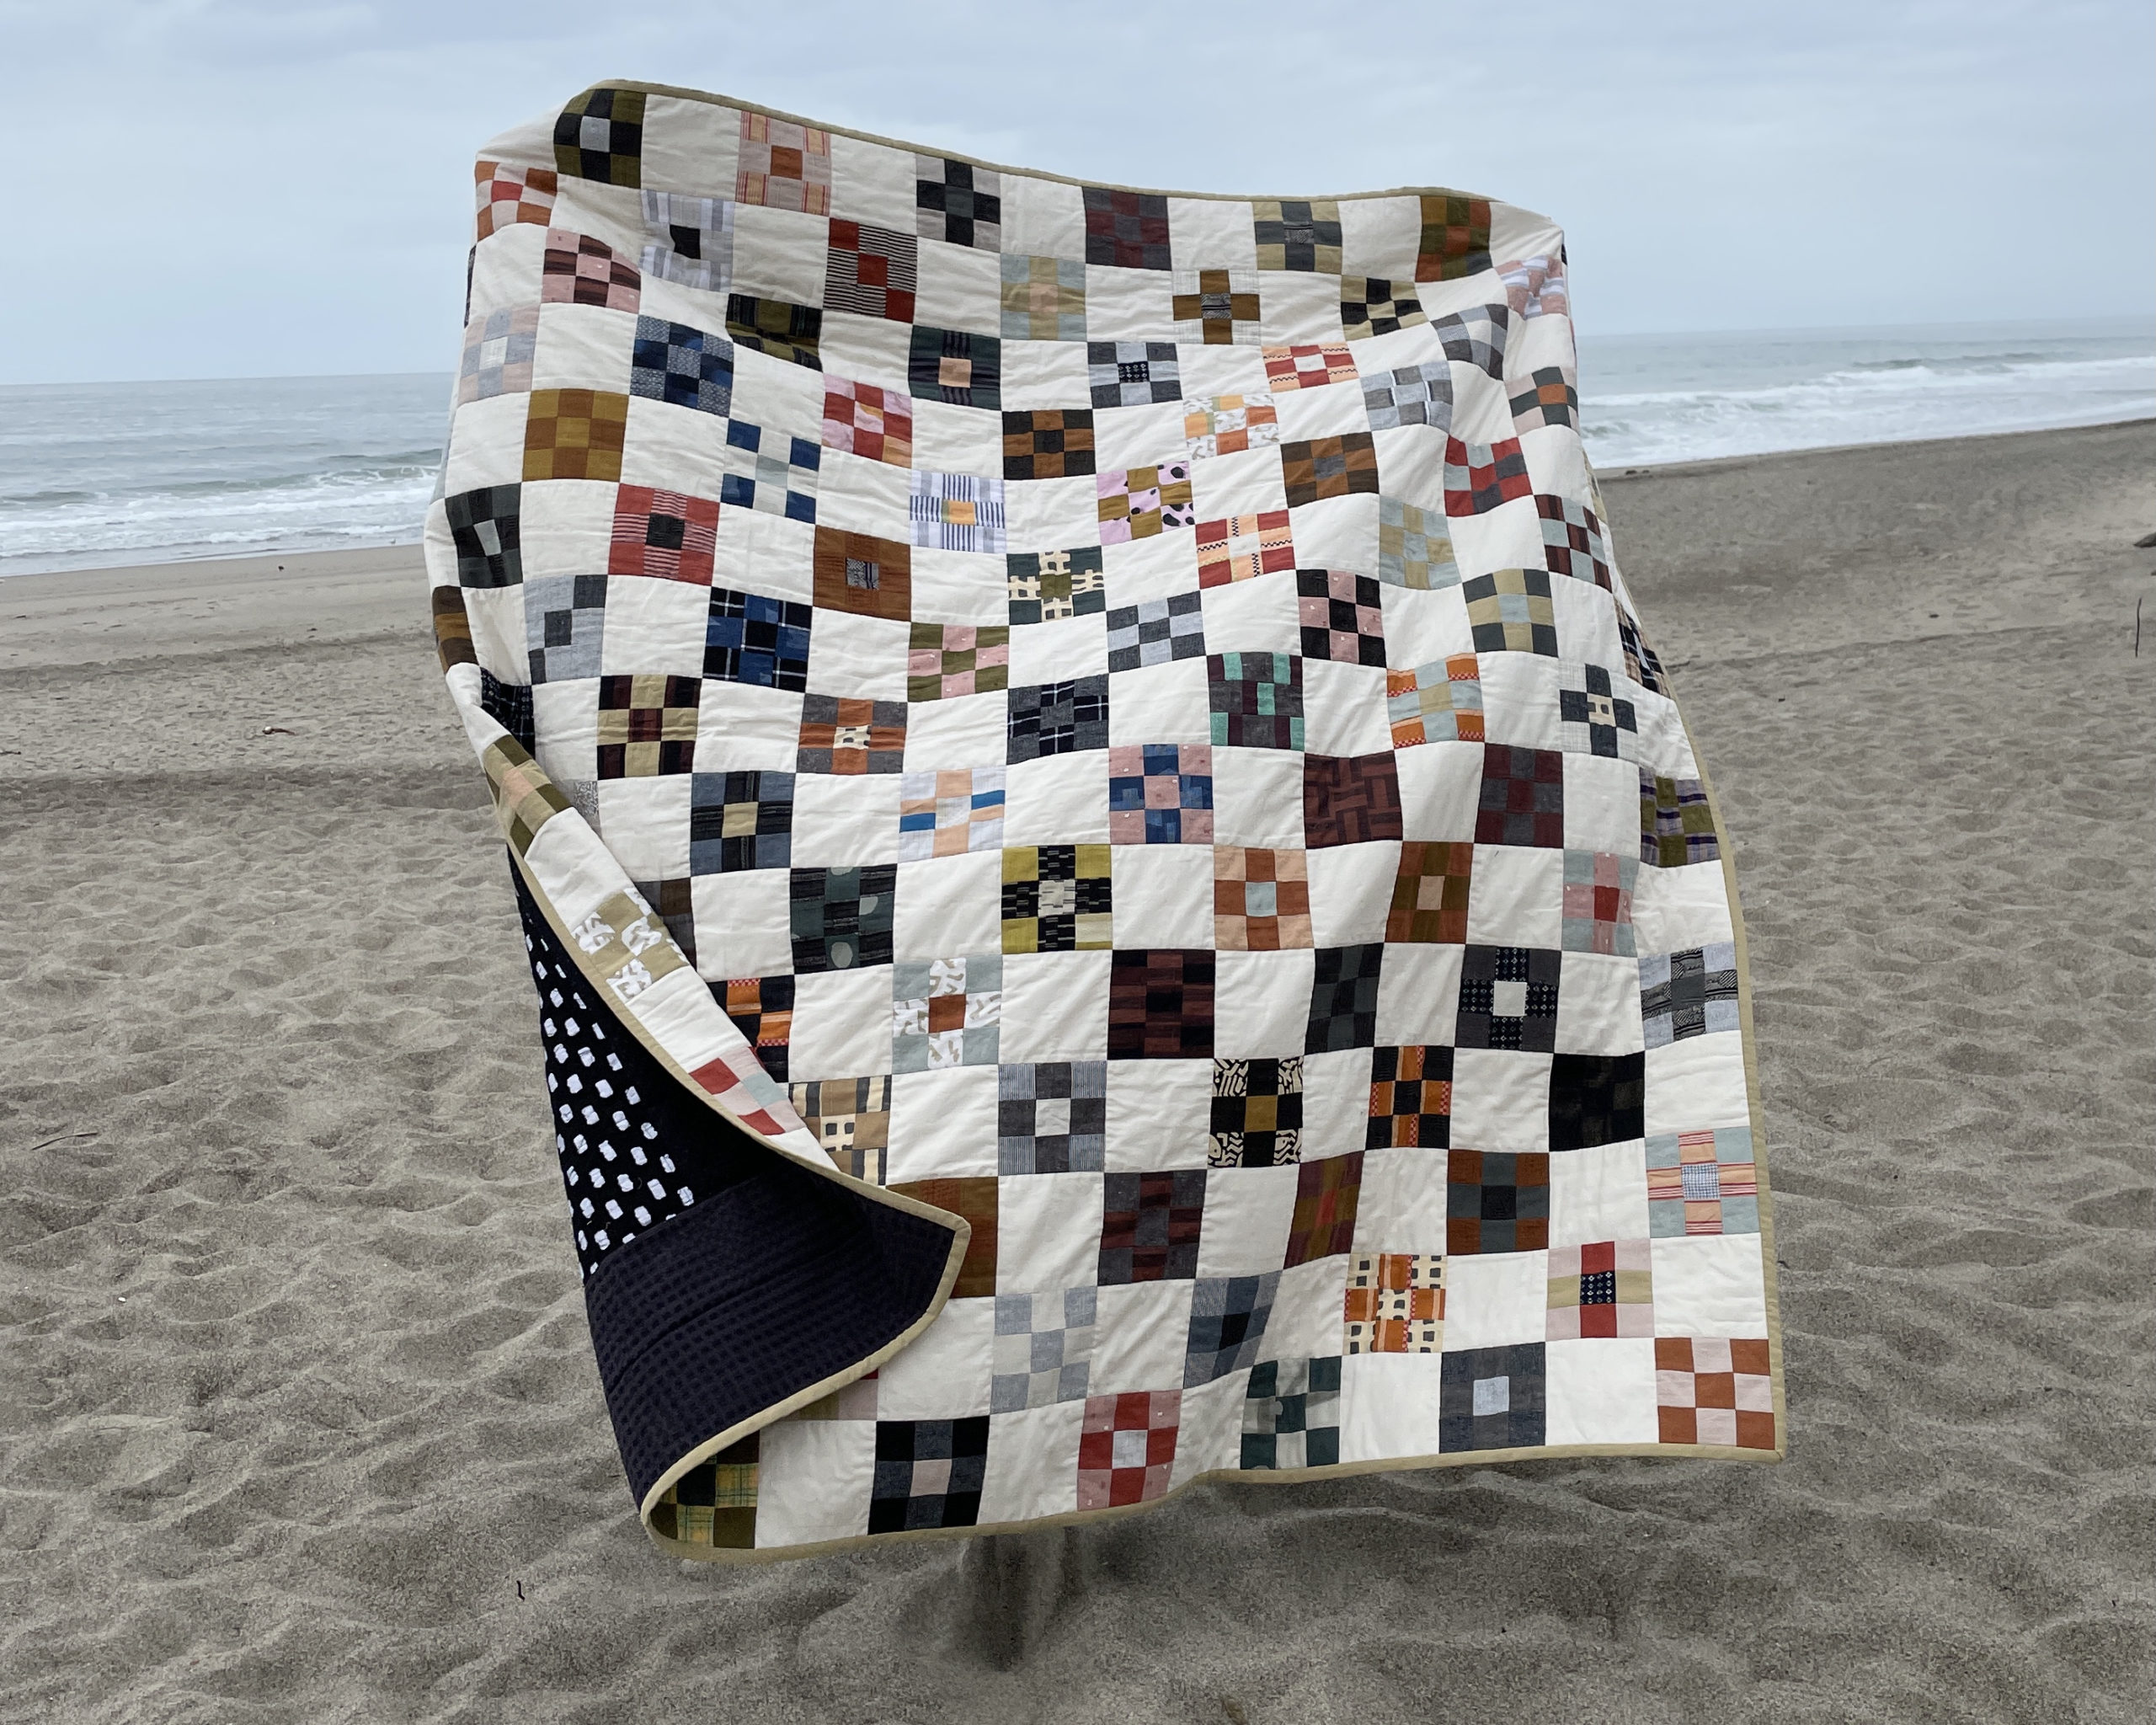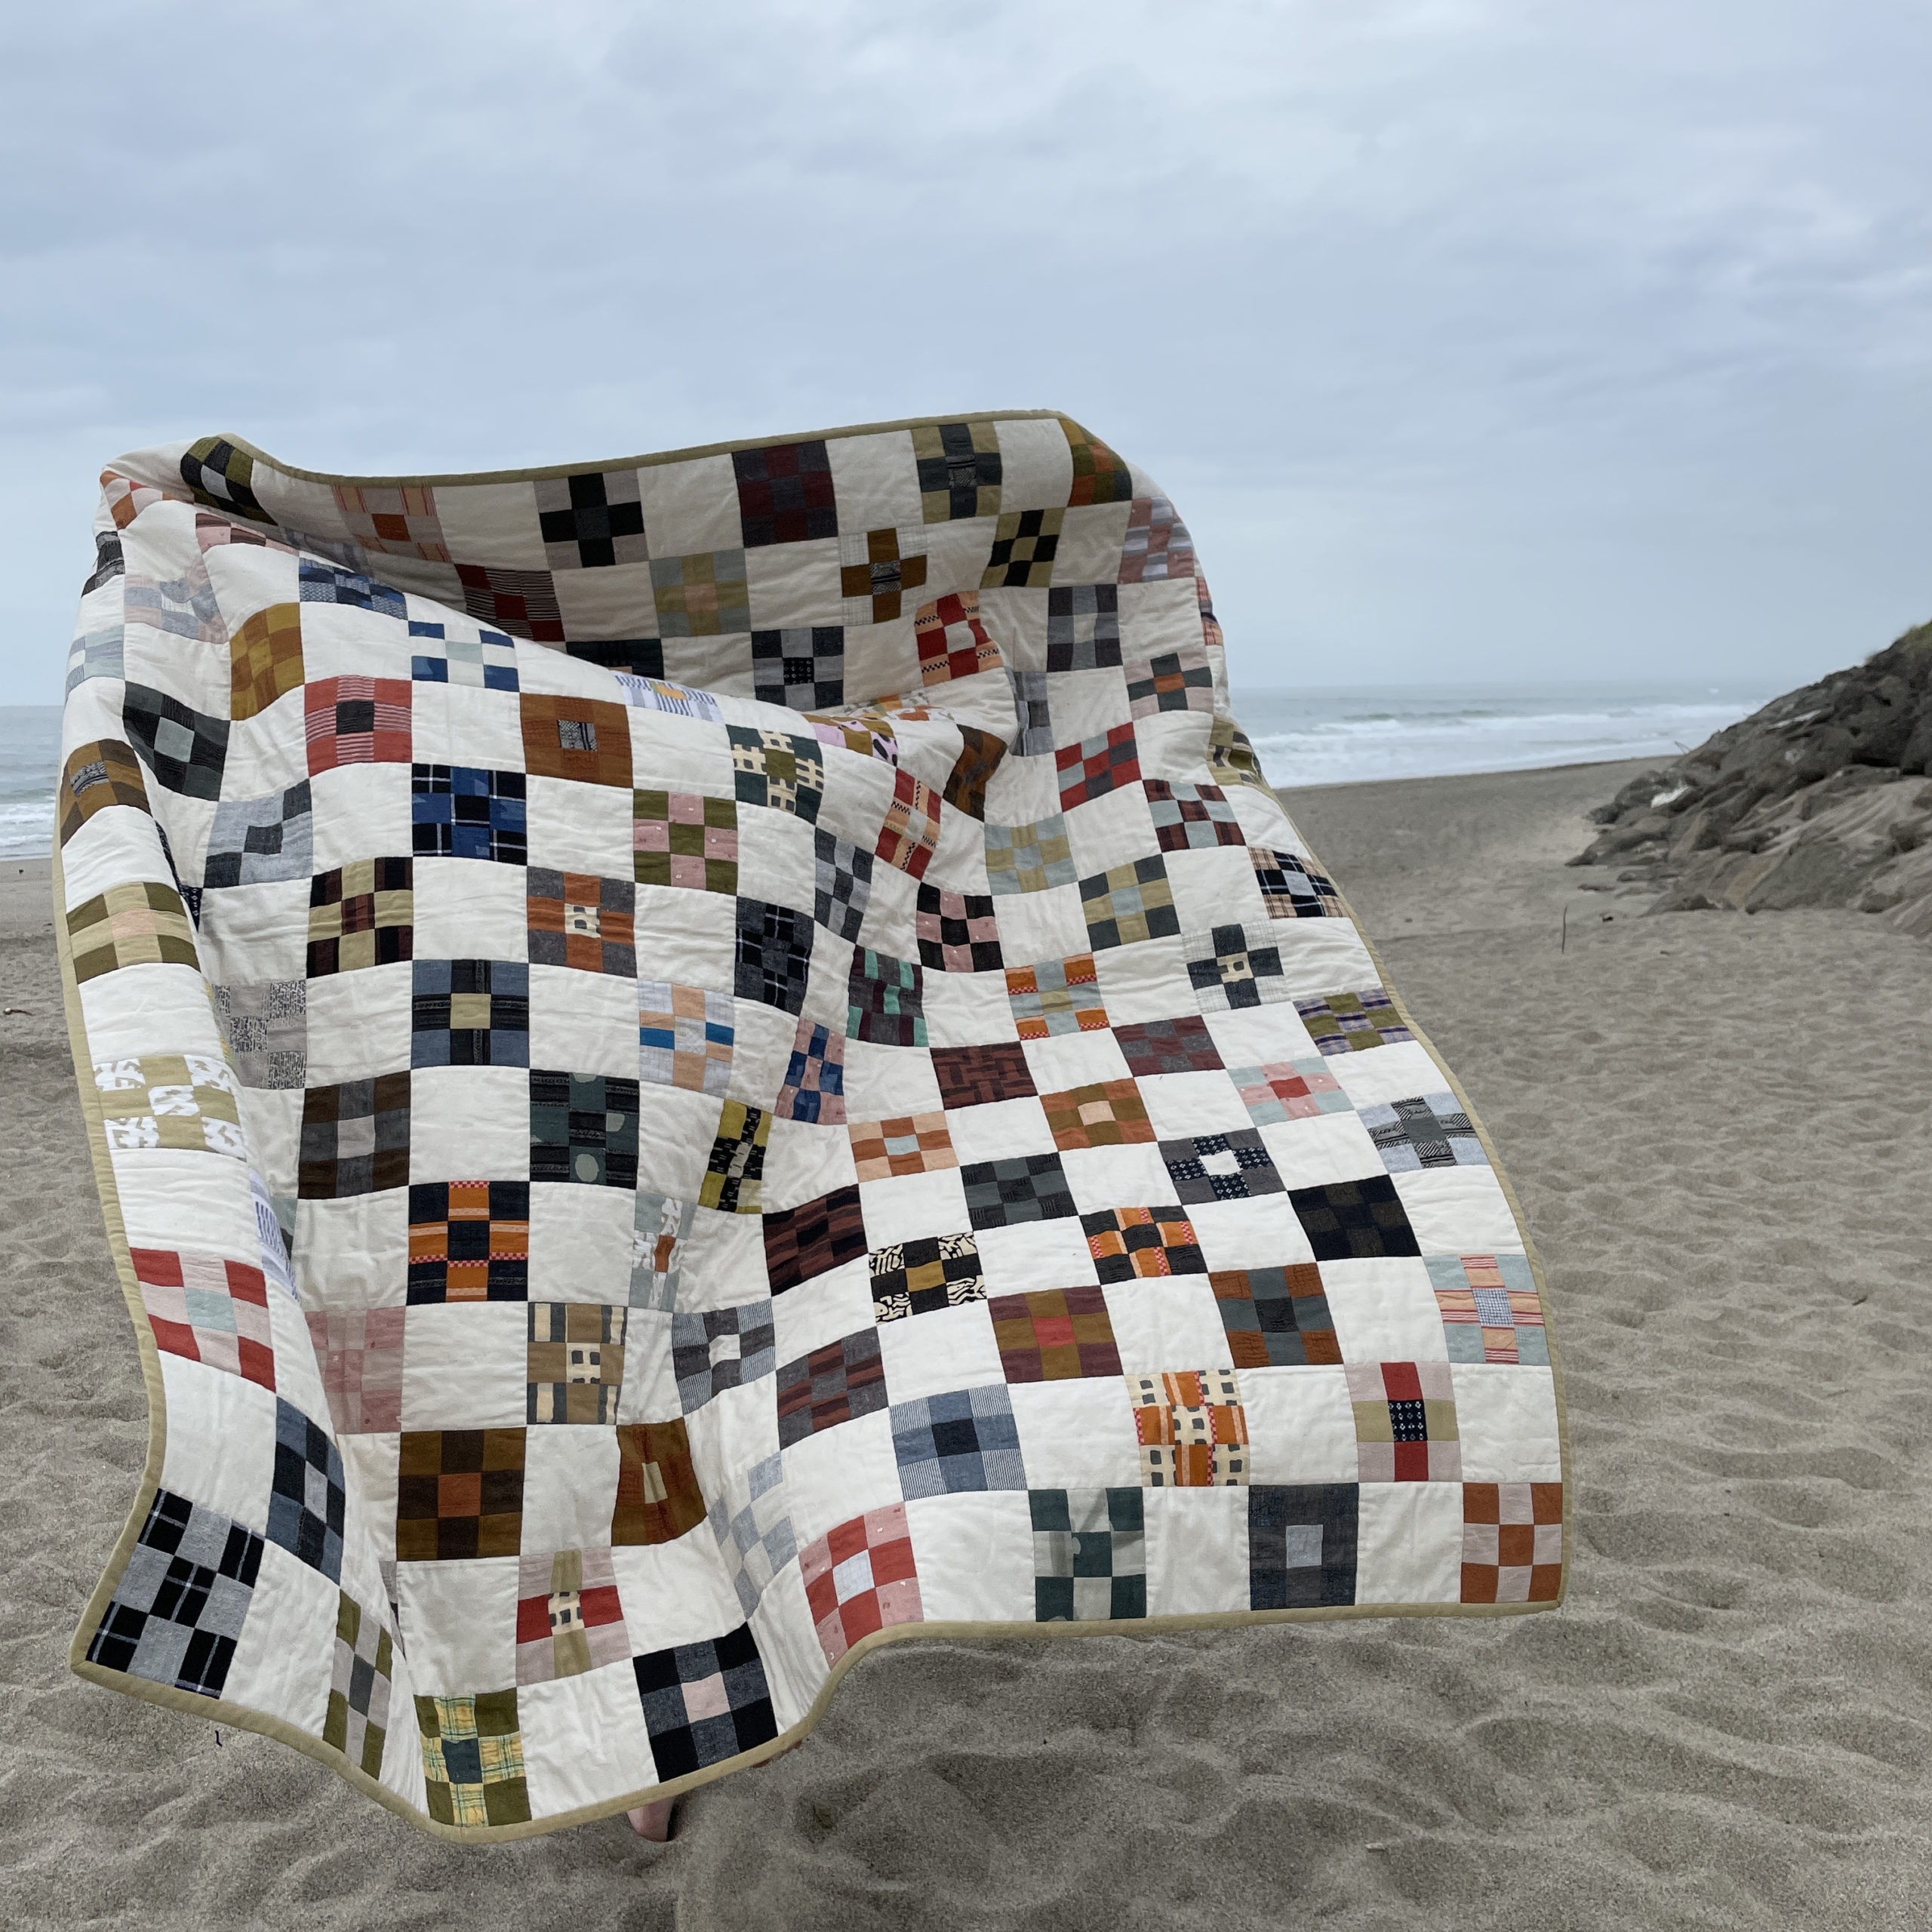
I haven’t made, or really worn, hard pants in quite a while, but this post caught my eye and I knew it was time to make some pants that didn’t include elastic. After I’d downloaded and printed the pattern, Open Studio reached out to offer a $100 stipend and the pattern in exchange for a review/IG post. They kindly sent their two other patterns since I’d already purchased the Shop Pant.
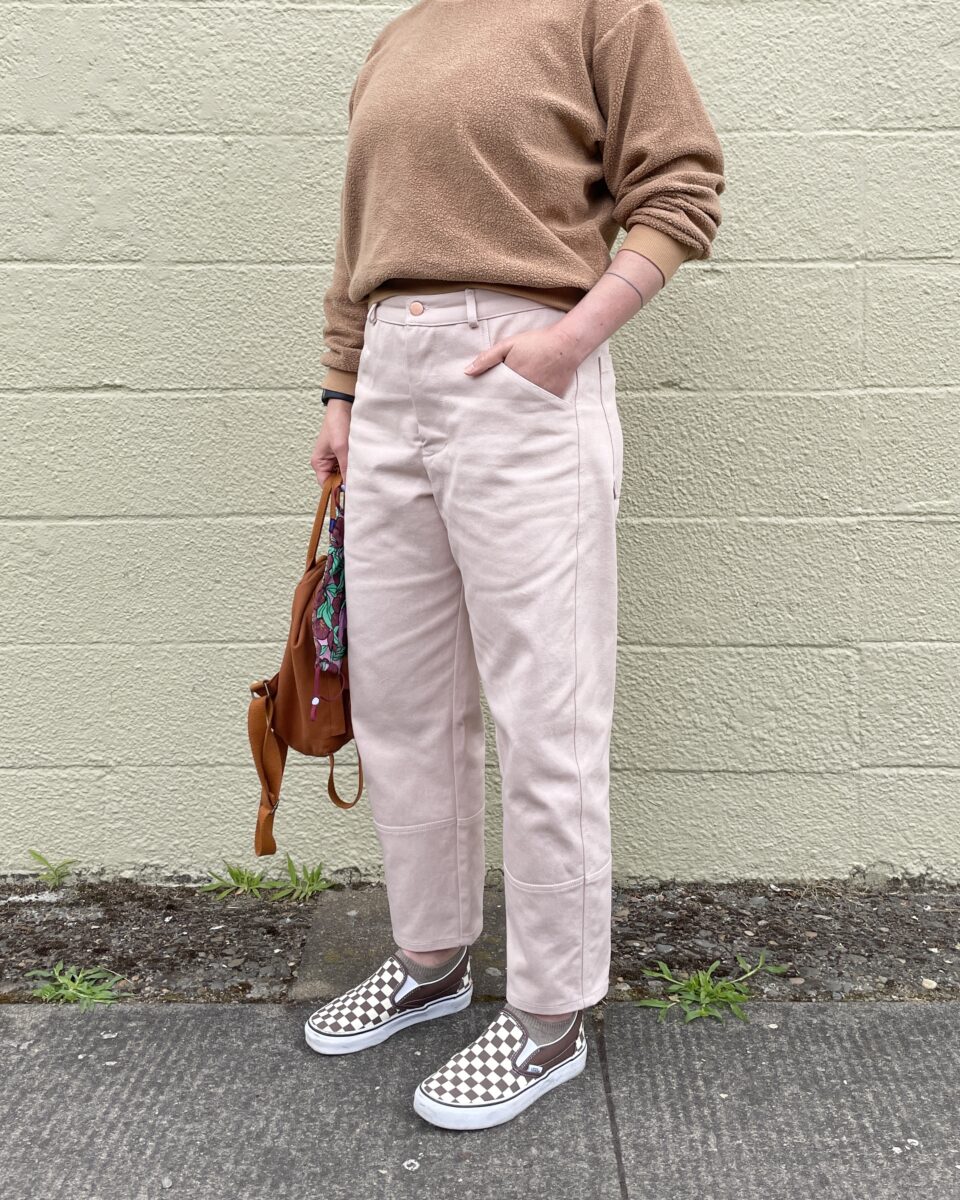
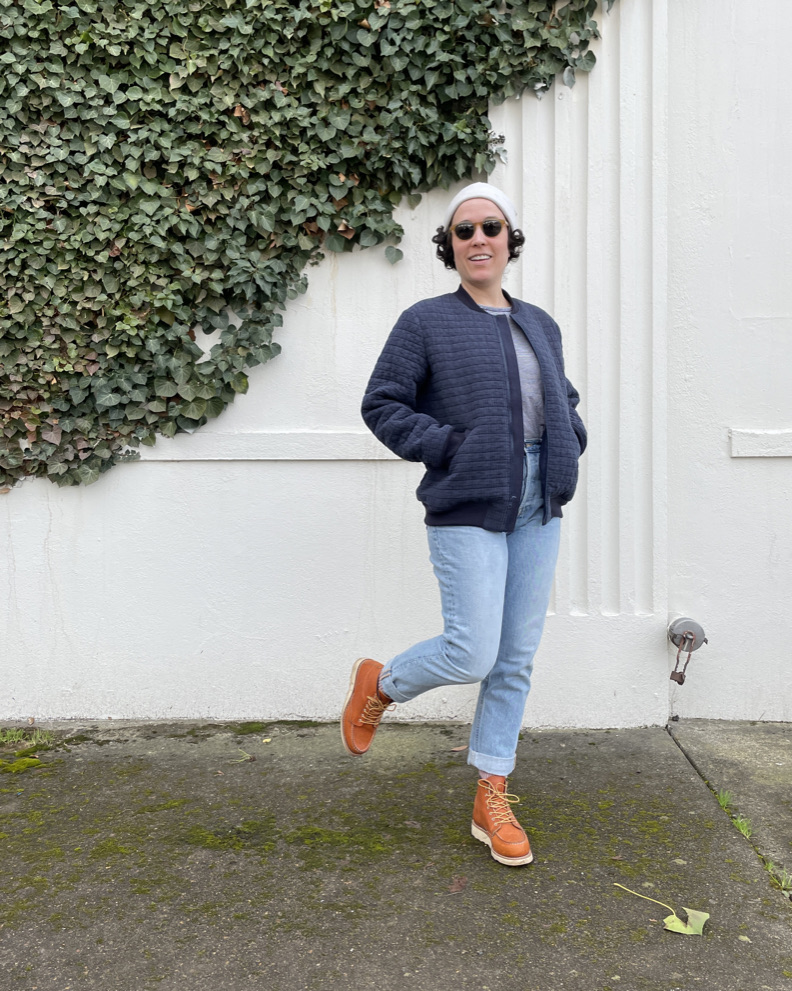
Based on my measurements, I decided to make a size 3. Aside from shortening the leg length 1″, I didn’t make any other pattern adjustments. Being out of hard pant practice, I knew I needed to make a wearable muslin and actually wear them to assess if I chose the best size, or if I just need some small tweaks to size 3.
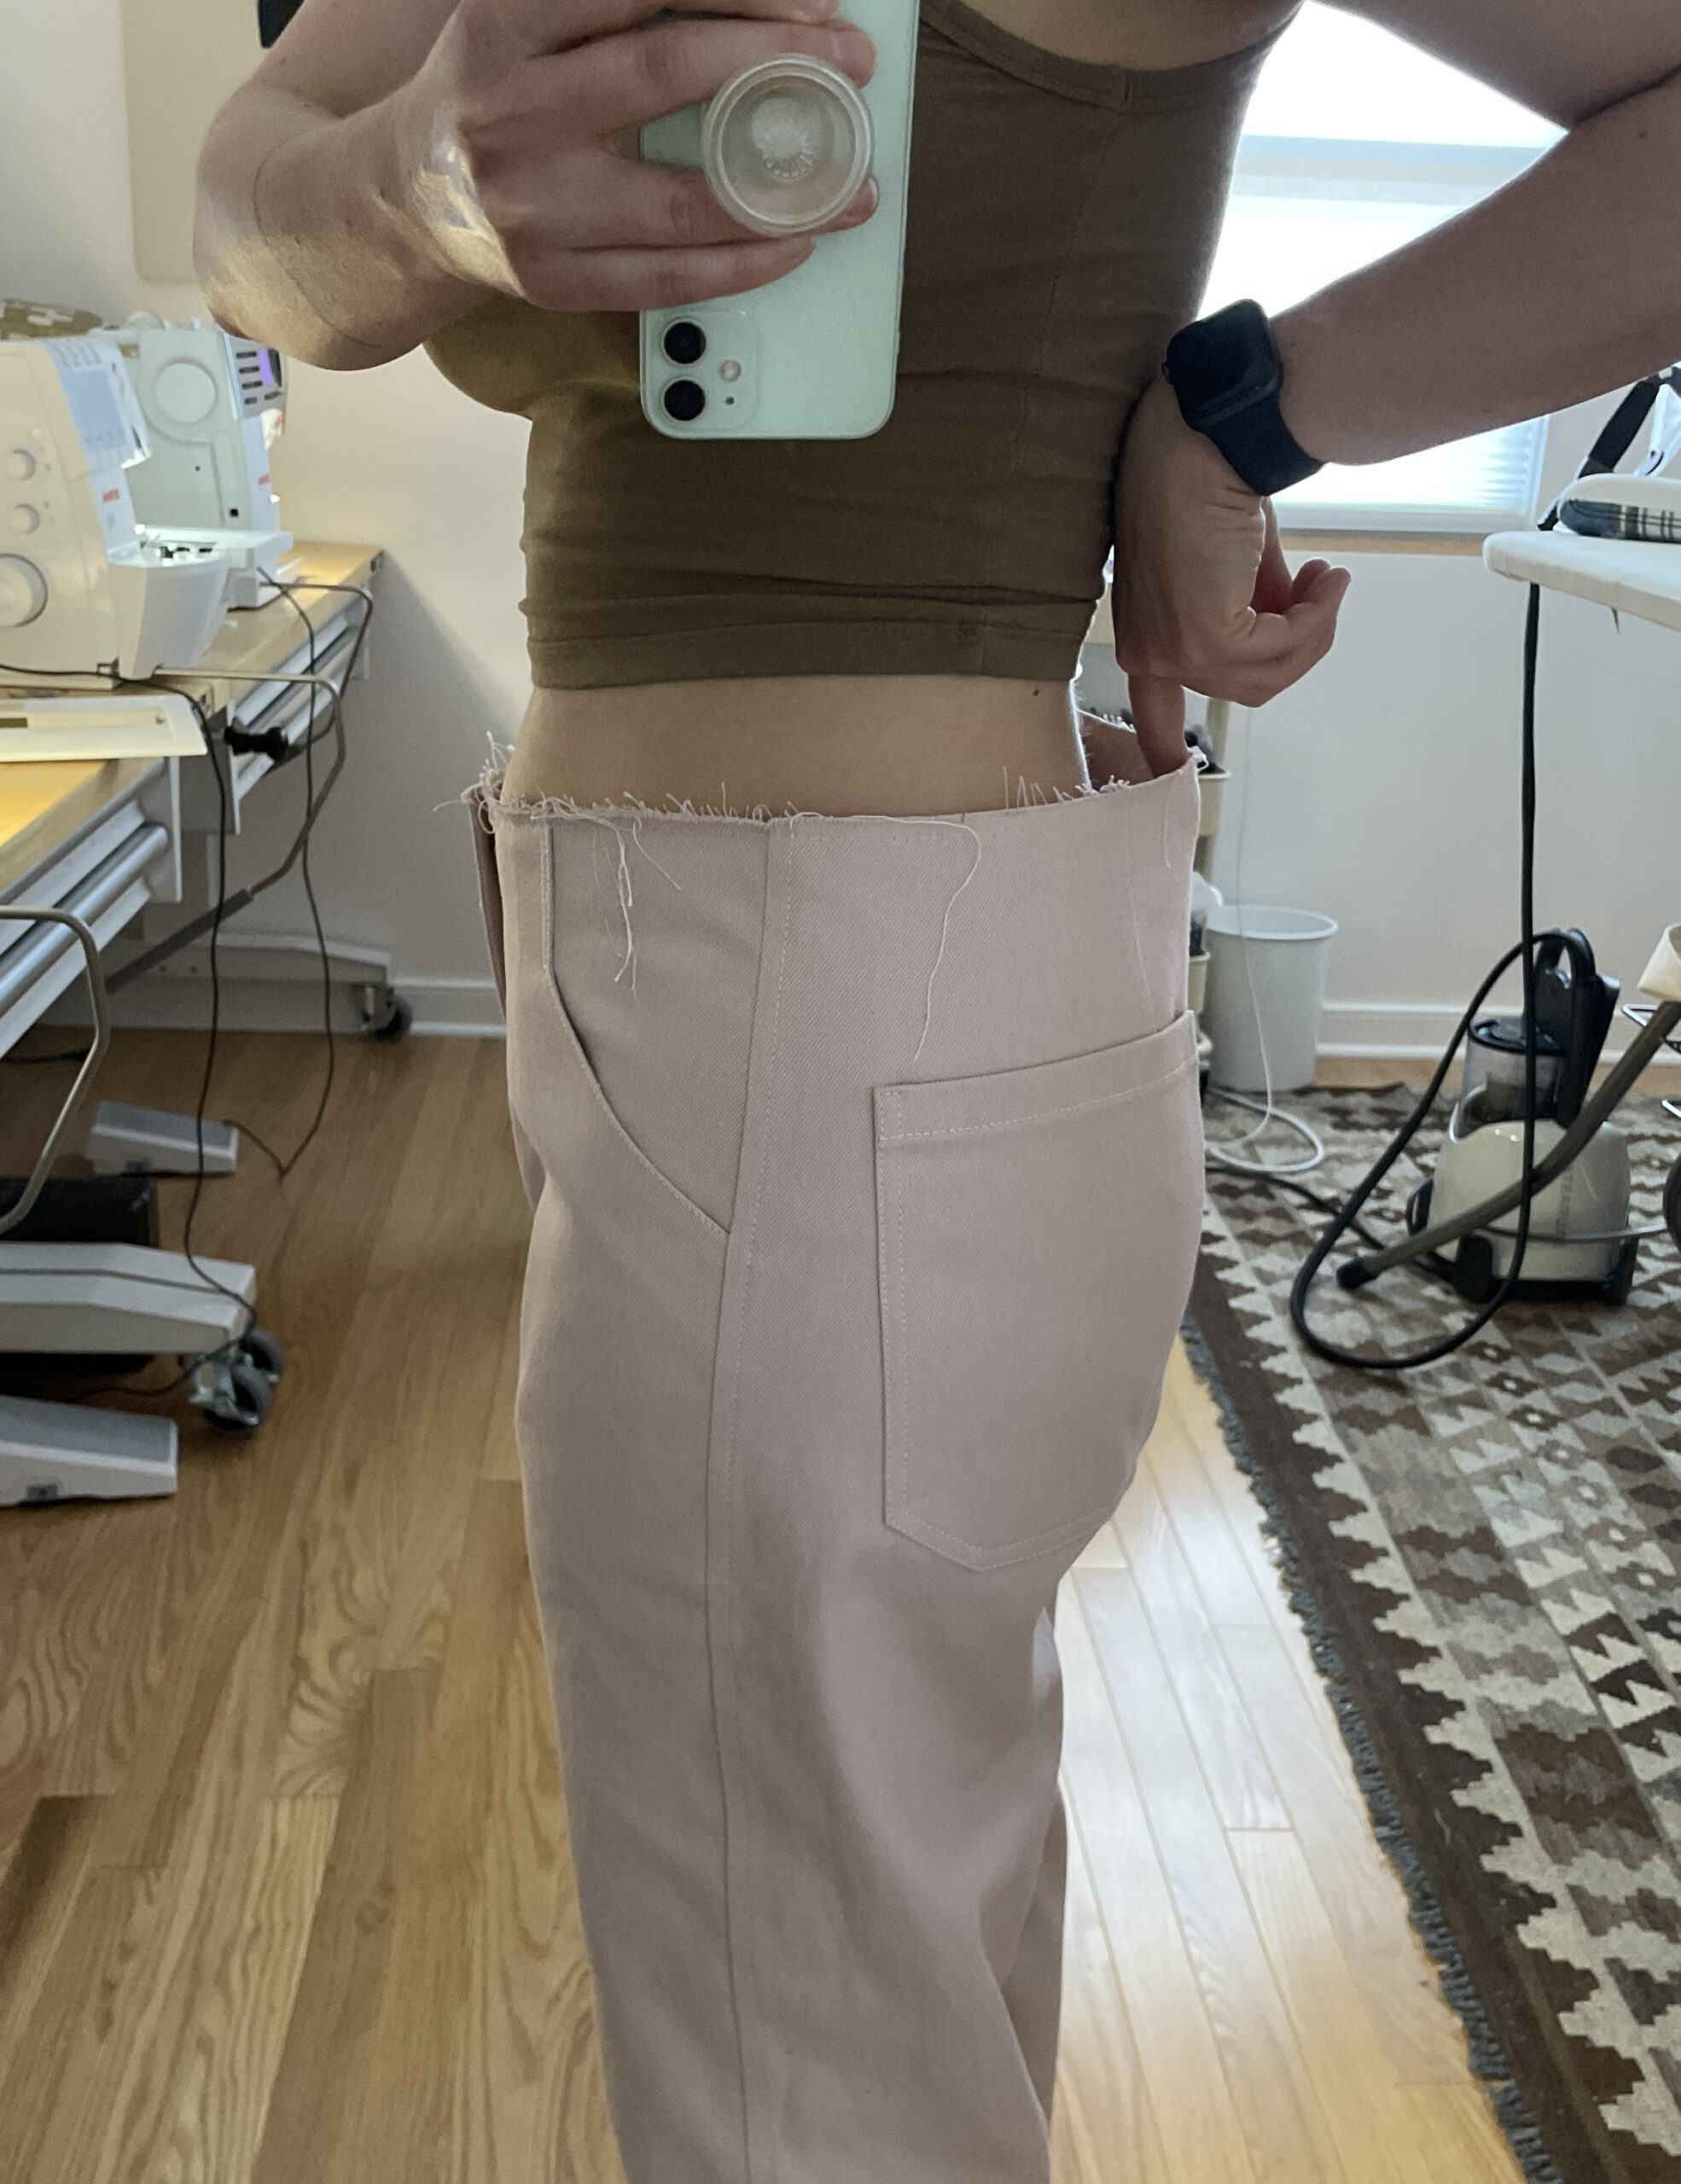
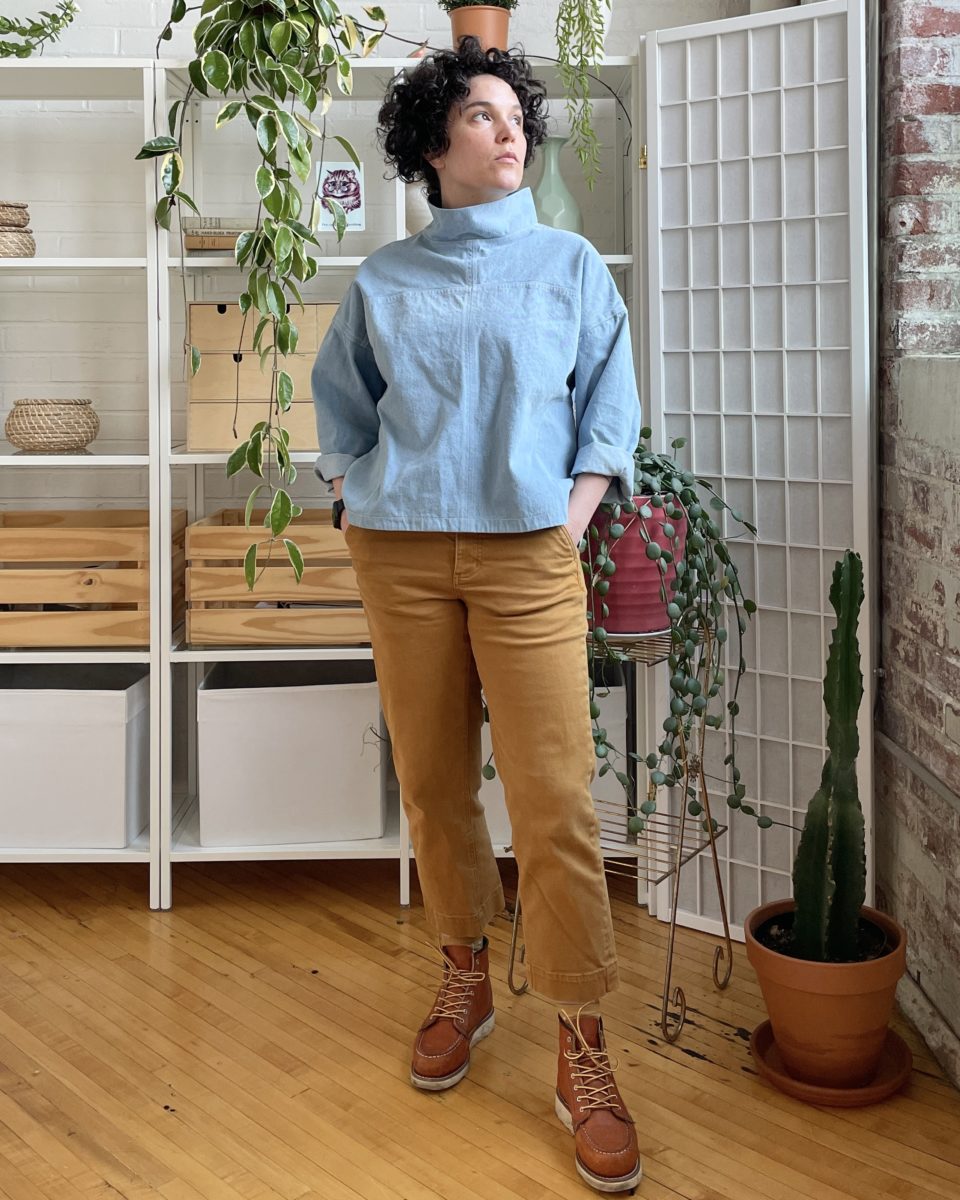
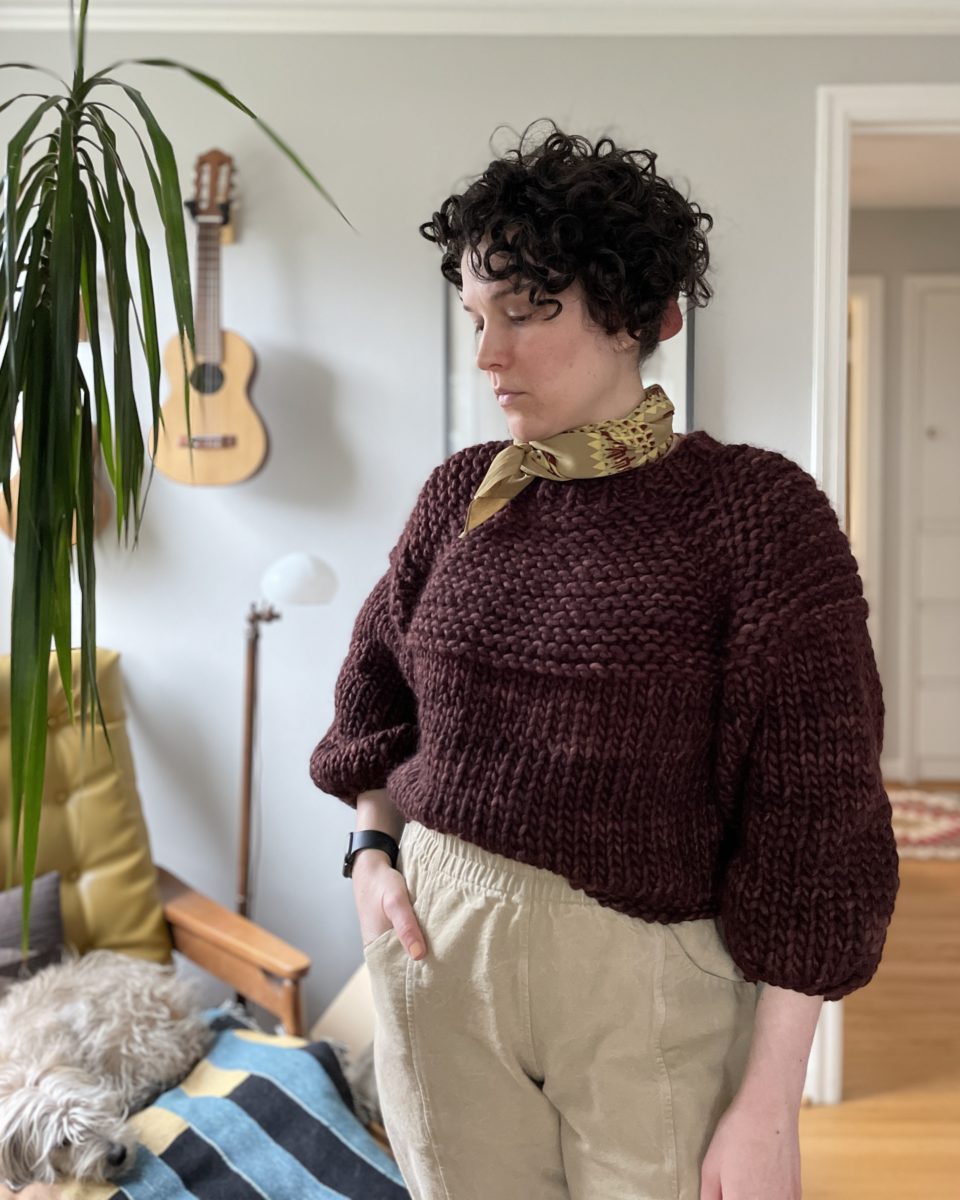
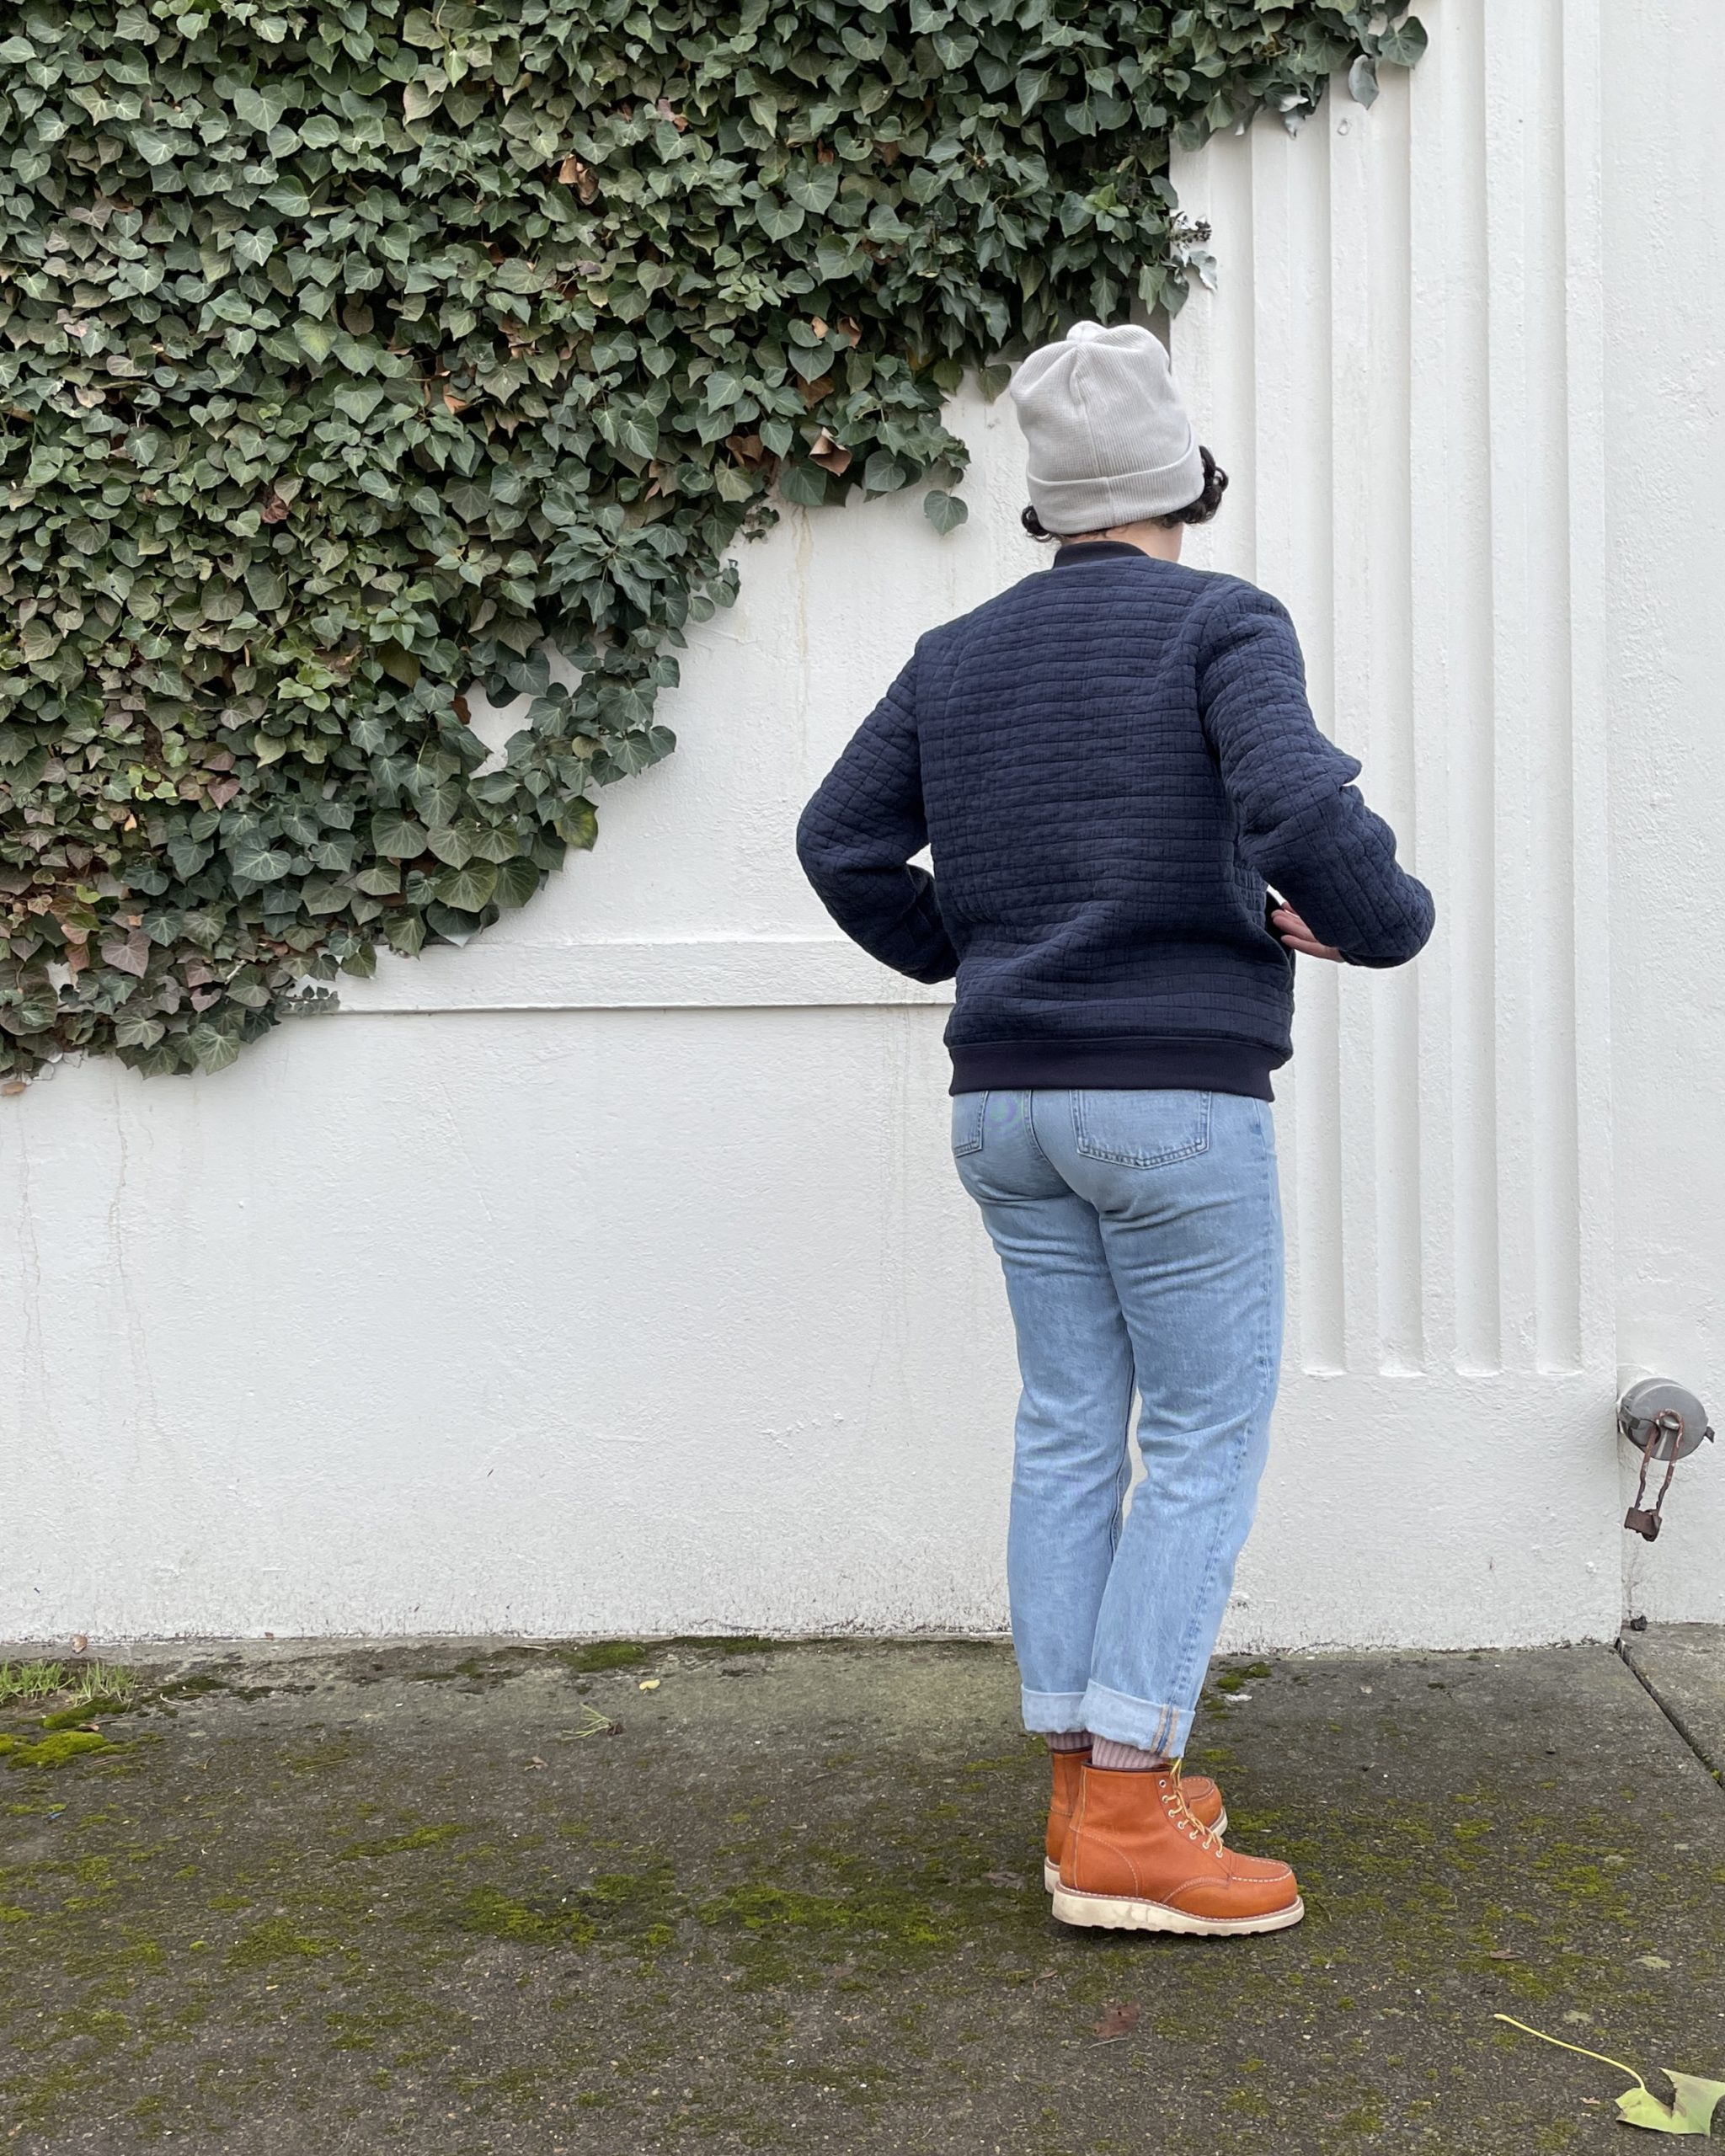
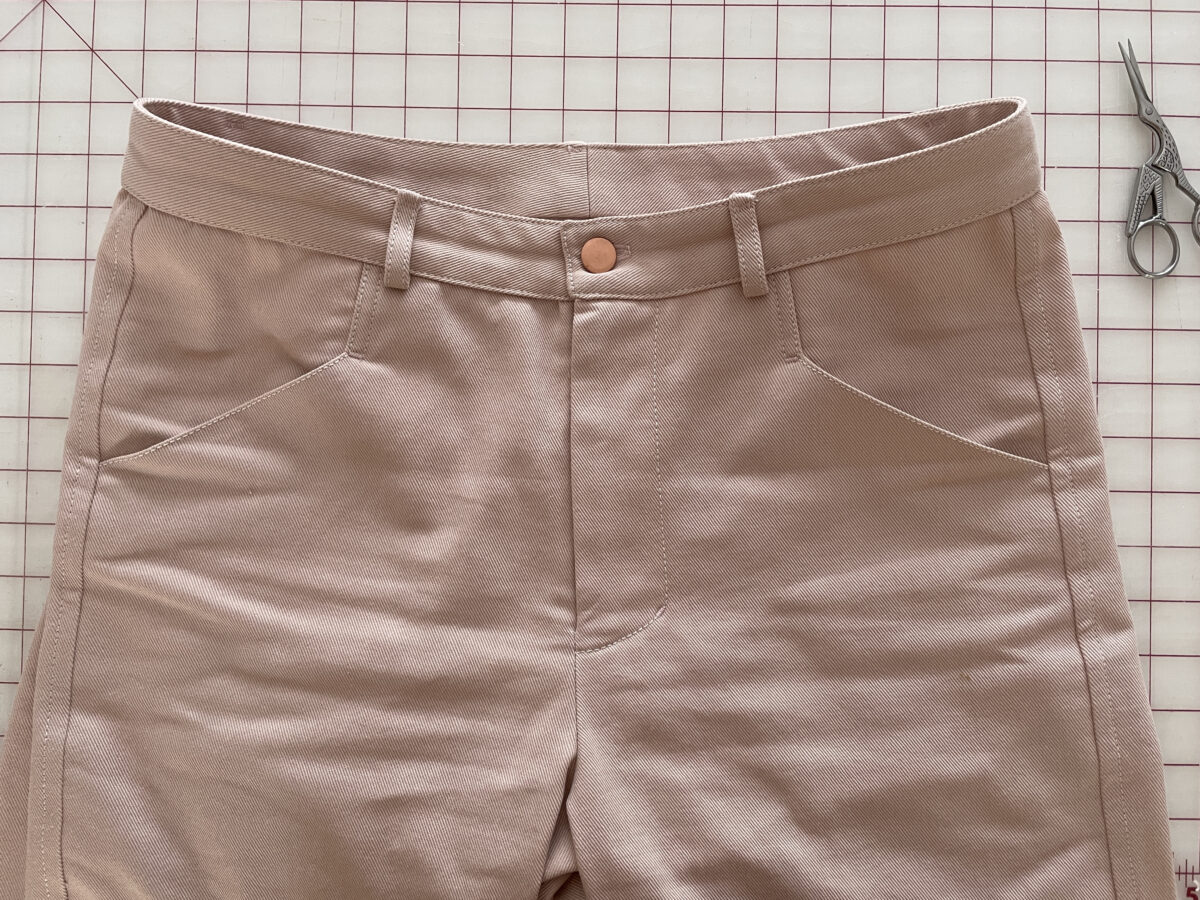
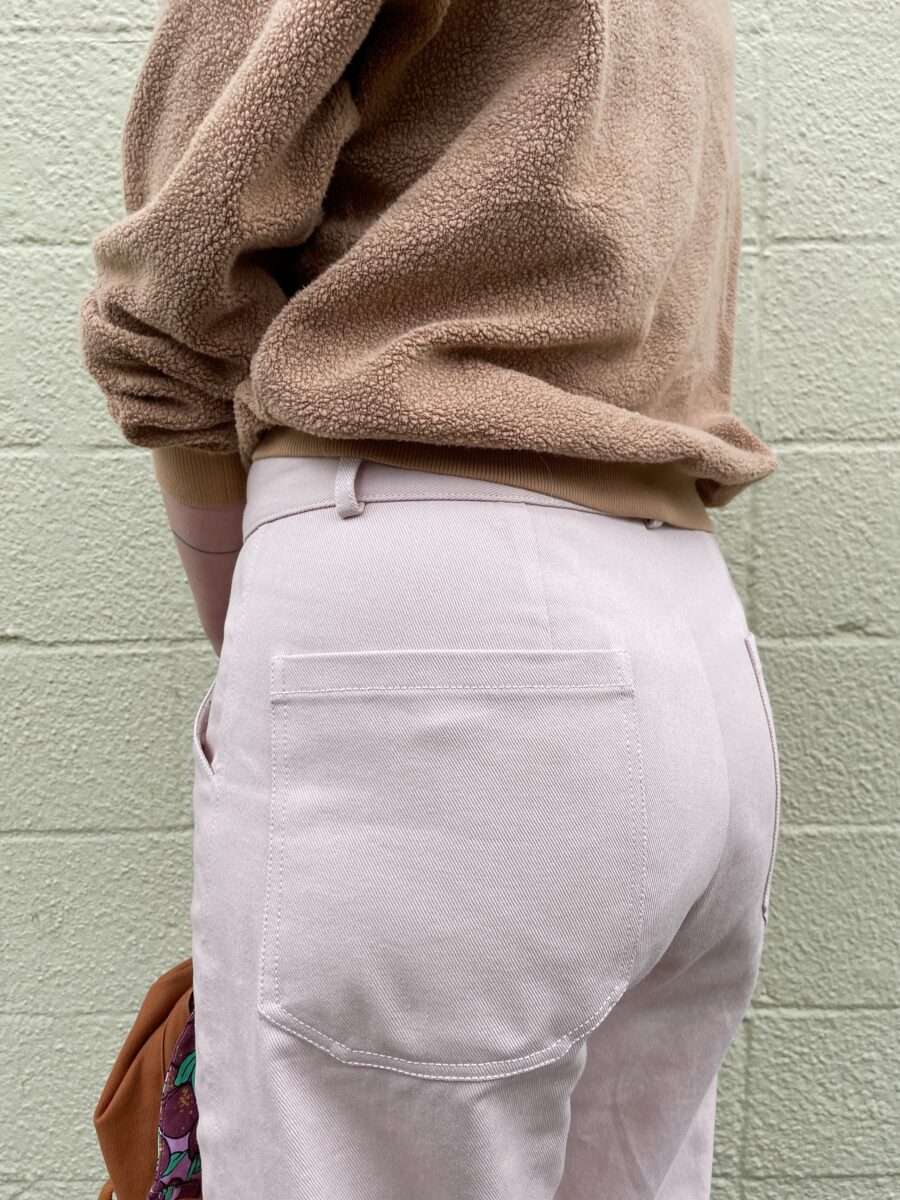
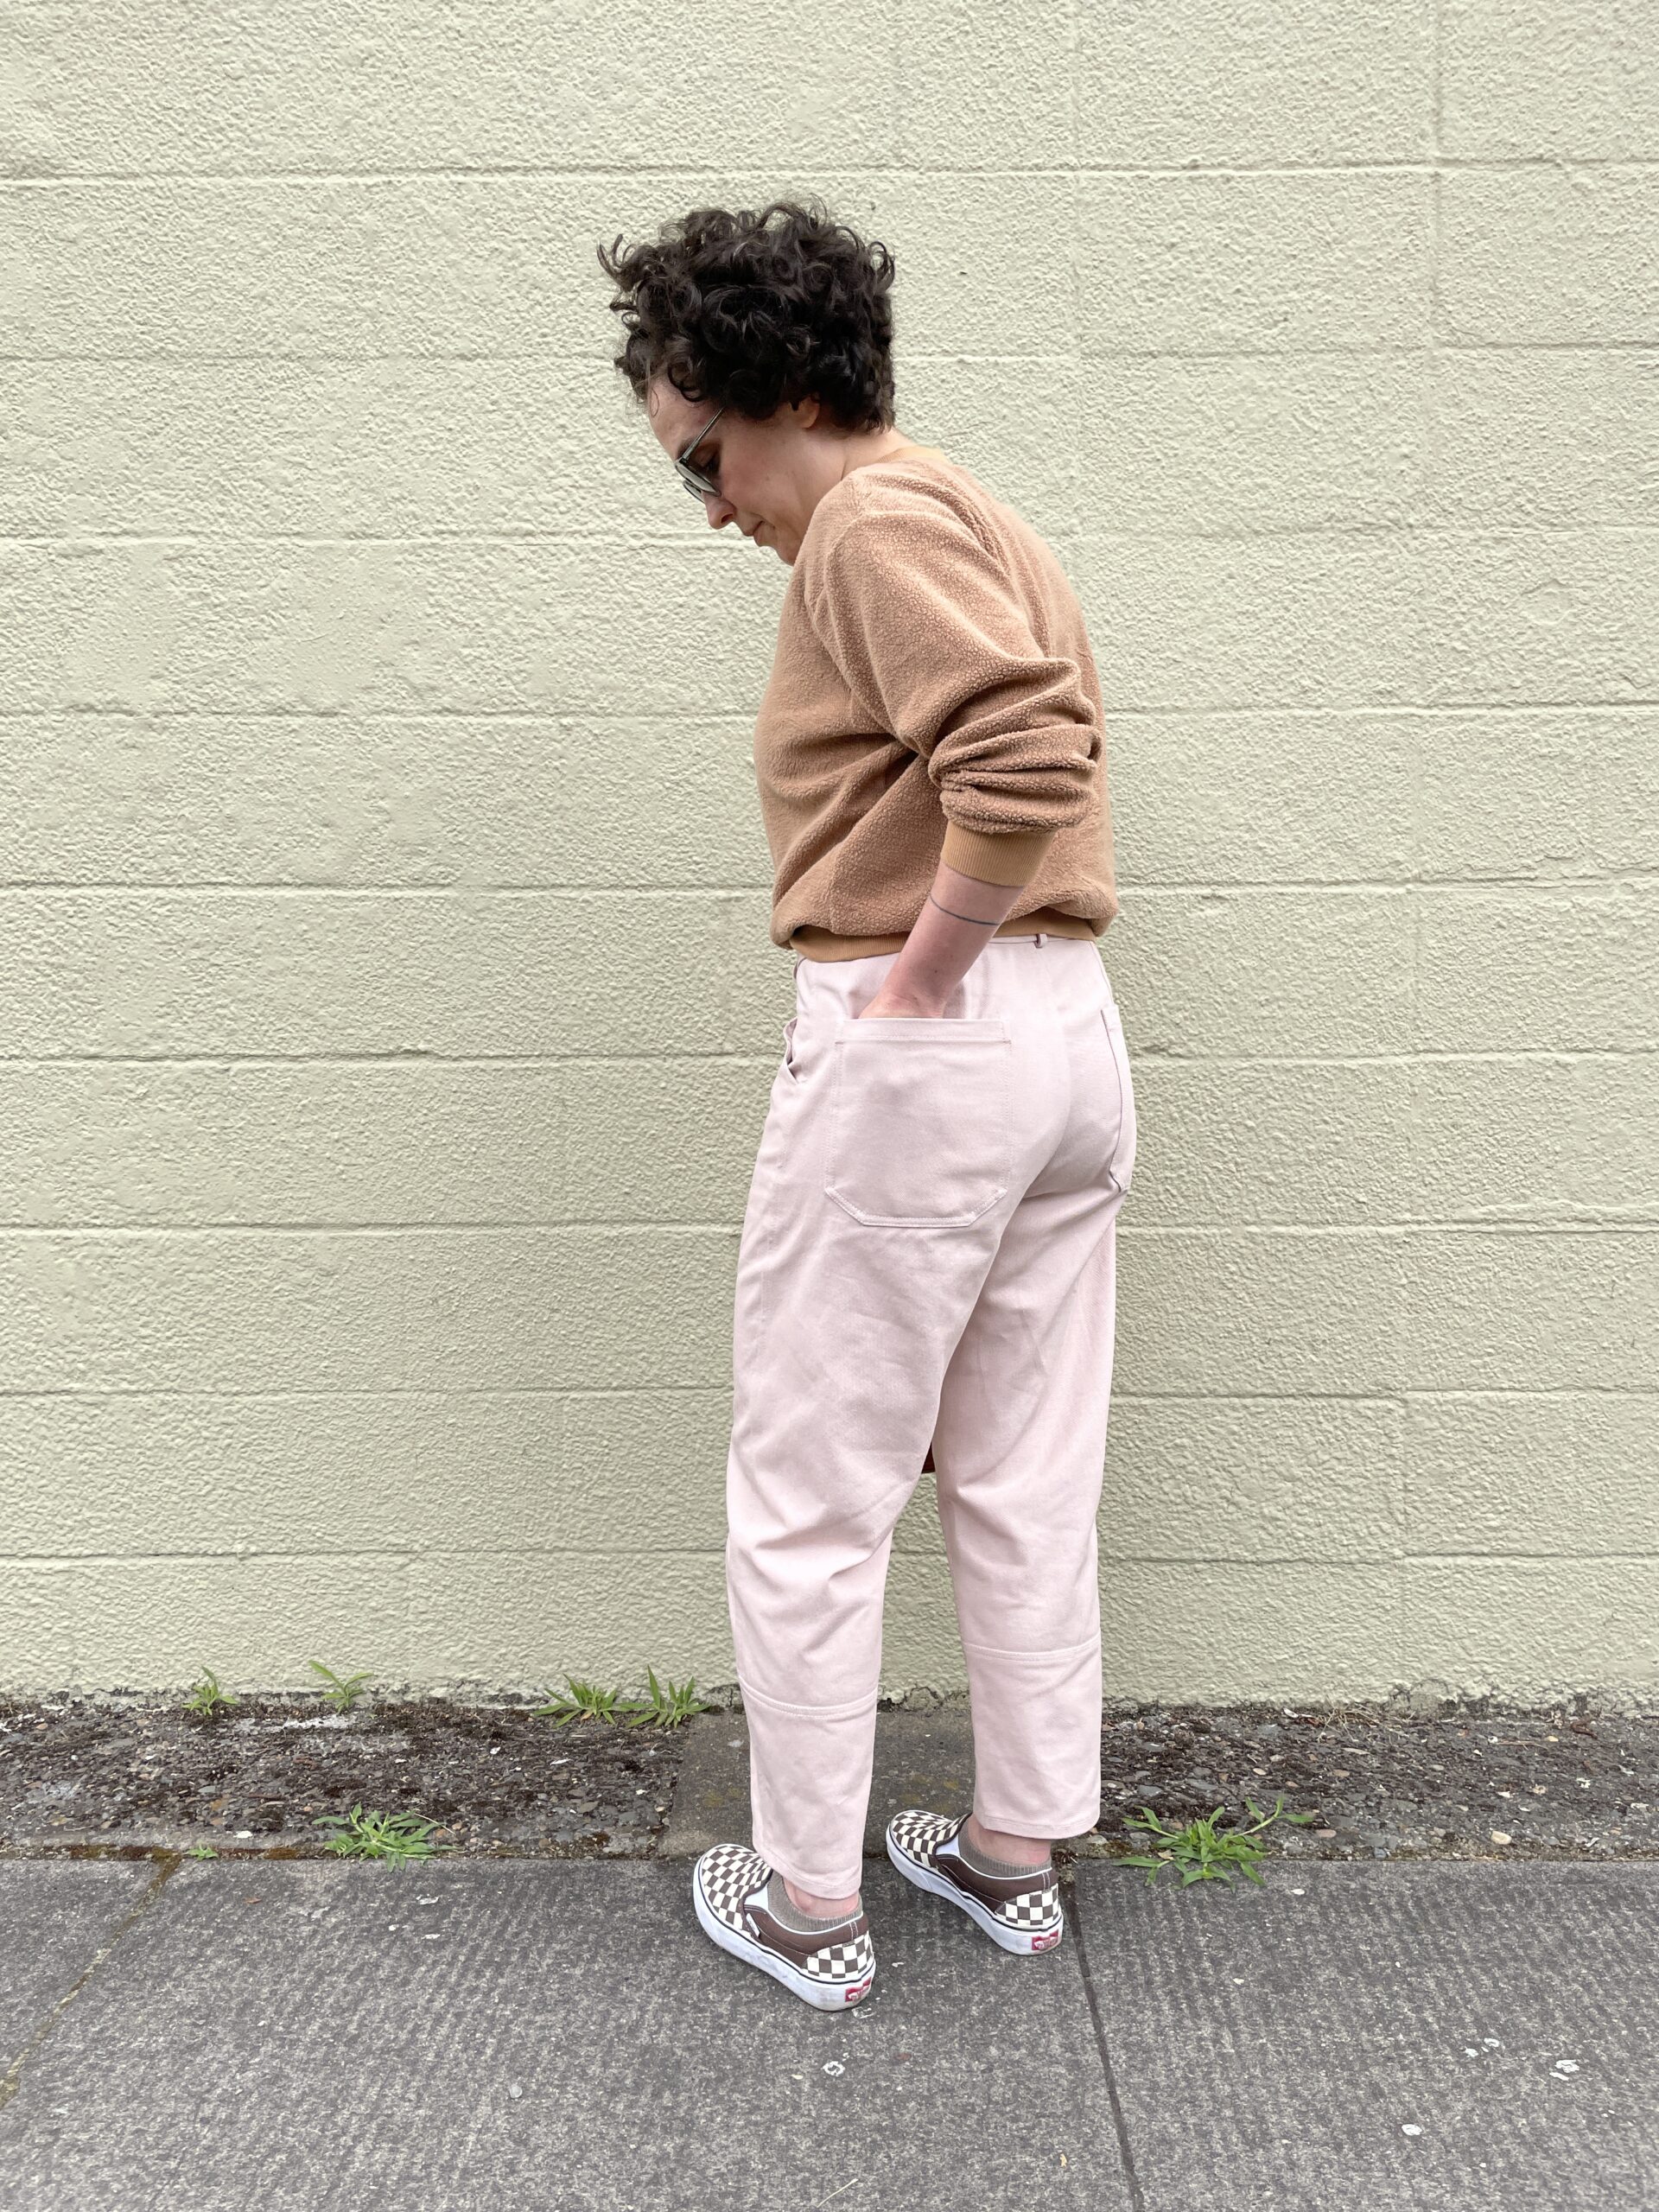
After wearing them for a day, I think I need to grade to a size 2 at the waist and potentially shorten the front crotch (see crotch wrinkles in first photo). The intended fit of the waistline is high, but they fall down to my mid waist. Although they are VERY comfy to sit in, they’re just a wee bit too roomy.
Hello underwear!
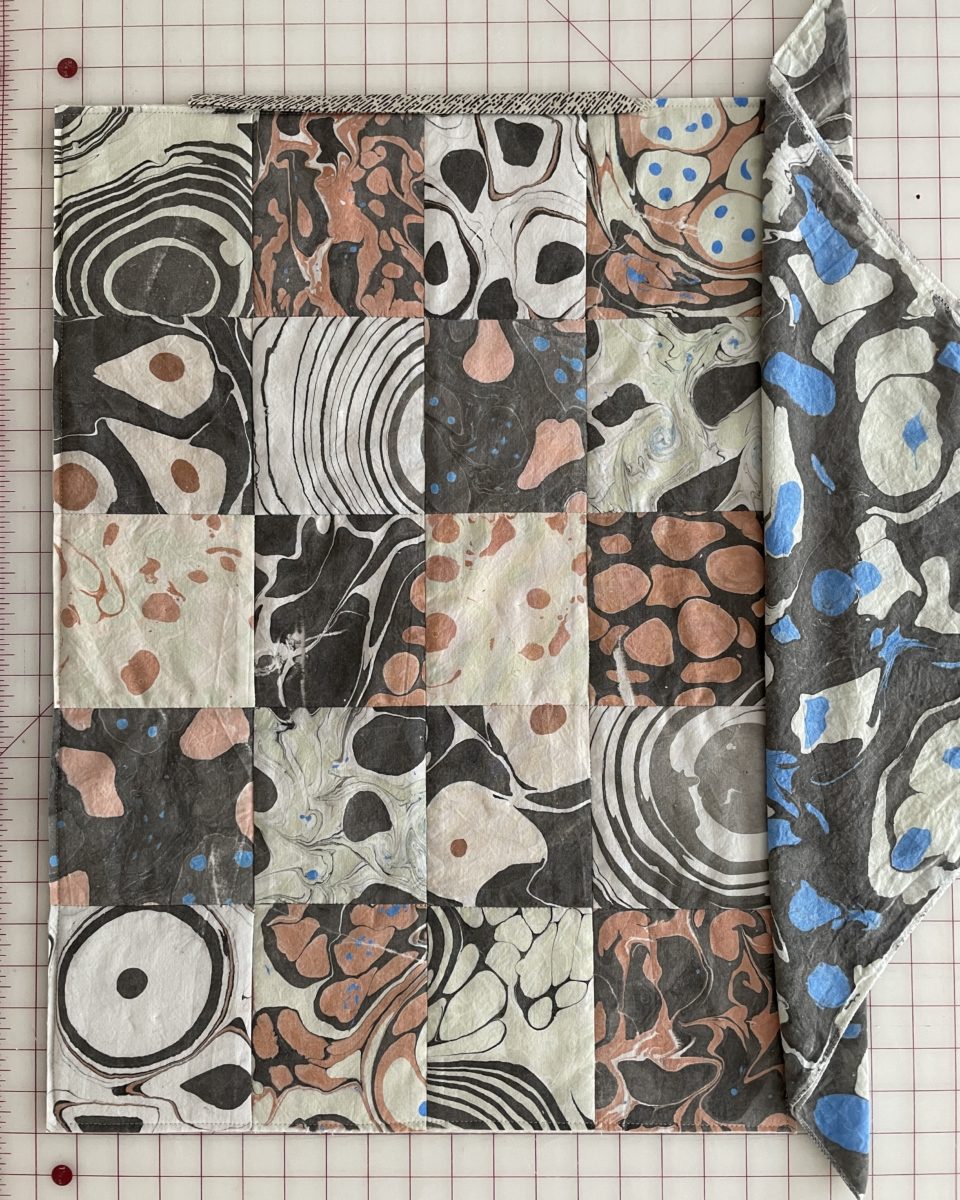
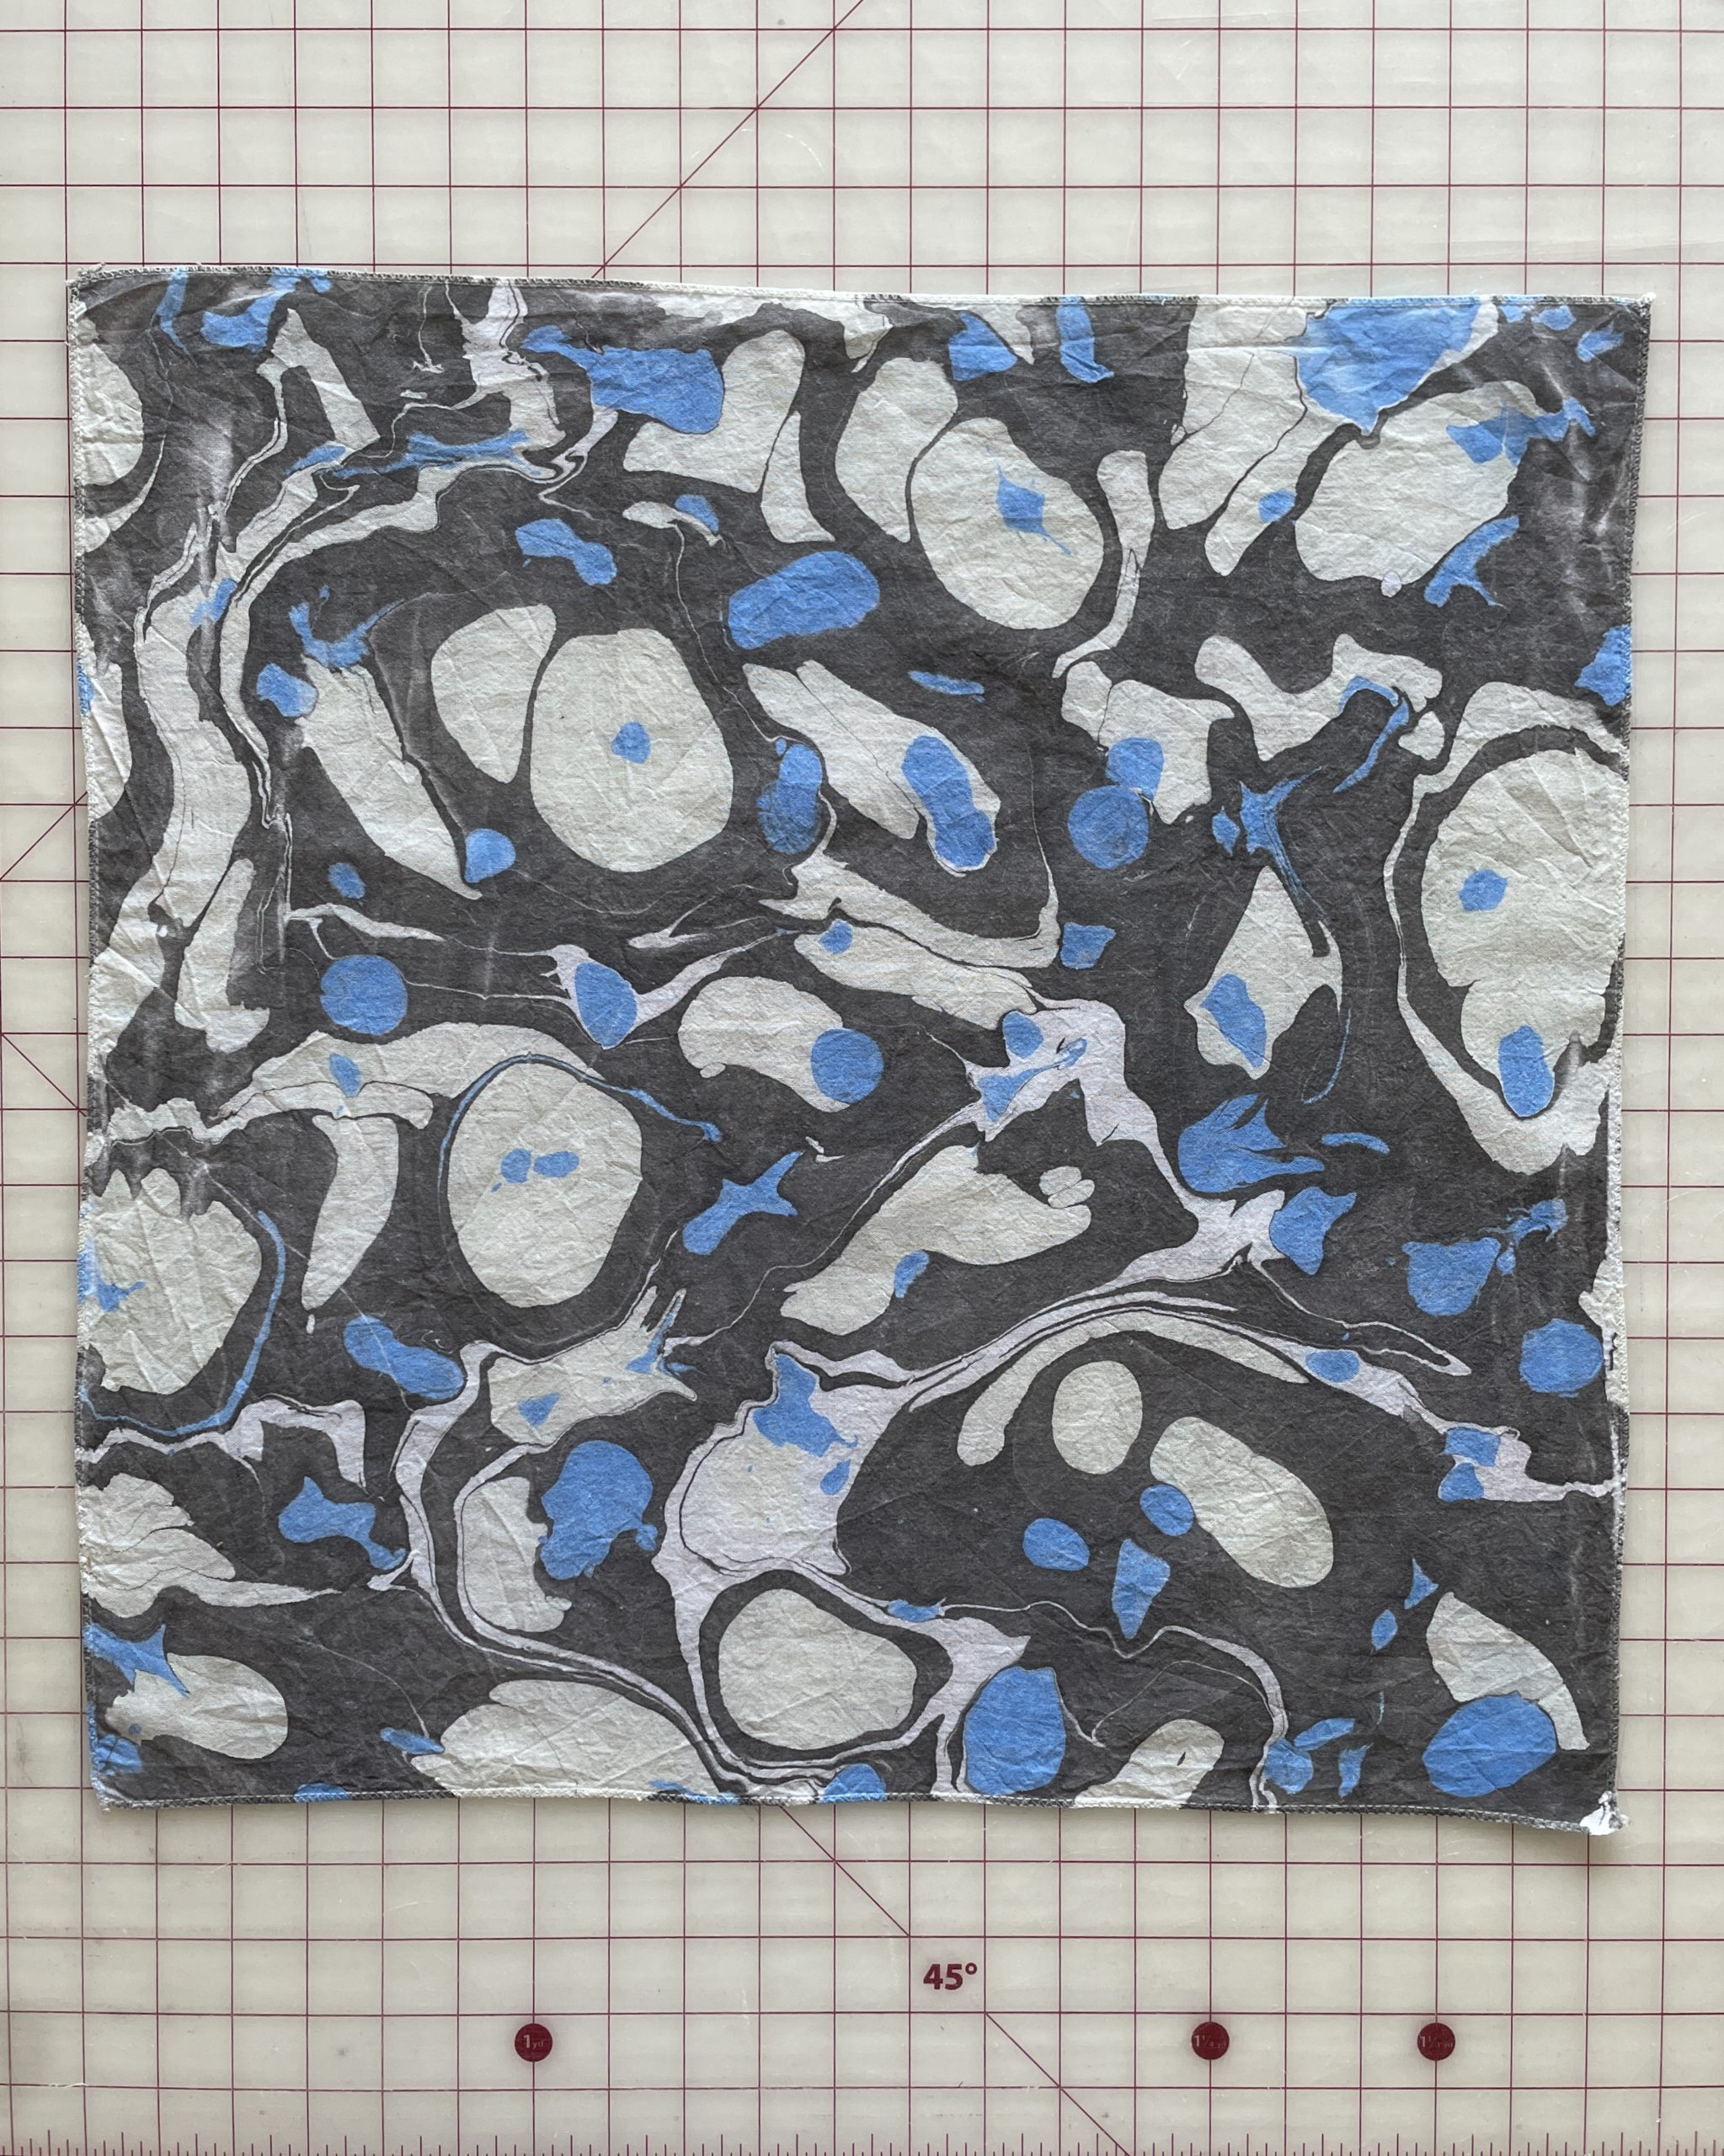
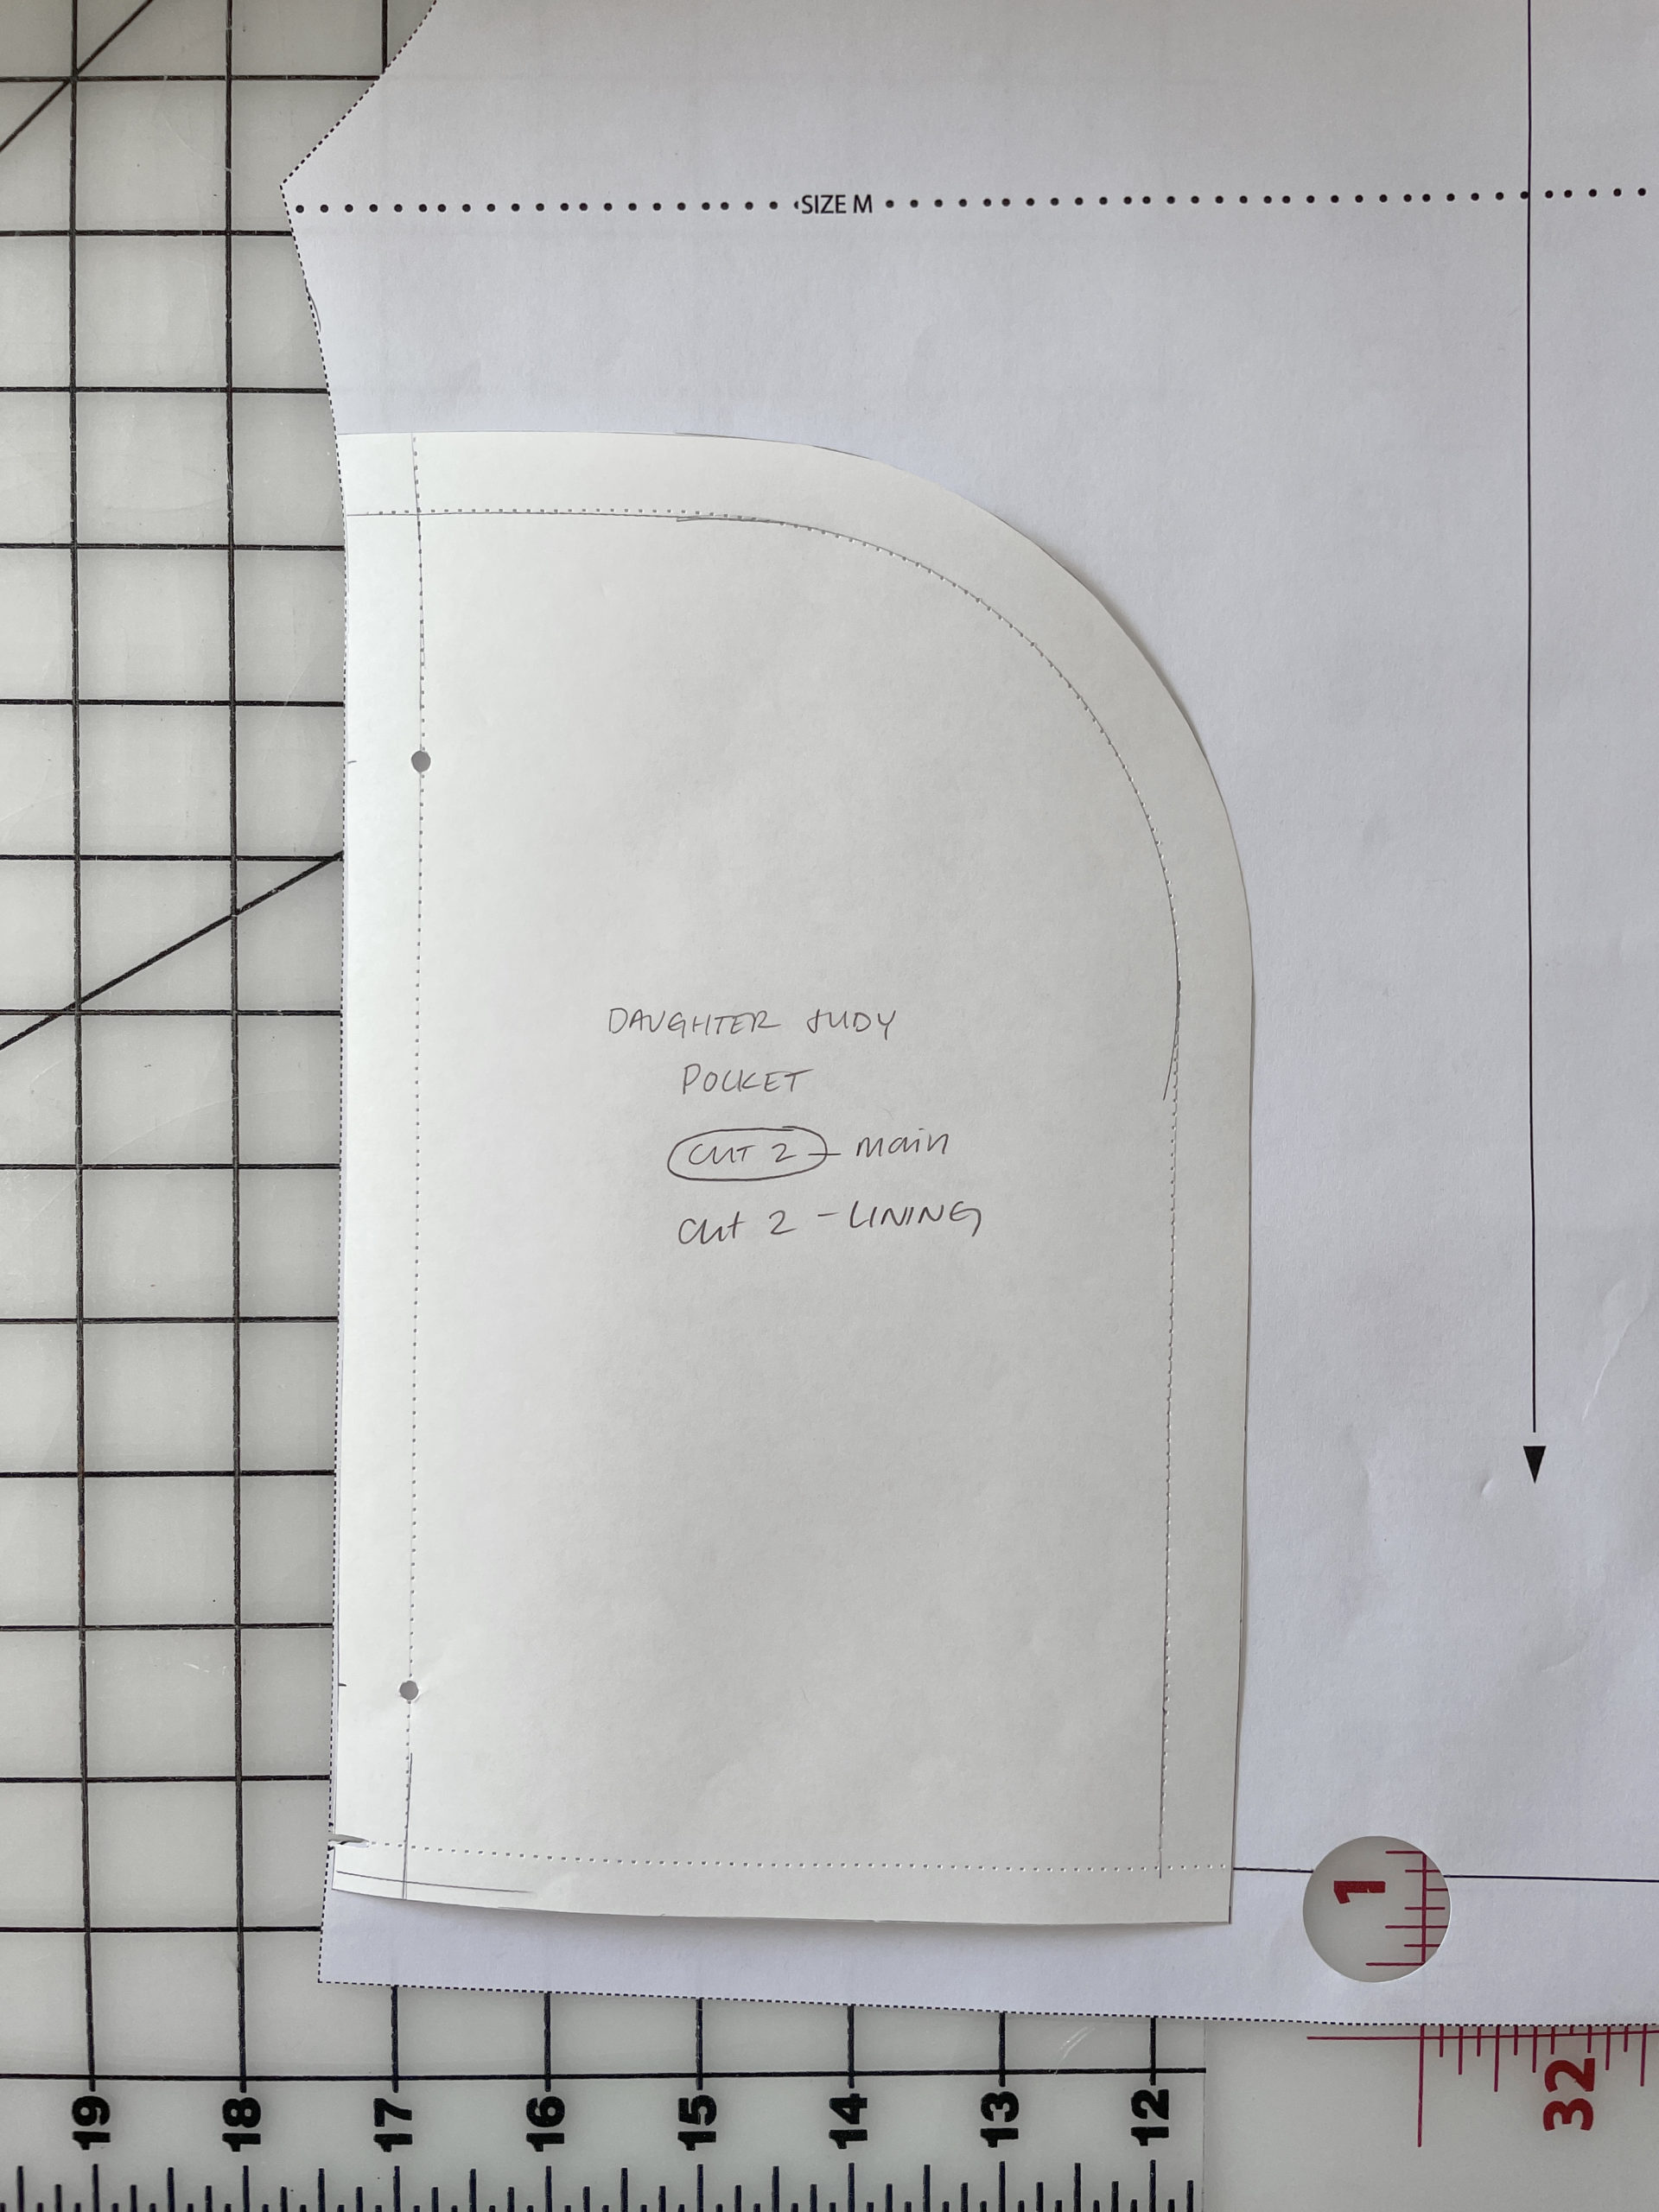
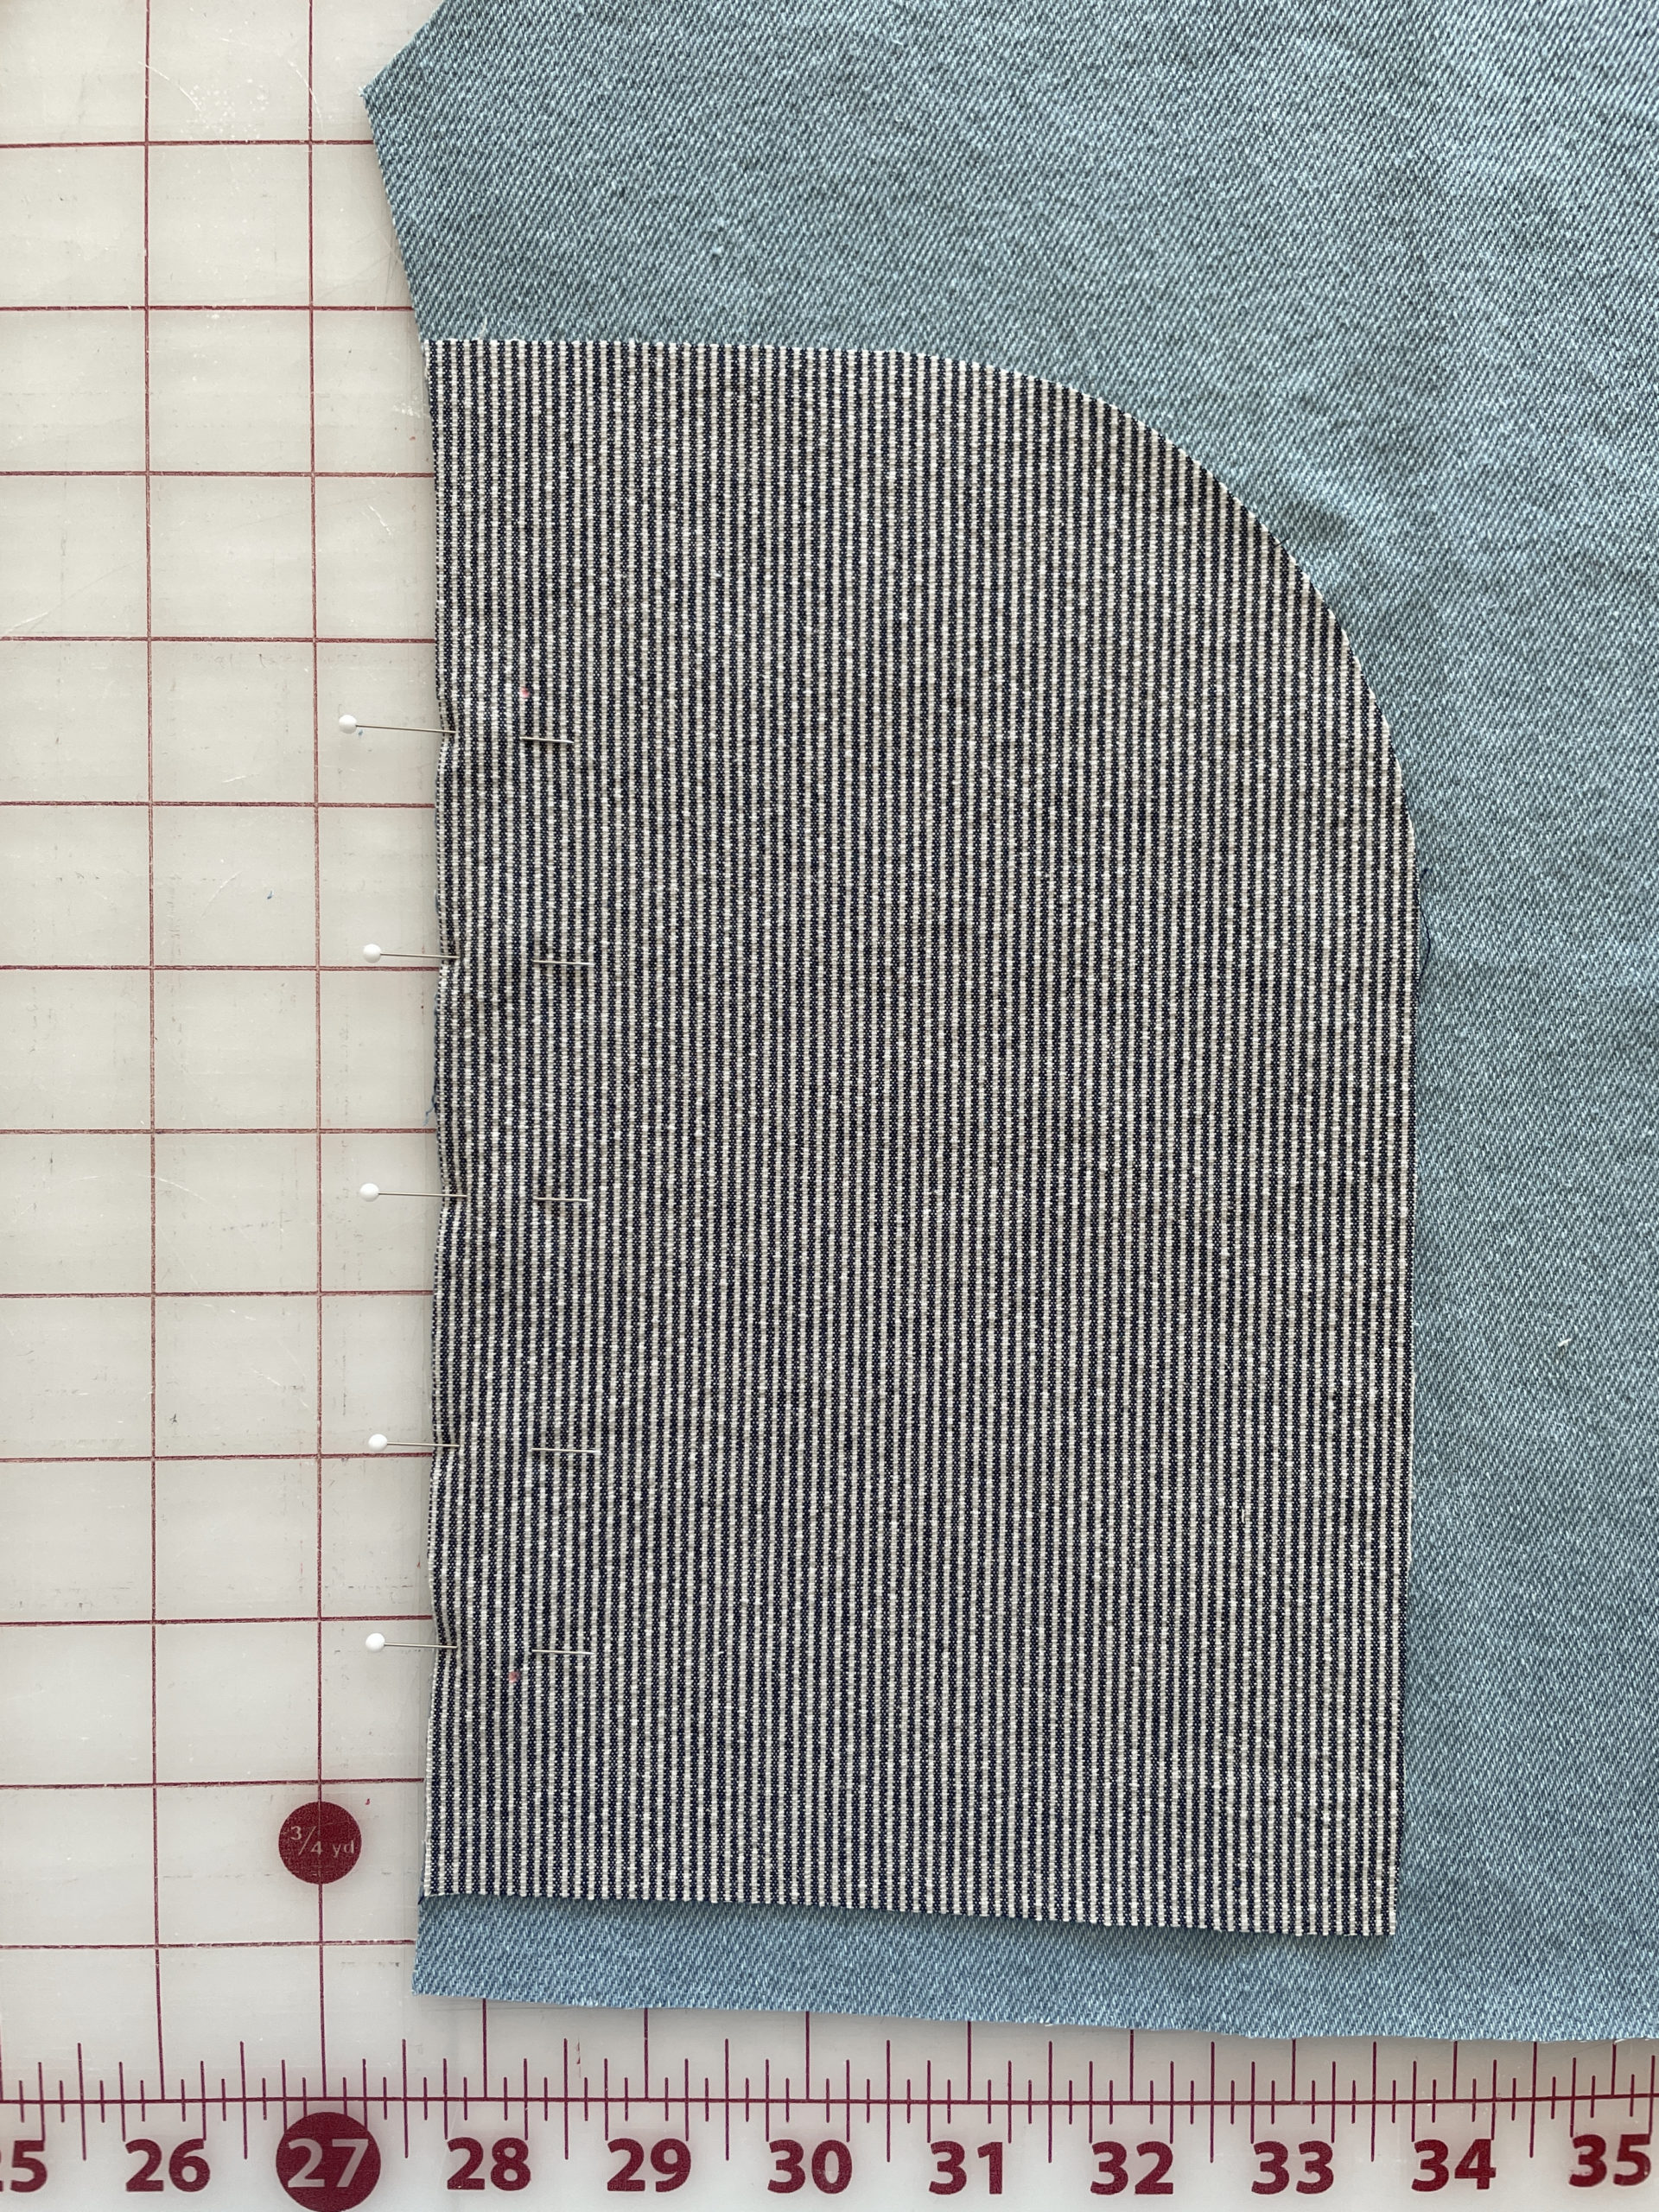
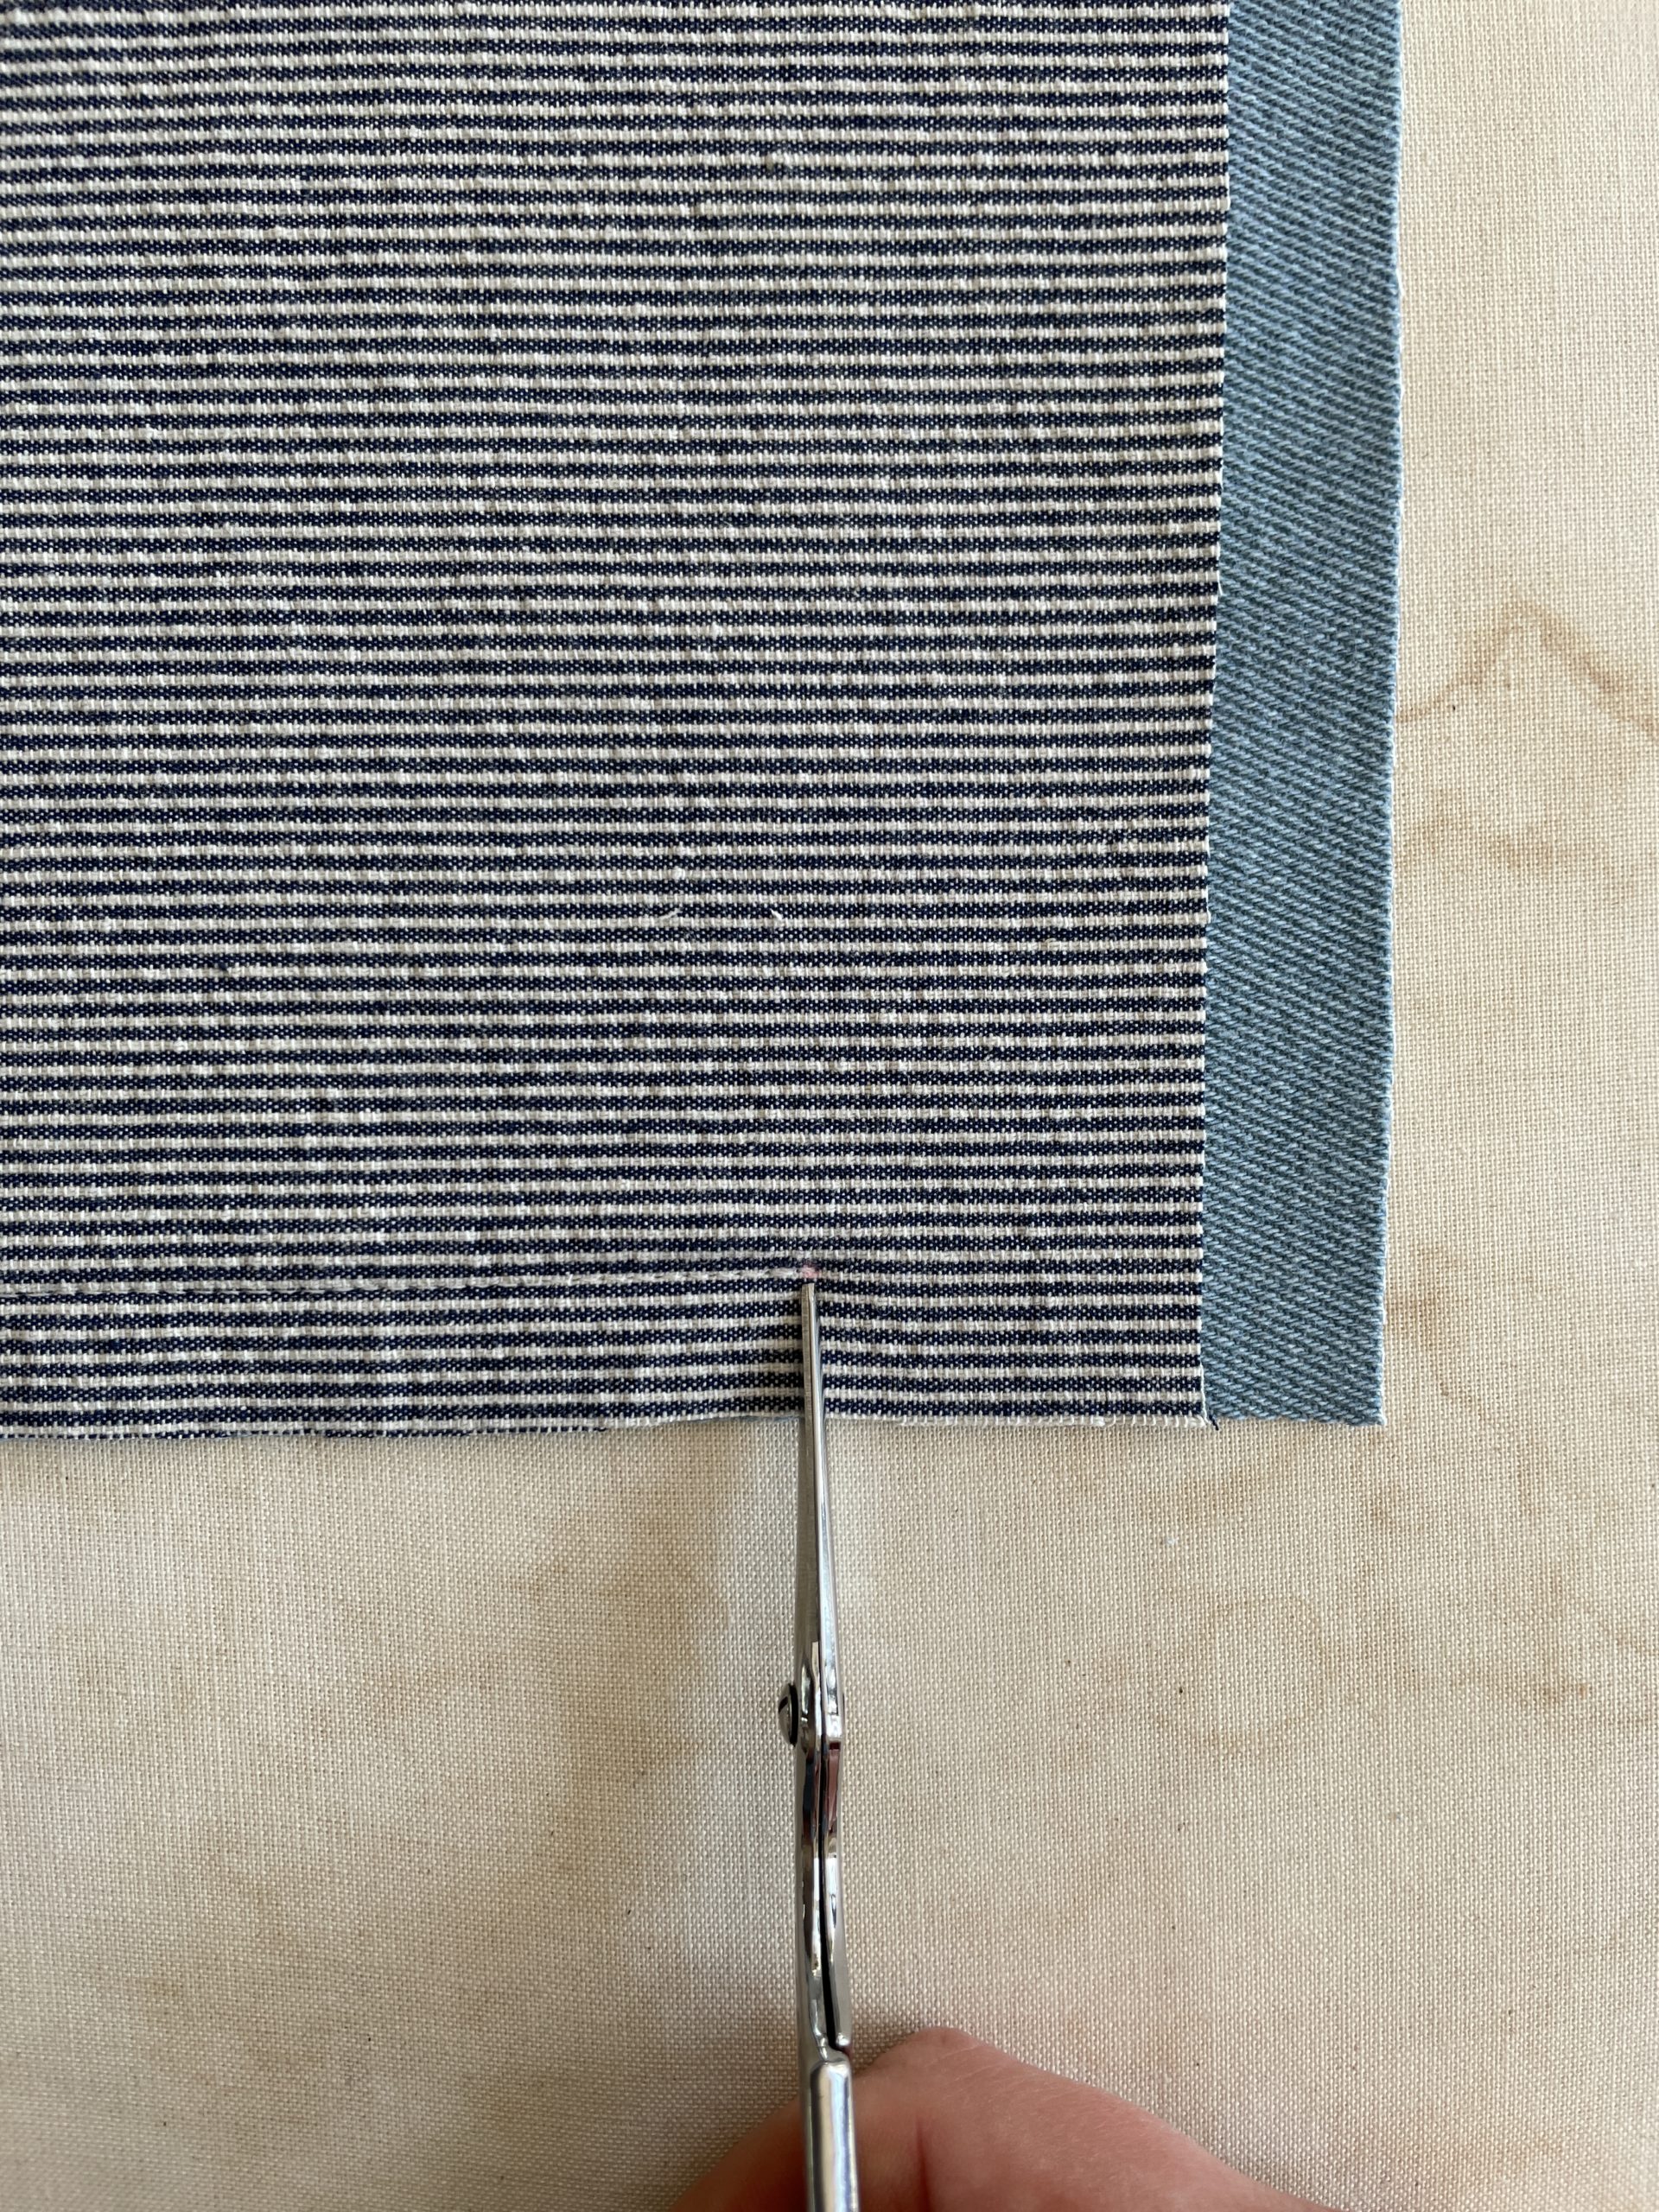
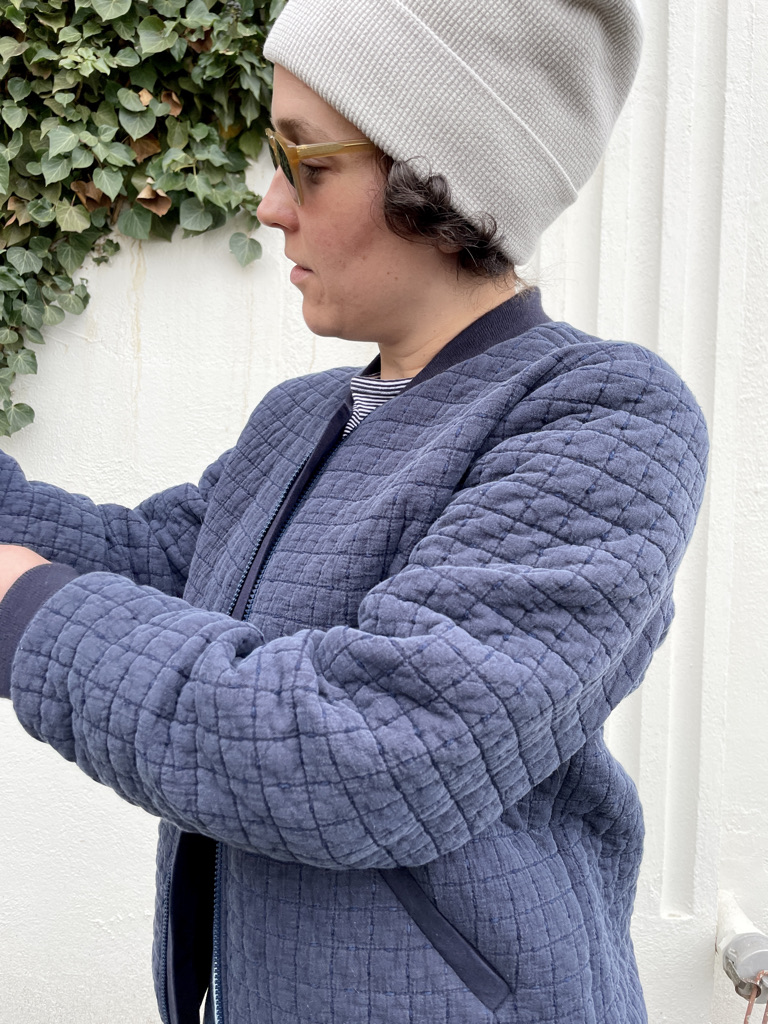
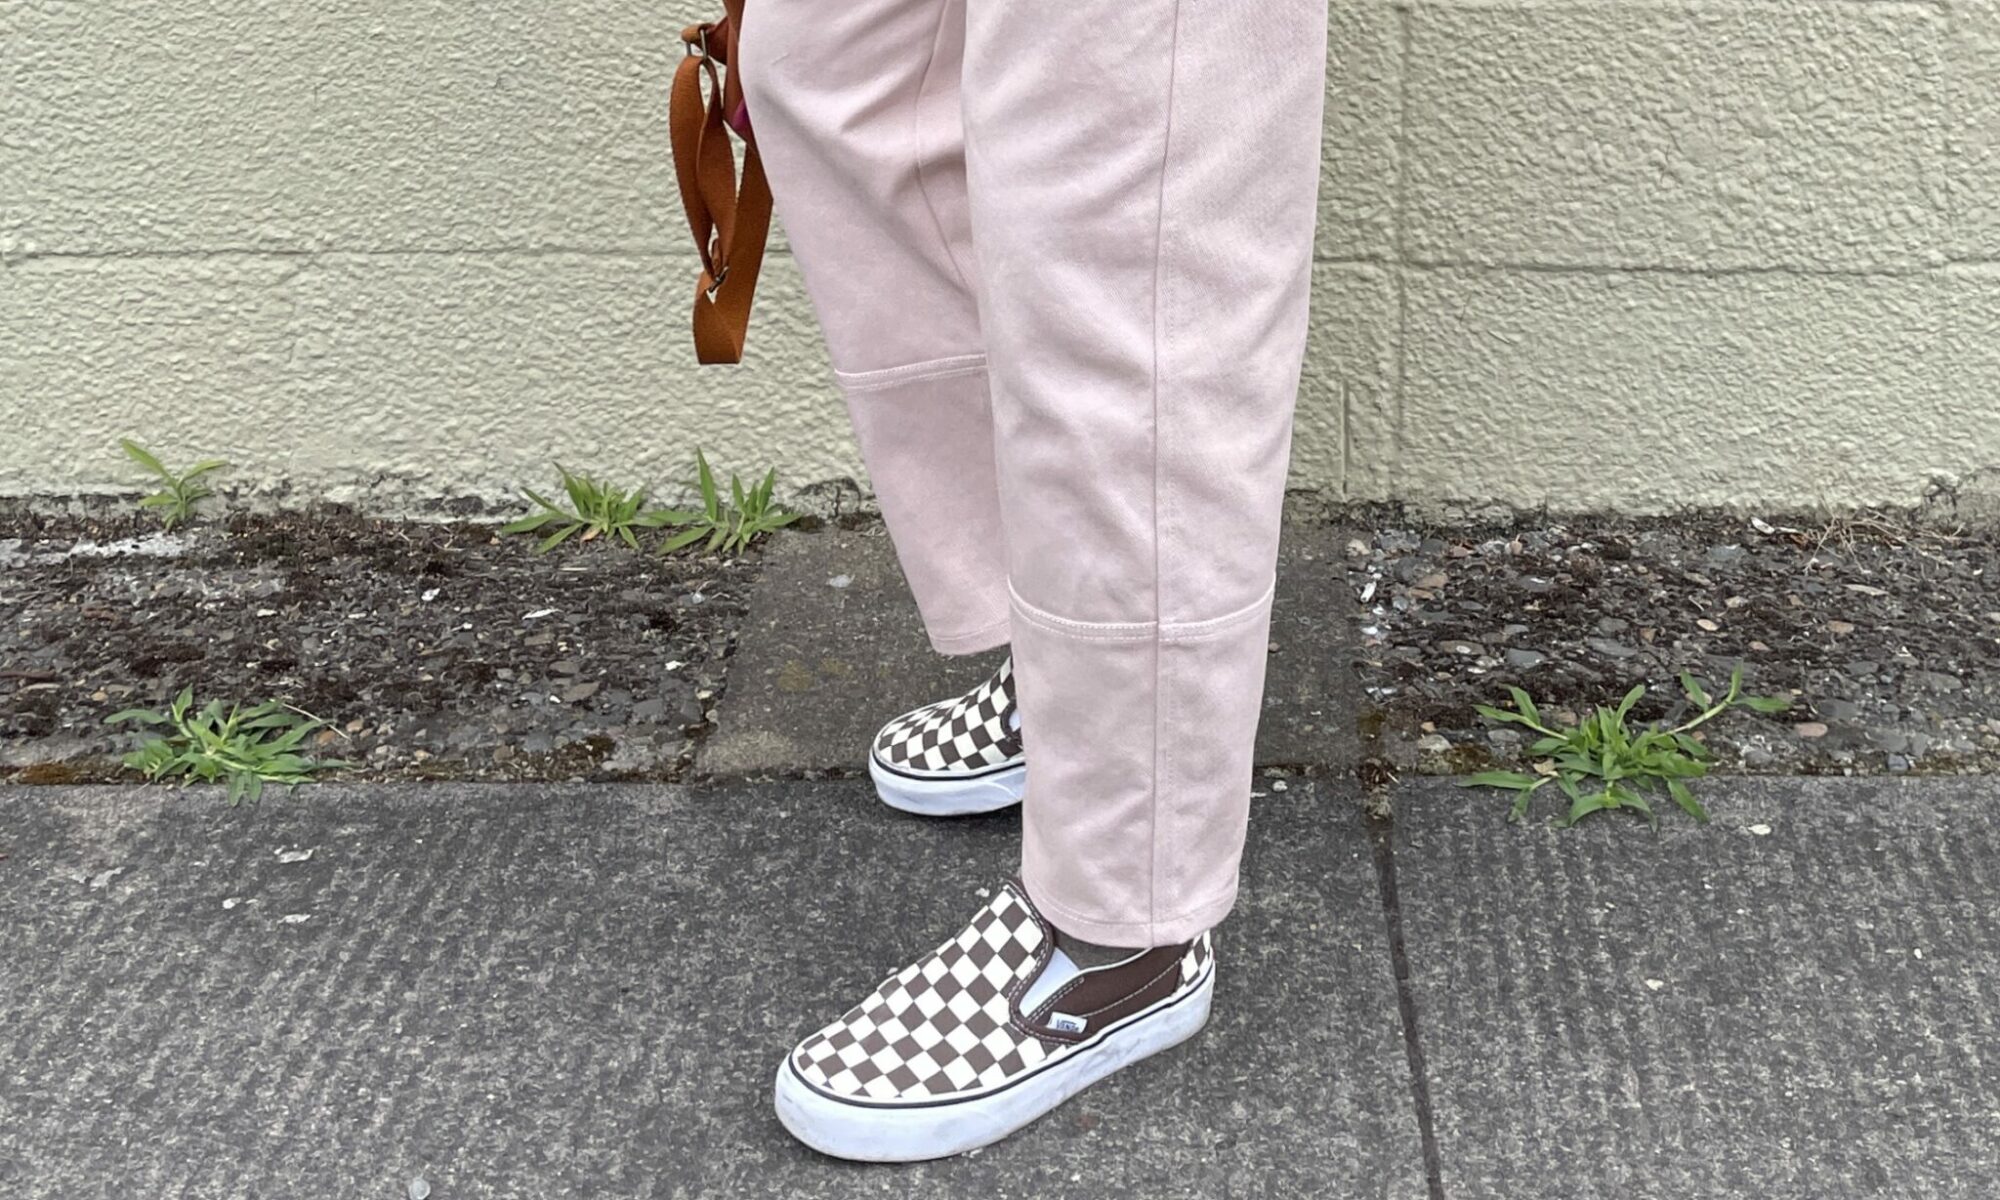
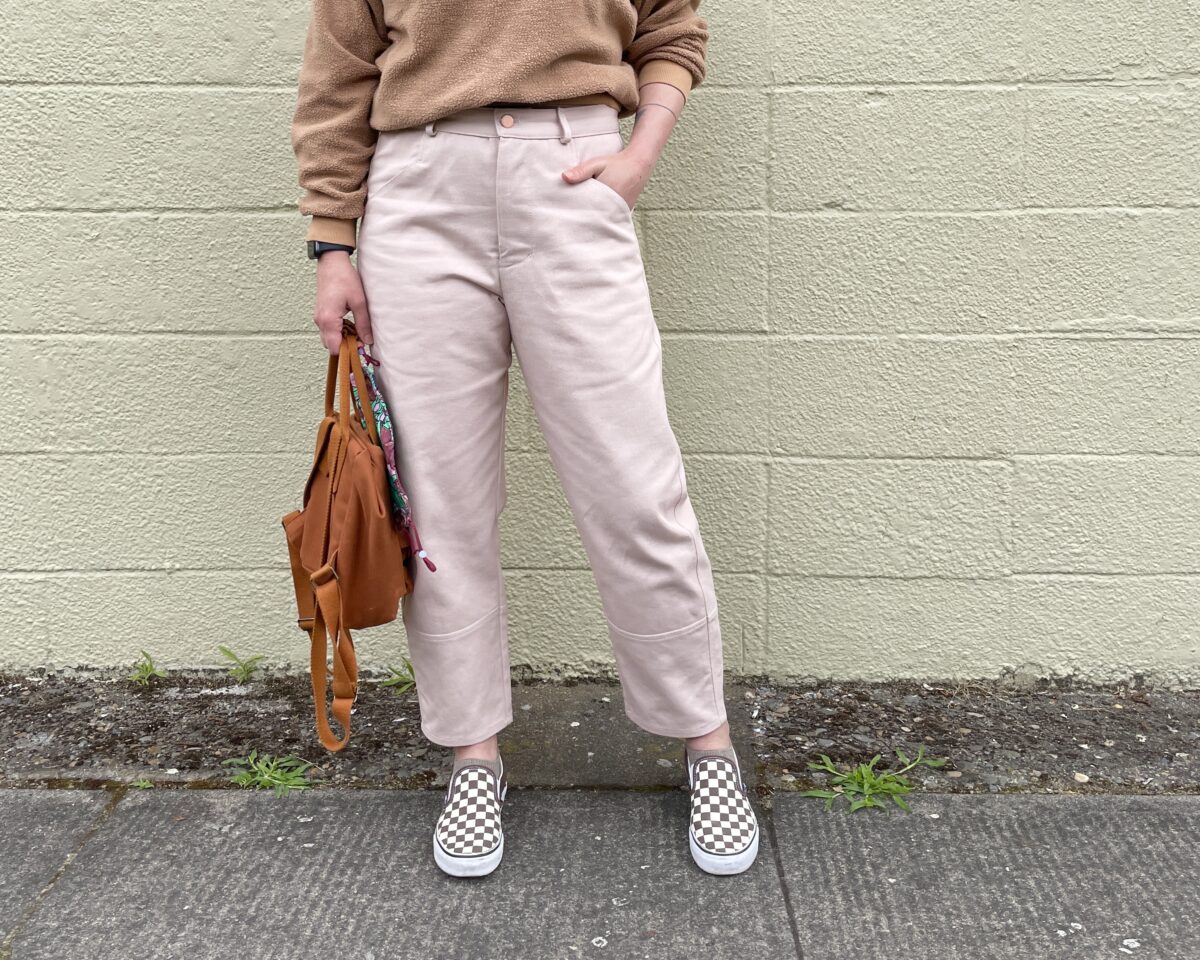
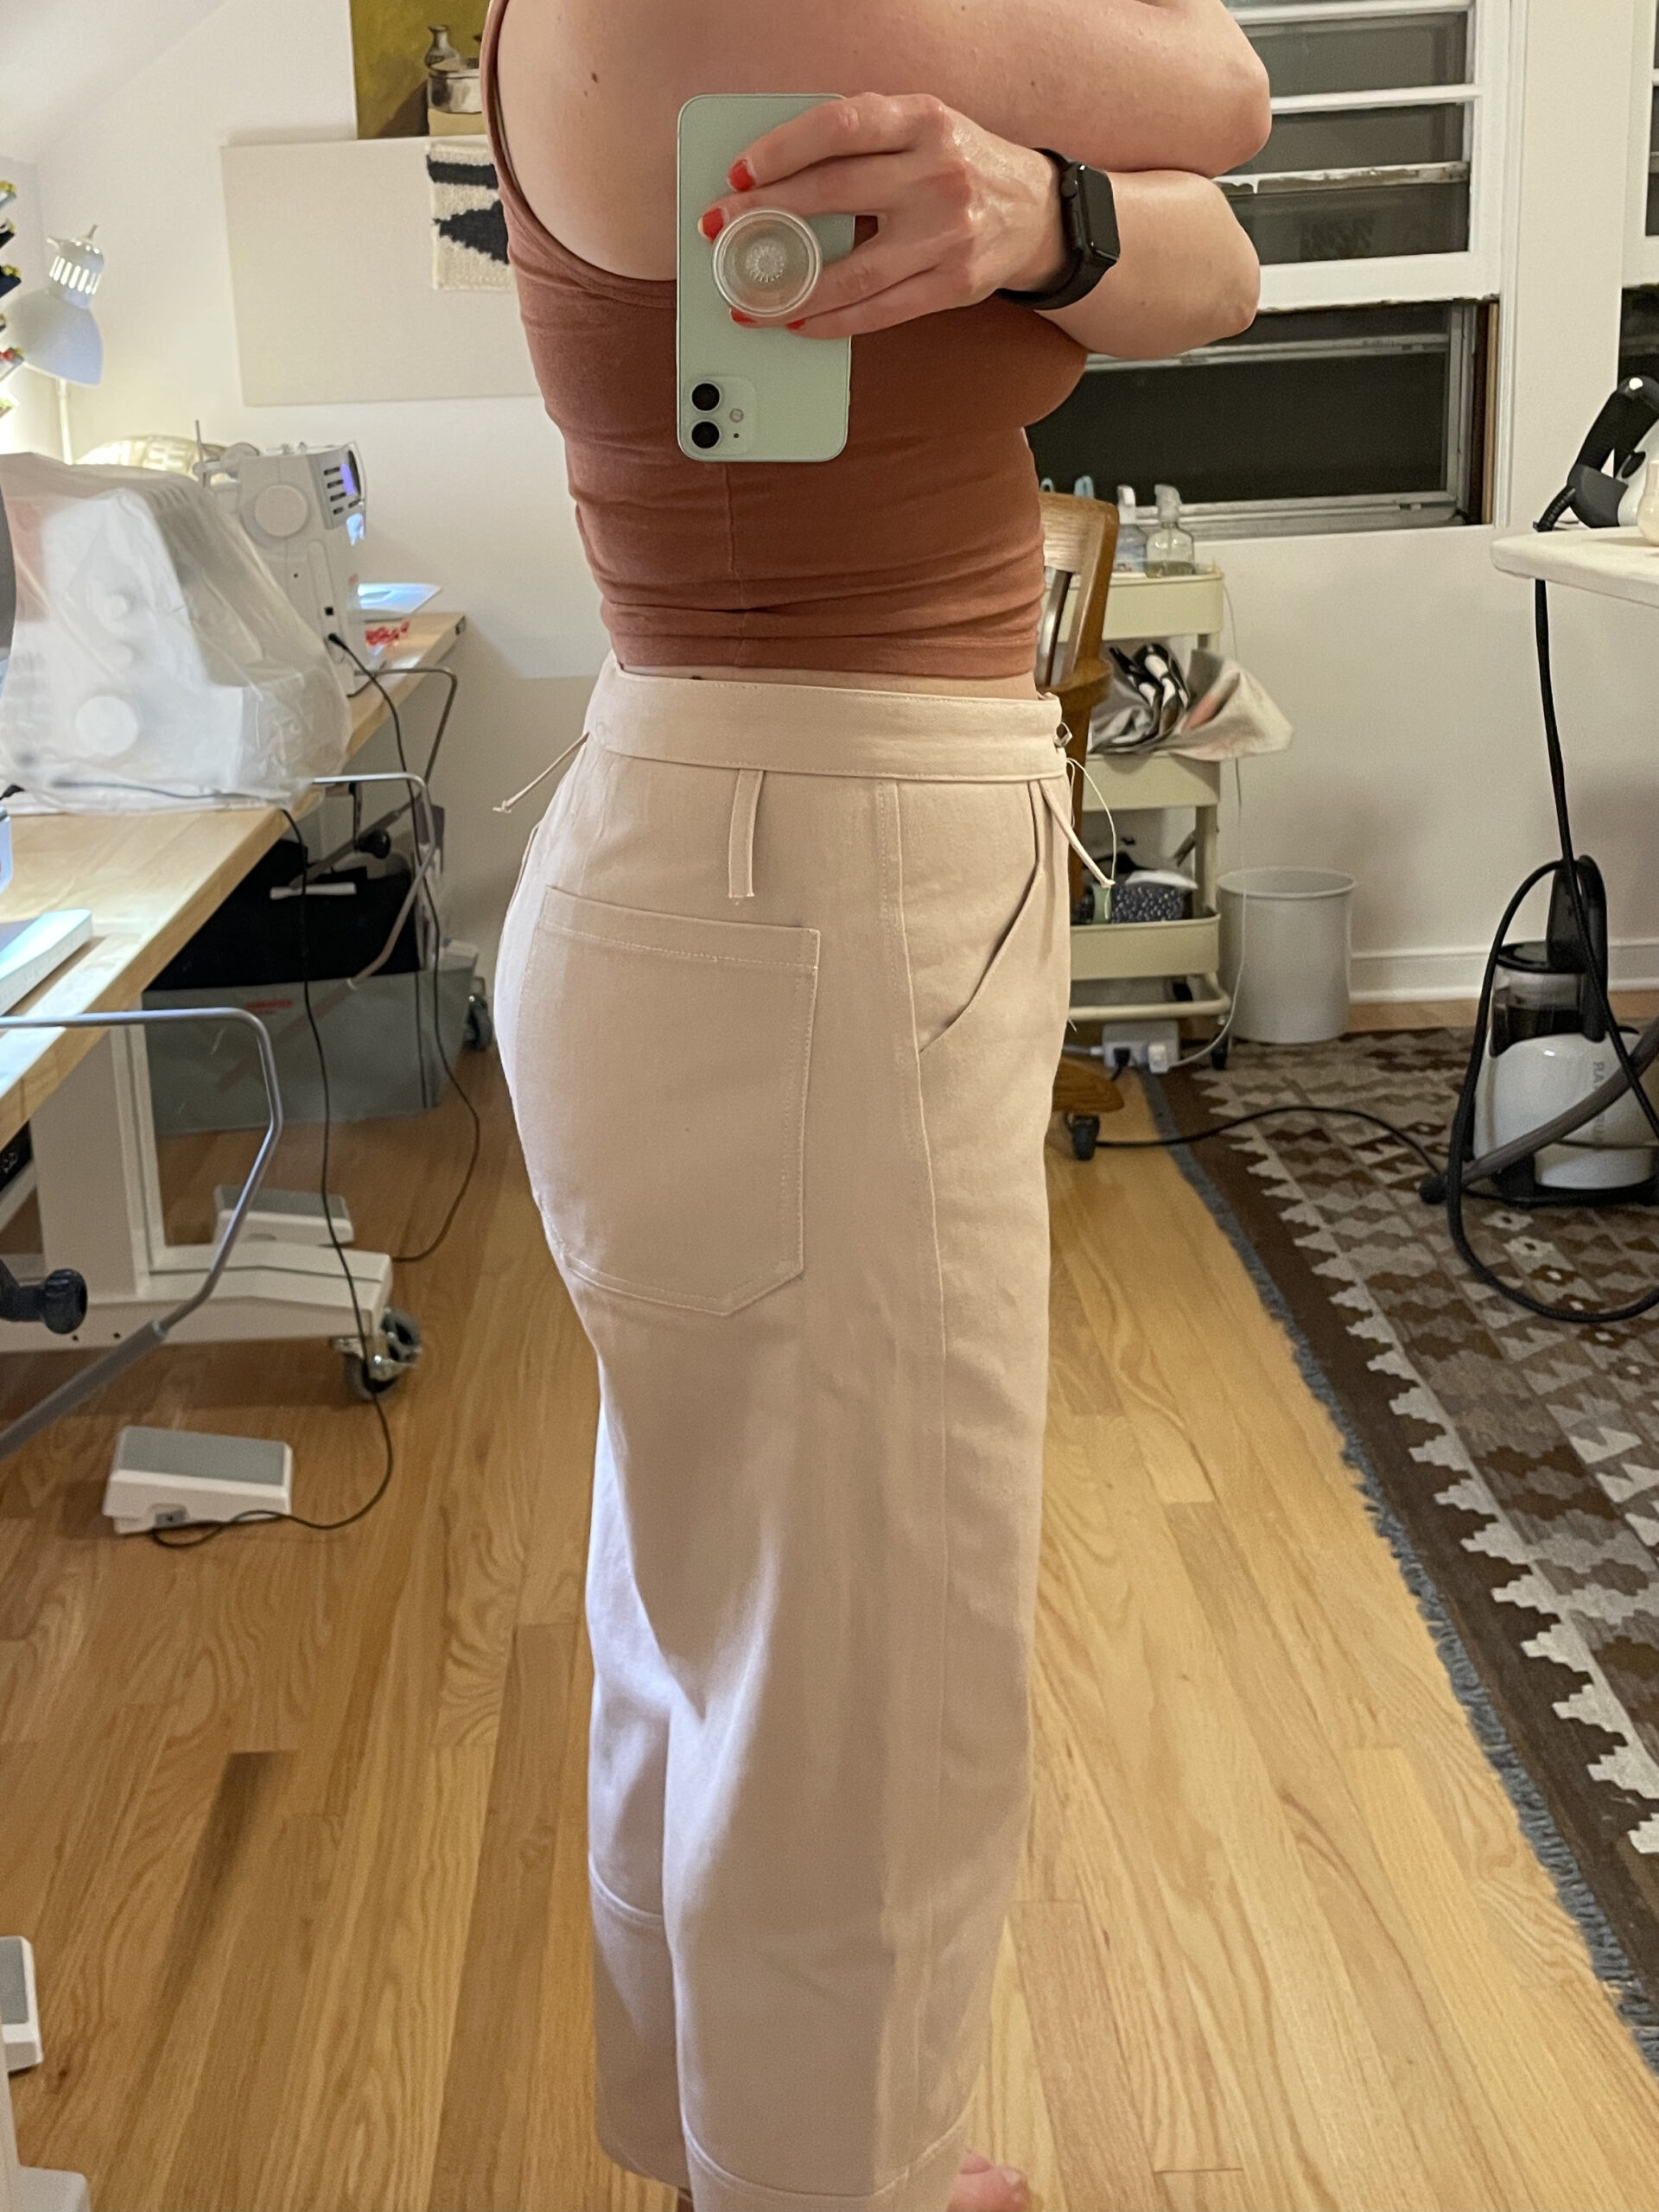
I love the front pockets! They’ve got a fun angular opening and very deep, functional bags. Seriously super deep. My whole phone fits in there. I used a thrifted Indian cotton print for the pocketing and made it so the right side was facing the inside of the pants.

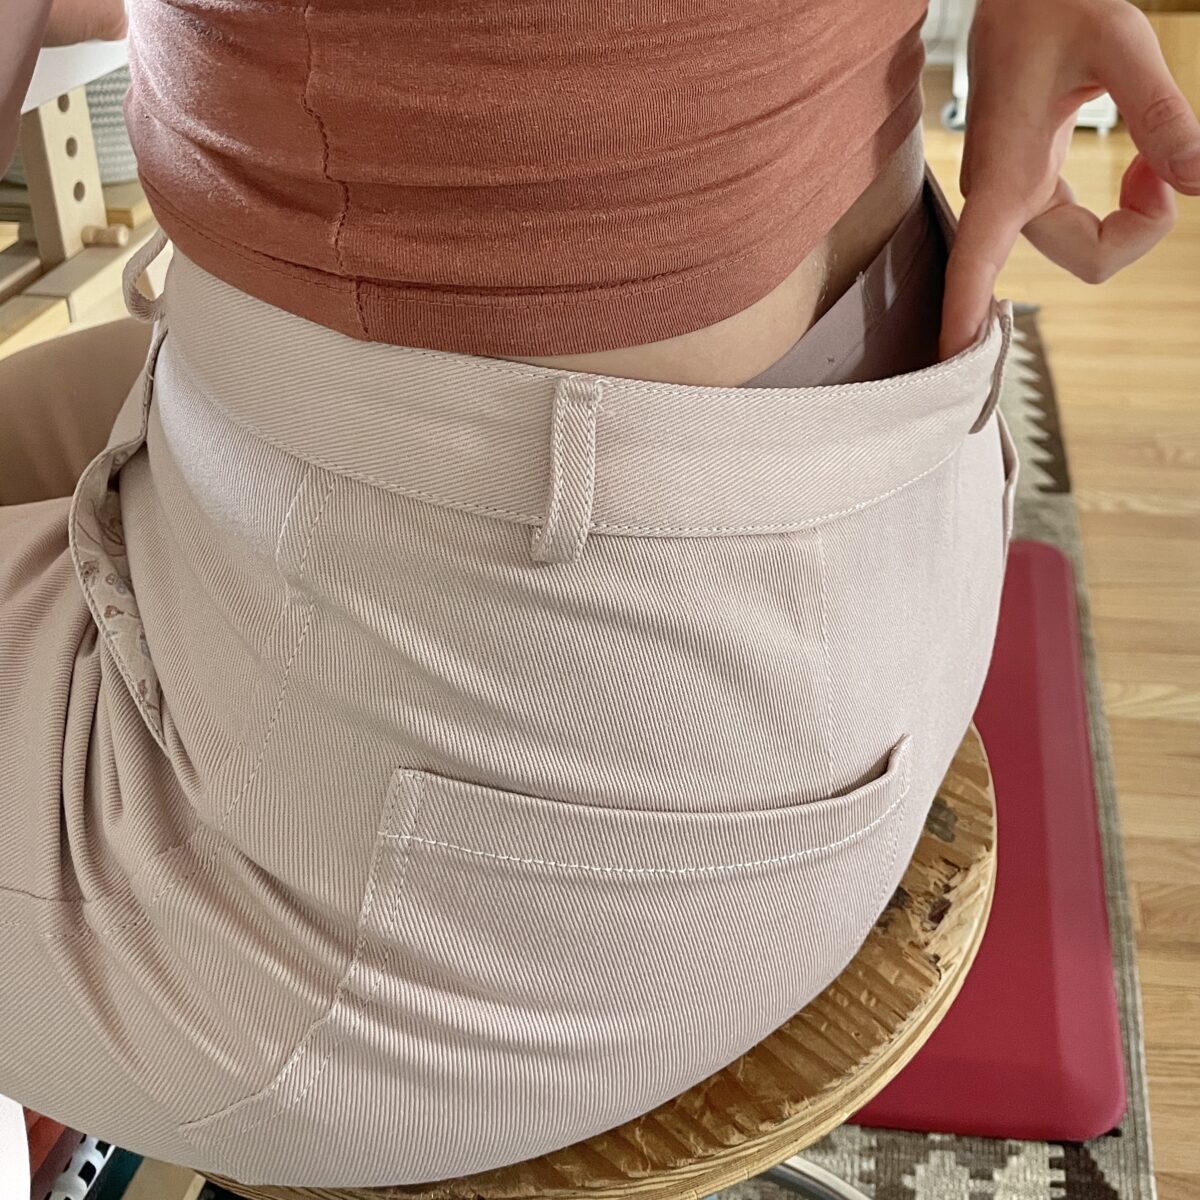
The fly constructions is straightforward, but I ordered a “jeans zipper” which is obnoxiously huge and kept getting stuck under my presser foot. If you want to sweat and swear a lot, order a #5 jeans zipper and you’re guaranteed a challenge.
The topstitching was interrupted by the zipper on both the fly extension and the fly front when I had to take the whole presser foot off my machine to zip it up. Quite annoying.
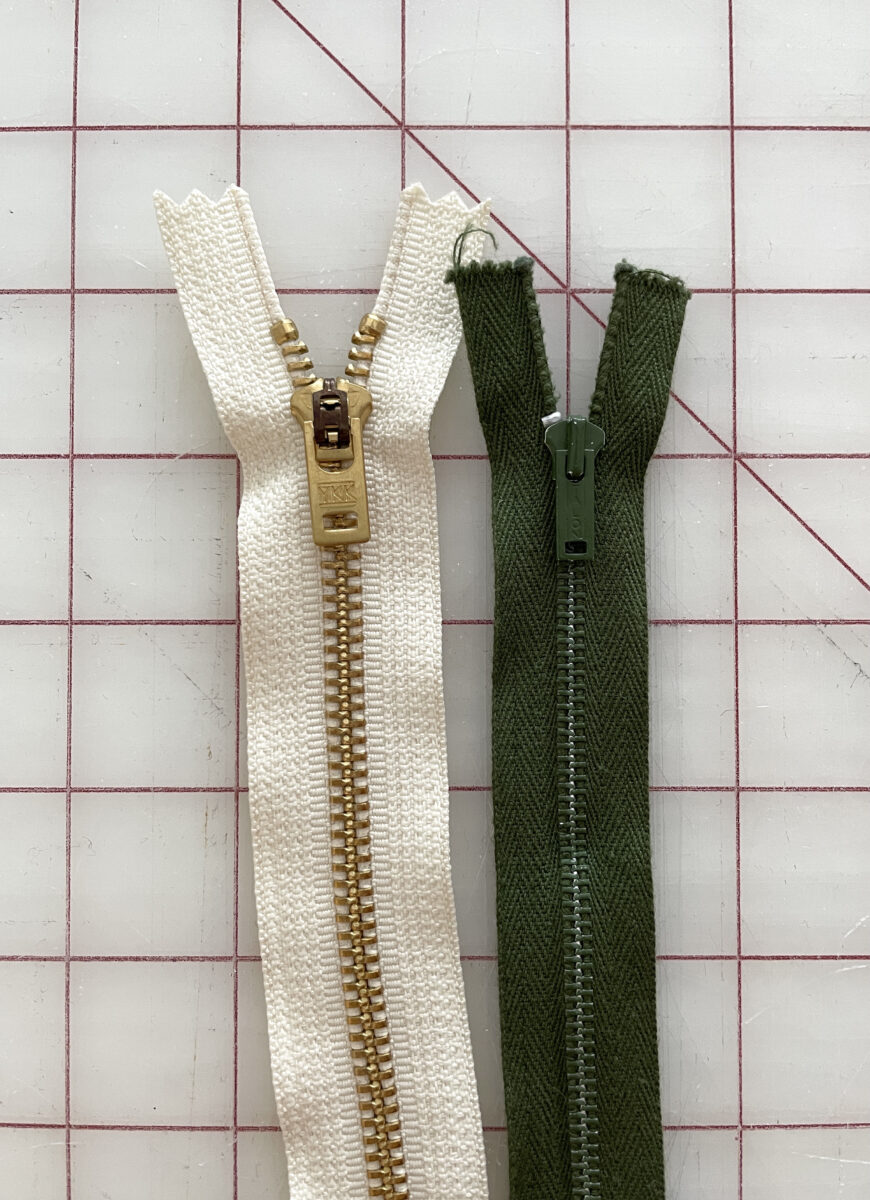
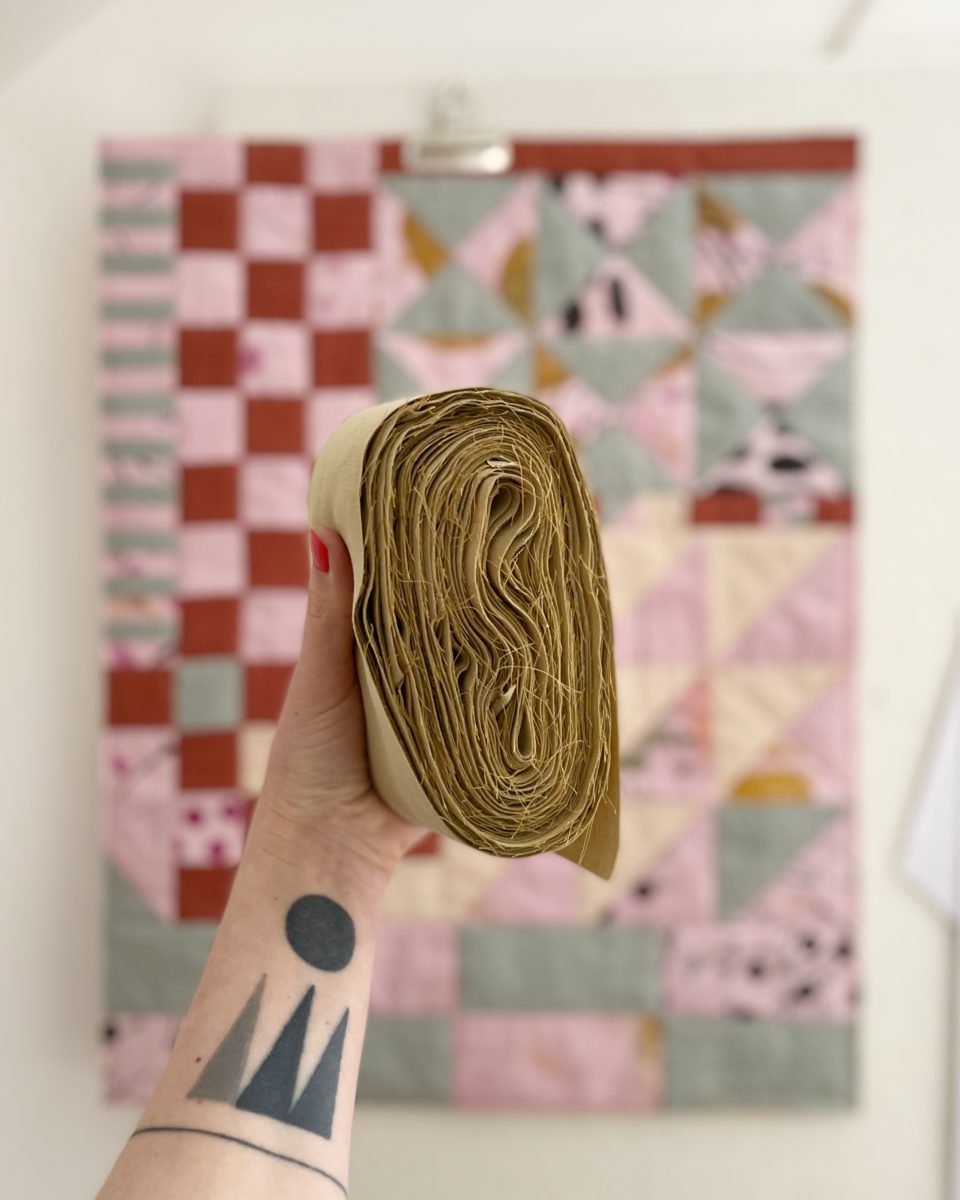
#5 jeans zipper (left), vintage zip (right). Look at how massive it is and this pic doesn’t even capture its girth.
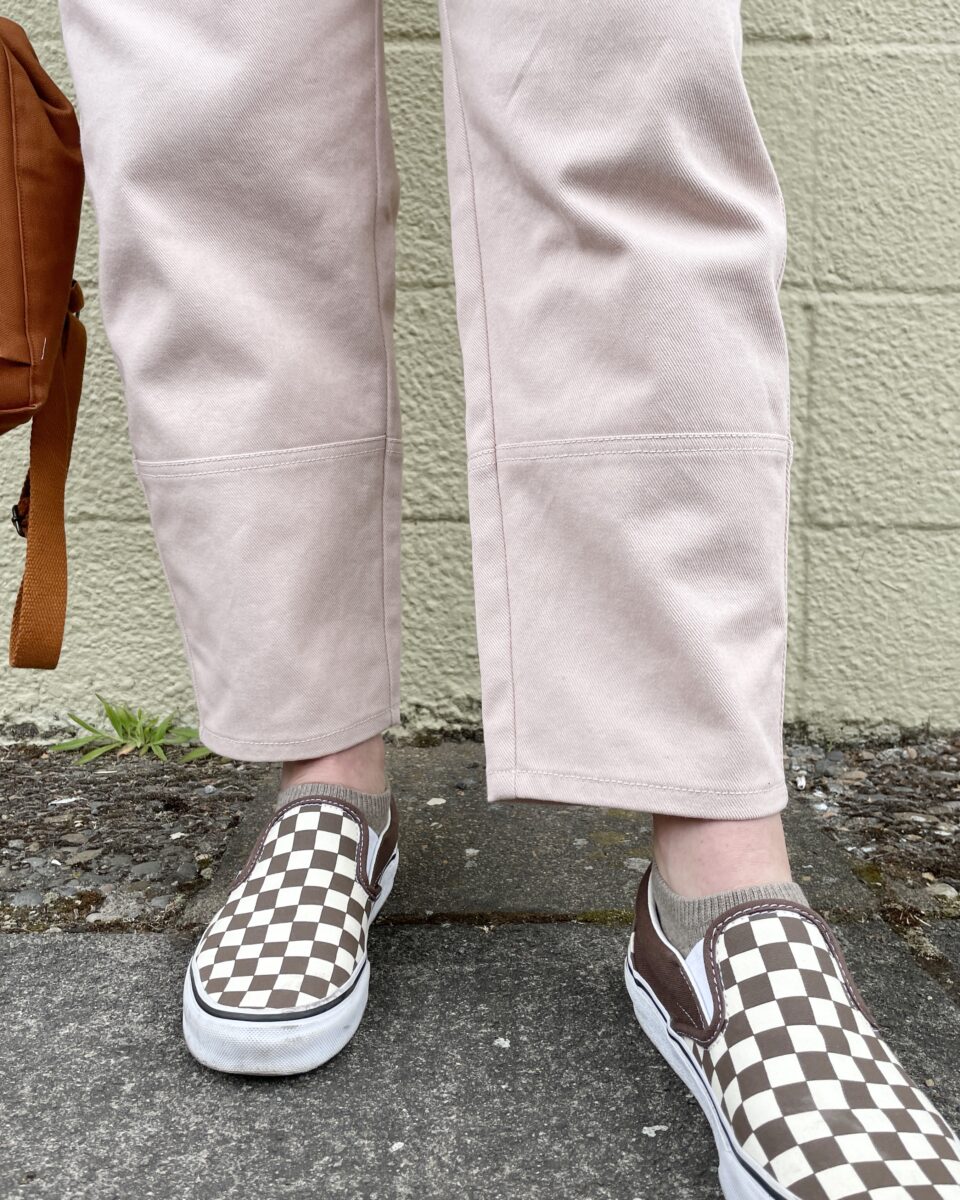
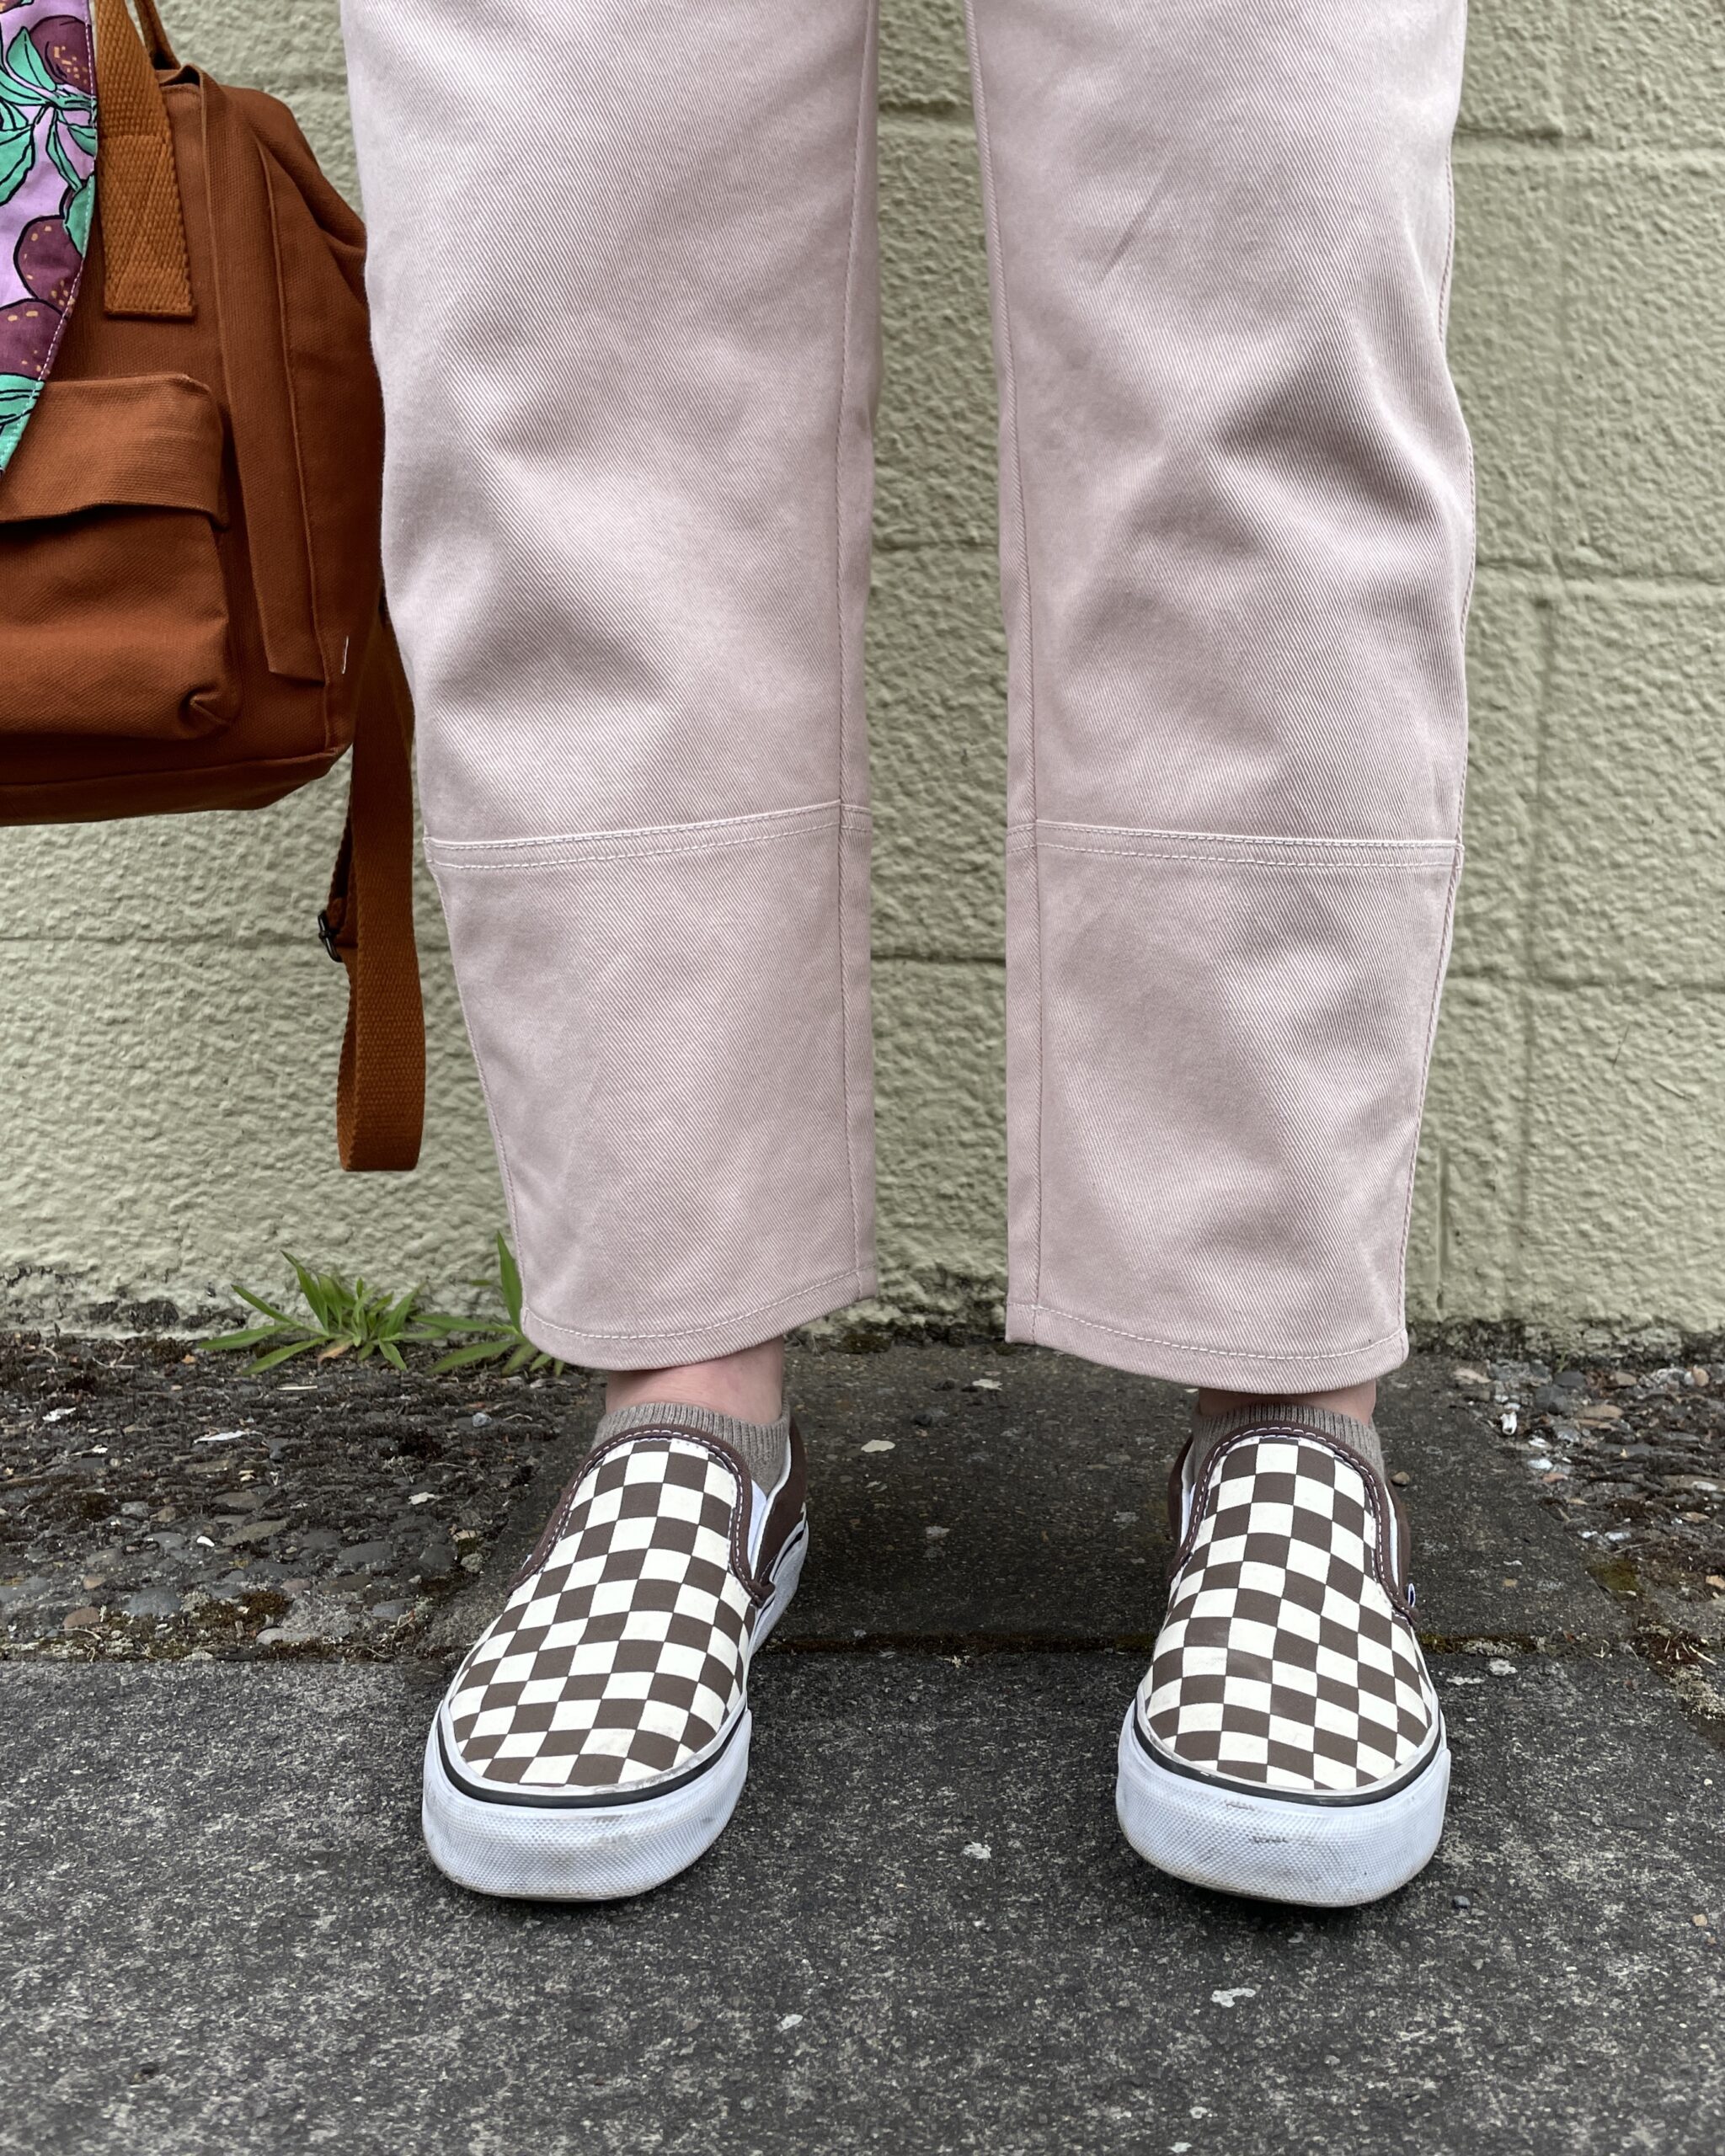
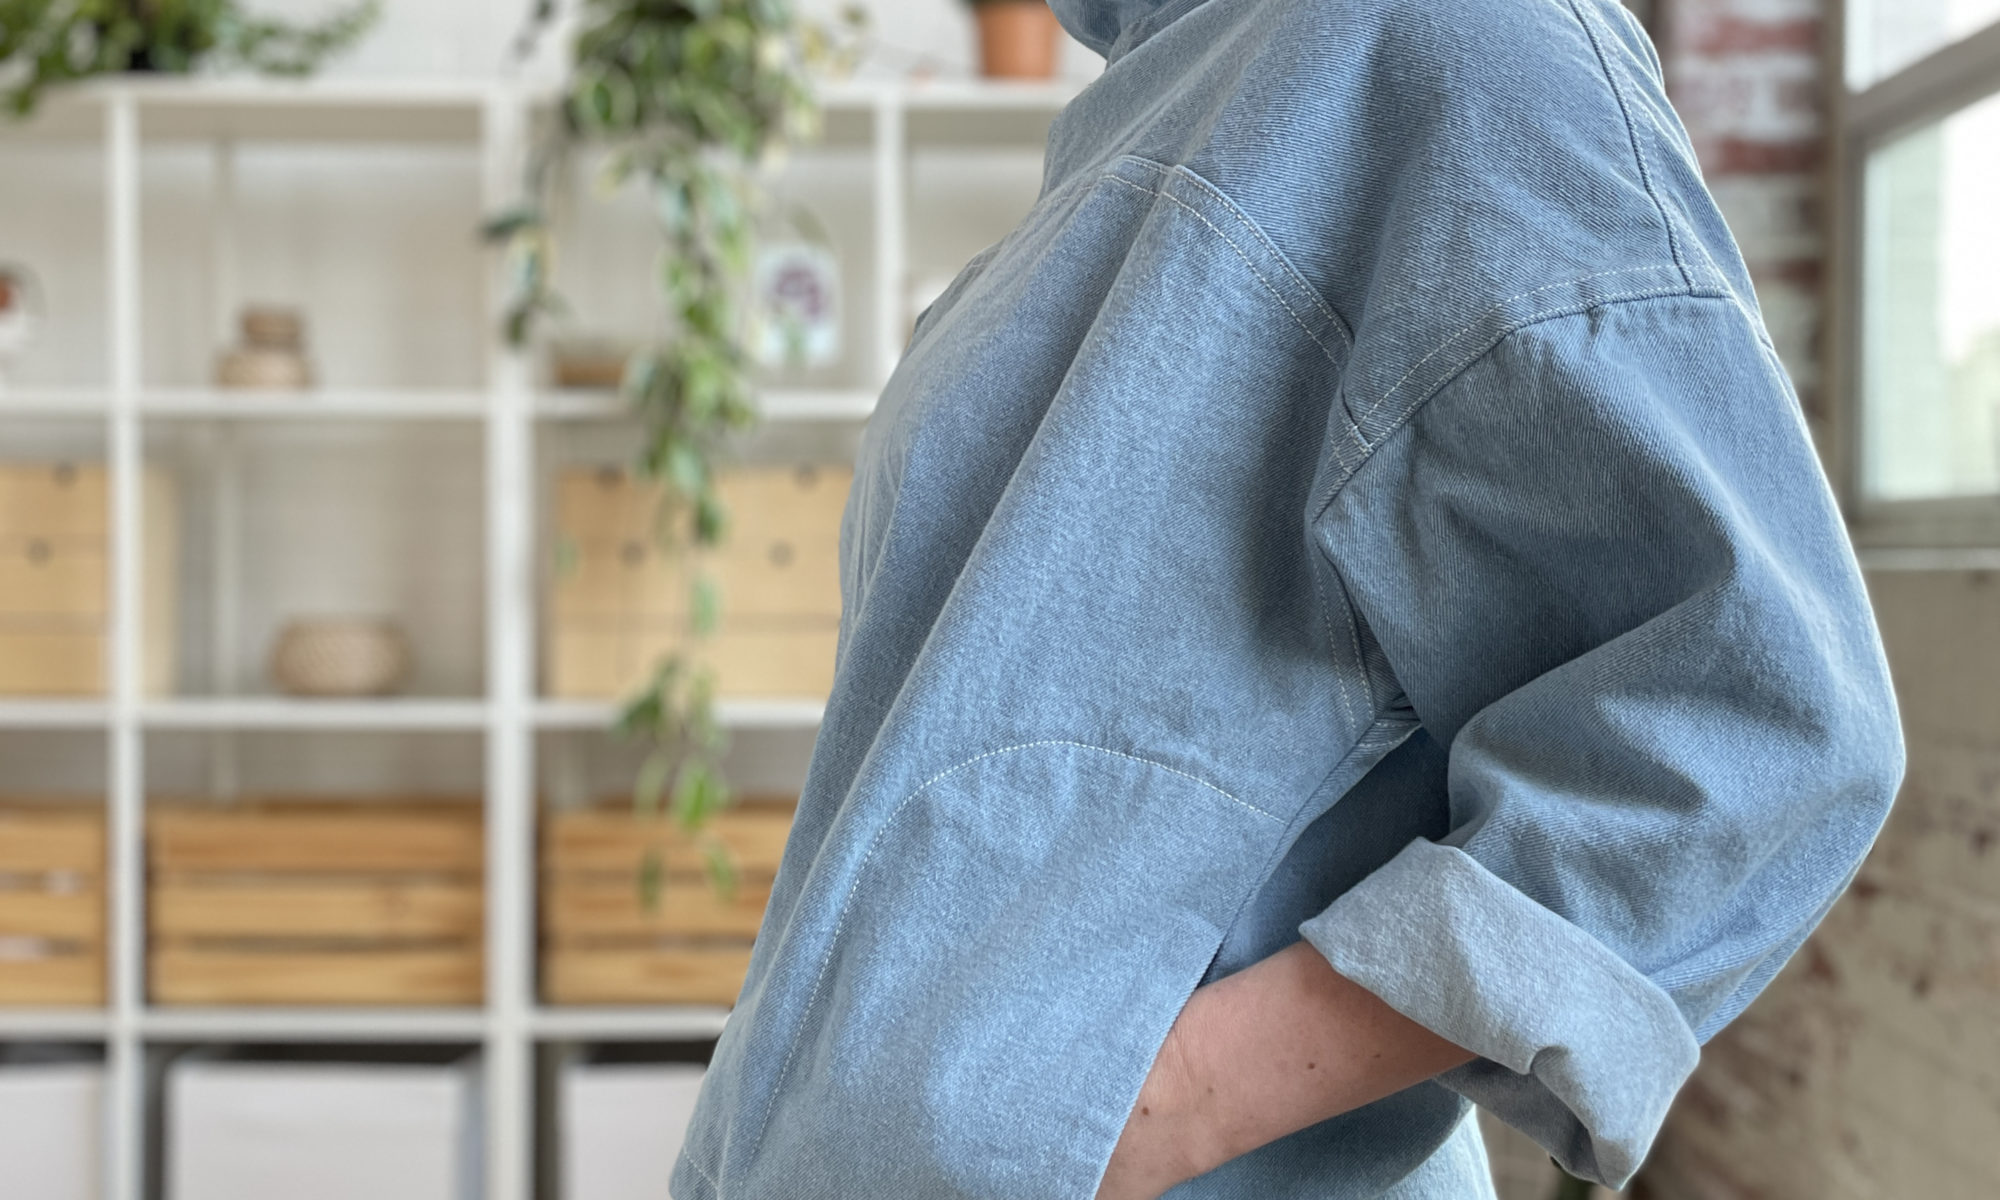
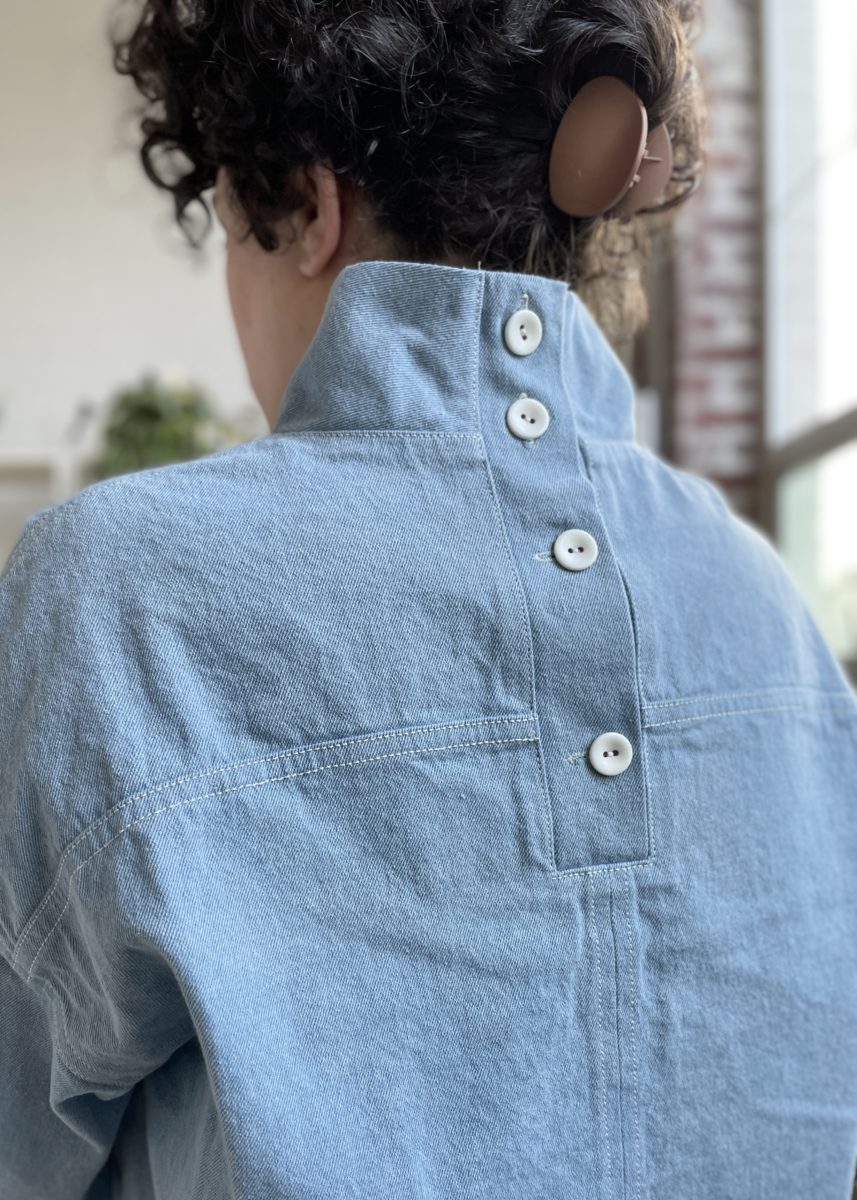
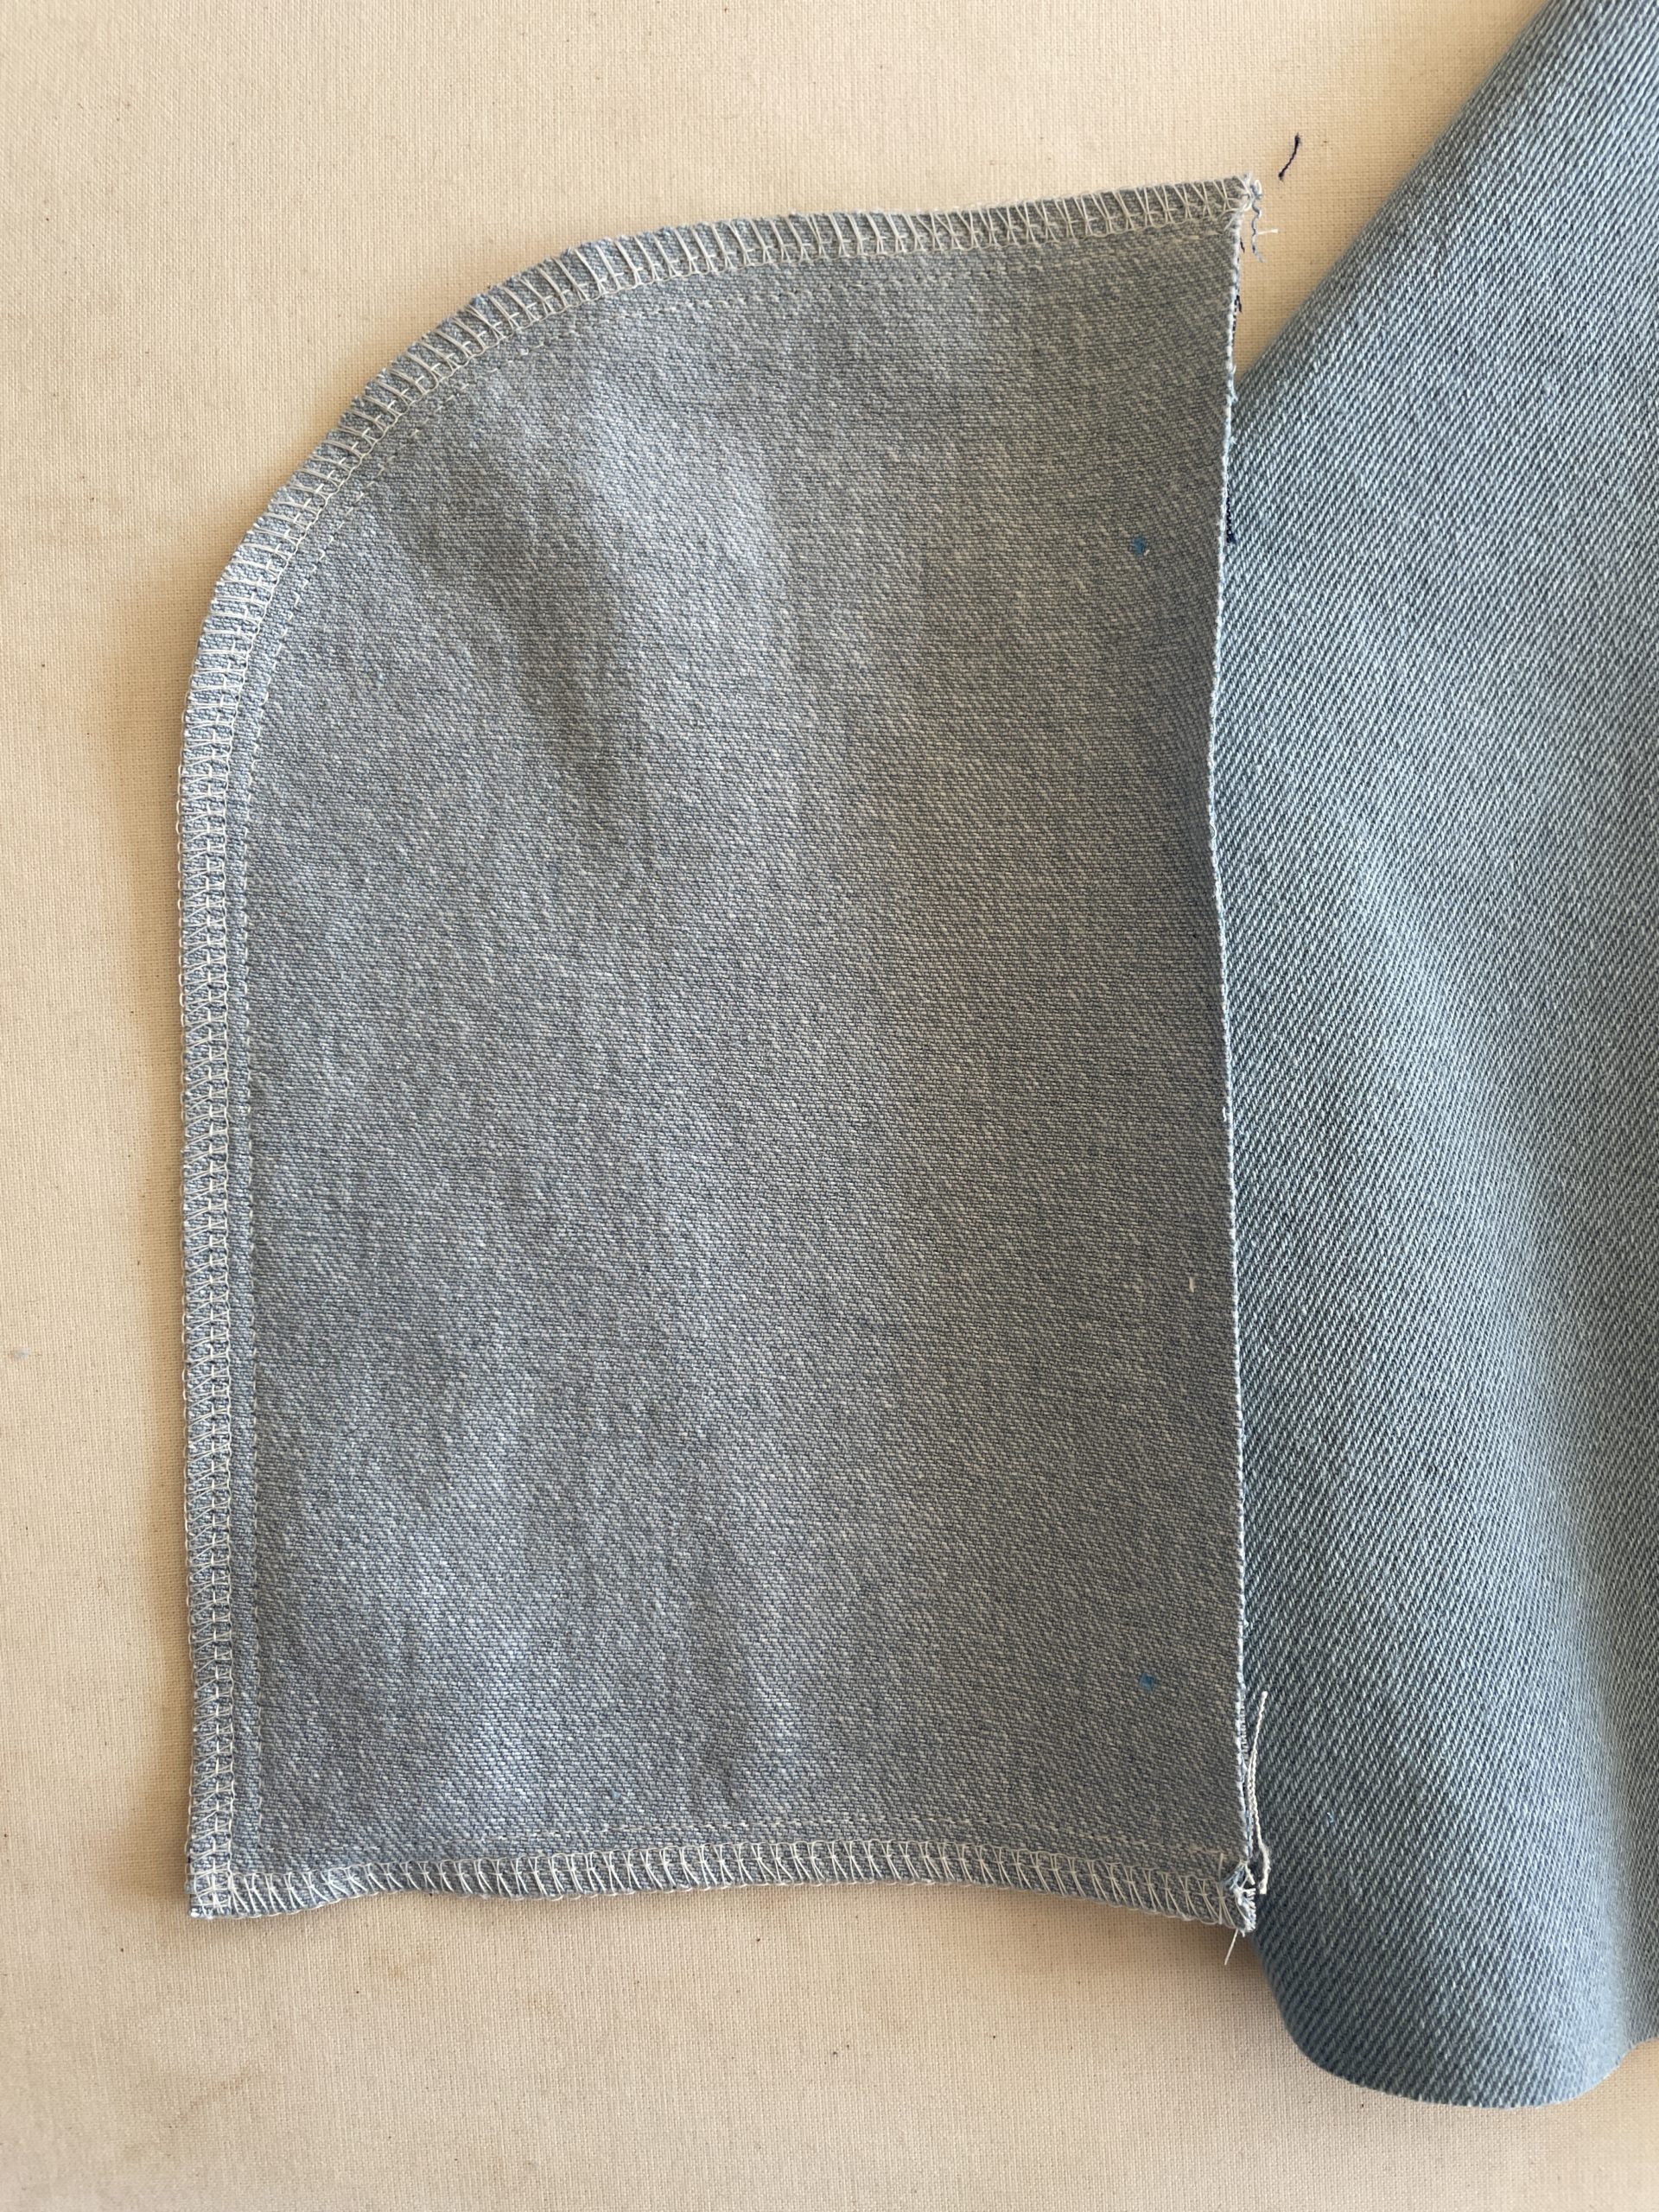
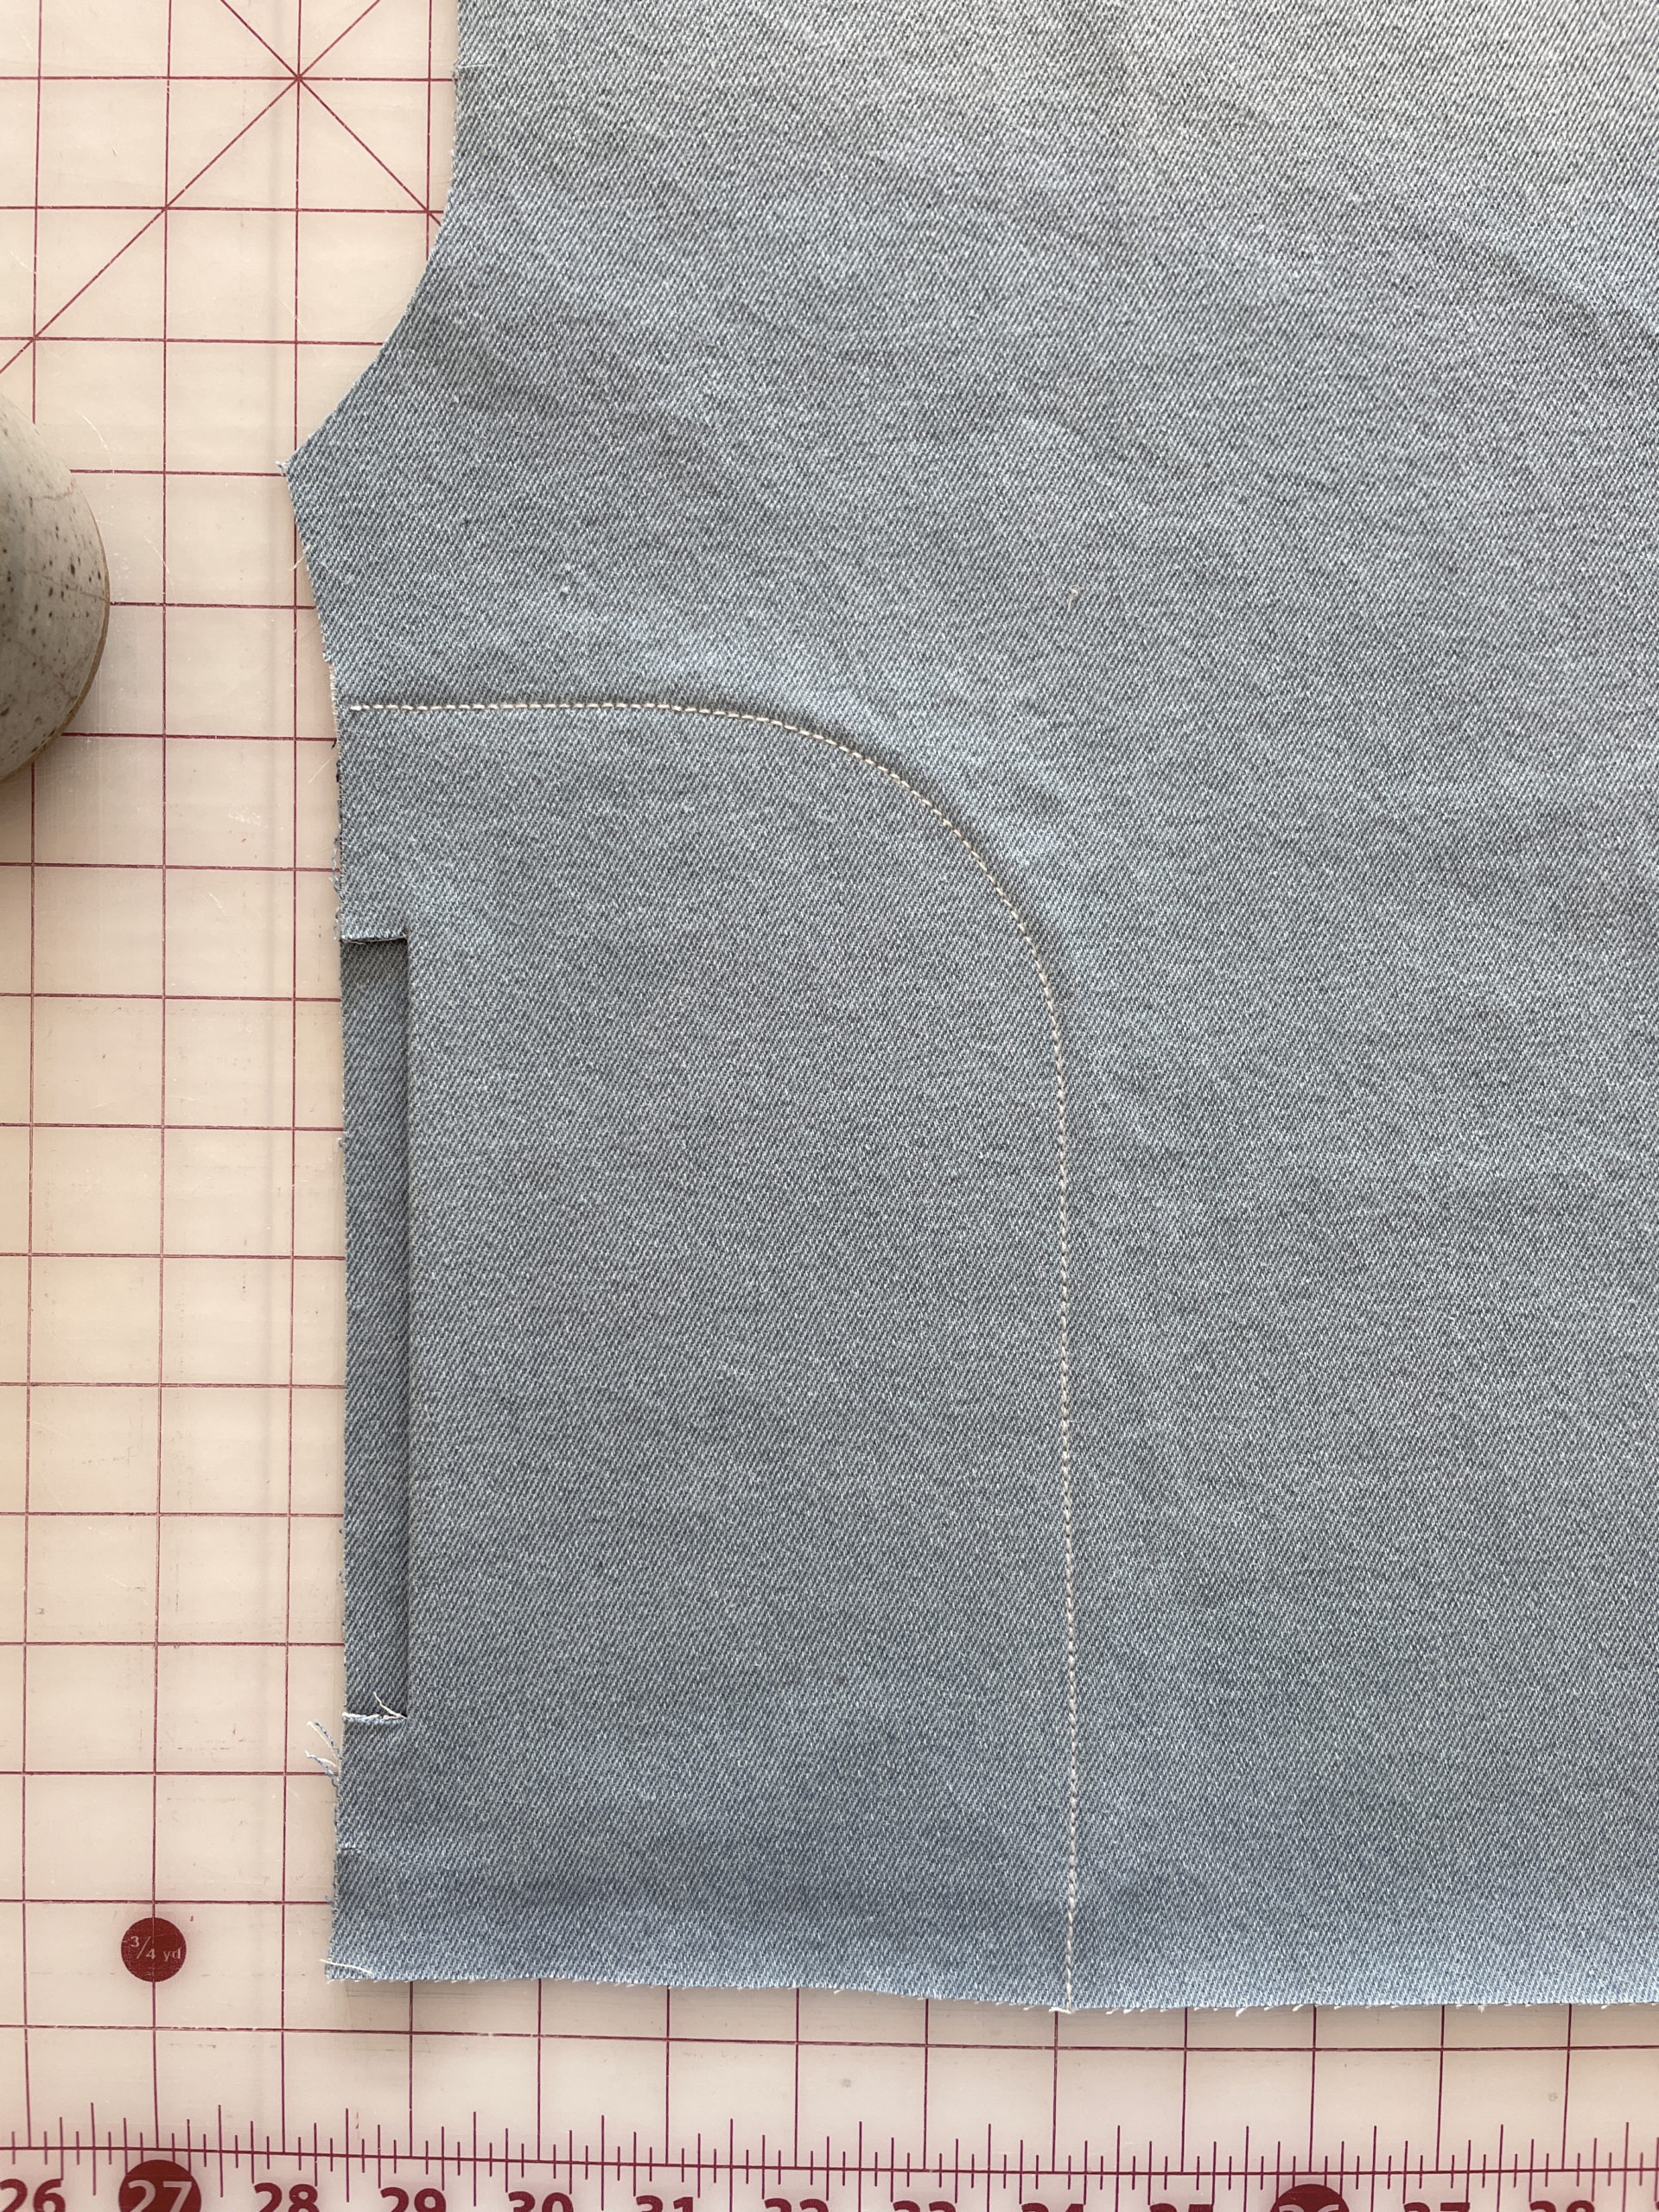
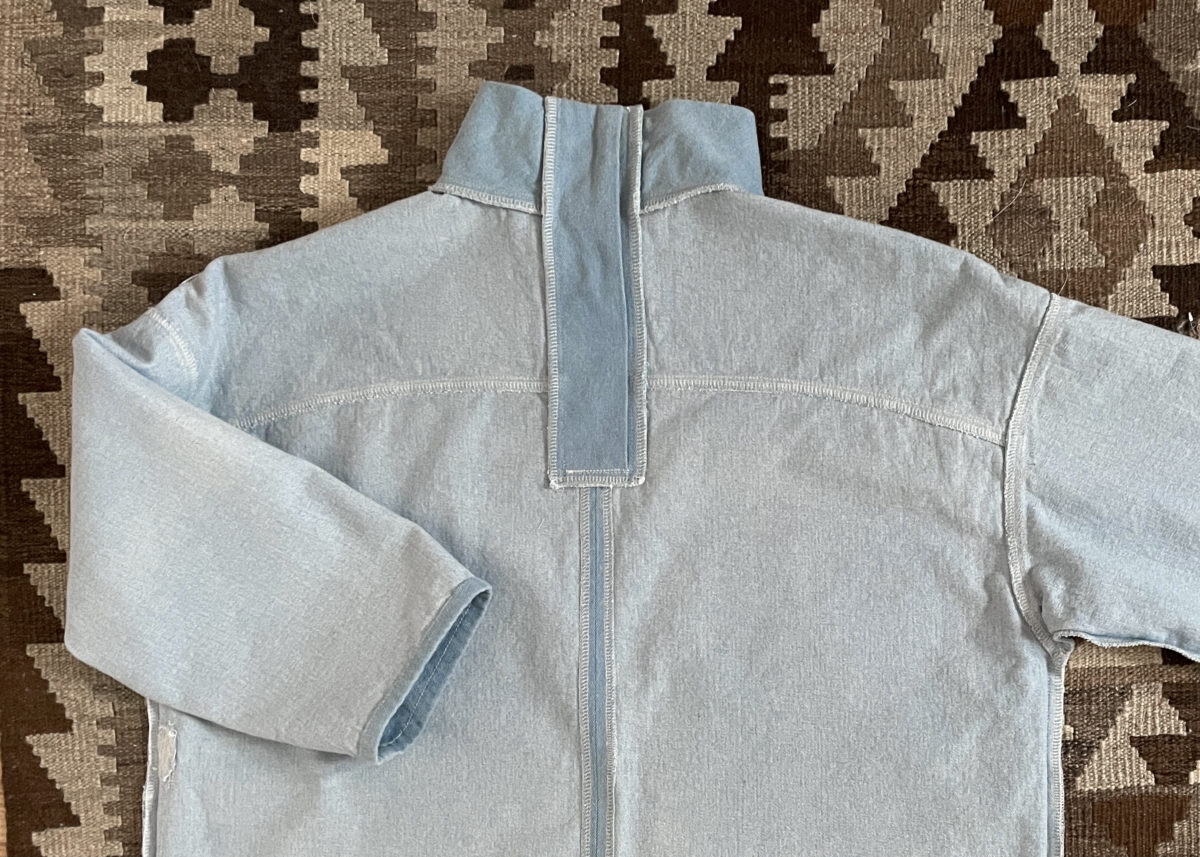
I really love the barrel shape. I did an extra line of topstitching here to match the stitching on the butt pockets.
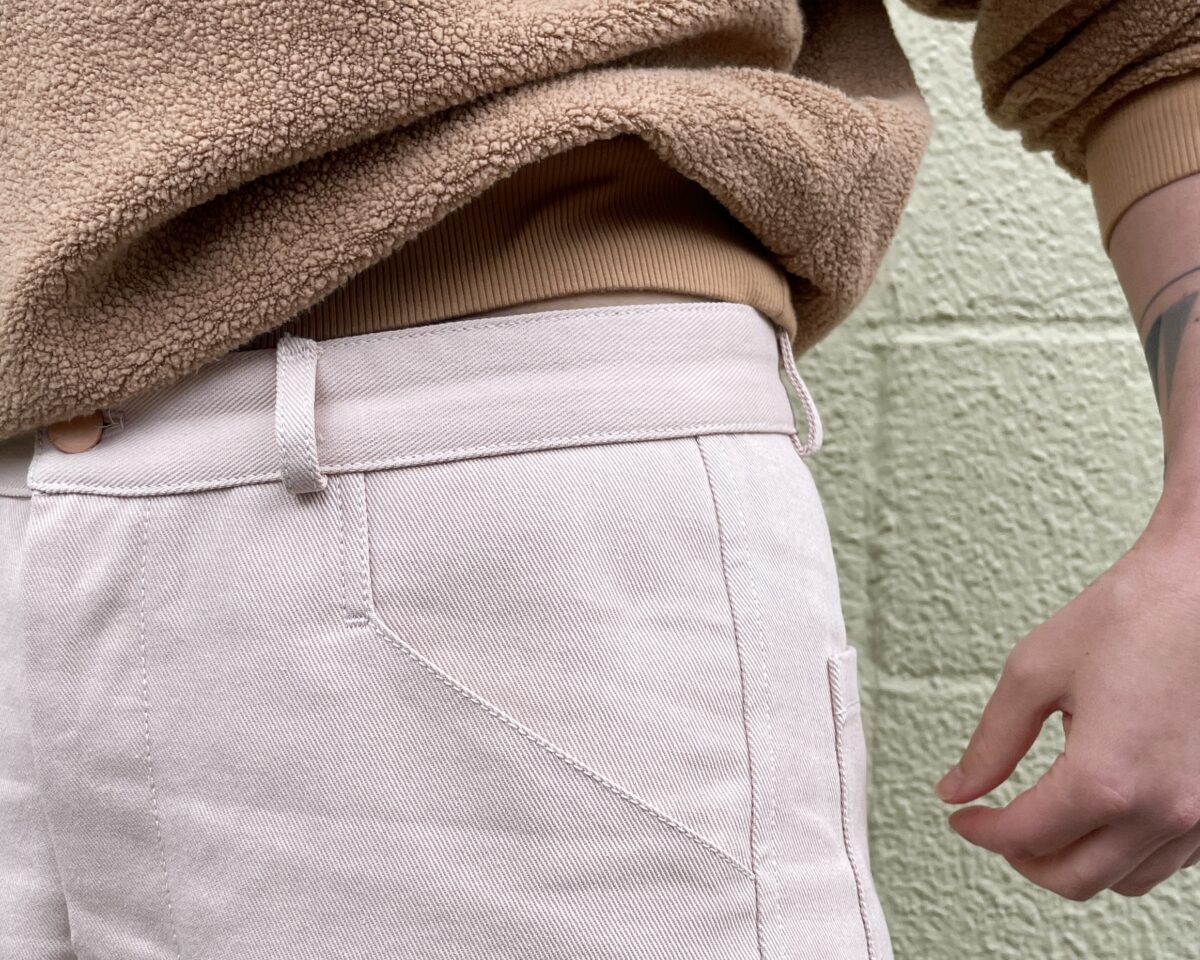
One construction step that I’ll be adding to future pants is attaching the waistband to the wrong side of the pants first, then folding it to right side to topstitch. No more having to redo the topstiching because you didn’t catch the inside folded edge of the waistband! Brilliant!
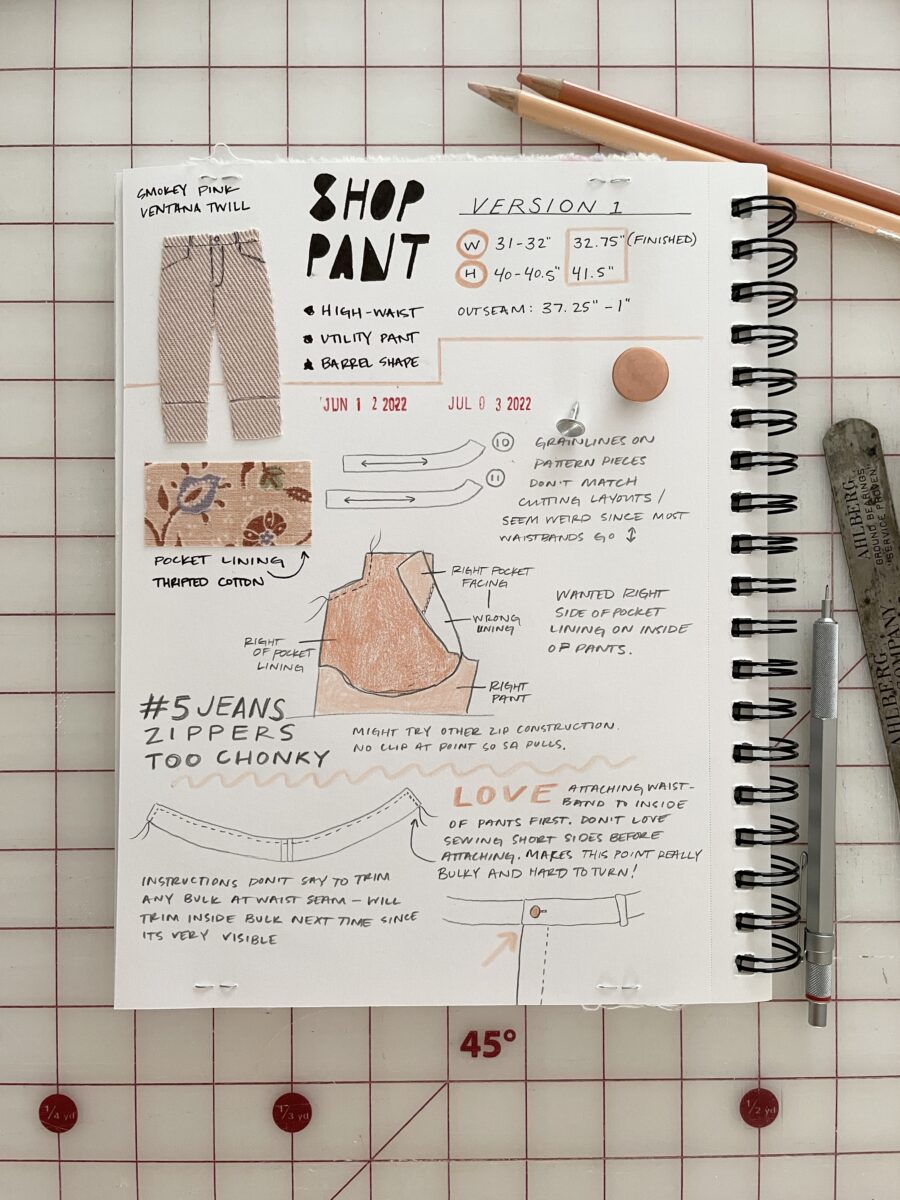
I do plan to change up the waistband construction a little since I didn’t get the crisp corners I can achieve with a different method. The right waistline must have gotten a little stretched out while I was sewing so it didn’t match with the band. I had to do some easing and got some annoying puckers because of that. Wild how it only happened to one side!

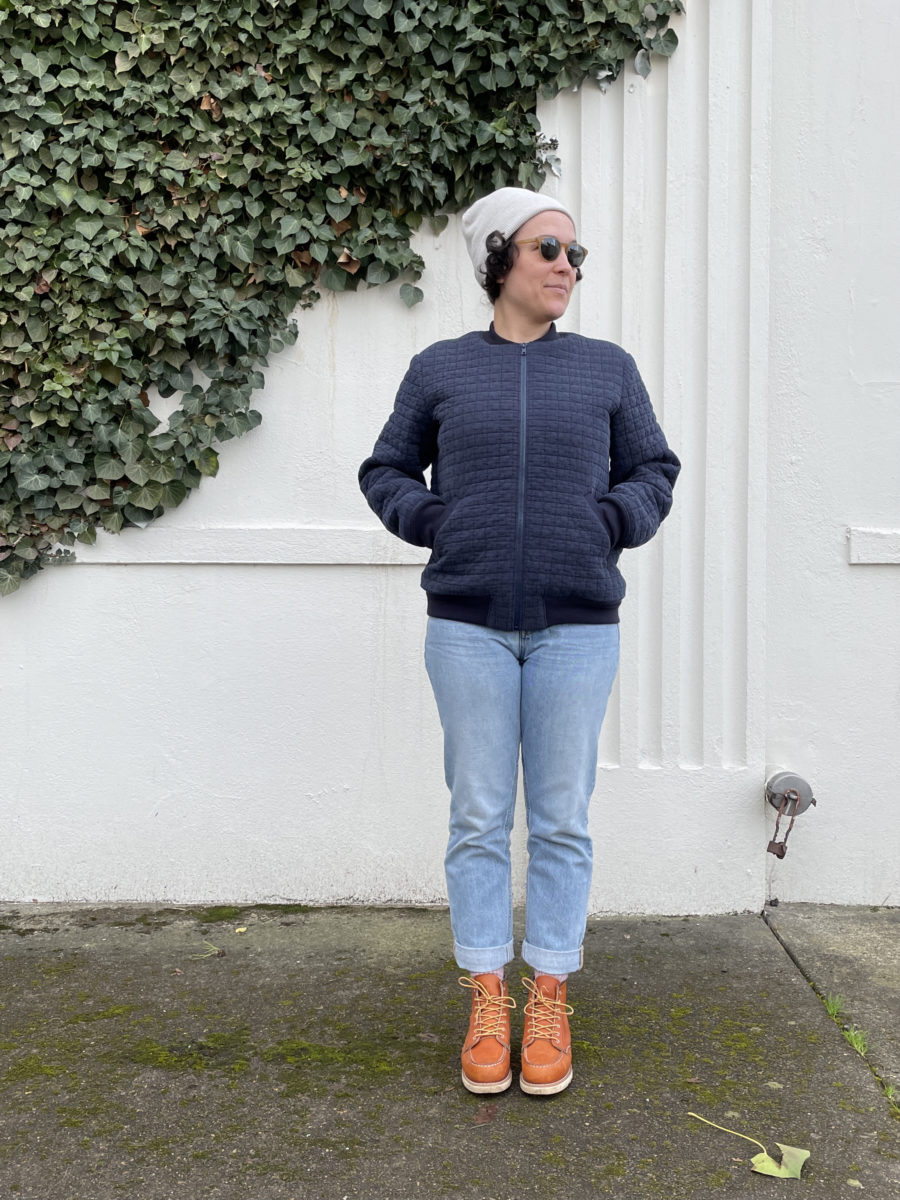
I really like this pattern and totally plan to make at least one more pair!