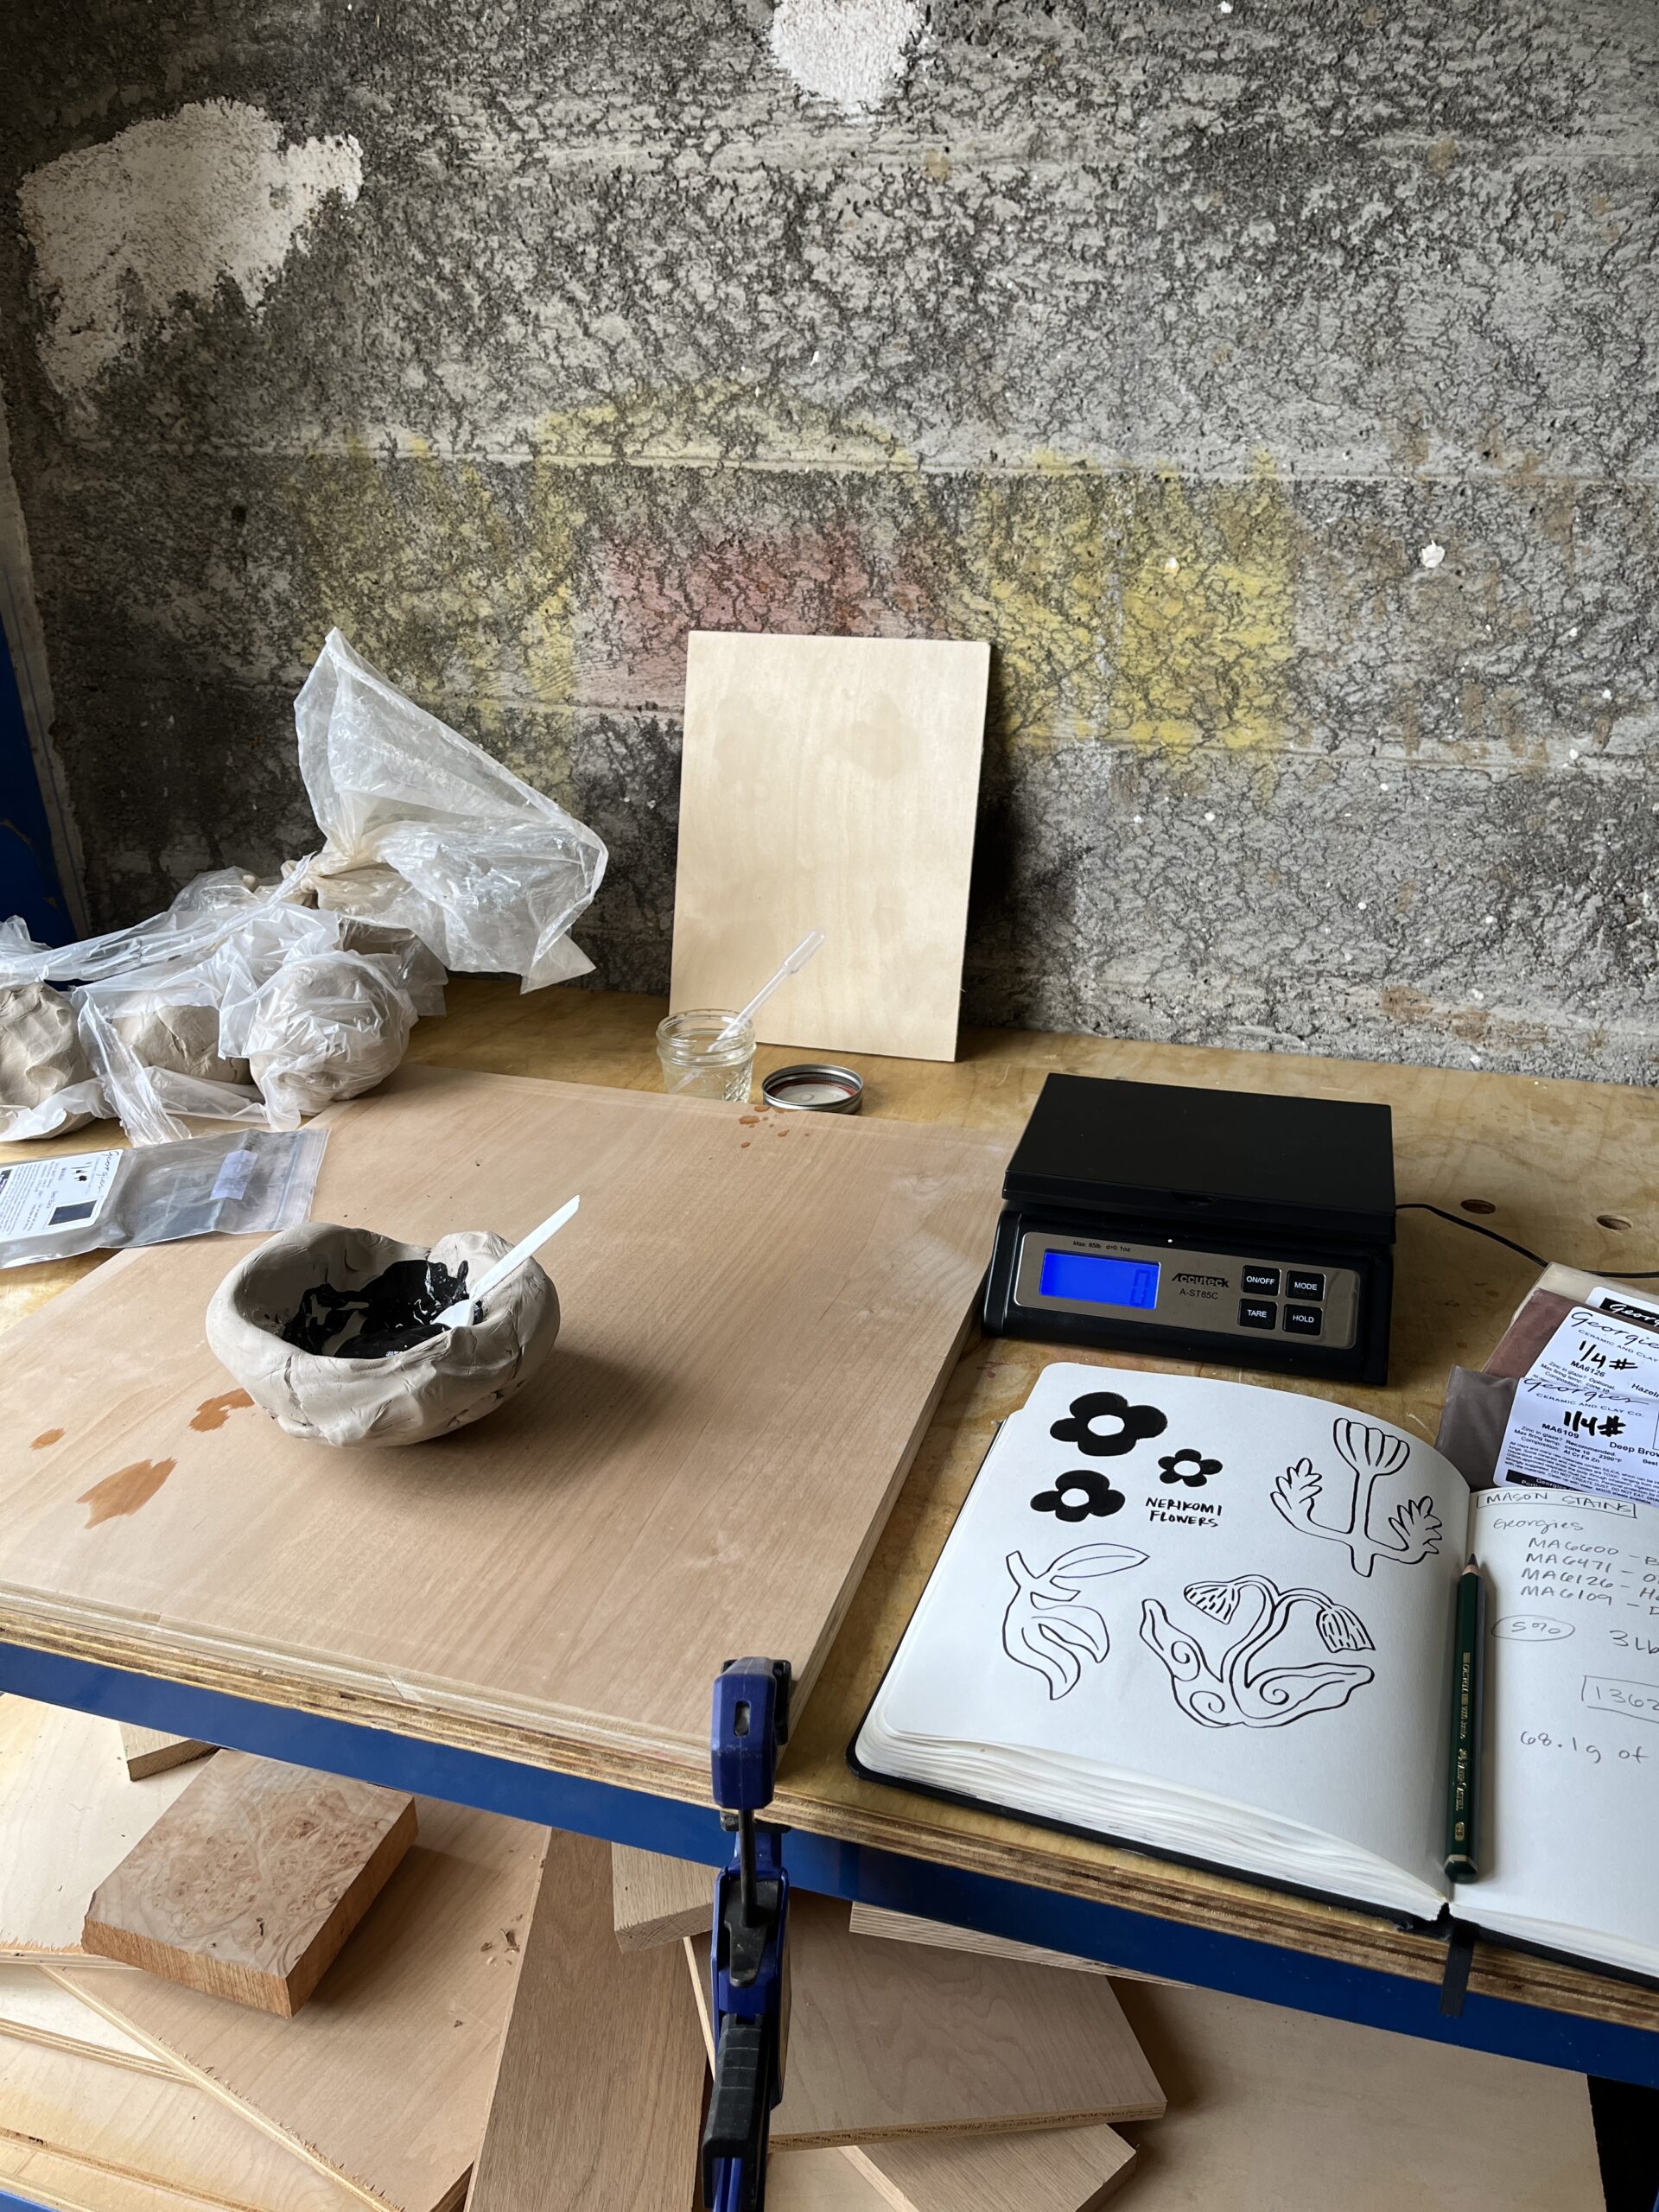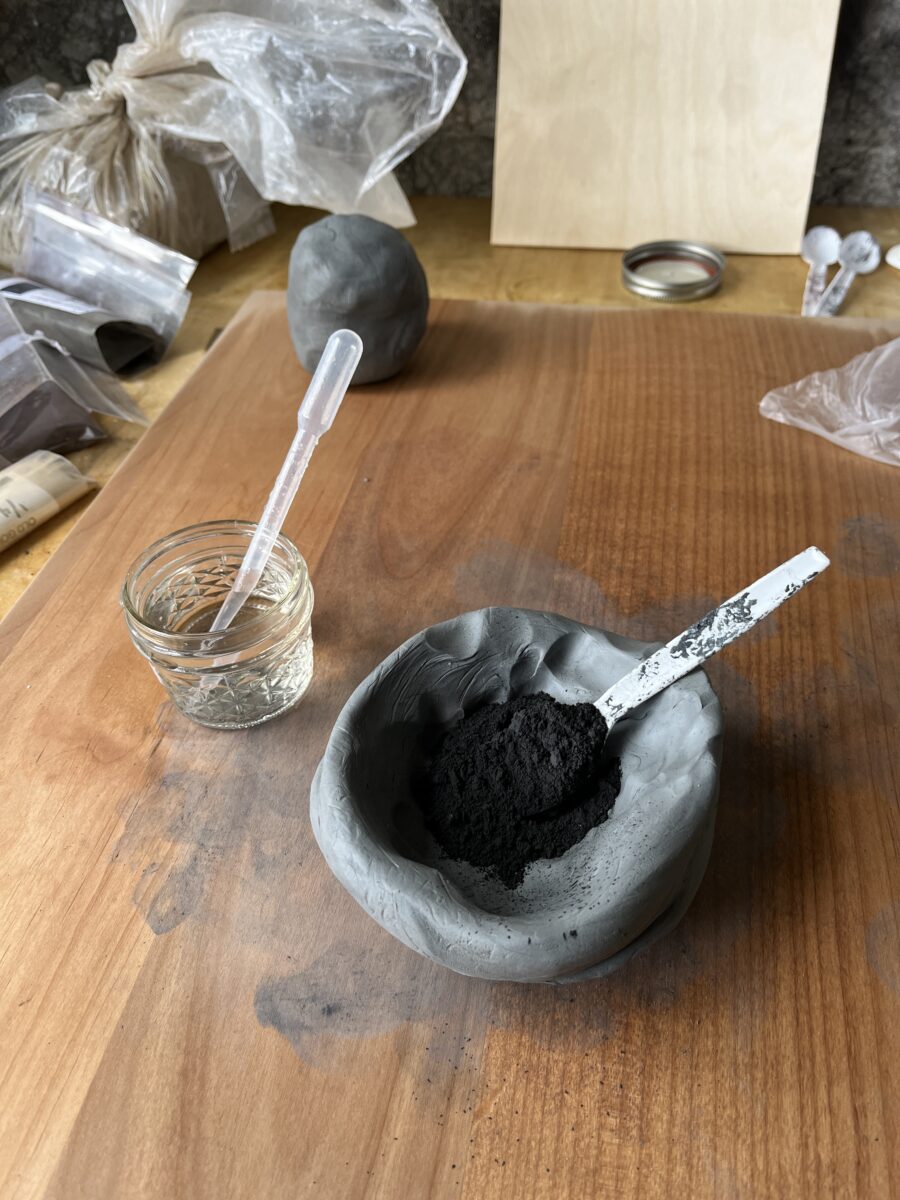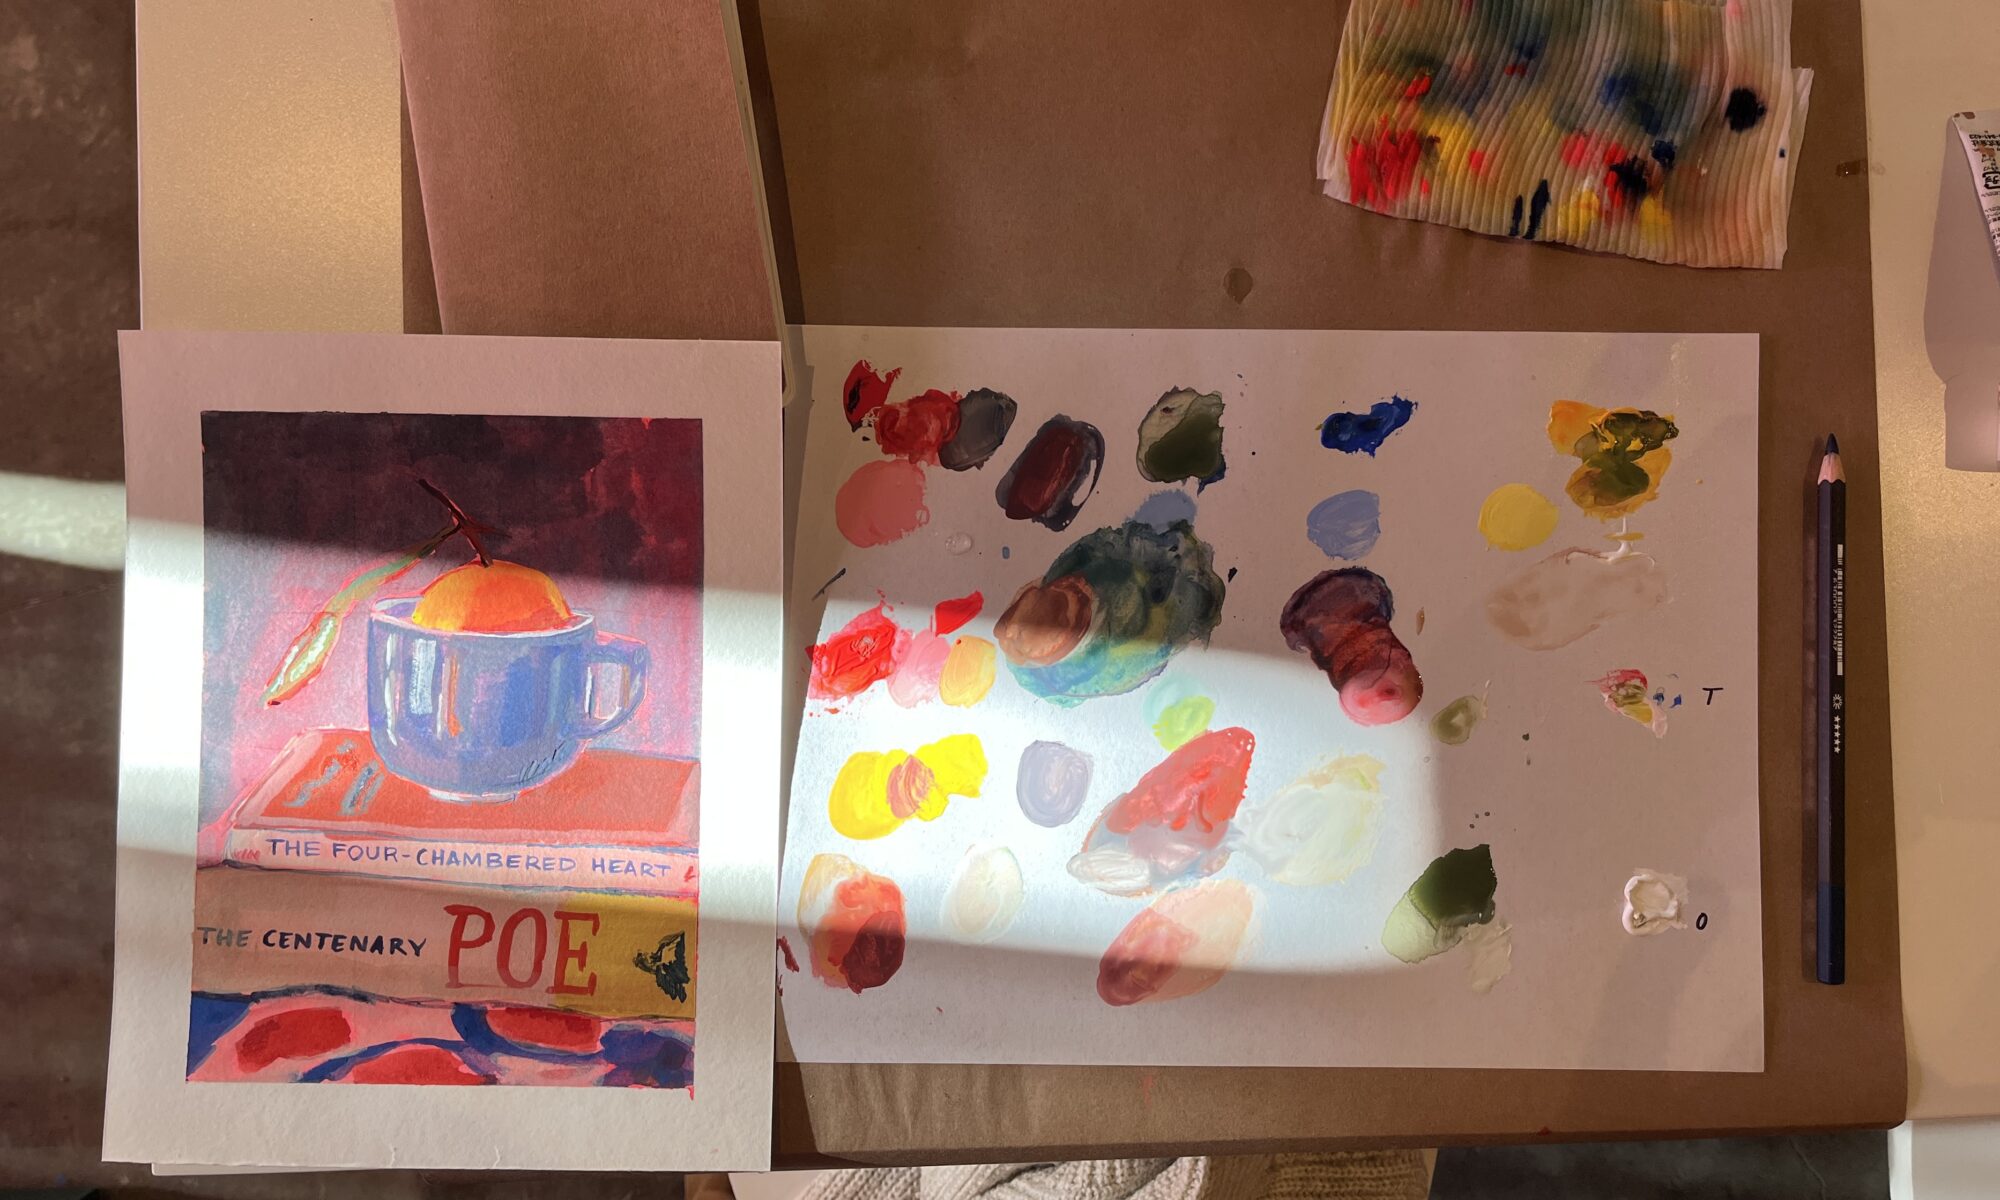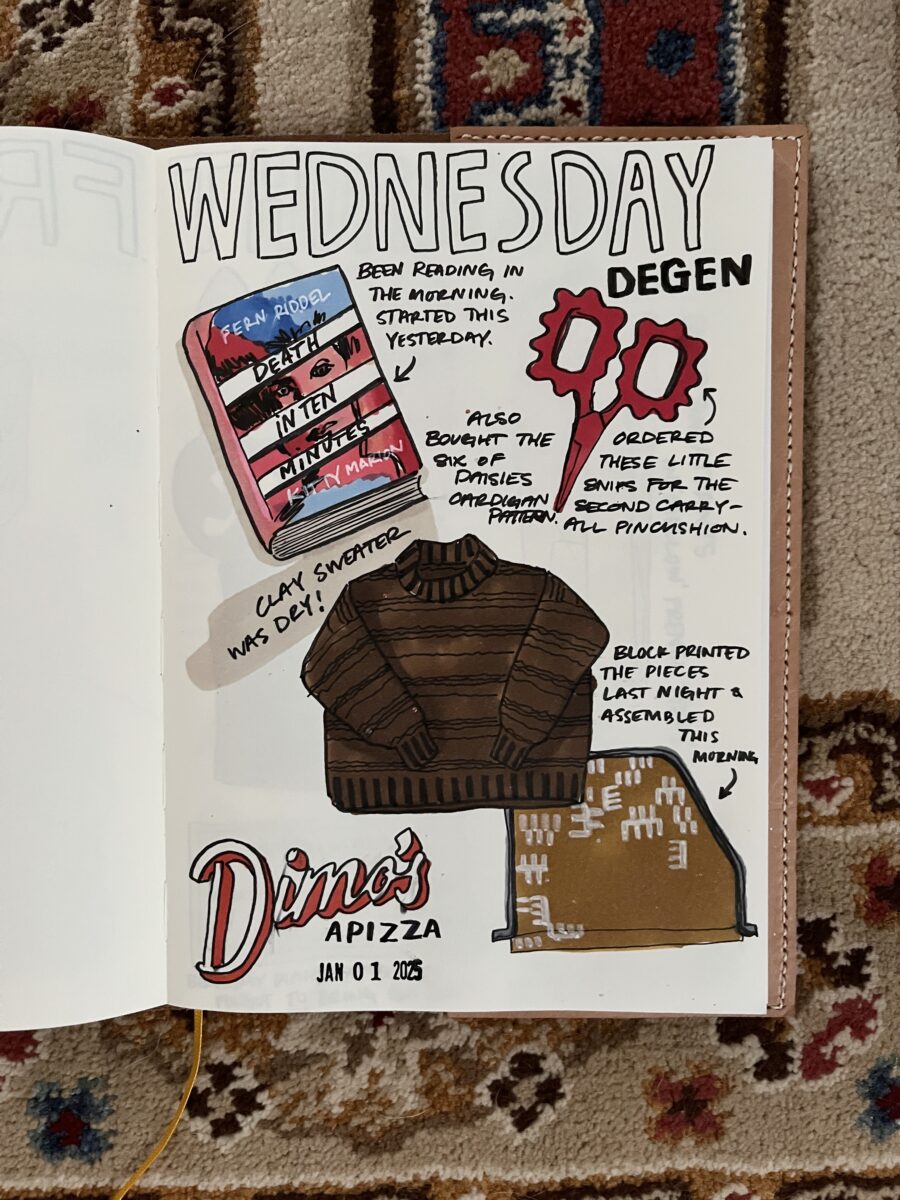
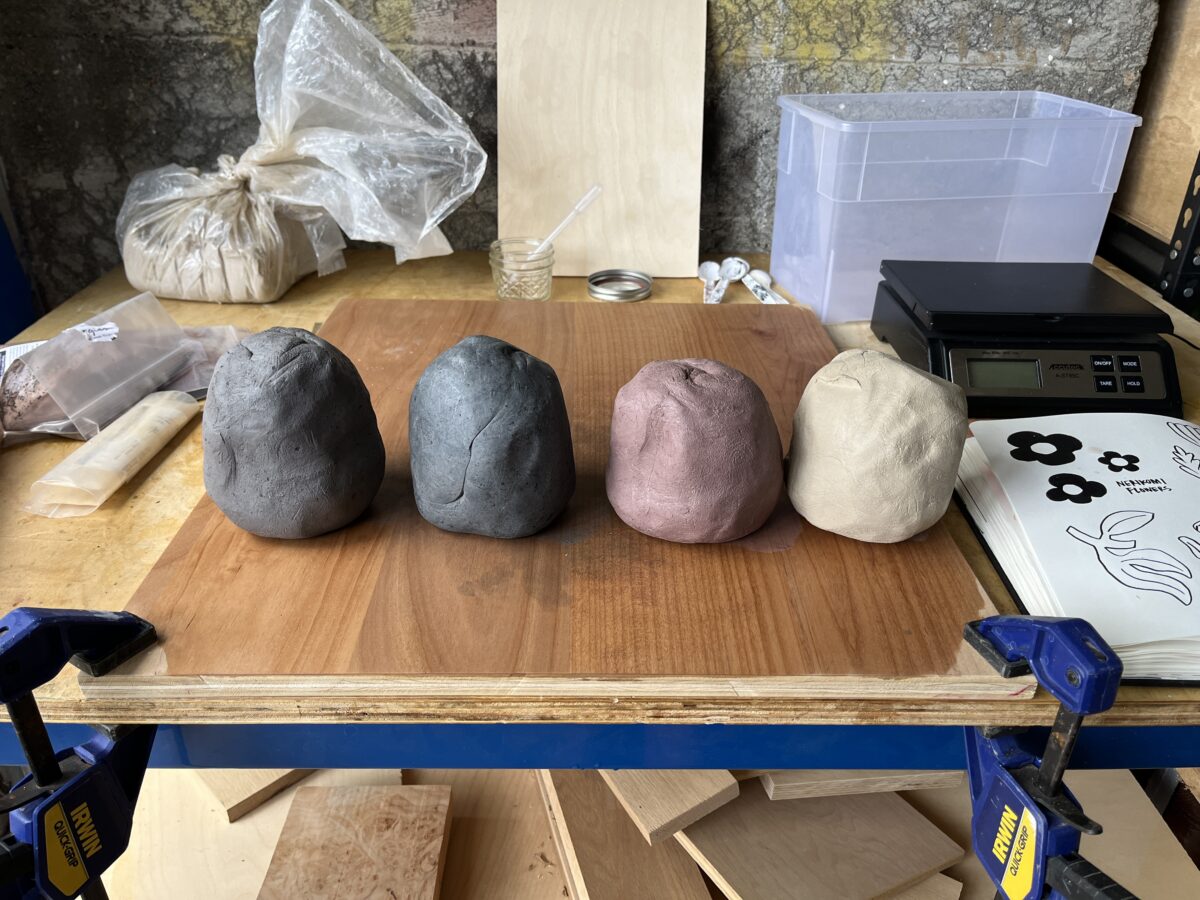
After months of “research” (watching videos and saving posts) I finally decided to just try it. I bought four colors of mason stain, carefully mixed them in my garage, and made my first mug. For future reference here’s what I used:
- MA6600 – Best Black
- MA6471 – Old Gold
- MA6126 – Hazelnut Brown
- MA6109 – Deep Brown
I mixed 5% of the wet clay body’s weight of stain into 3 lbs of clay. I chose 3 lbs because it felt like a manageable wedging amount. After mixing the black, I decided to bump it up to 10% for a more saturated color. White porcelain is generally recommended for mason stains, but Clay Art Center’s BC 6 fires to a creamy white and I was curious if it’d work. It’s also recommended to use the dry clay body’s weight, but I didn’t want to introduce more dust into this process.
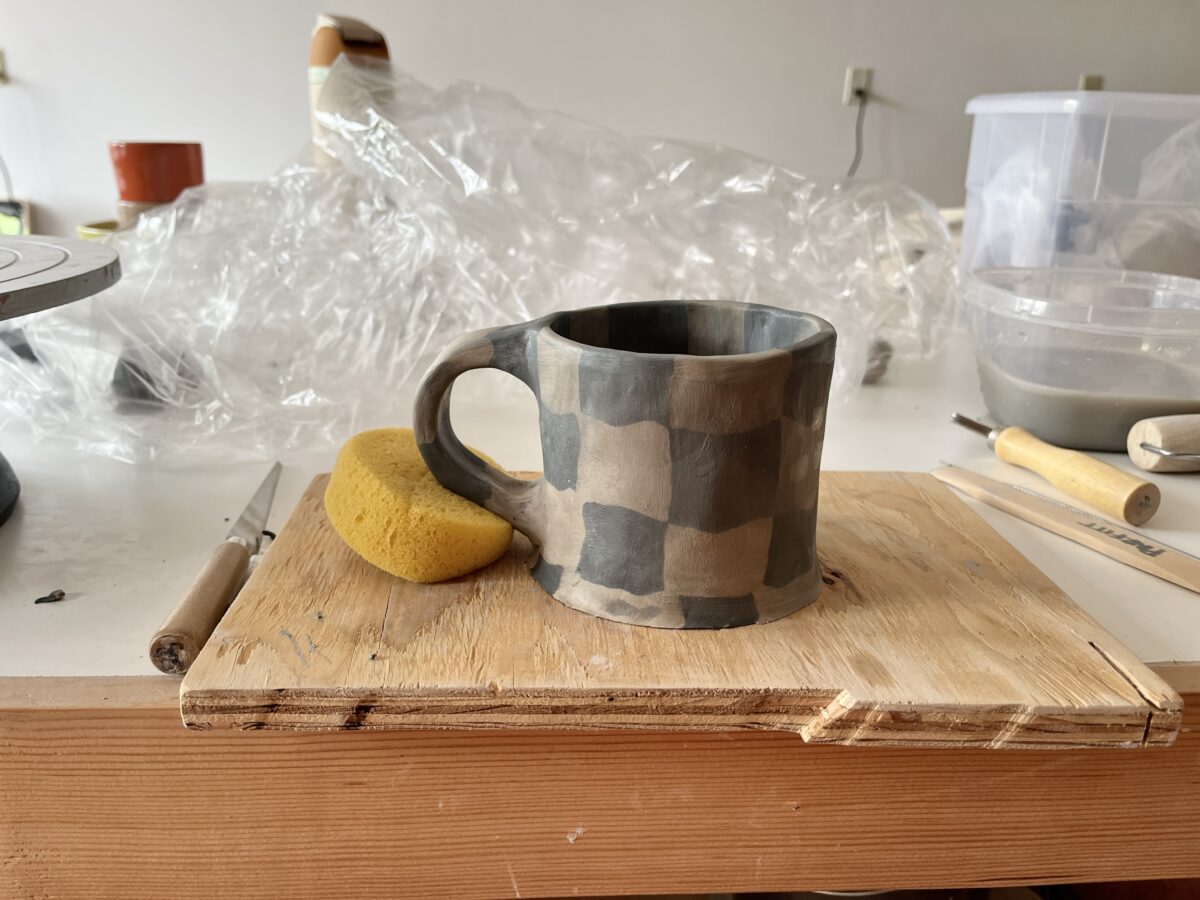
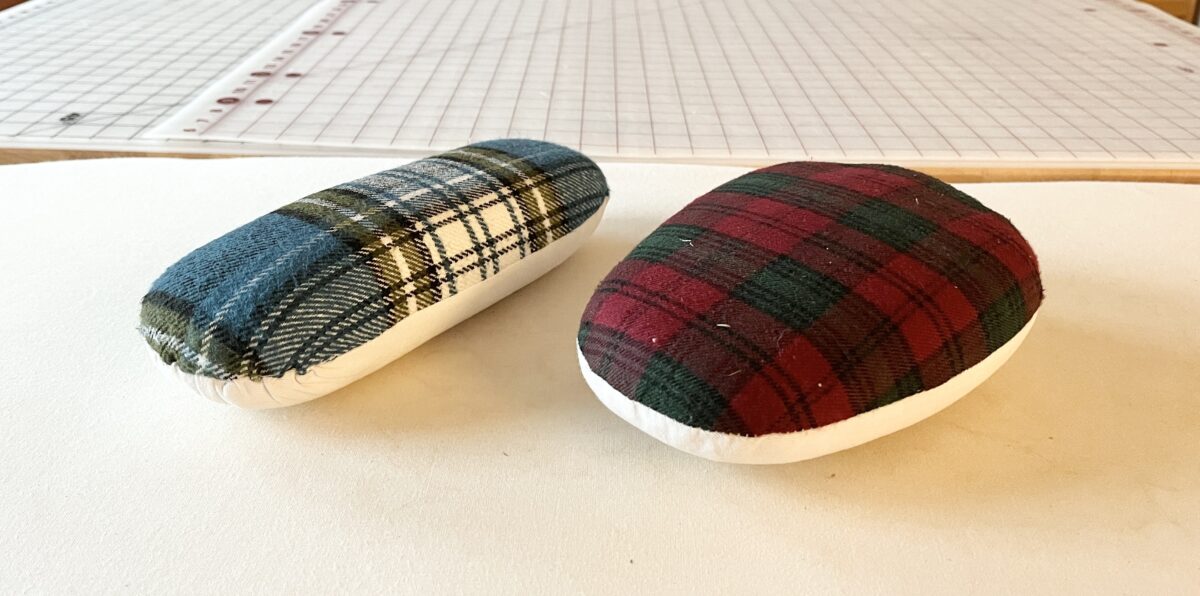
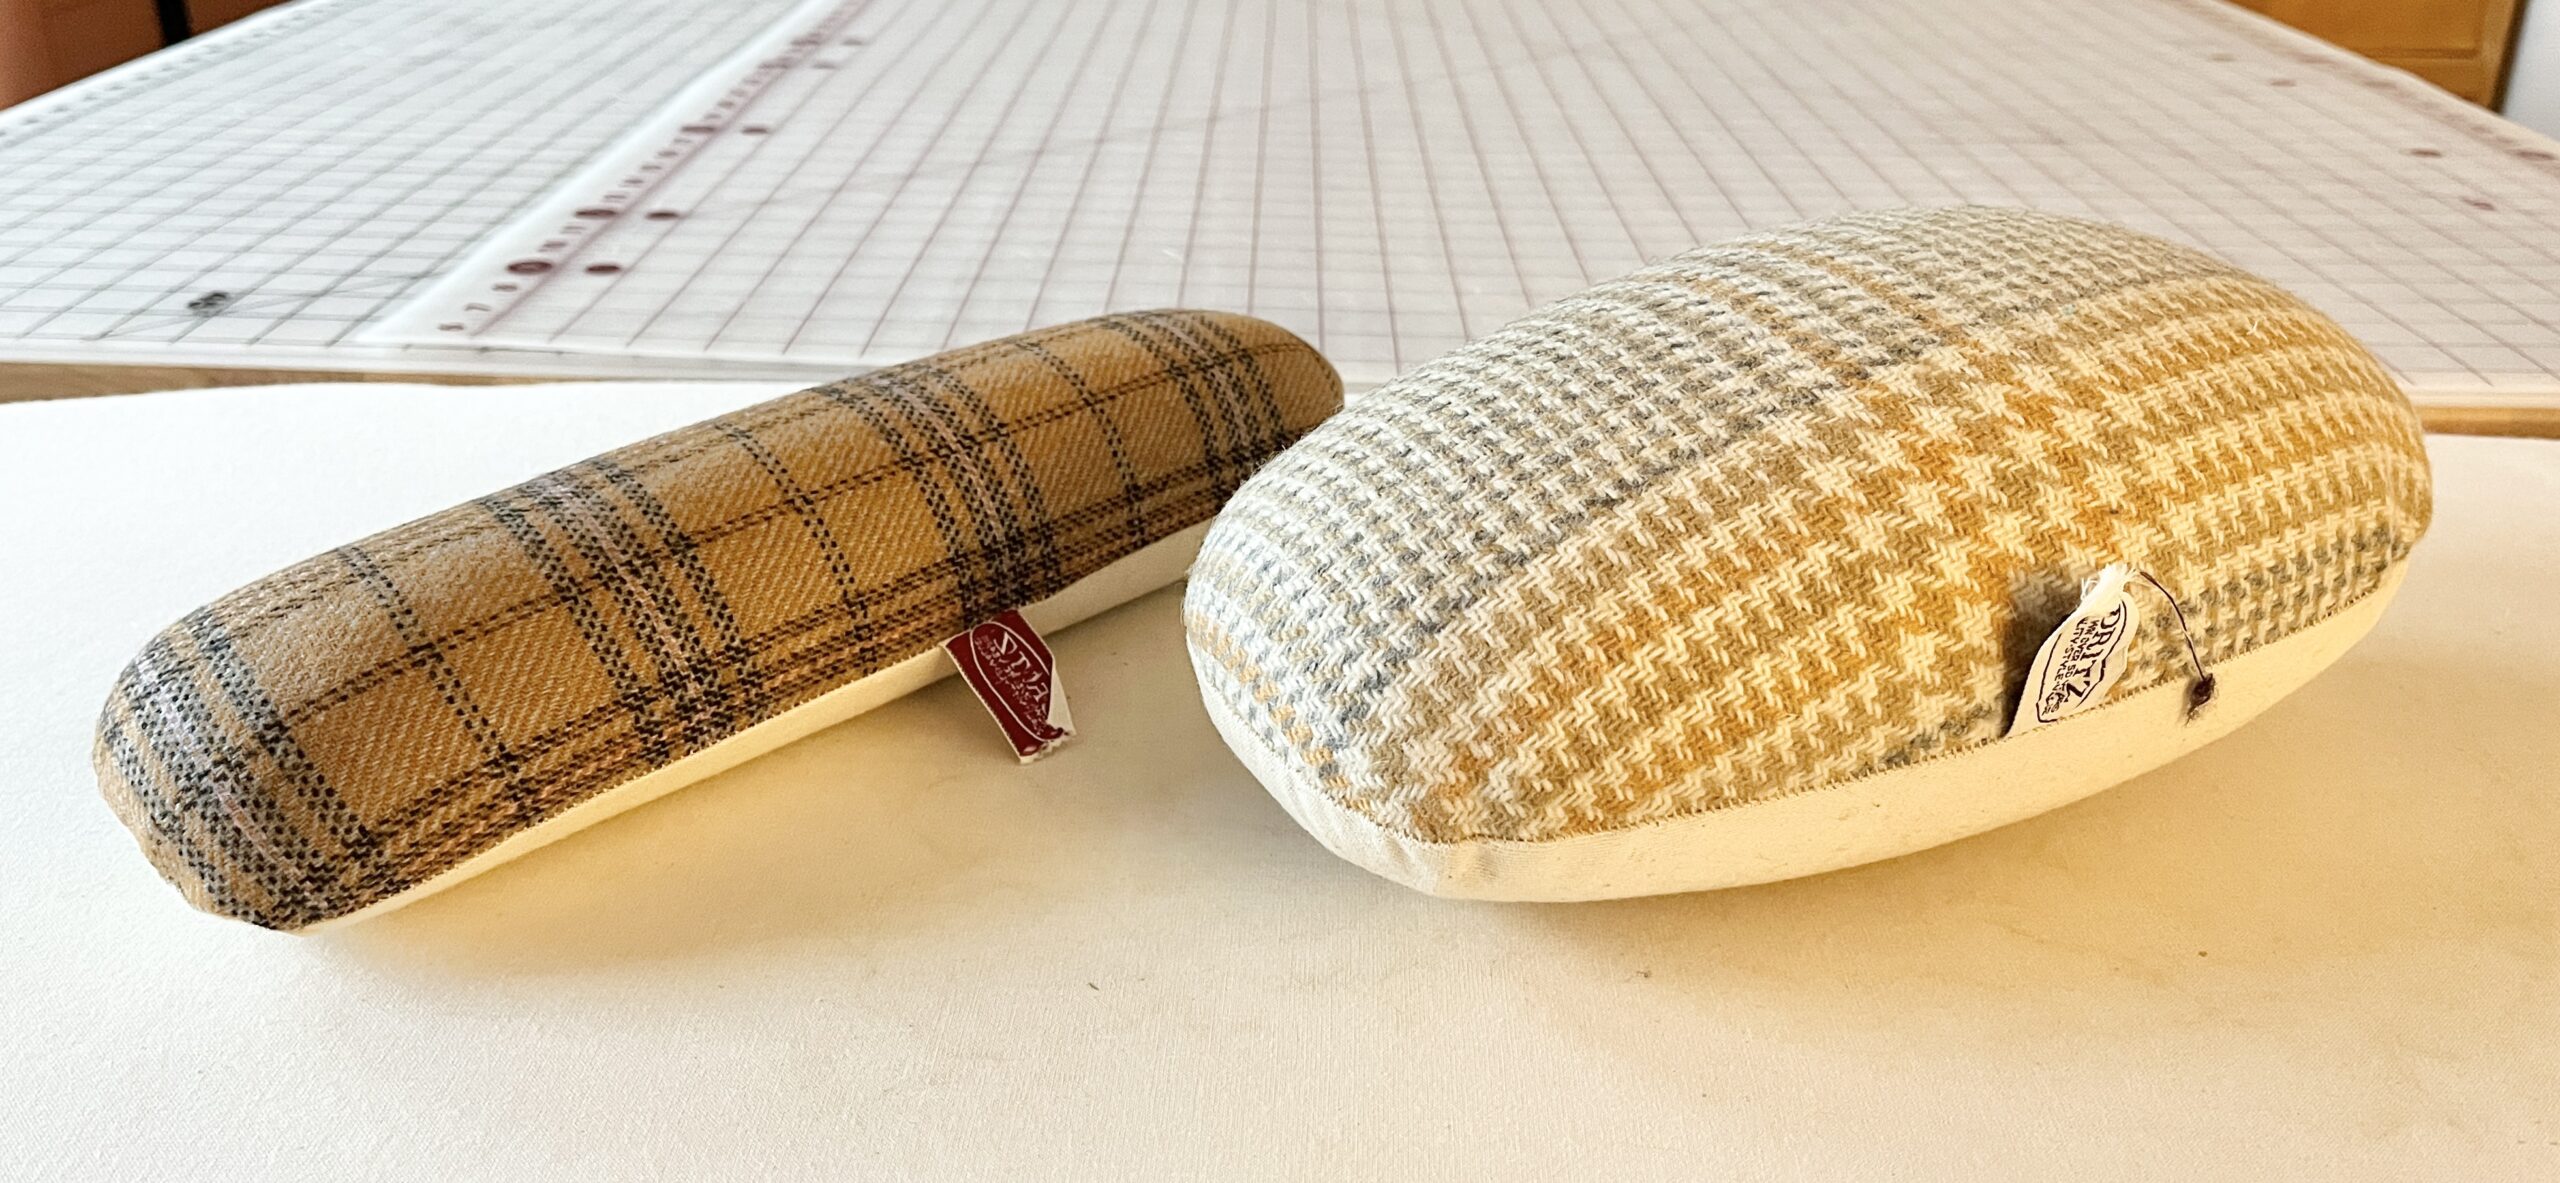
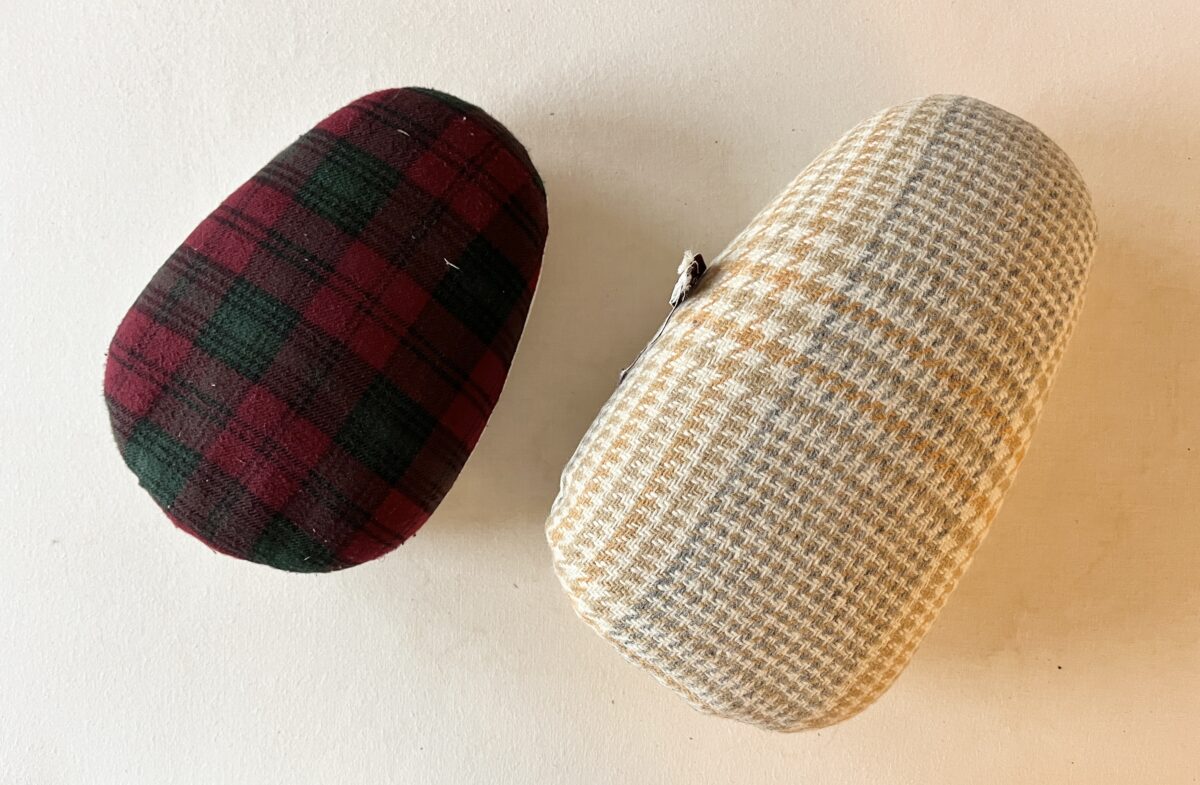
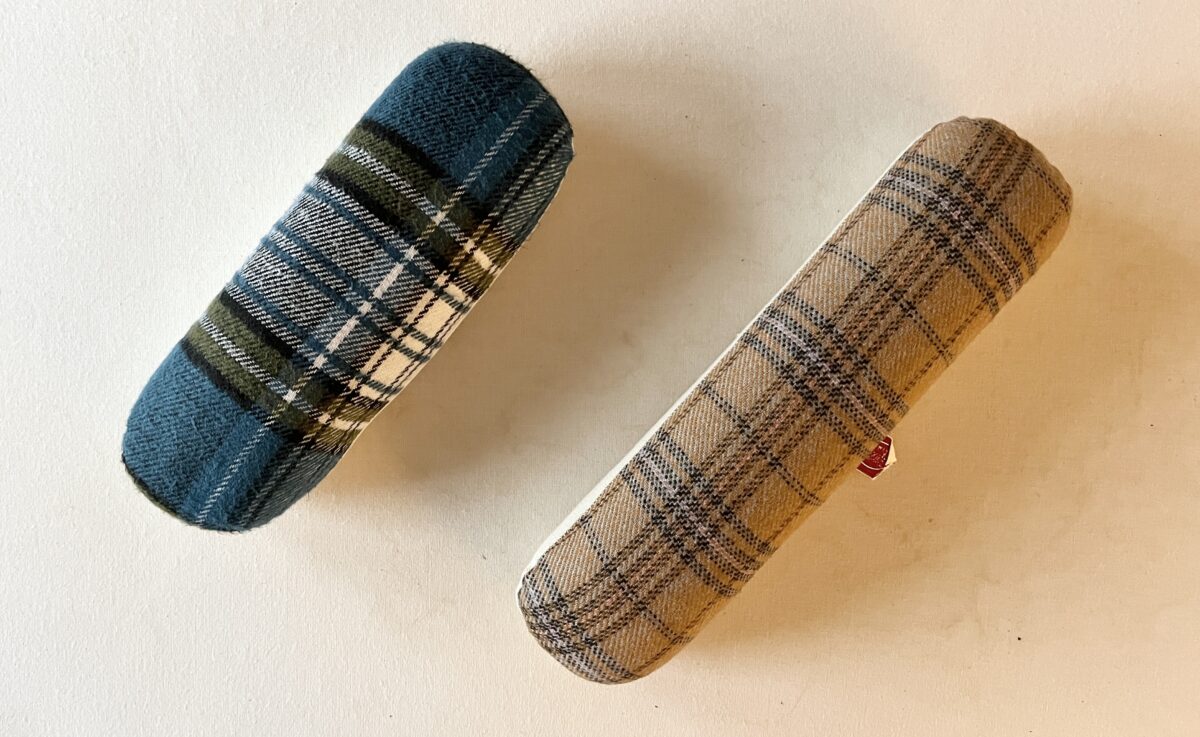
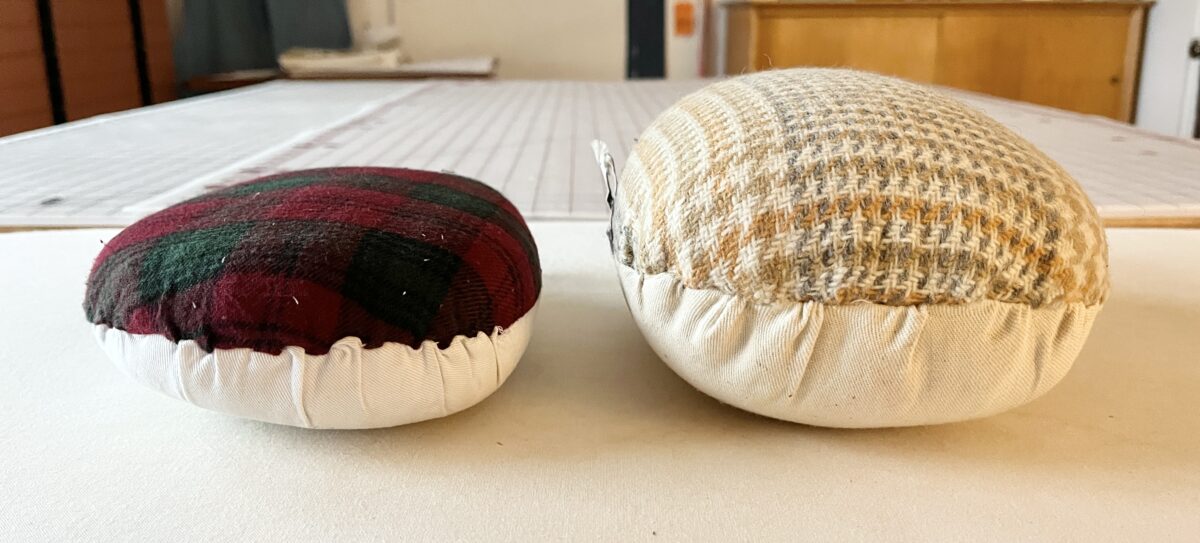
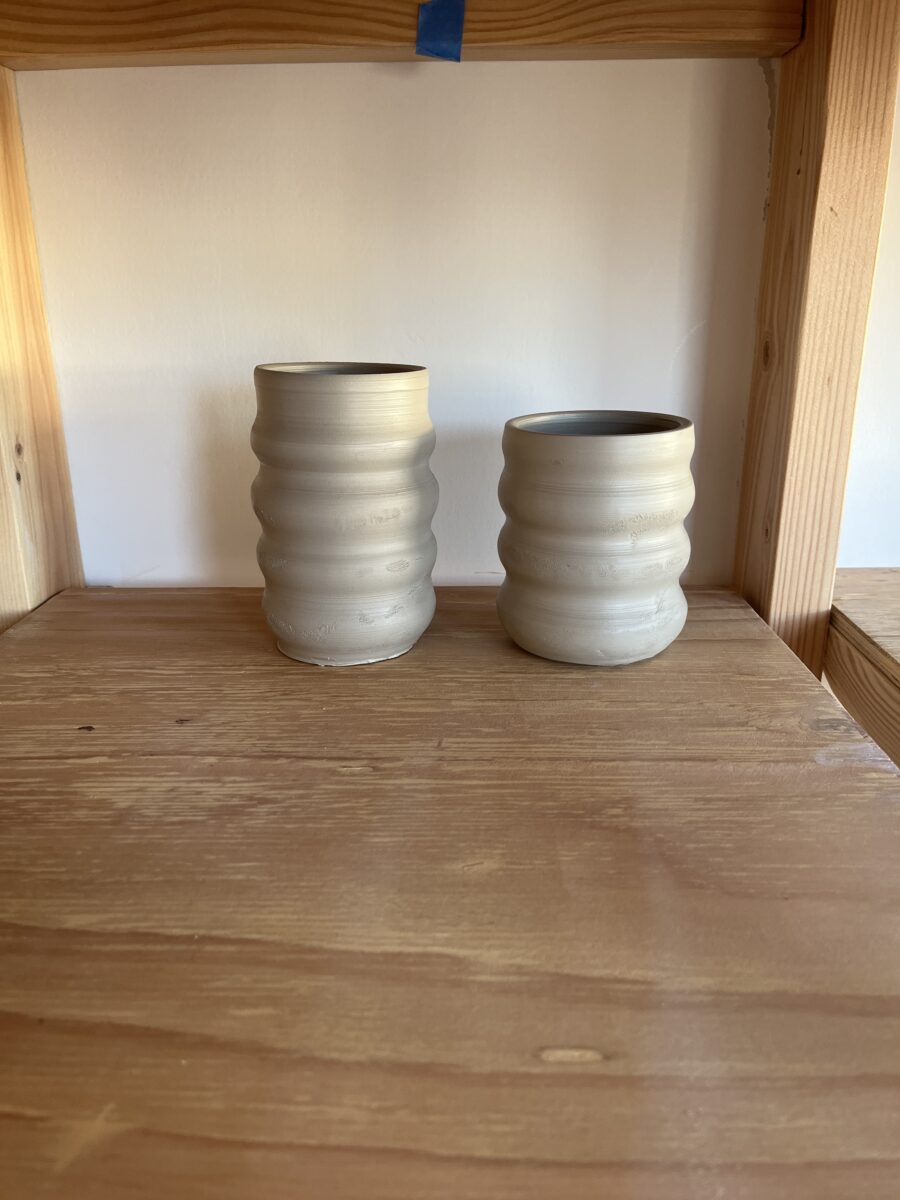
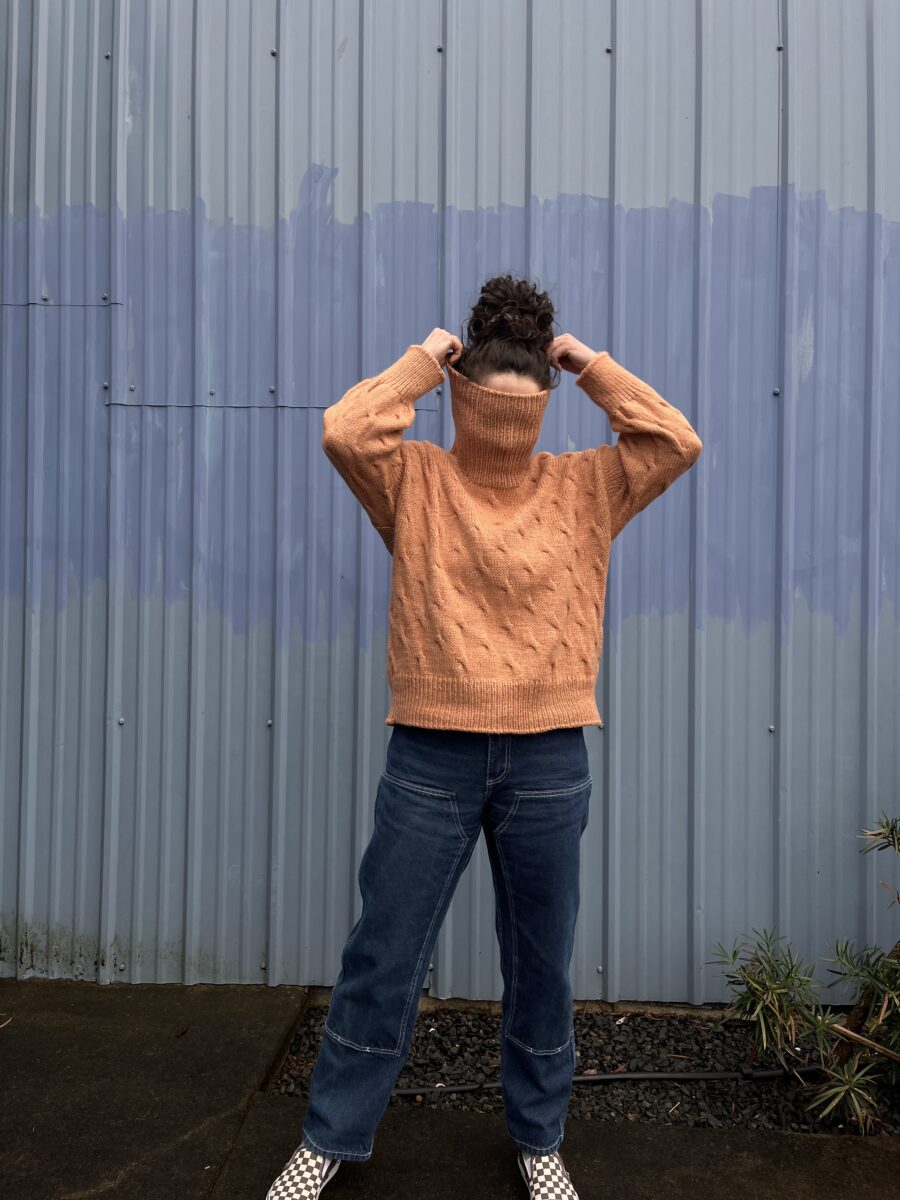
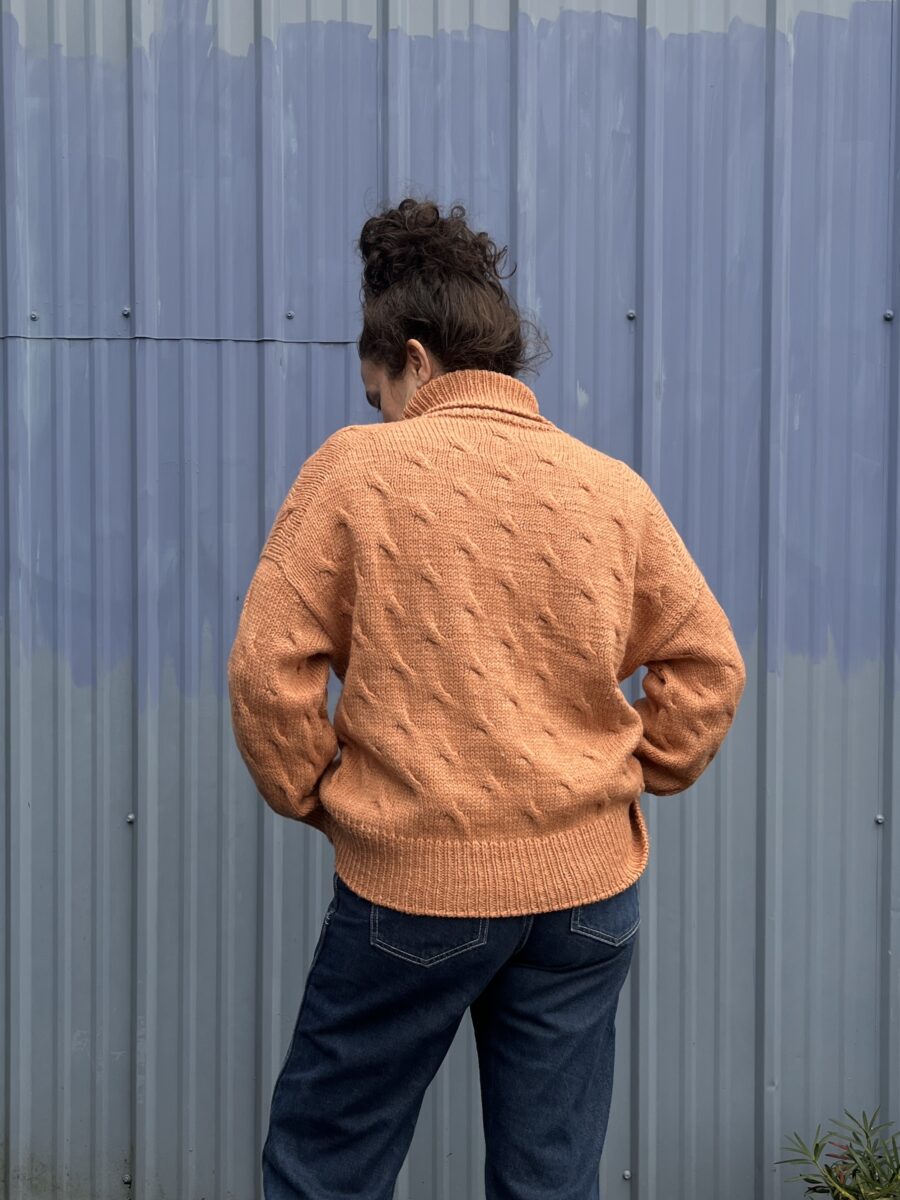
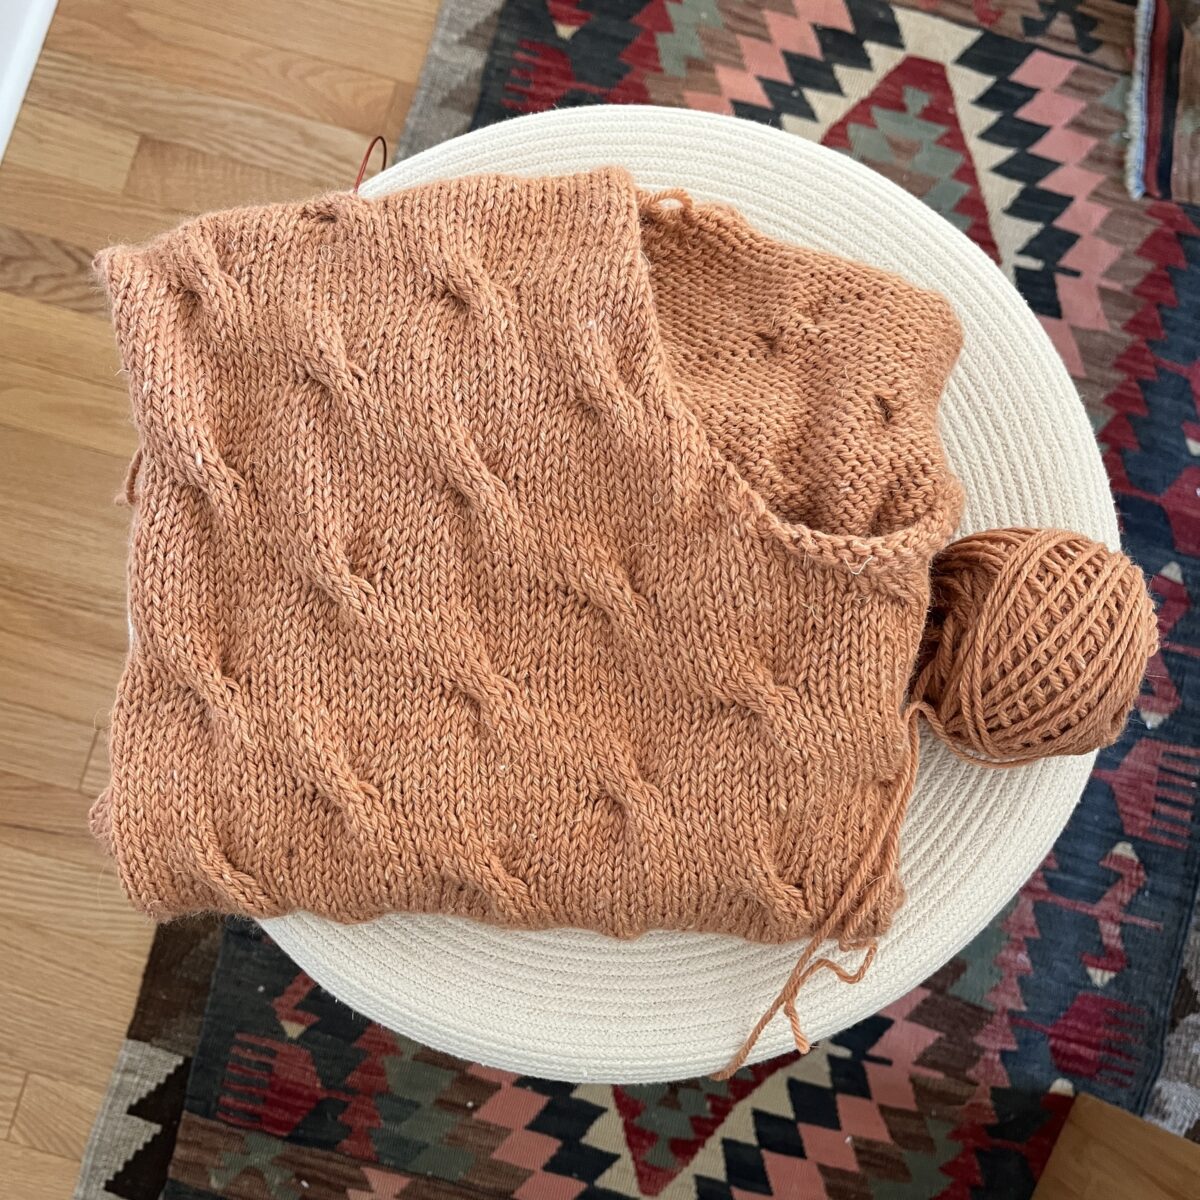
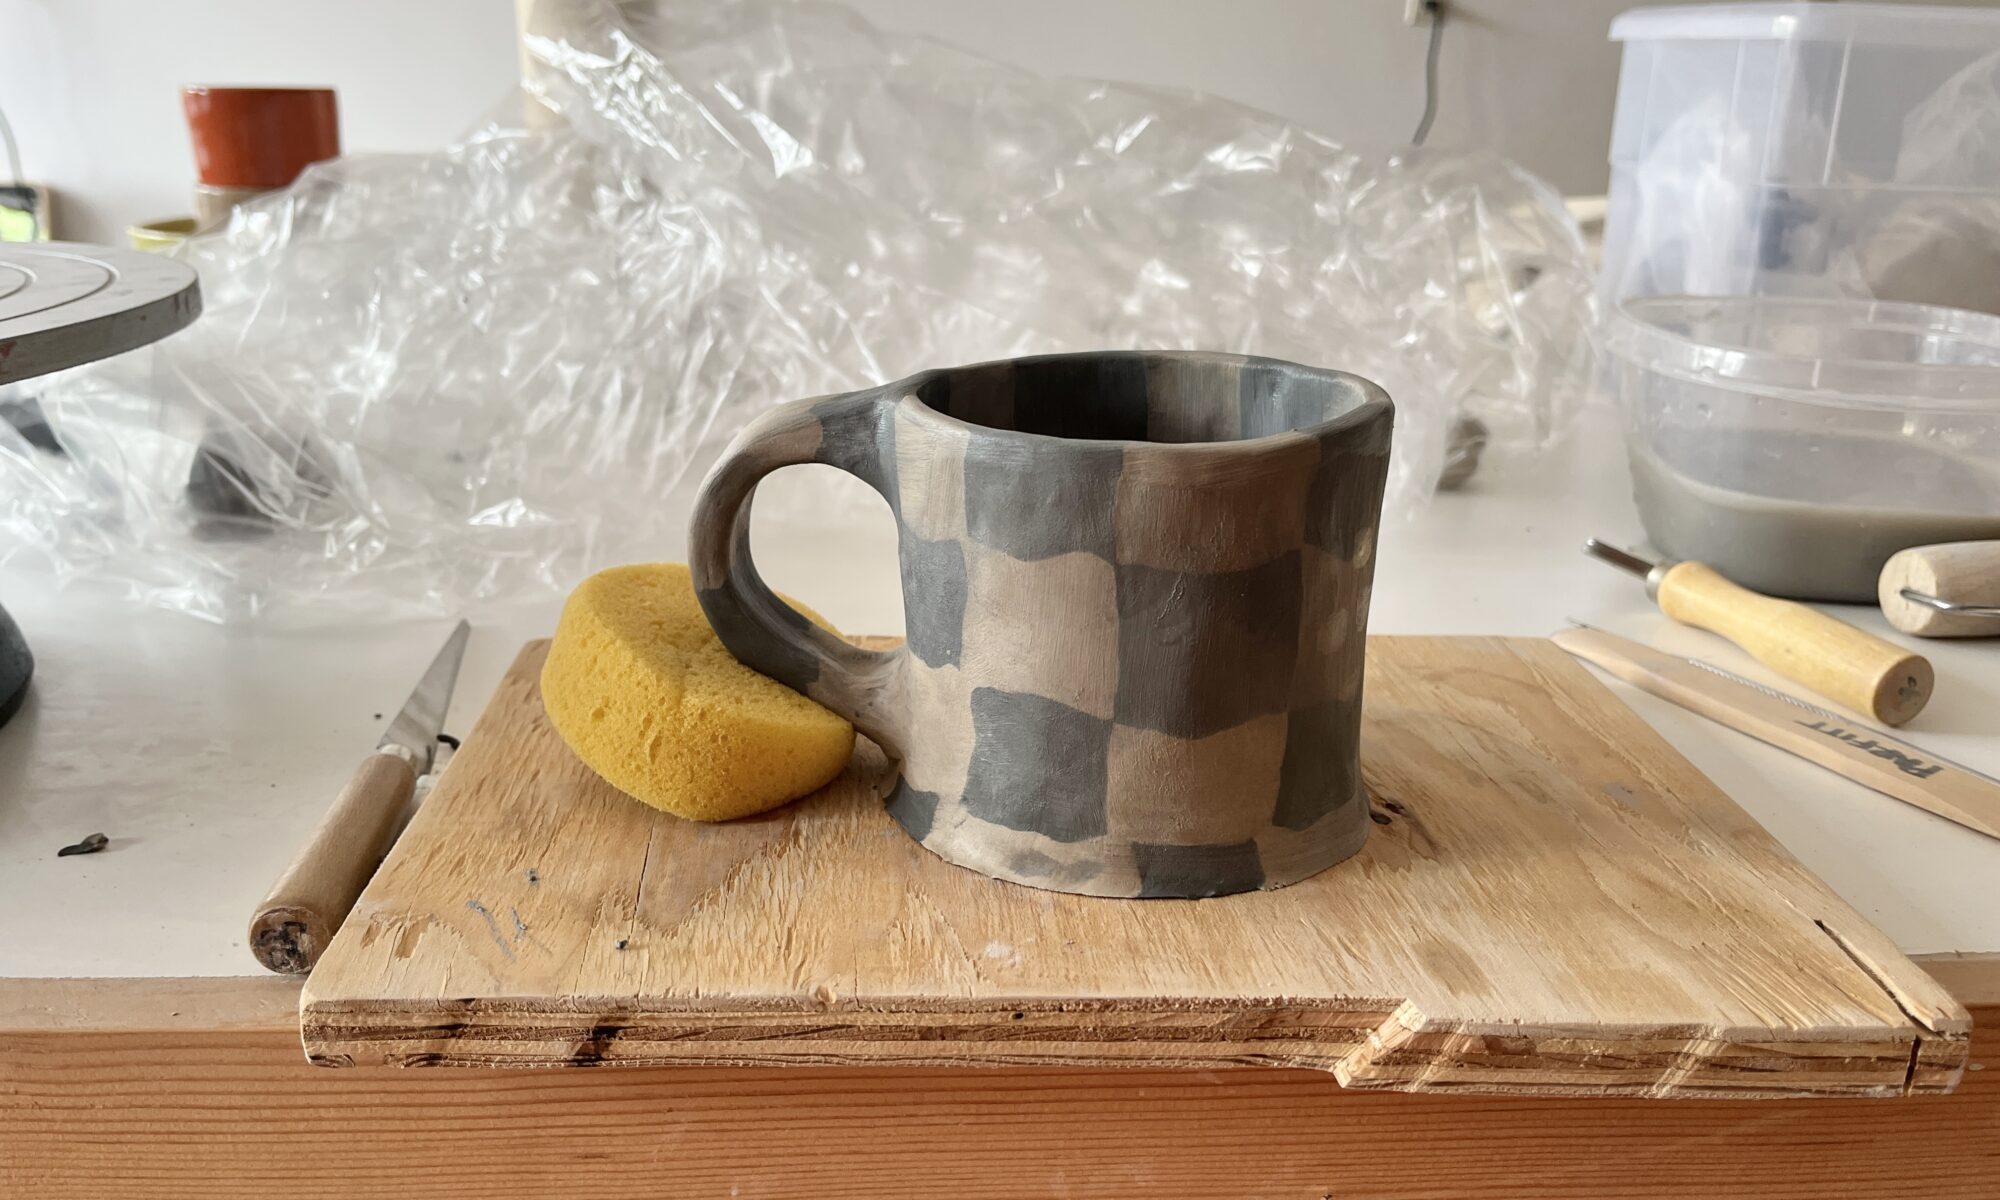
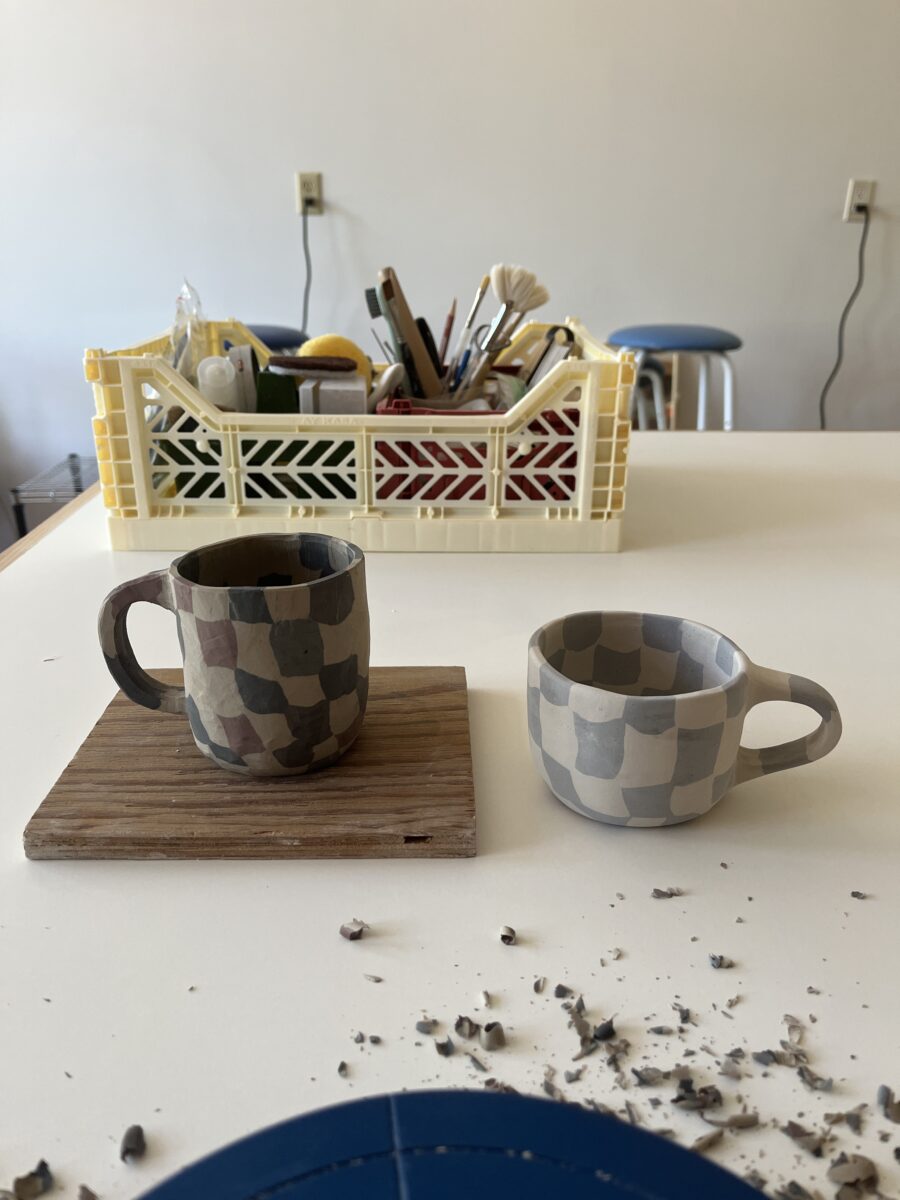
This technique uses small balls of clay that are kinda pinched together and shaped. The handle is made with a “log” of balls and attached before trimming. The piece is then slowly dried to leather hard and trimmed inside and out. I learned the ball technique from here and here. Once bone dry, I used a sanding sponge to smooth everything out and crisp up the lines.
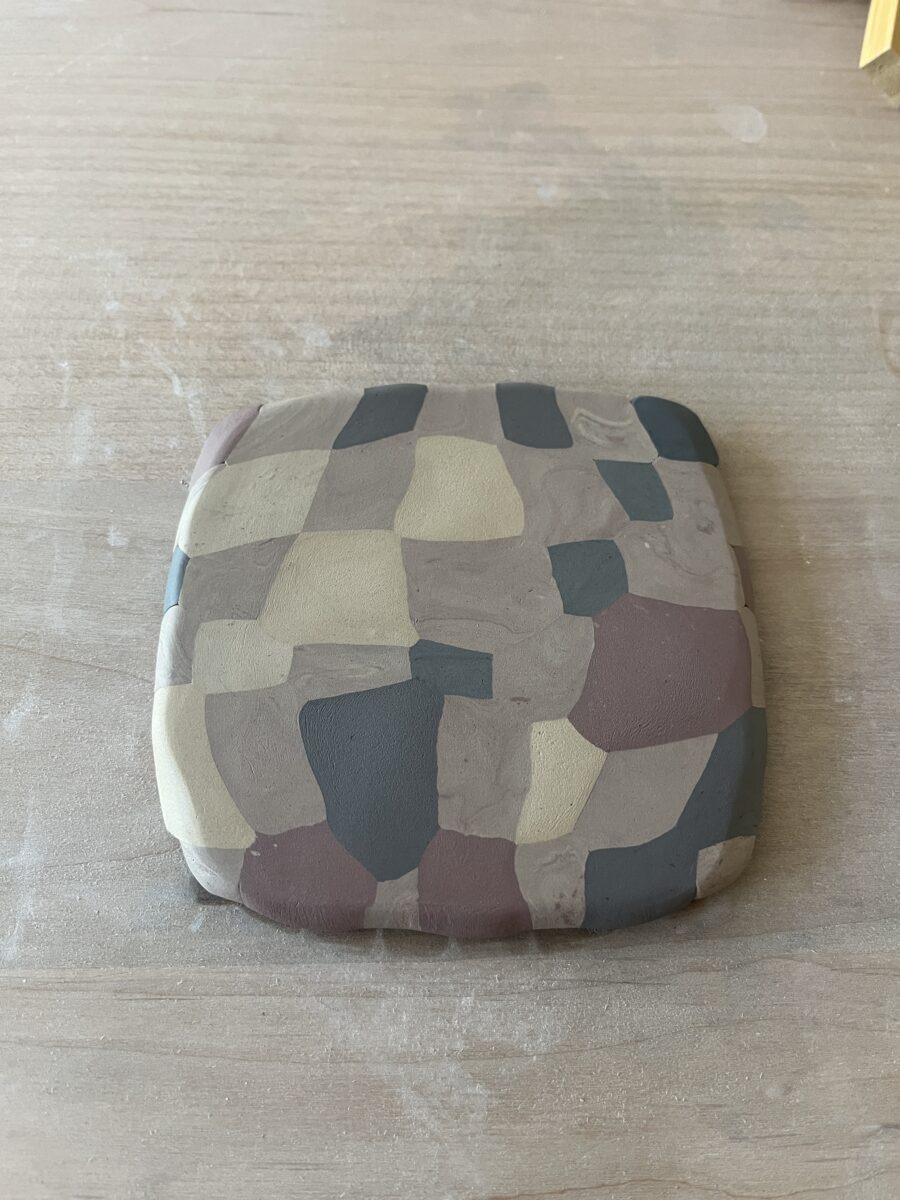
I also used the ball technique to make a small plate.

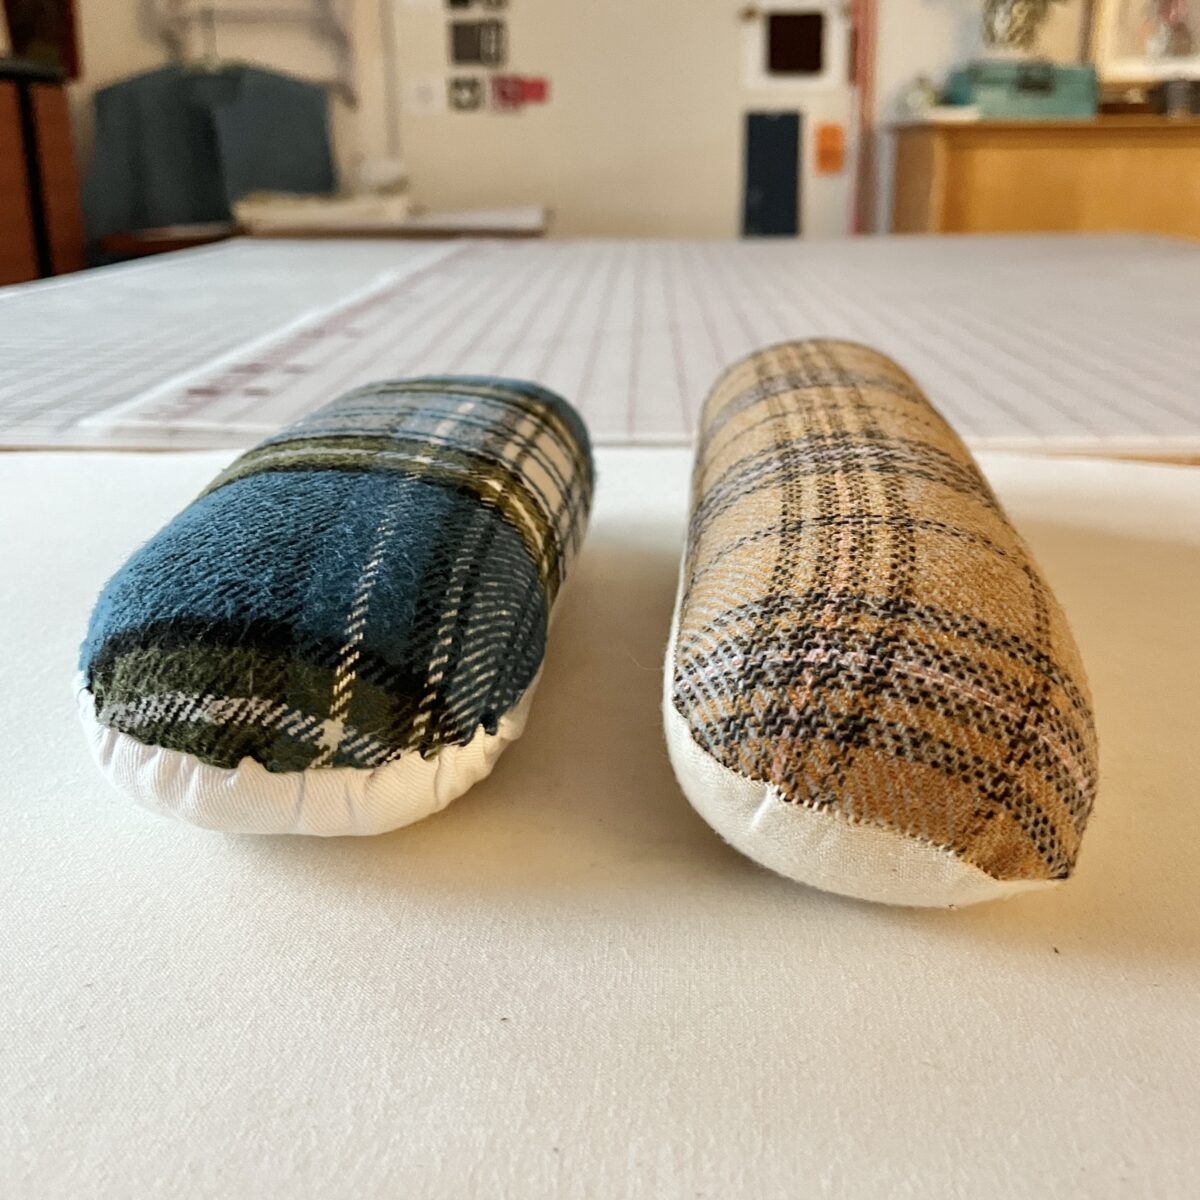
Once the first mug had survived the bisque, I felt ready to spend a little more time playing with patterns. I layered deep brown and unstained clay slabs to created these zebra lines.


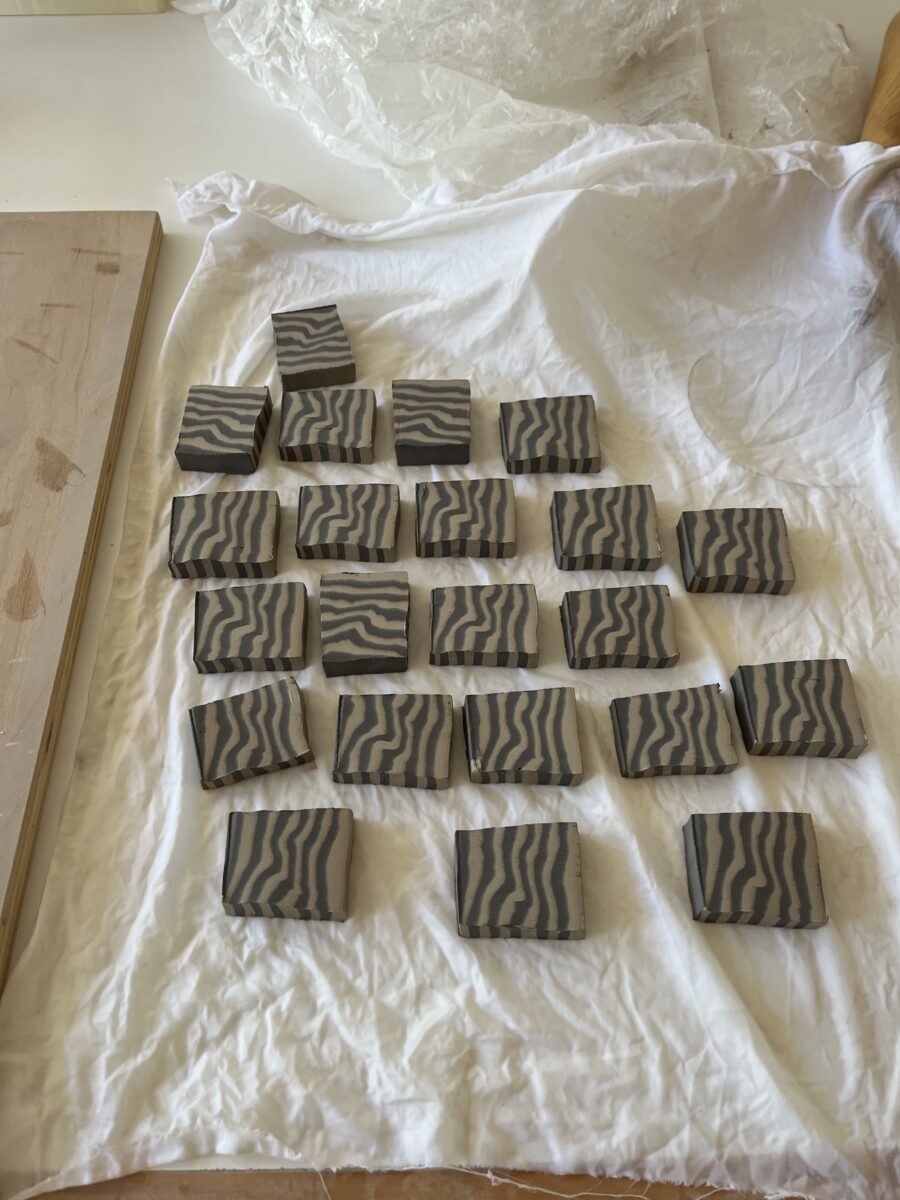
You can be really ordered and precise with this process, but I actually really like not knowing how shapes will turn out when I’m a little sloppy. So many fun surprises happen when I just let go.
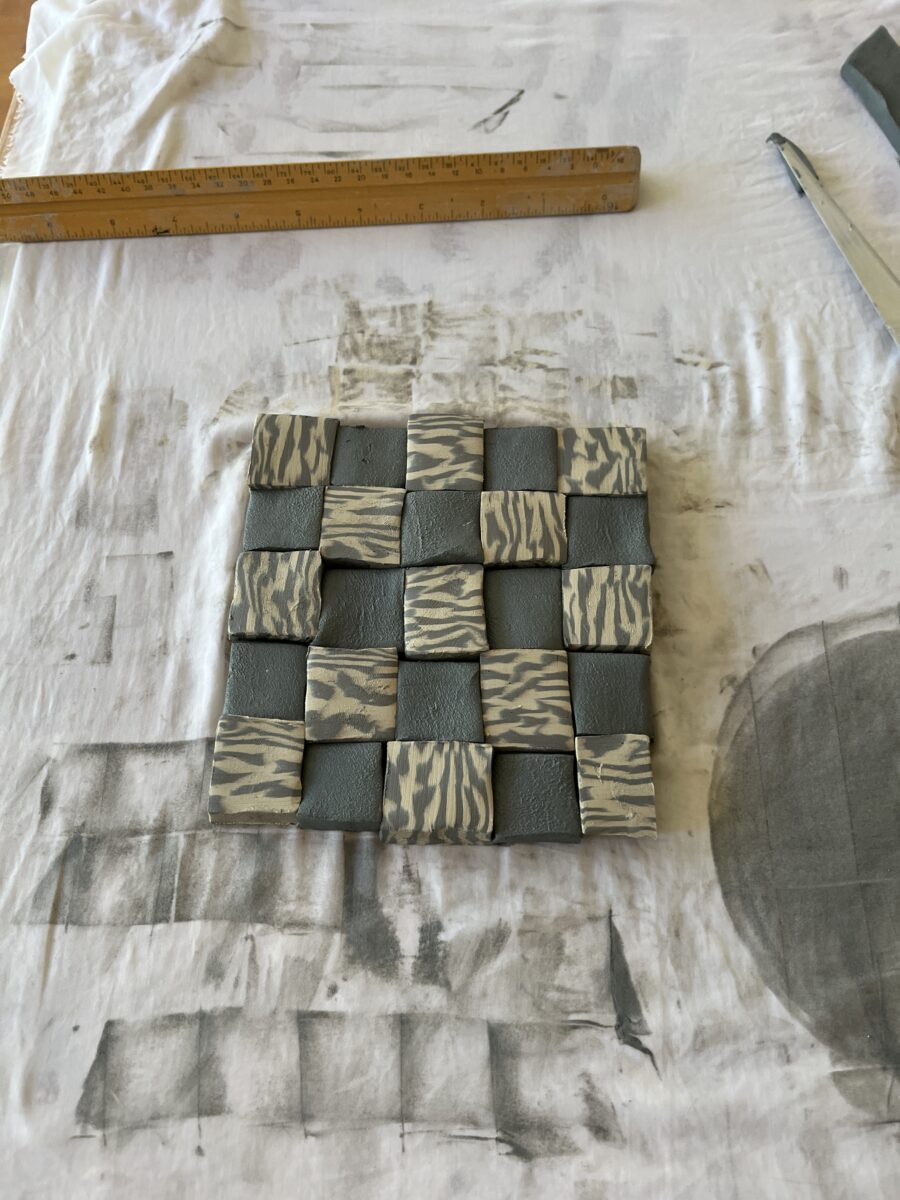
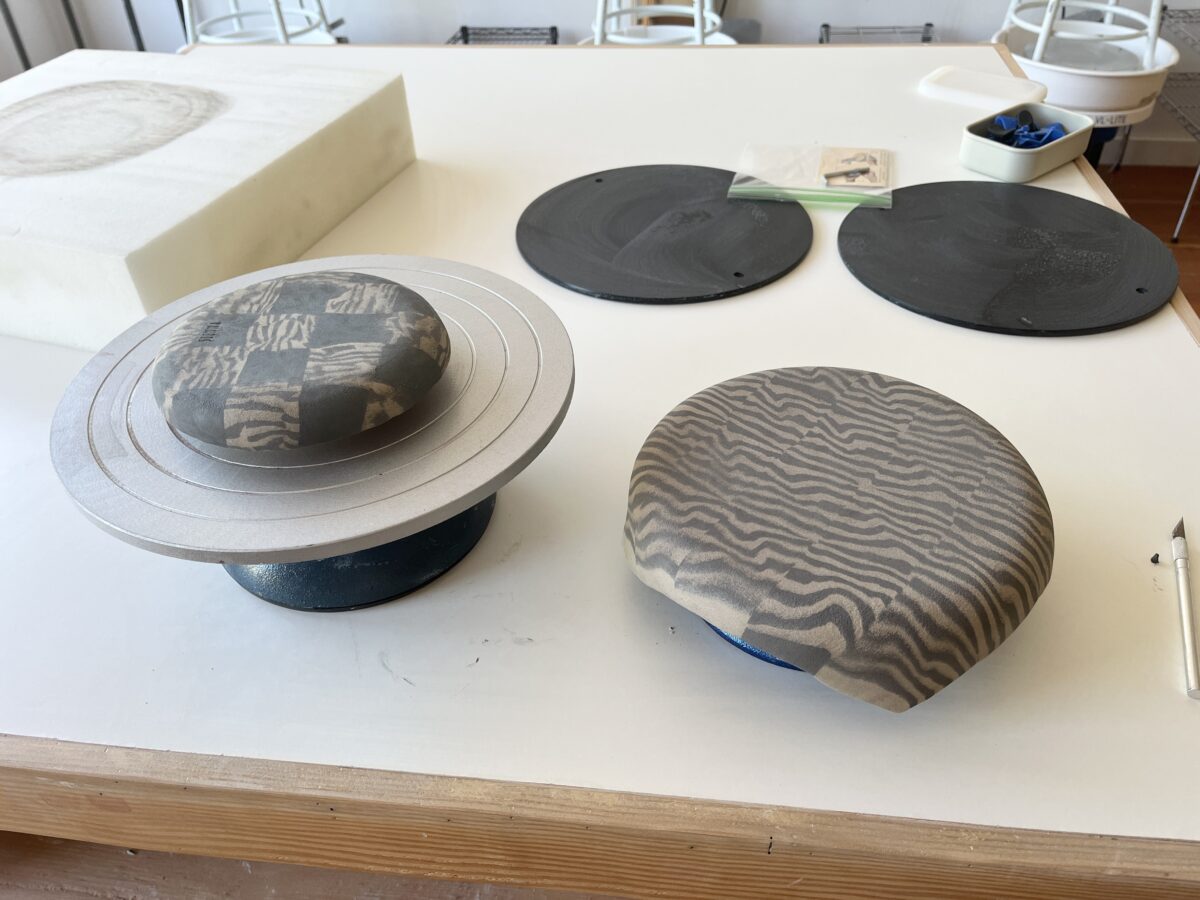
These plate forms were perfect for these slab experiments.
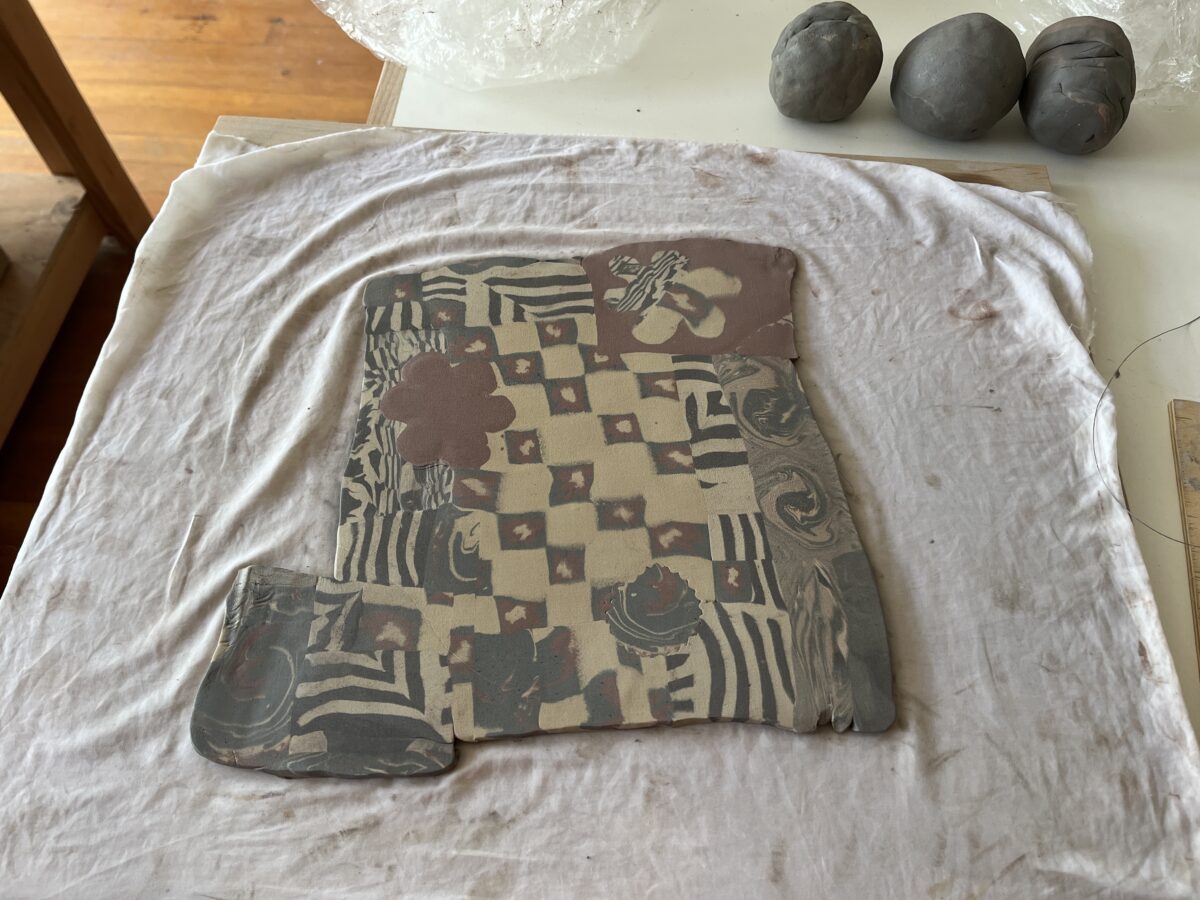
Nerikomi produces a lot of waste, so I wanted to try using leftovers to create a wall hanging similar to these beautiful things. I also tried making flowers, but there’s not enough contrast between the gray background and hazelnut brown petals. Some of the leftovers were really dry, so I really hope this thing stays together.


I haven’t glazed anything yet (only three things are bisqued), but I’m planning to use Mayco’s Stoneware Clear (fired to cone 6). One of the mason stains recommends using zinc glaze for best results. Fingers are crossed!