

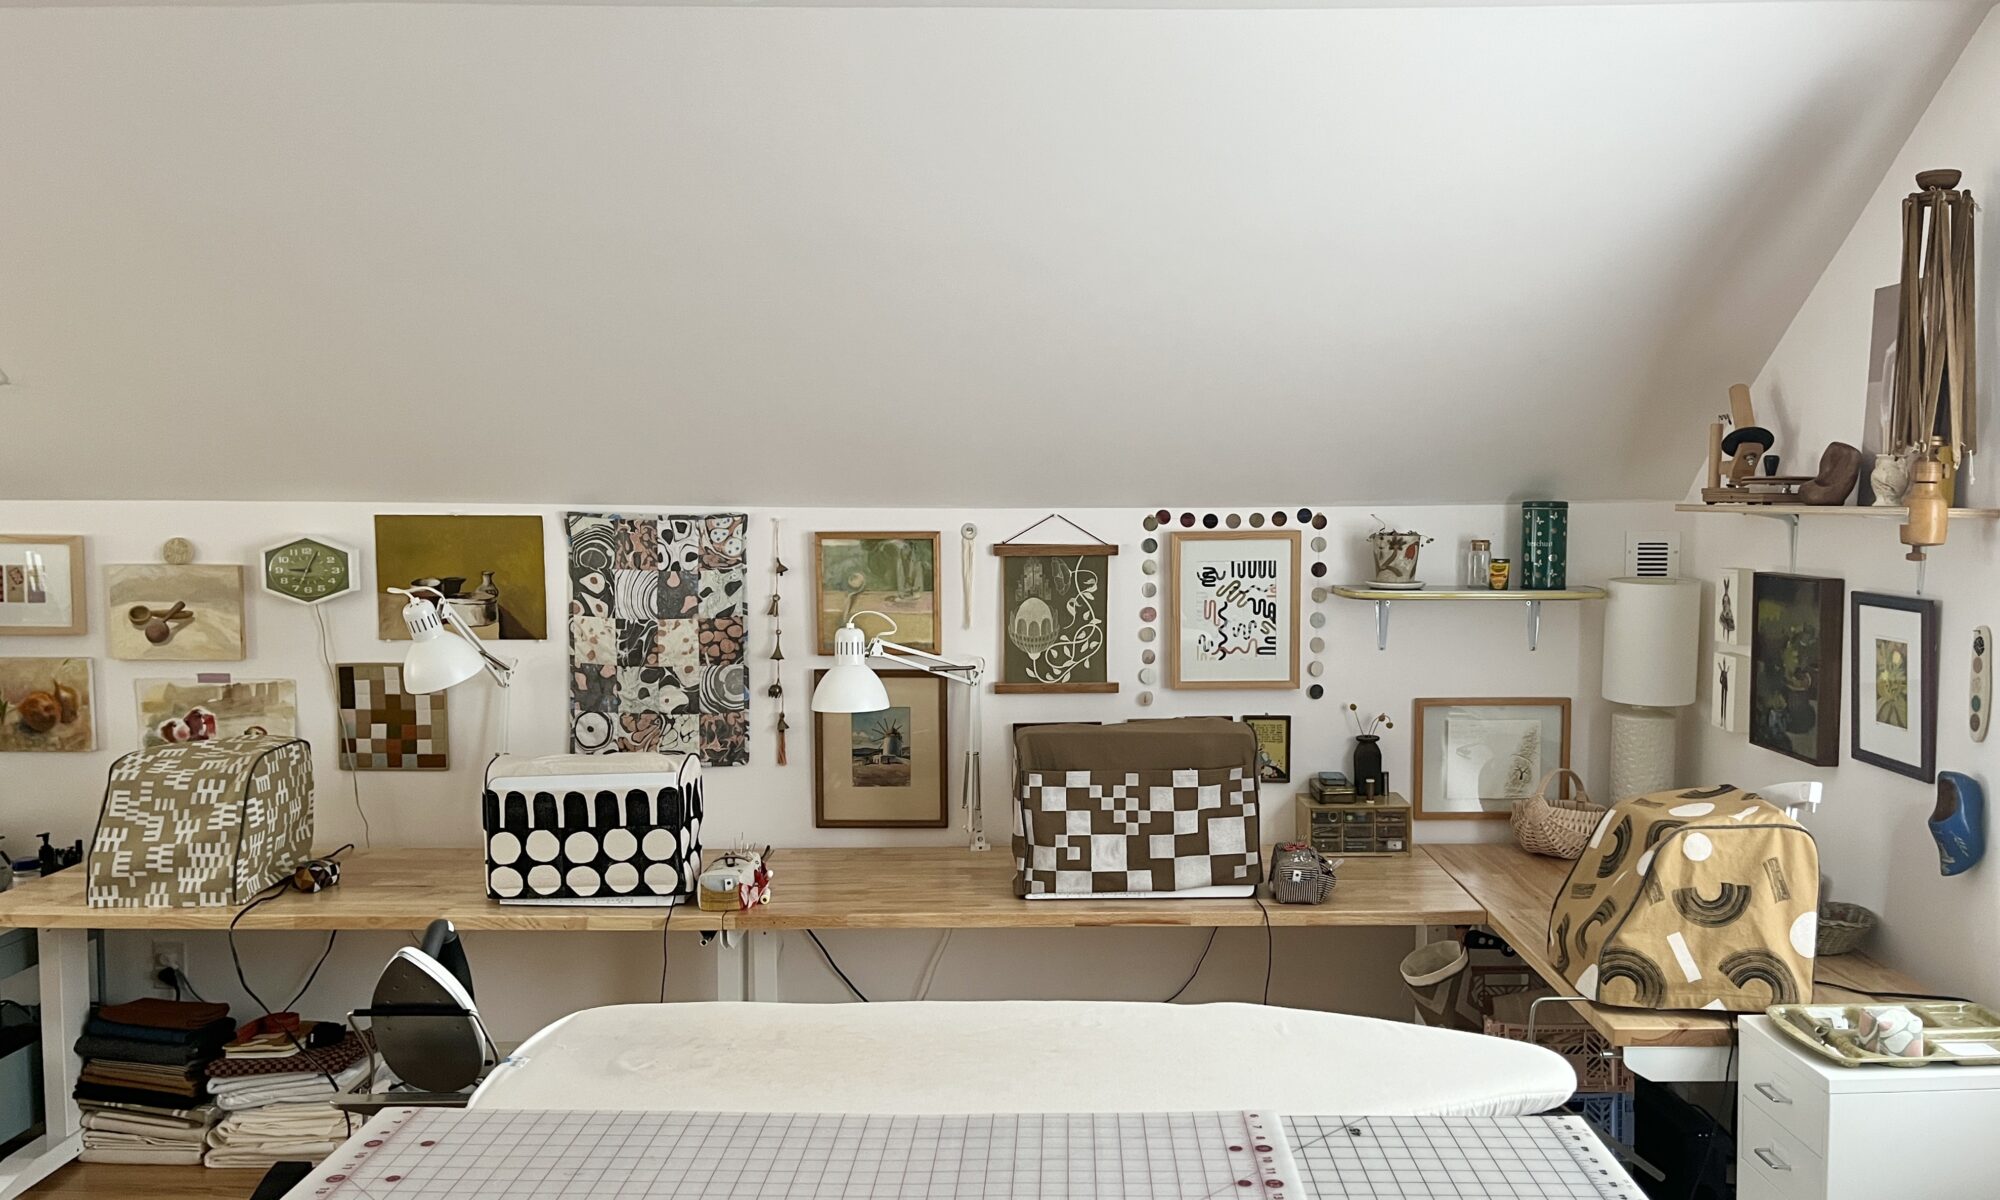
I decided to remake my sewing machine covers (here and here) for a couple of reasons. First, my serger didn’t have its own cover. Second, the current covers don’t fit well when the tables are on, meaning they either look silly or the tables are off and in the way. Third, I wanted them to all kind of coodinate, so I planned on using the same leftover bias tape for the piping for a through-line. And fourth, I had so much leftover canvas in my stash that needed to be used.
Serger Cover
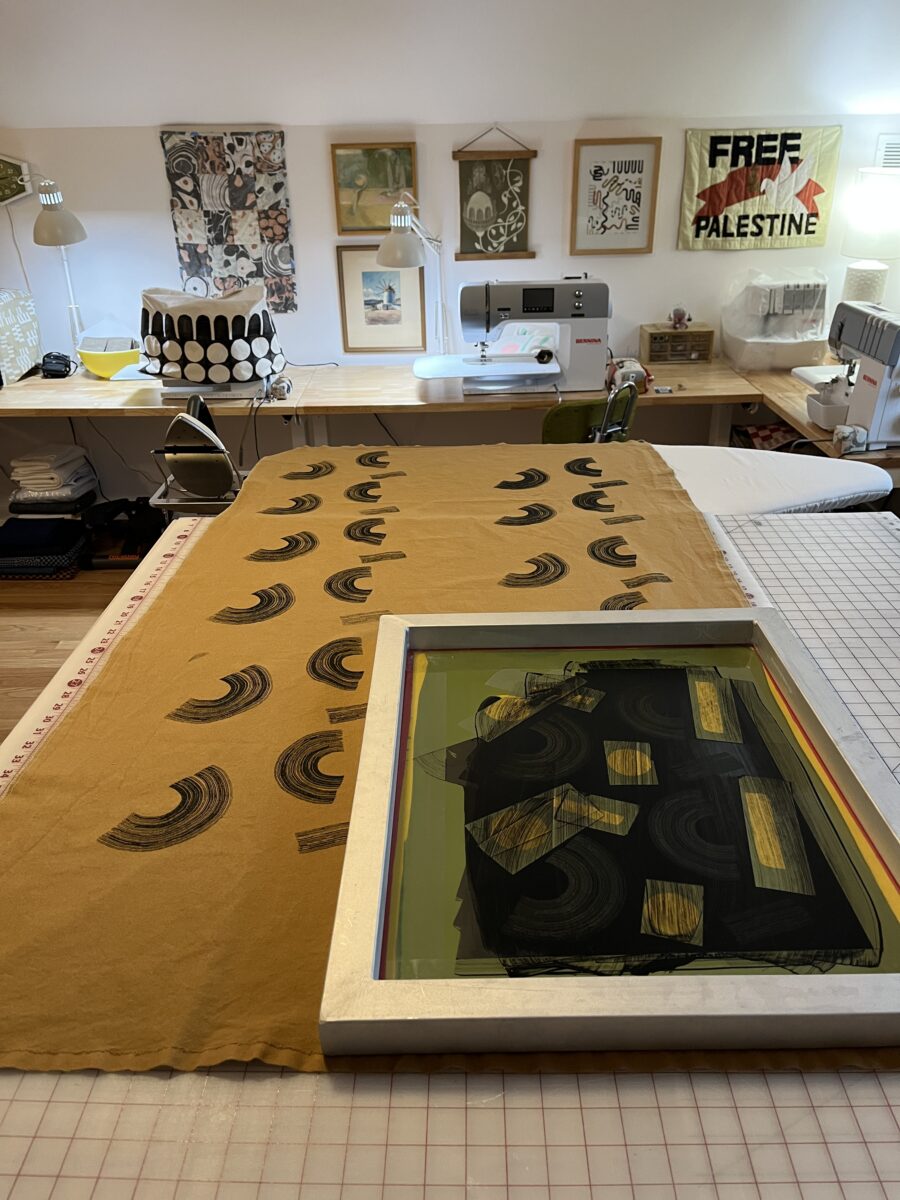
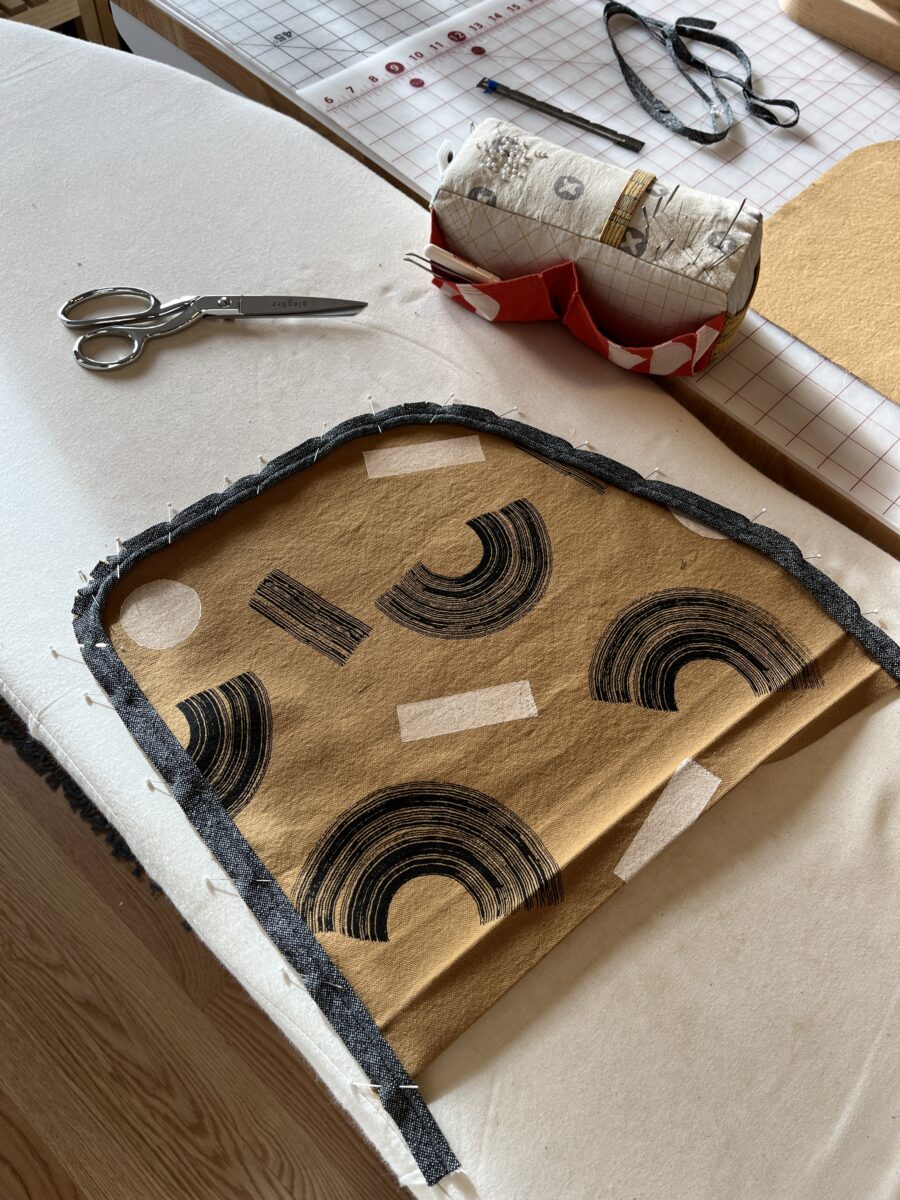
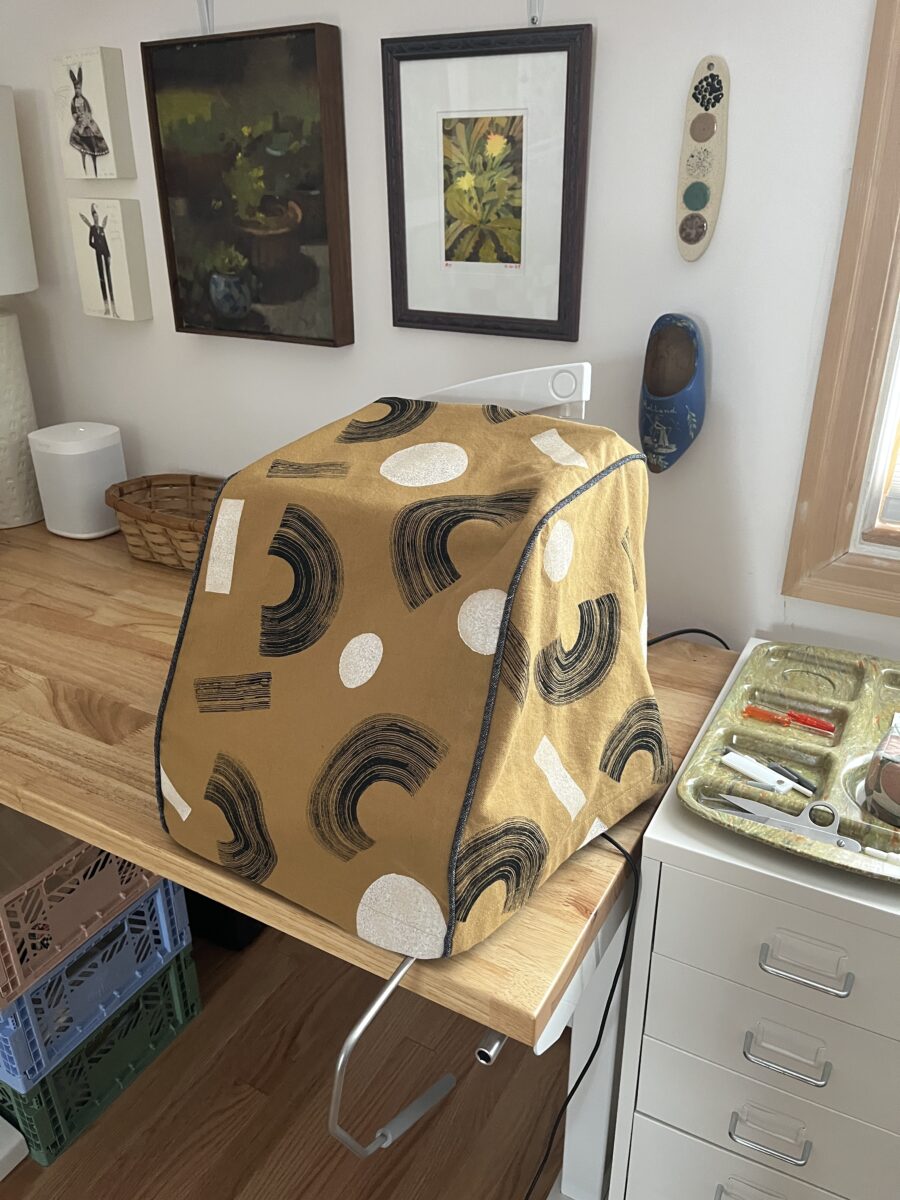
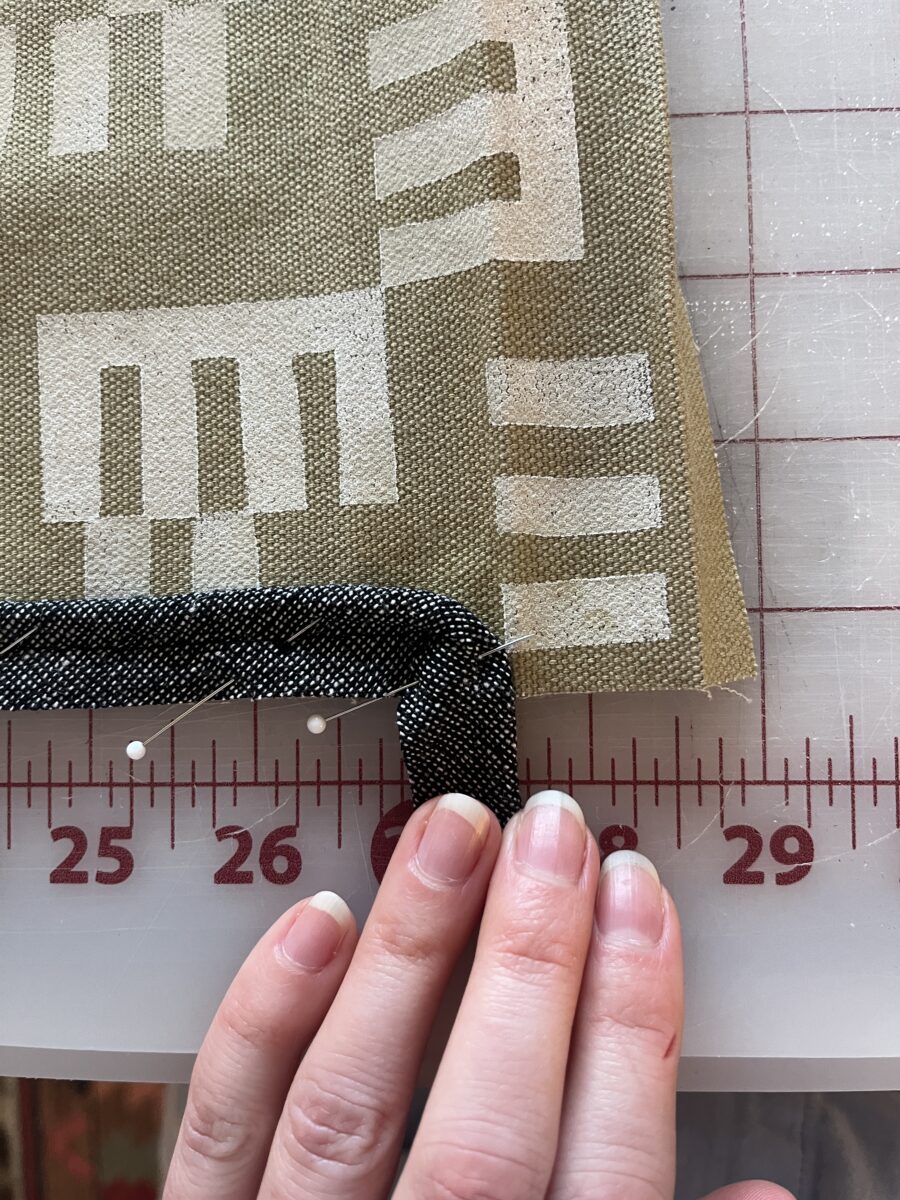
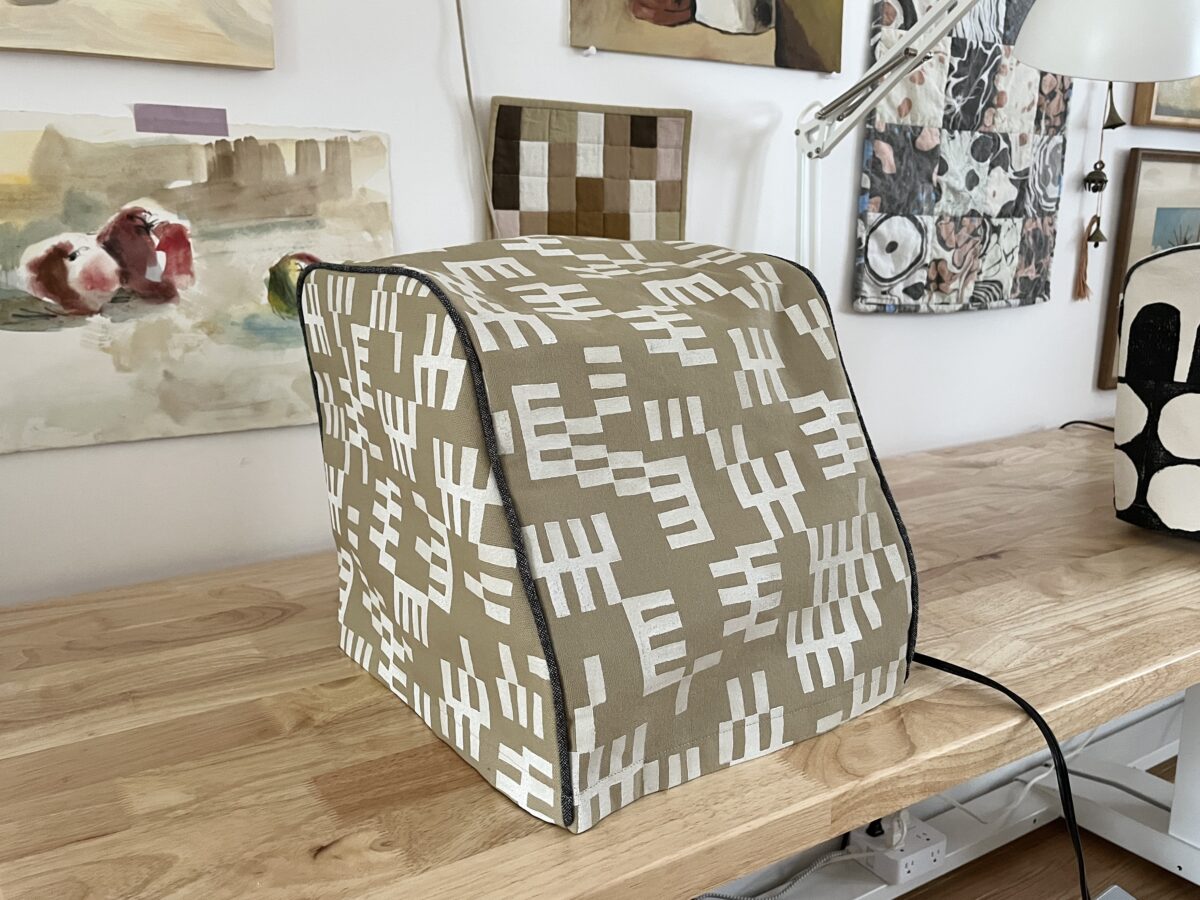
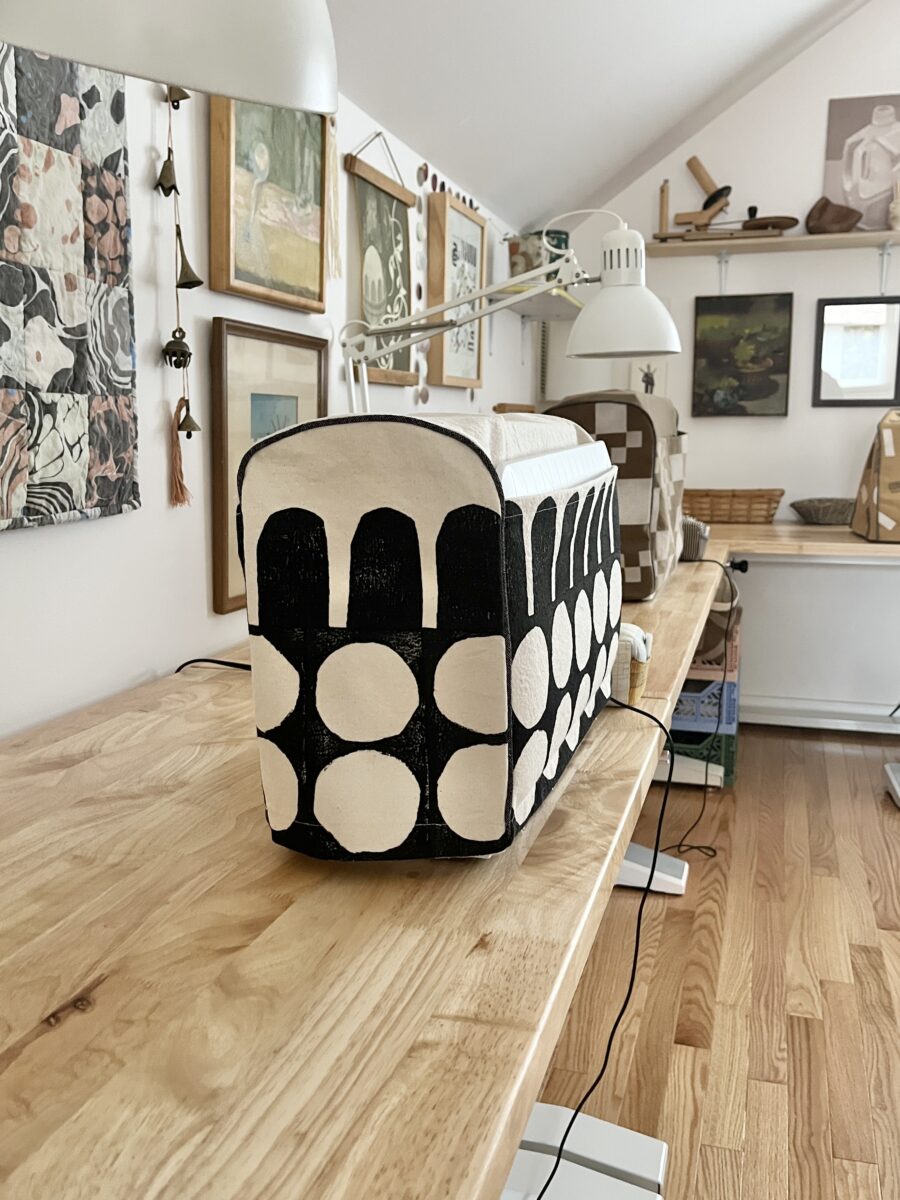
The first cover I made was for my serger since the plastic one it came with was just sad. I hadn’t played with surface design in years but inspiration hit and I pulled out this old screen and just went for it. I used the free Closet Core patterns so I wouldn’t need to draft anything. I like how they have rounded edges, piping for some structure, and the sewing machine pattern has pockets, which would solve the issue of where to store the tables. I followed the instructions for the first cover, but the piping running all the way down the hem makes it really bulky so on all the others I ended the piping right before the hem line. I also added a pocket to the back since my serger has a detachable table.
B 530 Cover
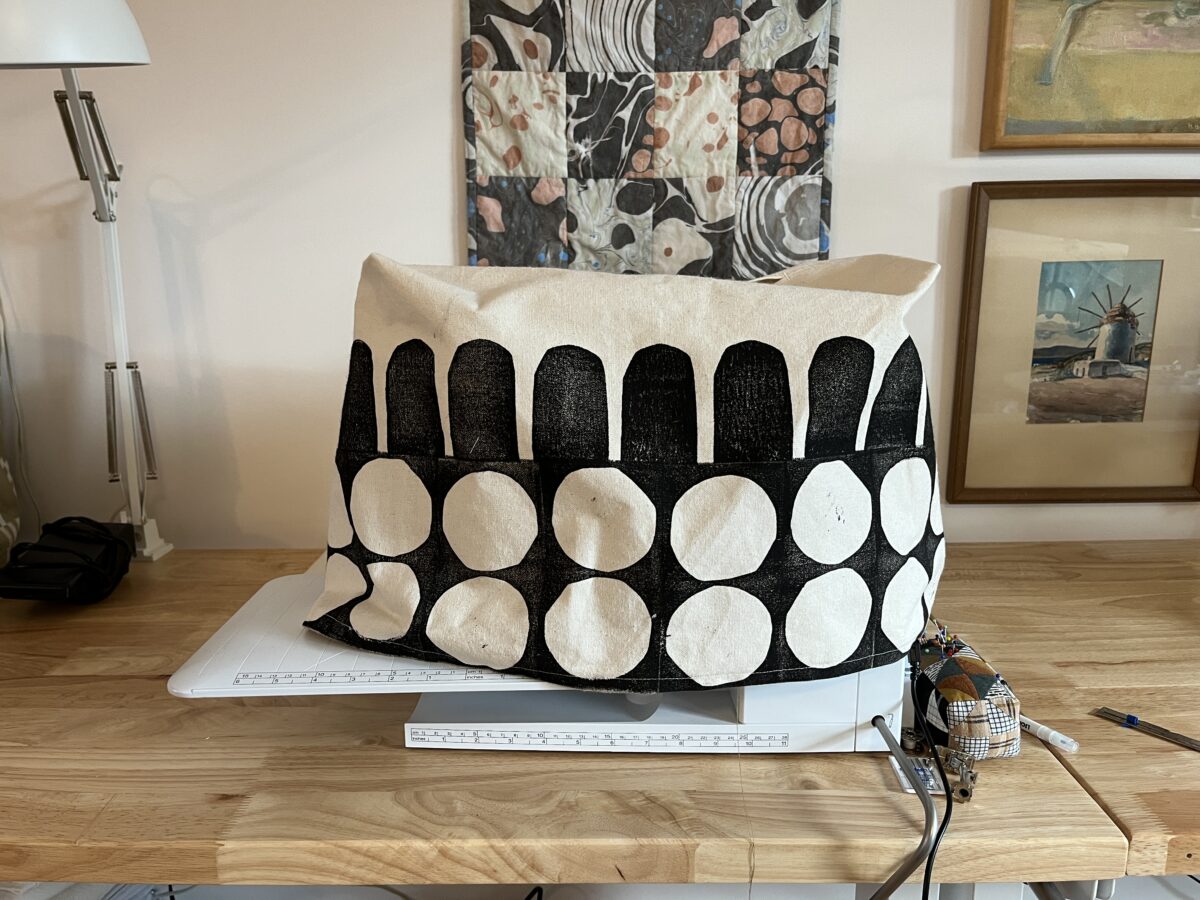
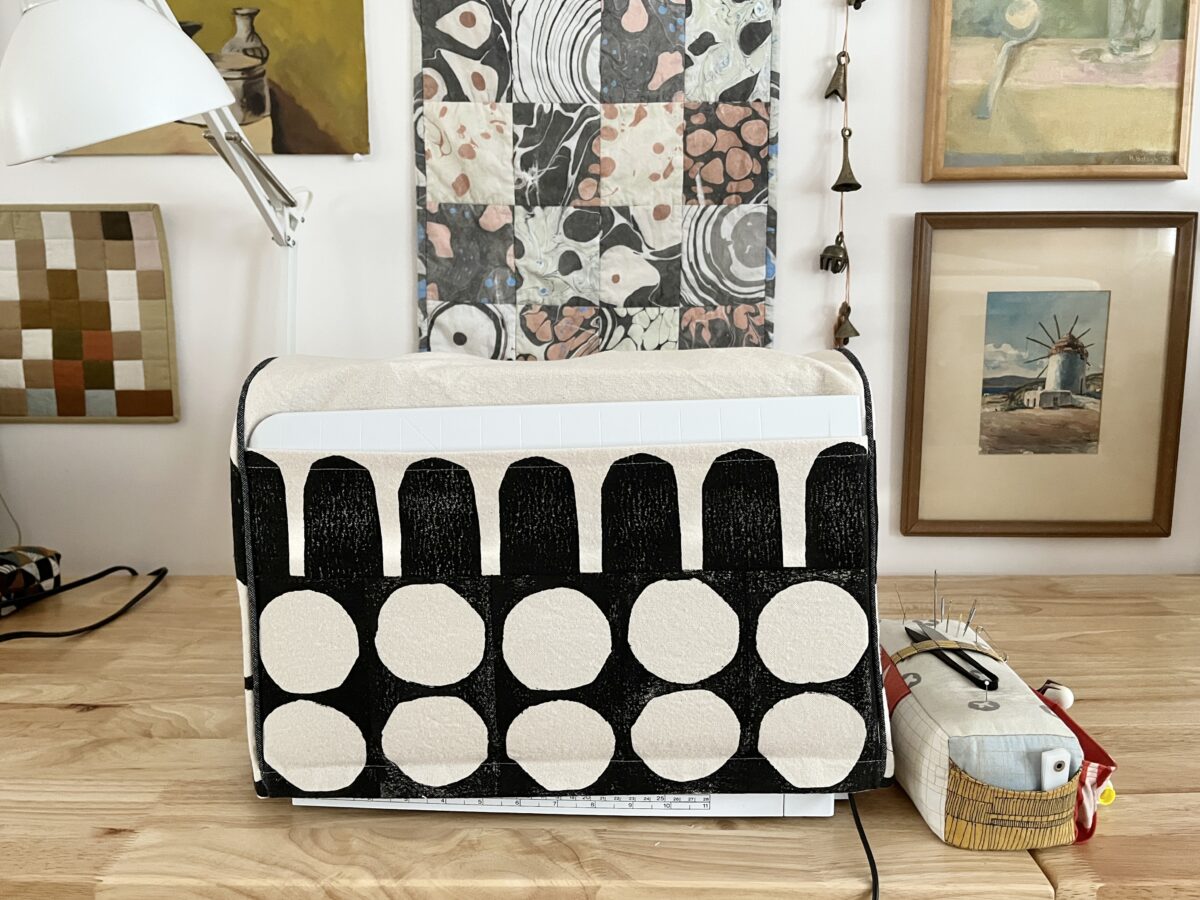
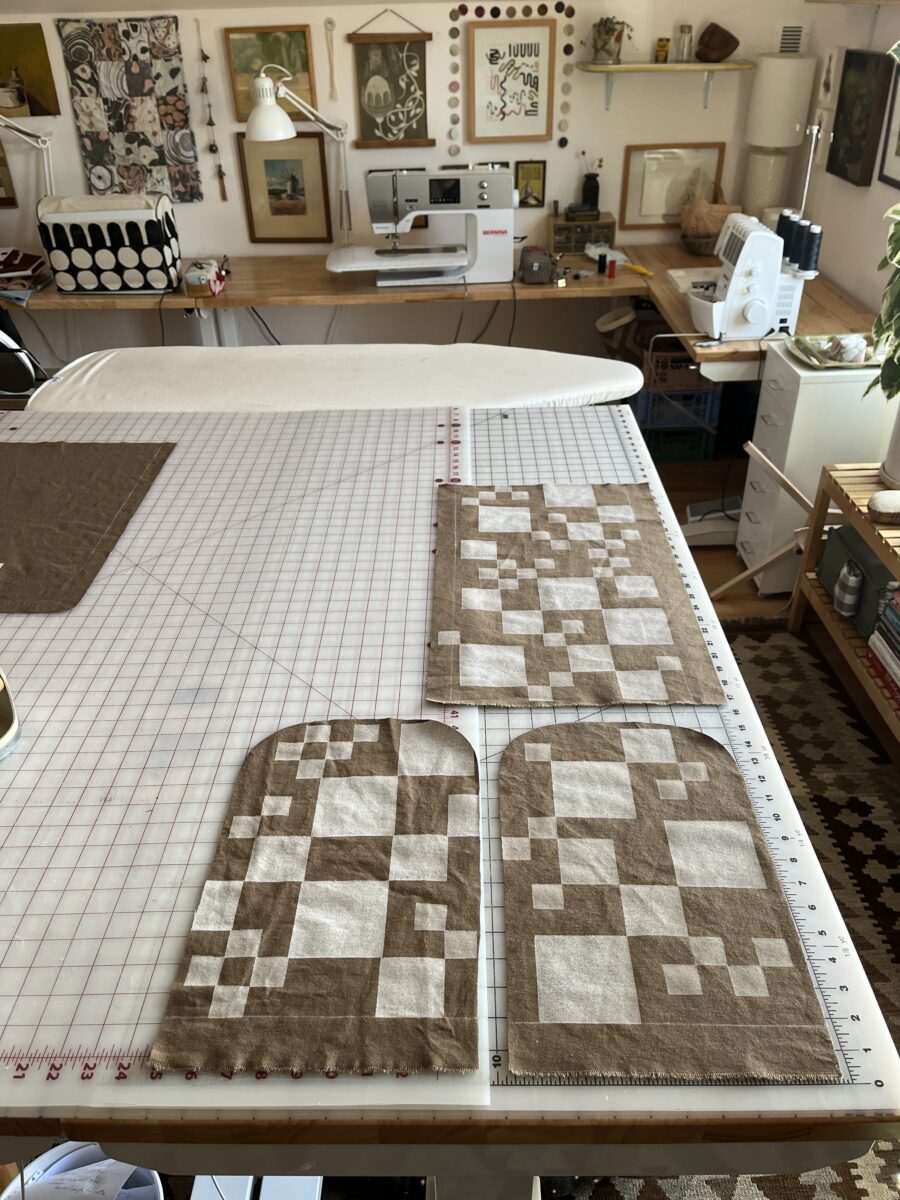
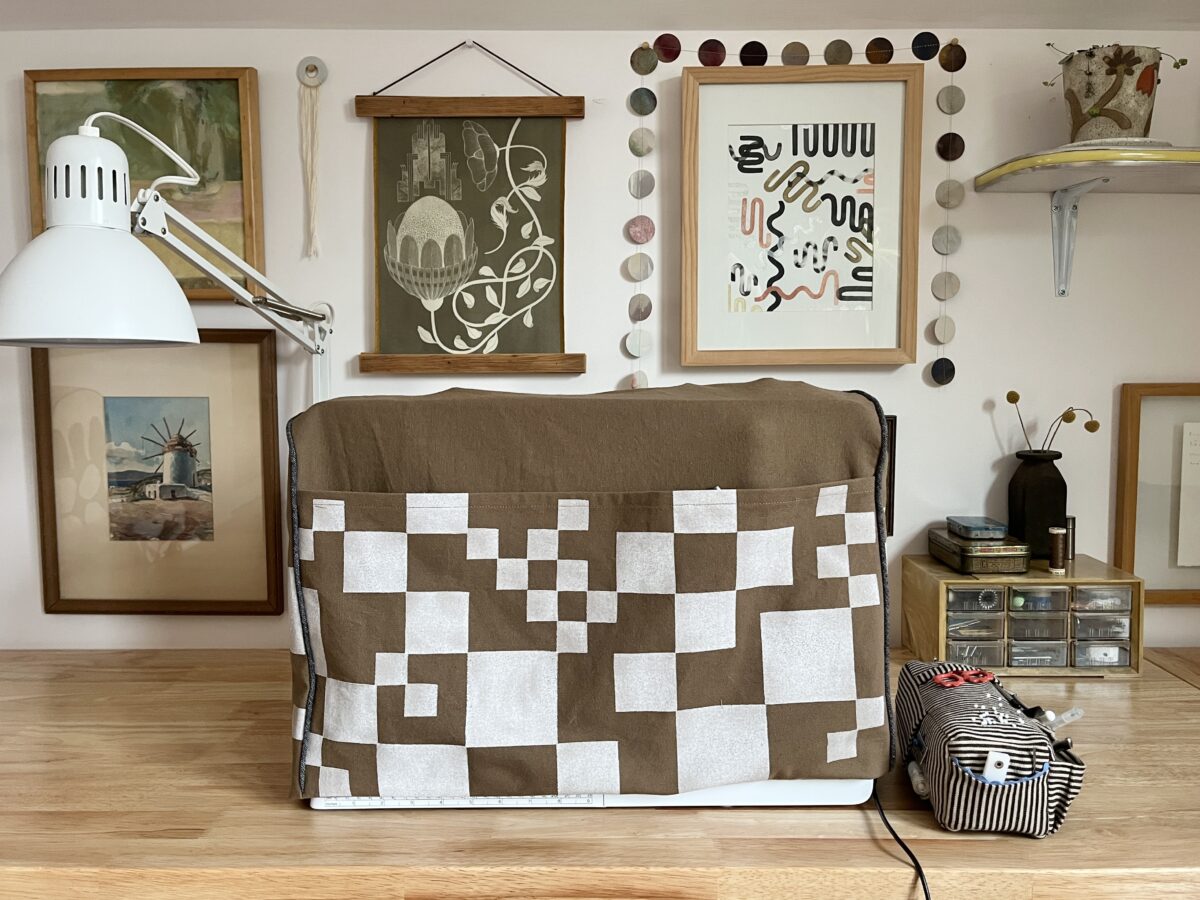
After the successful serger cover, I decided to work on the one for my secondary sewing machine. Since the images in the CC tutorial showed the same machine as mine, I wrongly assumed I wouldn’t need to make any pattern adjustments. So without testing, I block printed the same design as the original cover and started assembling. I omitted the second pocket thinking that the free arm and table could just fit in the front pocket.

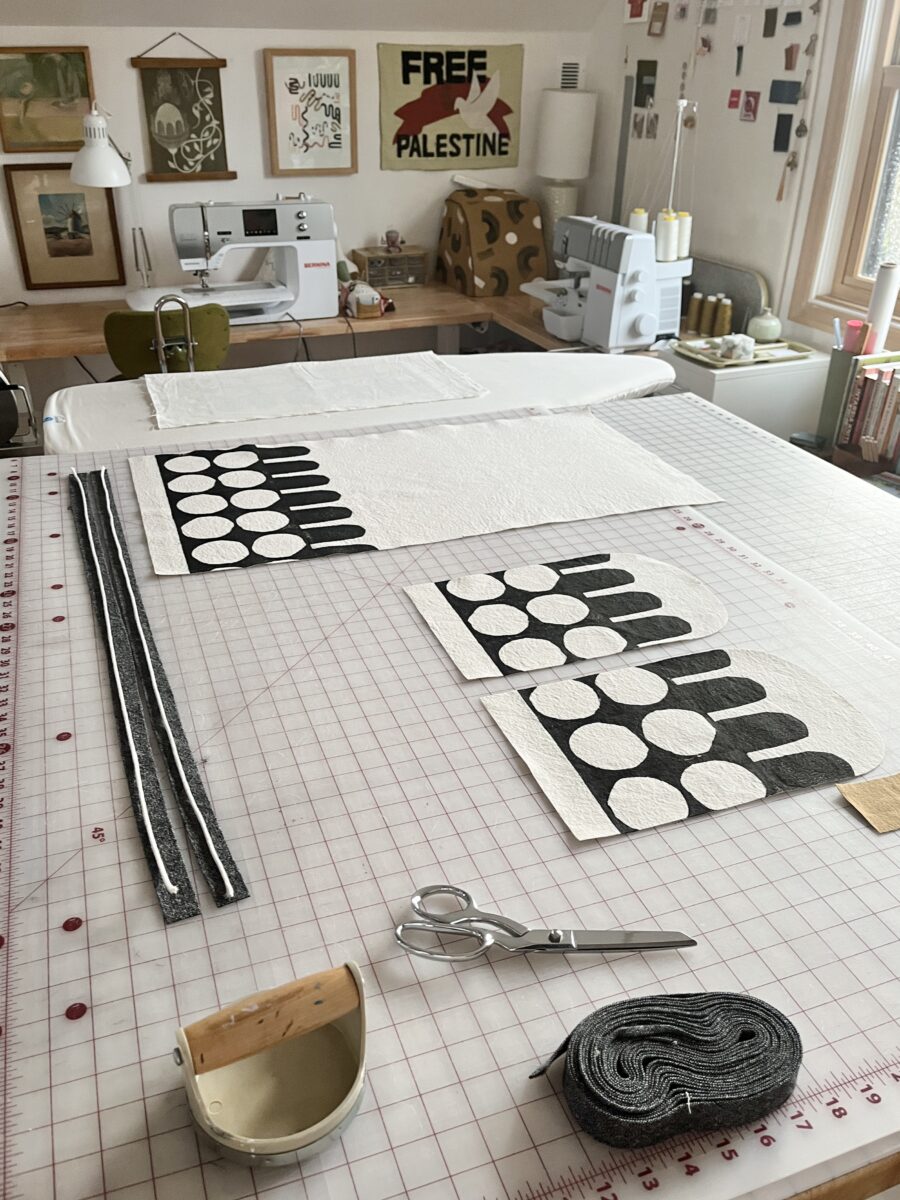
It came together quickly but the table did not fit in the pocket. Thankfully, it’s stretched out over the past couple weeks and now is just a very snug fit. But this didn’t happen before I made three frustrating mock-ups trying to find the right size before re-printing new fabric. A second pocket was added to balance out the weight of stored items.
Coverstitch Cover
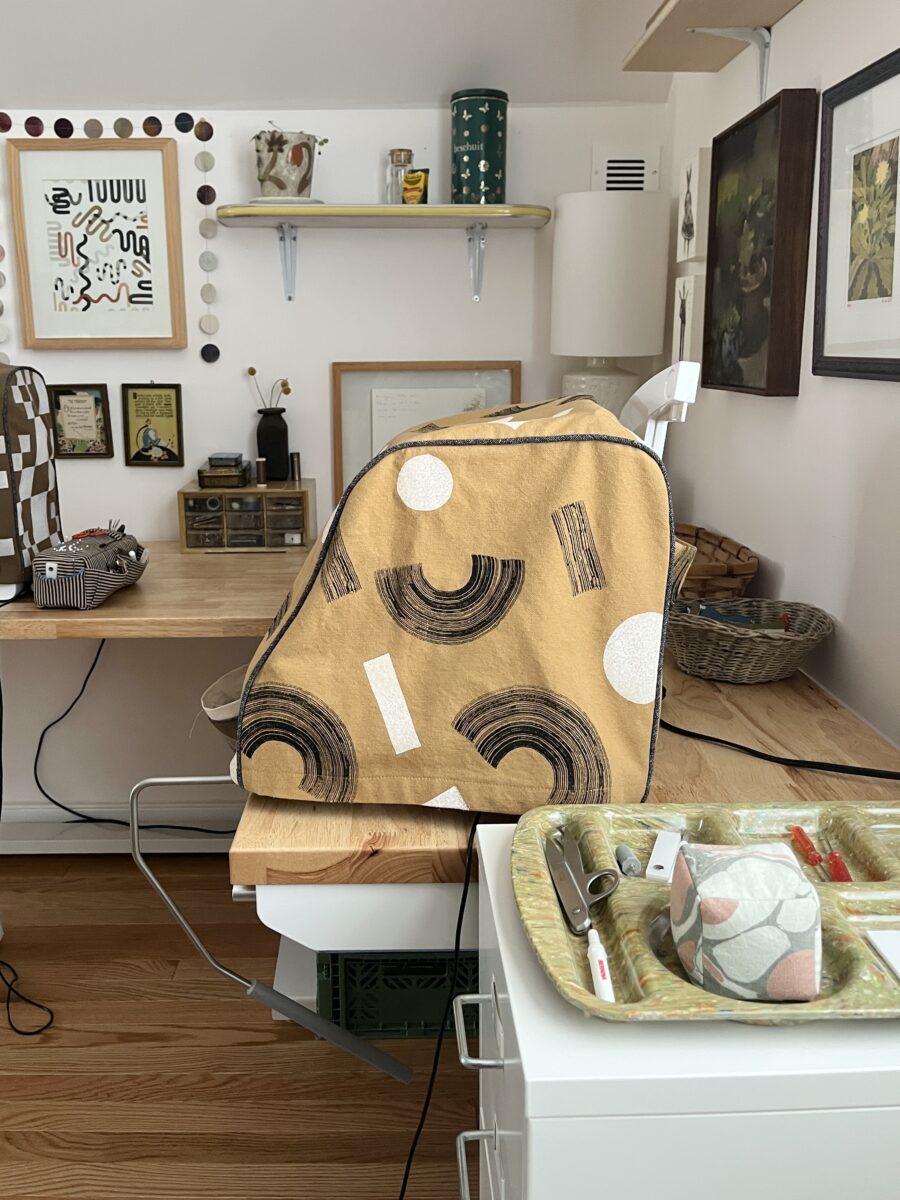
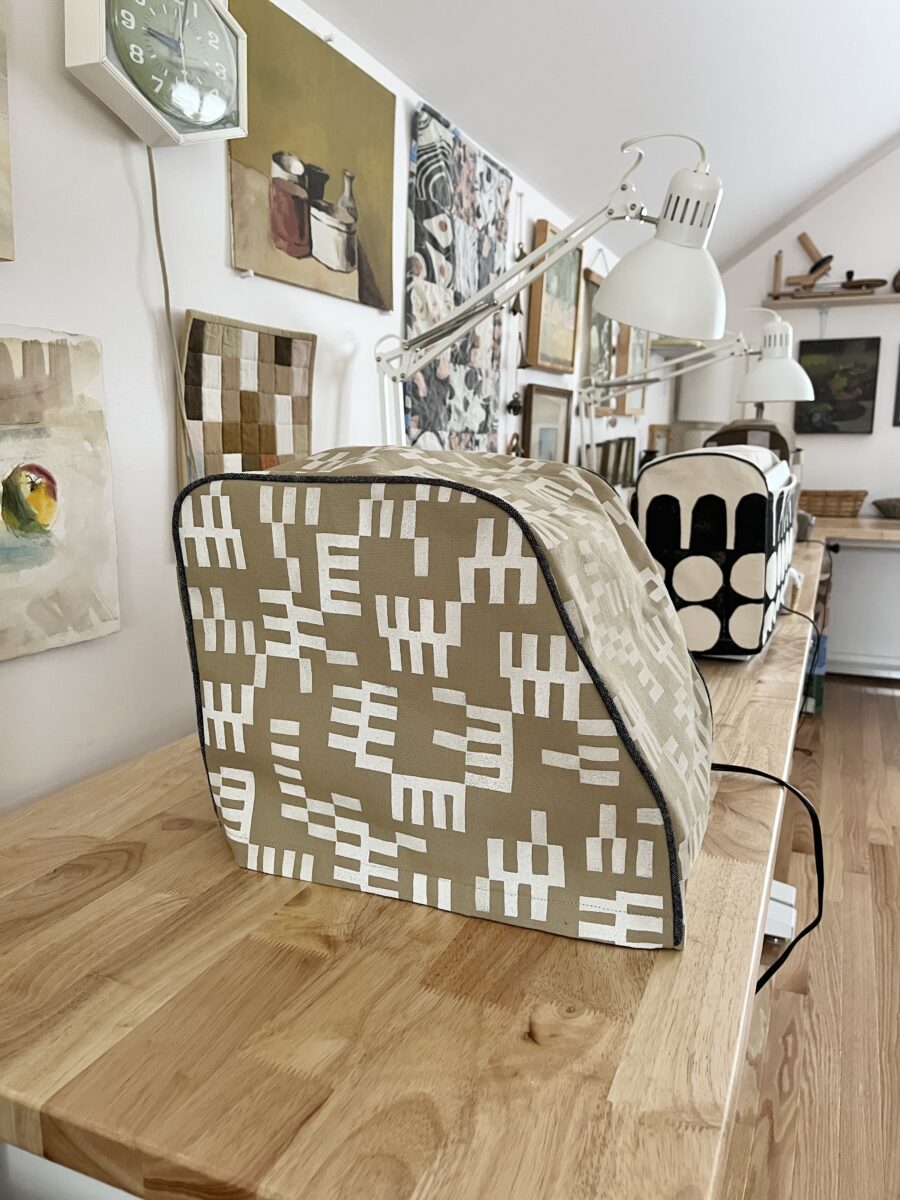
After making the serger cover, I was able to check the fit of it on my coverstitch machine. The L-220 is a little smaller than the L-460, but the cover seemed to fit just fine. At this point, assembly was super fast, even with block printing, and there was no need for a pocket on this one.


This design is one of my favorites. It’s made up of four blocks and is really fun to print.
B 770 Cover
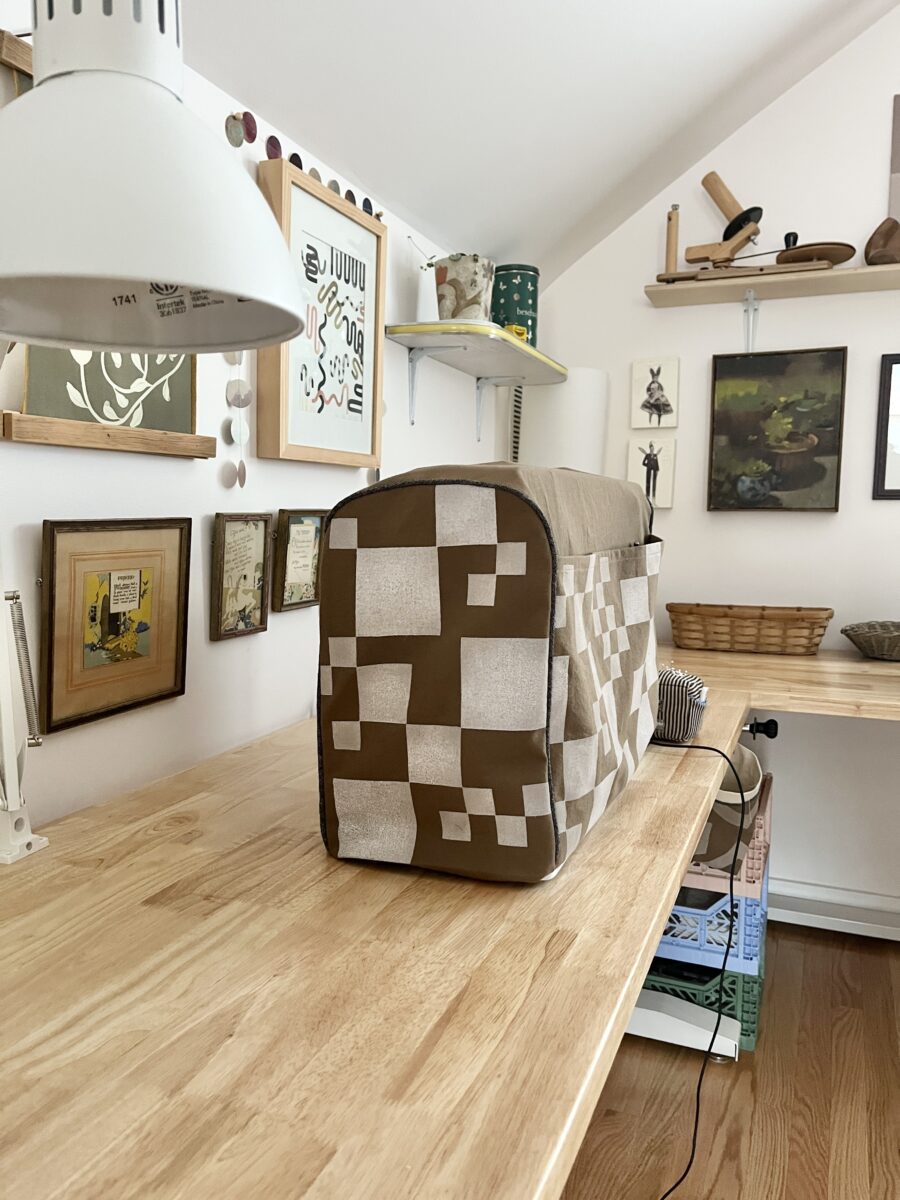
Then I hit a wall. I had used all the surface designs I’d already made into blocks (or screens), plus I’d need to adjust the pattern to fit the 770’s honker size. I made a few mockups and then decided that it would be easy enough to just shave off some length and re-attach a side if necessary. After flipping through an old sketchbook, I decided on a very simple square design. I opted to not print the main pattern piece since there wasn’t an easy way to ensure the surface design would line up neatly.

This one isn’t fully finished yet. The canvas seems like it’s growing, so I’m going to wait to finish the seam allowances and hem.
I’m really happy I decided to tackle this project. The covers look great, they coordinate well with the room, and I used up a lot of materials.
Wow just Wow
I absolutely love these. Well done. 🙂