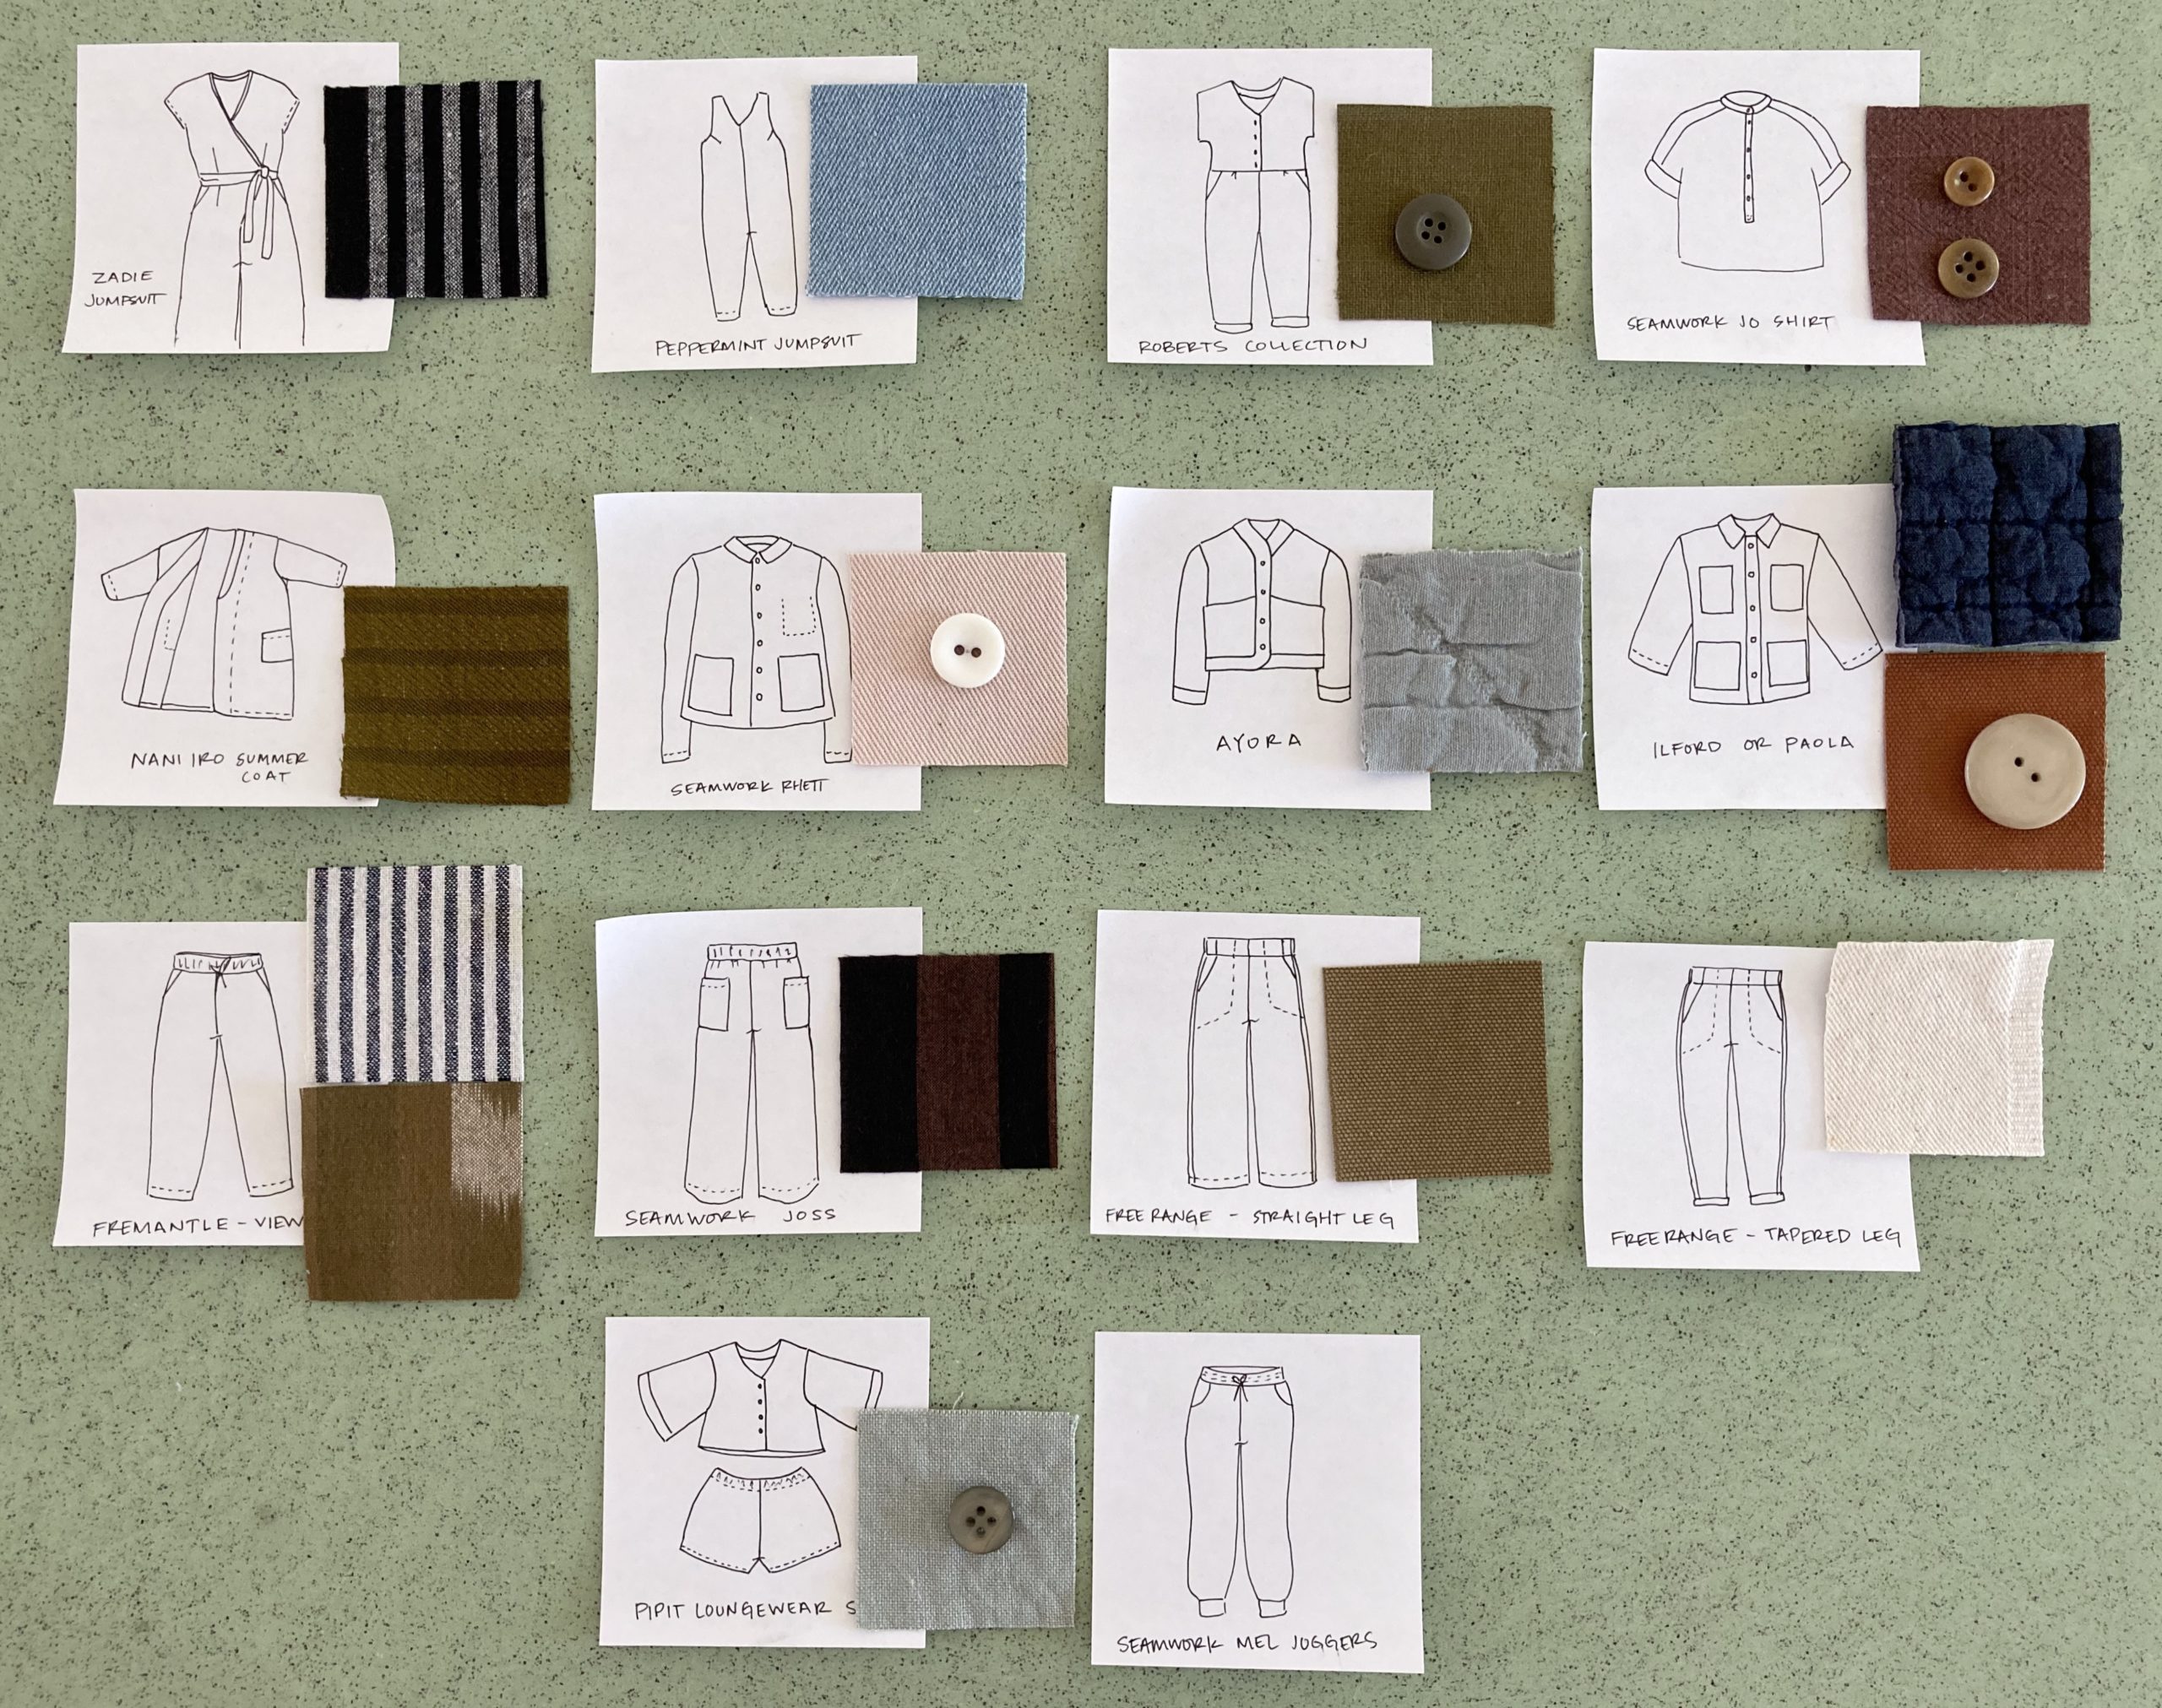
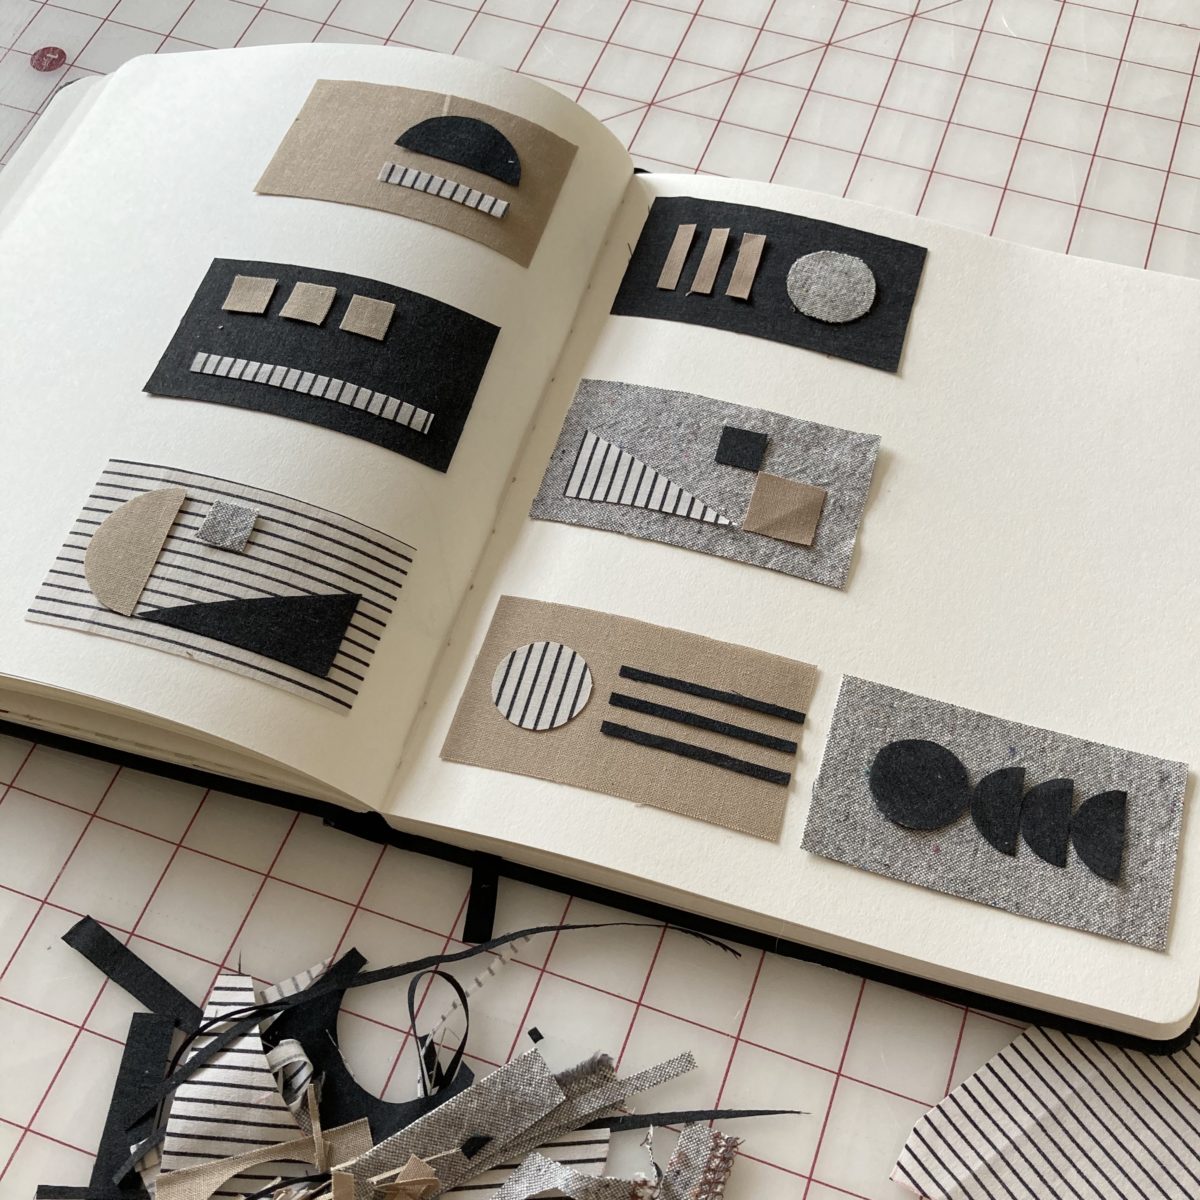
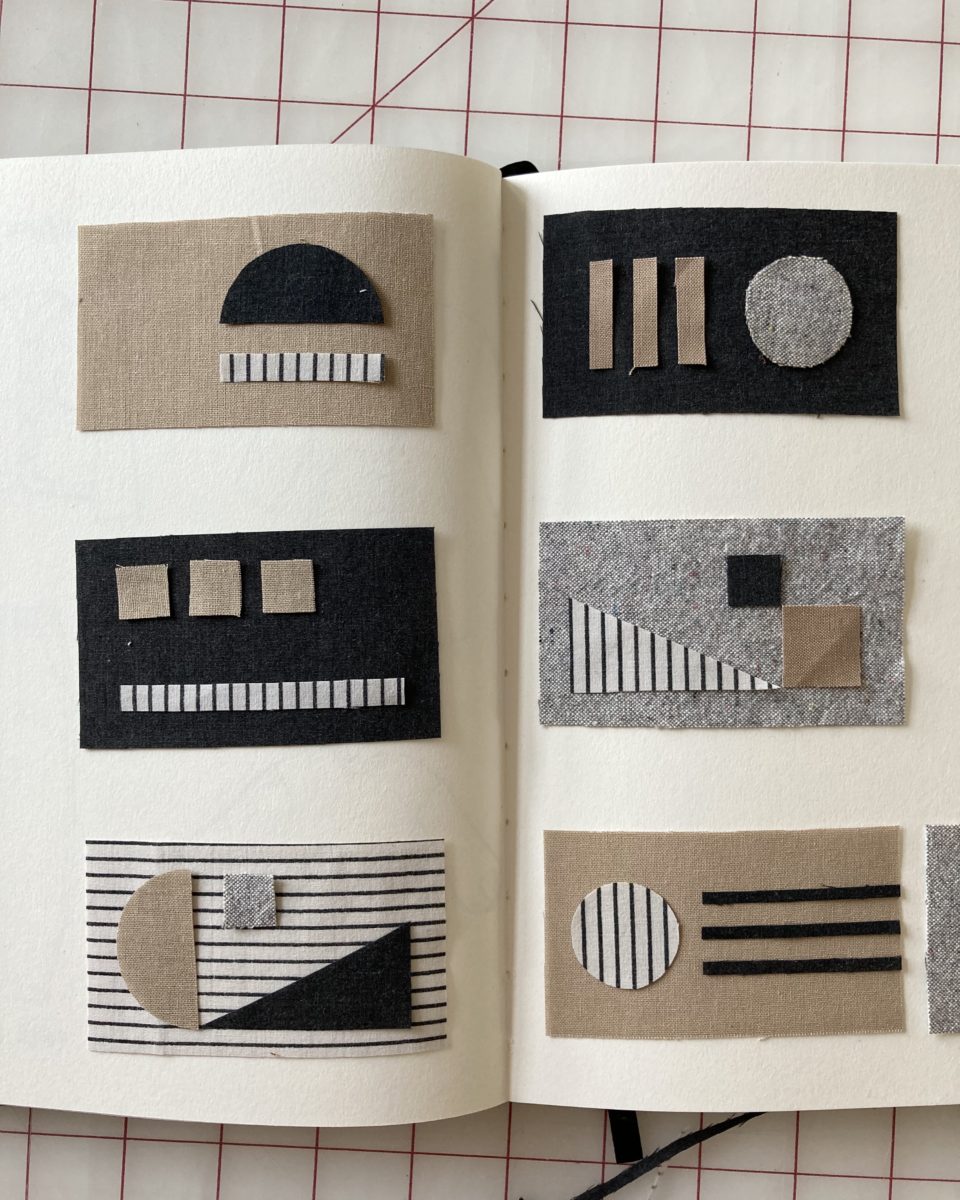
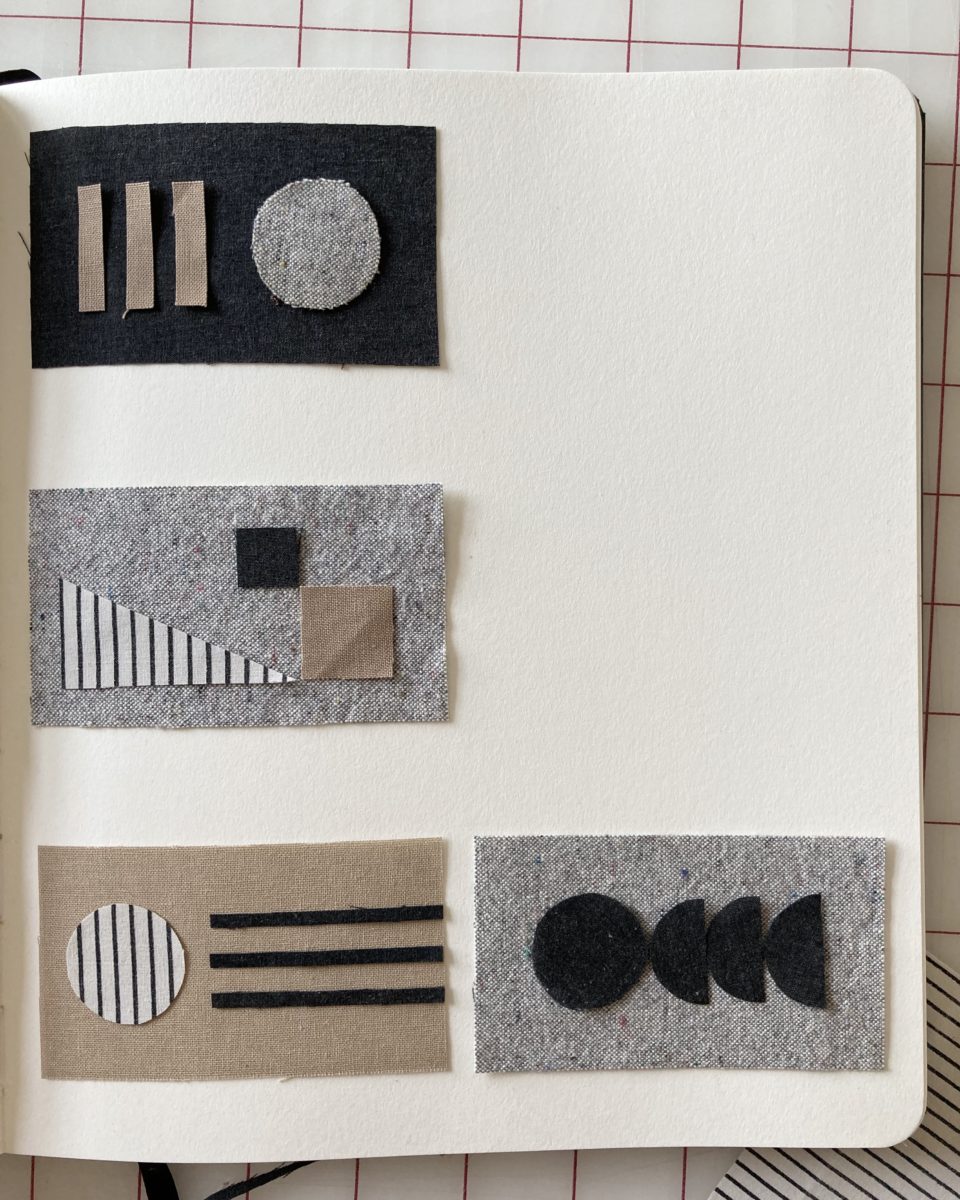
My stash has gotten a bit out of control. Simply put, I’m buying a shit ton more fabric than I’m sewing. And that’s right, I have some coming in the mail too. I try to buy fabric with a pattern in mind, but sometimes I don’t, or I change my mind… You know how it goes. So I’m going back to a tried and true method – drawing flats and pairing them with swatches. The only thing that’s different is I’m taking them out of my sketchbook and hopefully posting them somewhere super visible in my space. Oh, and documenting them here. I think once a project is completed, the drawing and swatch will go back into a sketchbook.
During Me Made May, my goal is to make as many comfy WFH pants as possible. We’ll see how much gets done.
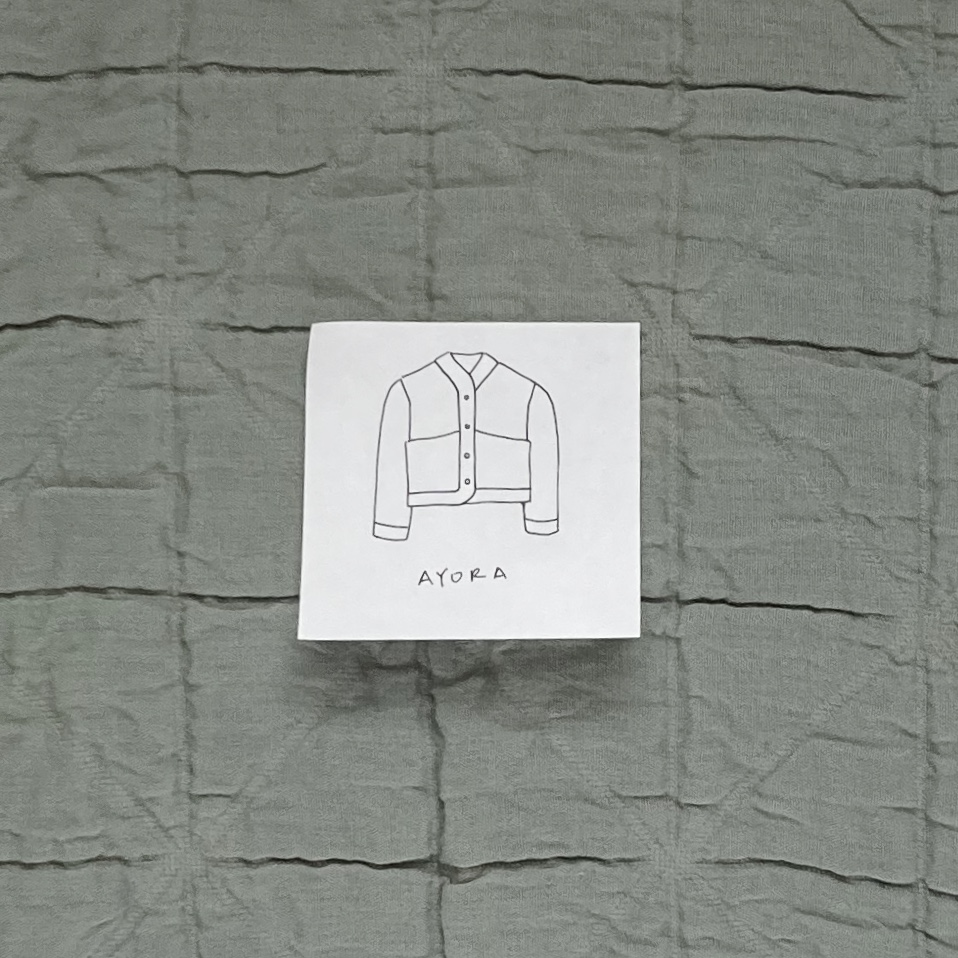
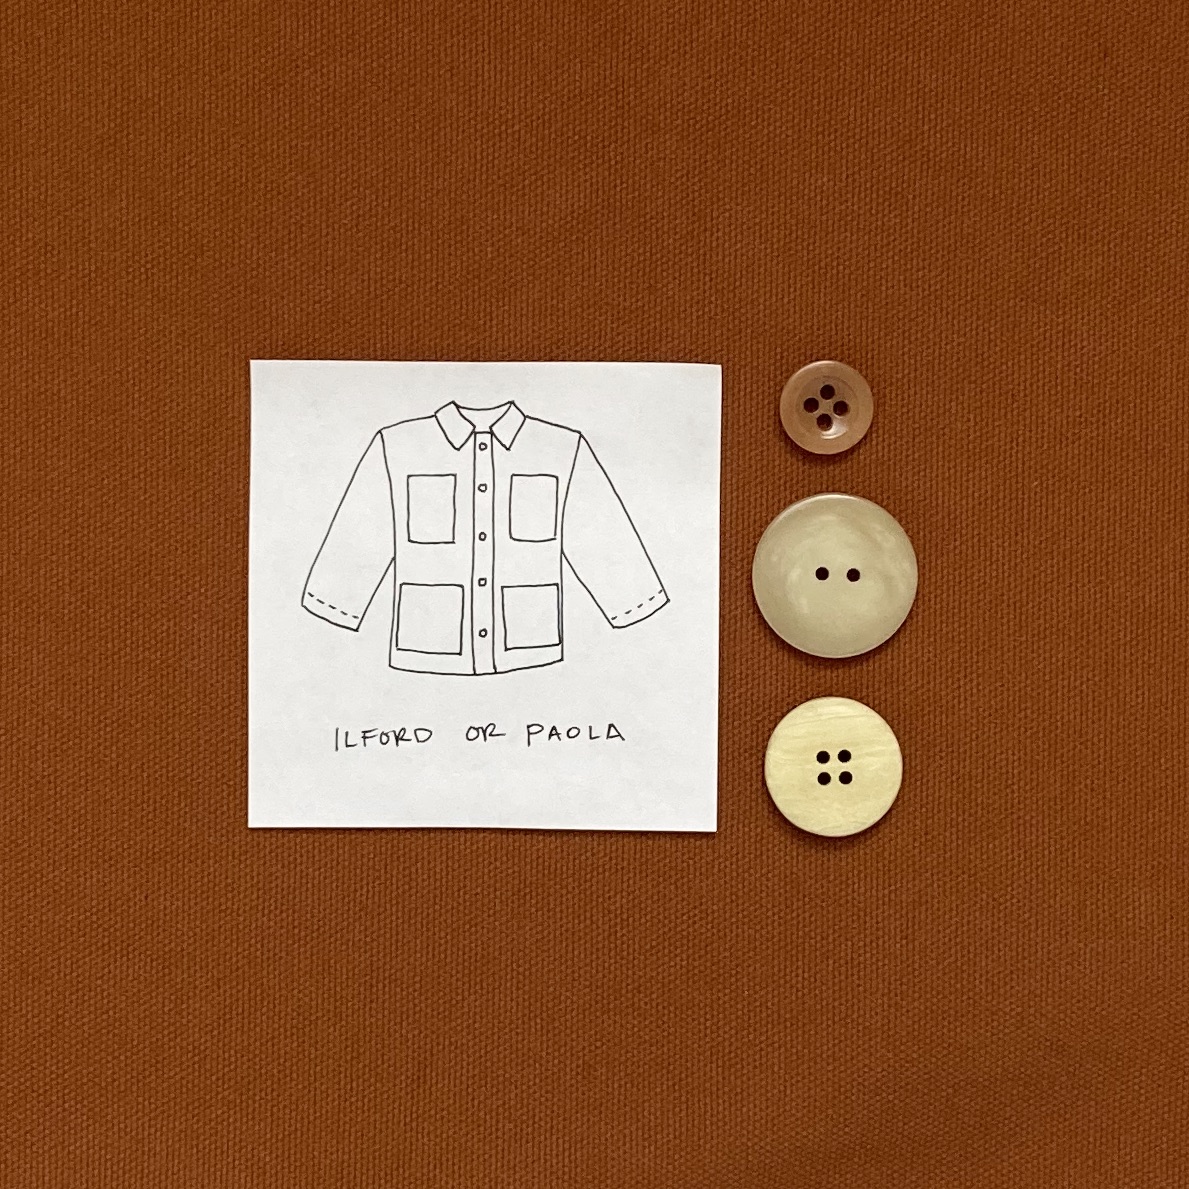
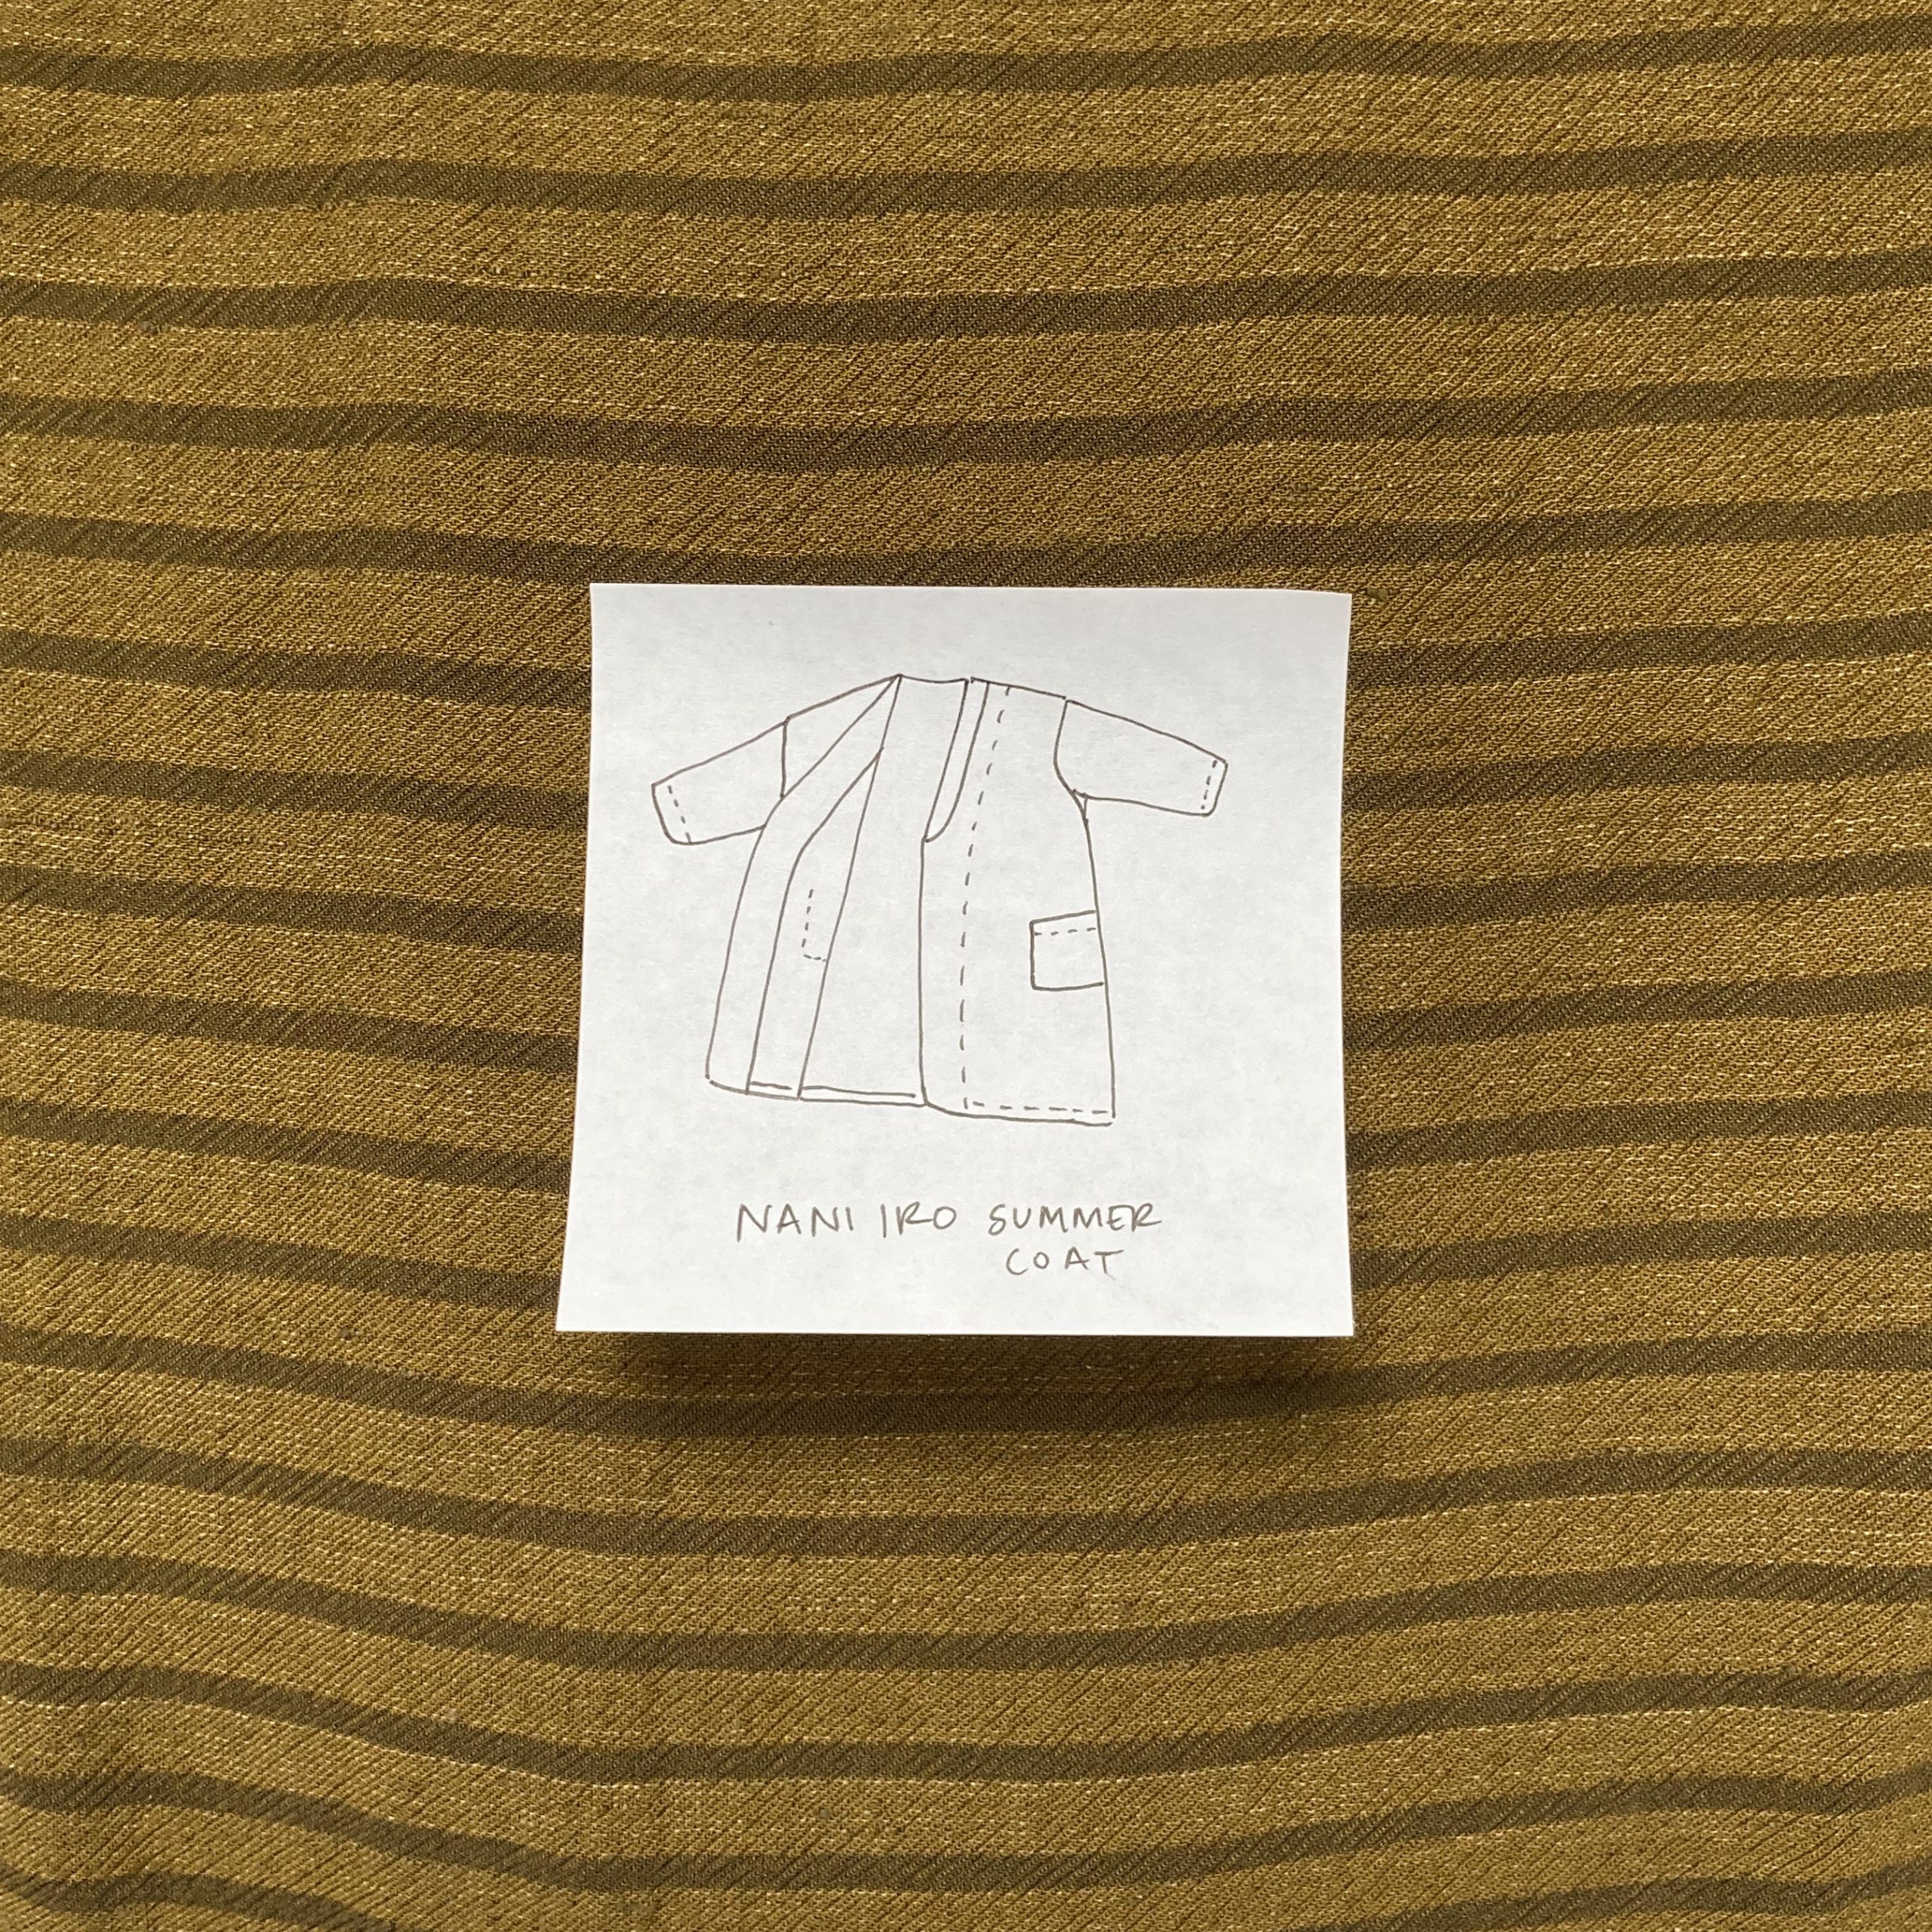
Outerwear
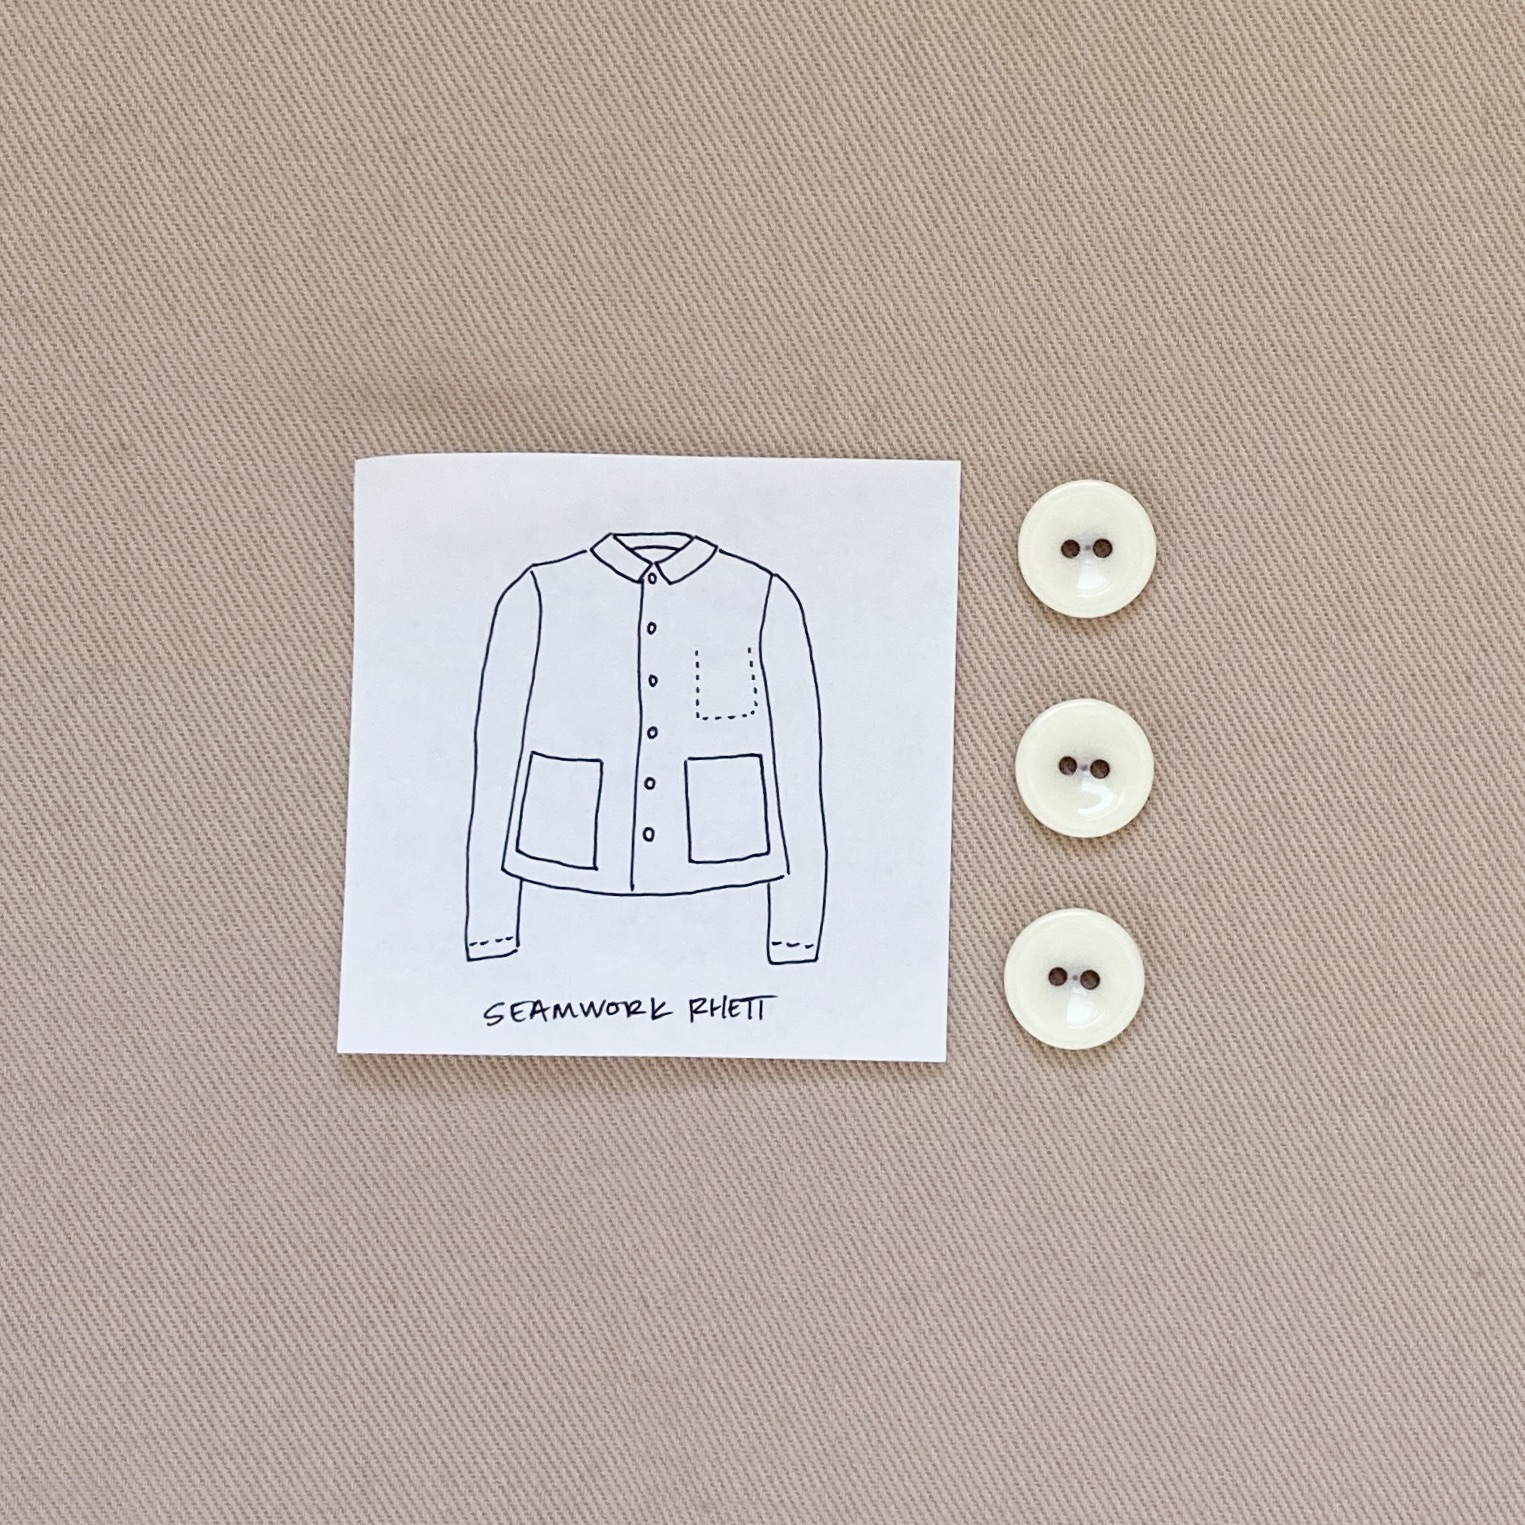
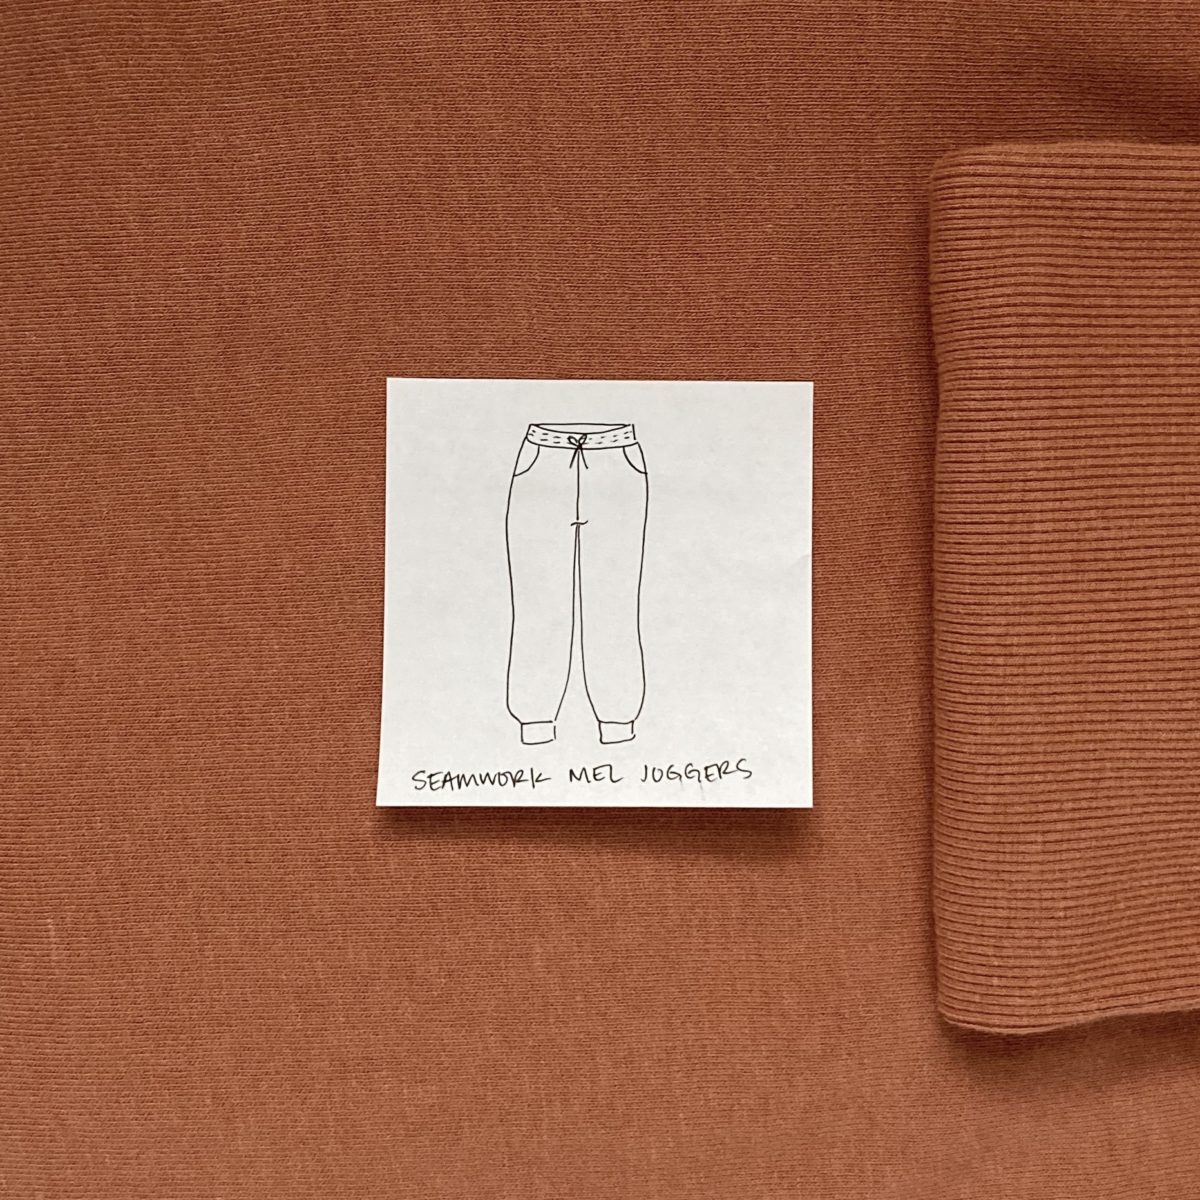
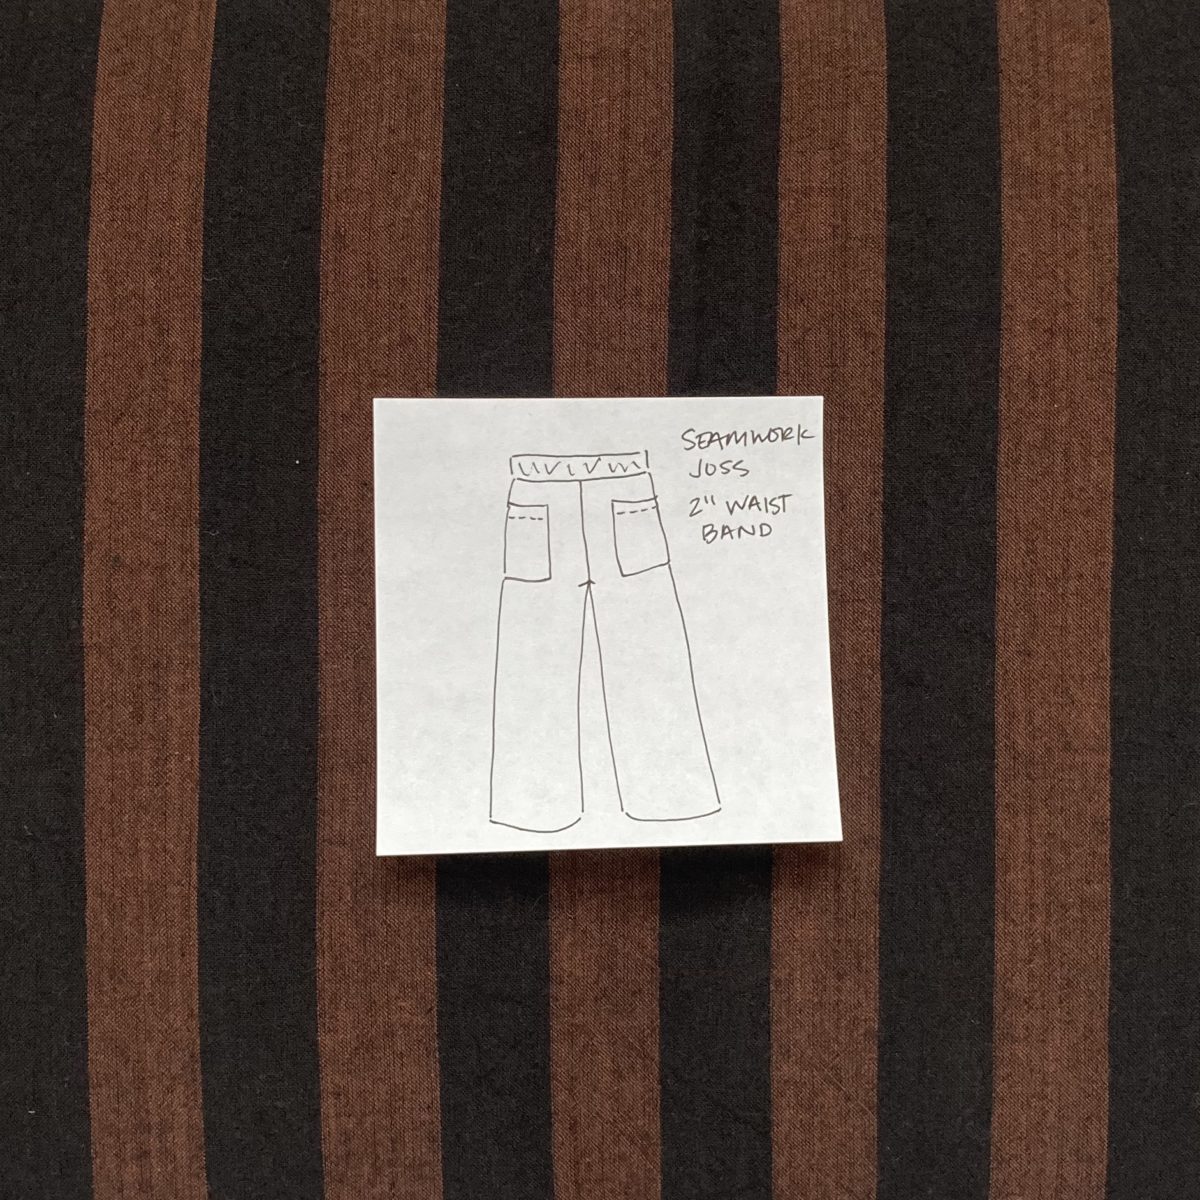
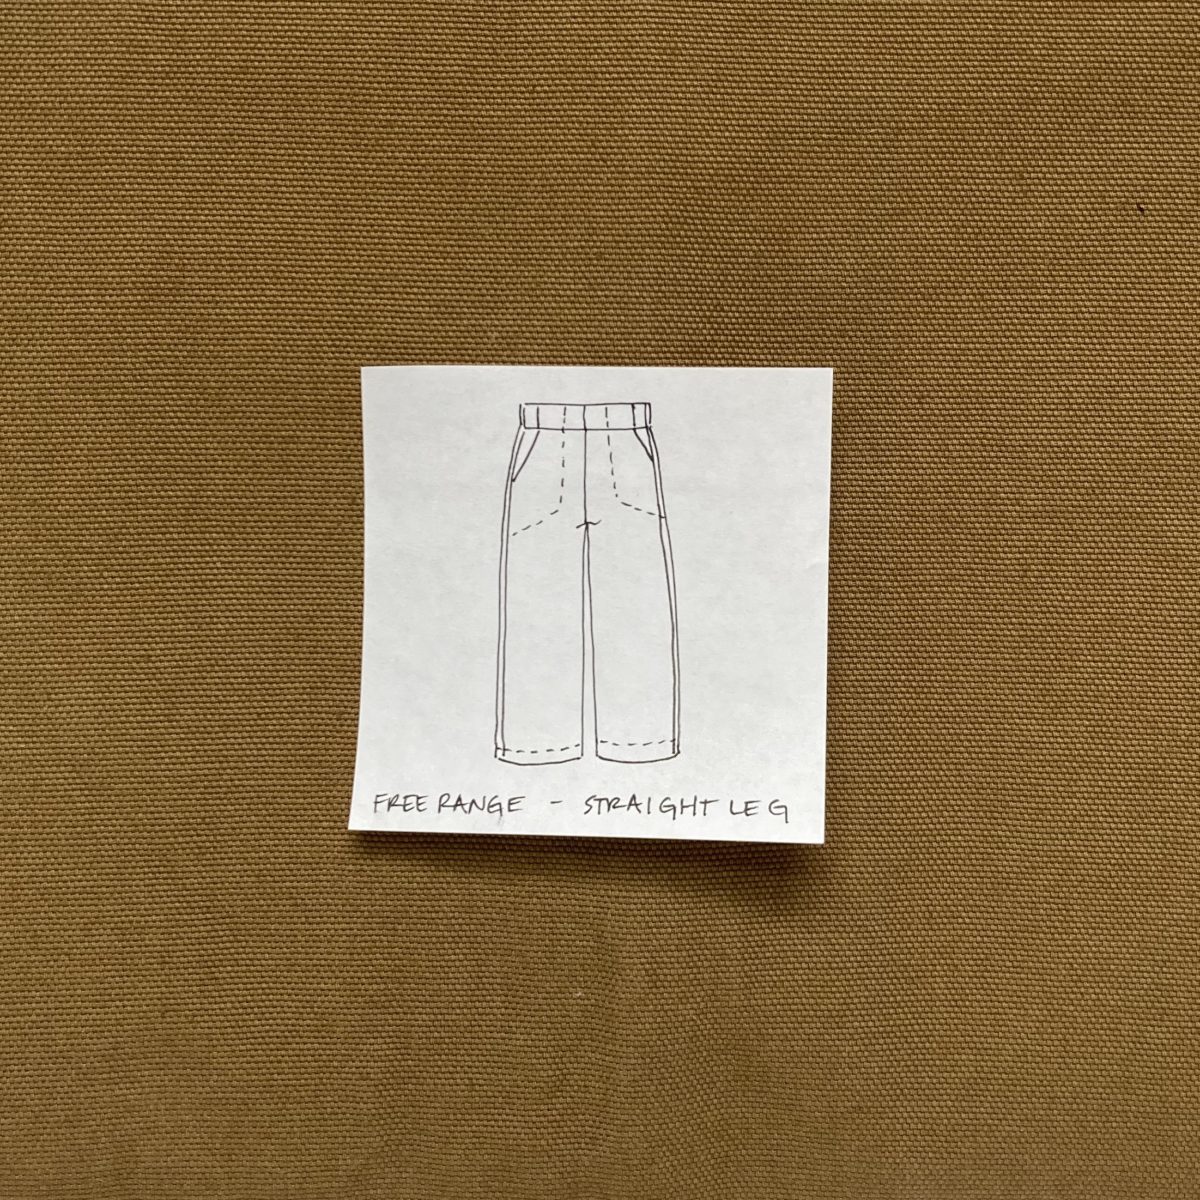
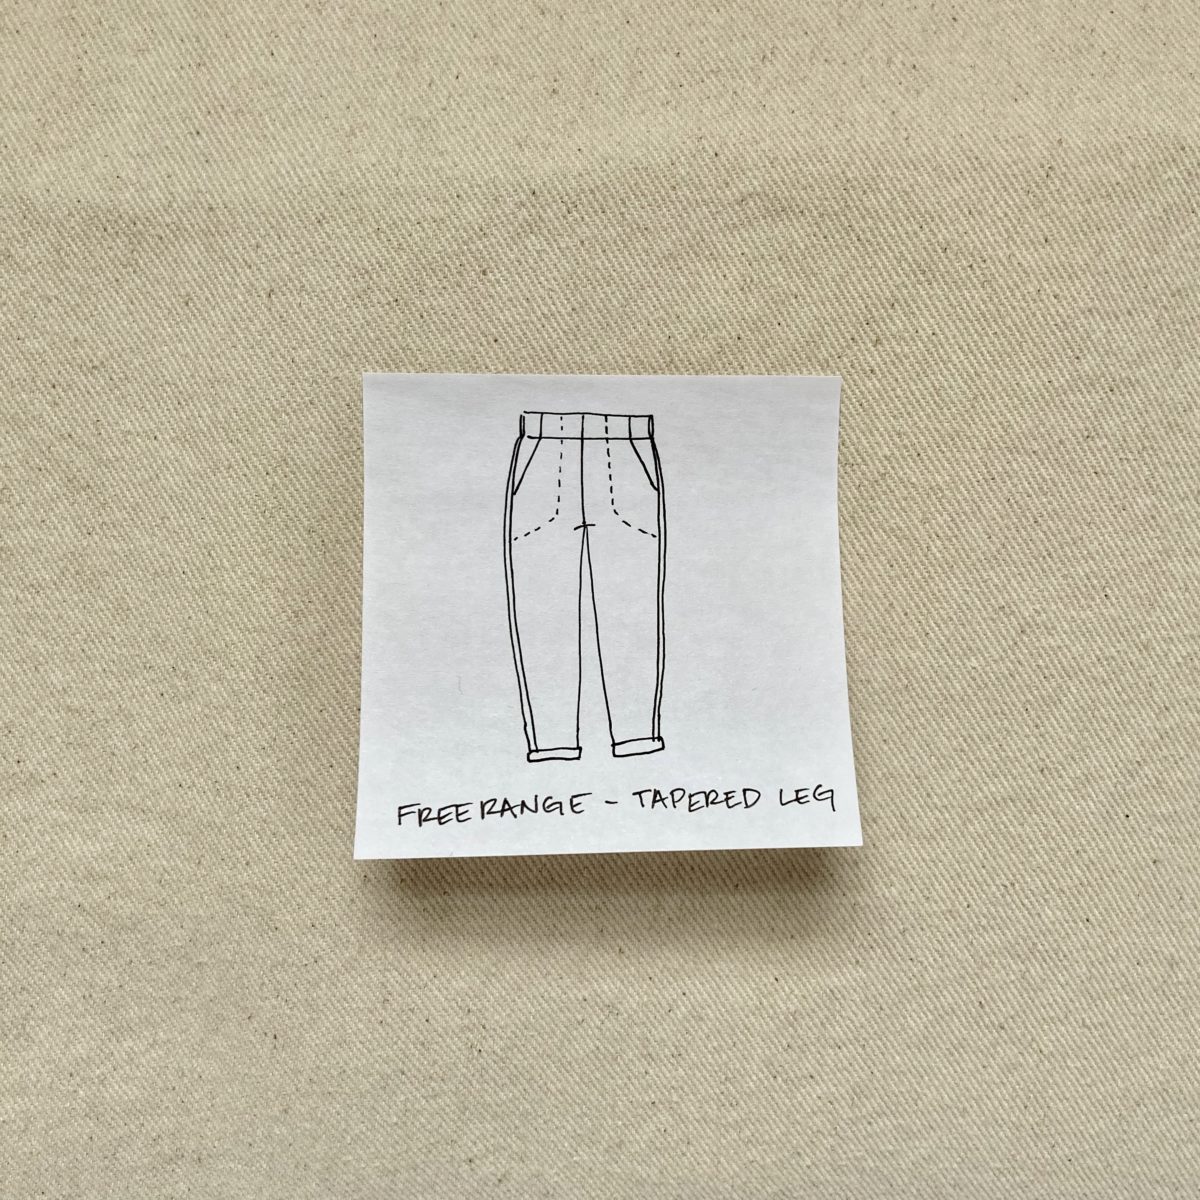
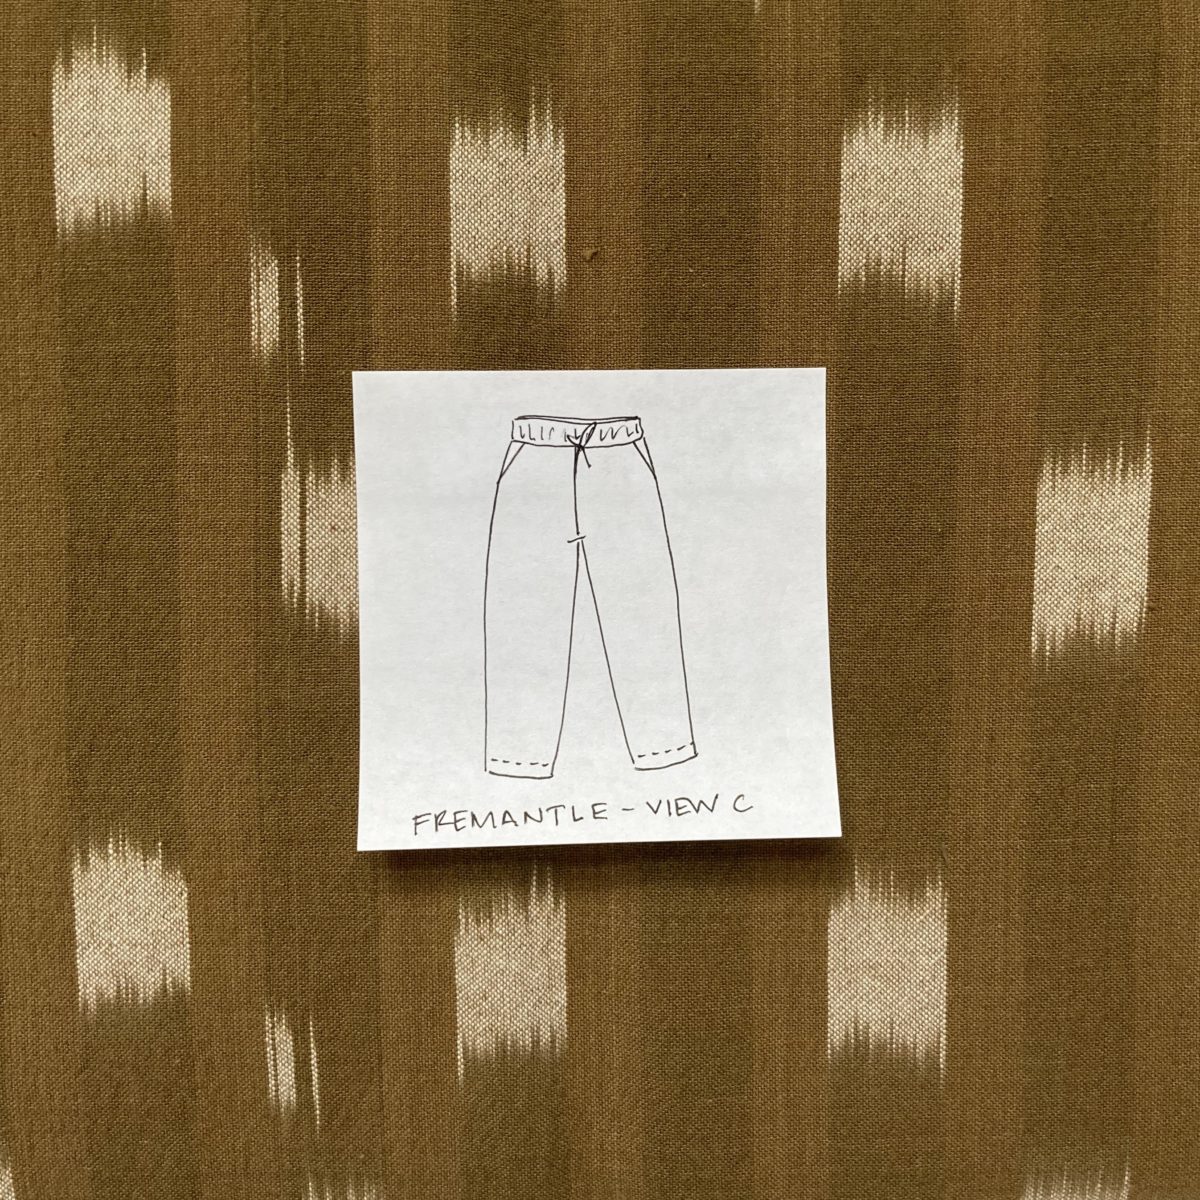
Bottoms
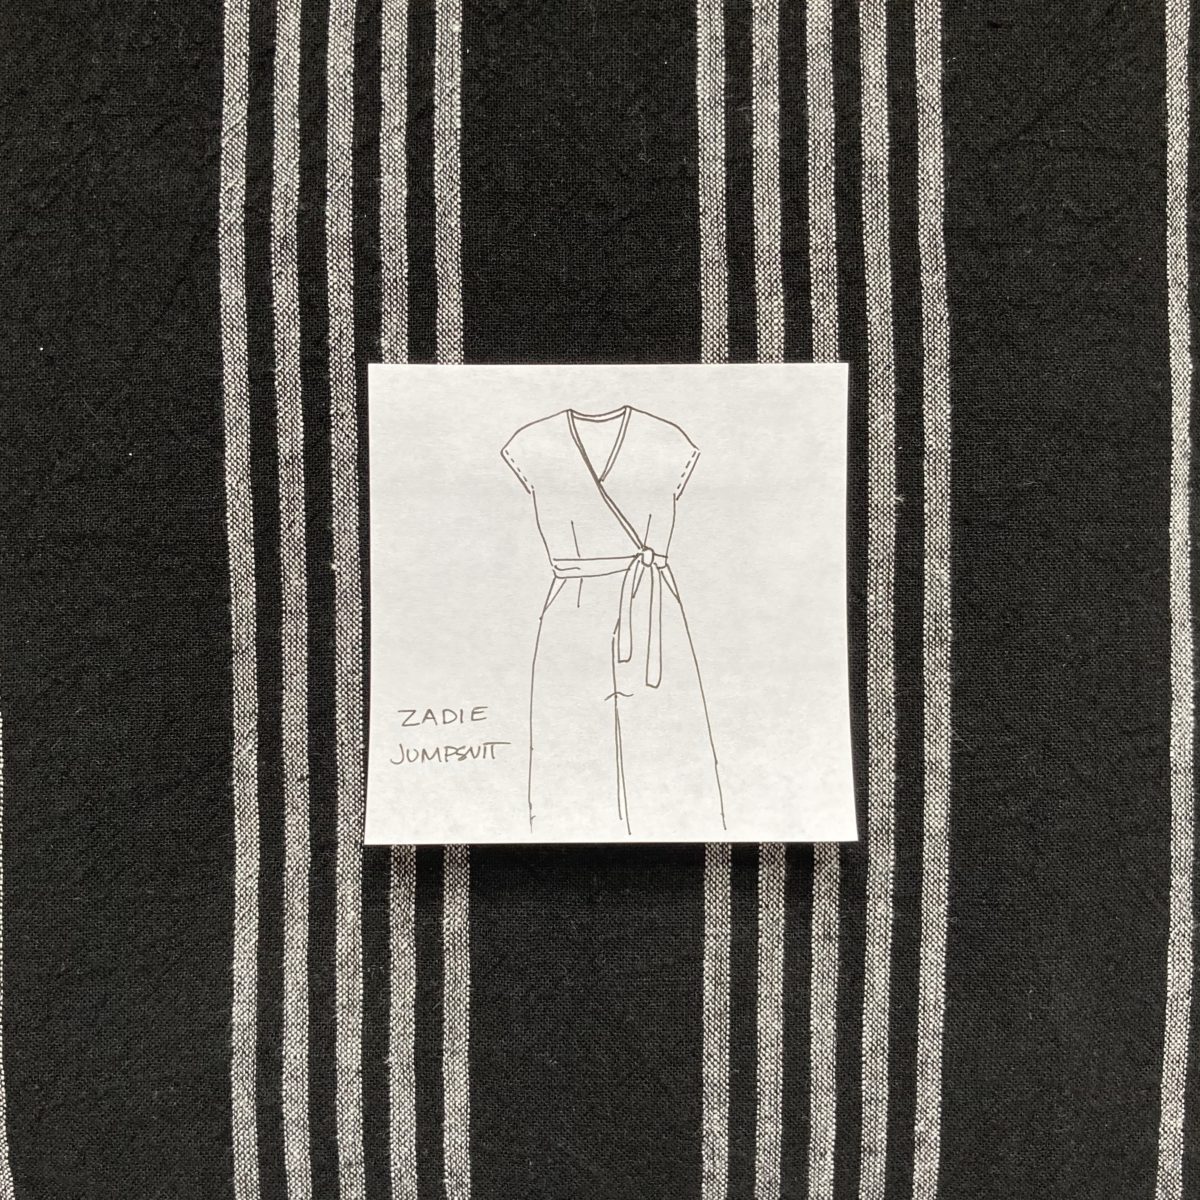
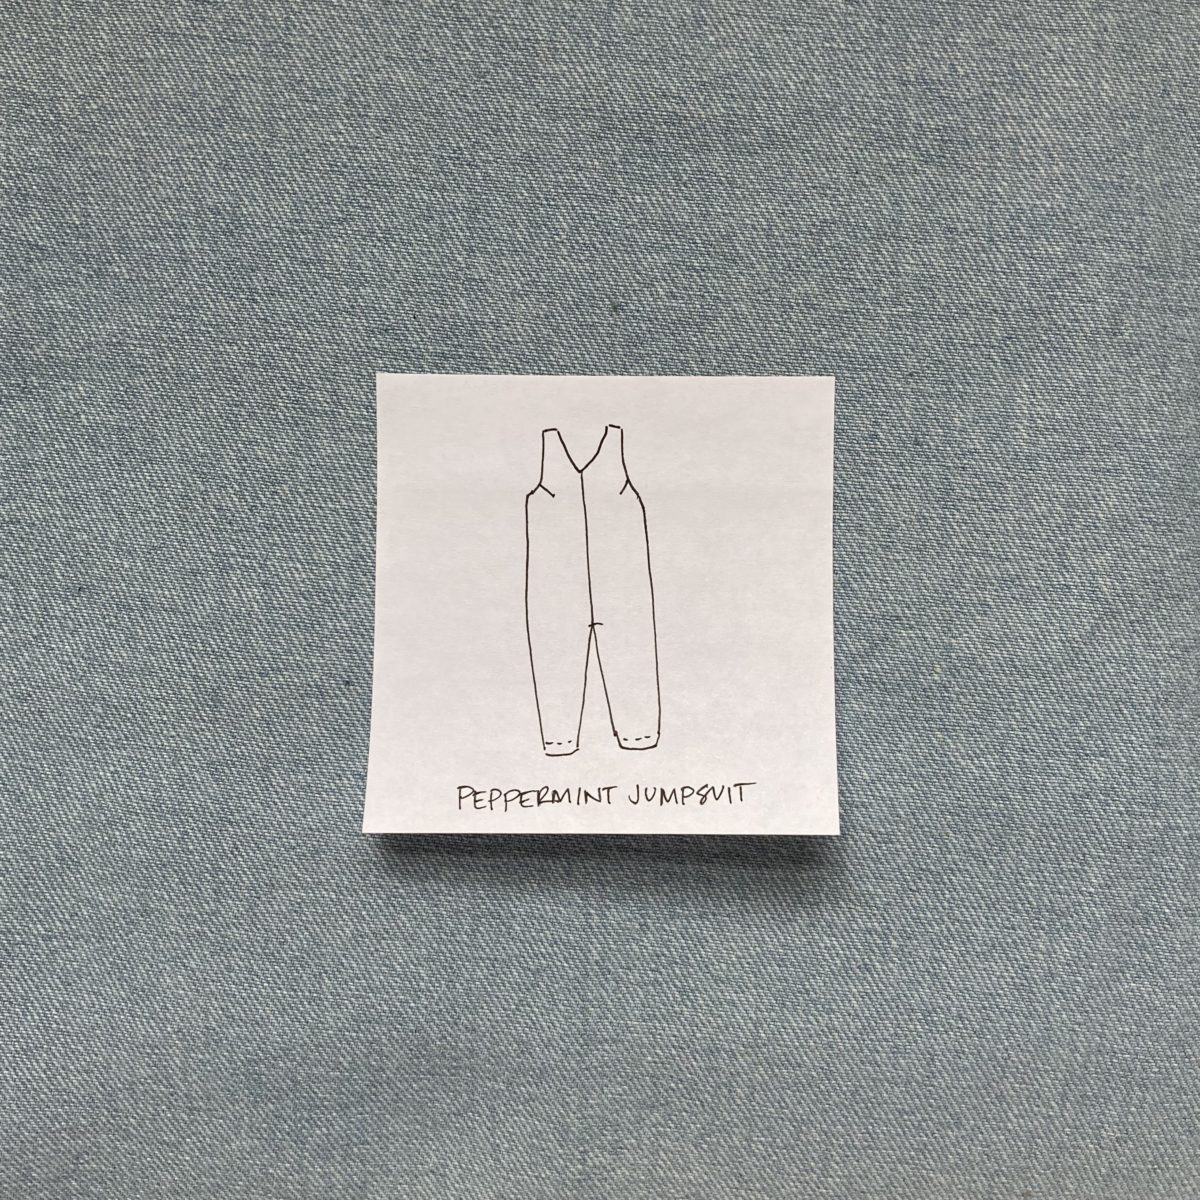
Jumpsuits + Sets
I have a lot more in my stash, but these are the current fabrics and patterns that excite me. How do you plan?
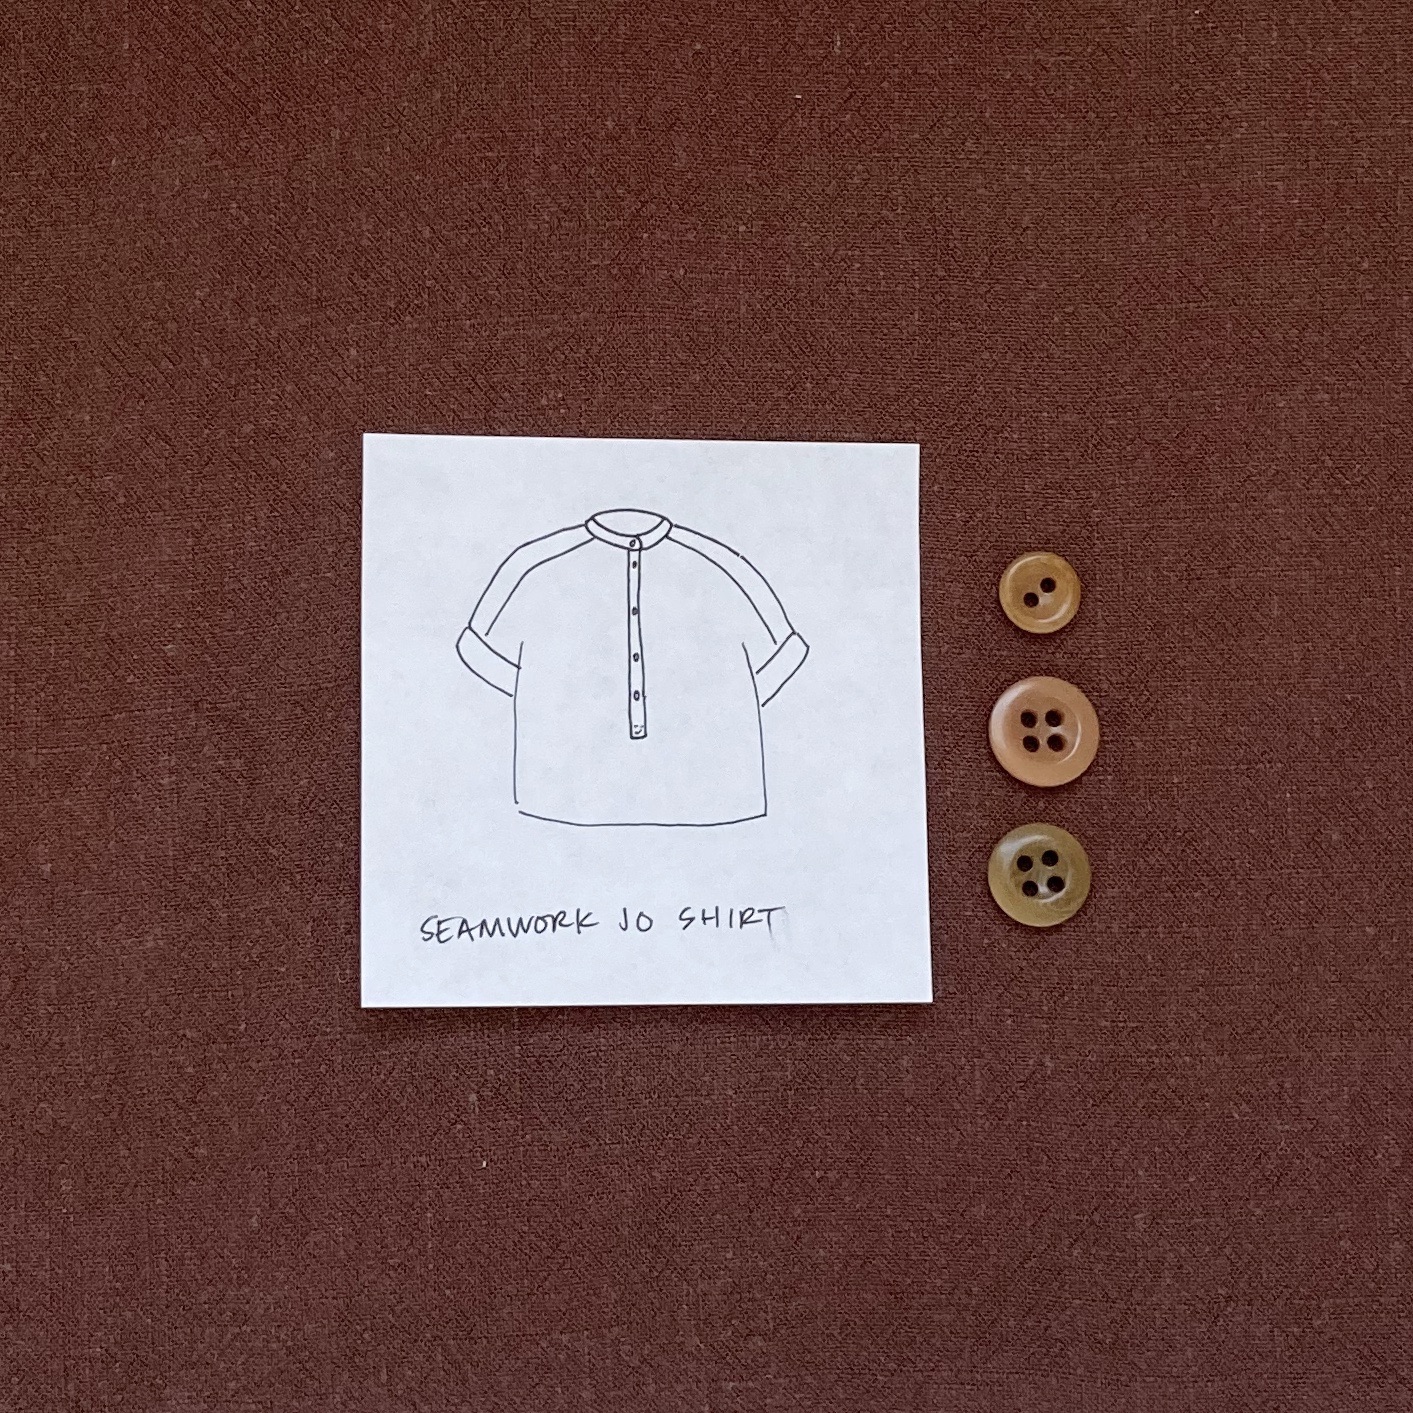
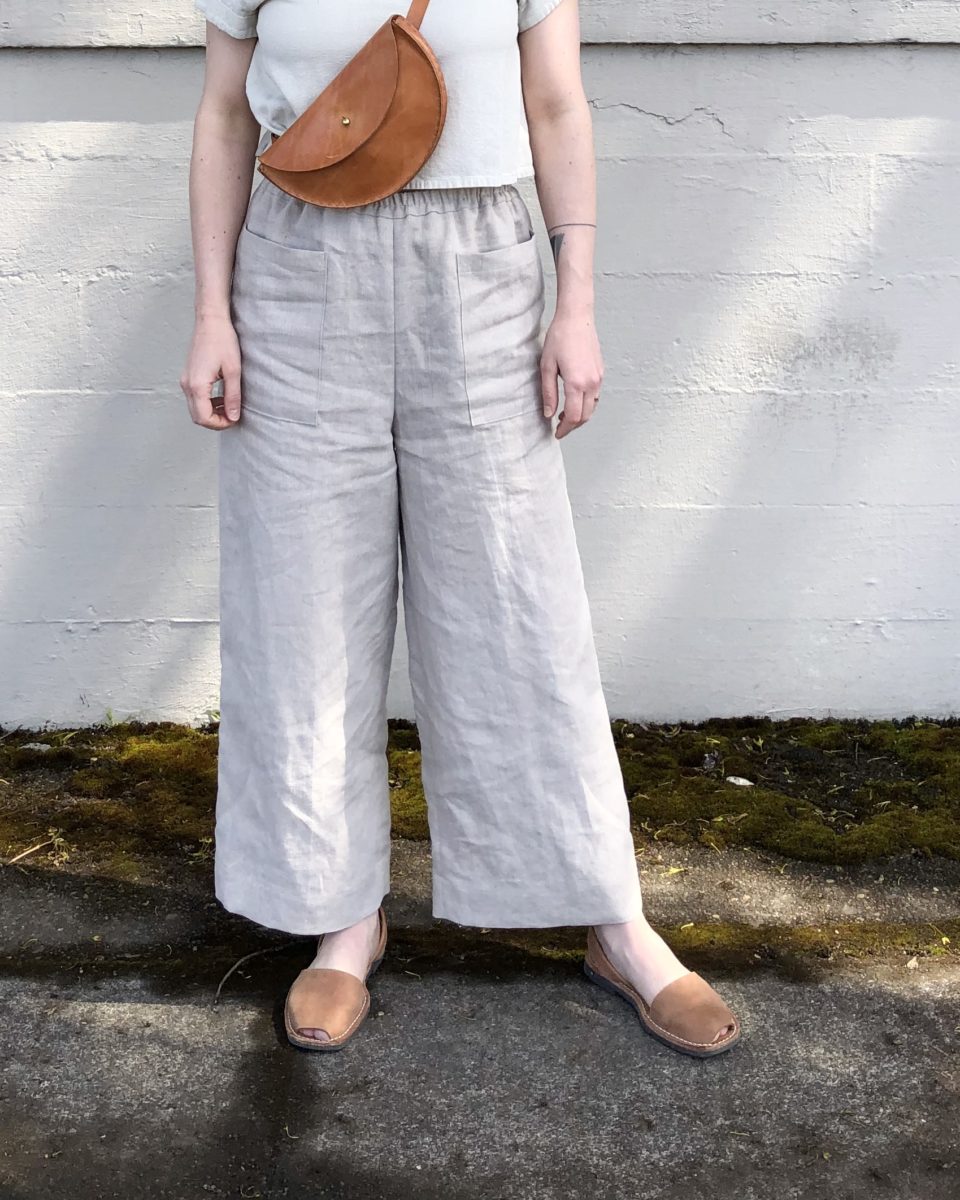
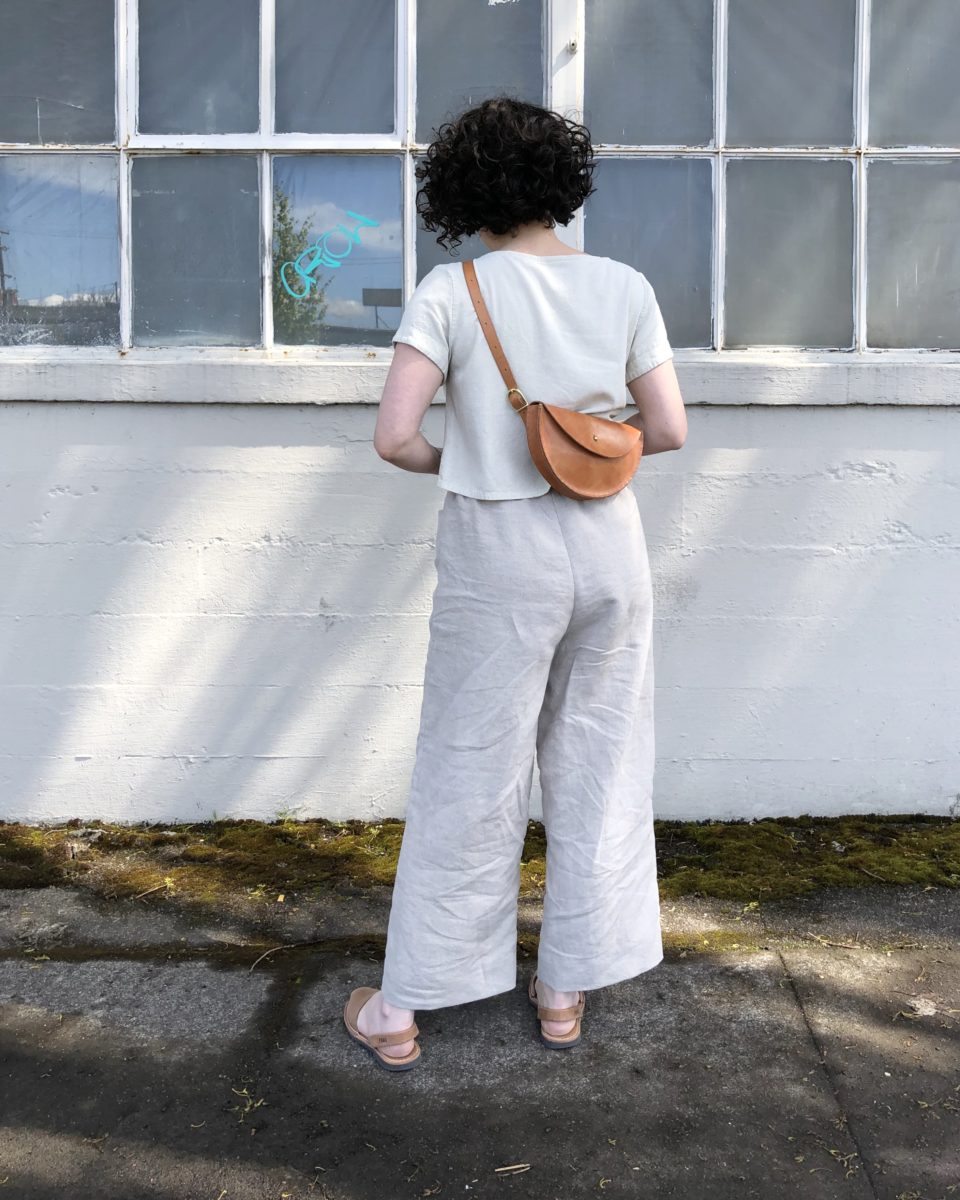
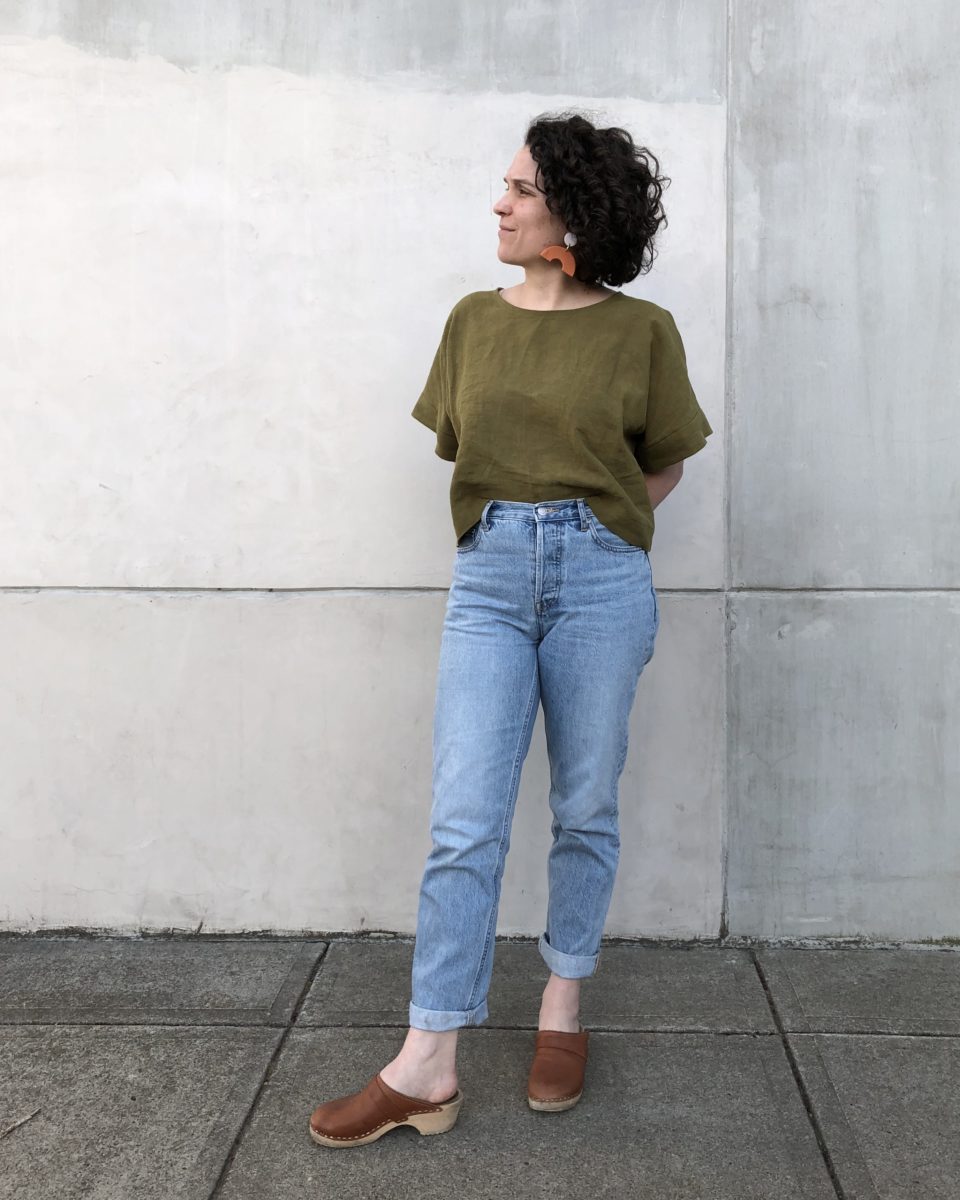
And made the Seamwork Joss pants out of some natural linen that might be from Joann Fabrics.
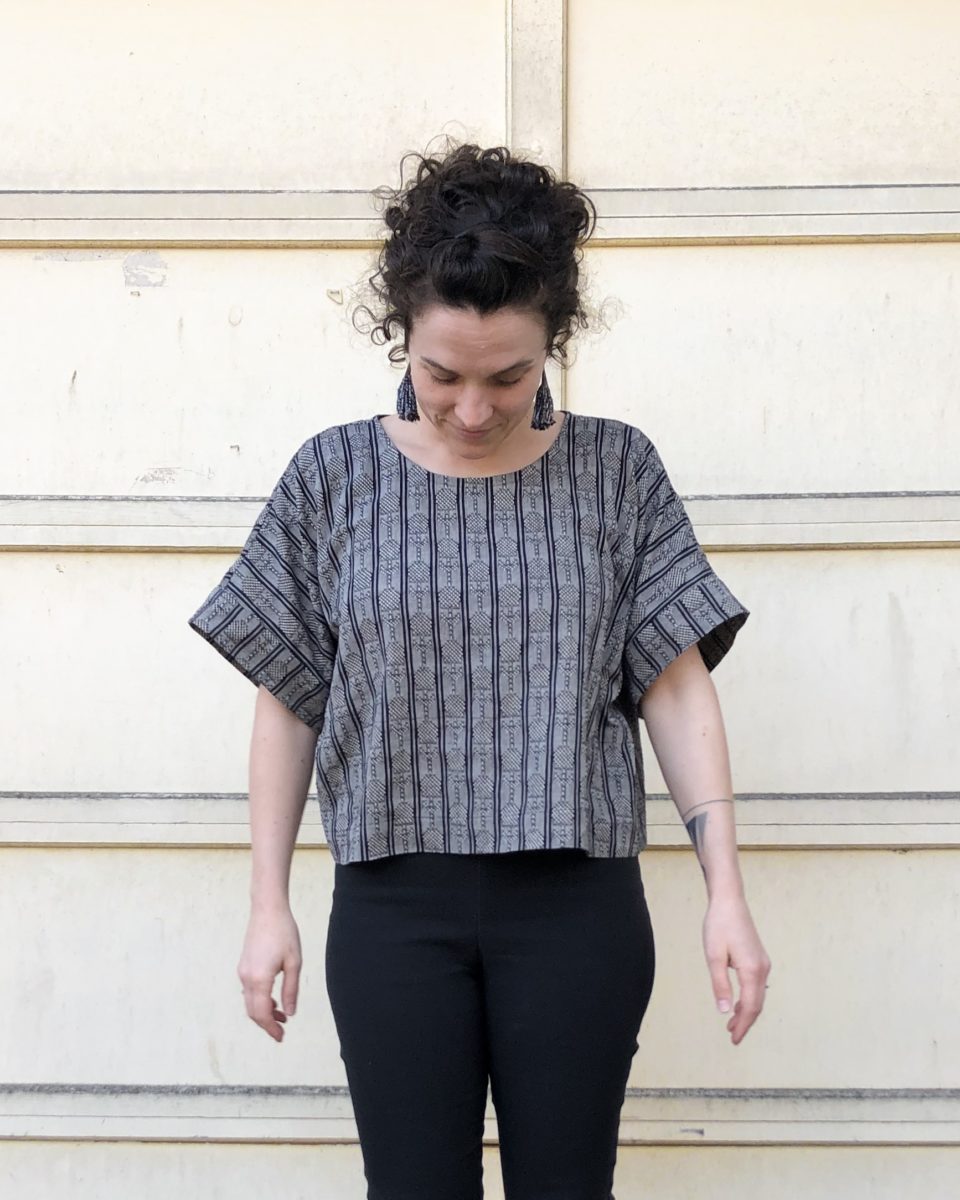
I made size 6 for both patterns. I shortened the crotch depth by 1″ and the legs by 2″ on the Joss pants and raised the neckline a teeny bit on Bo. I could probably size down to a 2 for Bo, but I already had a 6 cut out. I’m planning to make the Joss pants again out some wide striped fabric. I’ve been wearing both a lot.
I’ve been in a making funk lately. Maybe it’s the weather, maybe it’s because work life isn’t killing my soul and I don’t need an outlet as much anymore. I don’t necessarily feel bad about it, it’s just weird to have idle hands.
I started writing this post well before COVID-19, but now I’m in even more of a personal making funk. I want to make things but my brain is really scattered and I’m finding the process not as satisfying.
I’m so grateful for my job, our house, food, the company of my husband and dog, and our current good health. I hope you have what you need during this weird and scary time and you are able to find some peace in making right now, or know it’s okay to take a break . Now on to the make details since I find looking at other’s makes a nice distraction.
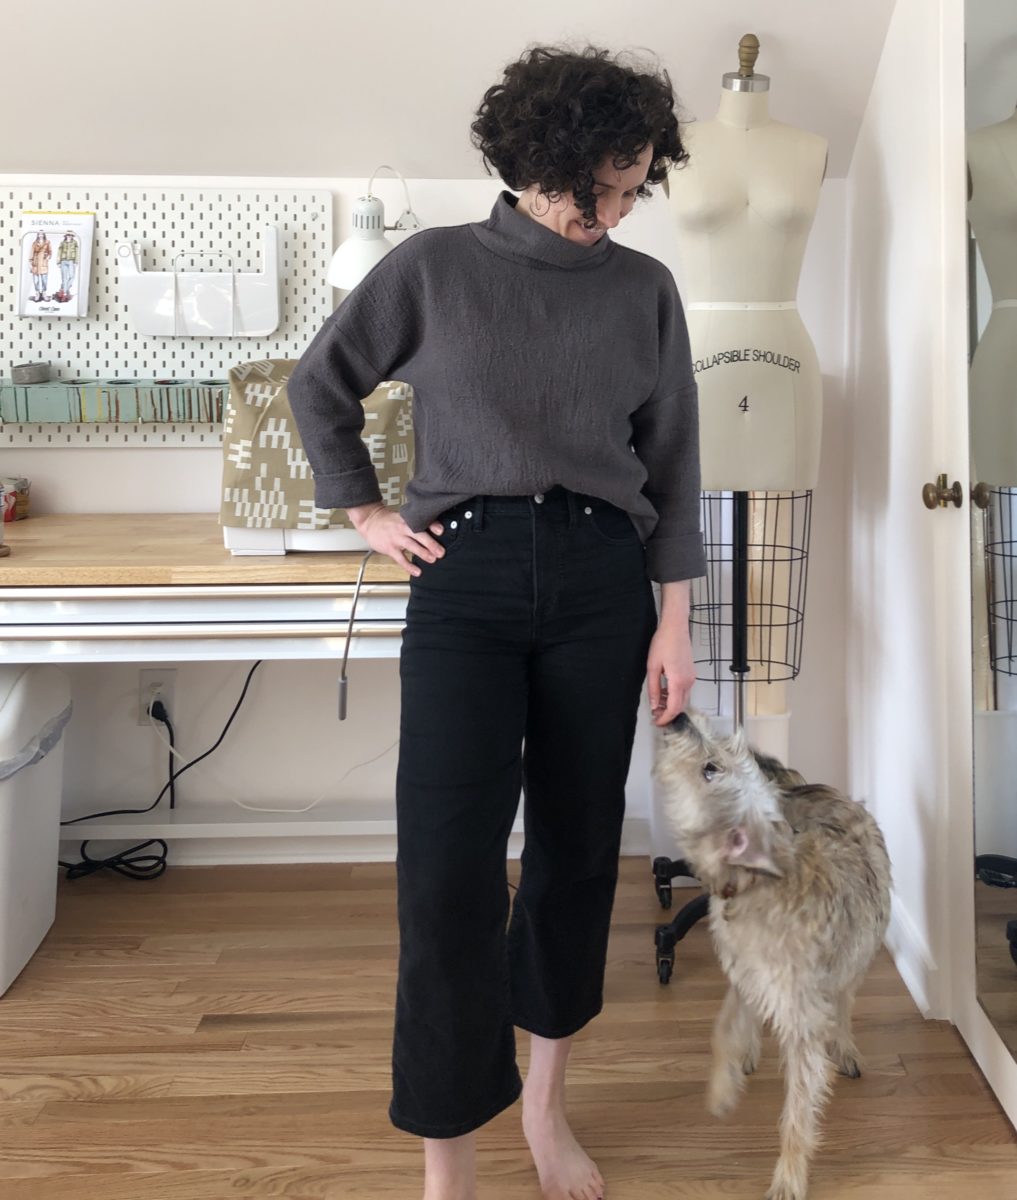
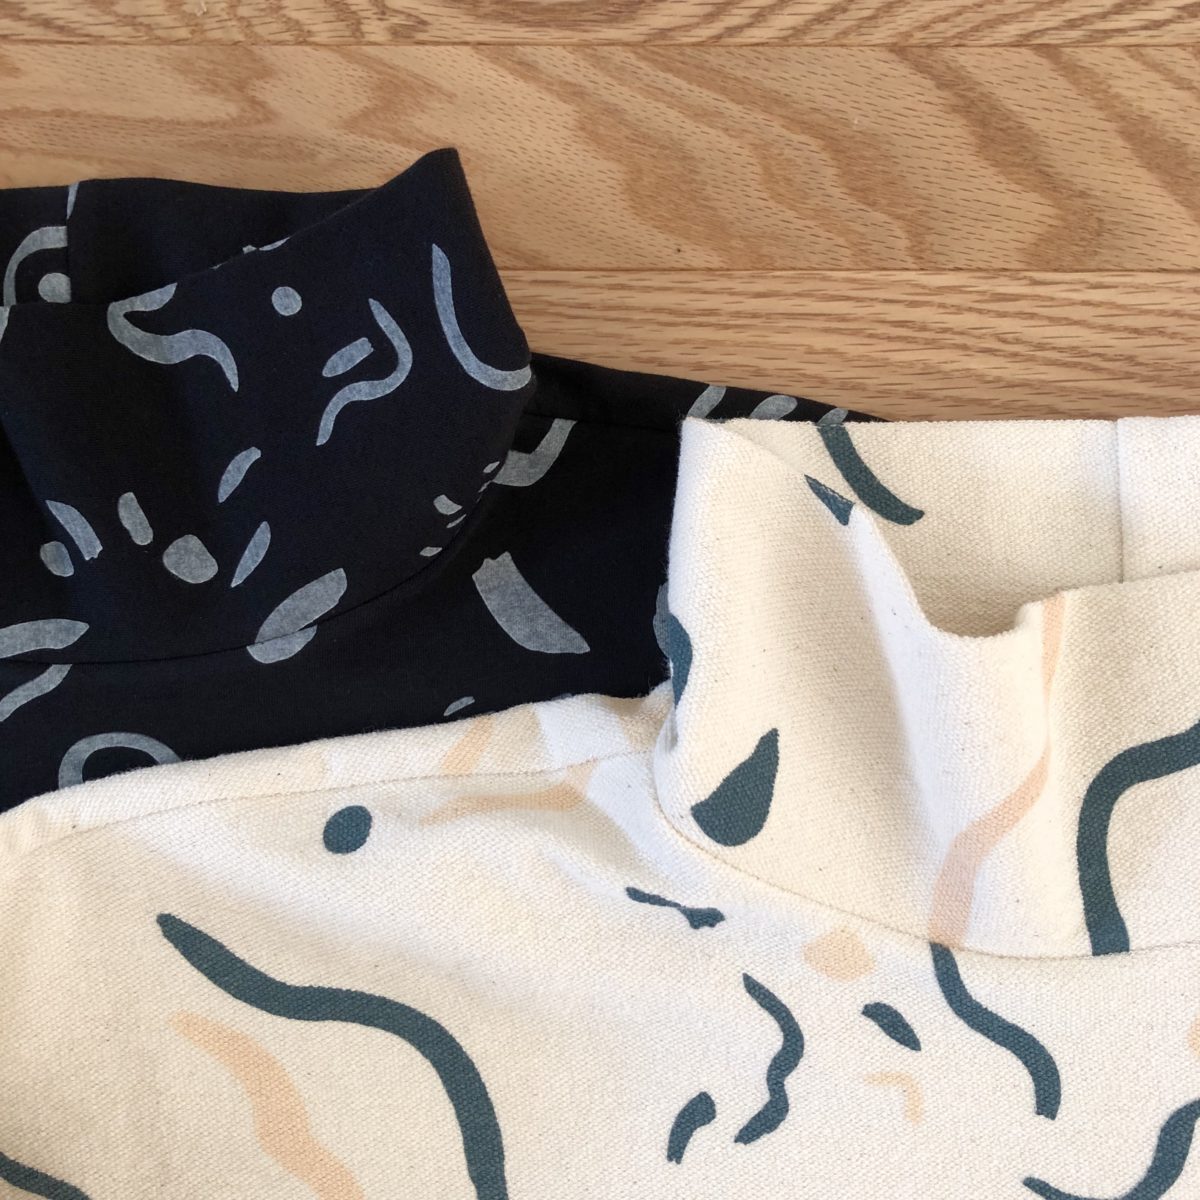
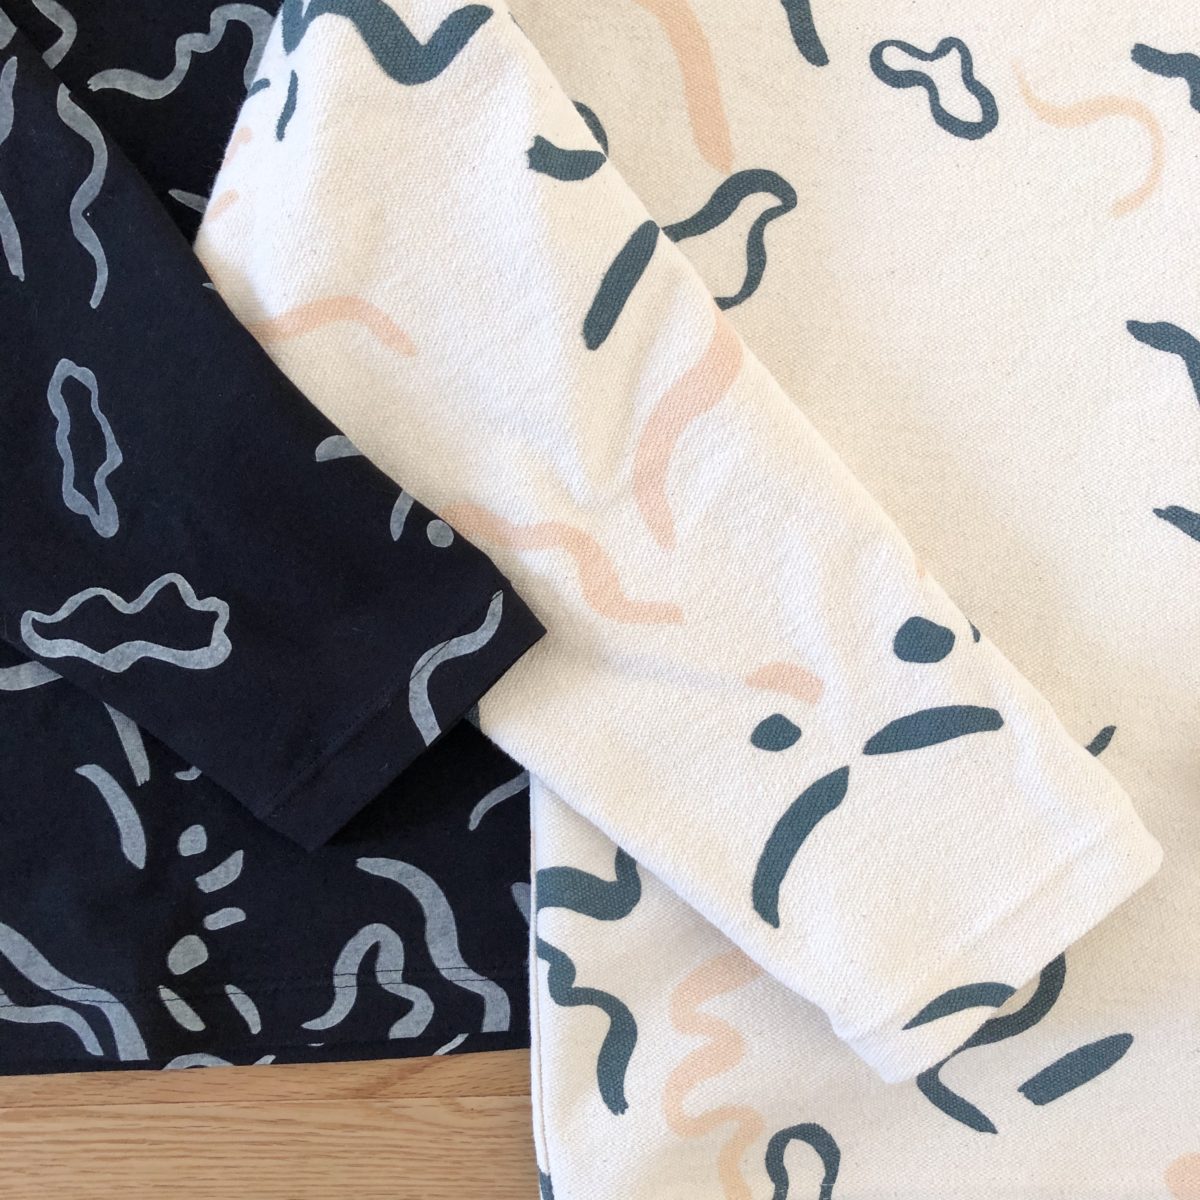
My first LB Pullover was made out of this super textural woven cotton I found at Bolt. I can’t find it on their website, but check them out anyway – they have a lot of amazing fabrics and if we’re able, we should support small fabric stores right now.
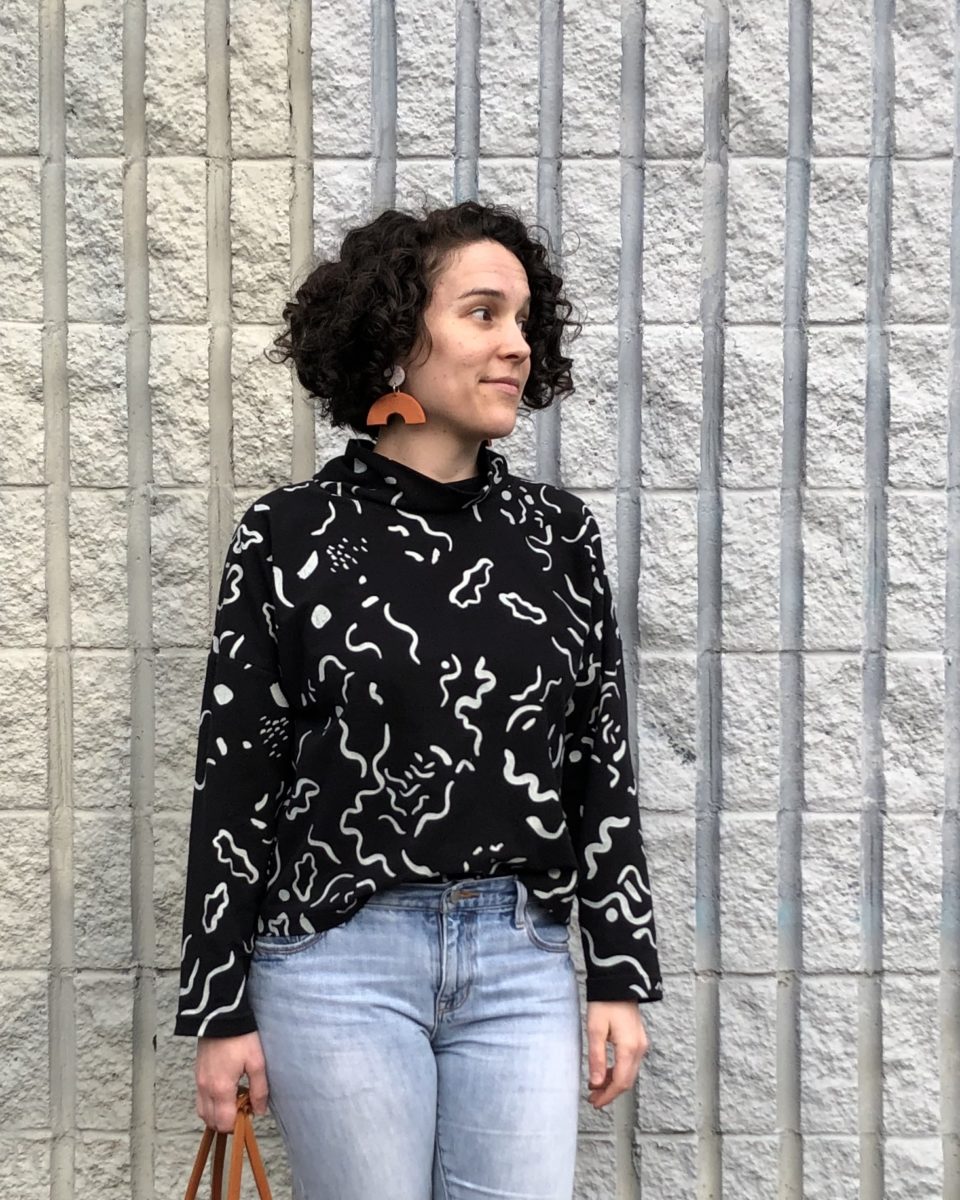
The second version I made used this drool-worthy jersey knit from North of West, another great small PDX business. The sister duo occasionally hosts warehouse sales where you can scoop up yards of fun fabric. I purchased three fabric bundles which had well over 12 yards of fabric! If you’re interested in scoring some of their fabric, follow them on Instagram and hopefully in the near future we can all meet up at their warehouse.
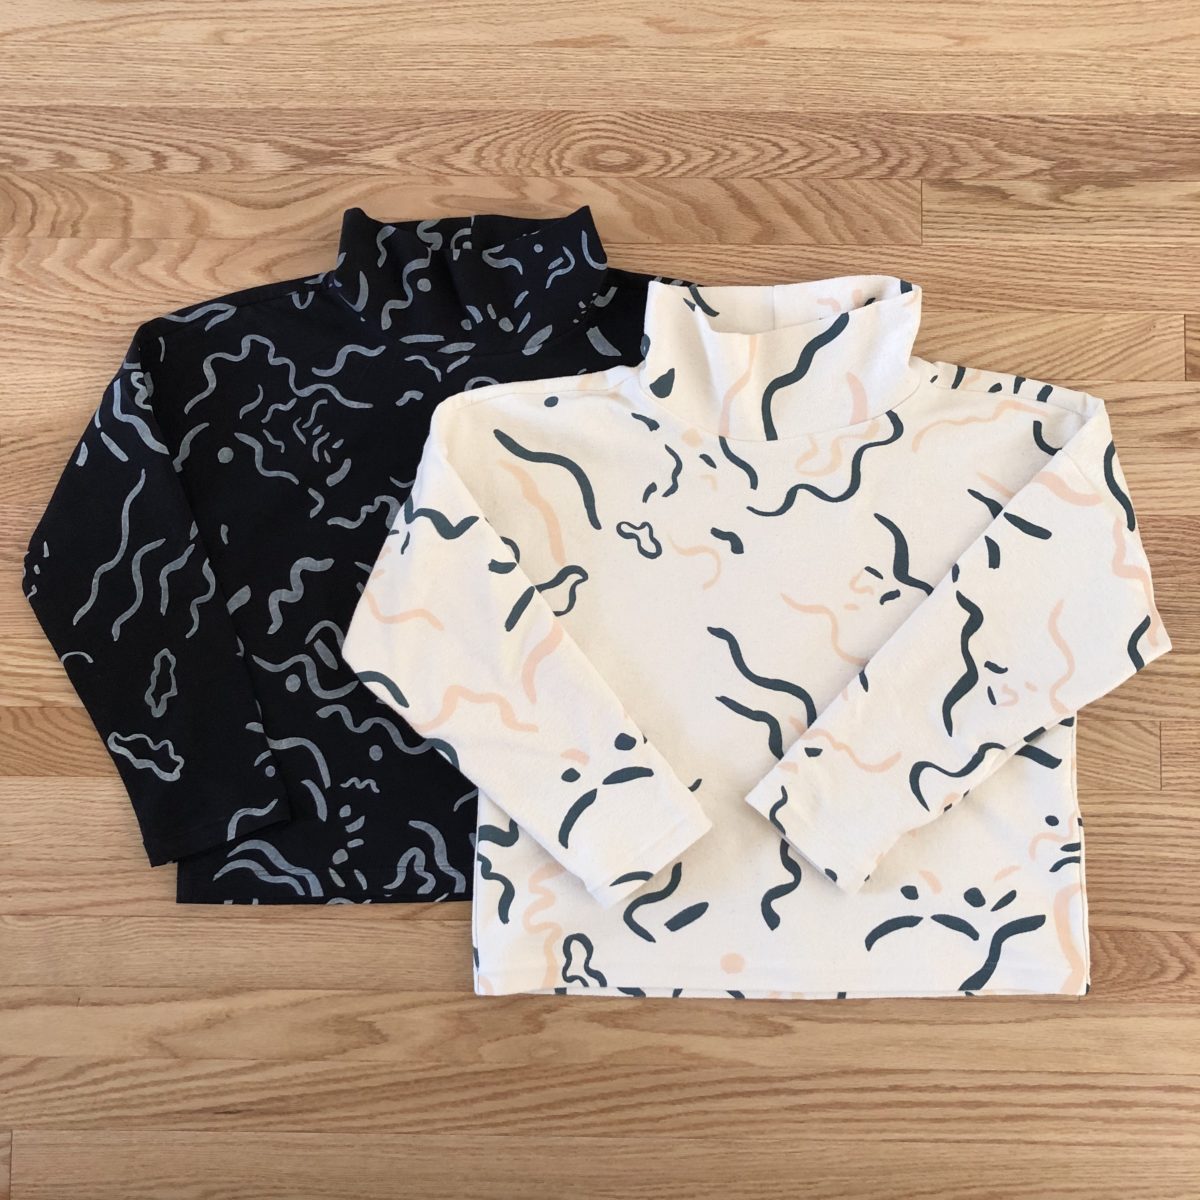
The third and fourth versions also used North of West fabric. The cream squiggle print is a yummy terry. The other black version I made for my mom.
The LB Pullover is a great basic pattern – perfect for beginners, or if you’re wanting a quick and satisfying sew. I’m pretty much living in these right now.
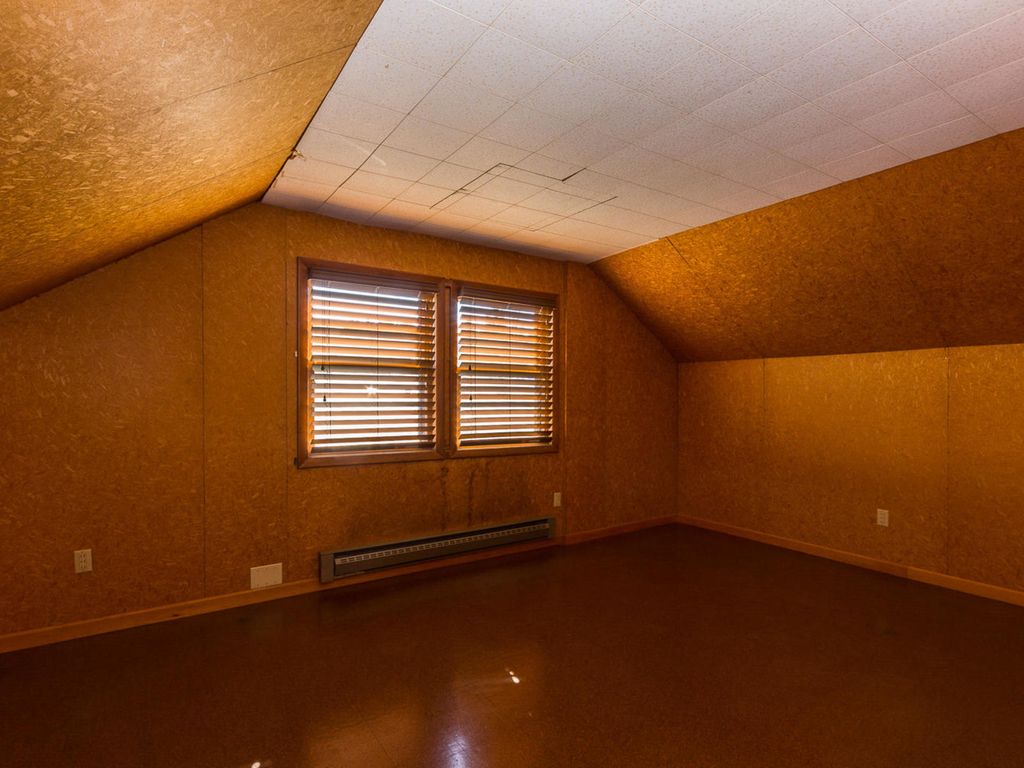
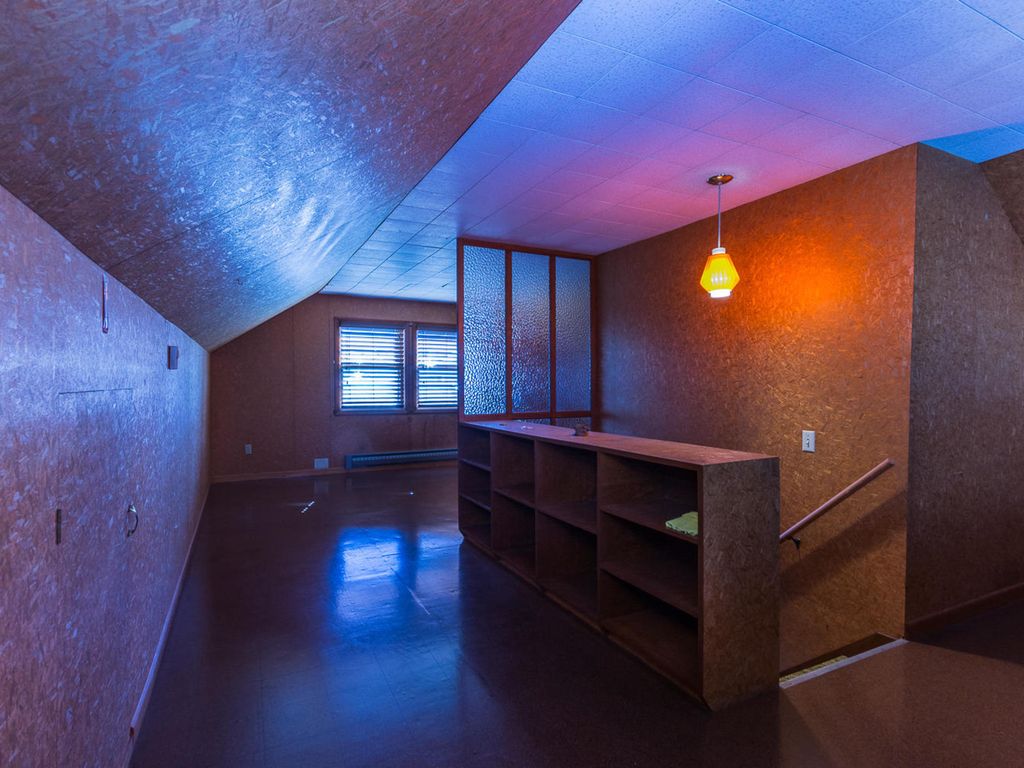
29 weeks ago we started updating the second floor. It began with electrical – not a single outlet (in the entire house) was grounded, there was only one very orange light fixture, the ceiling was… bad, and two wall mounted electric heaters needed to disappear. Then came duct work, which meant dismantling a weird built-in cabinet in a closet on the main floor, followed by more demo upstairs (groovy glass partition, framing, and ceiling tiles – goodbye!).
Drywall was installed directly over the OSB because it was easier than tearing it down and that kept it out of the dump. The contractors said they were going to use 1/4″ drywall, but slapped up 1/2″, which you can really feel in the stairwell. The room is super insulated now, I guess!
Once the drywall was up, it was immediately brighter, but it revealed just how off the walls were. It took quite a lot of mud to get the lines straight-ish and the corners’ angles to not look too wonky. I think at some point during the drywall install, we also had the floor tiles inspected for asbestos in preparation for the new flooring. Thankfully, no asbestos was involved in the making of this hideous room.
Once the drywall was in and the mudding was finally done, I made the mistake of painting, thinking it would be easier to do so before the flooring and new lighting fixtures were installed. DON’T EVER DO THIS unless you’re the person carefully installing shit. Contractors touch everything with dirty hands and swing their tools around. Also white paint chips all look the same in a room with weird brown flooring, so I accidentally painted the entire room a light yellow. I shudder to think about the amount of money I’ve dropped on paint alone.
But after what felt like 59 layers of paint, a whole lot of caulk, learning the importance of quarter round, and yep, you guessed it, more paint – it’s almost done!
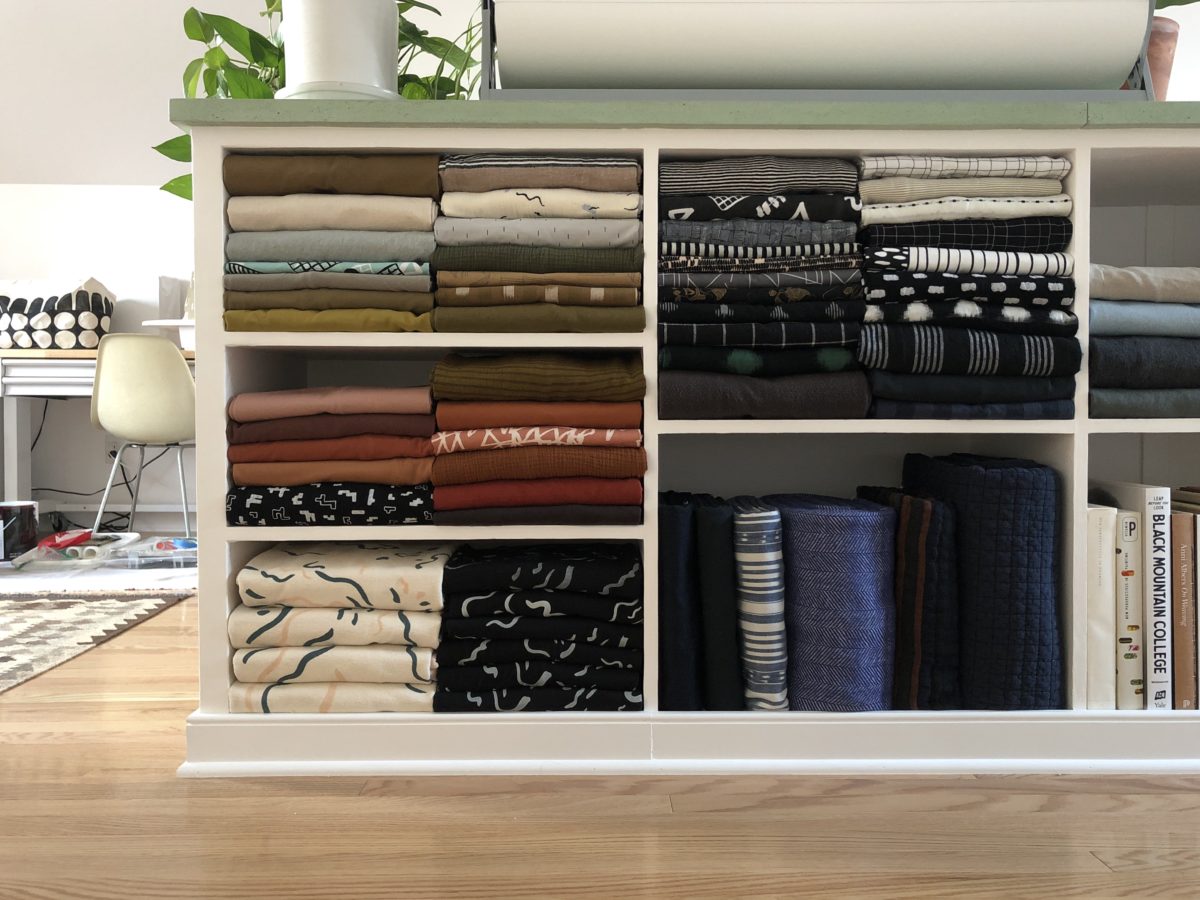
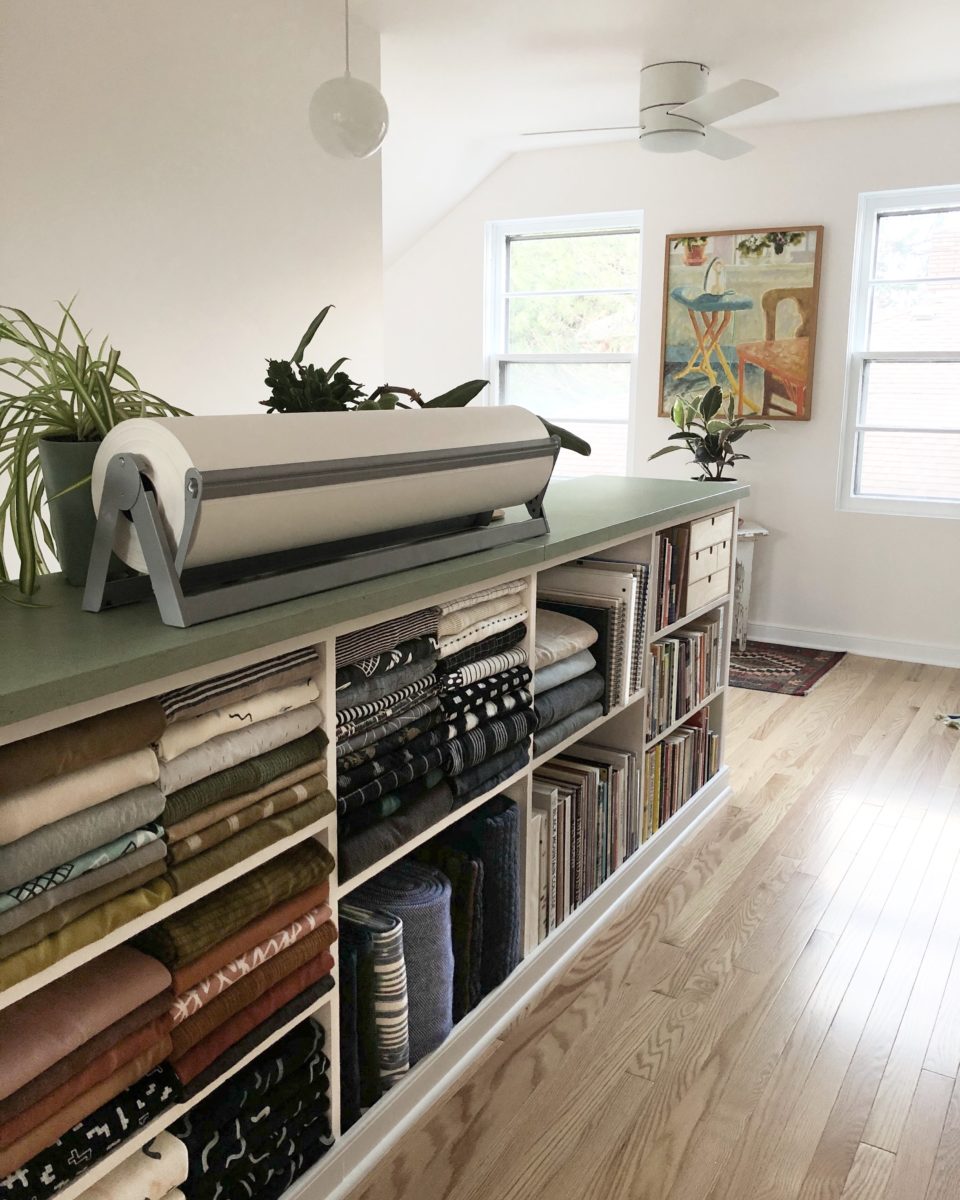
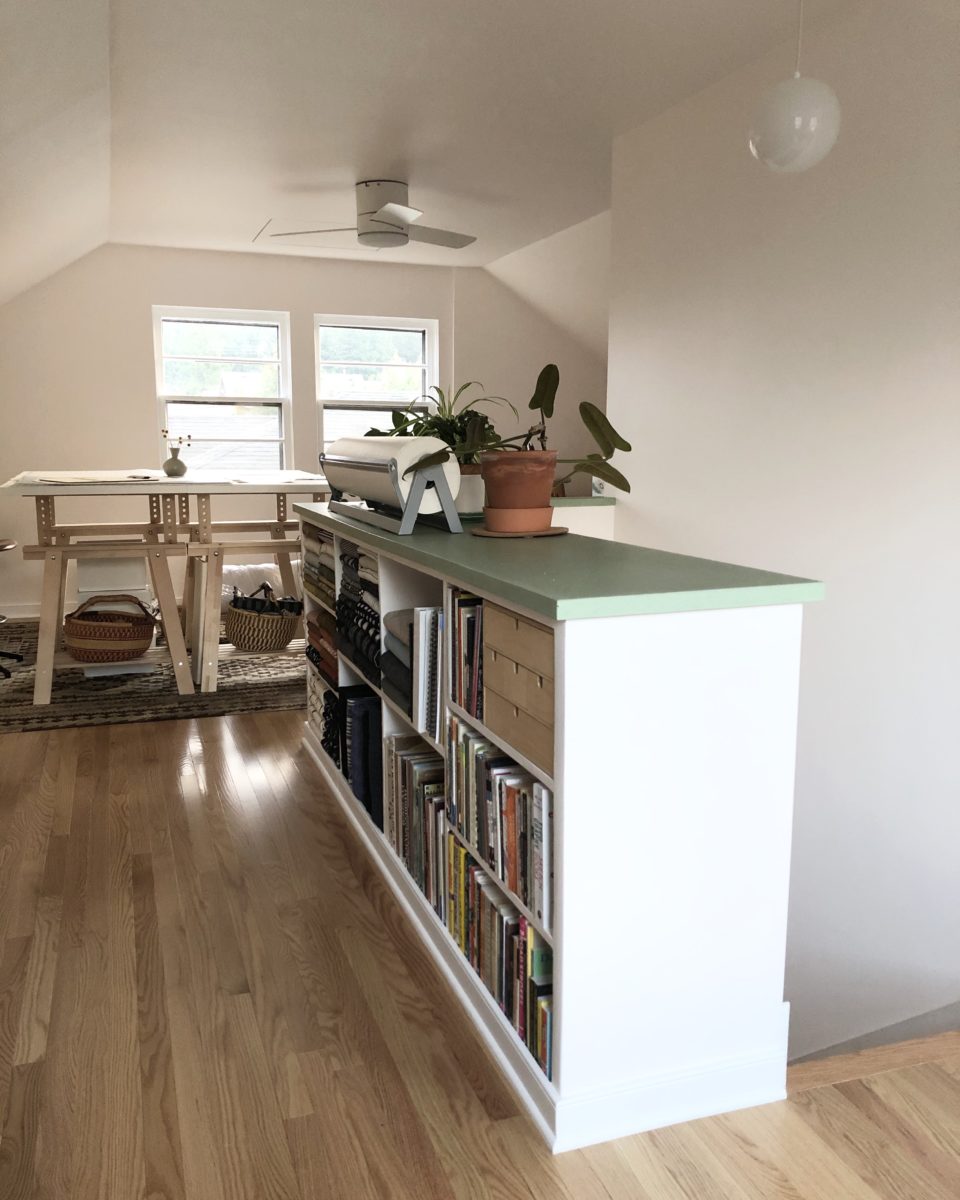
Can you see all of the crap on the floor back there? I’m still painting! But the main focus of the picture is my BEAUTIFUL fabric stash. I used the comic / magazine board method and sort of grouped them by color. I love it so much, I almost don’t want to sew it.
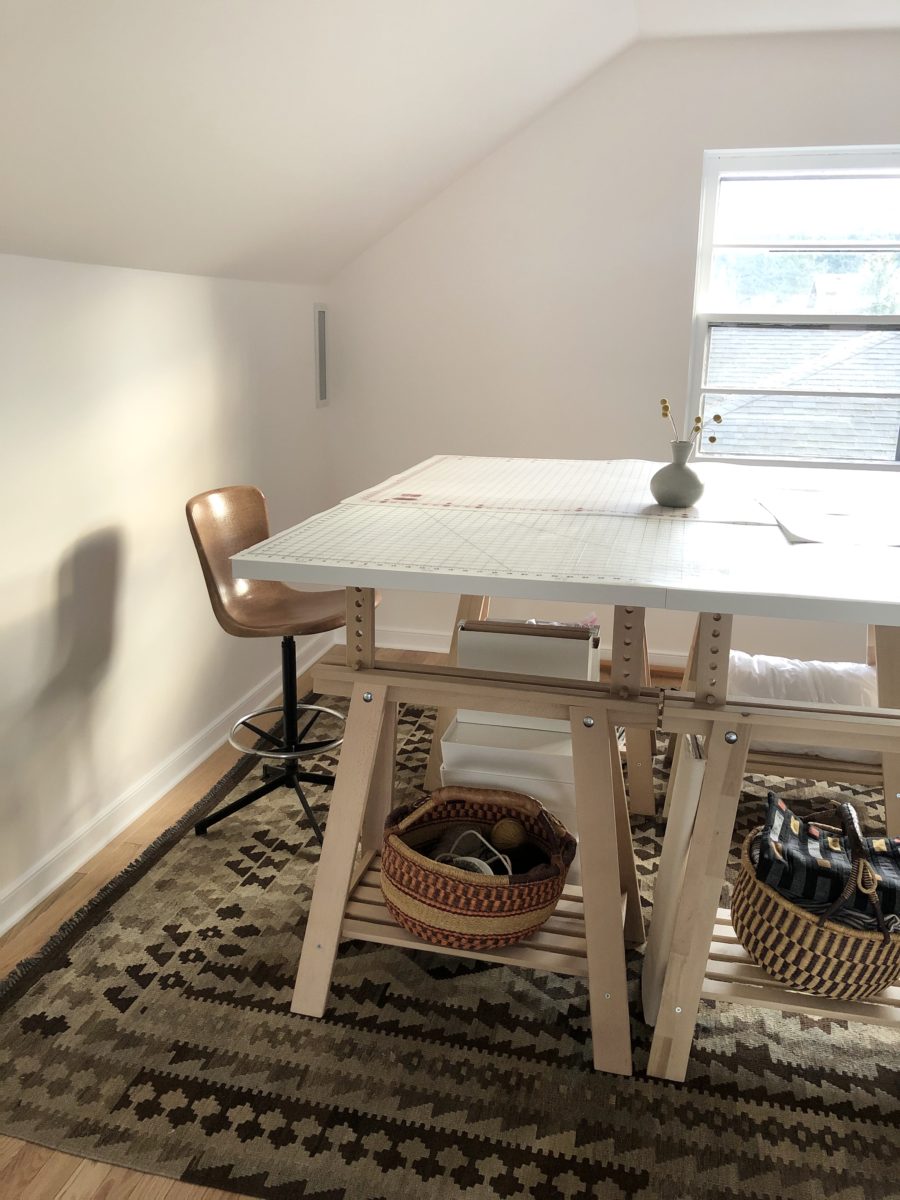
The largest part of the room is now home to mega desk. No more cutting things out on the floor because this back won’t do it and this table is massive. It’s the FINNVARD & LINNMON desk combo from IKEA (measurements available on the IKEA website). The carpet and chair are vintage. The cutting mats are from Joann and I used a 60% off coupon for both.
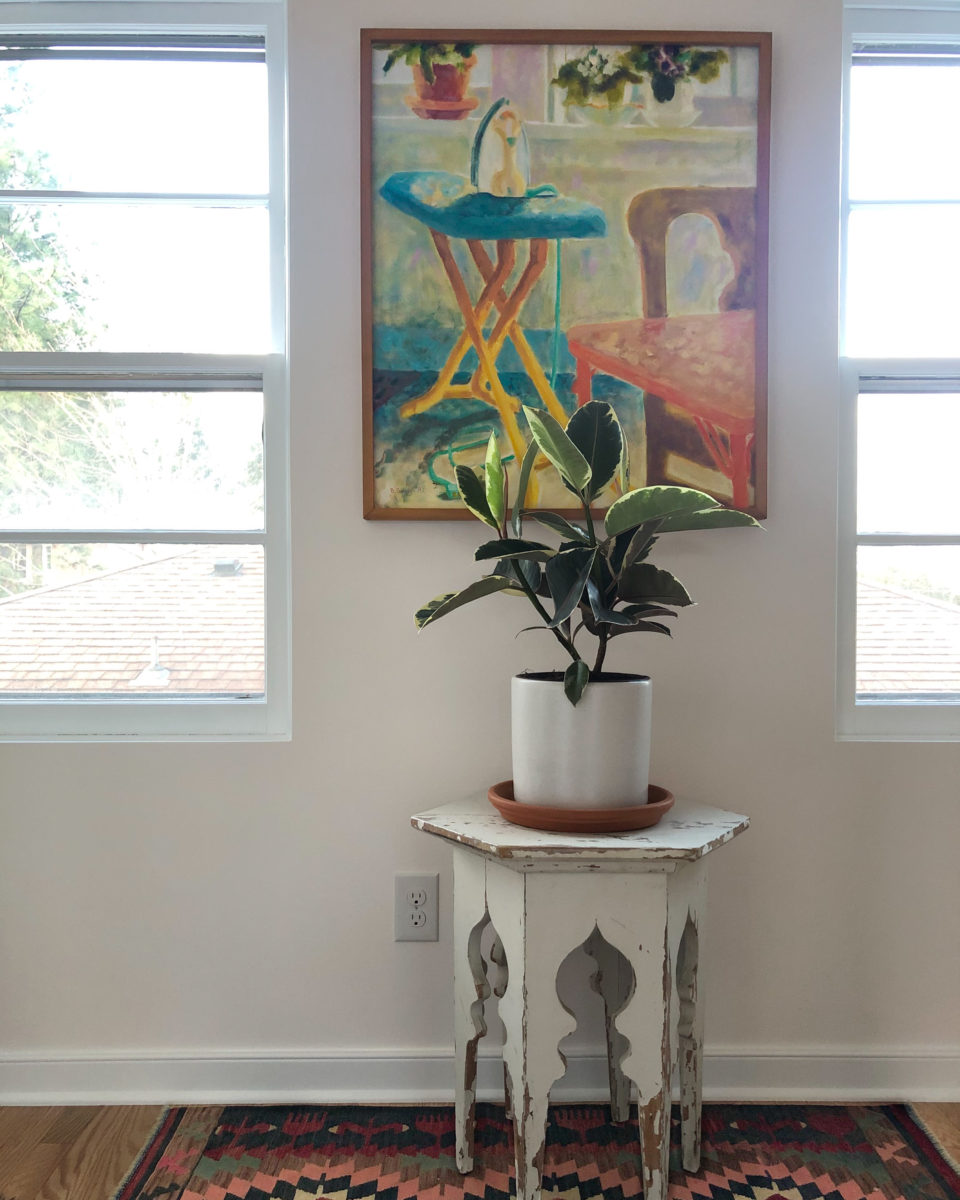
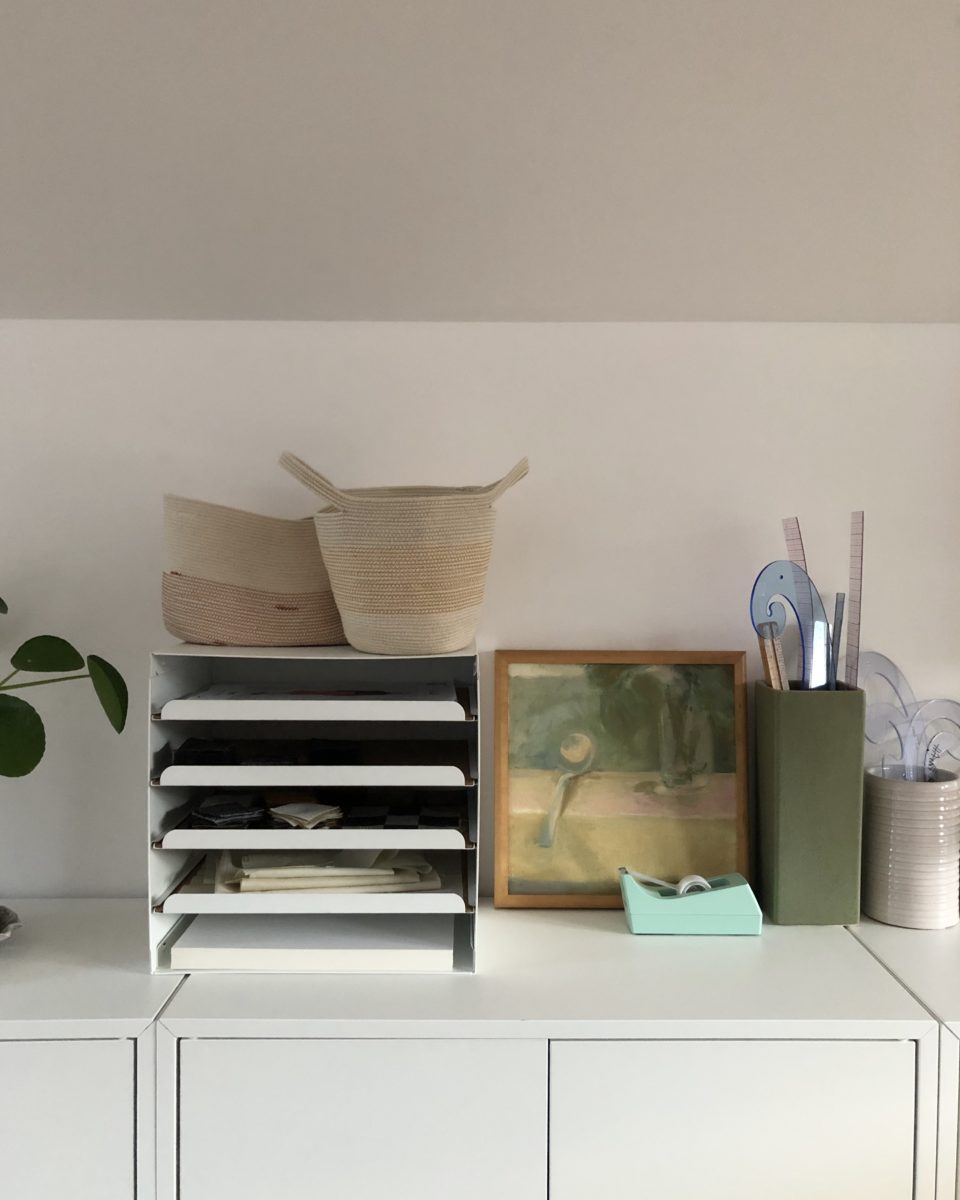
I’m really loving how clean and bright it is up here now. So far I’ve hung up just one piece of art, a painting by my mother. I’m still trying to figure out the space and its different “zones”. I’m planning to hang pegboards, but I’m just not sure where they want to live yet.
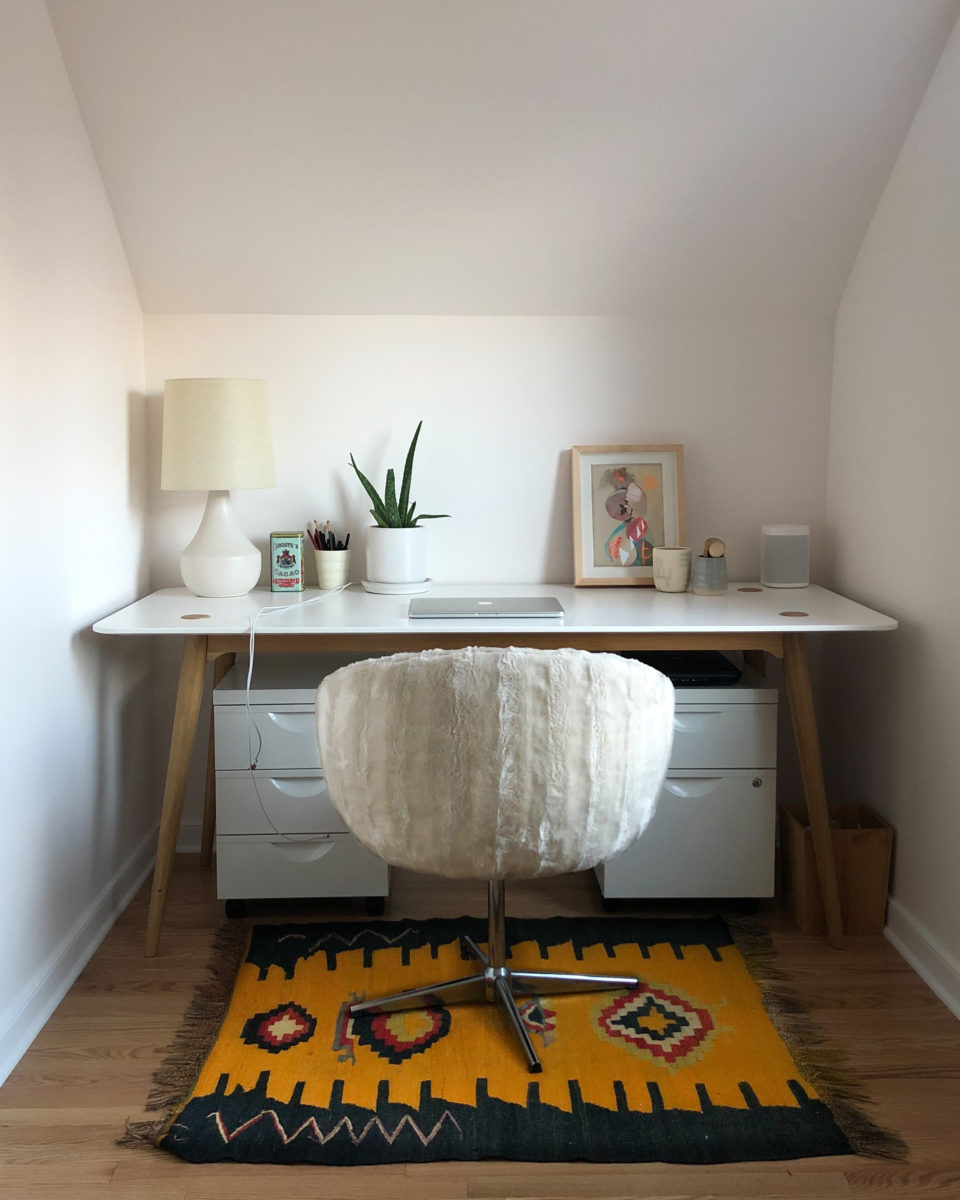
Here’s my computer / non-sewing, but still creative work desk. My husband I used to share it in our old house. The fuzzy chair was rescued from my grandparents’ basement and has lived with me in four states now.
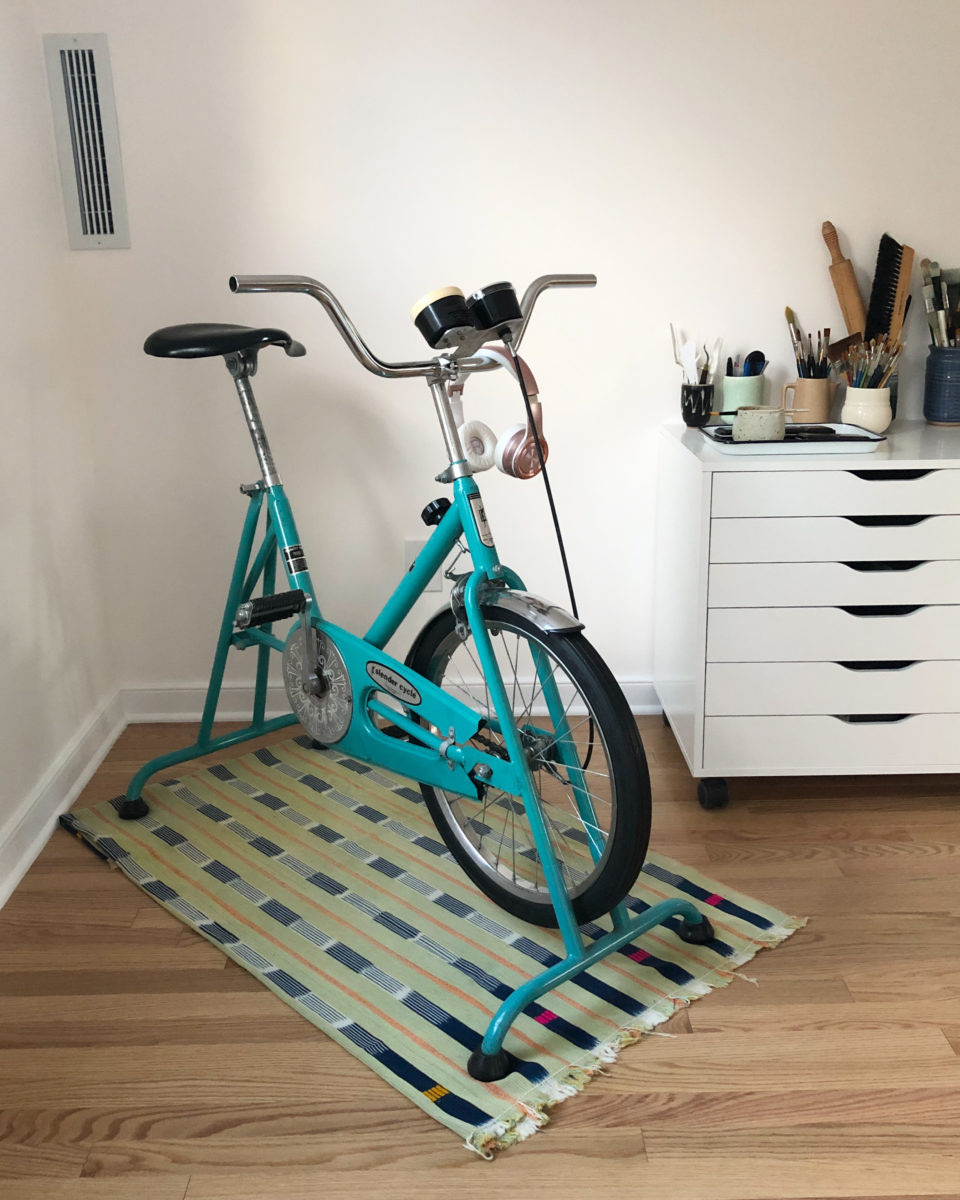
If I’m honest, this corner is probs gonna change. This bike, although it looks cool, is so loud and so hurts my body that I rarely use it. But the intention is there. I’m planning to reupholster two chrome art deco chairs for a lovely little seating area here.
I think my favorite thing about this space is the countertop. It’s concrete and beautiful. I scored that Schoolhouse Electric pendant light at Hippo Hardware in Portland and the fans are Hunter.
I’ll share my sewing set up once it’s presentable!
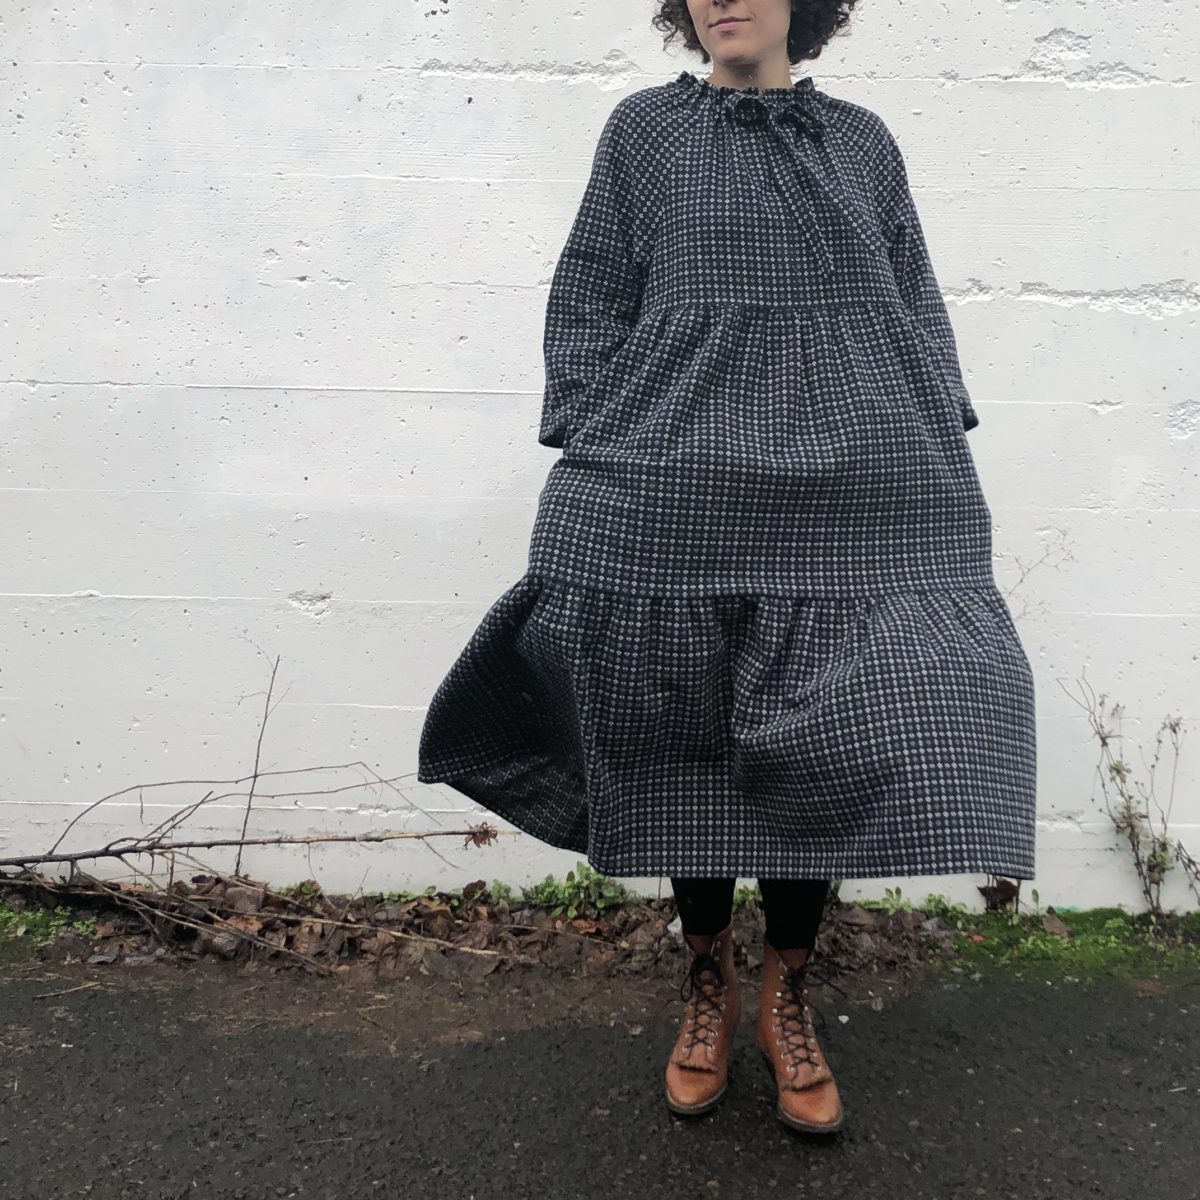
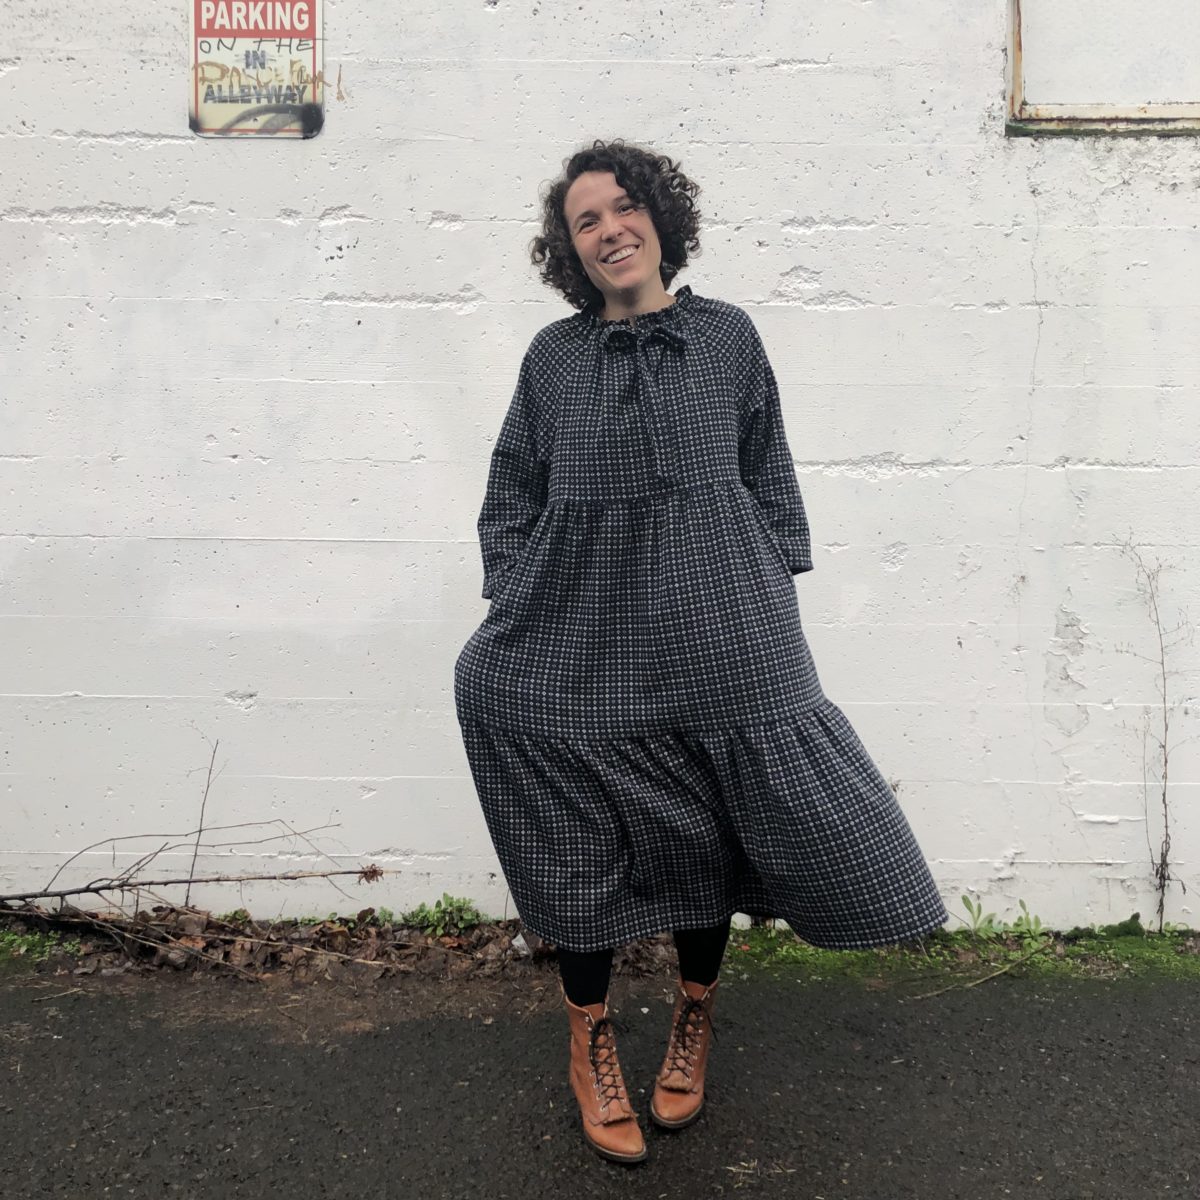
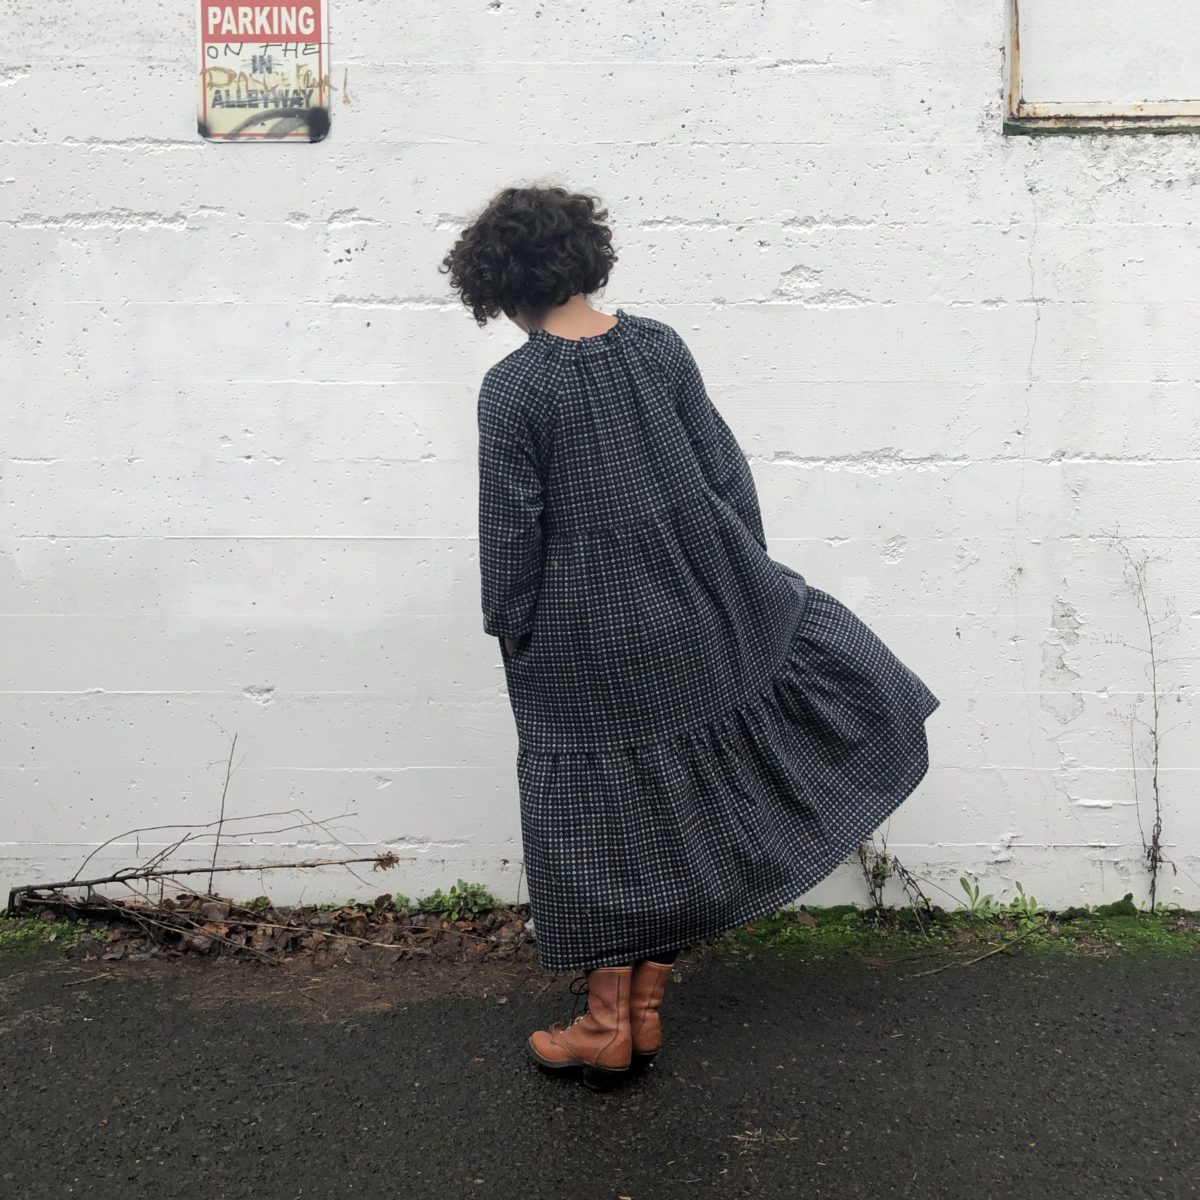
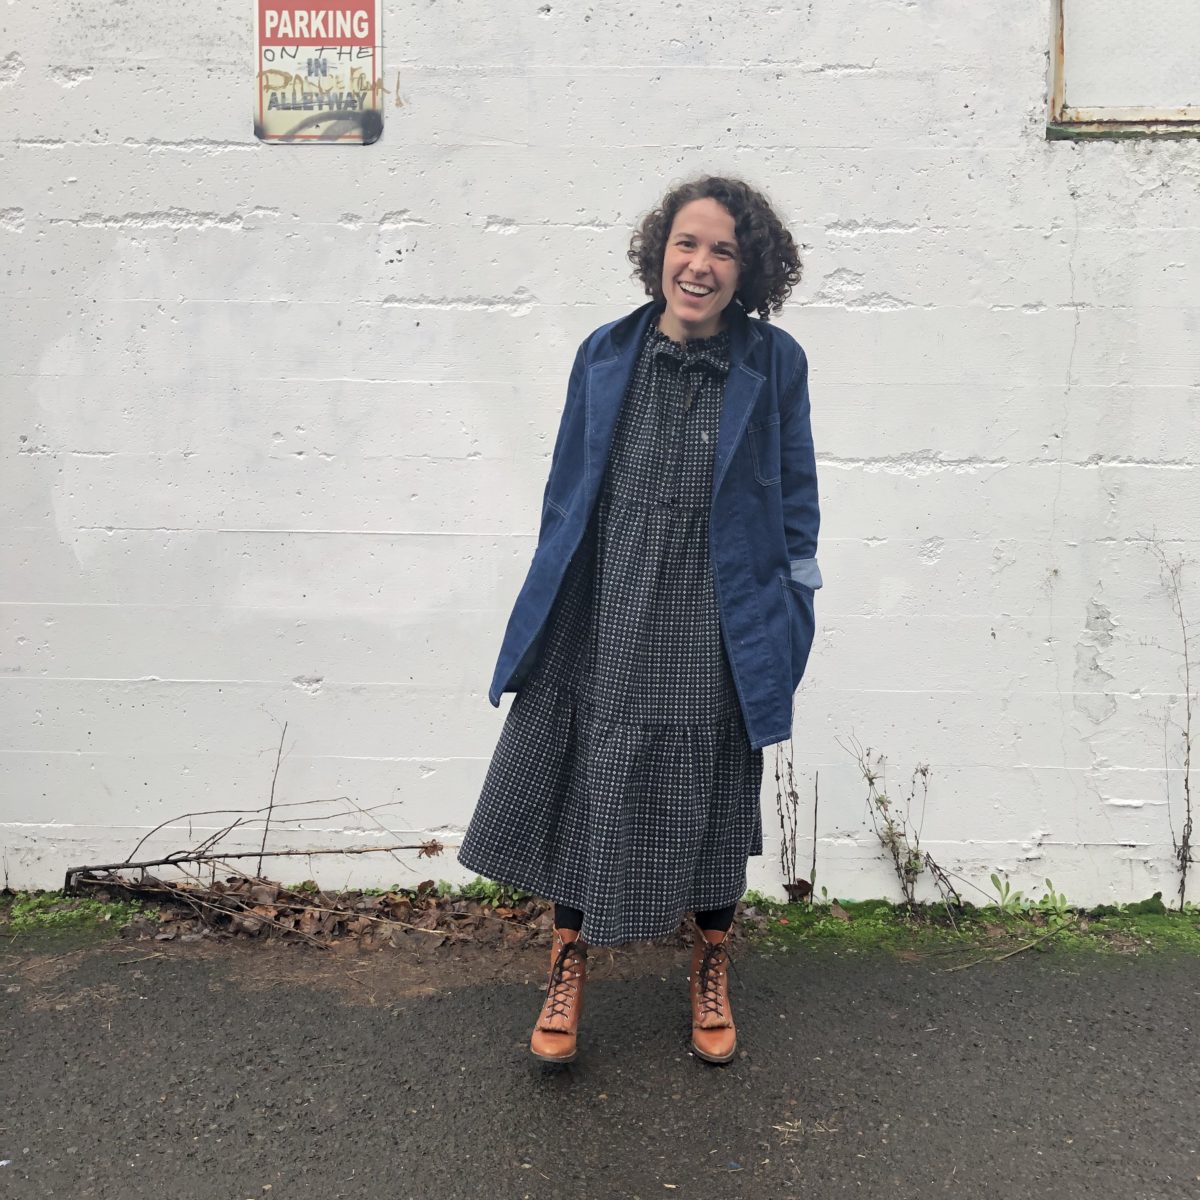
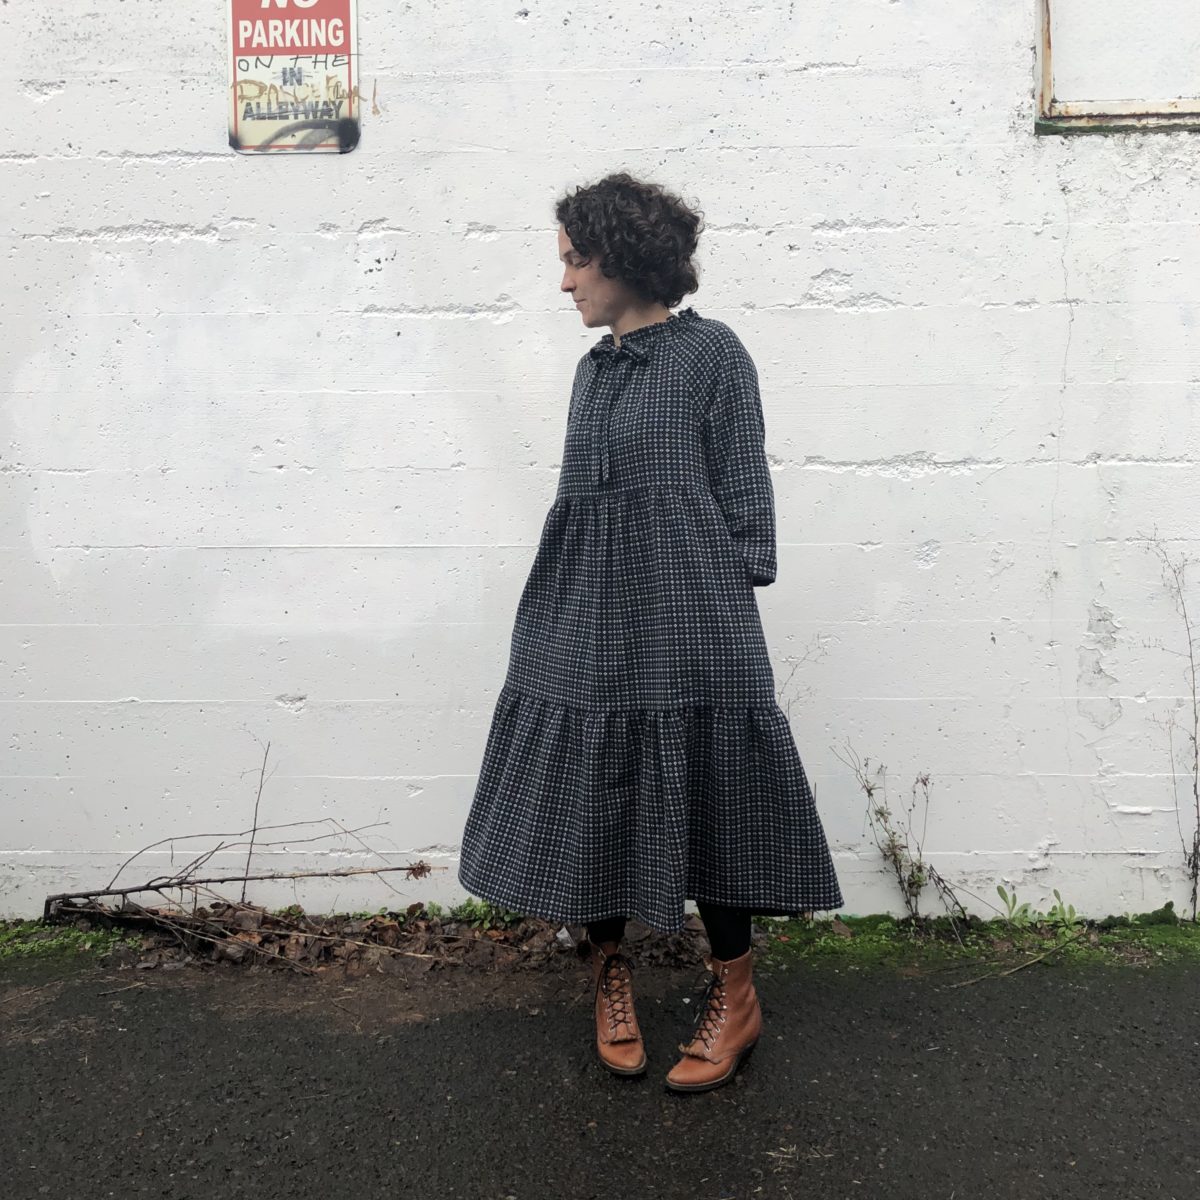
Victorian nightgown or not, I went for it and made another Wilder Gown. This was actually the first one I wanted to make, but Stonemountain had just shy the amount of yardage I needed, so it was put on the back burner until more stock came in.
For this version I shorted the skirt pattern piece by 2″, shortening the dress overall by 4″, which I think works much better on my 5’2″ frame. The bottom tier of the skirt is made up of three panels and I decided to make it into two so everything needed to be cut on cross-grain (it’s a LONG pattern piece).
I also, of course, added in-seam pockets. Twirl on!
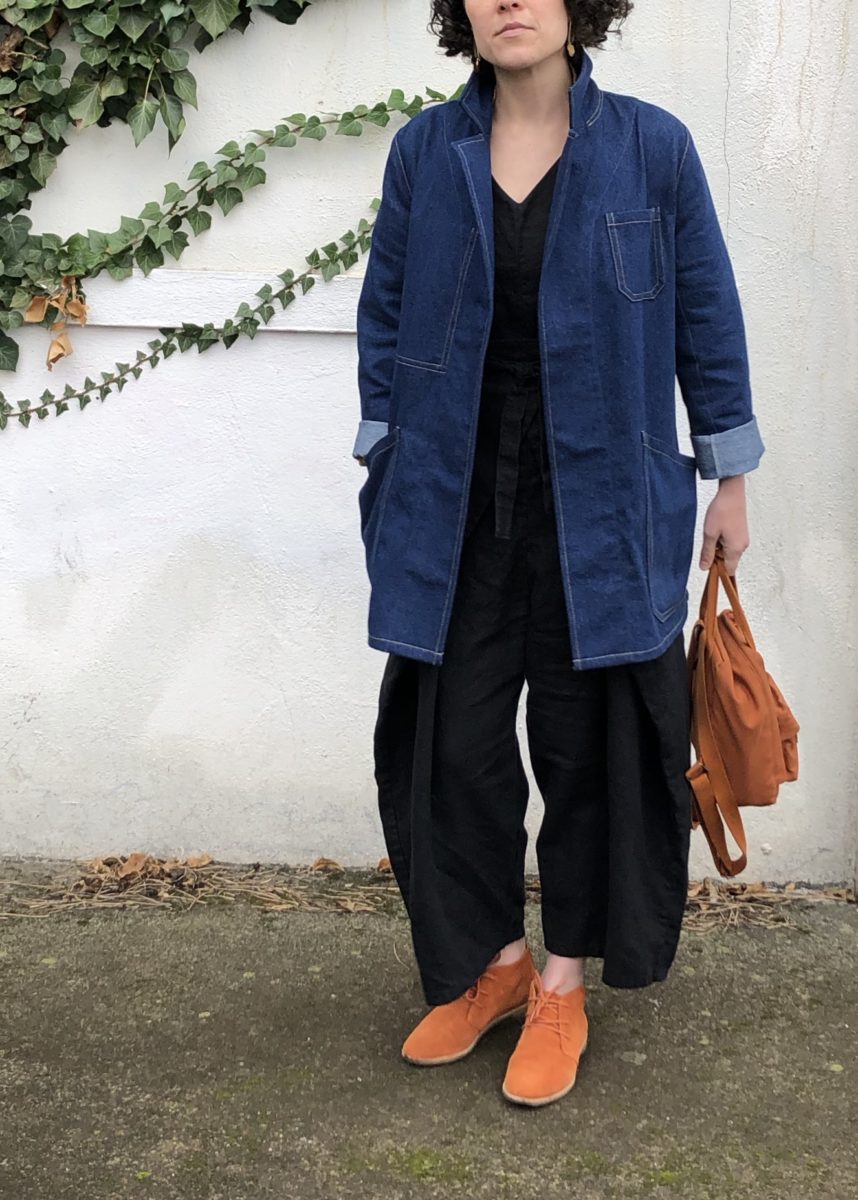
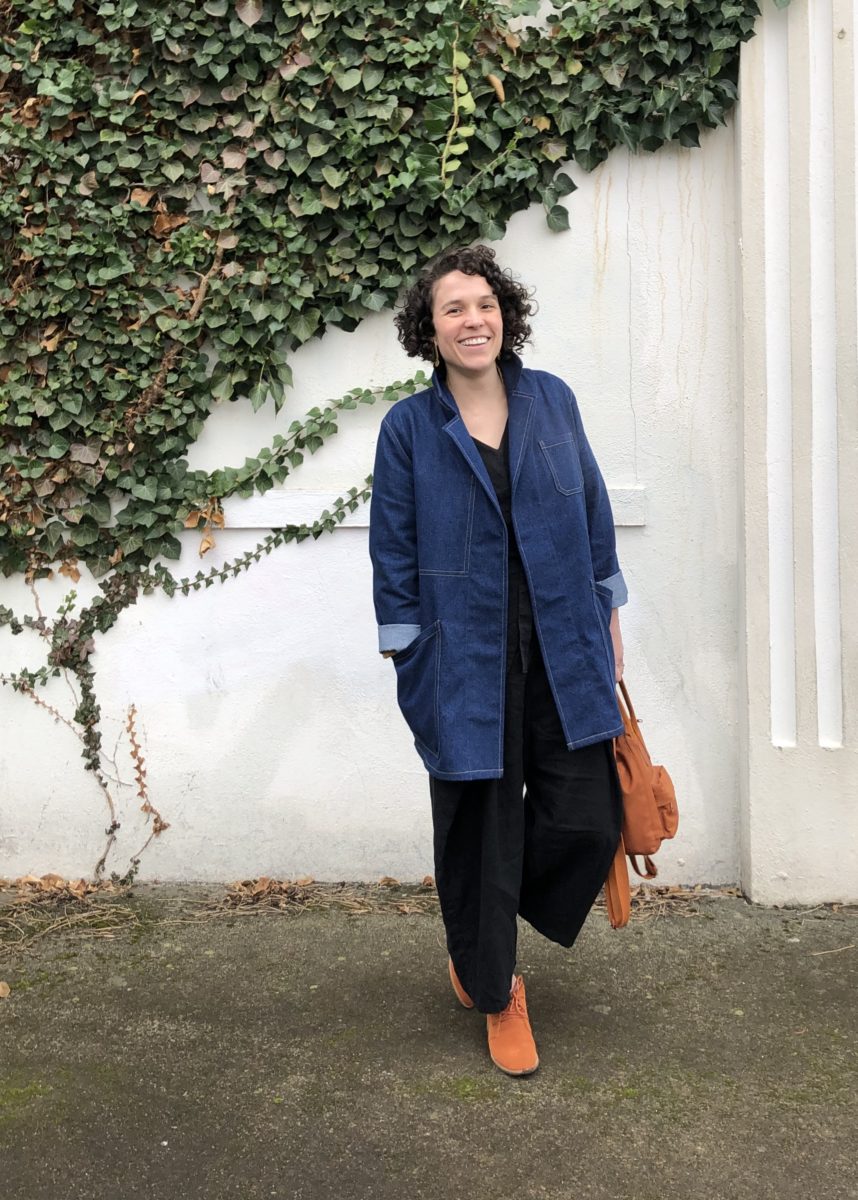
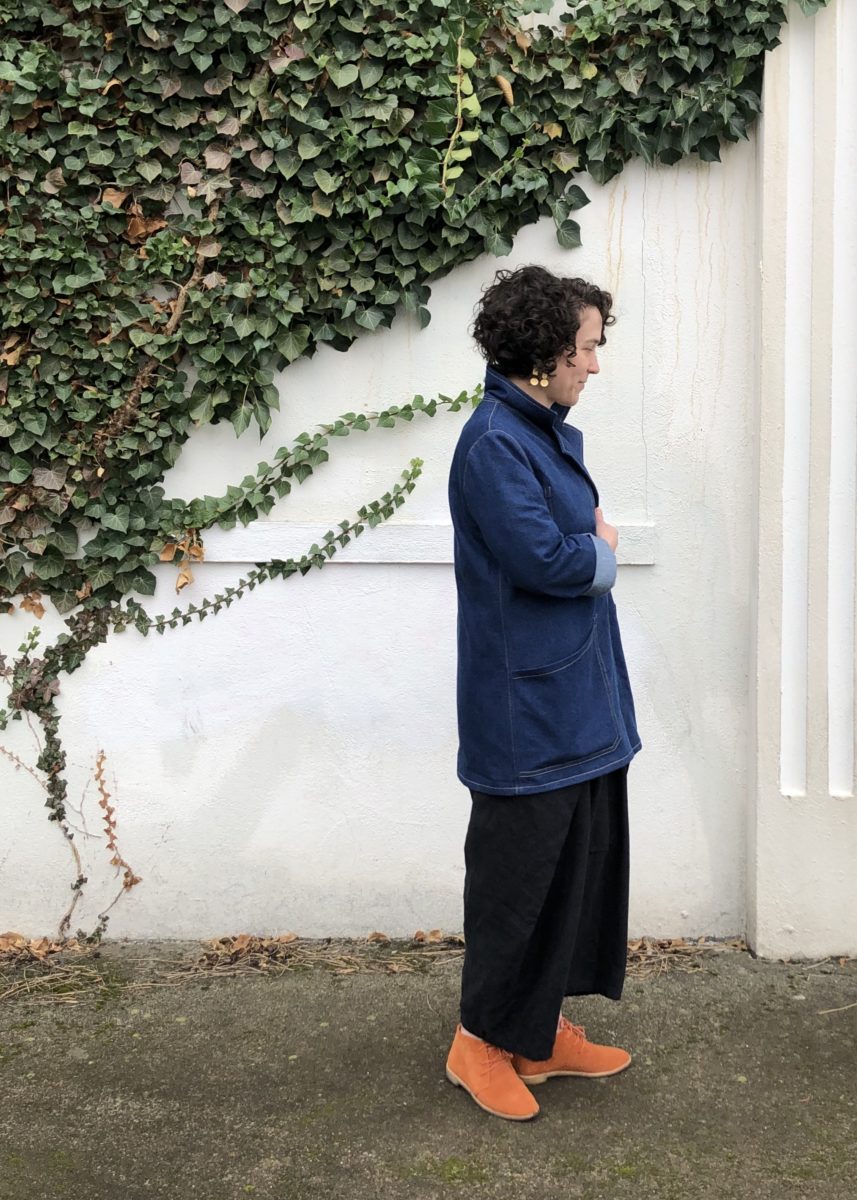
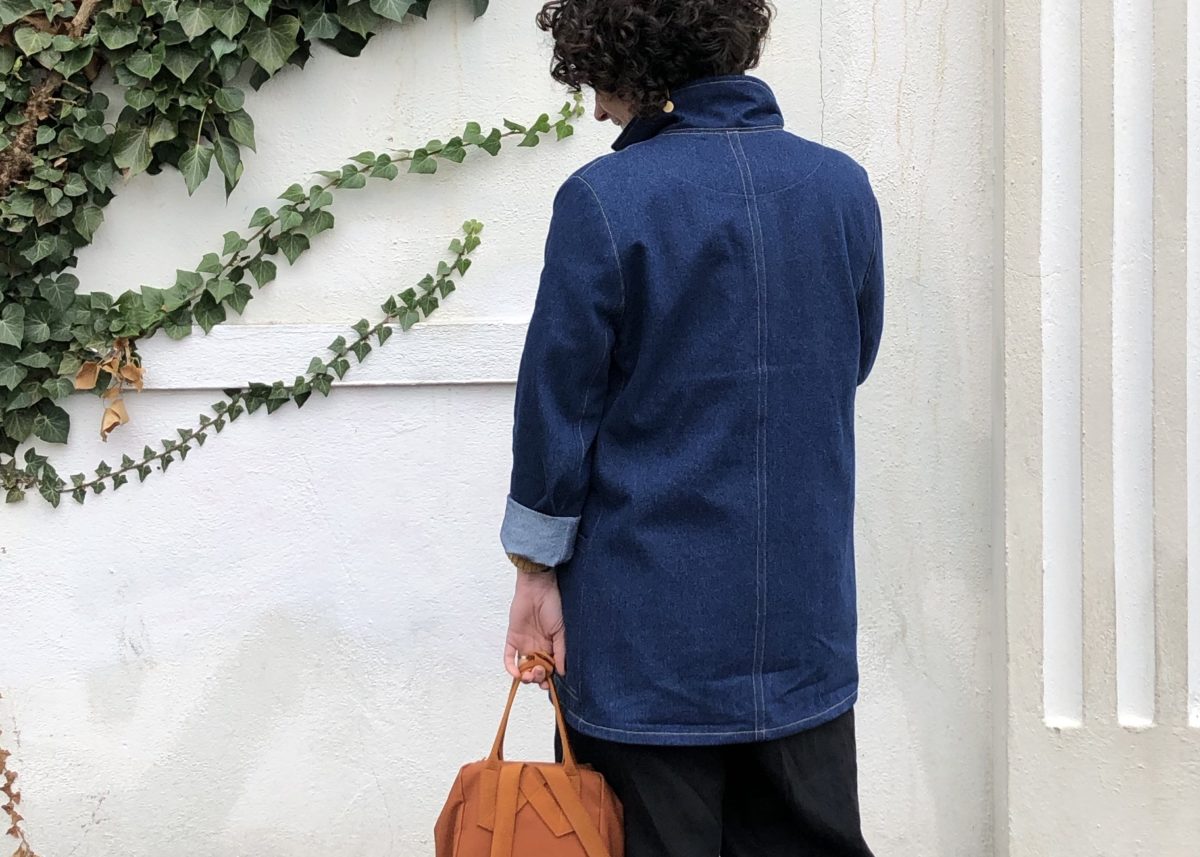
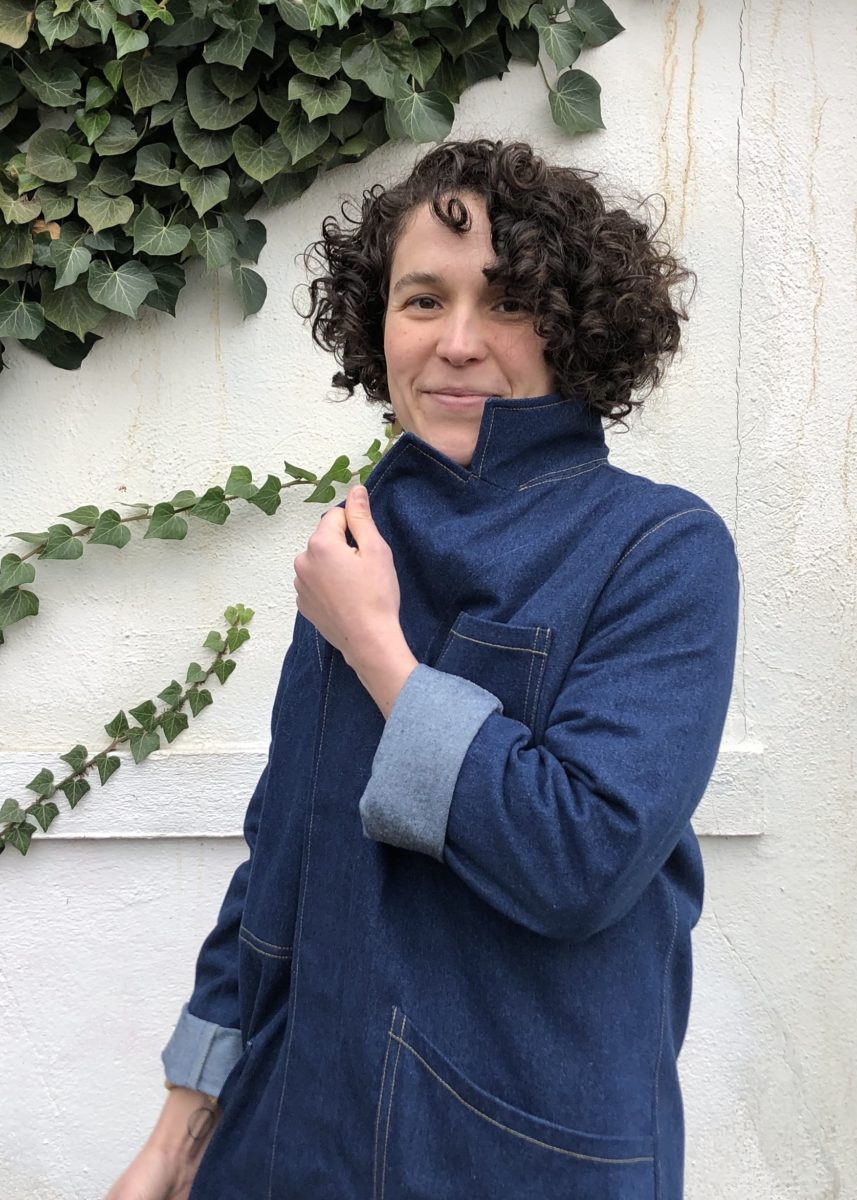
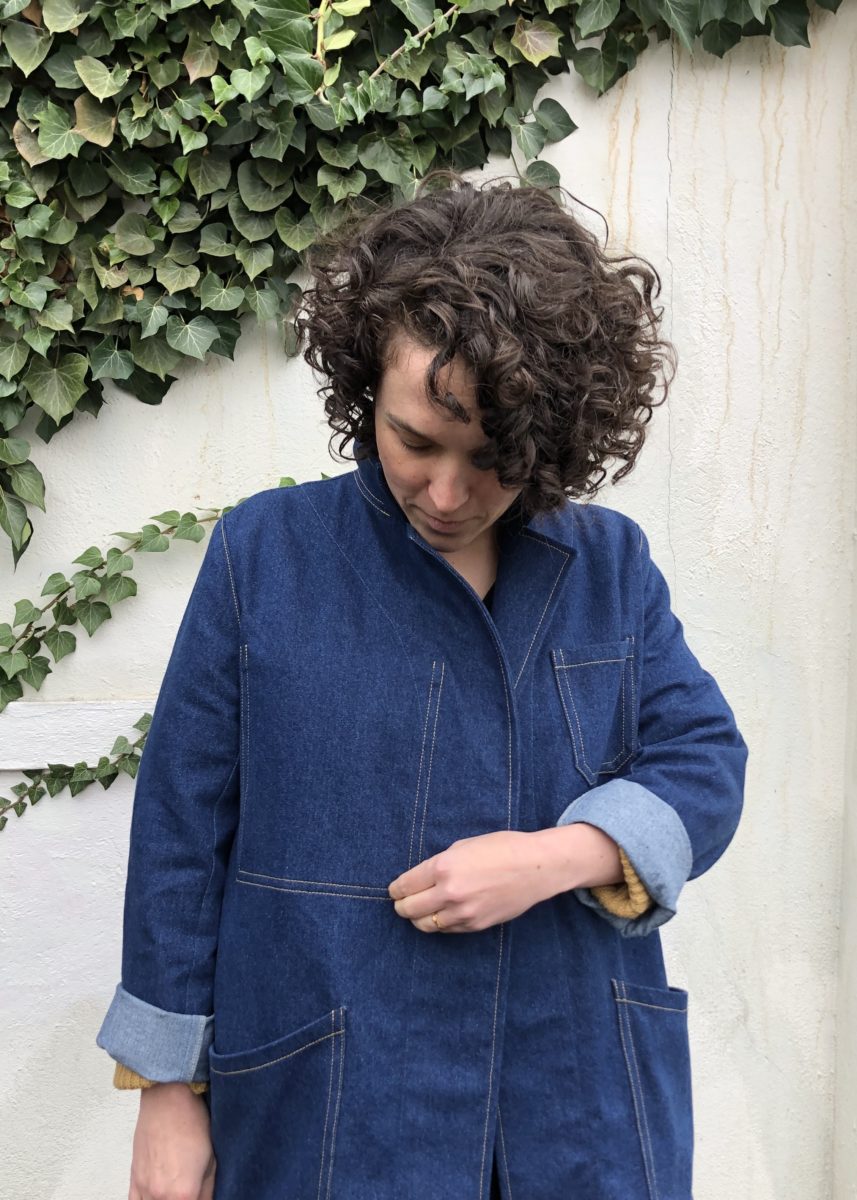
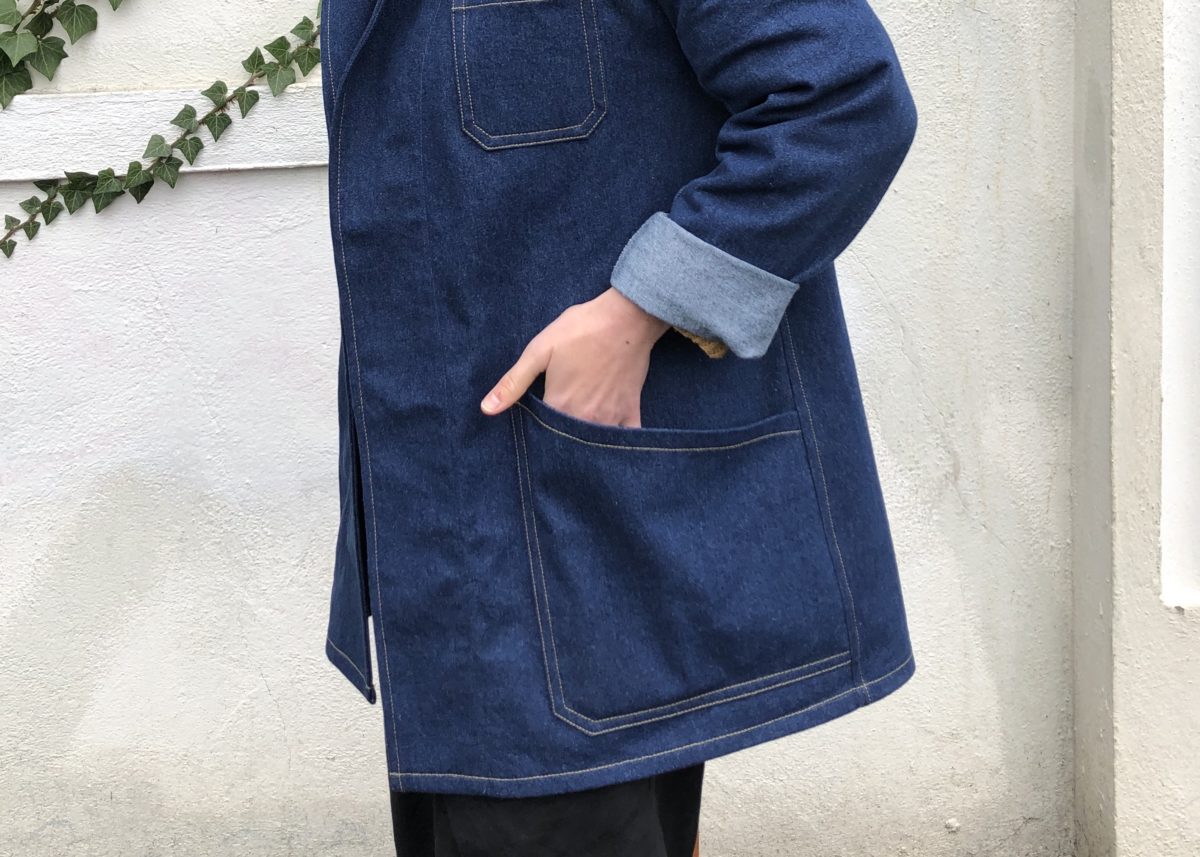
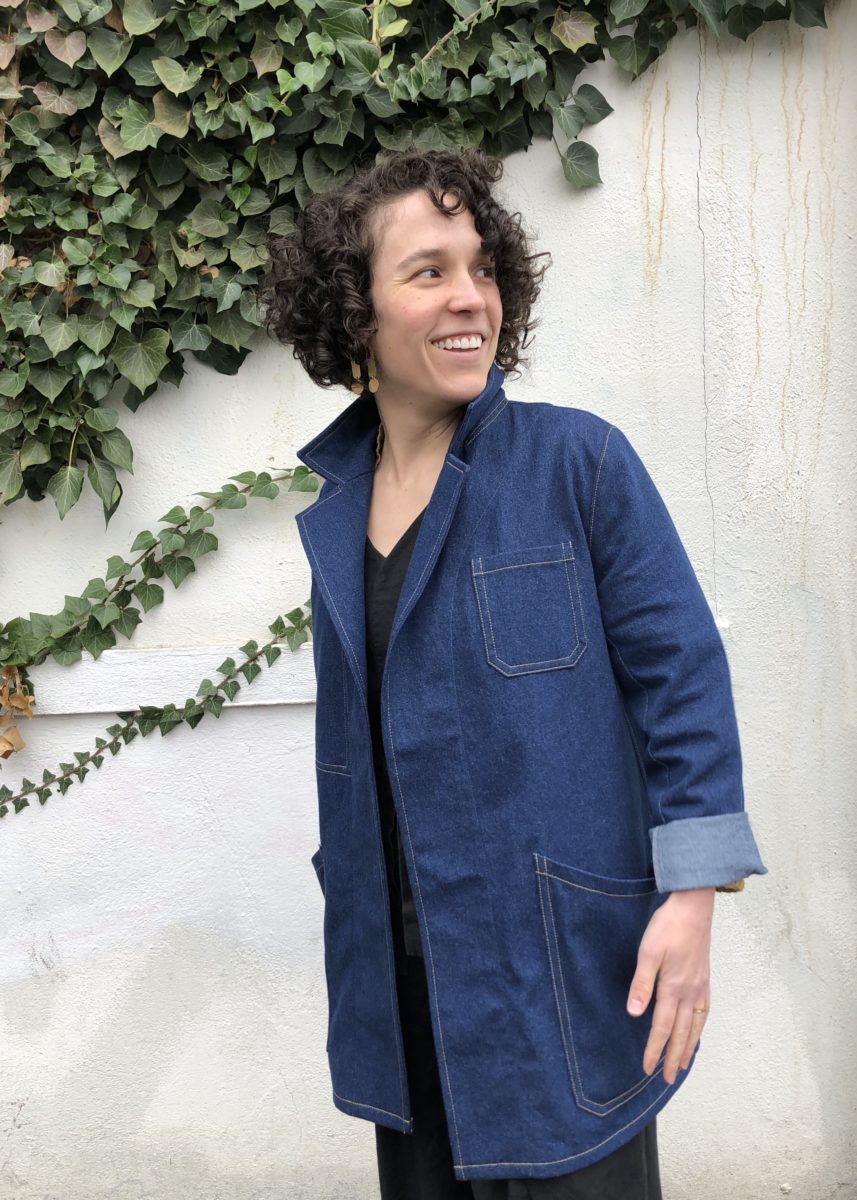
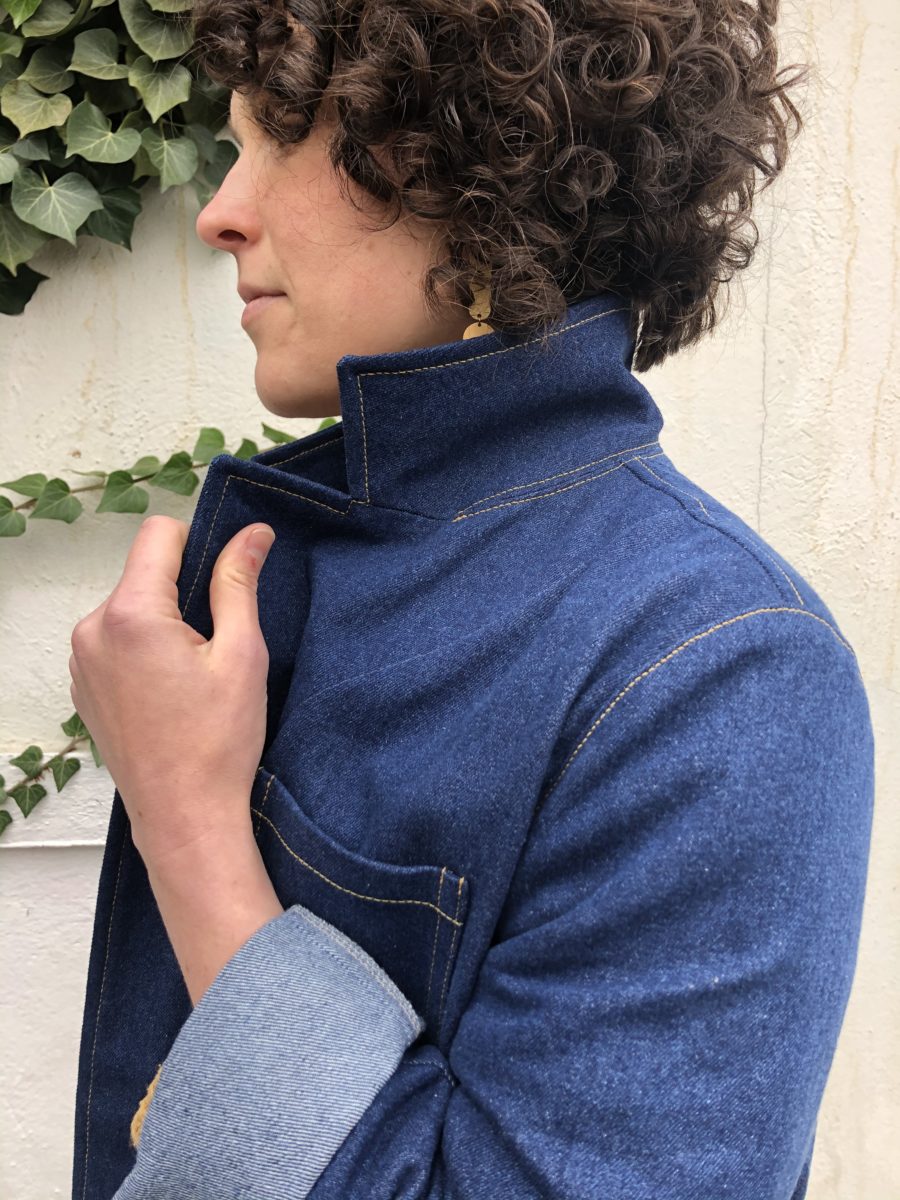
Back in April, Heather from Closet Case Patterns asked if it would be okay if an upcoming fall pattern was named after me. She said it wasn’t quite ready to share, but that it was “worker jacket realness” and “totes my jam.” And then she sent the flats and I about fainted.
I have been dreaming of making a chore jacket for a good, long while and this one literally has my name on it!
I have a total of three versions planned and this denim one was made specially for the Stonemountain Sewists program. As a Stonemountain Sewist, I received a stipend to purchase fabric, sew up an indie pattern with said fabric, and answer a few questions on the Stonemountain blog. You can read all about why I chose this yummy denim here.
I have a natural bull denim set aside for view A and a beige canvas for another view B. The fabrics are, of course, from Stonemountain.
Up until this project, I had only used matching topstitching thread on denim projects. Silly me. Even though there are some wobbly bits, the contrasting thread looks so good against the indigo!
For the facing, I changed up the construction following Natalie Ebaugh’s Fancy Facing tutorial in her stories. It was a little awkward with the long facing pieces but I really love the clean edges. I will definitely use this method on other projects.
On my next two versions, I will shorten the sleeve a bit, probably 2-4″. I love the look of a rolled cuff, but there’s just a little too much fabric hanging out in that roll.
I’ve worn this jacket every day since finishing it. It’s such a good fall layering piece. I might add some antique brass snaps to the front closure, but I’m going to wear it for a while before I decide if they’re needed.
I love this pattern and I’m so honored to have been its muse!
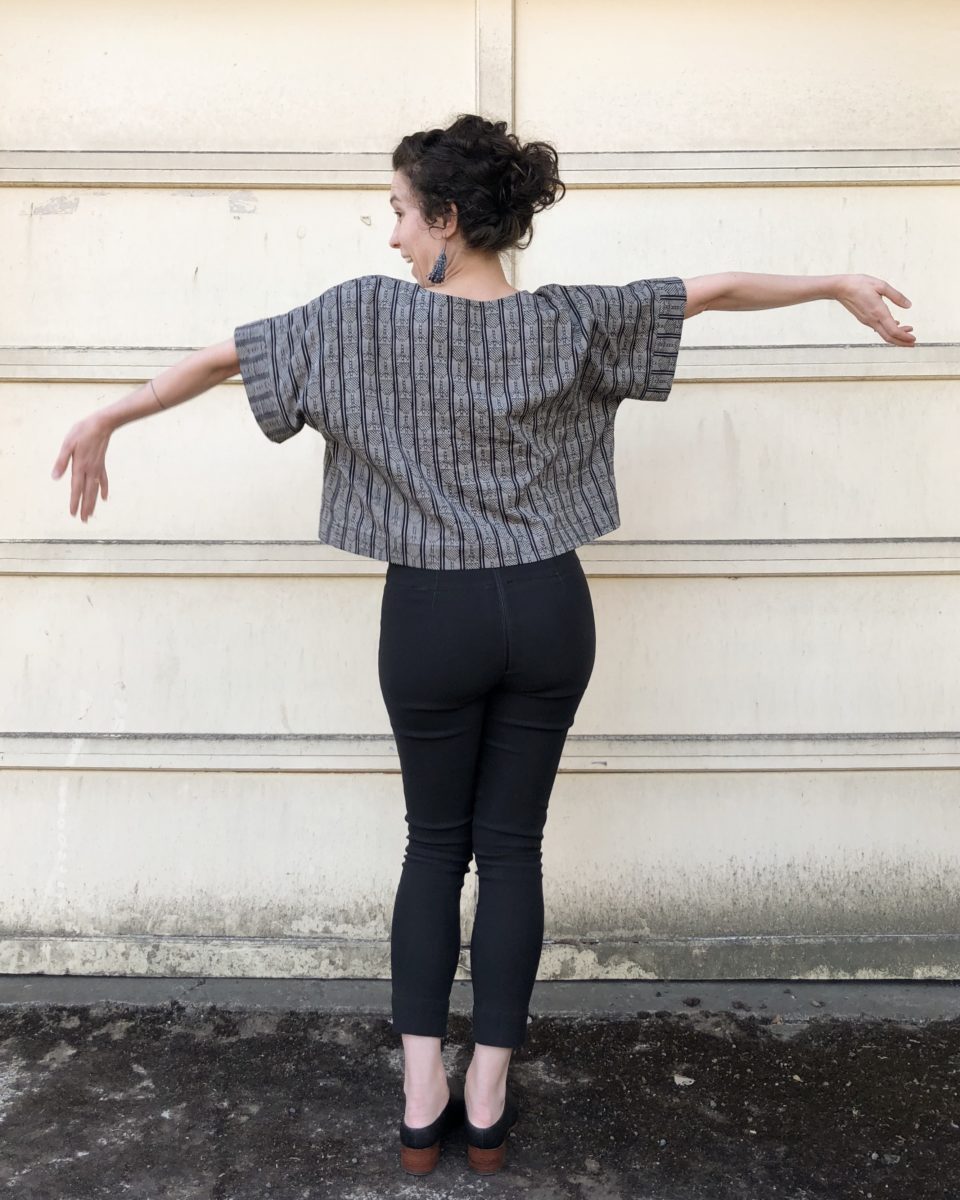
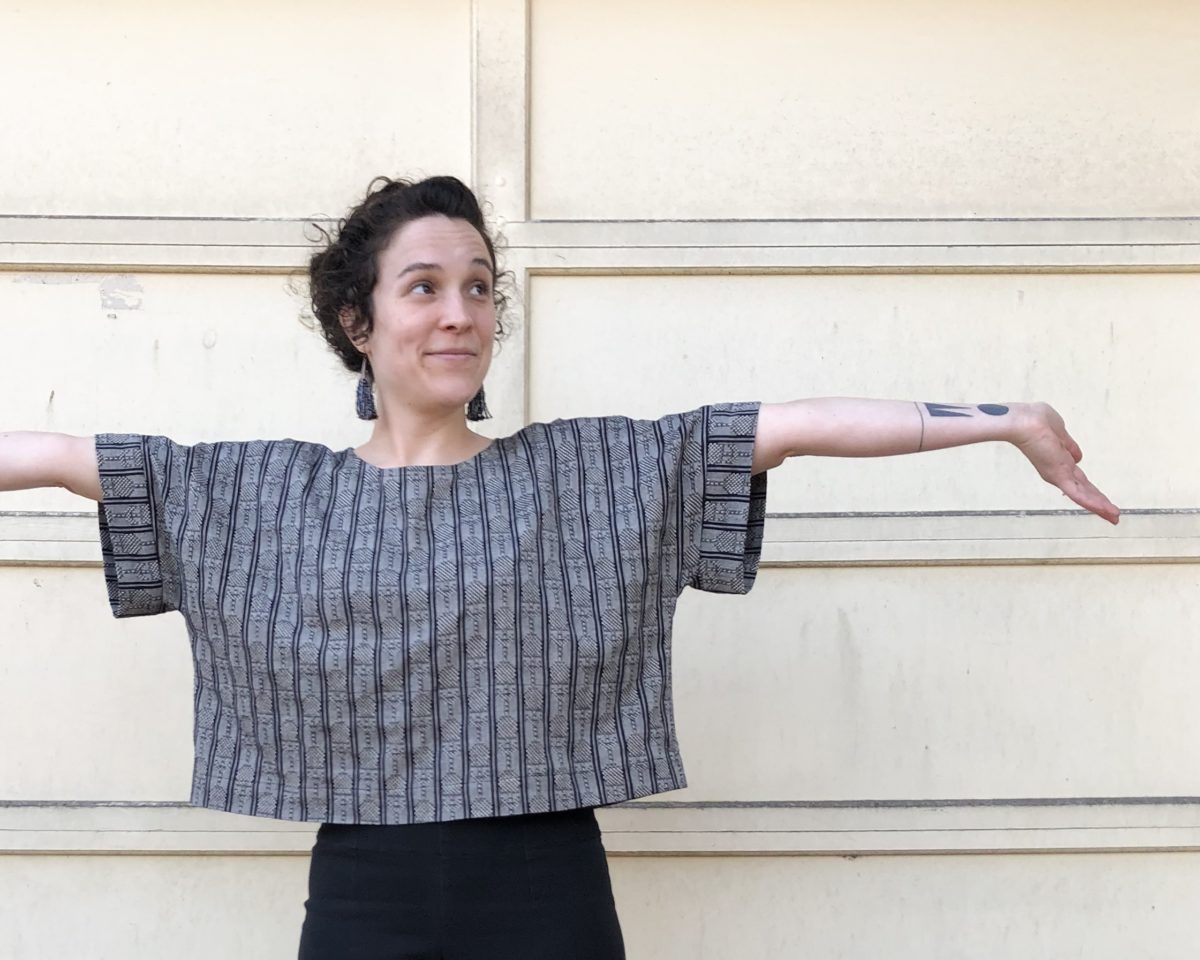
This beautiful fabric has been languishing in my stash for years. Thankfully I had juuuuust enough to make this top. Bo is a quick and satisfying sew and I’m certain I’ll make many more.
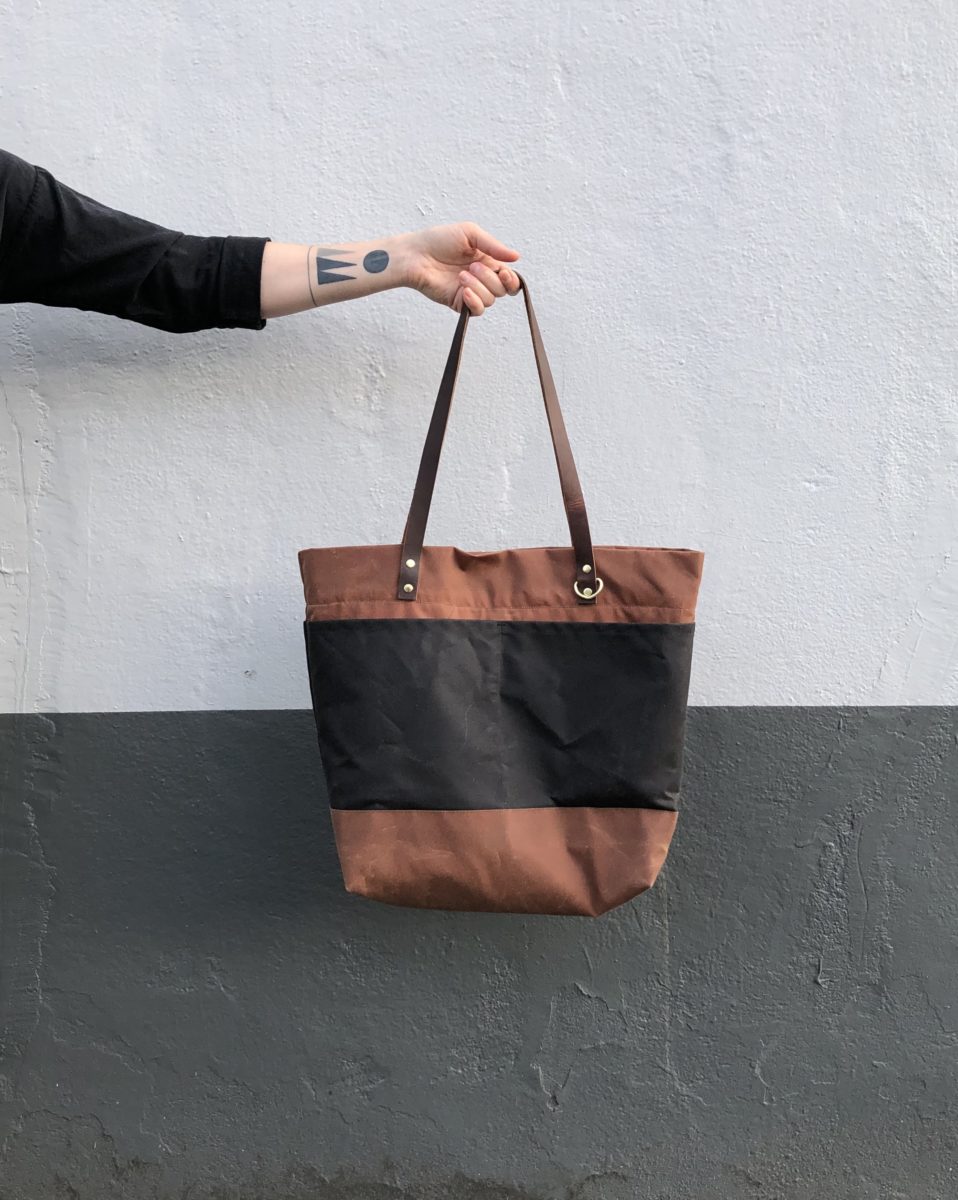
I’ve added yet another bag to my growing collection of Klum Houses – the Oberlin Tote!
Klum House has really perfected bag making. The instructions lovingly walk you through each step and the maker kits have everything you need. Really though, you can unroll your tube of supplies and have yourself a beautiful, functional, and high quality bag in a few hours.
Klum House reached out to me a few months ago to ask if I’d be up for sewing the revamped Oberlin, and despite my impending move, I said yes. I was super stoked to be able to pick up the kit in person after moving to Portland!
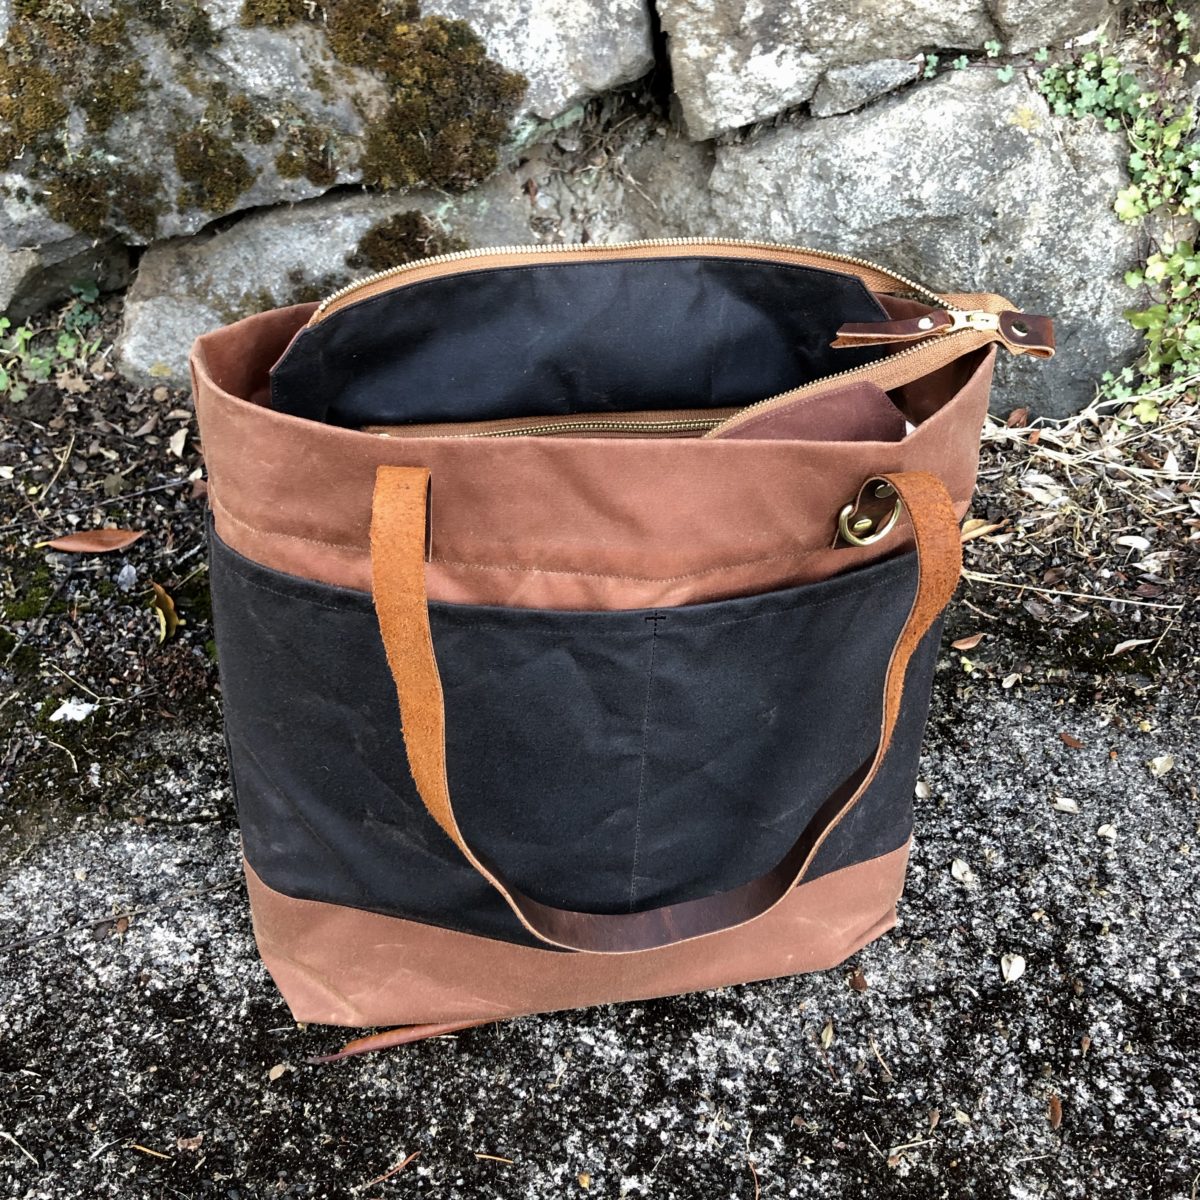
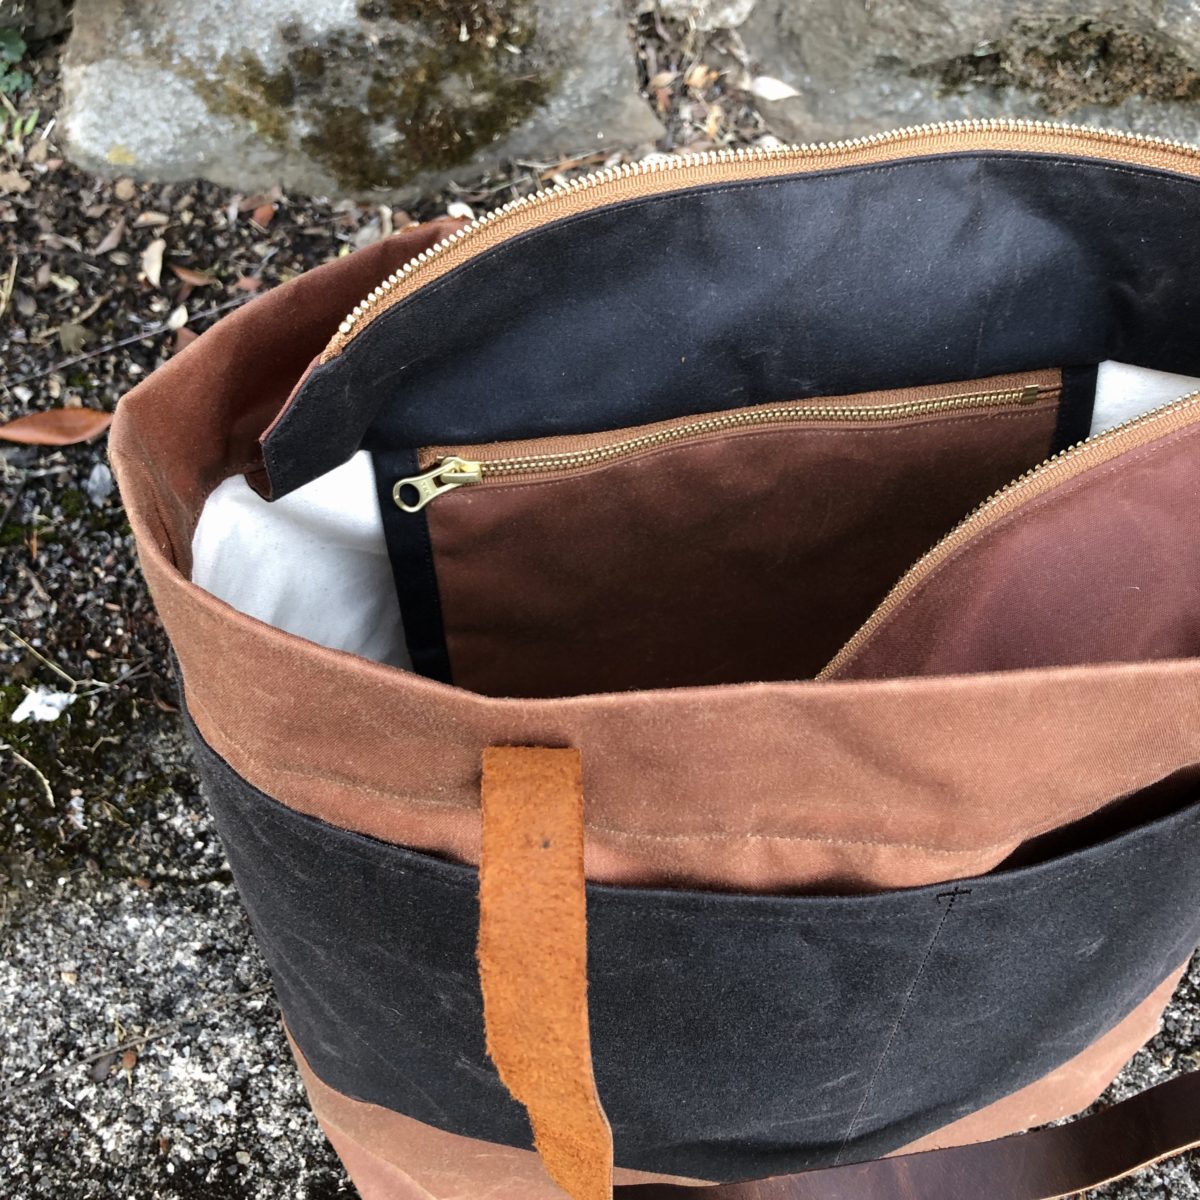
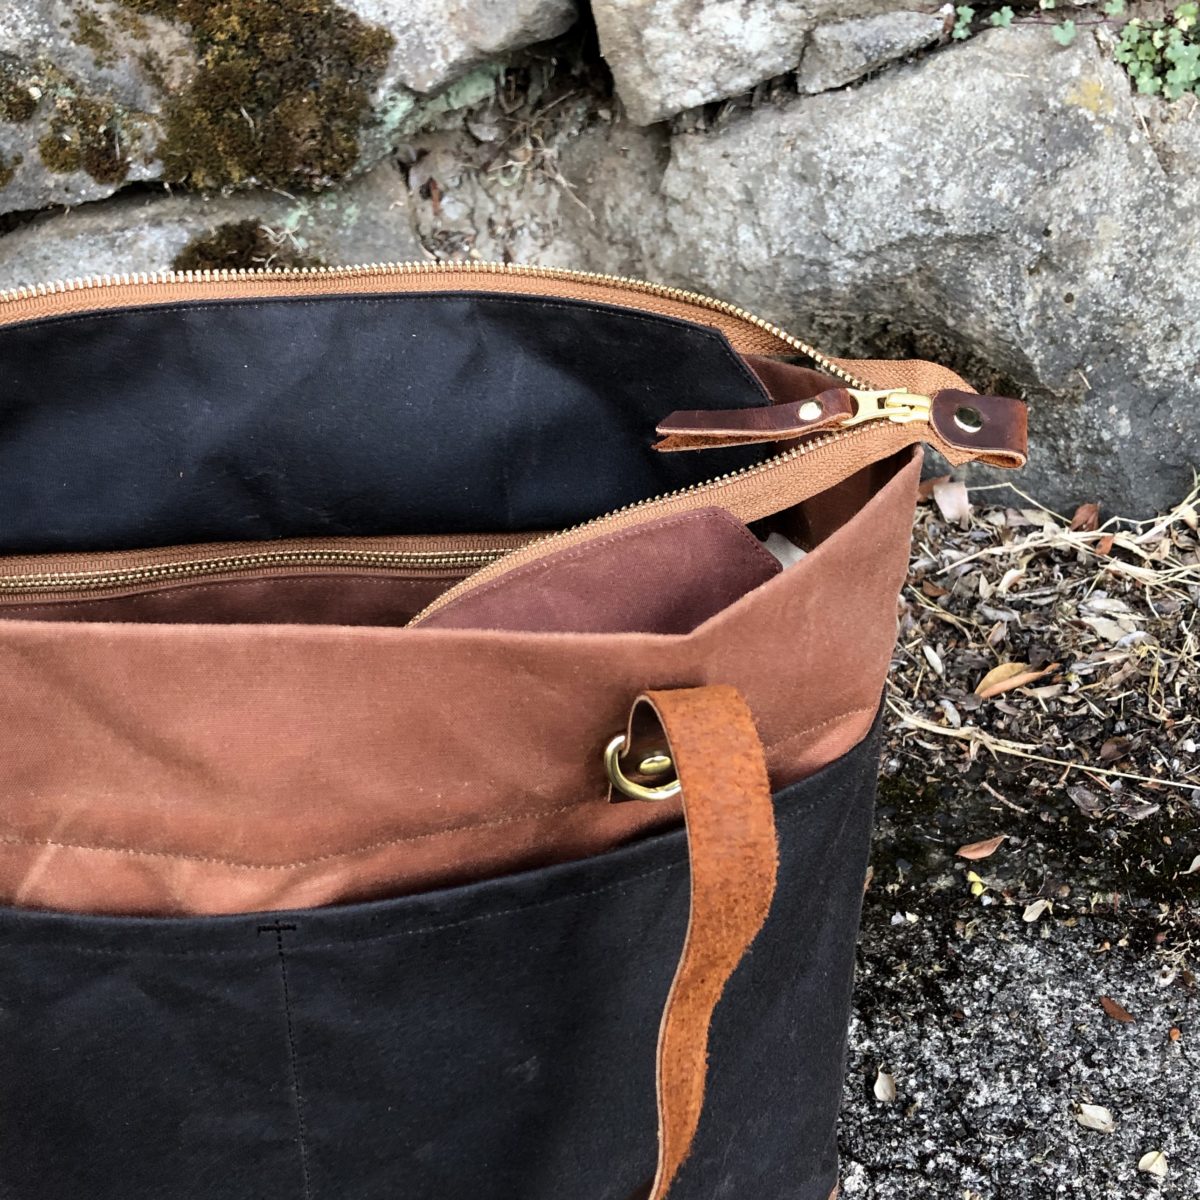
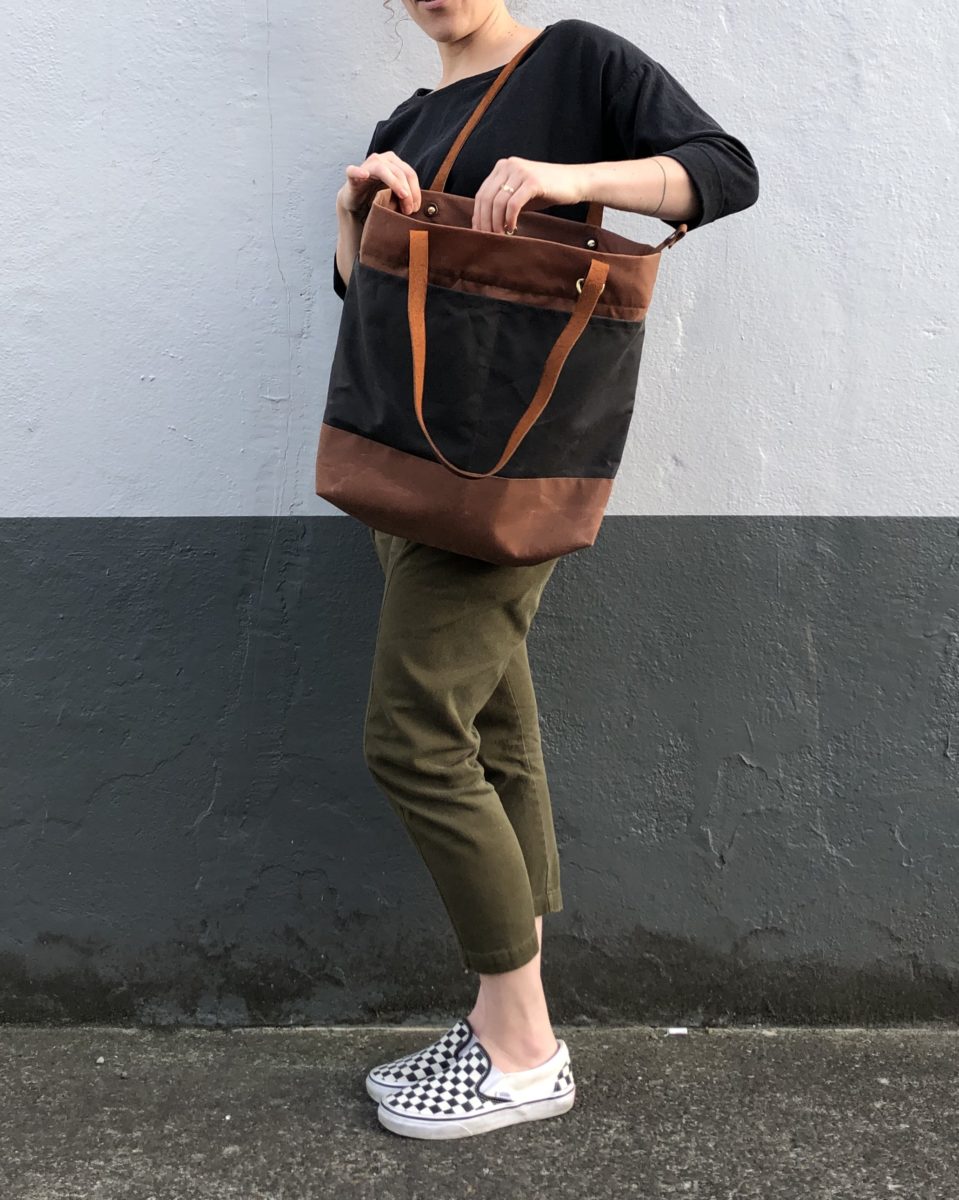
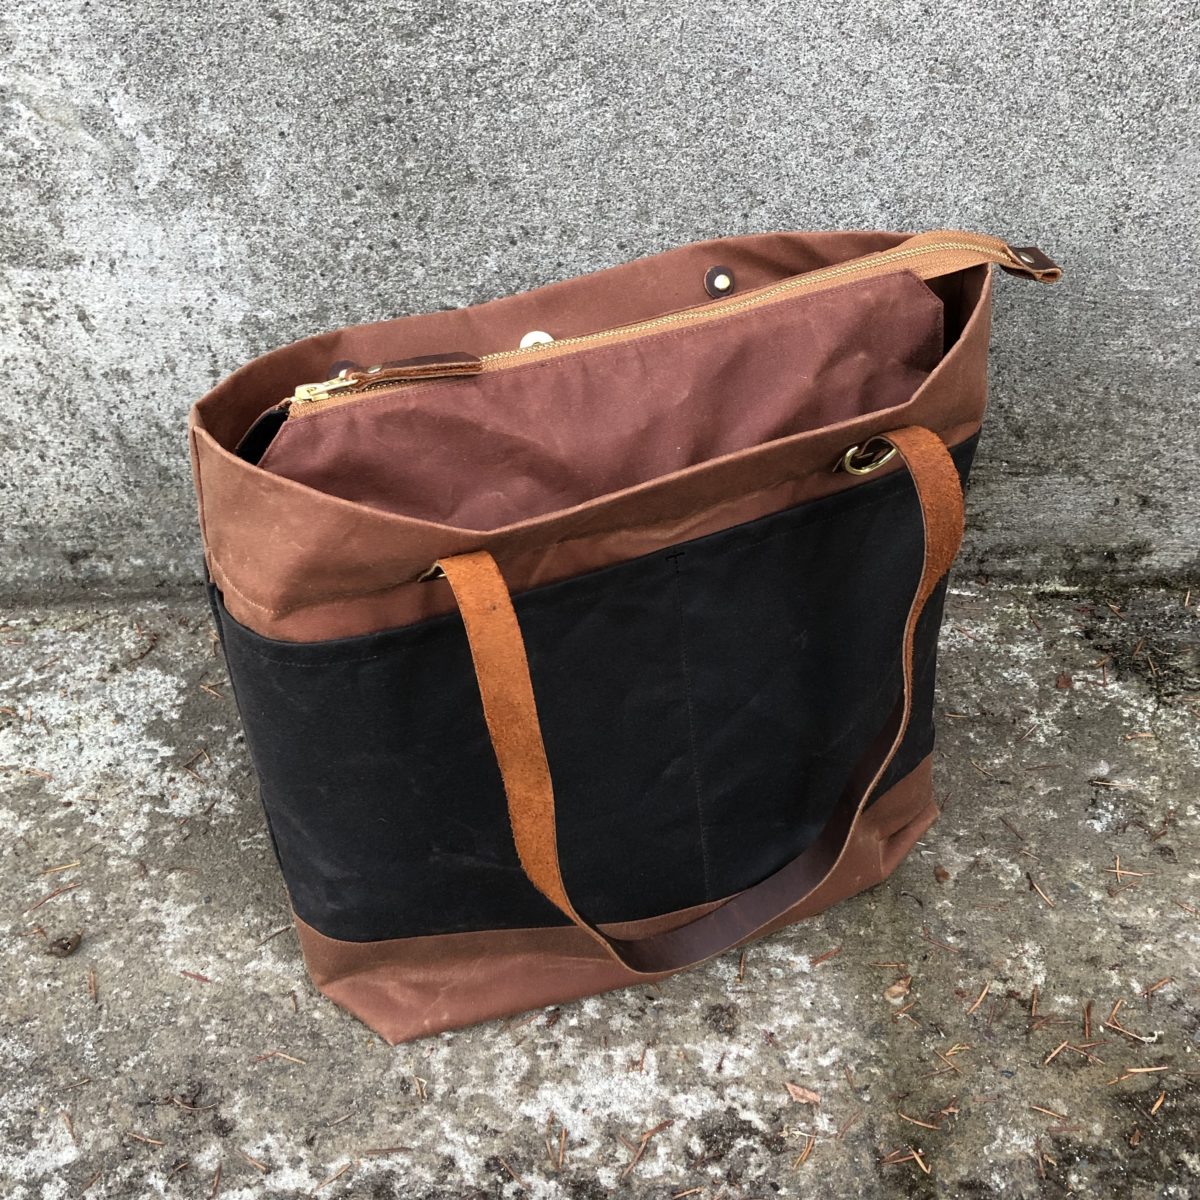
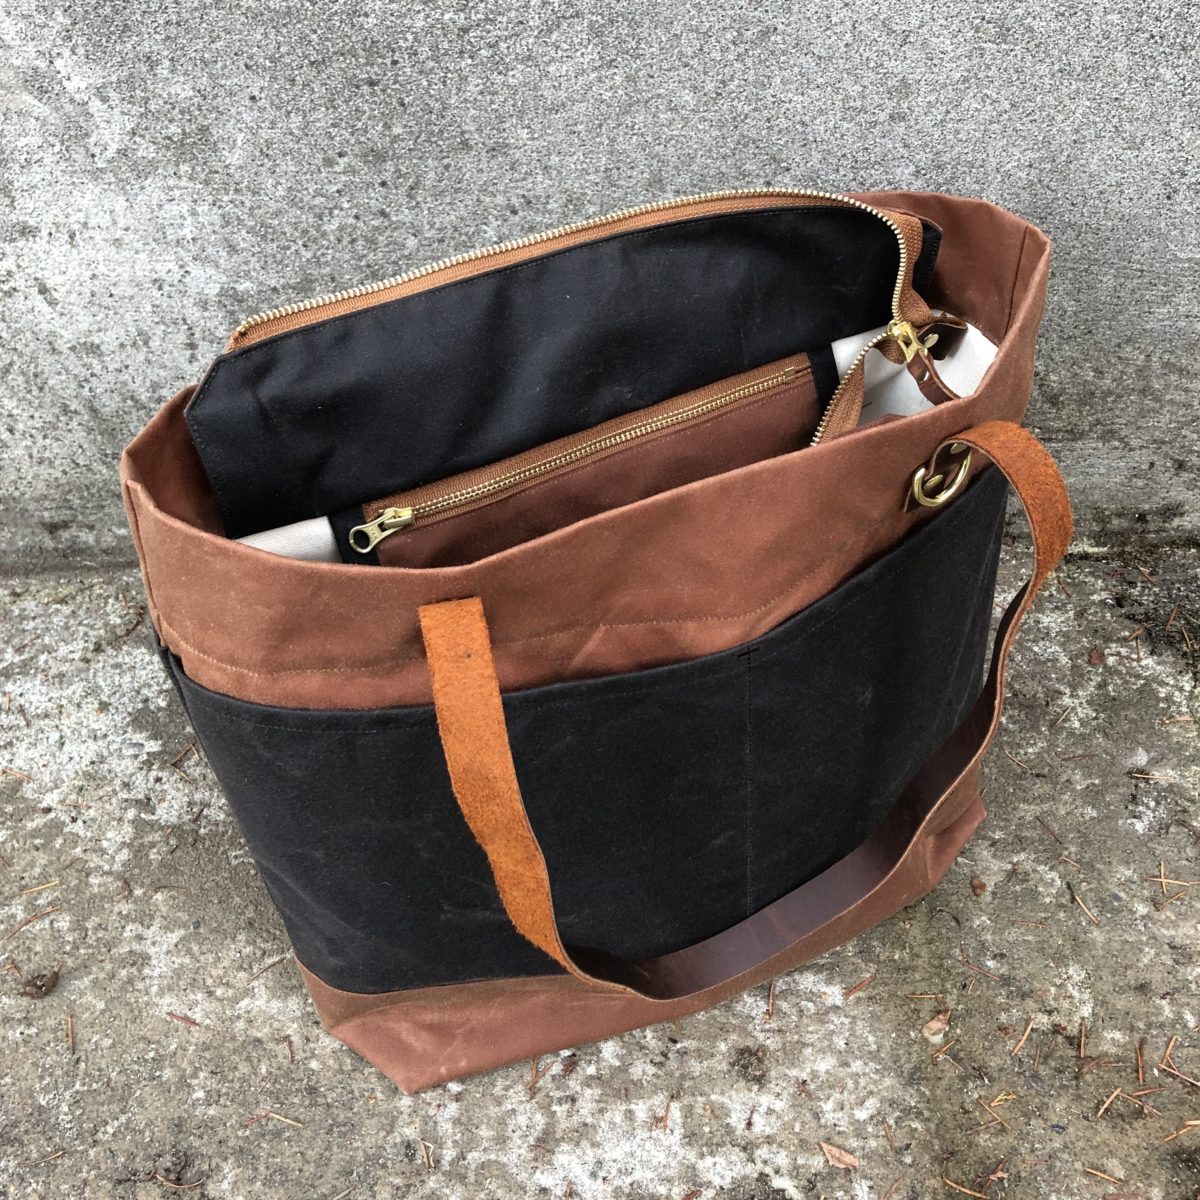
The Oberlin is an elevated tote. It features FOUR exterior pockets, sturdy leather straps, an interior zipper pocket, and now with the relaunch, an optional zipper closure and lining. I opted to add both of the expansions because I can’t say no to lining a bag and I know I’ll actually use a tote if it can secure stuff underneath a zipper.
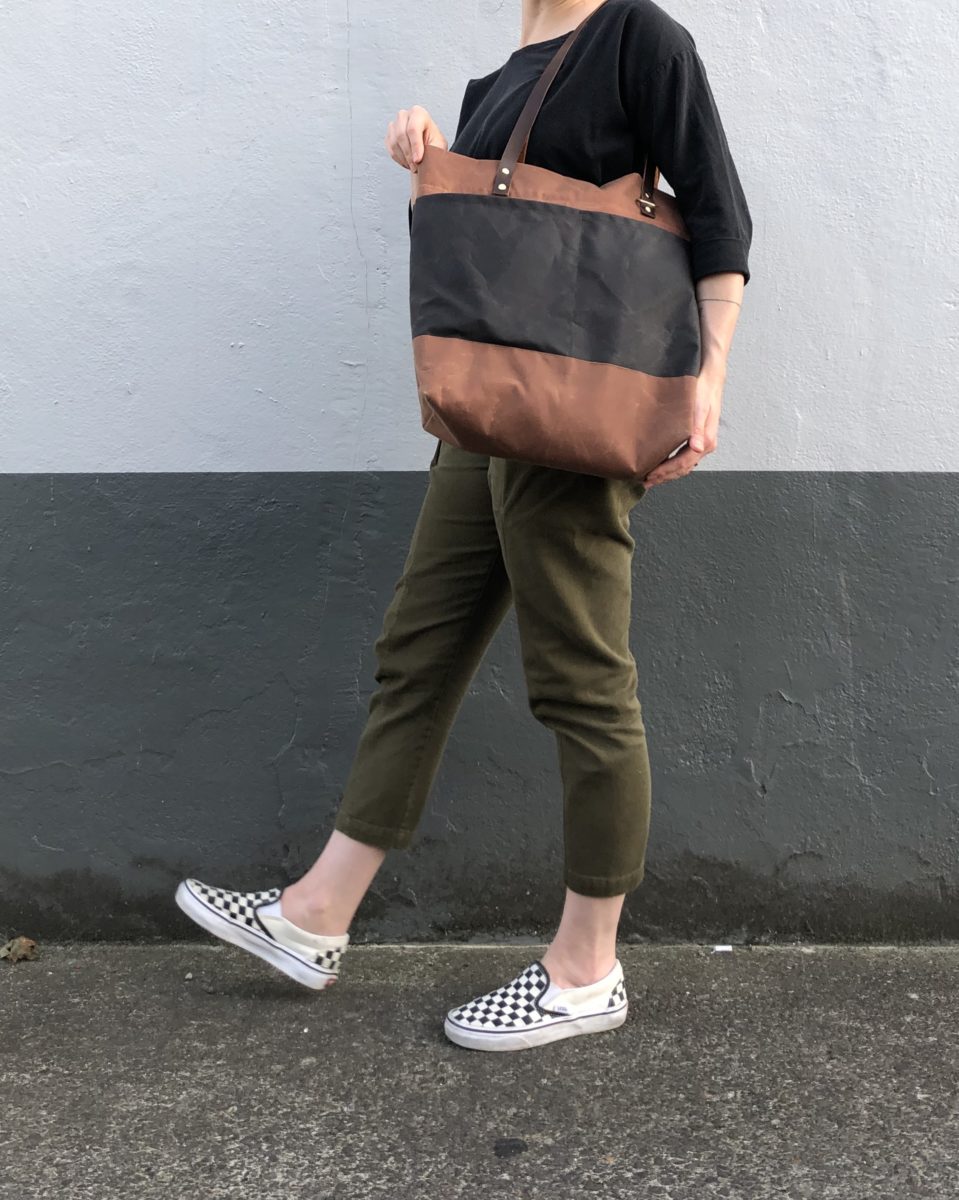
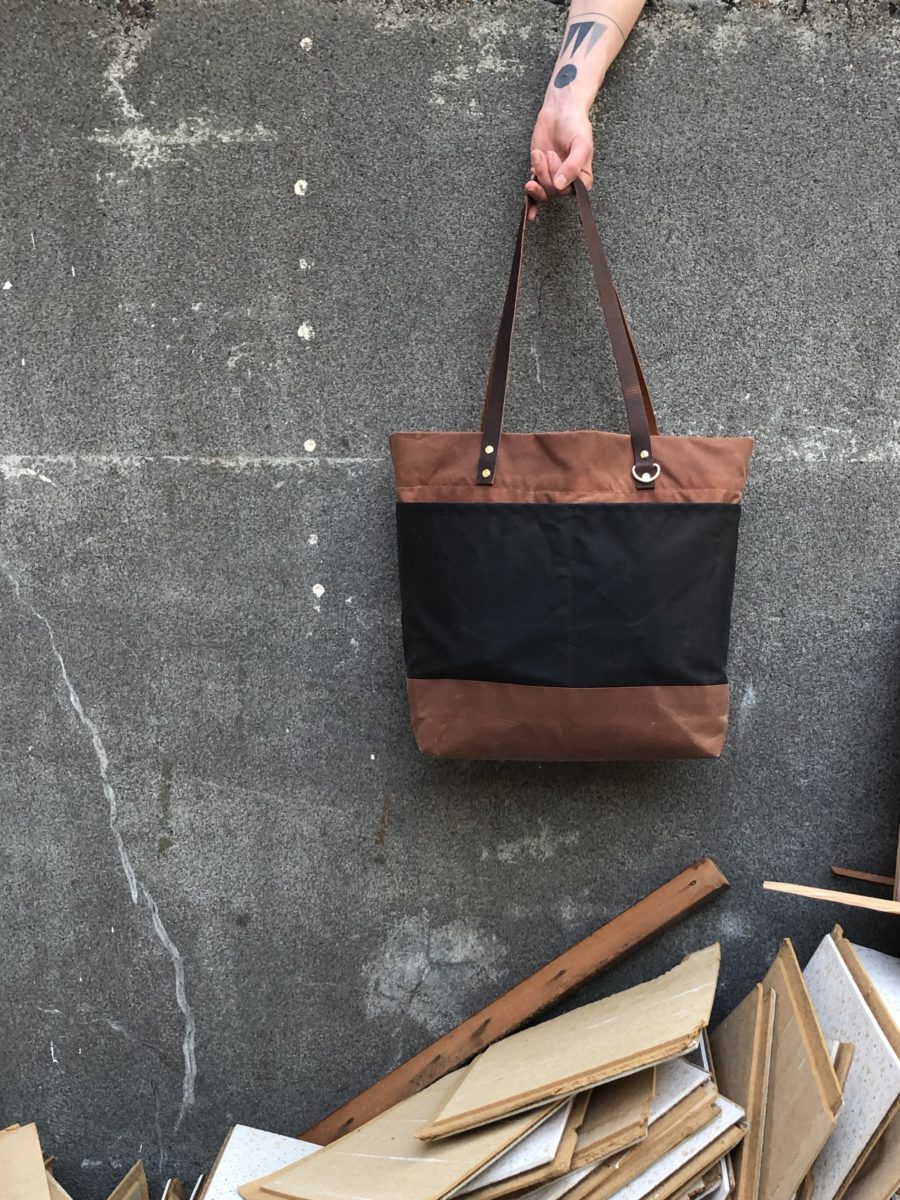
Klum House has so many colors of waxed canvas to choose from, but I defaulted to the same colors I used for my Maywood – dark brown (looks like a warm black) and brush brown, but with brown leather straps. I love the brush brown color so much, I wish I had leaned in an done the whole bag in it. Oh well!
One of the many things I appreciate about Klum House patterns and kits is the fun details. I mean I can’t think of a better way to finish a zipper. That little end tab is perfection! Also I really want a new key chain just so I clip my keys to that little D-ring.
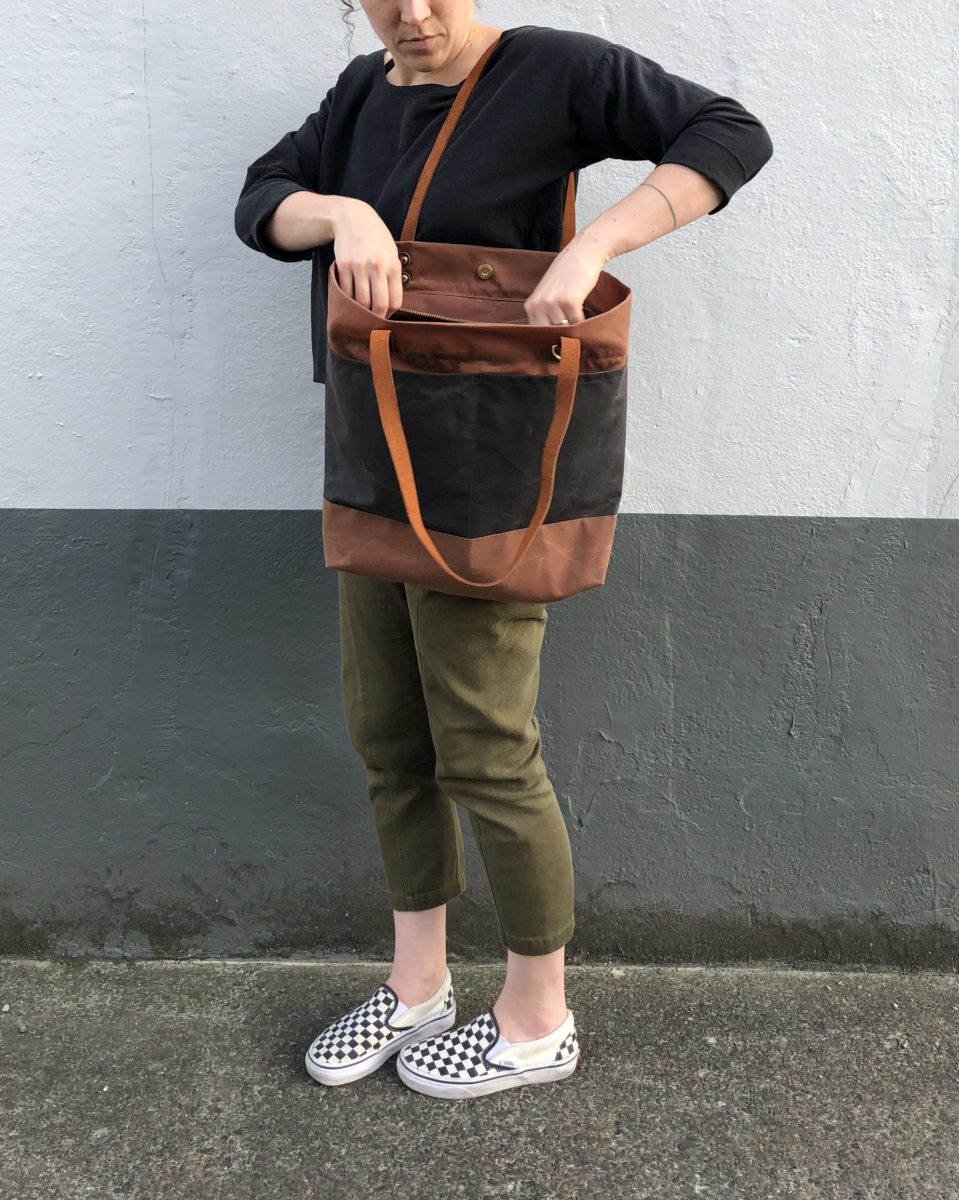
The Oberlin is a really versatile size. It’s great for toting your everyday things around and I can see it working well as a travel bag too. The zipper expansion pops up allowing you to really cram it full of stuff.
The instructions allow you to customize your Oberlin. Only want to add the lining? The main instructions tell you exactly when to pop over to the lining PDF. Want to do both the lining and the zipper expansion? The instructions tell you when to switch from the main instructions to the zipper PDF, and then from the zipper instructions to the lining PDF.
I had one hiccup in the construction, but mostly because I was frantically sewing late at night to finish her up. The last sewing step before hammering in the straps is that line of stitching at the top, which I somehow managed to make three ugly folds in. Having never tried it before, I was really nervous about ripping stitching out on waxed canvas, but the puckers were bad and I had to. After redoing the stitching, I blasted the waxed canvas with a HOT hair dryer and now you can barely see the previous holes.
For the lining, I used some plain ol’ cotton duck from my stash. I think a bright lining in a cavernous bag is best! I’m really impressed with how clean the finish is with the lining and zipper expansions. All of the seams are hidden, except for a small opening in the lining to turn it right side out.
Full disclosure this bag took me a while to make, but only because in the middle of making it, I had to move all of my sewing stuff to another part of my house. We’re doing some construction in my soon to be fabulous sewing space and it started a lot sooner than I anticipated. I definitely misplaced so many things while moving which caused some fun challenges – who needs pins?!?! The construction is also why I wasn’t able to snap any blog or Instagram worthy progress pics.
Disclosure: I received the Oberlin Maker Kit for free but all thoughts and opinions are my own. If you use the above link to purchase a Klum House product, I will receive a small commission from the sale with no change in cost to you.
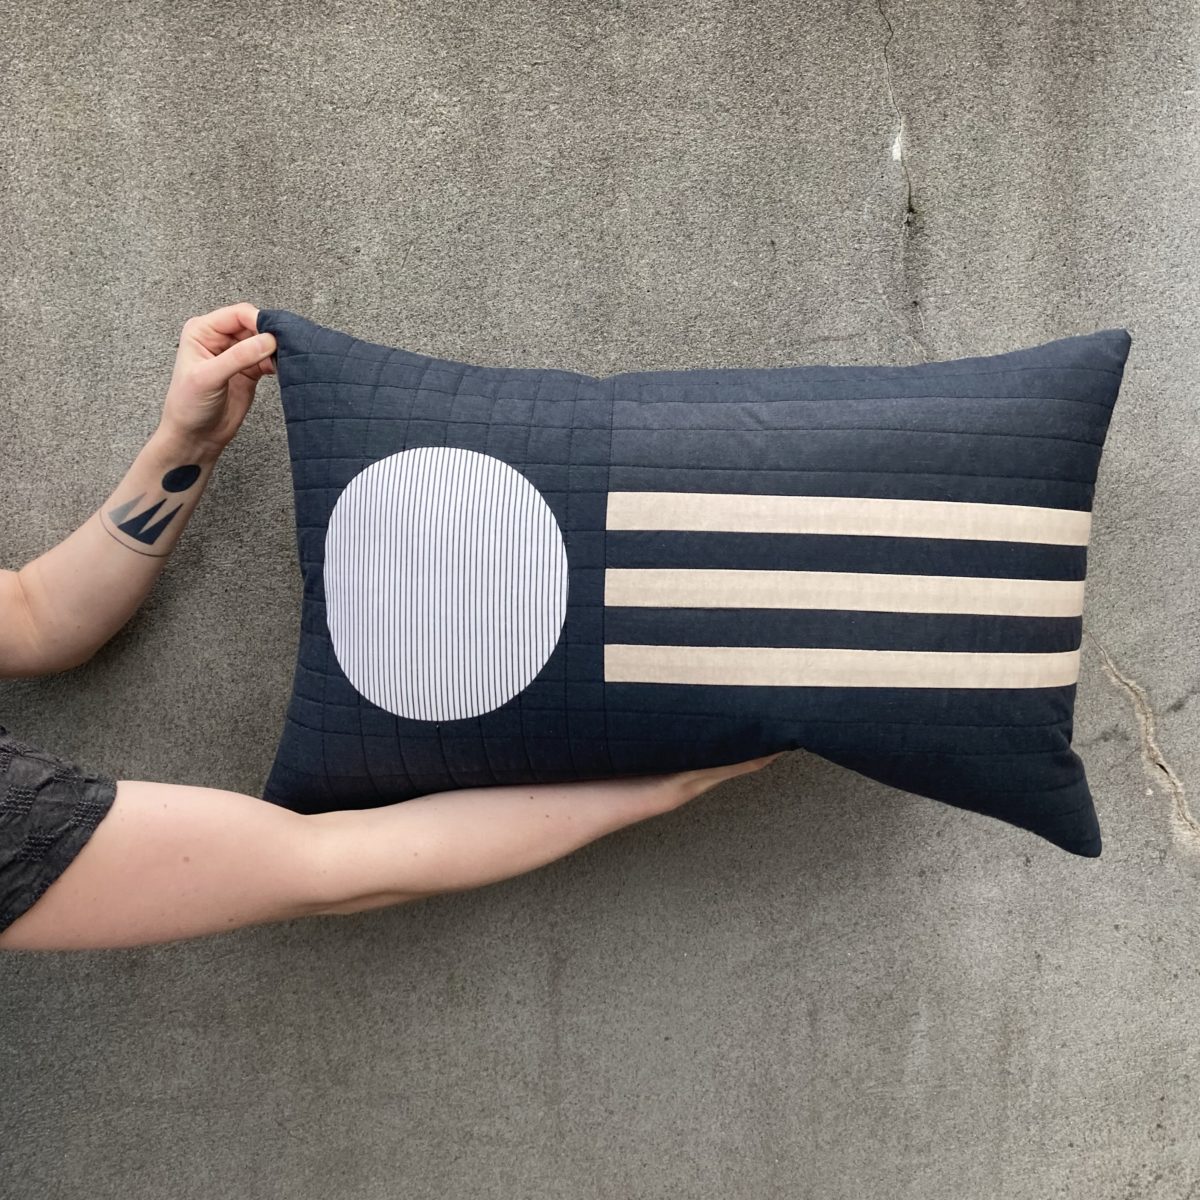
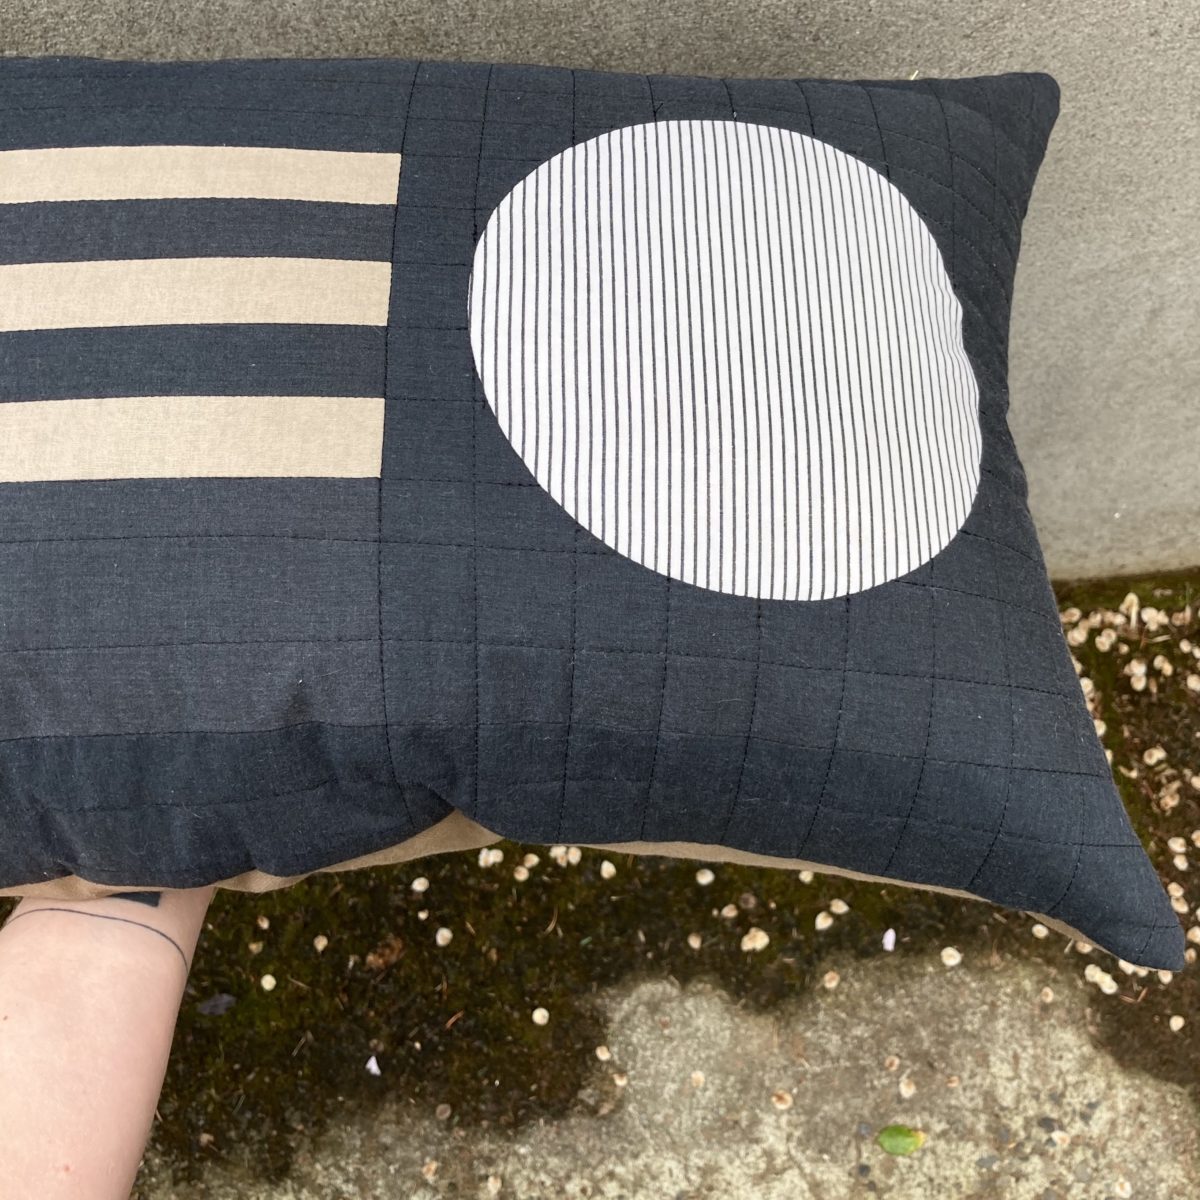
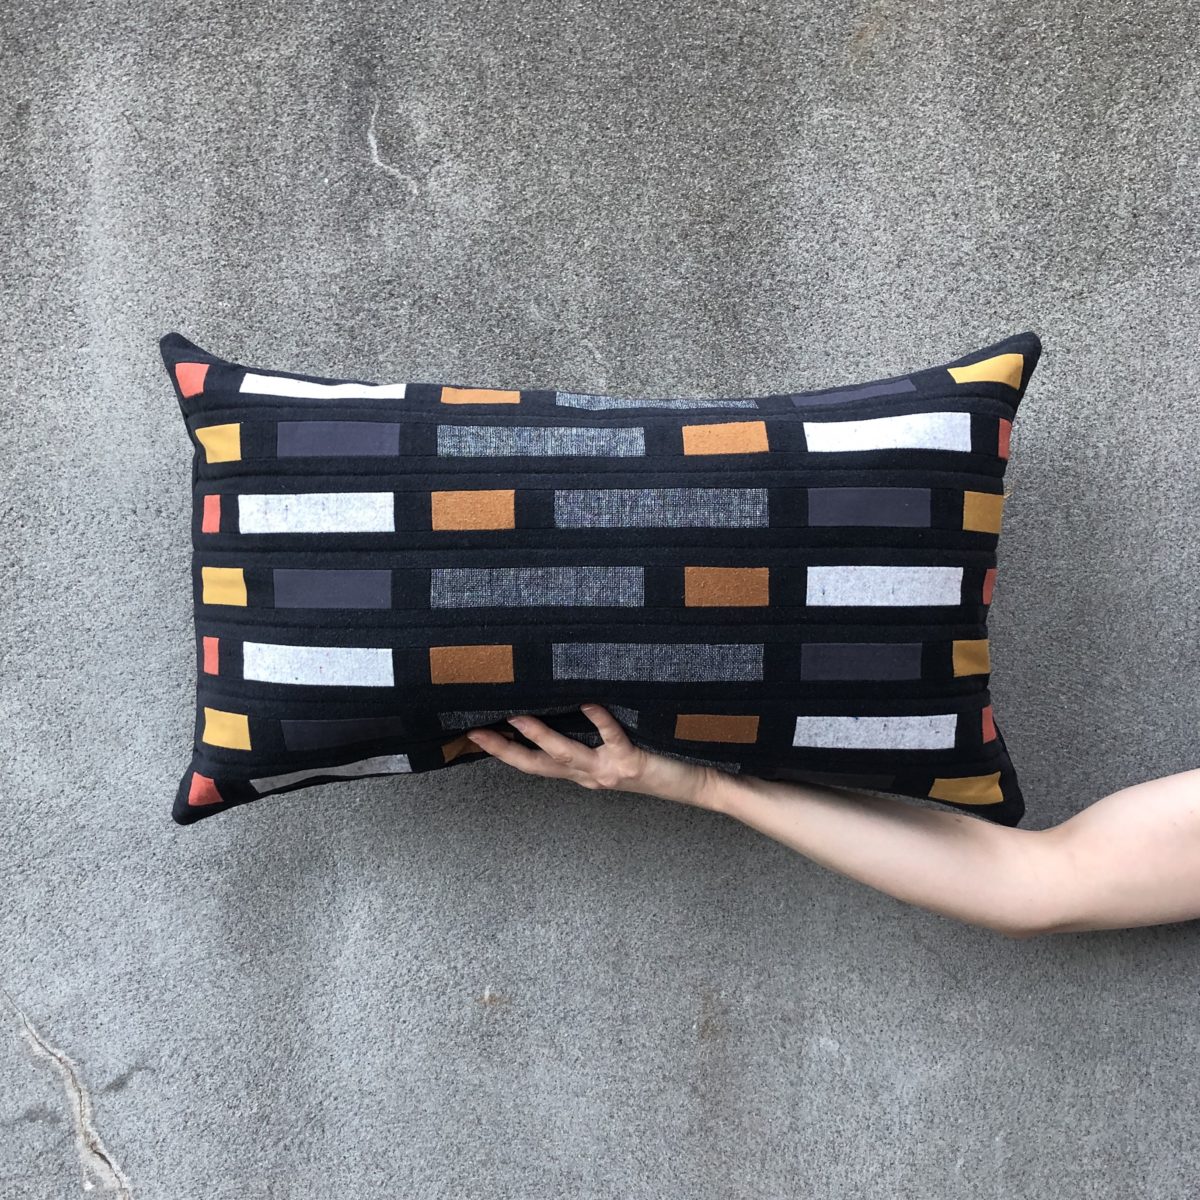
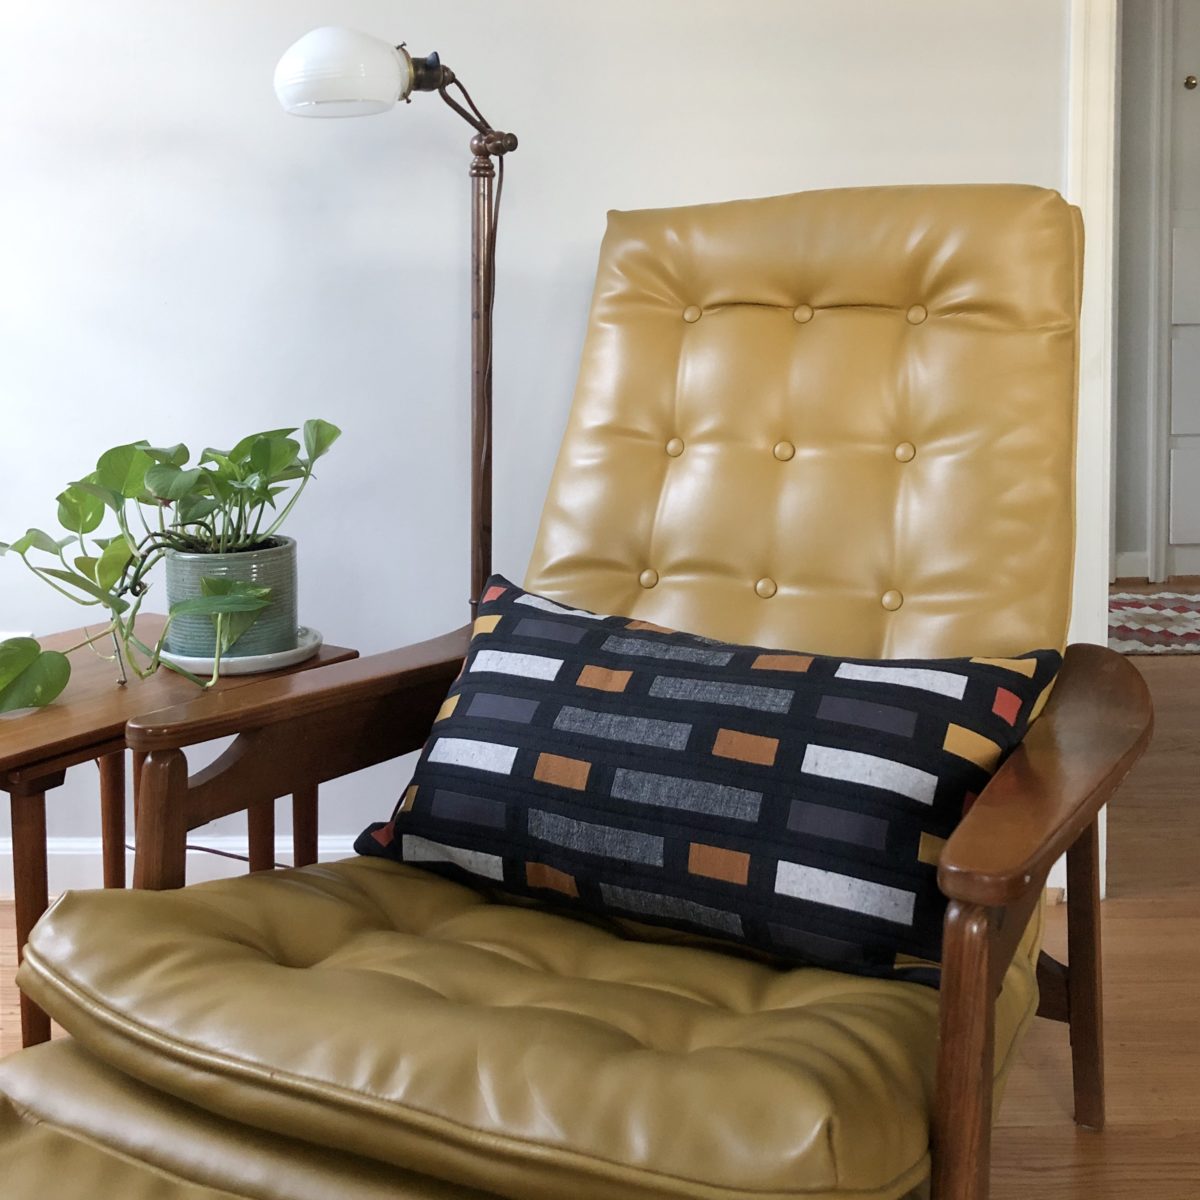
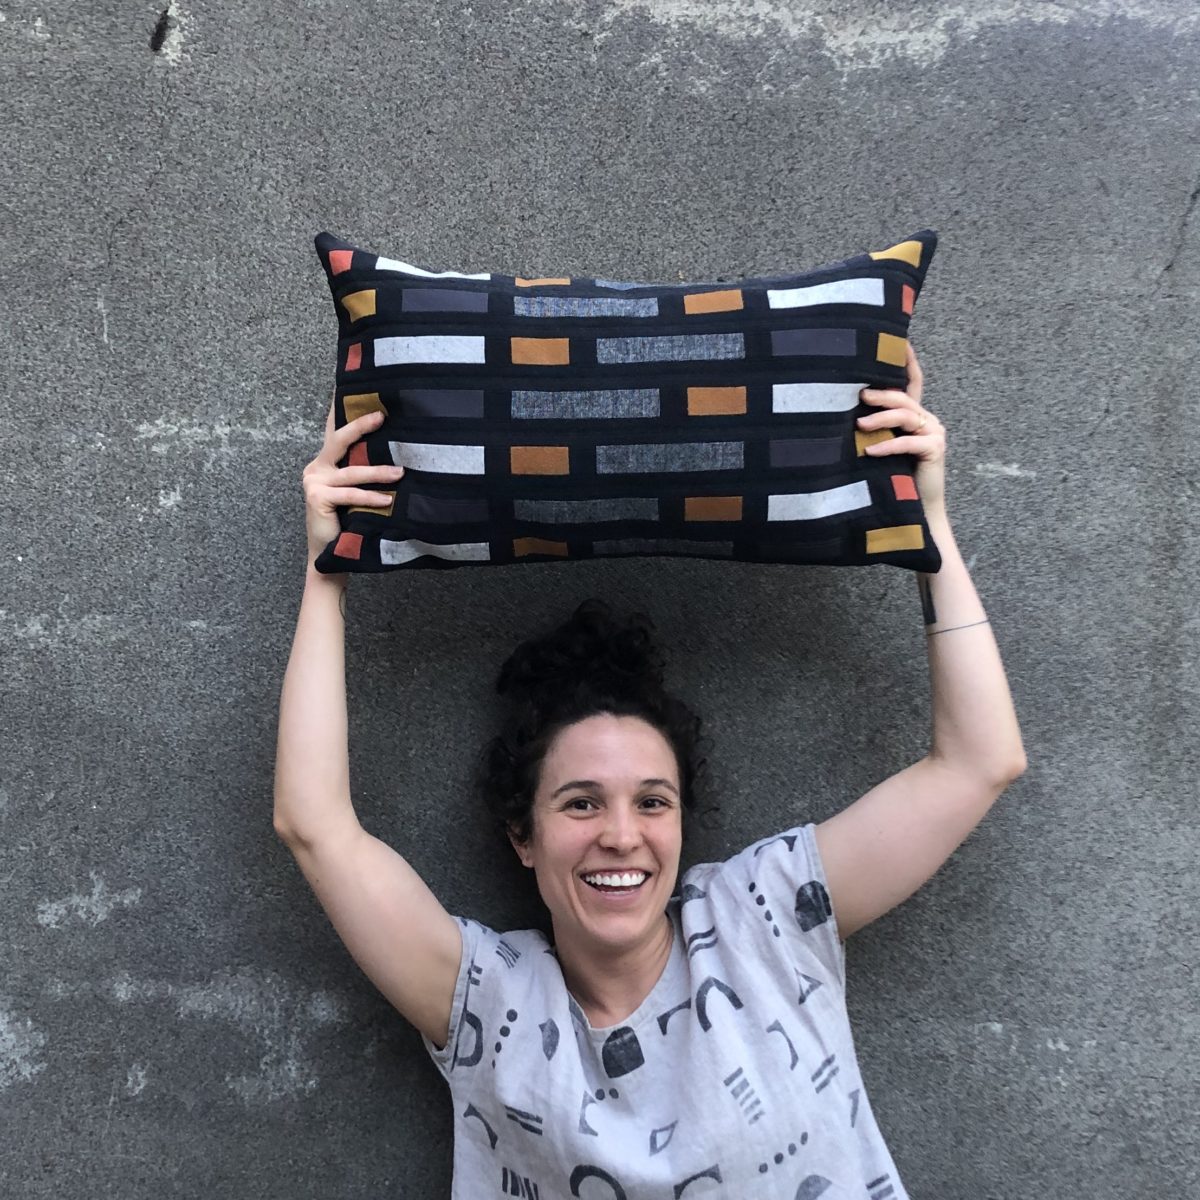
If you’re at all into quilting, you’ve probably laid your eyes on Laura’s beautiful modern quilts. One of the first things that drew me to the Vacilando Instagram account was that production was taking place entirely in an Airstream… on the road. As a person that loves to spread way, way out while making, Laura’s small space process blew my mind. Her use of geometric shapes and yummy colors also appealed to my aesthetic.
When Laura asked if I’d be willing to make one of the patterns in her soon-to-be-released book, I enthusiastically said YES even though I was about to move across state lines.
It took me a while to get going on this project, only because I couldn’t find anything after moving. It took me a couple of weeks to just find my iron and for some reason I packed my fabric scraps in several different boxes (seemed like a good idea at the time).
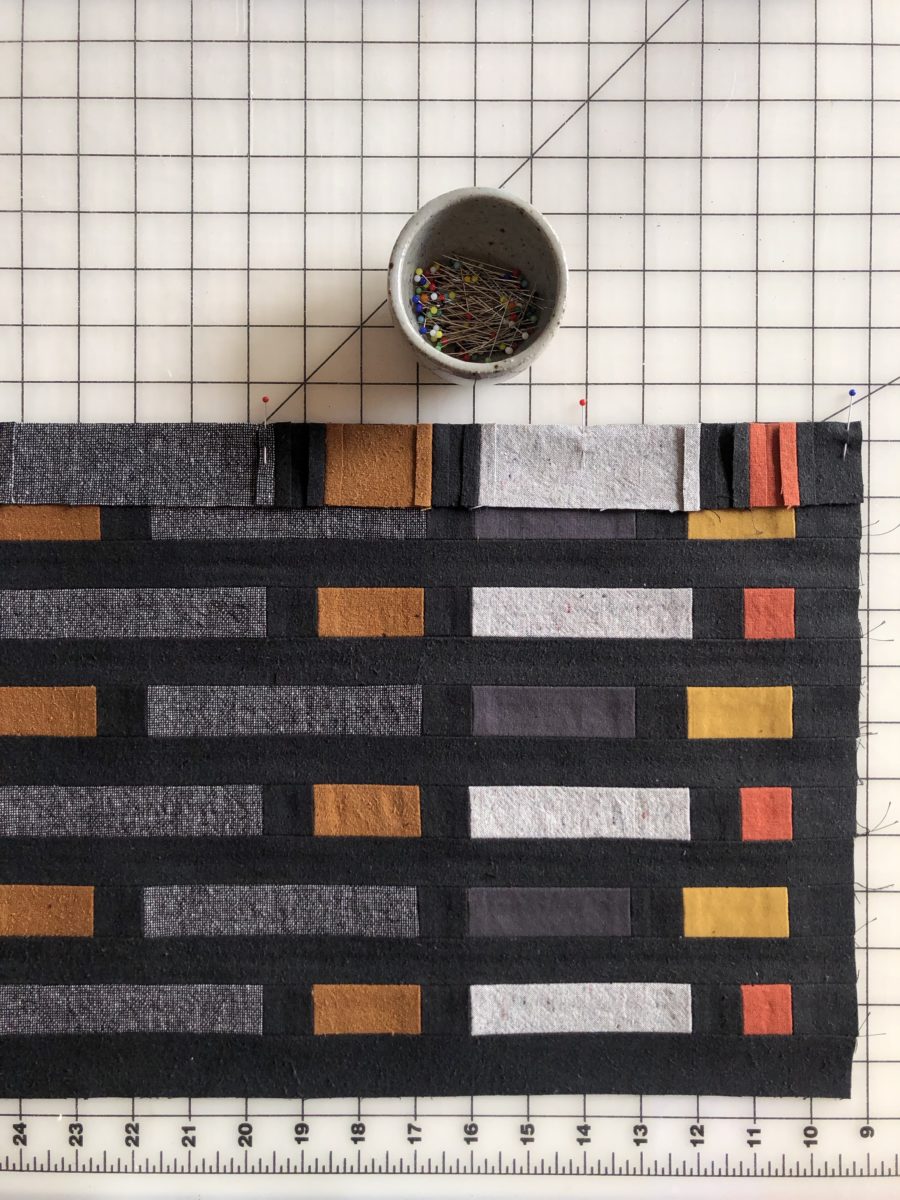
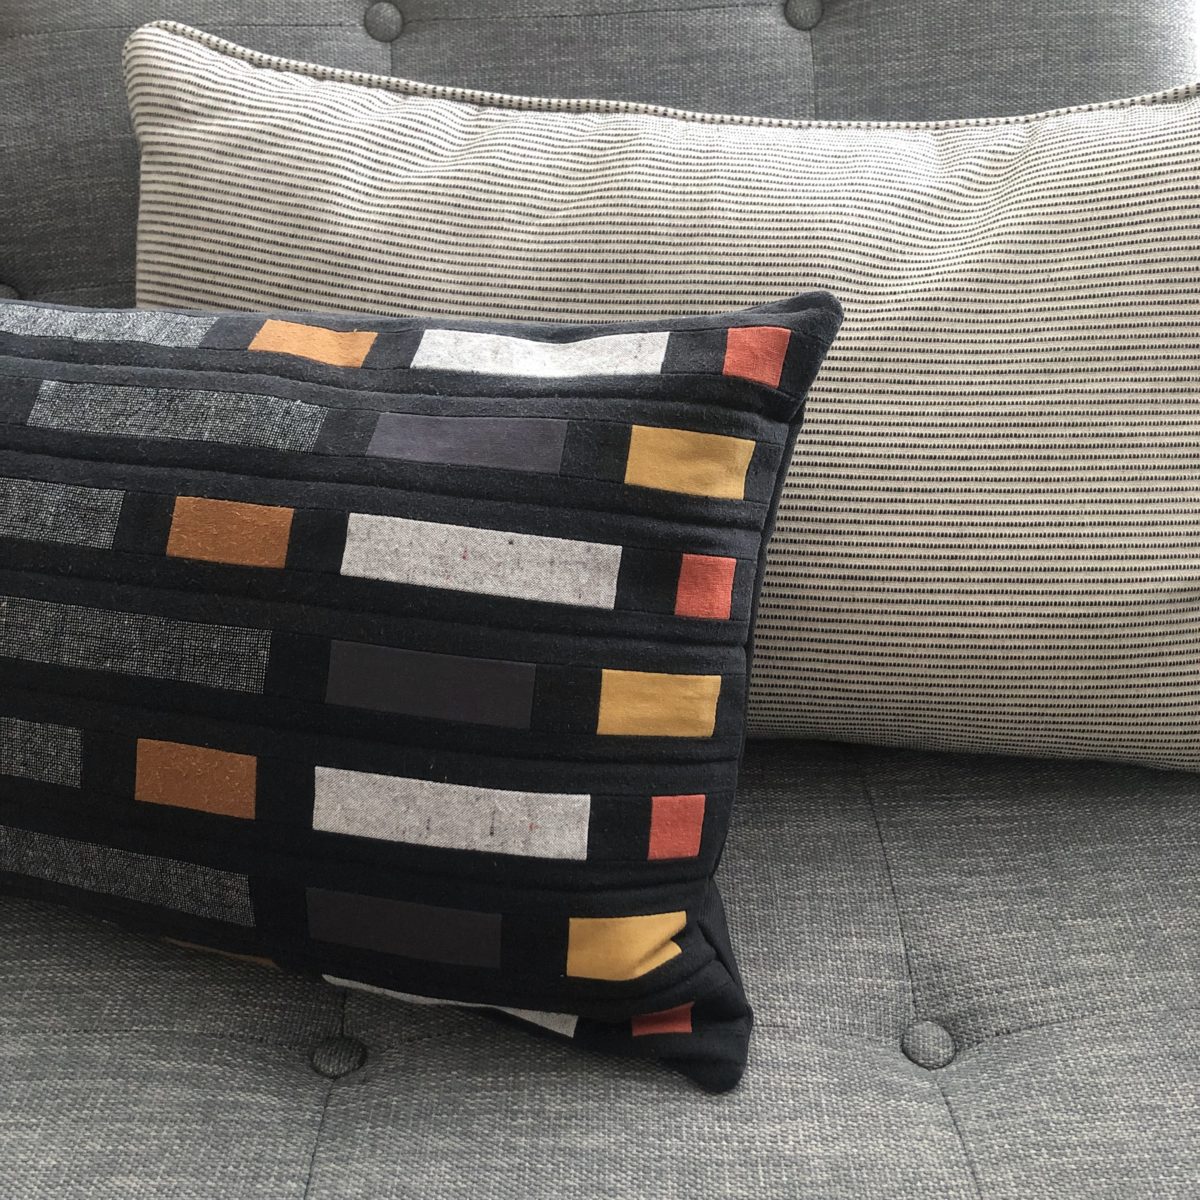
The construction of this pillow looks like it requires lots of precise cutting and piecing, but it’s really beginner friendly! Basically you sew larger rectangles together, then cut them up, rearrange, add some strips in between, and BAM, you’ve got a pillow top! I chose a really simple quilting pattern so as to not detract from the pattern.
It’s the perfect project for using up scraps and I told myself I wasn’t allowed to buy any new fabric for it. The majority of it is silk noil, which makes it super luxurious, but I would not recommend this substrate if you’re just starting out – it’s a little hard to control.
Brown and black silk noil fabric is from some Willow Tanks, a men’s tie, and a Shirt No. 1.
Speckled dark grey cotton linen blend is from my block printed Tamarack
Speckled light gray cotton fabric is from my Making Backpack