

I’ve added yet another bag to my growing collection of Klum Houses – the Oberlin Tote!
Klum House has really perfected bag making. The instructions lovingly walk you through each step and the maker kits have everything you need. Really though, you can unroll your tube of supplies and have yourself a beautiful, functional, and high quality bag in a few hours.
Klum House reached out to me a few months ago to ask if I’d be up for sewing the revamped Oberlin, and despite my impending move, I said yes. I was super stoked to be able to pick up the kit in person after moving to Portland!
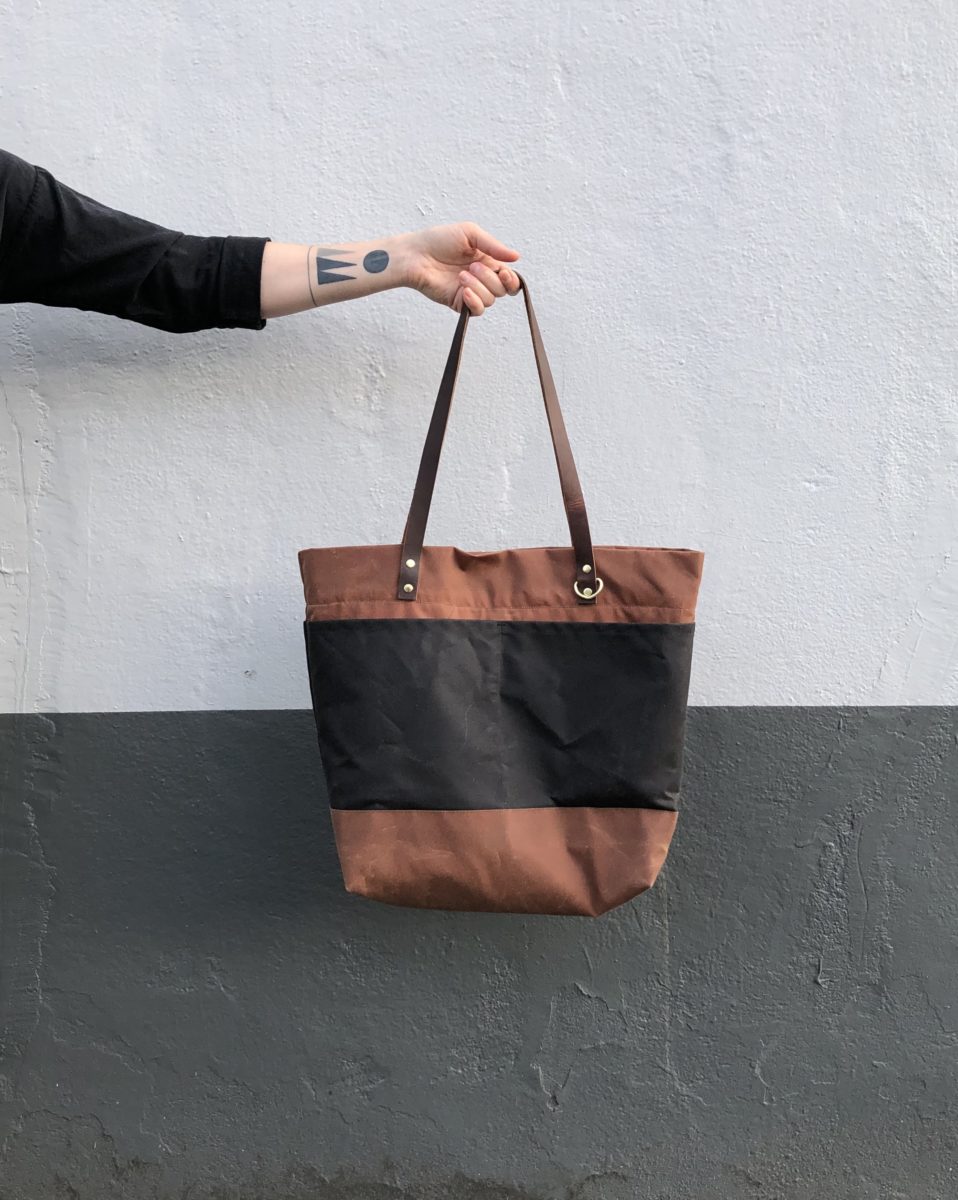
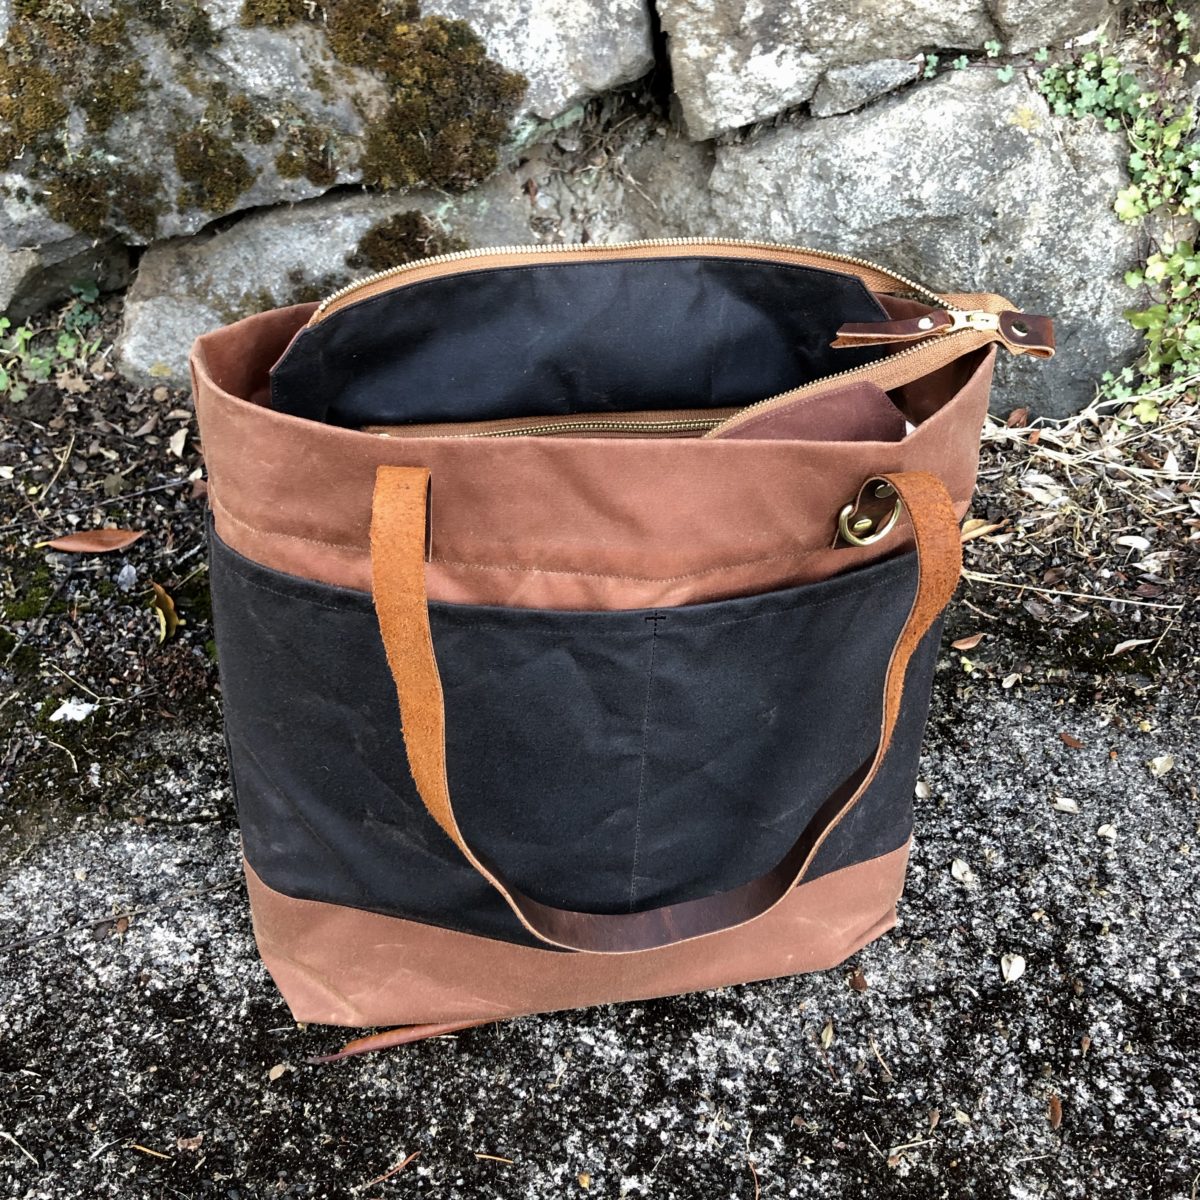
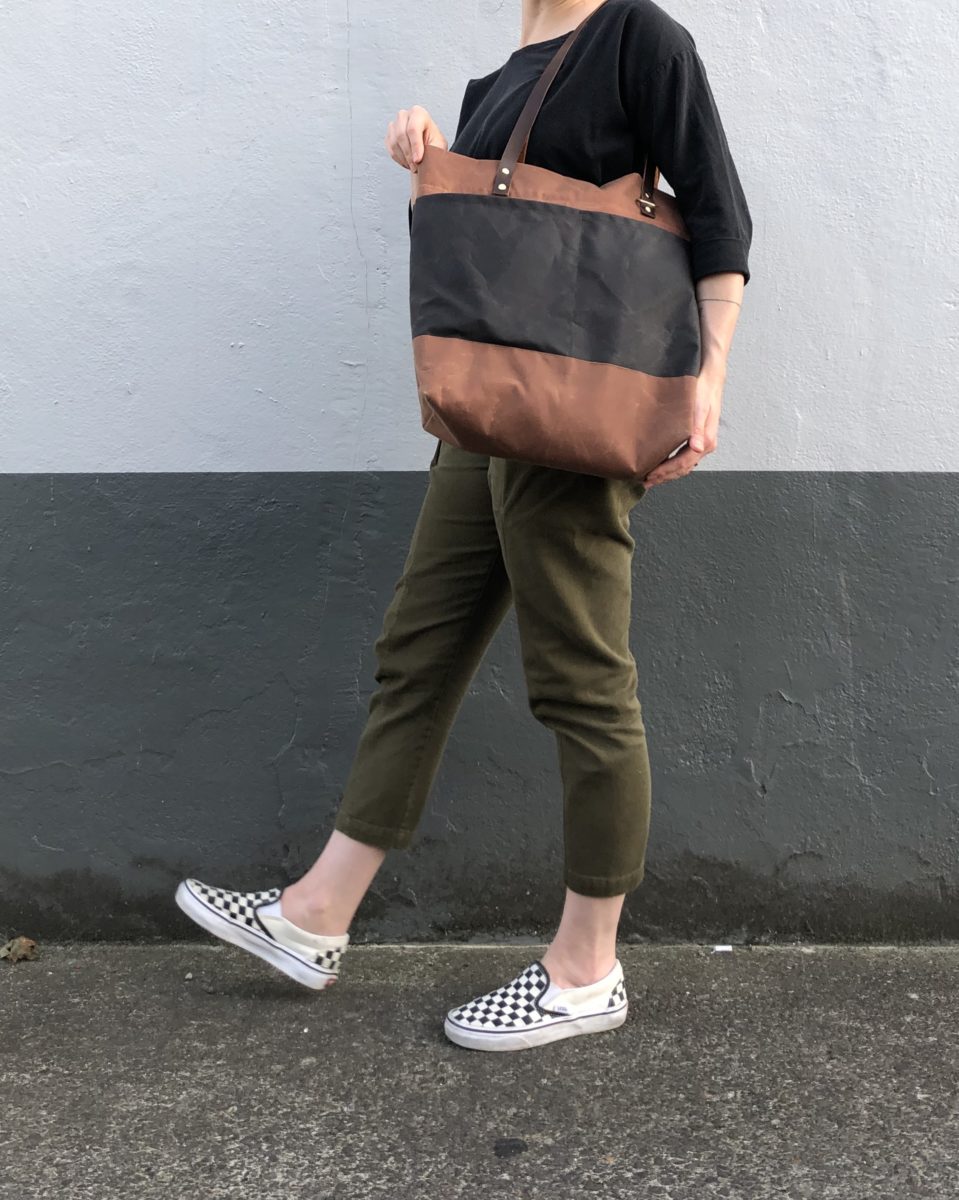
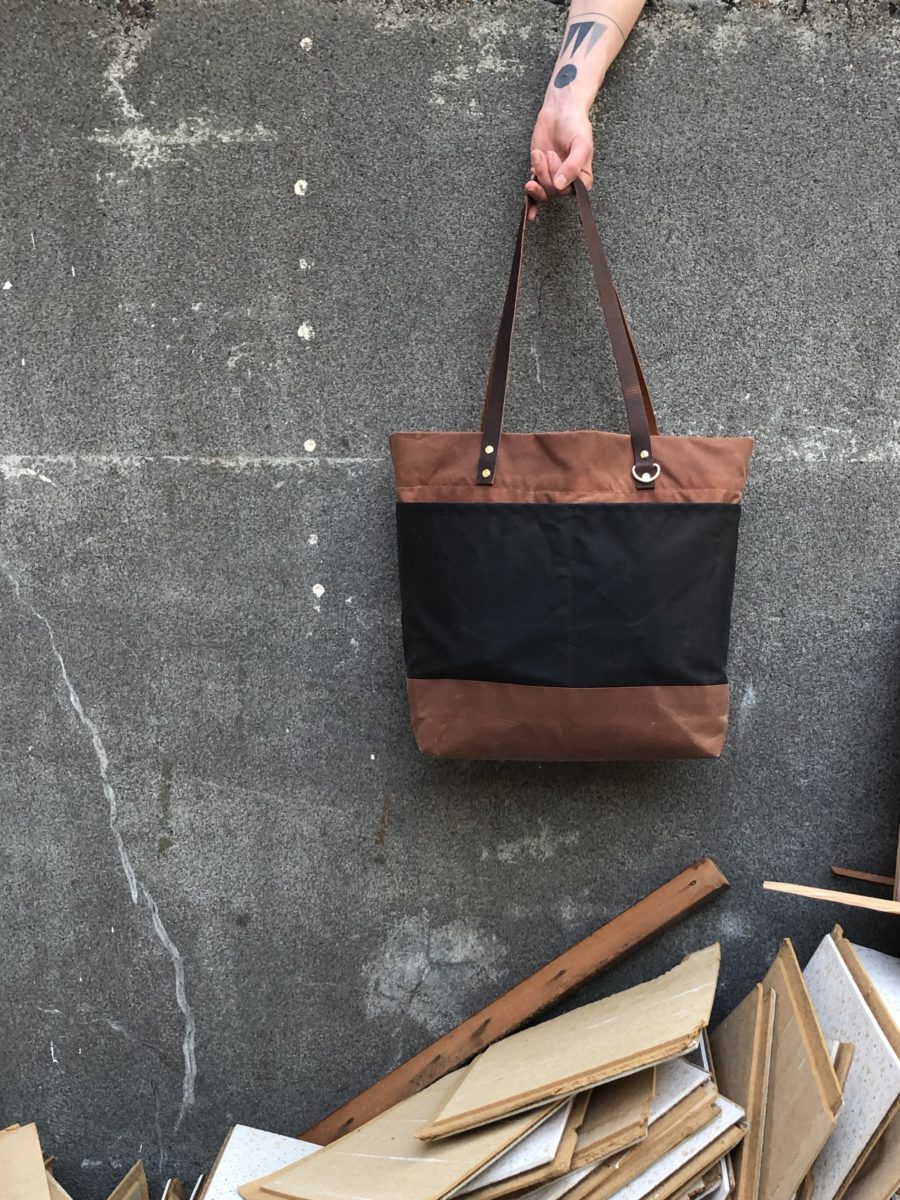
The Oberlin is an elevated tote. It features FOUR exterior pockets, sturdy leather straps, an interior zipper pocket, and now with the relaunch, an optional zipper closure and lining. I opted to add both of the expansions because I can’t say no to lining a bag and I know I’ll actually use a tote if it can secure stuff underneath a zipper.
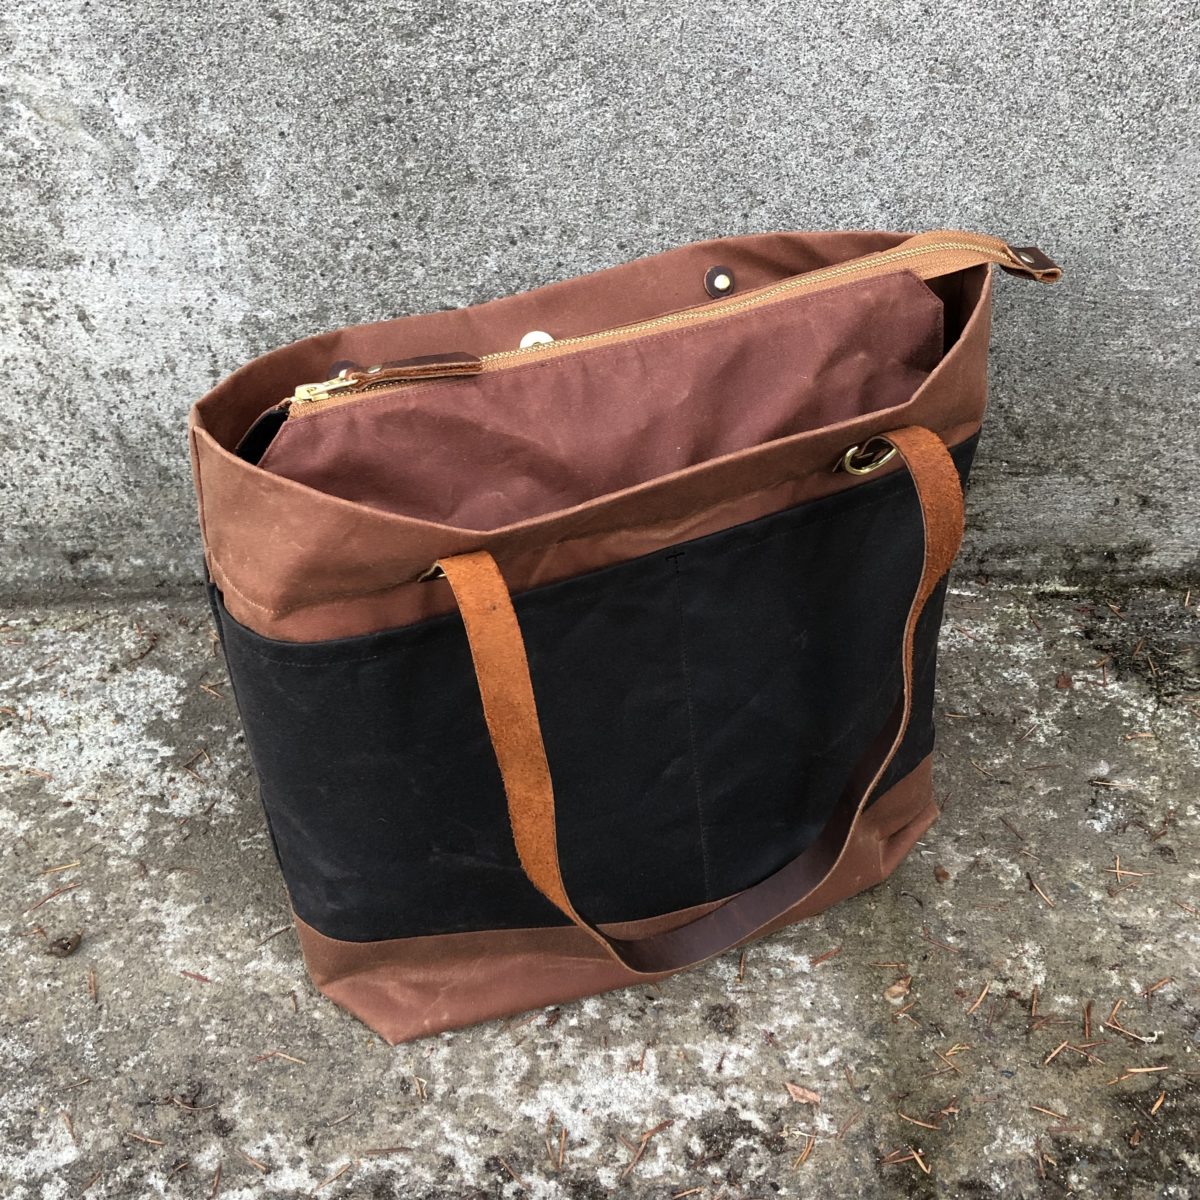
Klum House has so many colors of waxed canvas to choose from, but I defaulted to the same colors I used for my Maywood – dark brown (looks like a warm black) and brush brown, but with brown leather straps. I love the brush brown color so much, I wish I had leaned in an done the whole bag in it. Oh well!
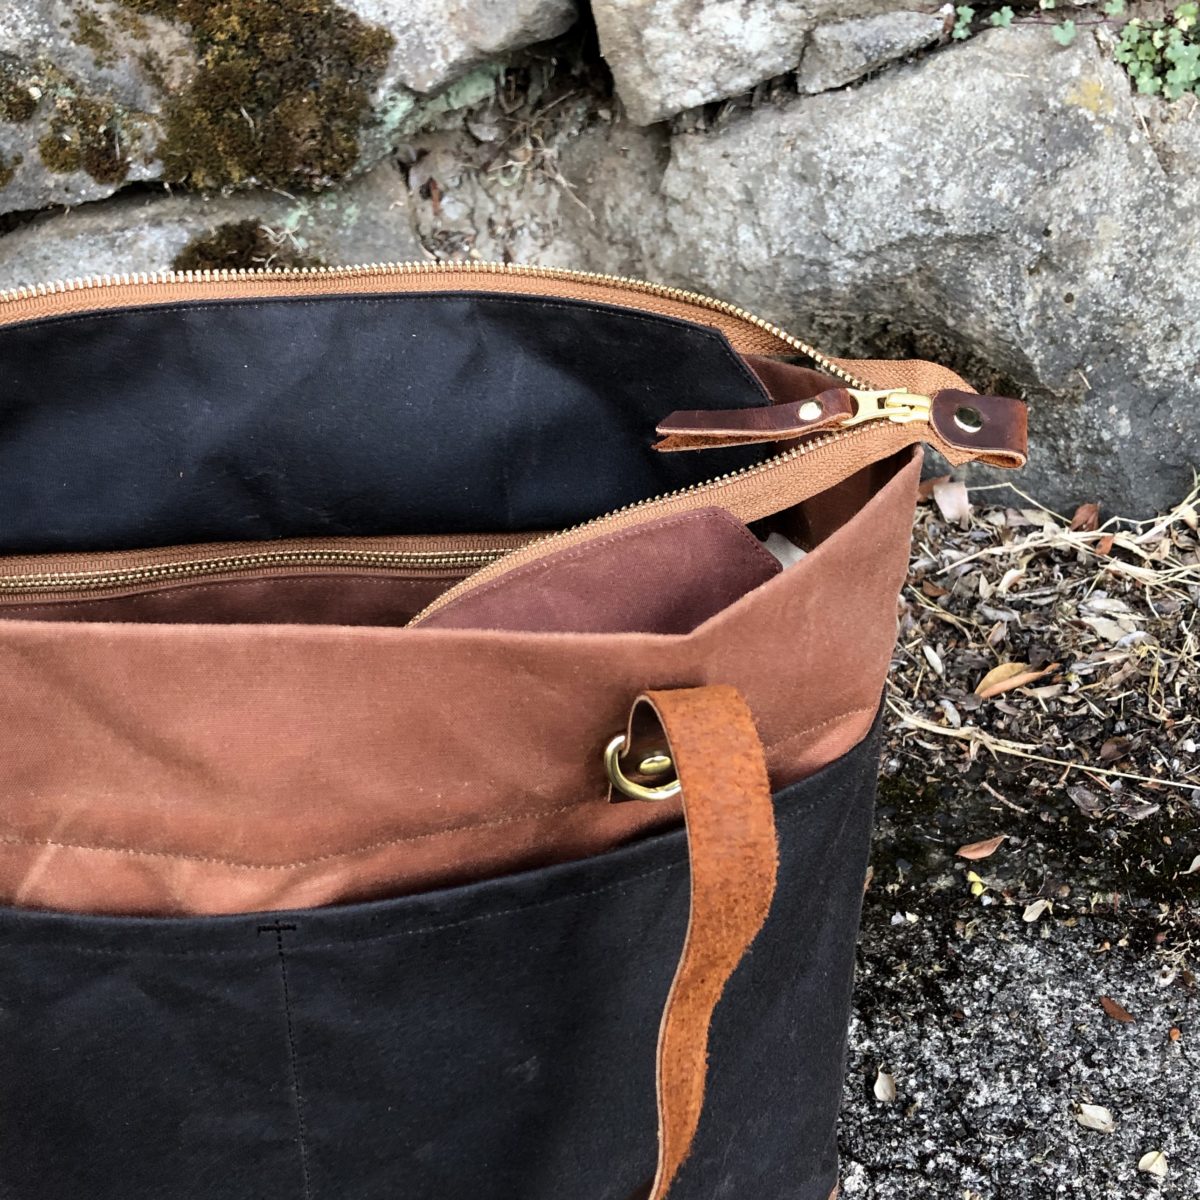
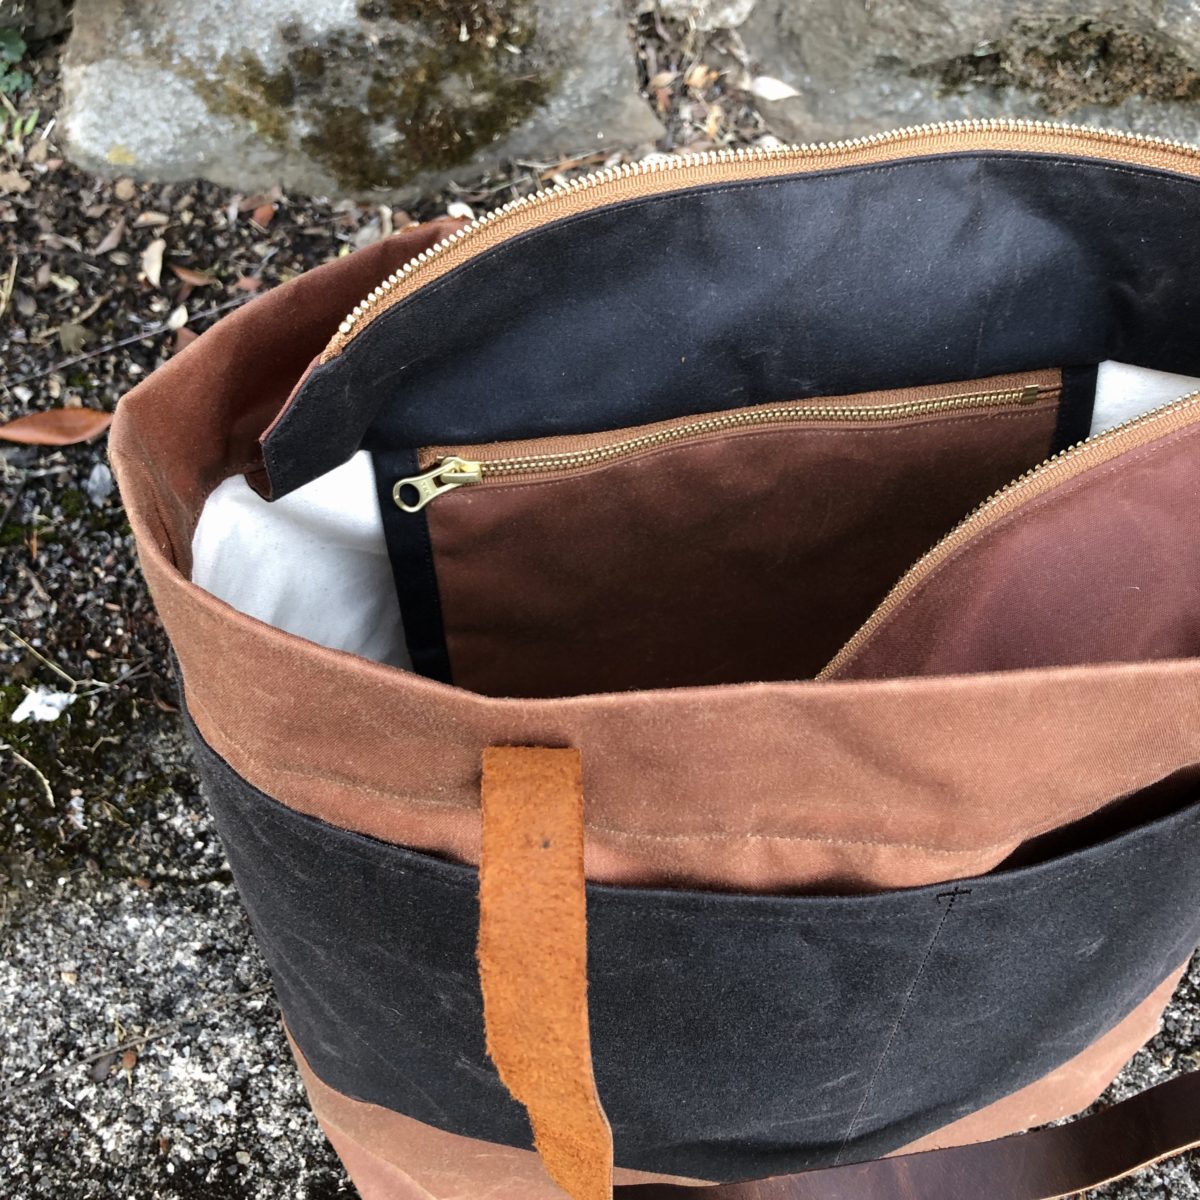
One of the many things I appreciate about Klum House patterns and kits is the fun details. I mean I can’t think of a better way to finish a zipper. That little end tab is perfection! Also I really want a new key chain just so I clip my keys to that little D-ring.
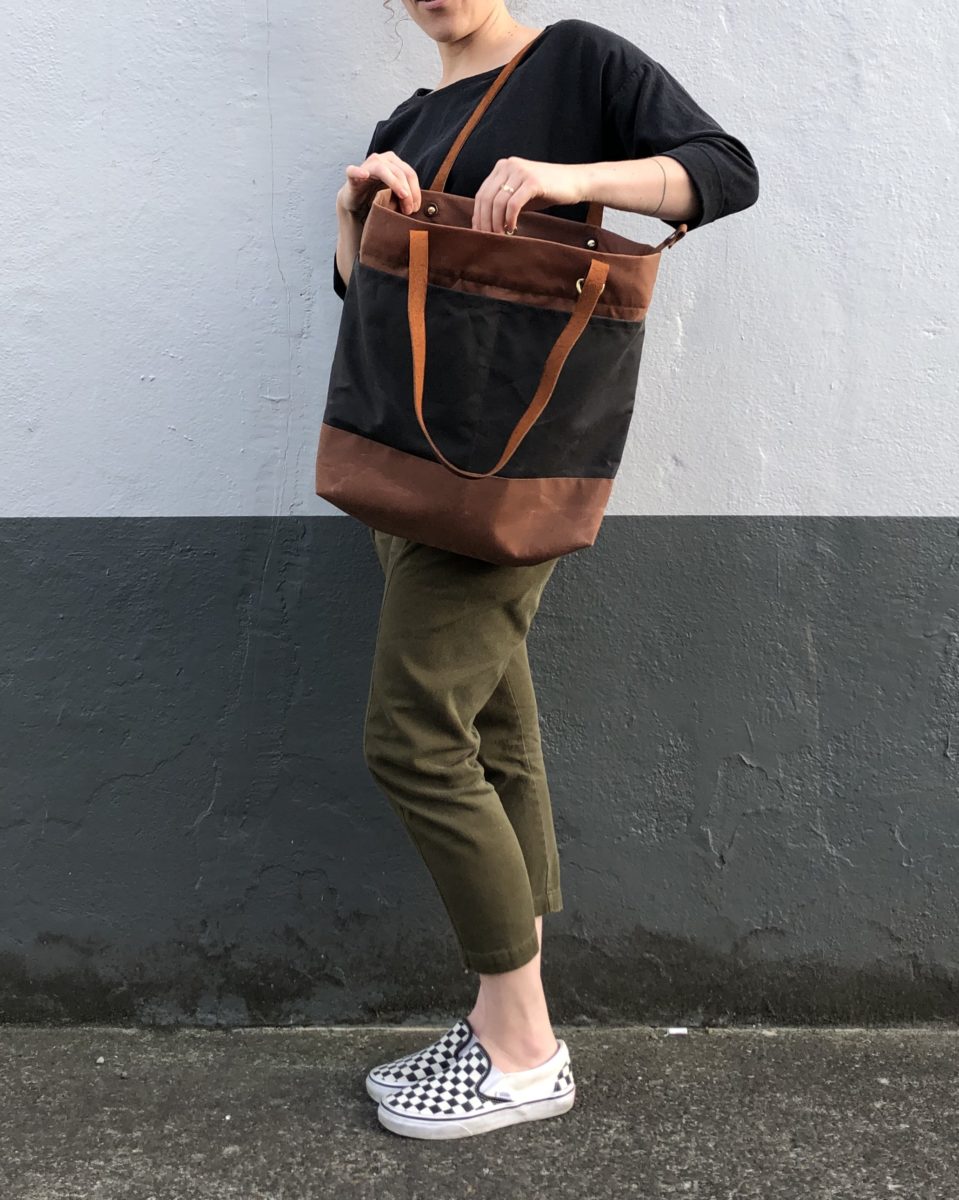
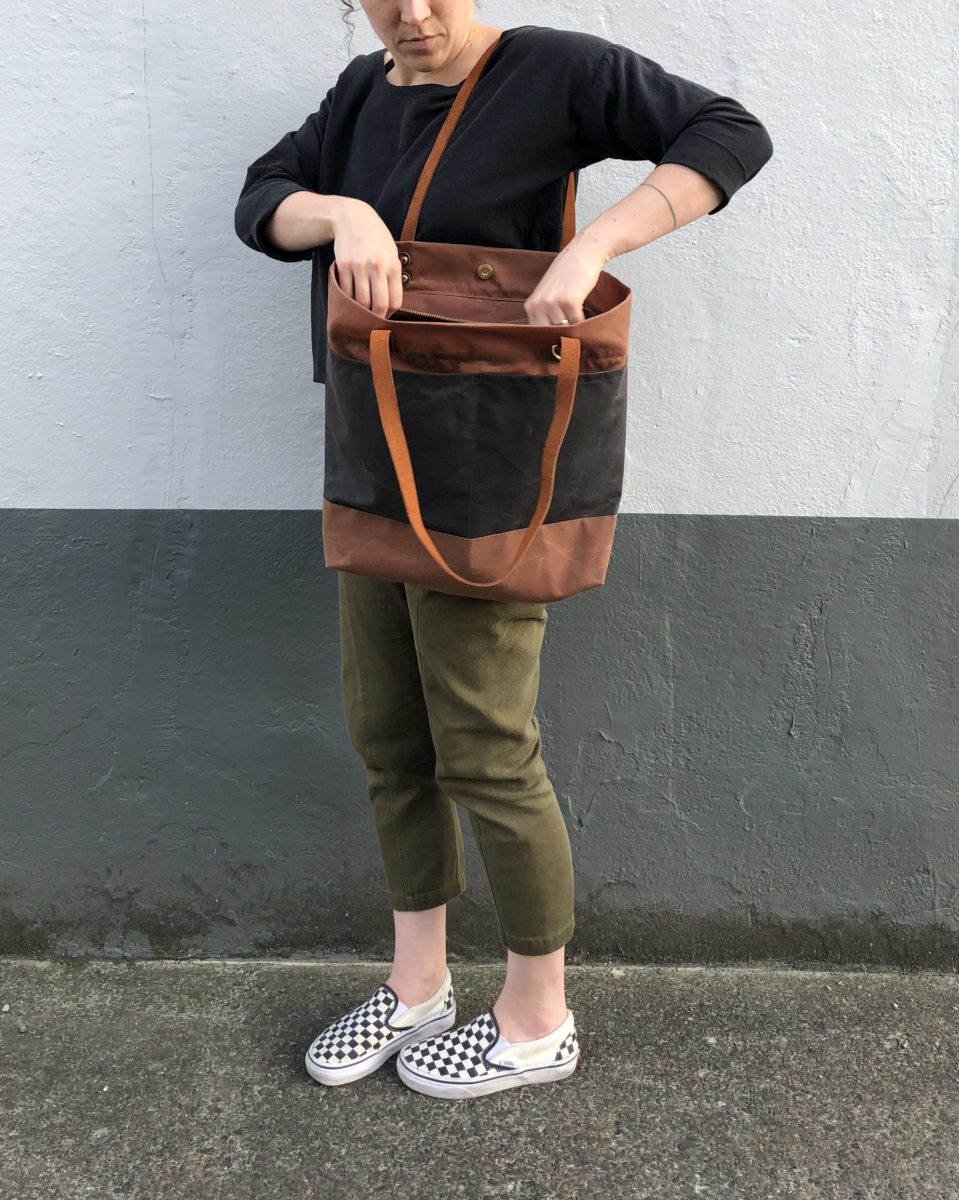
The Oberlin is a really versatile size. It’s great for toting your everyday things around and I can see it working well as a travel bag too. The zipper expansion pops up allowing you to really cram it full of stuff.
The instructions allow you to customize your Oberlin. Only want to add the lining? The main instructions tell you exactly when to pop over to the lining PDF. Want to do both the lining and the zipper expansion? The instructions tell you when to switch from the main instructions to the zipper PDF, and then from the zipper instructions to the lining PDF.

I had one hiccup in the construction, but mostly because I was frantically sewing late at night to finish her up. The last sewing step before hammering in the straps is that line of stitching at the top, which I somehow managed to make three ugly folds in. Having never tried it before, I was really nervous about ripping stitching out on waxed canvas, but the puckers were bad and I had to. After redoing the stitching, I blasted the waxed canvas with a HOT hair dryer and now you can barely see the previous holes.
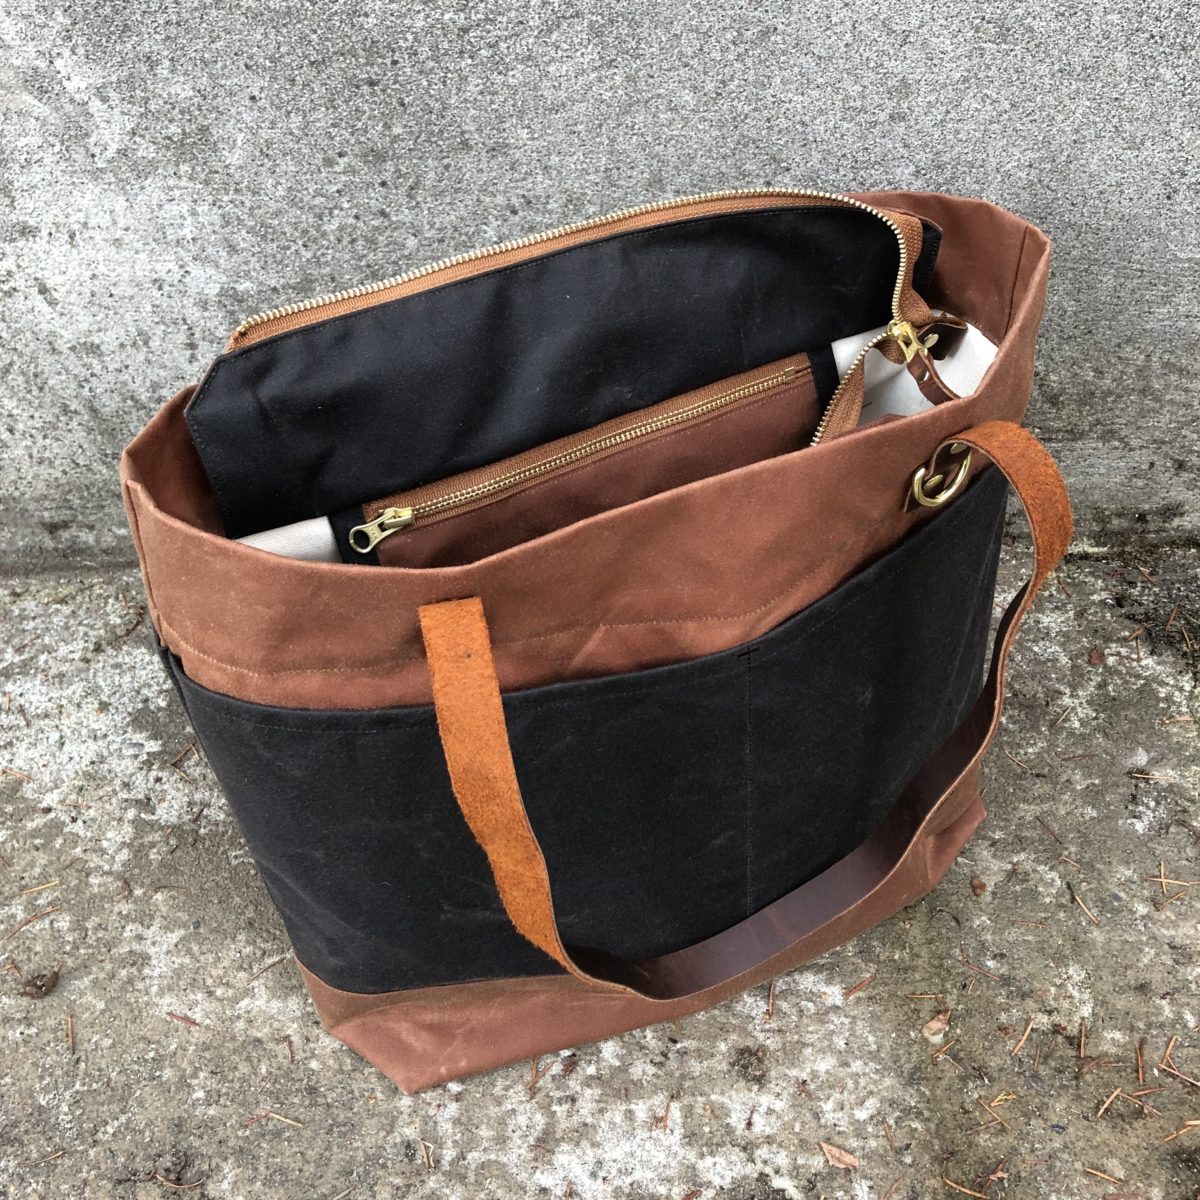
For the lining, I used some plain ol’ cotton duck from my stash. I think a bright lining in a cavernous bag is best! I’m really impressed with how clean the finish is with the lining and zipper expansions. All of the seams are hidden, except for a small opening in the lining to turn it right side out.
Full disclosure this bag took me a while to make, but only because in the middle of making it, I had to move all of my sewing stuff to another part of my house. We’re doing some construction in my soon to be fabulous sewing space and it started a lot sooner than I anticipated. I definitely misplaced so many things while moving which caused some fun challenges – who needs pins?!?! The construction is also why I wasn’t able to snap any blog or Instagram worthy progress pics.
Click here to shop Oberlin!
Disclosure: I received the Oberlin Maker Kit for free but all thoughts and opinions are my own. If you use the above link to purchase a Klum House product, I will receive a small commission from the sale with no change in cost to you.