
My husband is very particular about his clothes and will only wear this one hat he bought in college. So when he asked if I could recreate this unicorn hat, I thought it might be a fun puzzle to solve. After all, even if I could find a pattern for a similar style, the odds of him liking it would be pretty slim.
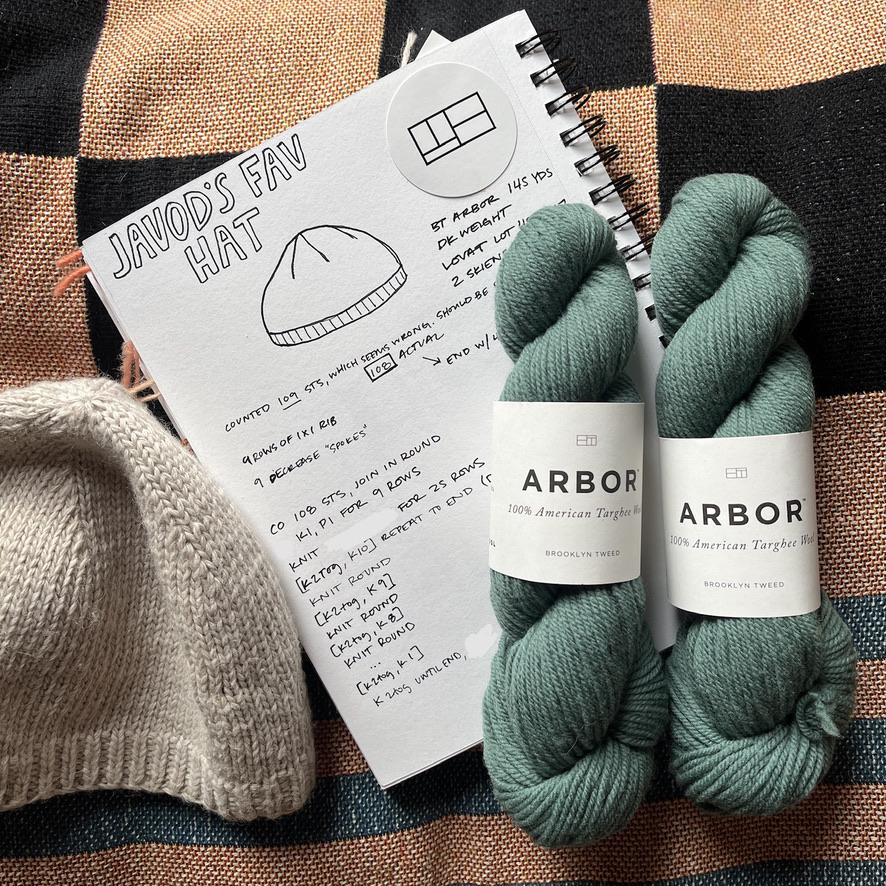
After a lot of counting, I was able to write up a simple pattern, but I had my doubts. Did I actually get the yarn weight right? Is my math correct? If it’s not an exact copy, will he even wear it?
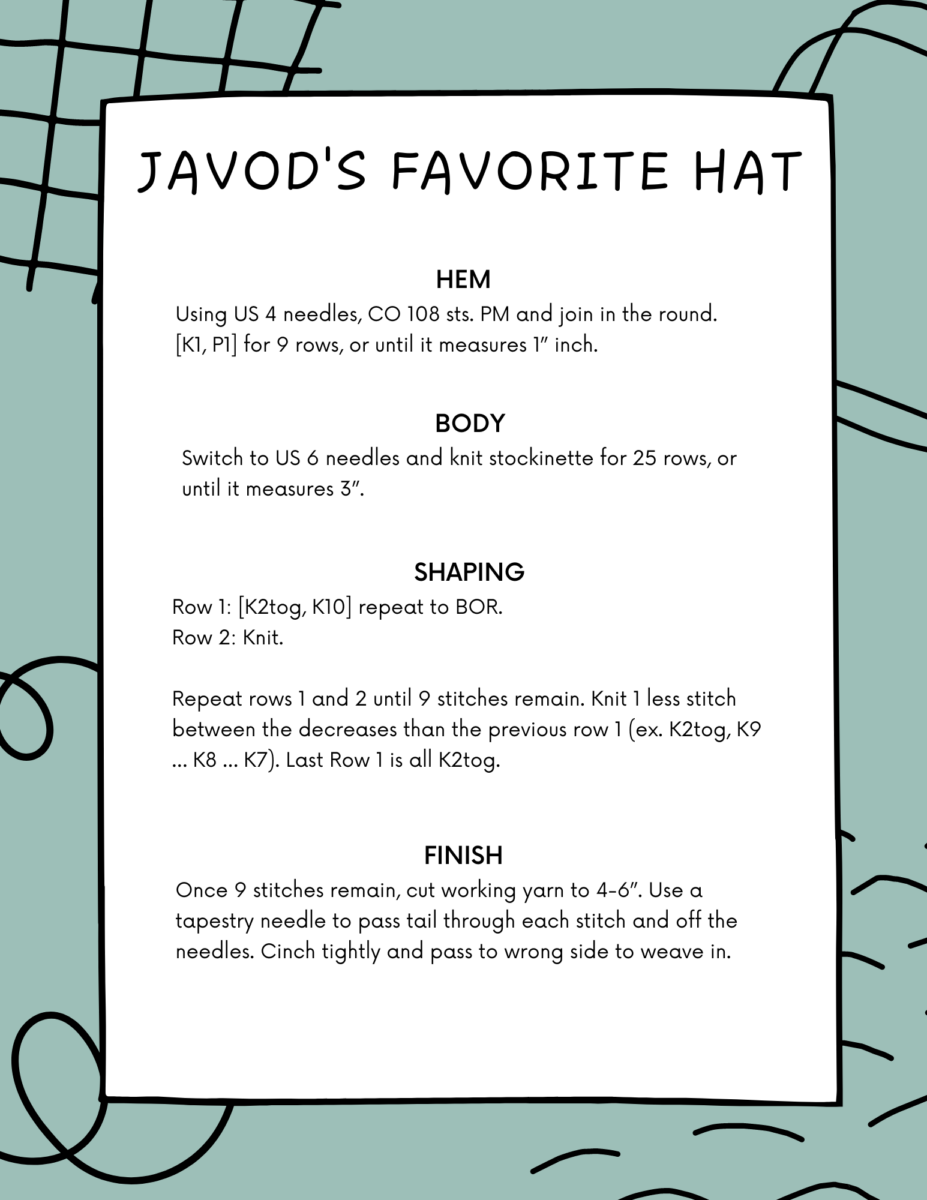
I’m sharing the pattern here mainly so that I can reference it later. Feel free to use it but I’m not responsible for the outcome!
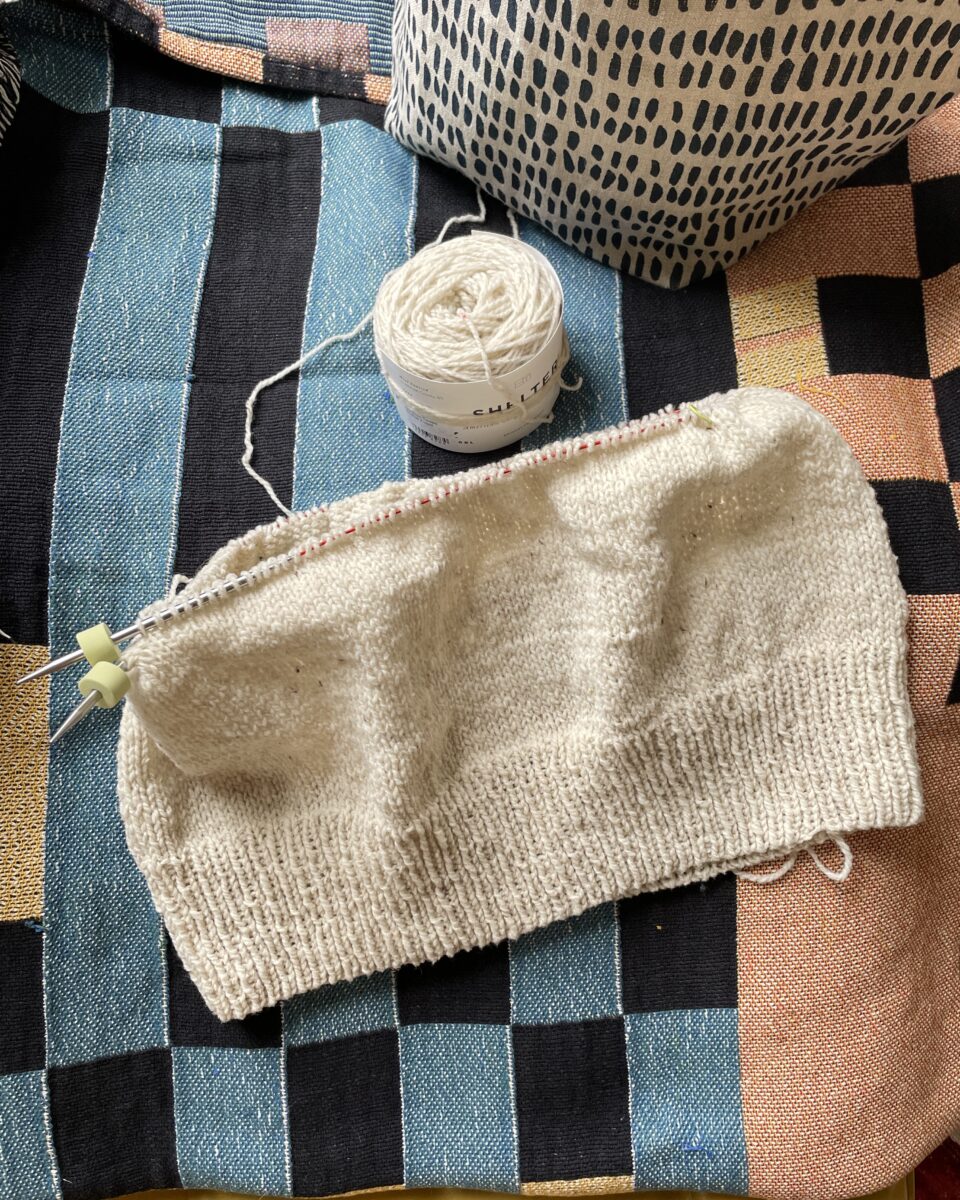
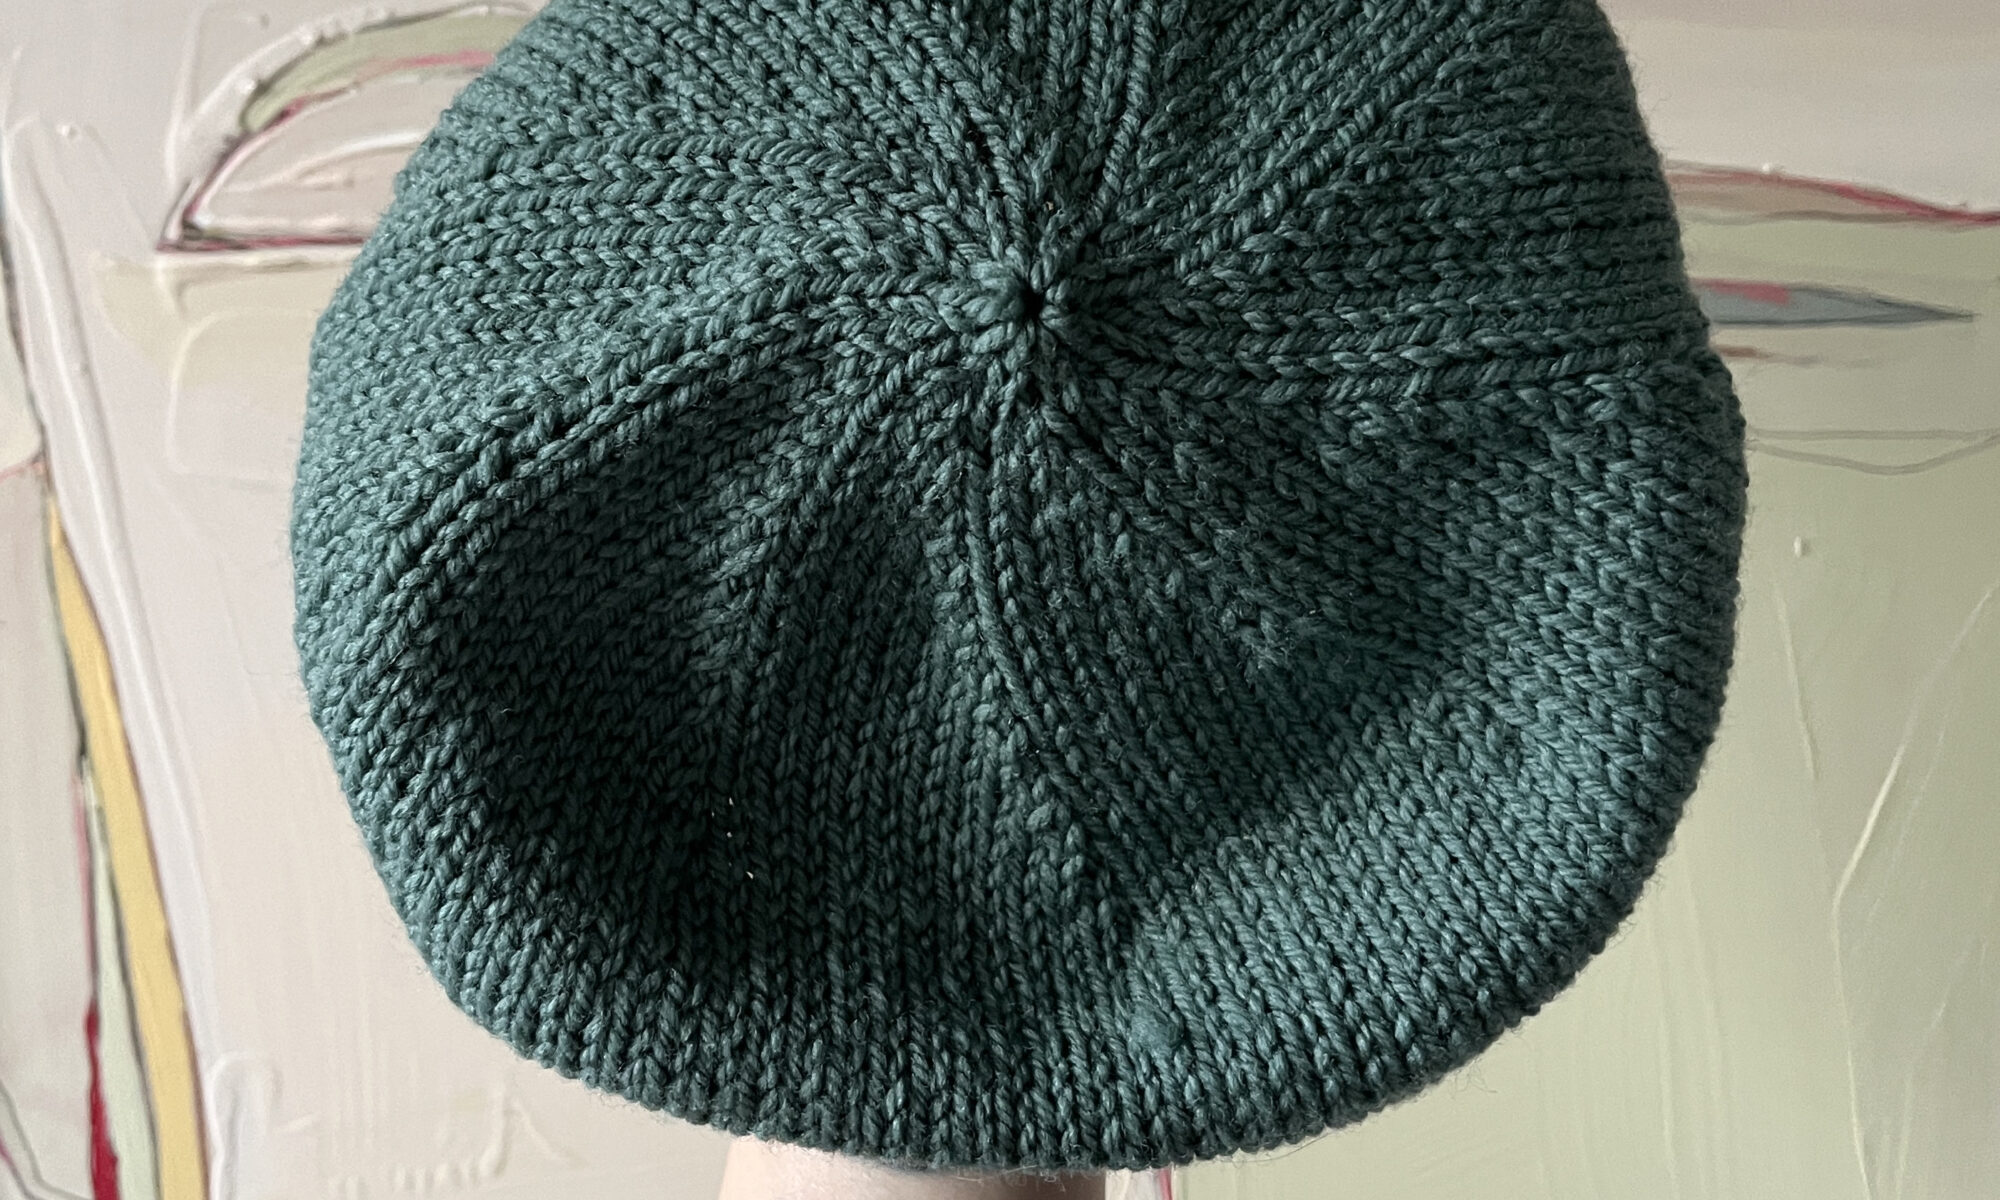
It only took a few hours to knit up and it’s pretty darn close to the original! The original also has a micro fleece band on the inside – one of the reason’s he loves it – so I’ll be stitching that in as soon as my order arrives.
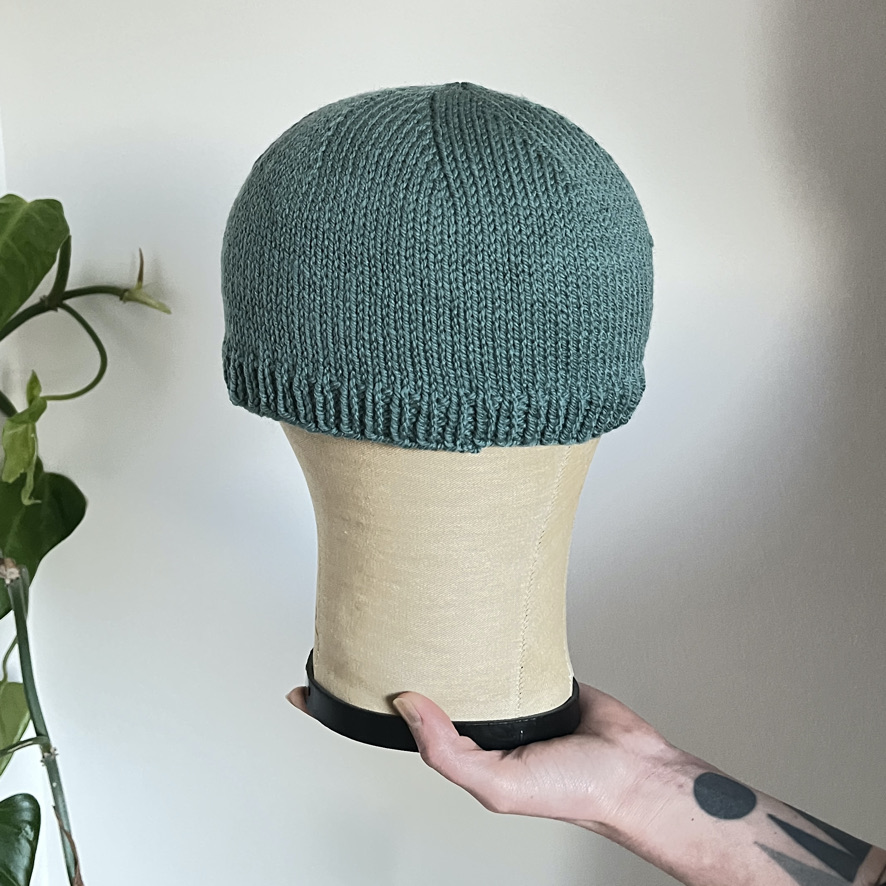
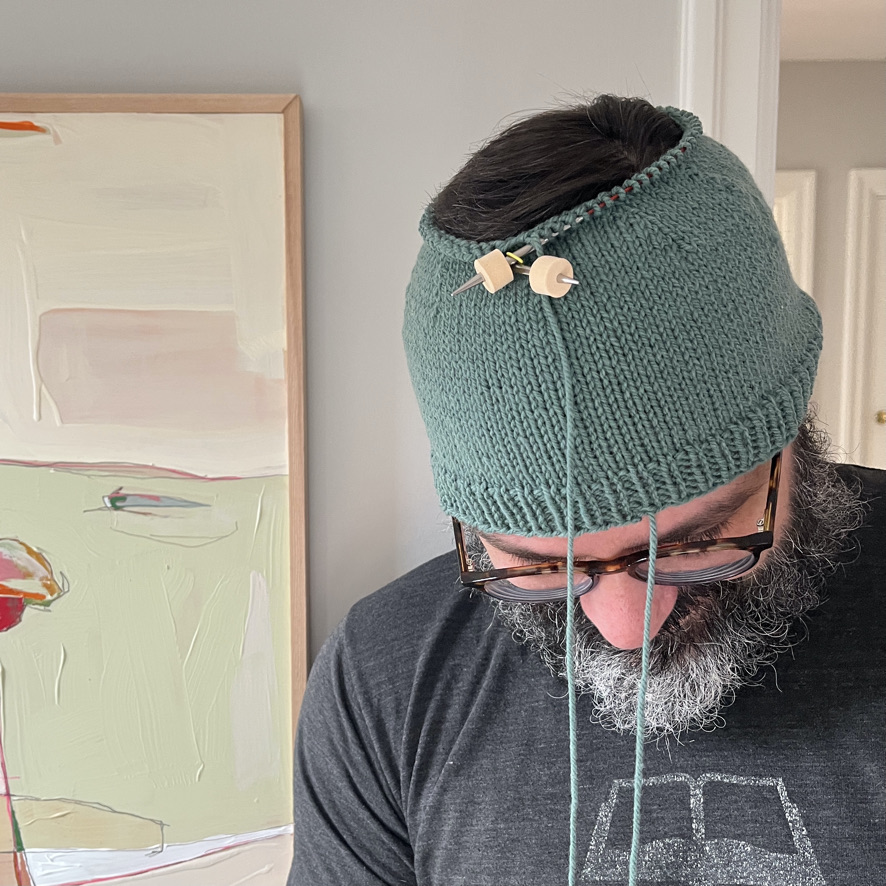
I am pretty pleased that I was able to look at a knit object, read the stitches, write up a pattern, and achieve a very similar fit. I have another skein to make Version 2 and I’ll make the following changes. All of these changes are reflected in the pattern above.
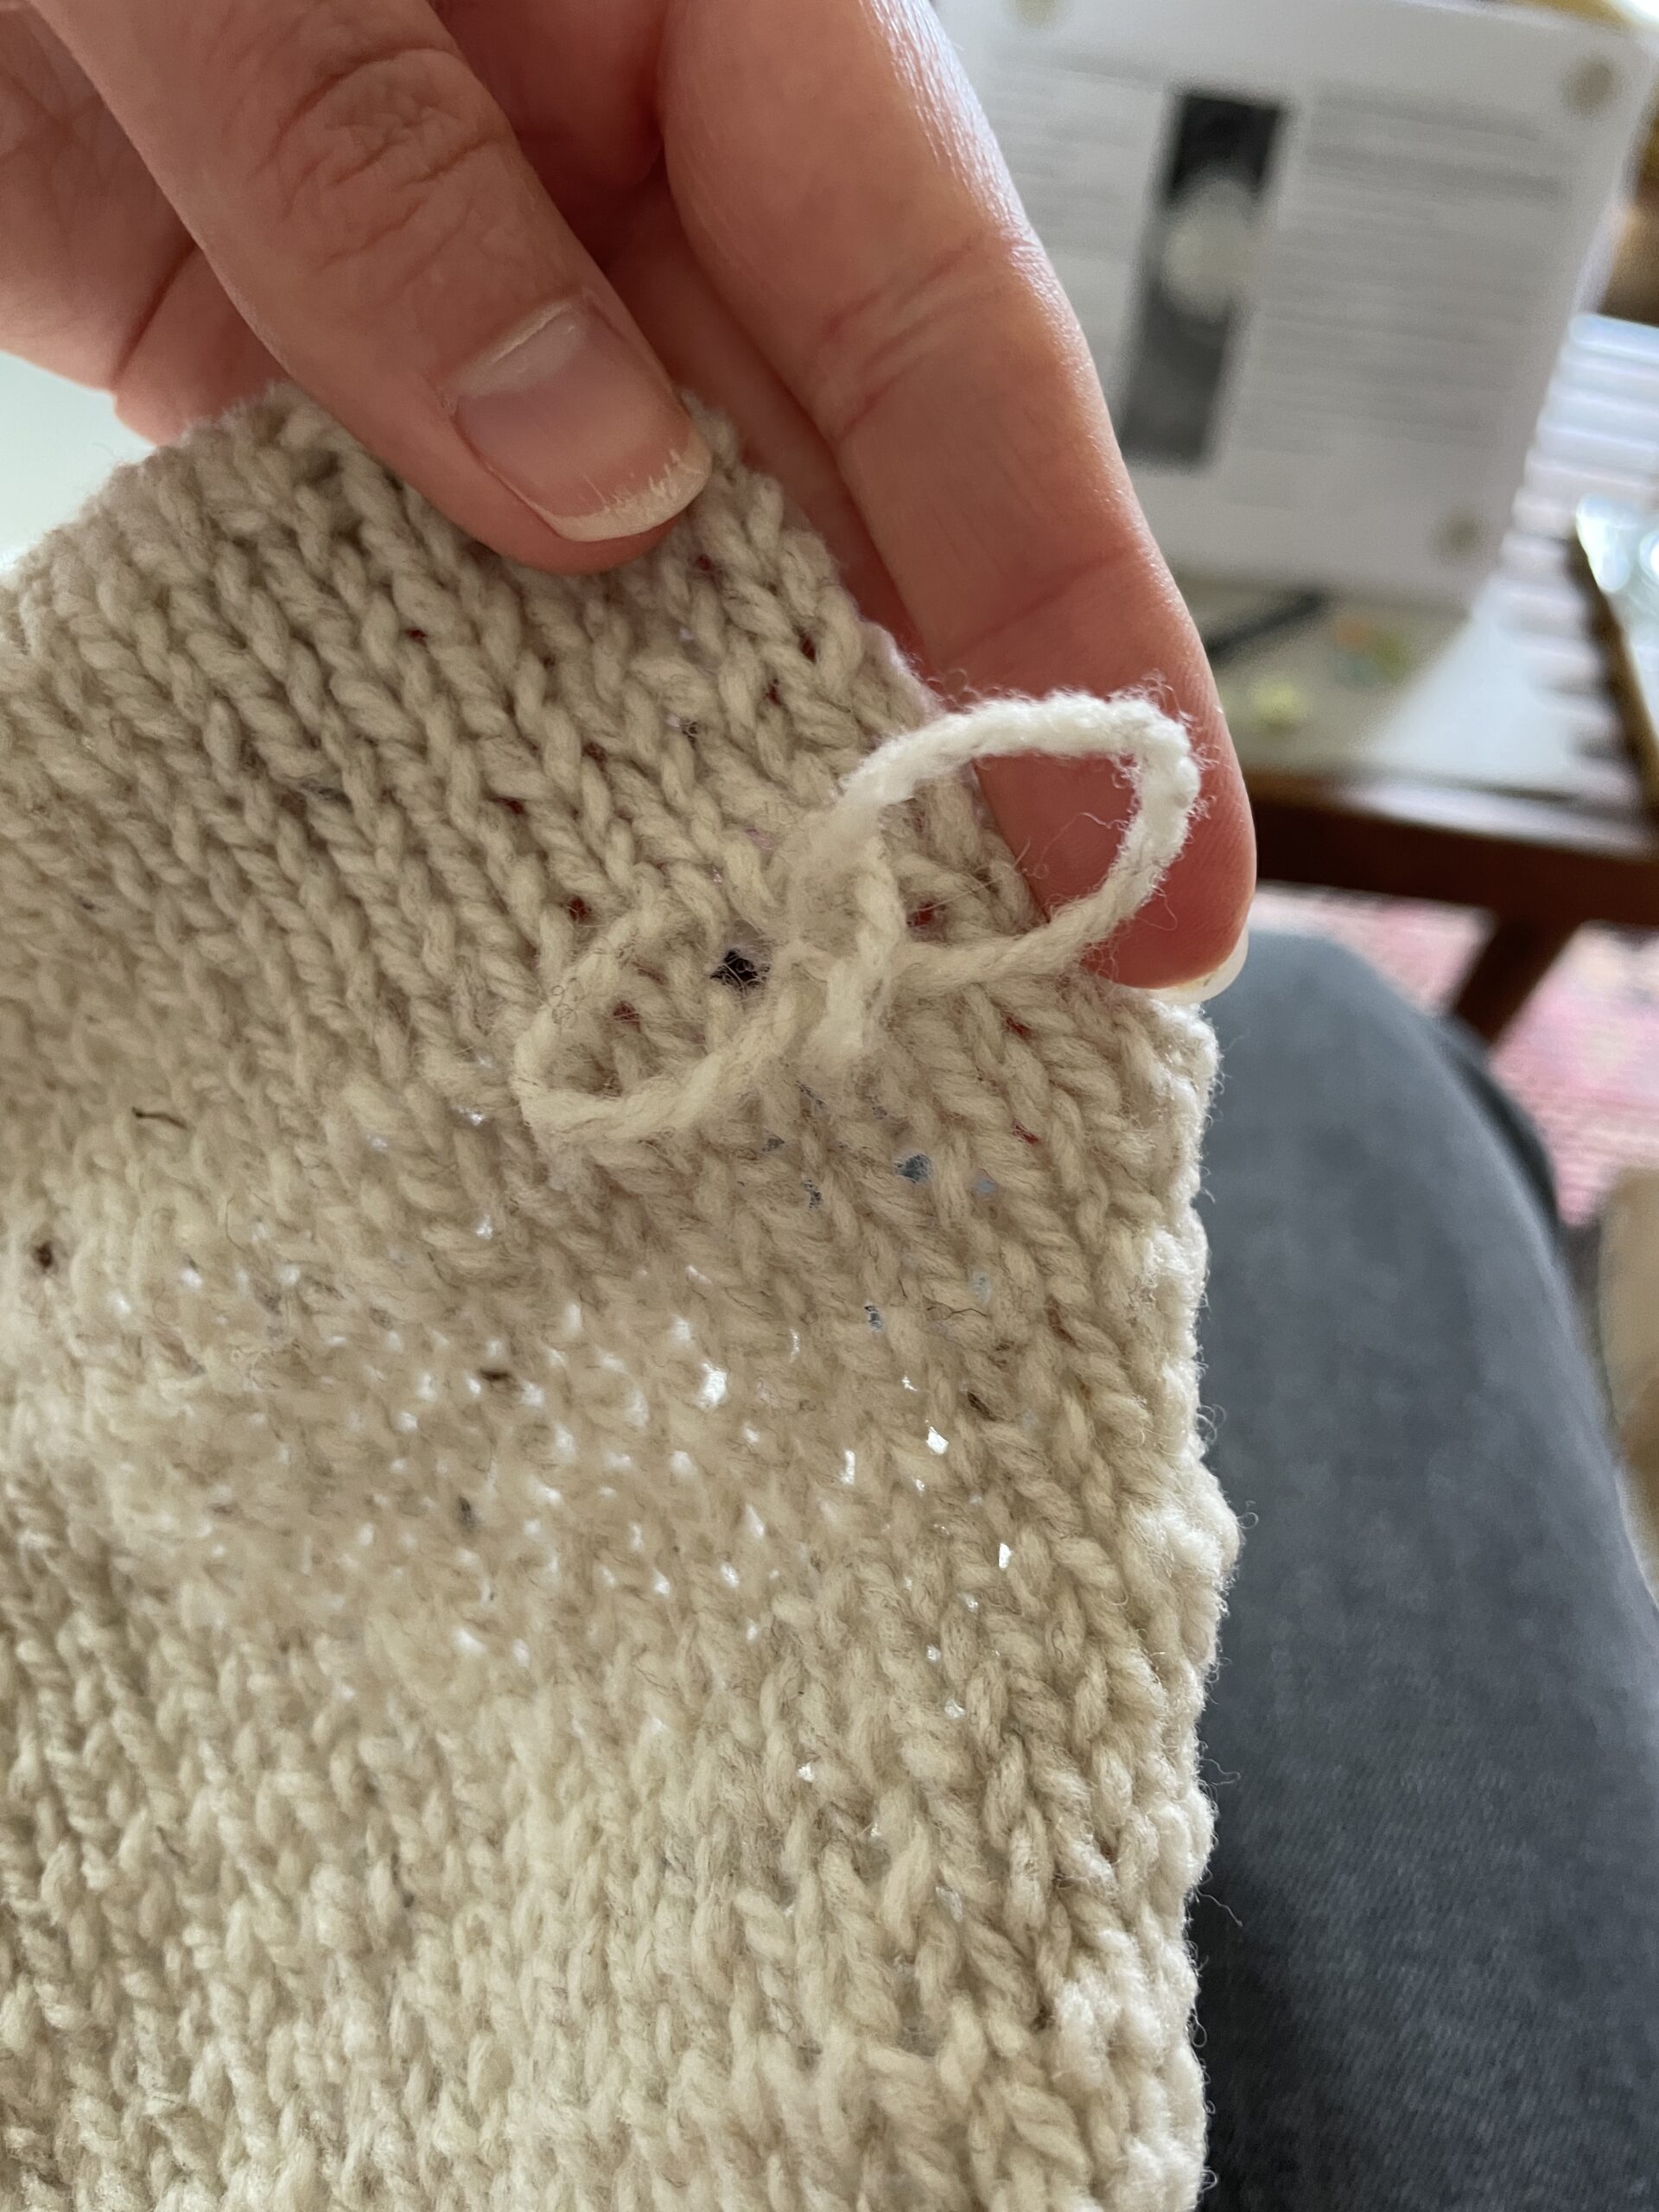
- Use a smaller needle for 1×1 rib. I used US 6 in Version 1 and it looks too loose.
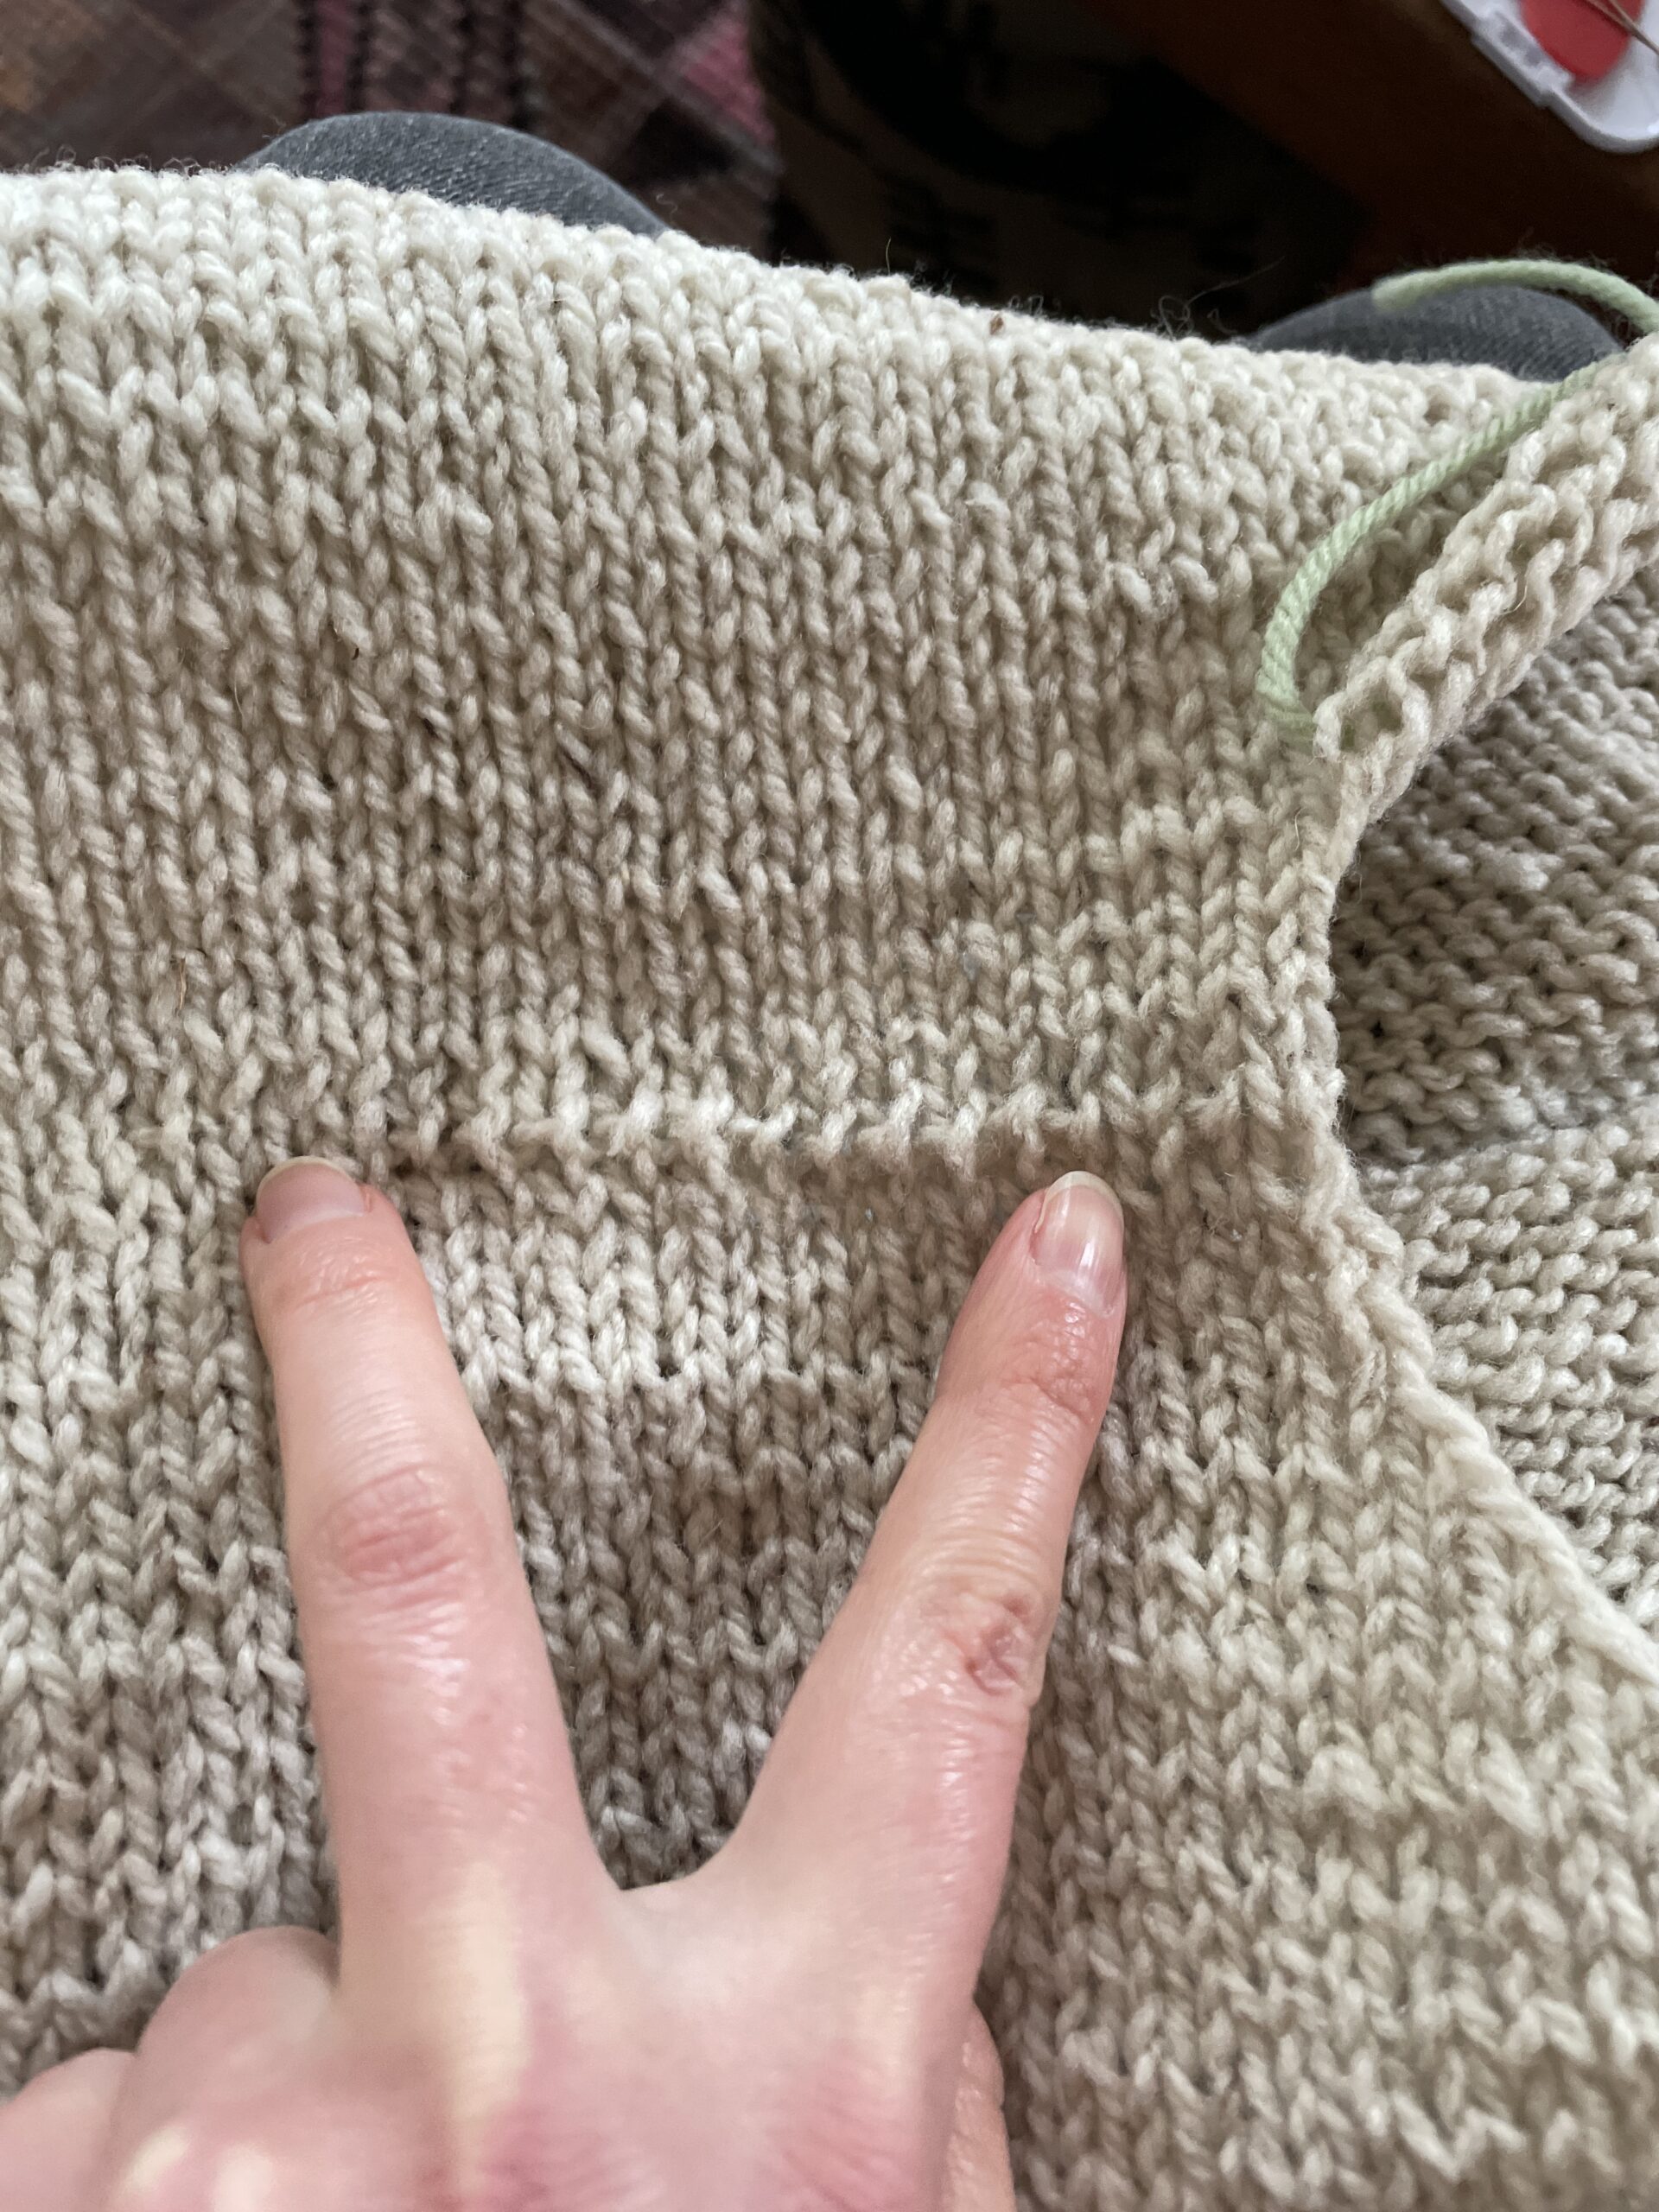
- Add in the 5 rounds that were omitted in Version 1 (3 in the 1×1 rib, and 2 in the body). These rows were omitted because I miss-measured while knitting.
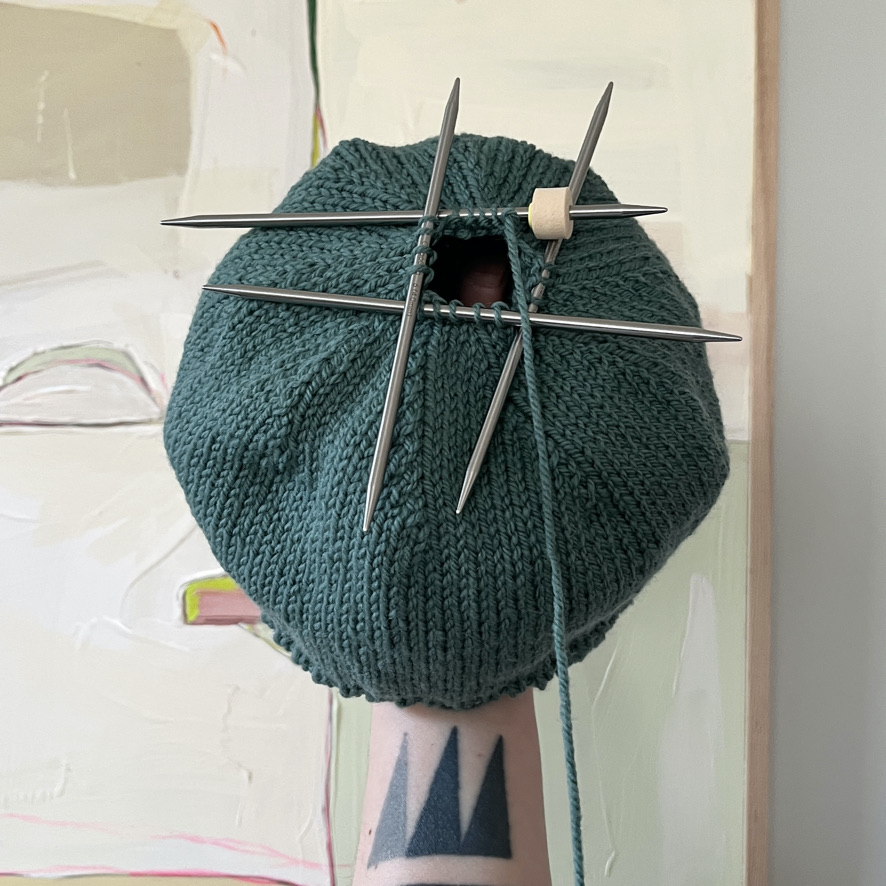
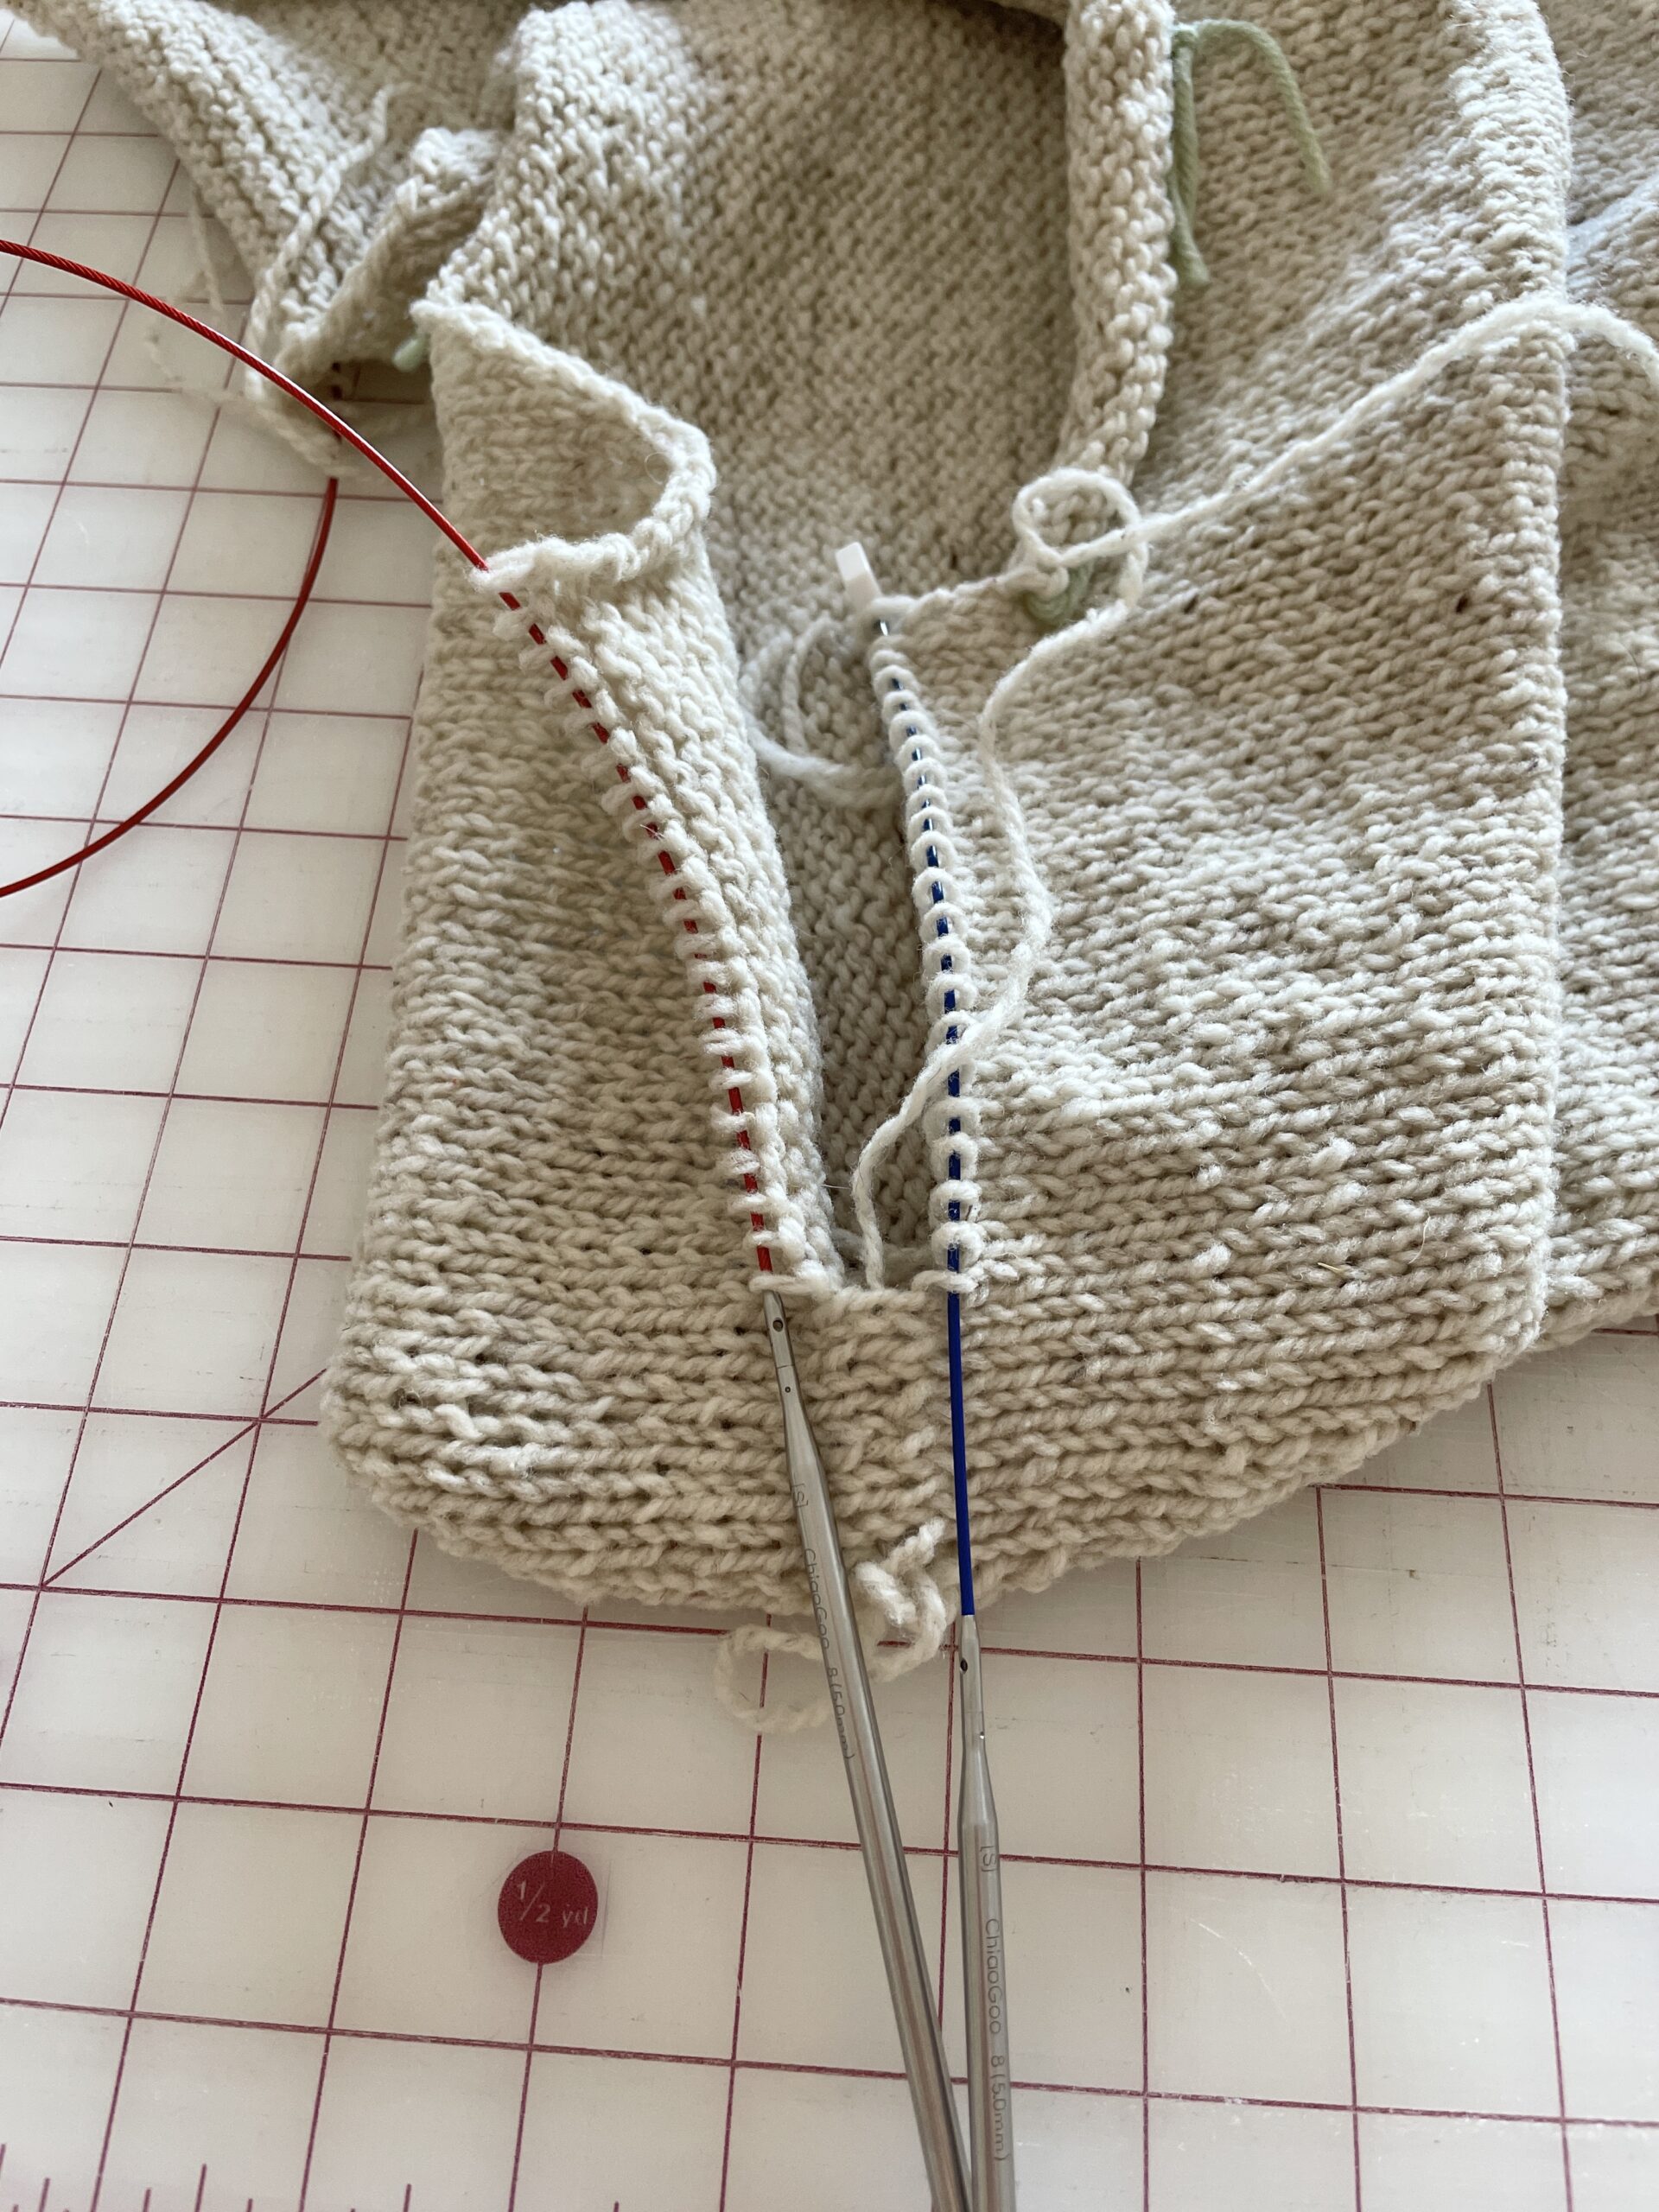
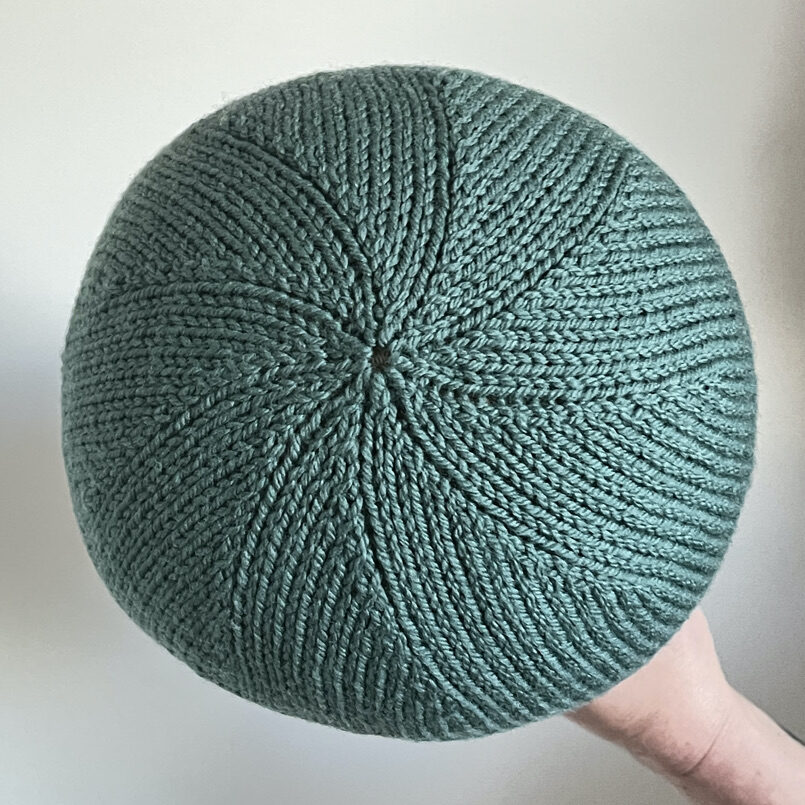
- Pull the 9 stitches at the top of the hat together tighter. After blocking, the opening relaxed a bit.