Moving Coat by Beaton Studio | Matchy Matchy Quilted Puffer

1 Comment

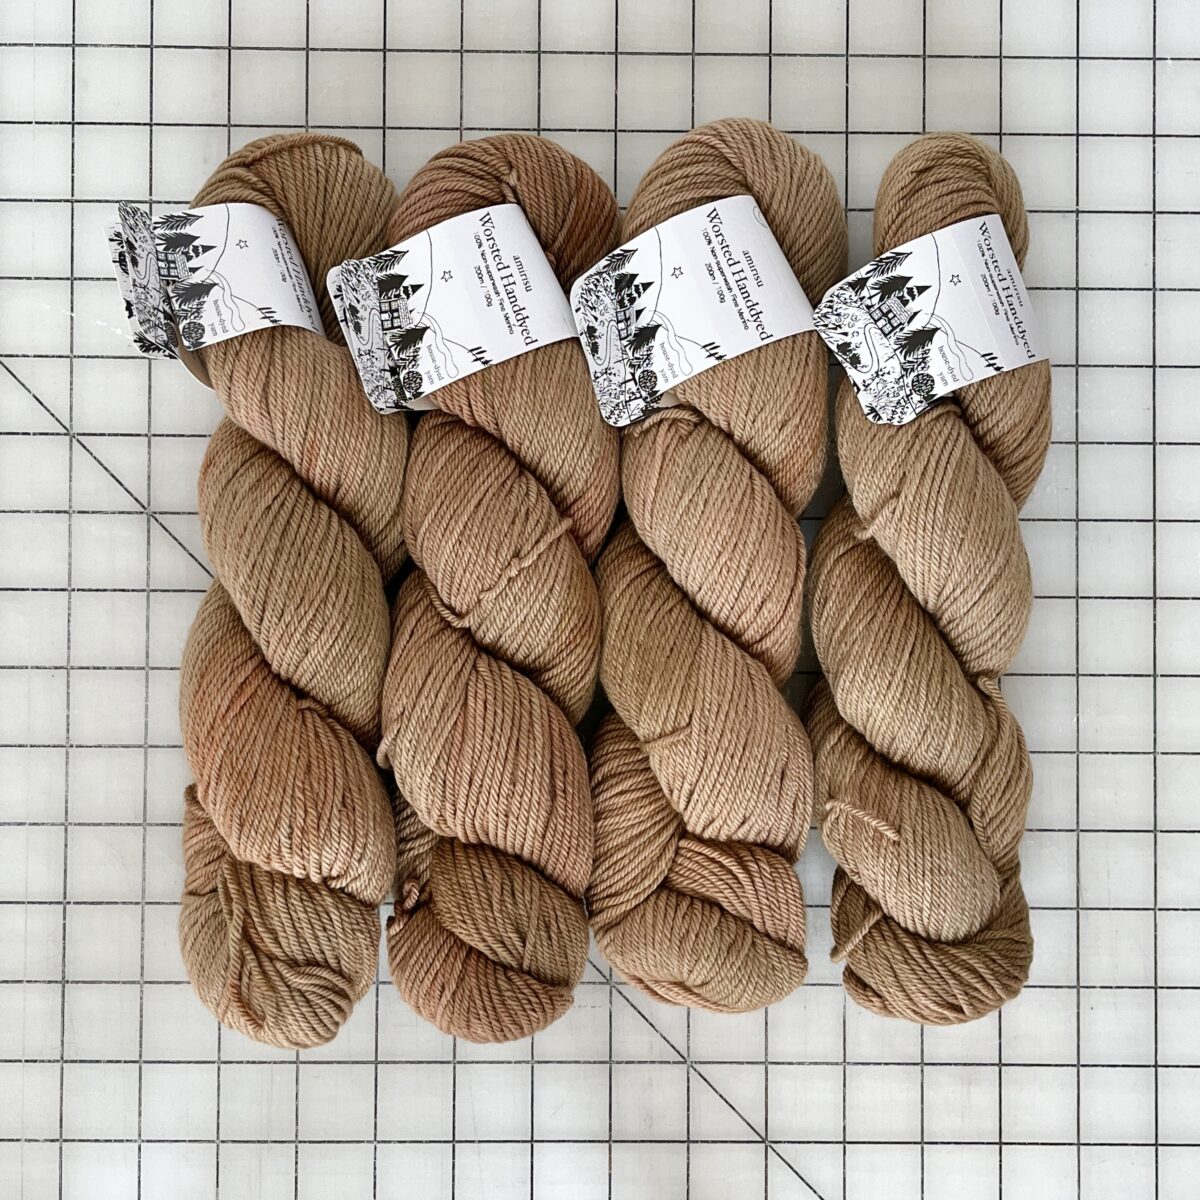
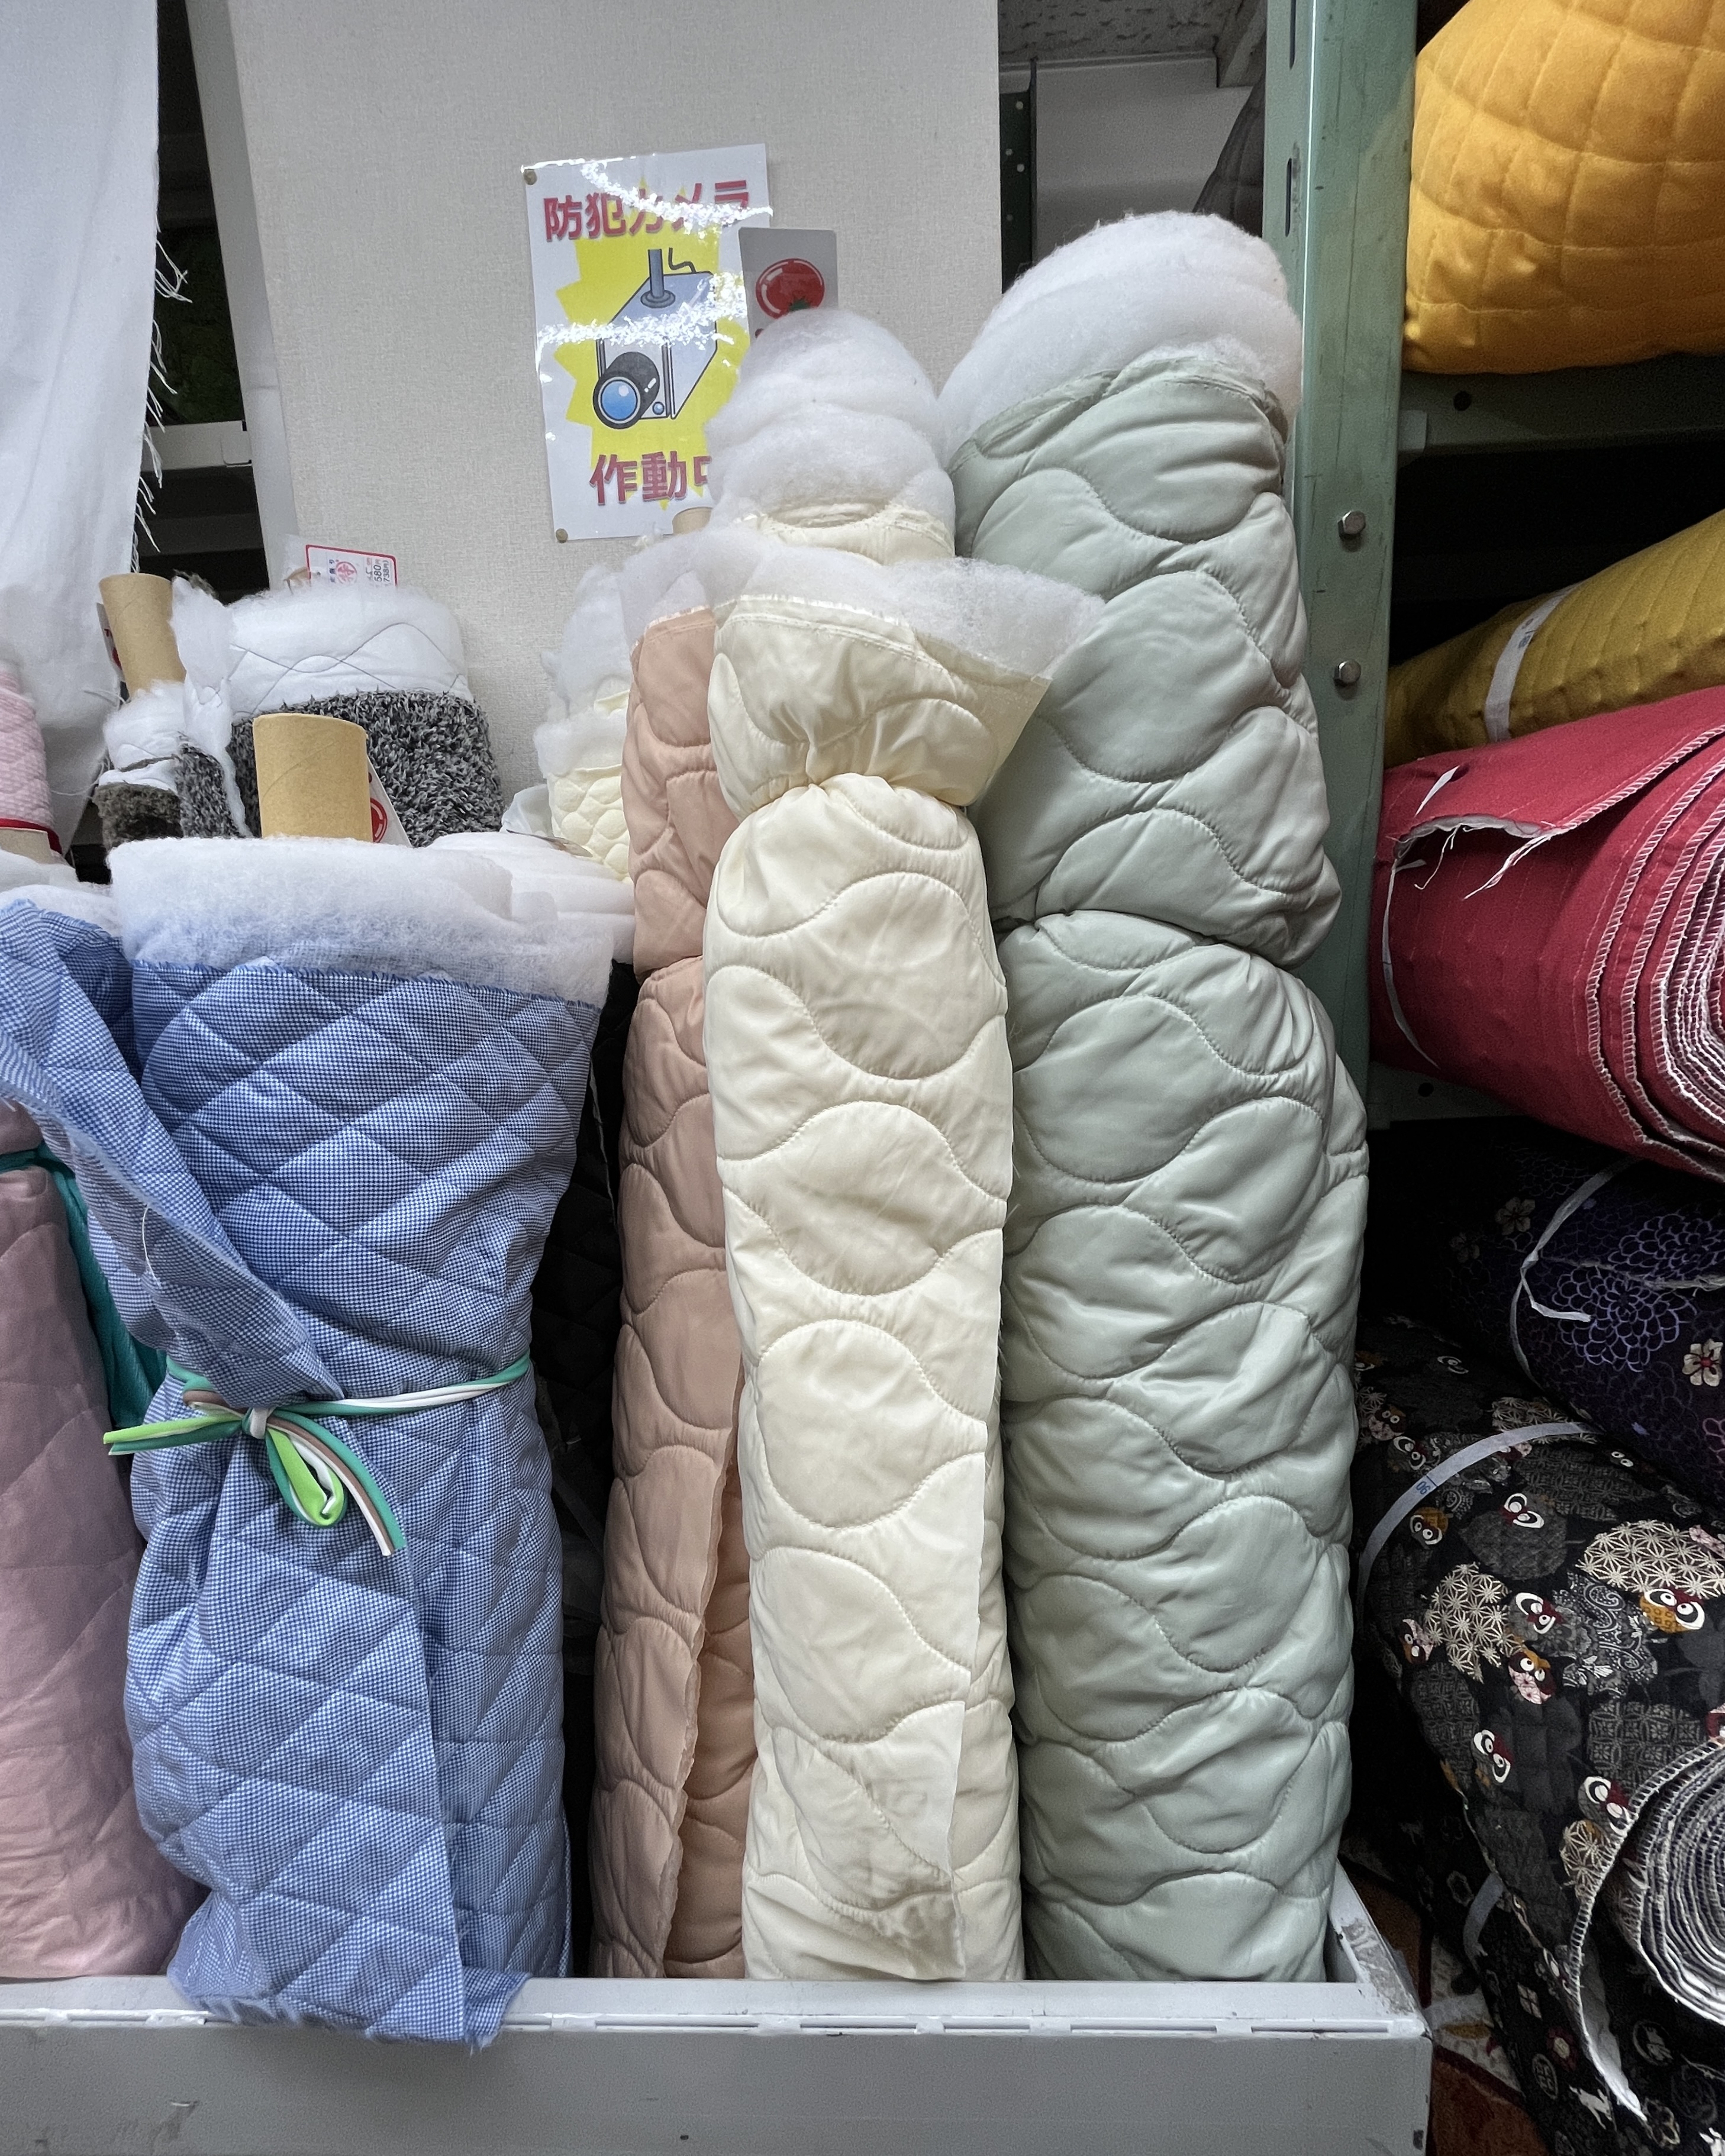
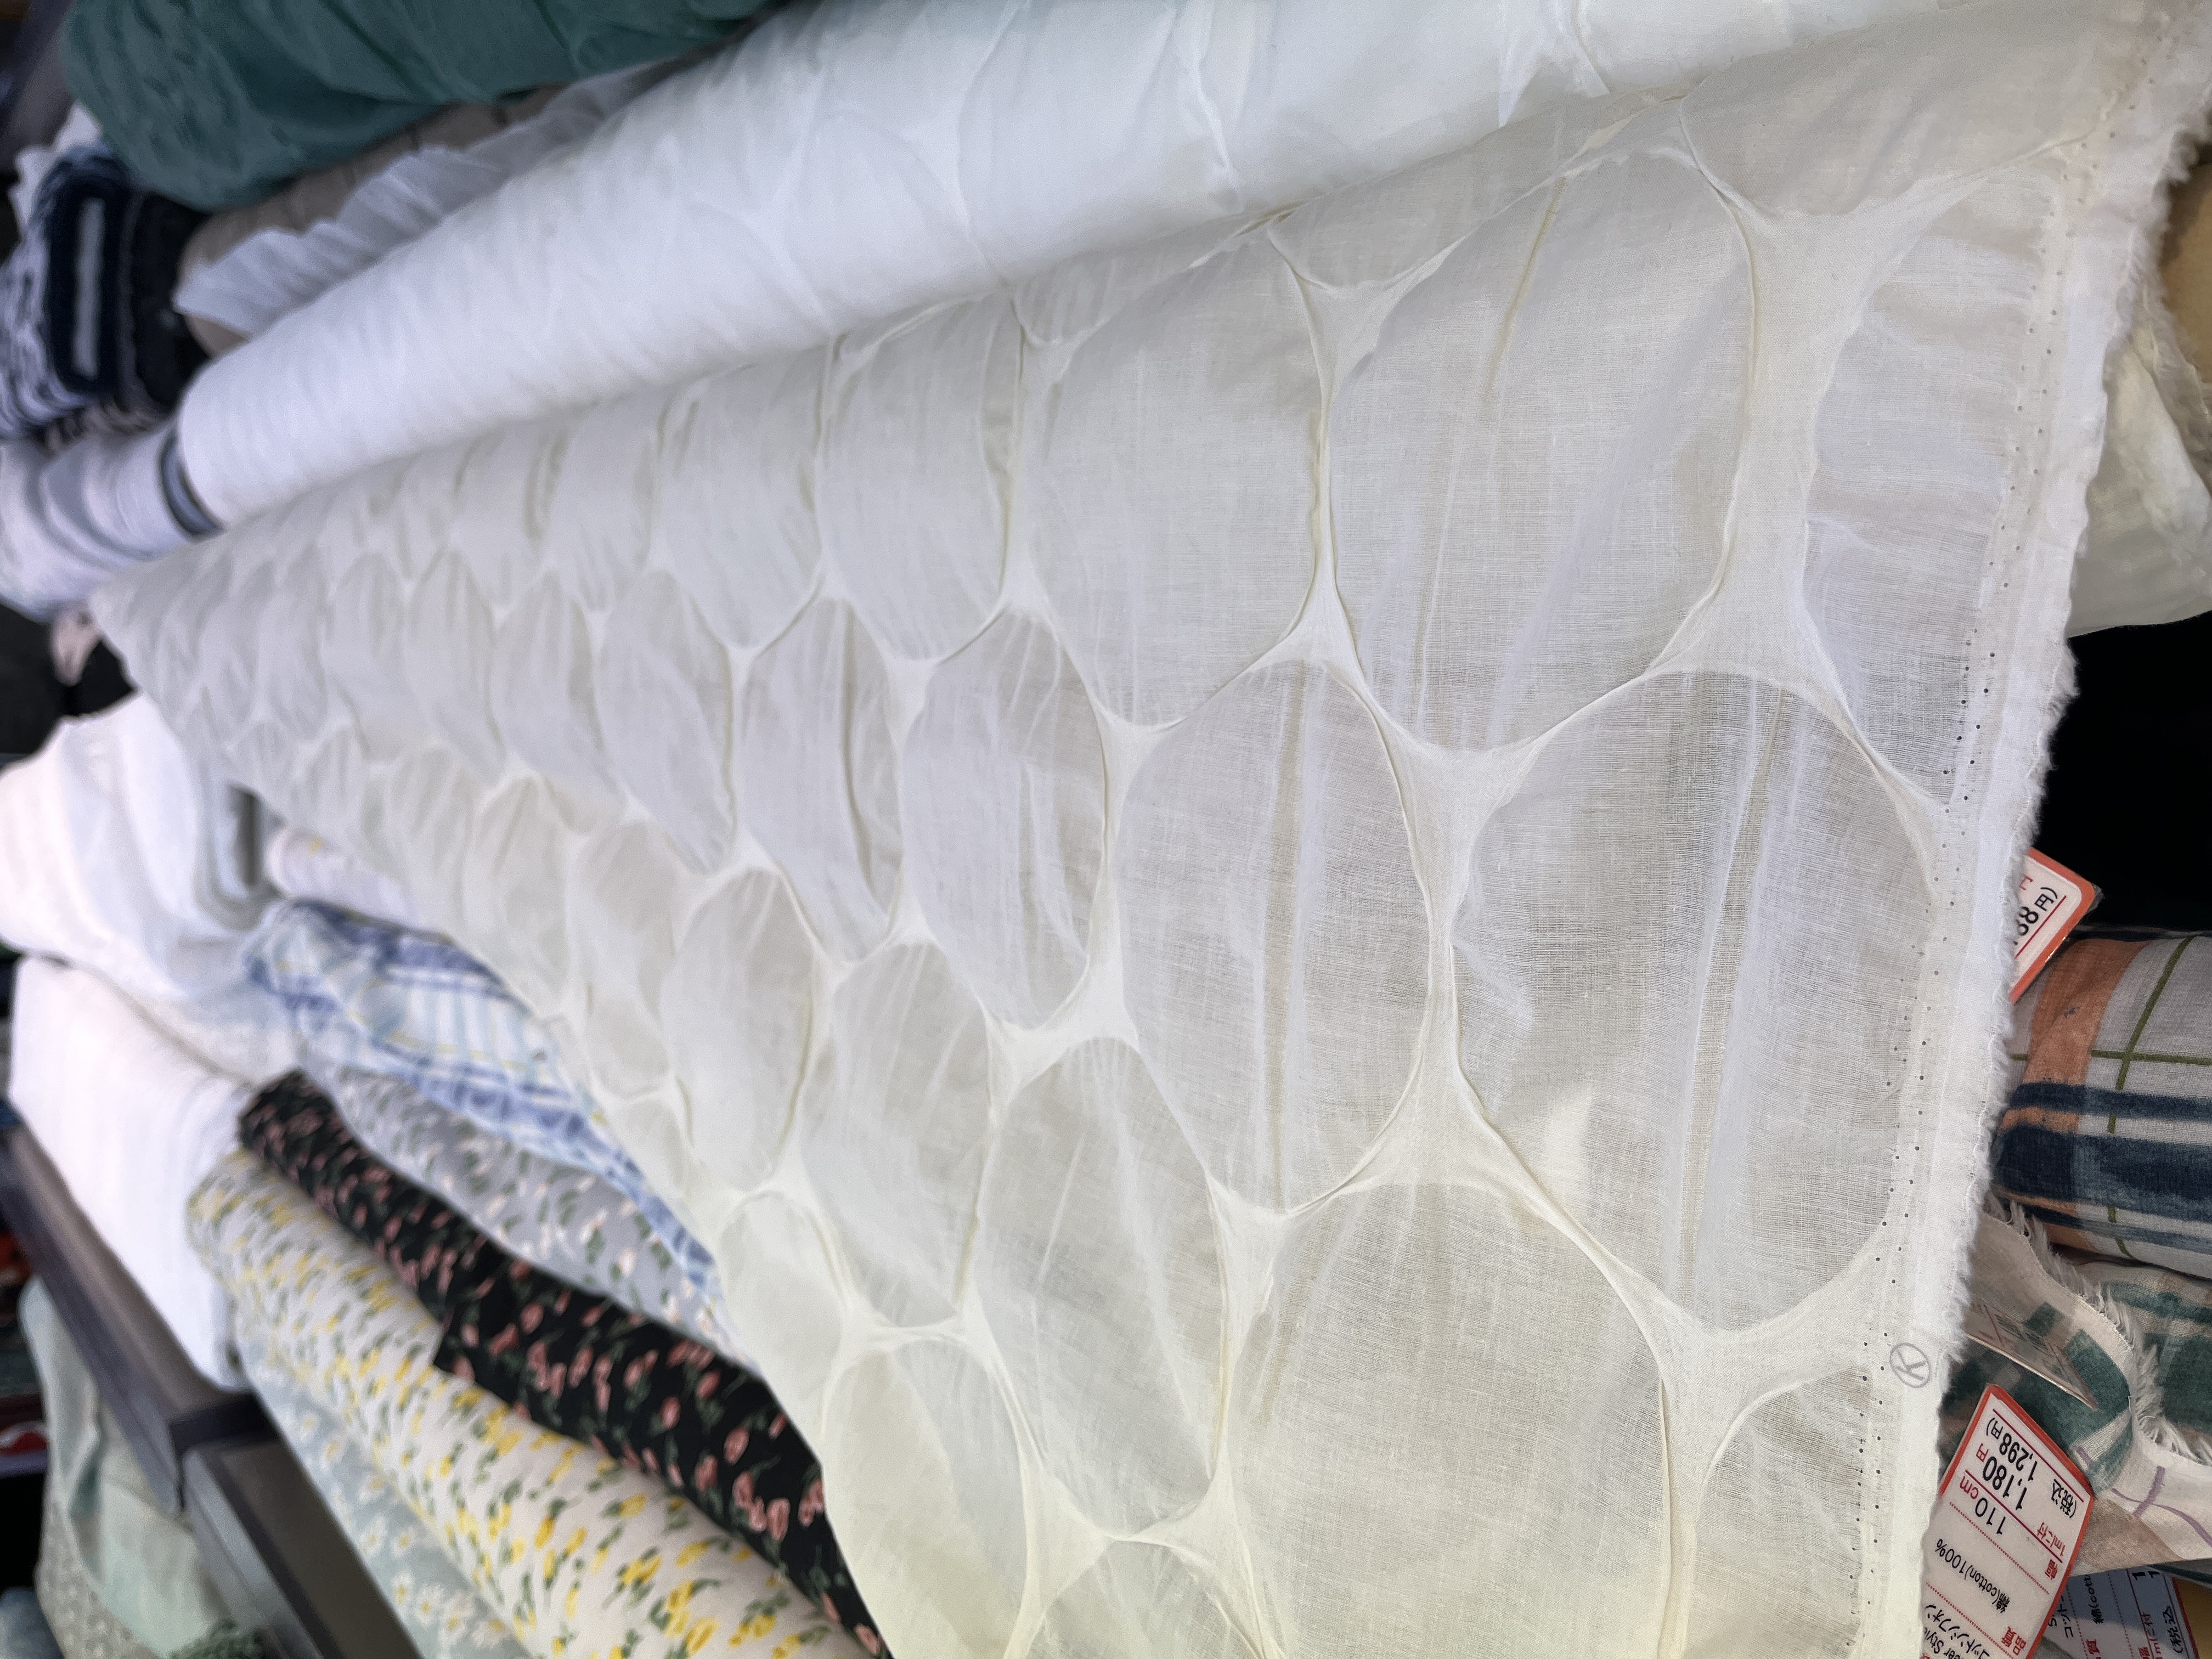
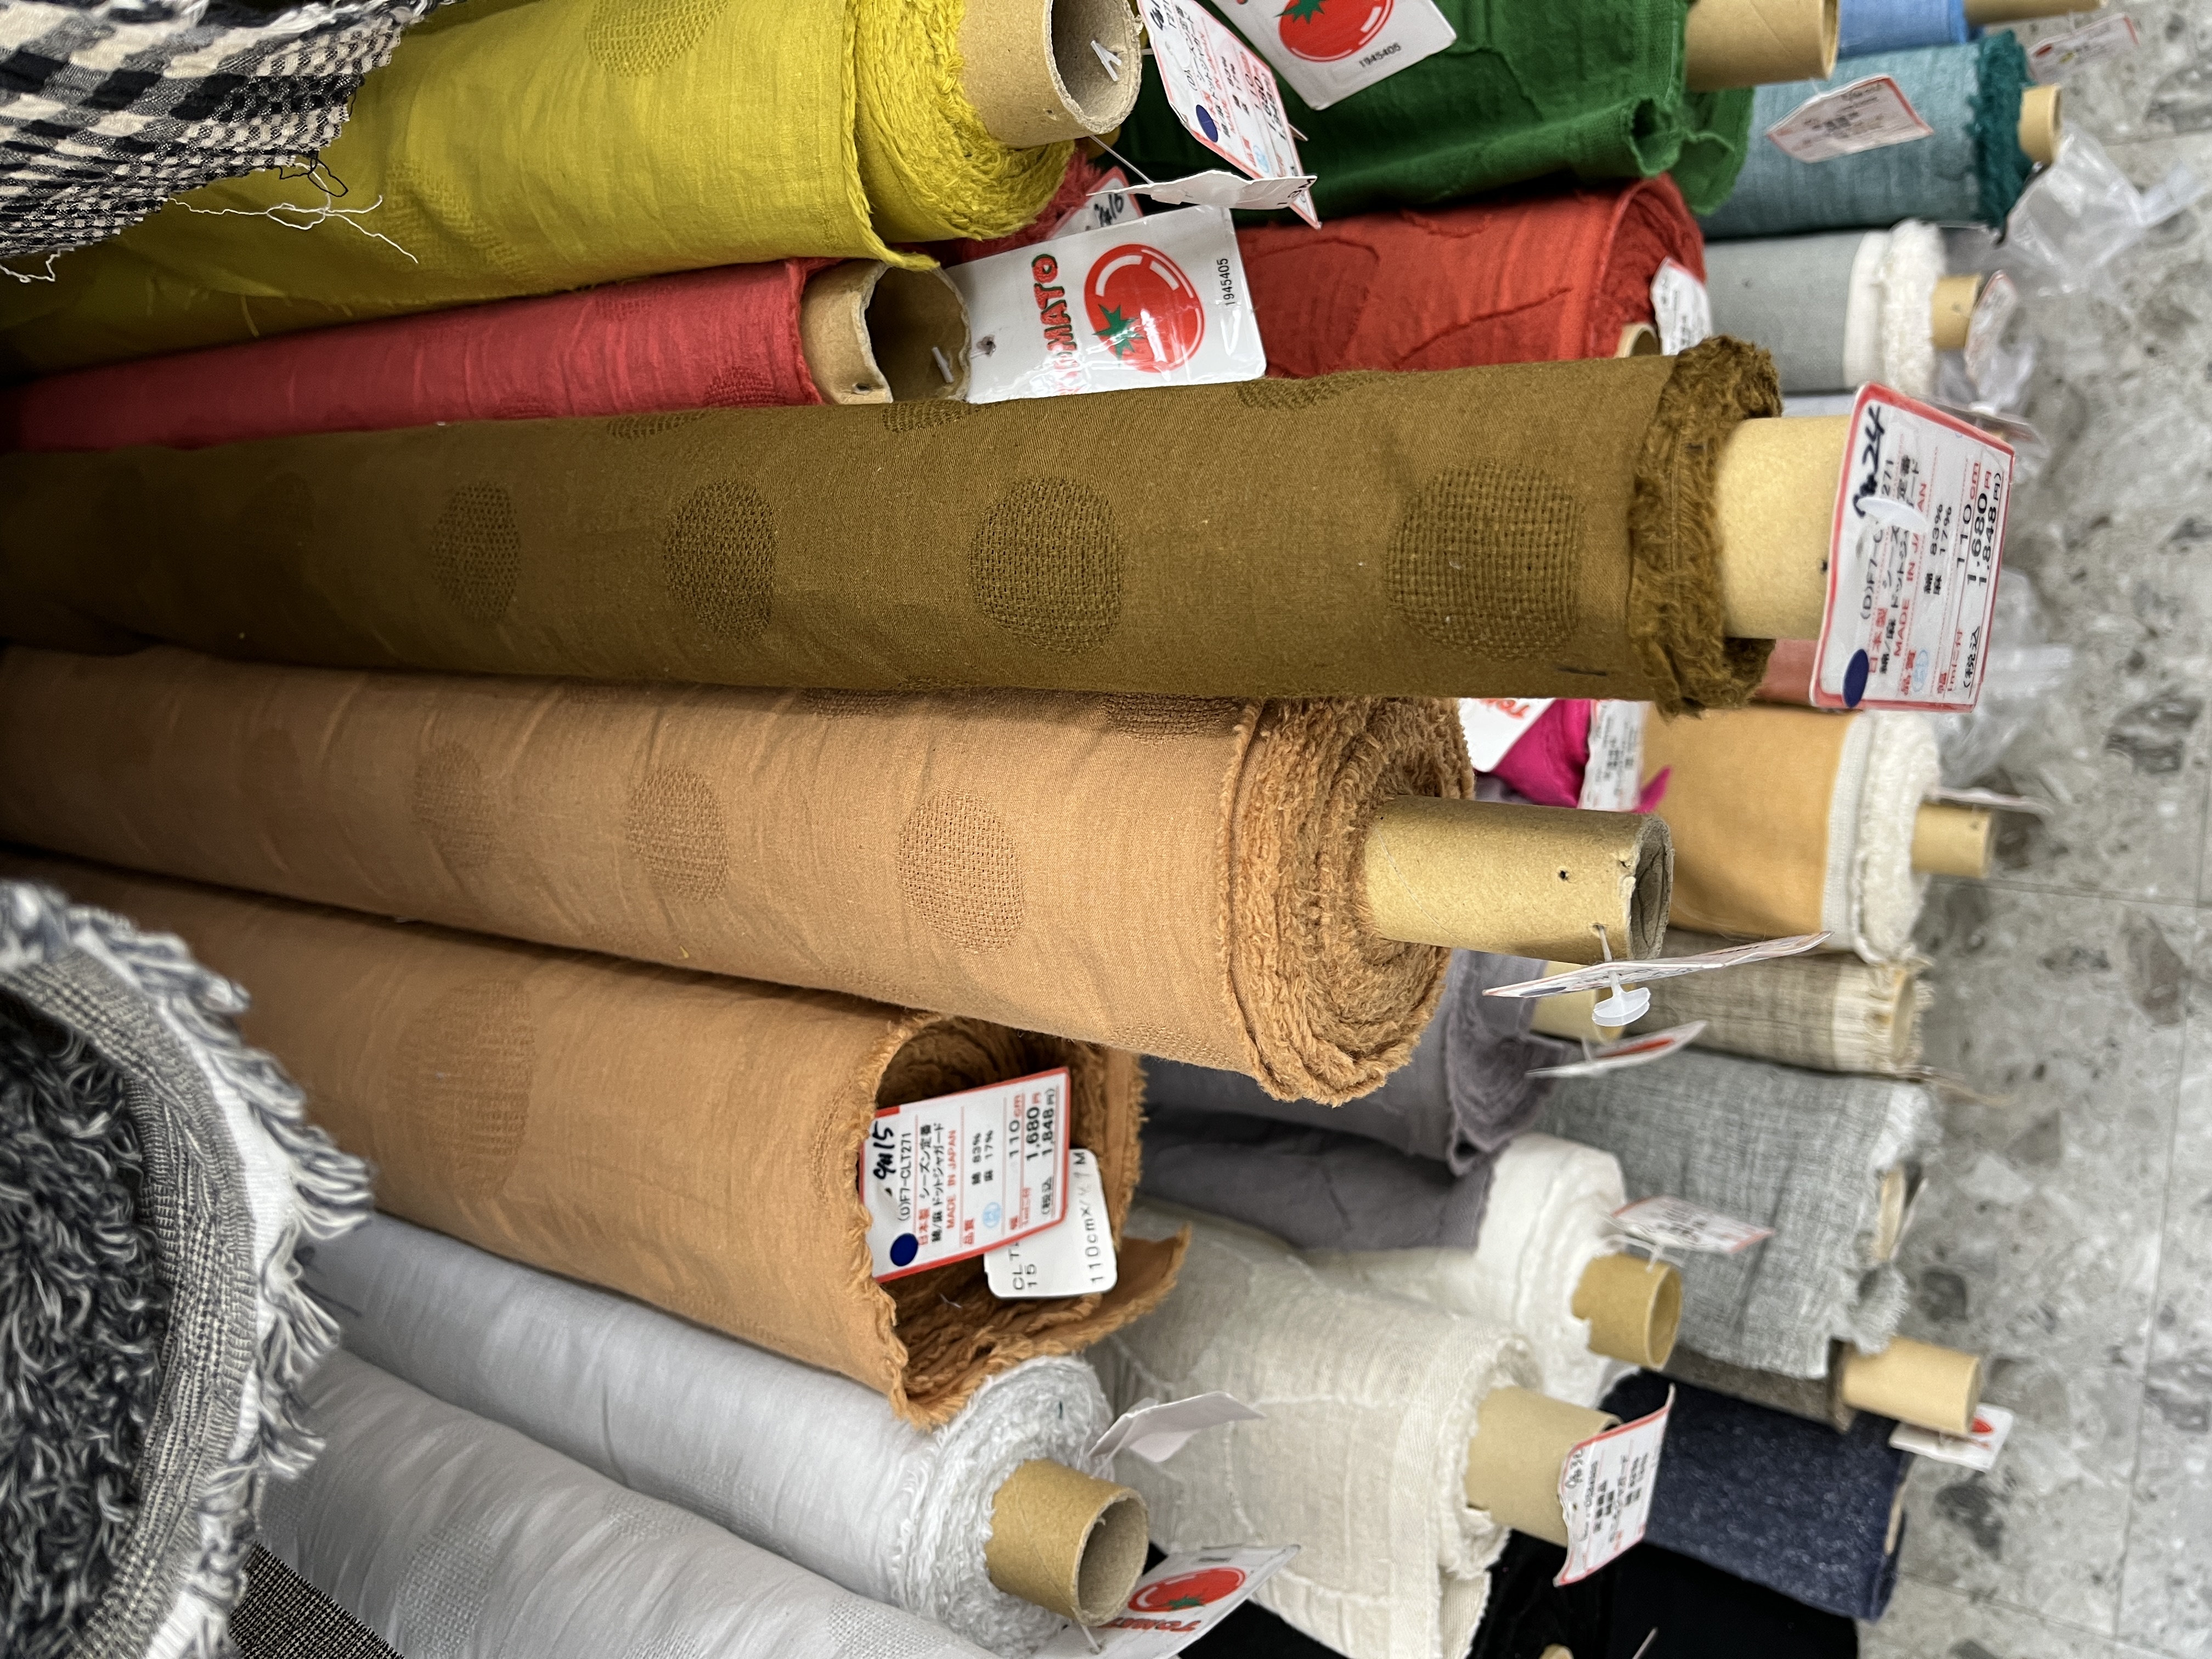
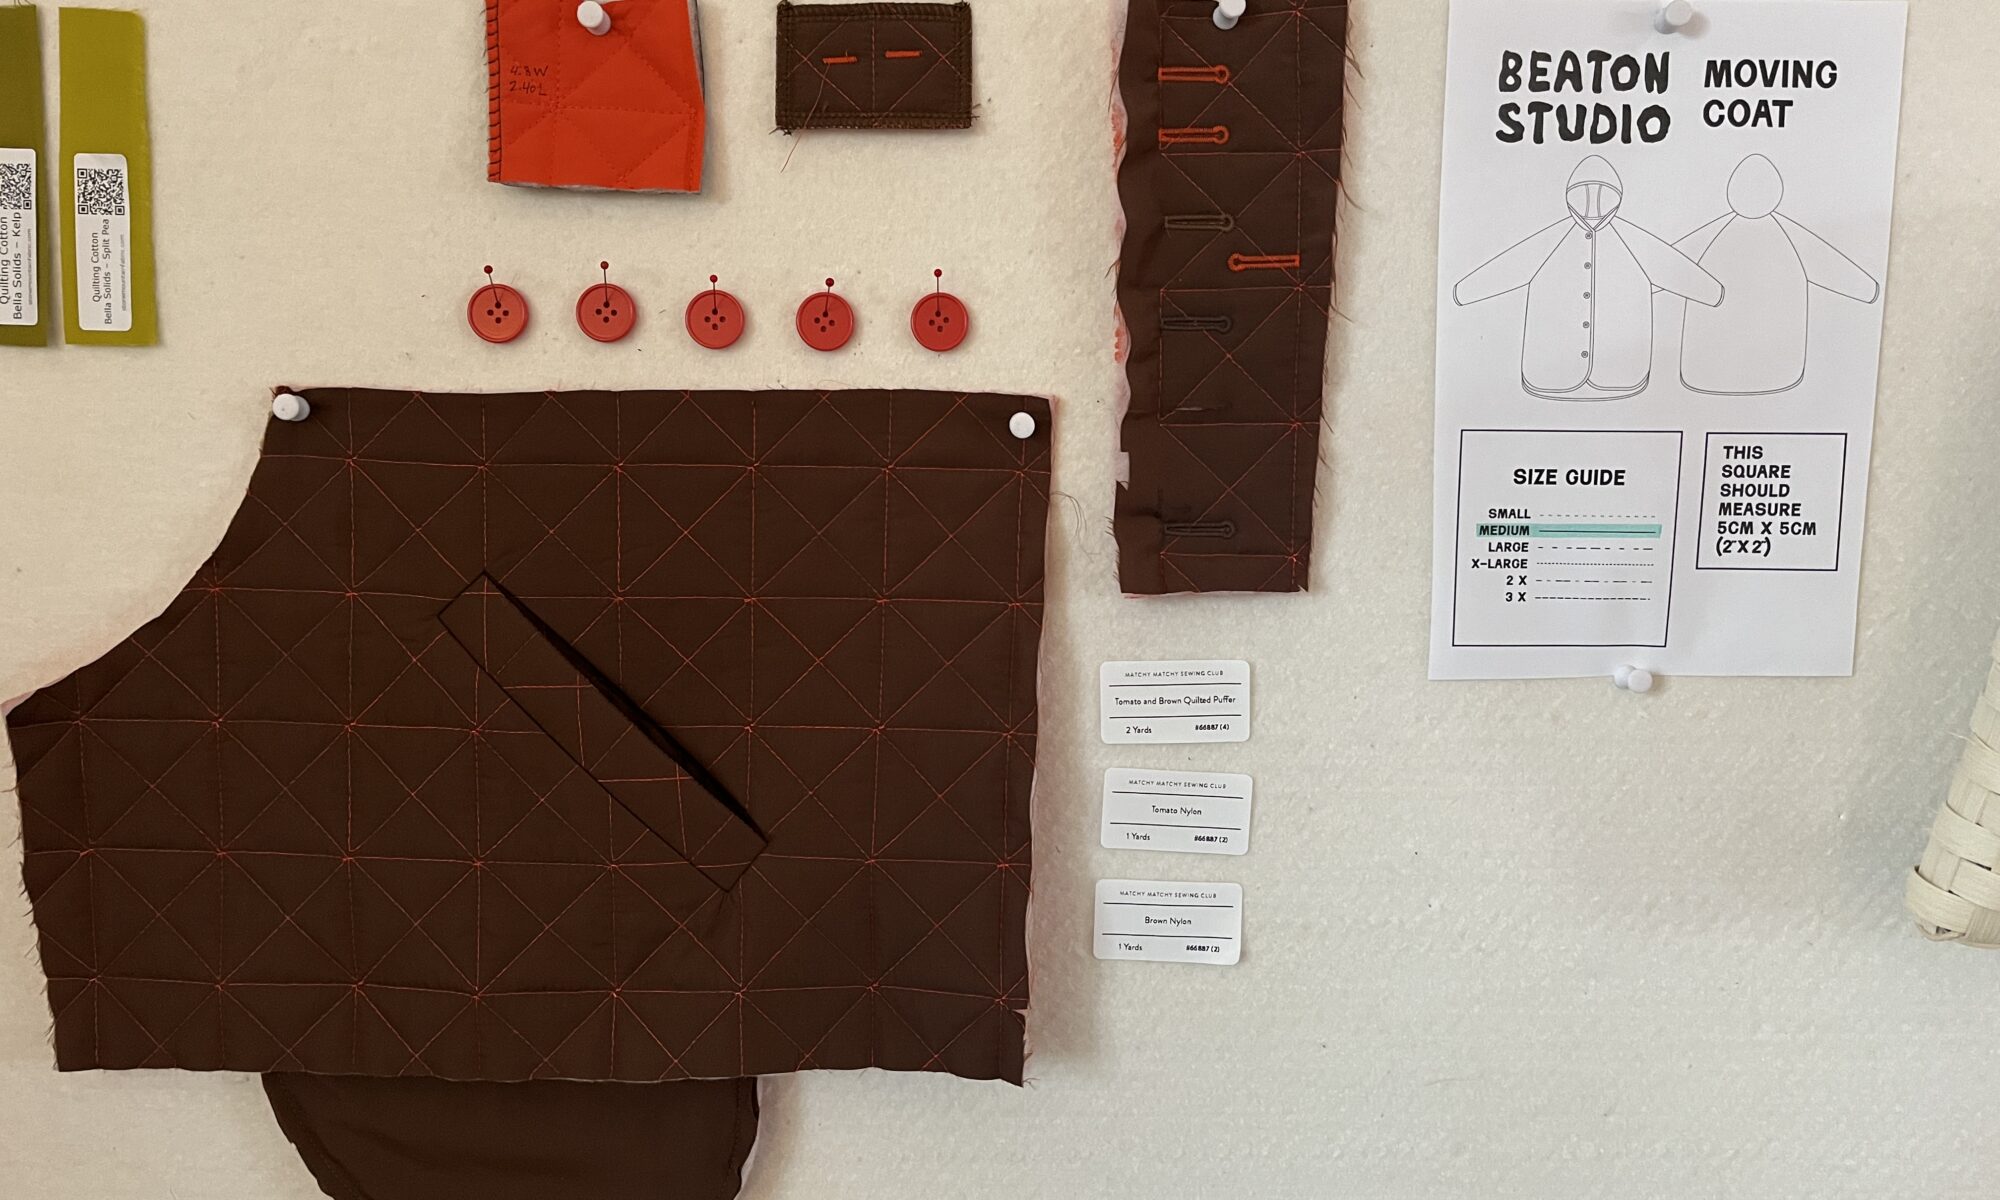
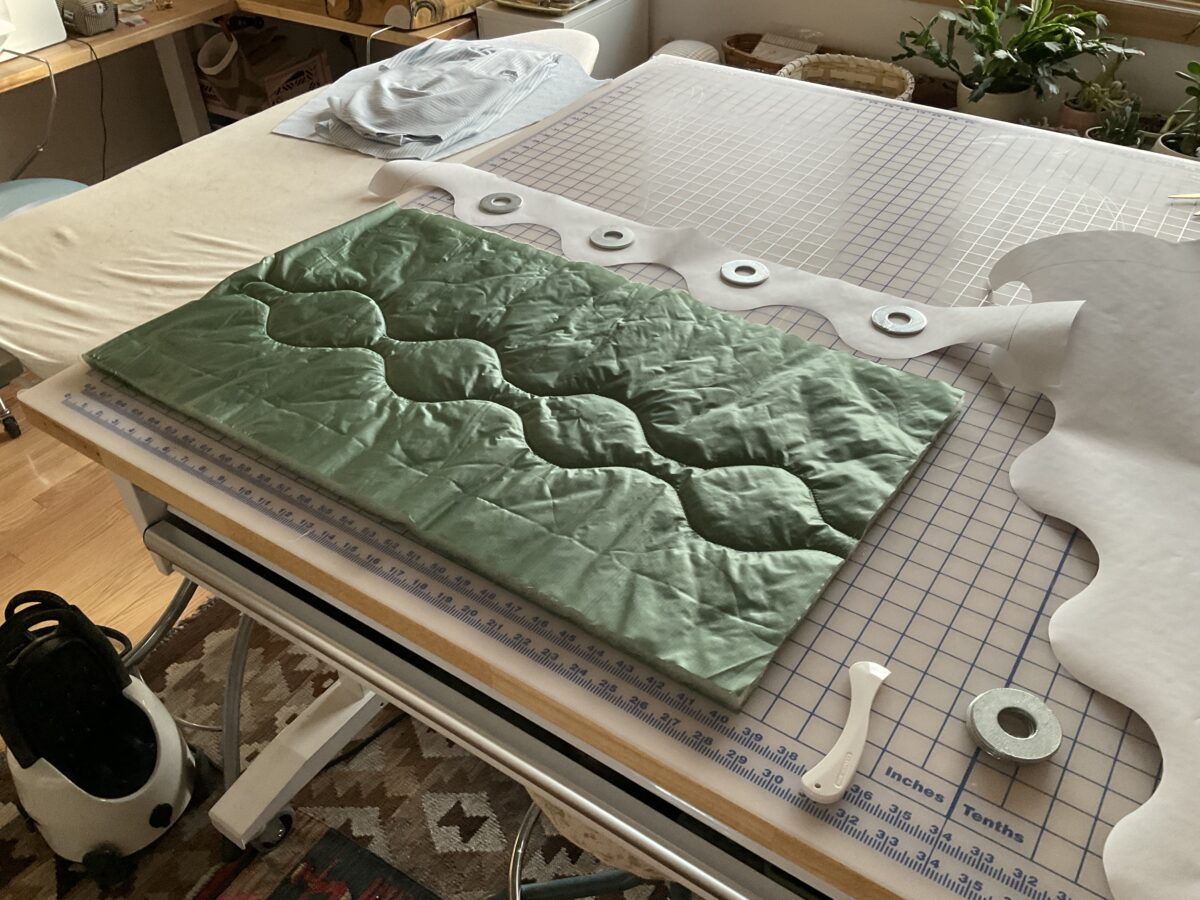
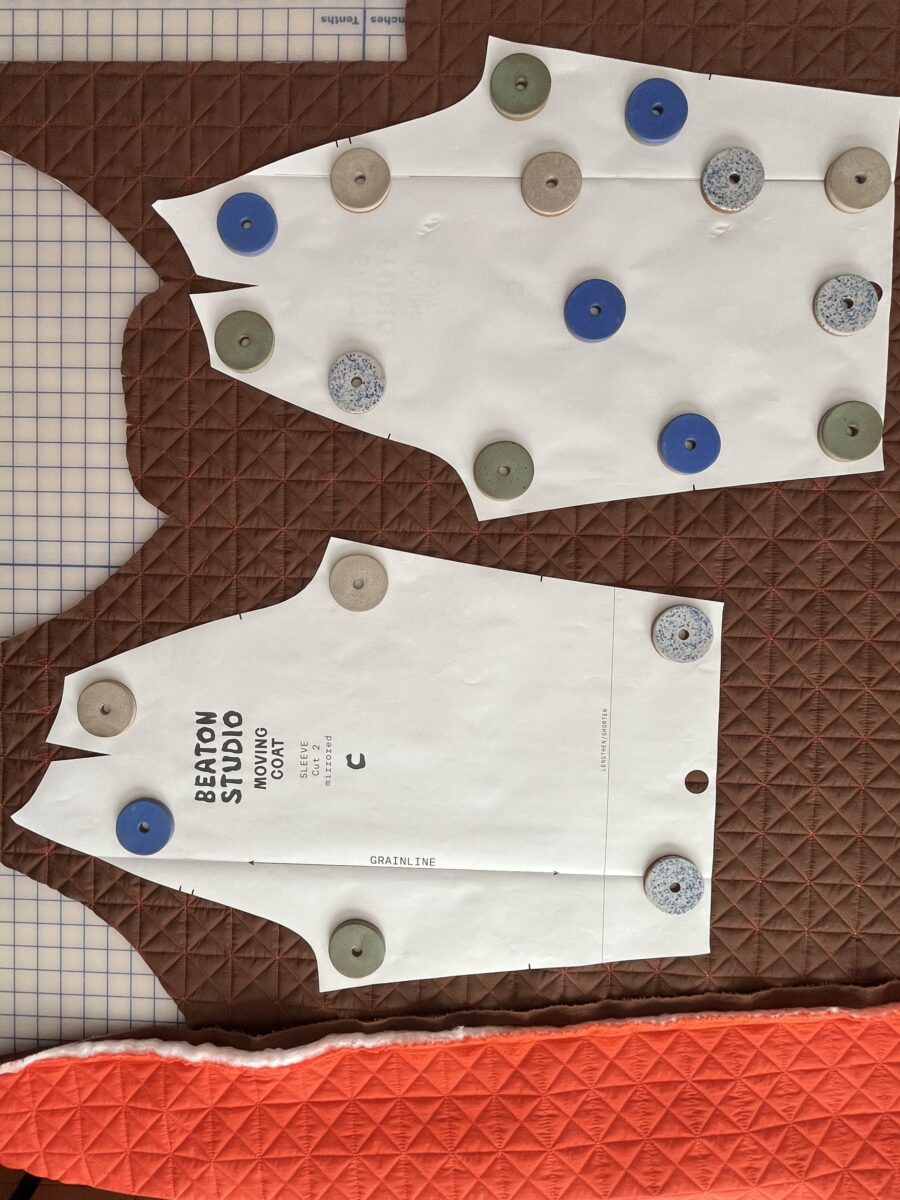
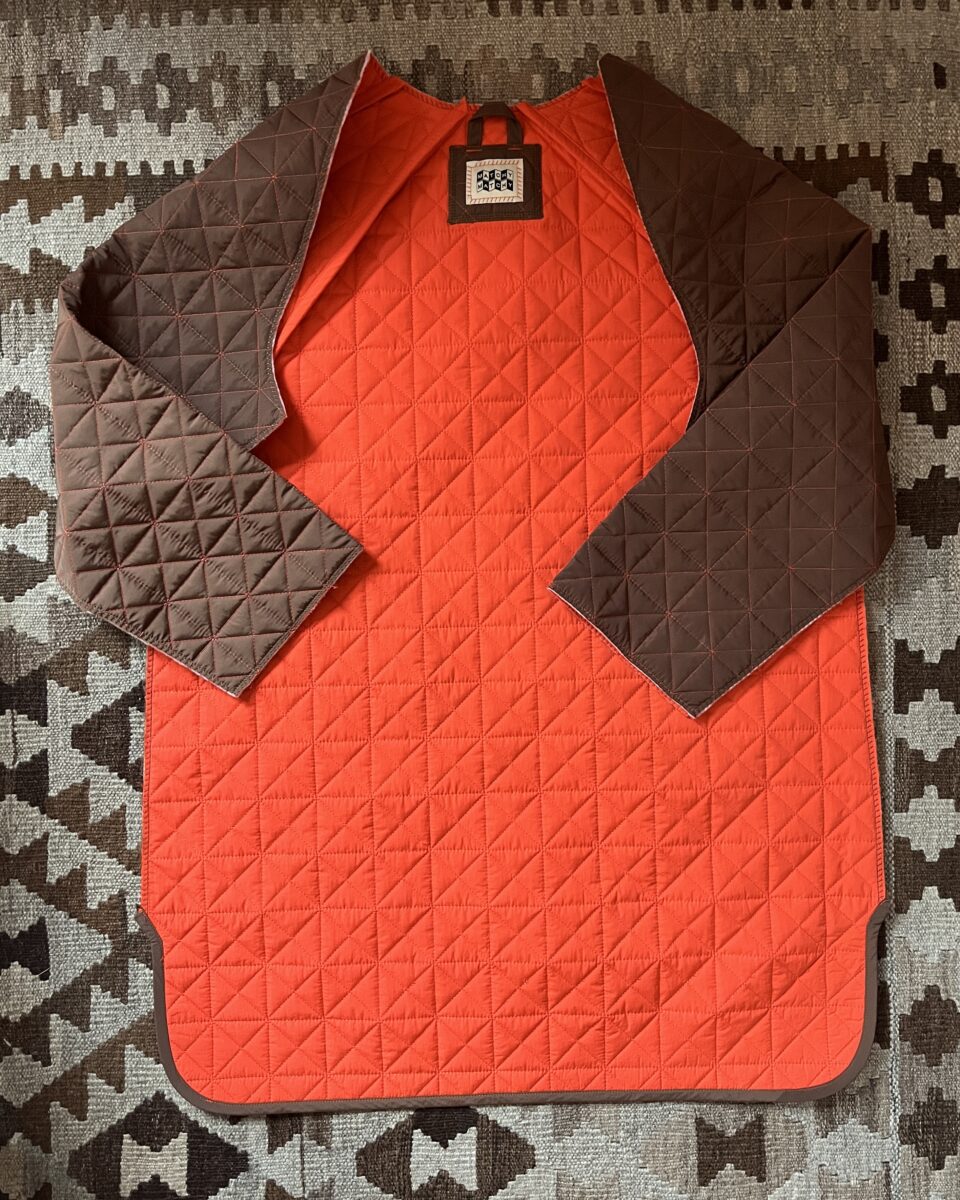
It’s been a minute since I’ve been this excited about a sewing project. I was already planning to make a nylon quilted coat using this pattern, and then Matchy Matchy released a batch of pre-quilted fabrics in excellent color combos, plus matching nylon fabric for binding.

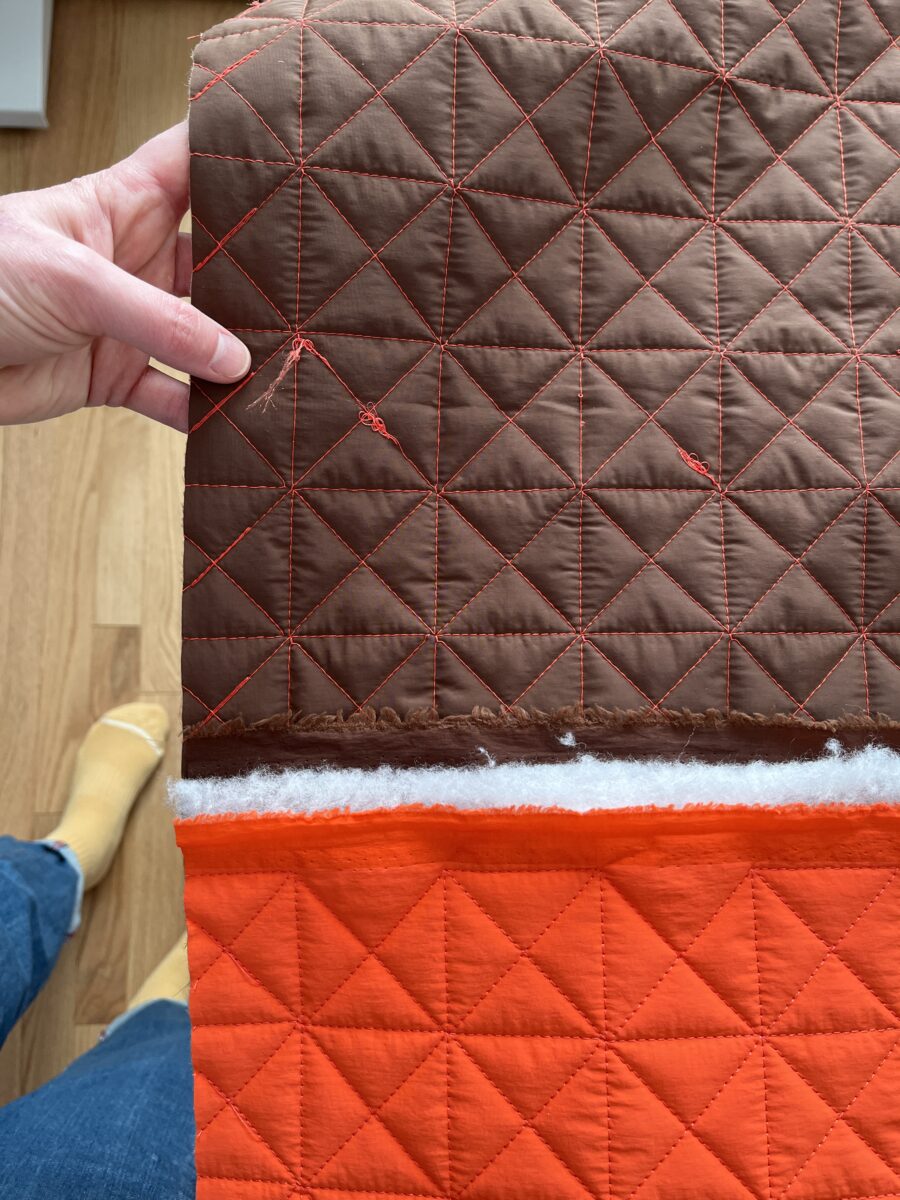
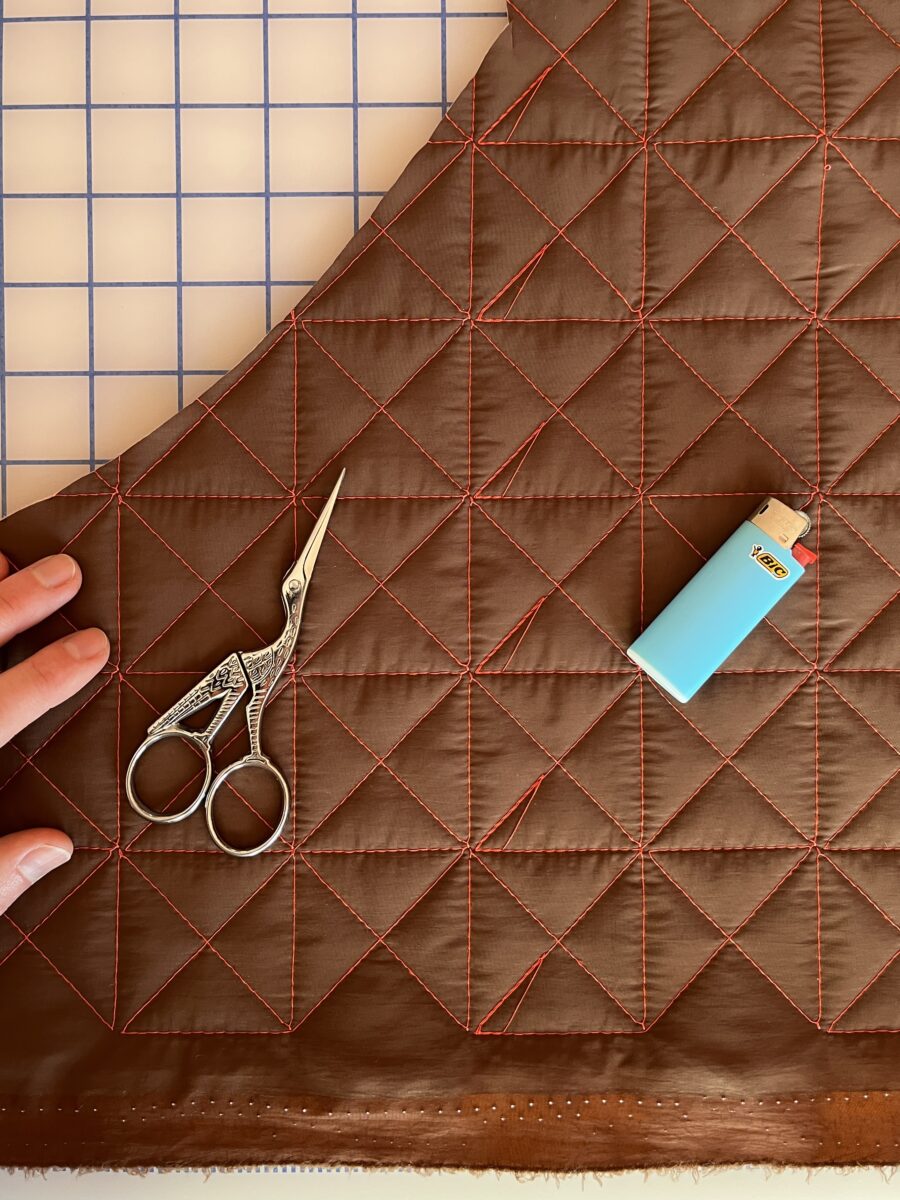
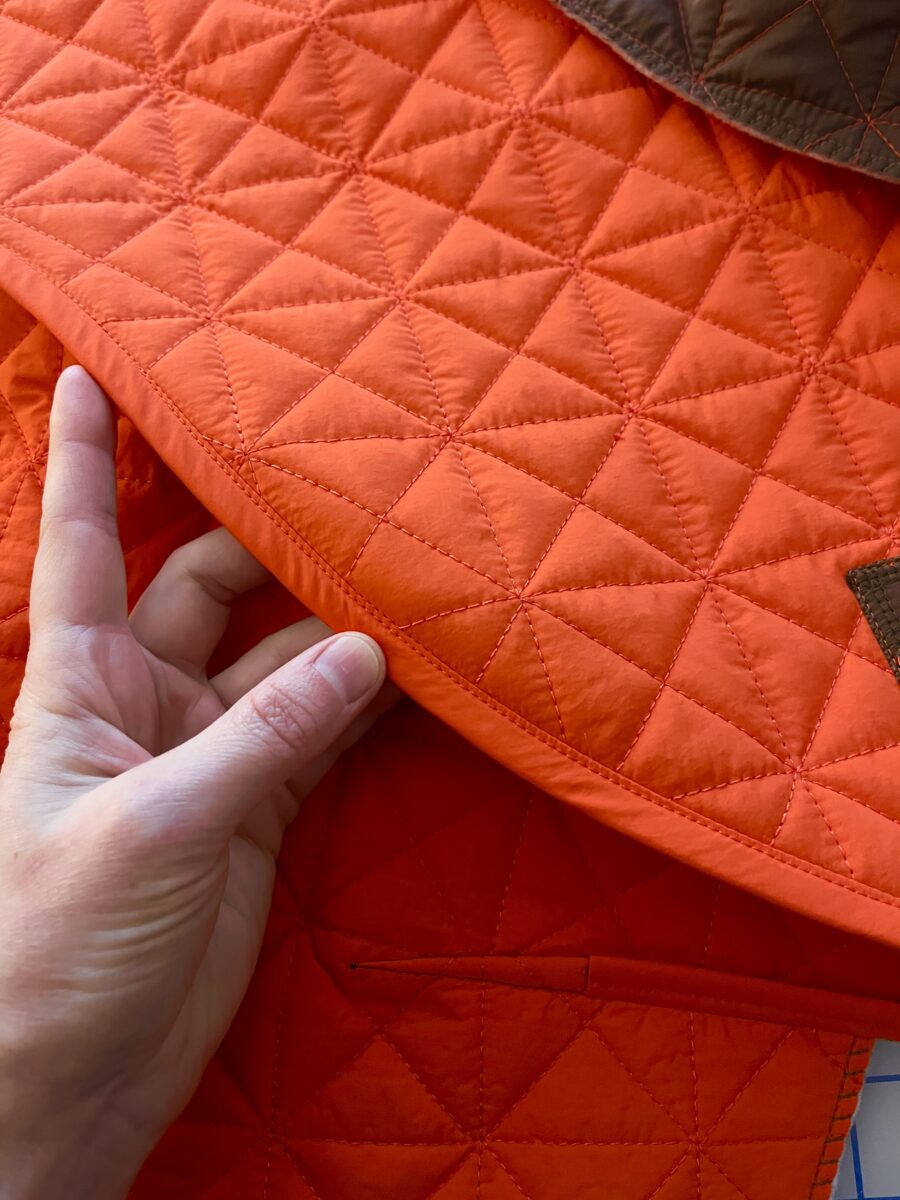
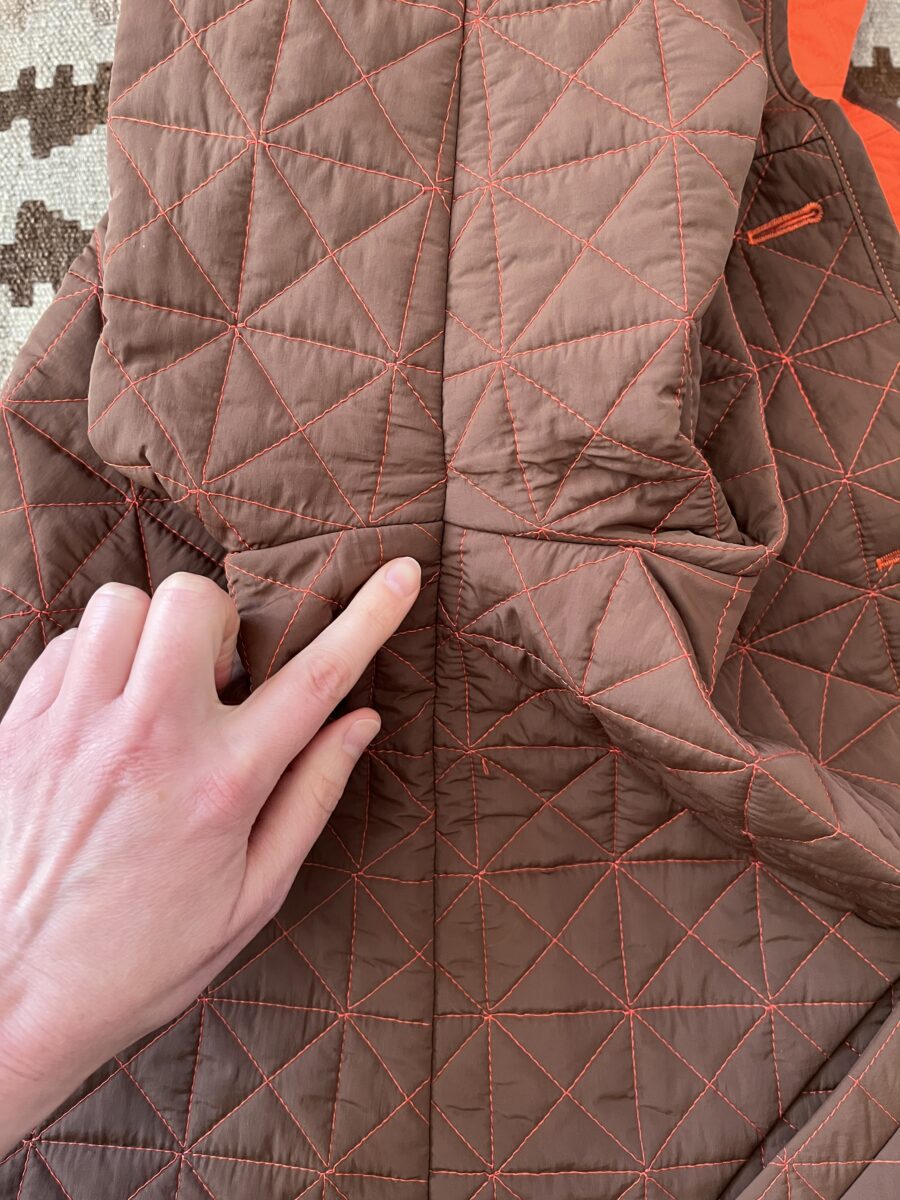
Pre-quilted fabric comes with risks and this one was no exception. The first kinda bummer part was that the brown was clearly the wrong side of the fabric – the stitch quality is just inferior. And then there are the issues of thread nests, skipped stitches, and thread tails. Thread tails are just clipped and burned and the other issues are hopefully just avoided during cutting. If you want perfect quilted lines, you gotta stitch them yourself.

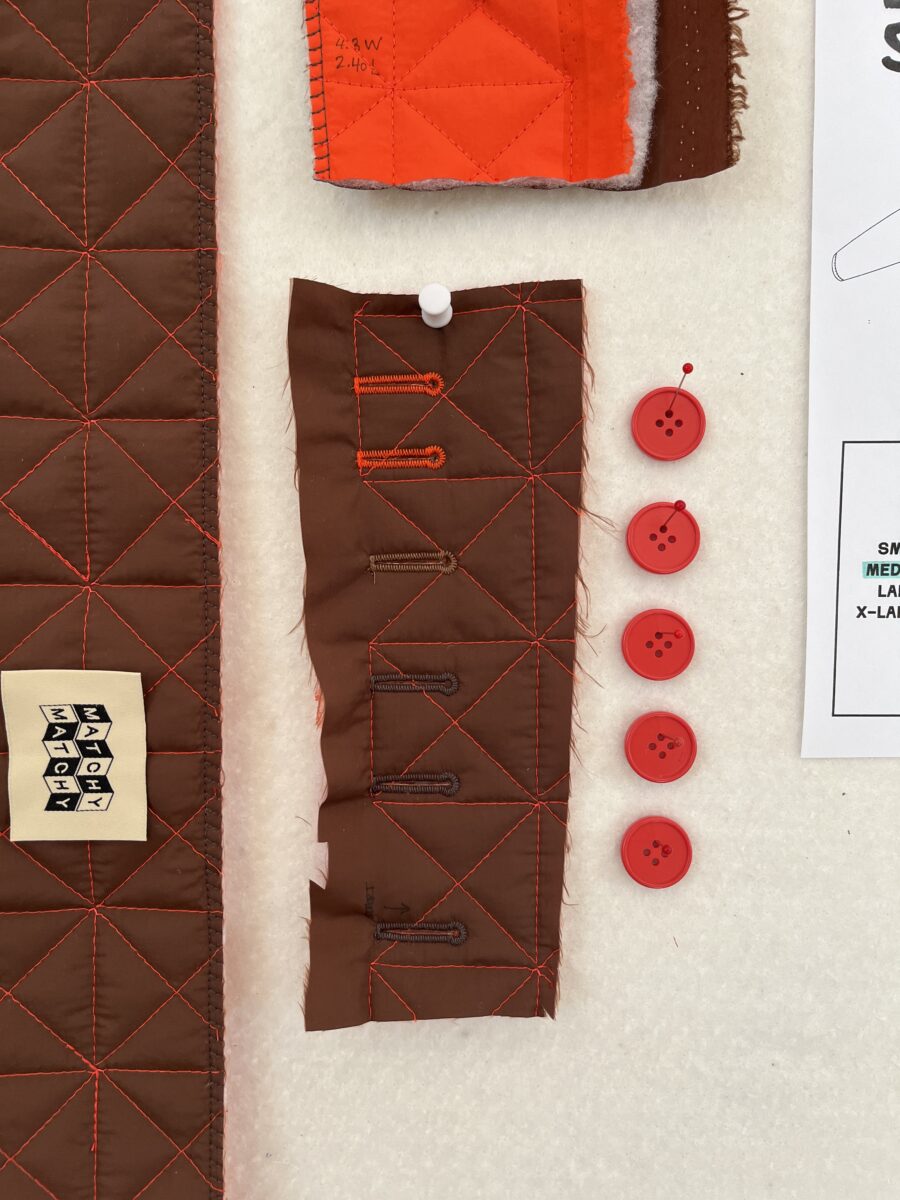
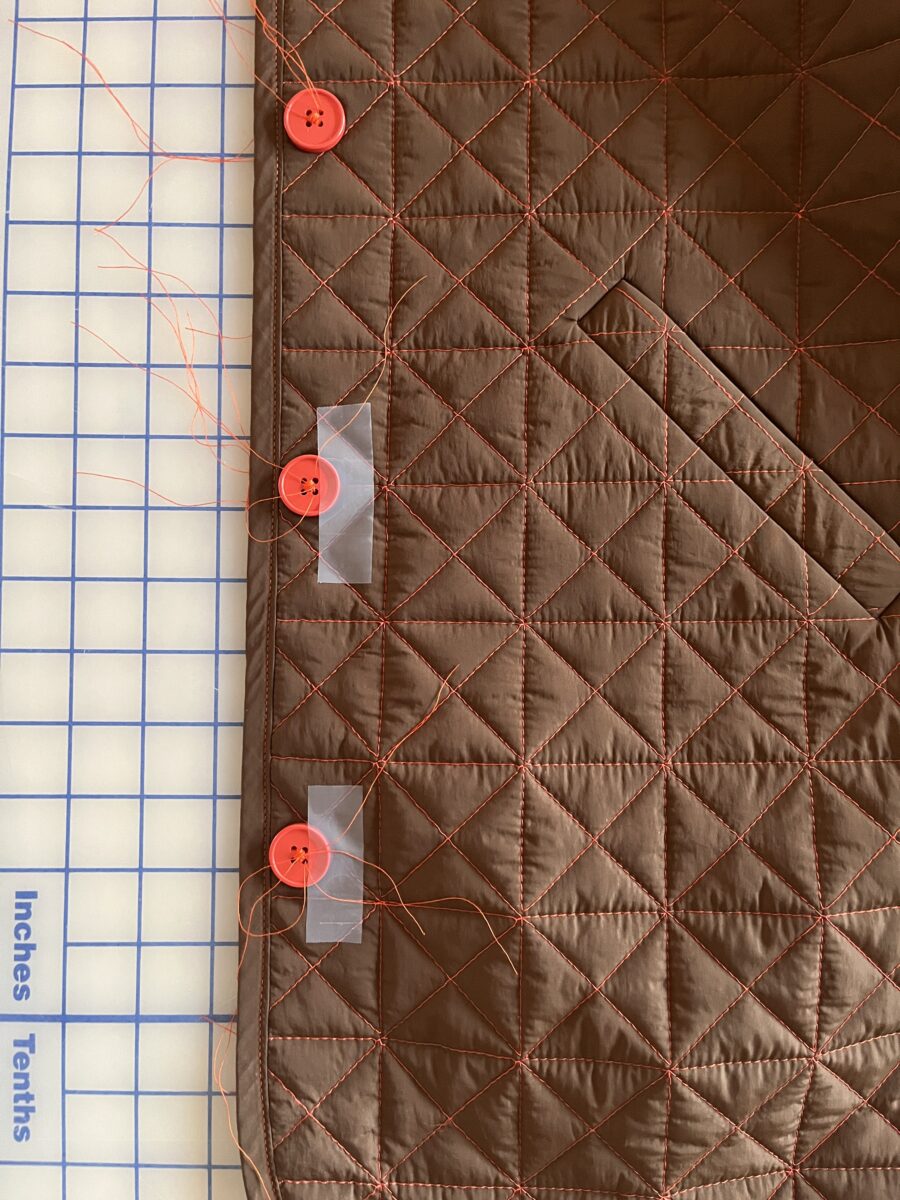
Before doing anything with the fronts, I decided I wanted to have keyhole buttonholes on this project. Because my automatic buttonhole foot loves to get stuck on anything, I installed the buttonholes before sewing the fronts to any other pieces and definitely before binding the front the edge. I was surprised to learn that this nylon fabric is a pretty forgiving – I tested unpicking a buttonhole on some scrap fabric and it looked almost untouched.

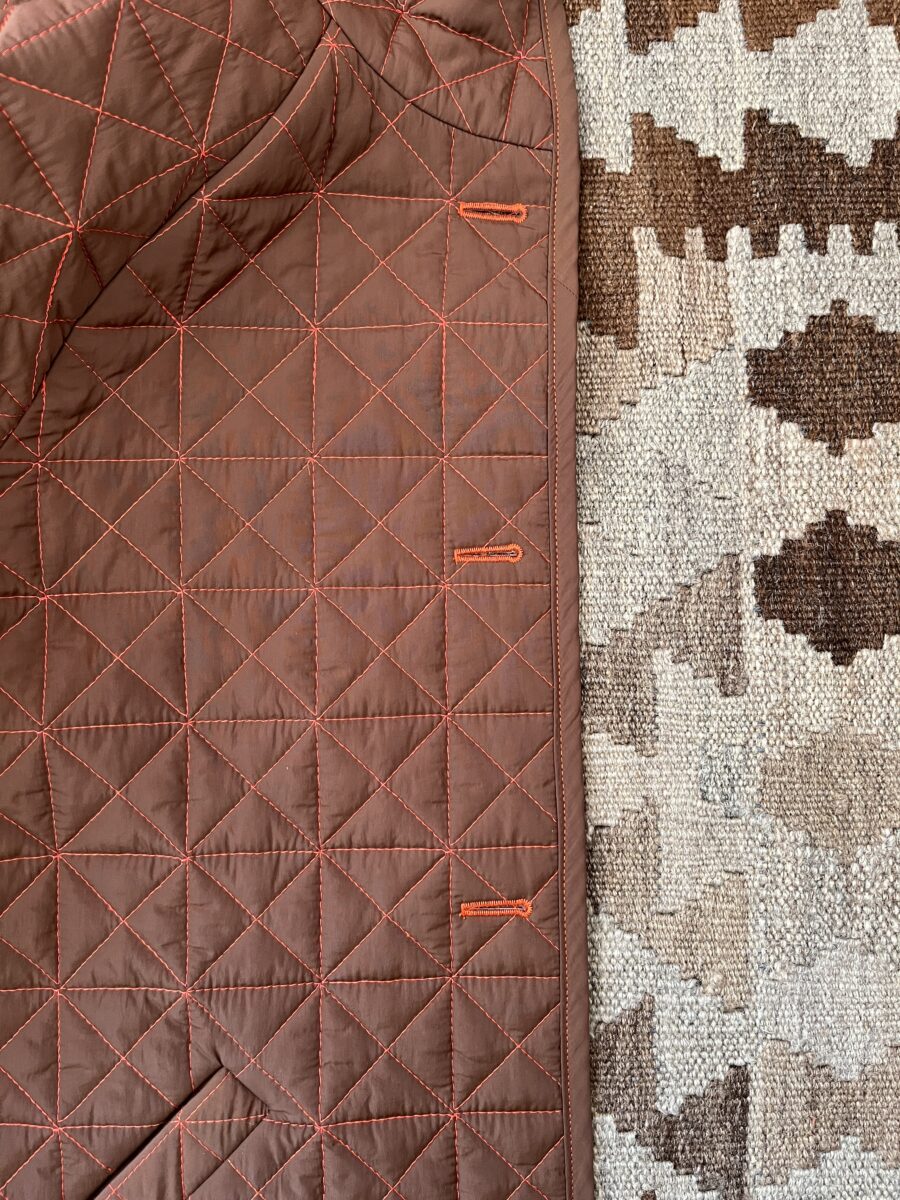
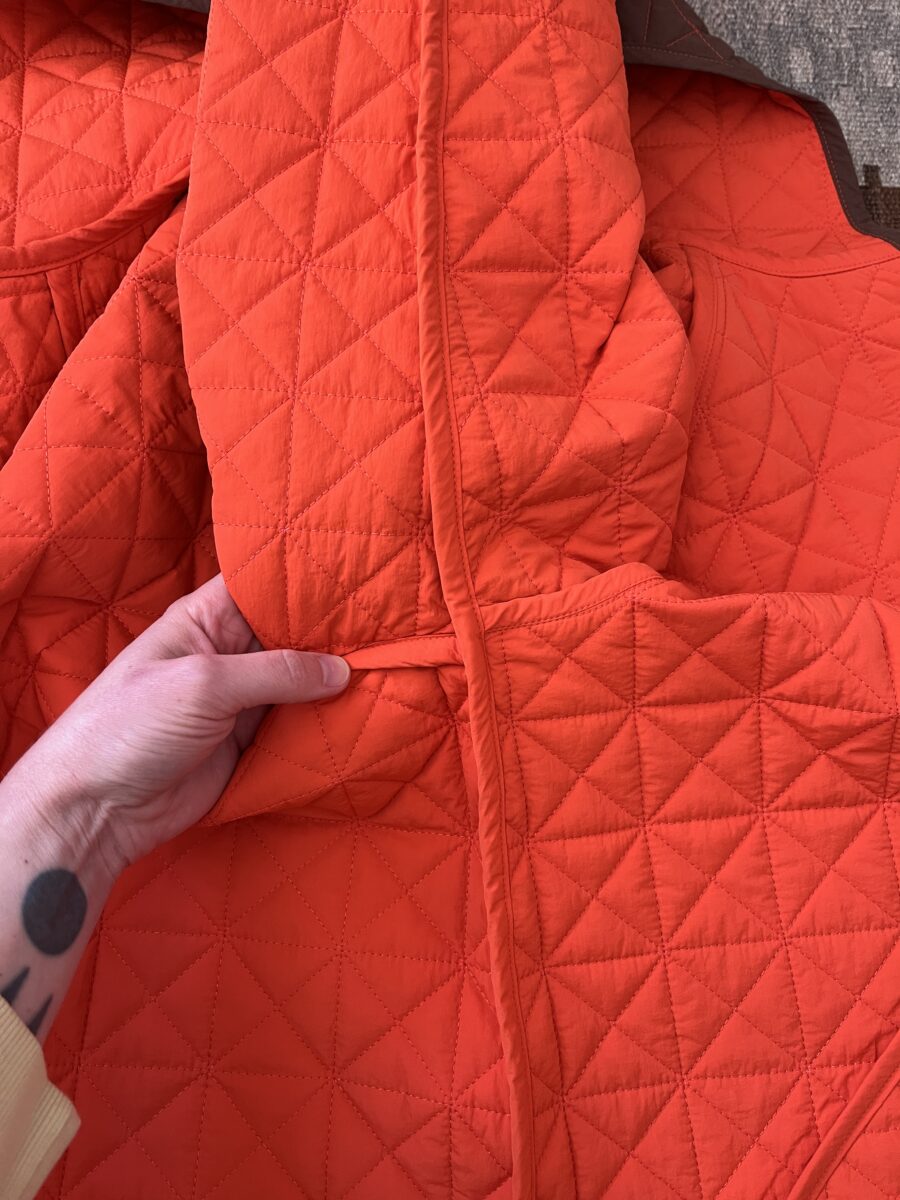
After the buttonholes were installed, I made a test welt pocket since the construction was new to me. The test pocket came out really clean but then I didn’t immediately construct the pockets on the fronts and kinda forgot everything I learned during the test. I didn’t attempt to pattern match the welt on the test, but I should have! I got close on the real deal, but they’re off a bit. Sure, I could have scooted the welt over, but I was more concerned about the pocket placement being even on both sides of the coat.

Before actually sewing the welt pockets, I worked on finishing the back bottom with bias and sewing the sleeve darts. The nylon binding is a lot easier to sew than I thought it would be.

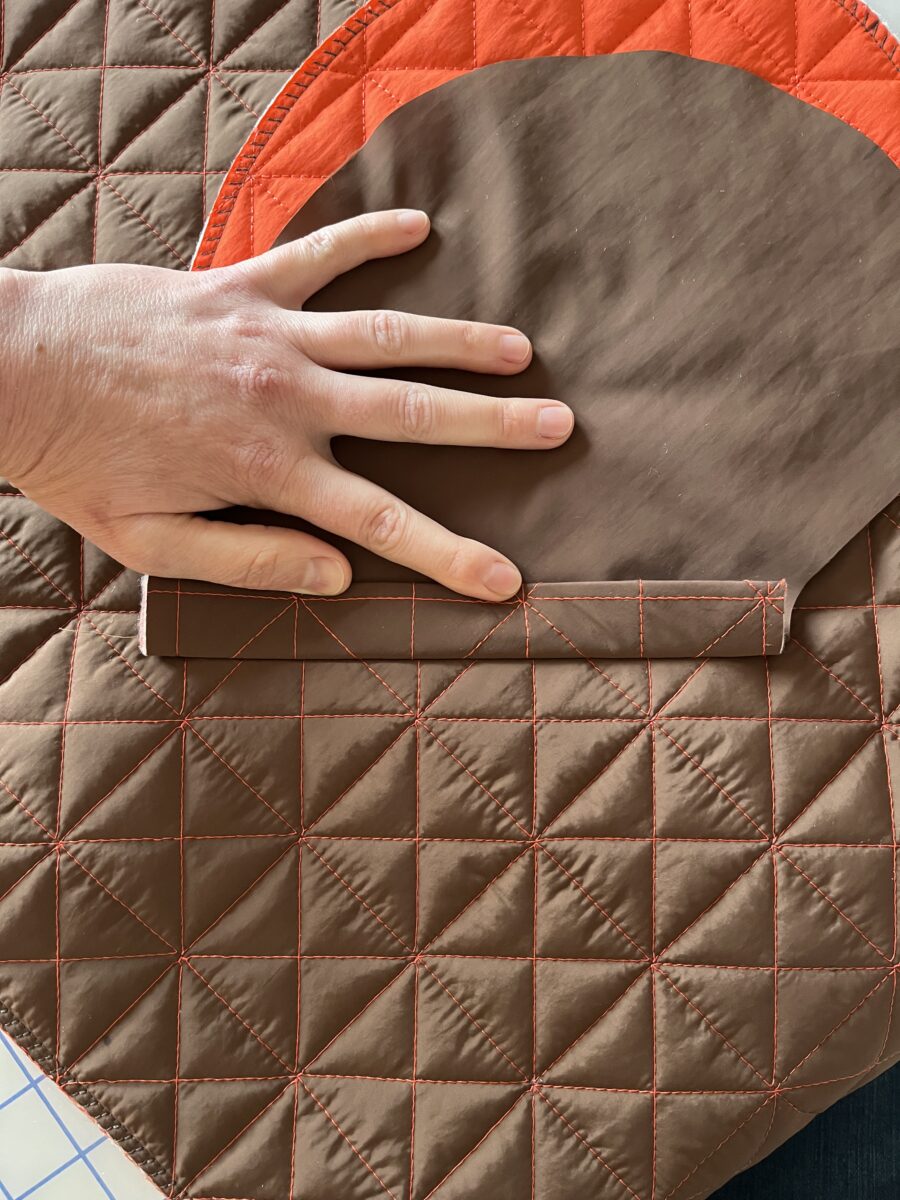
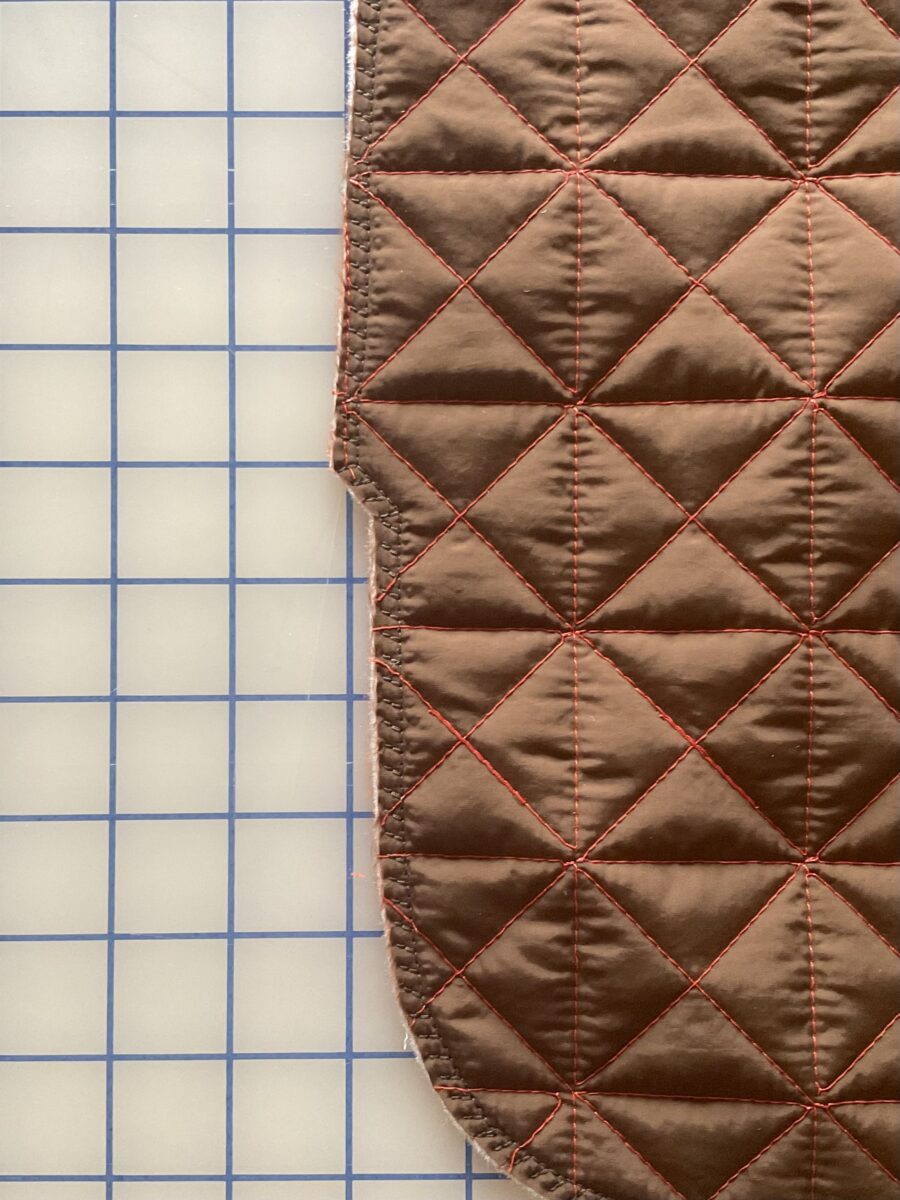
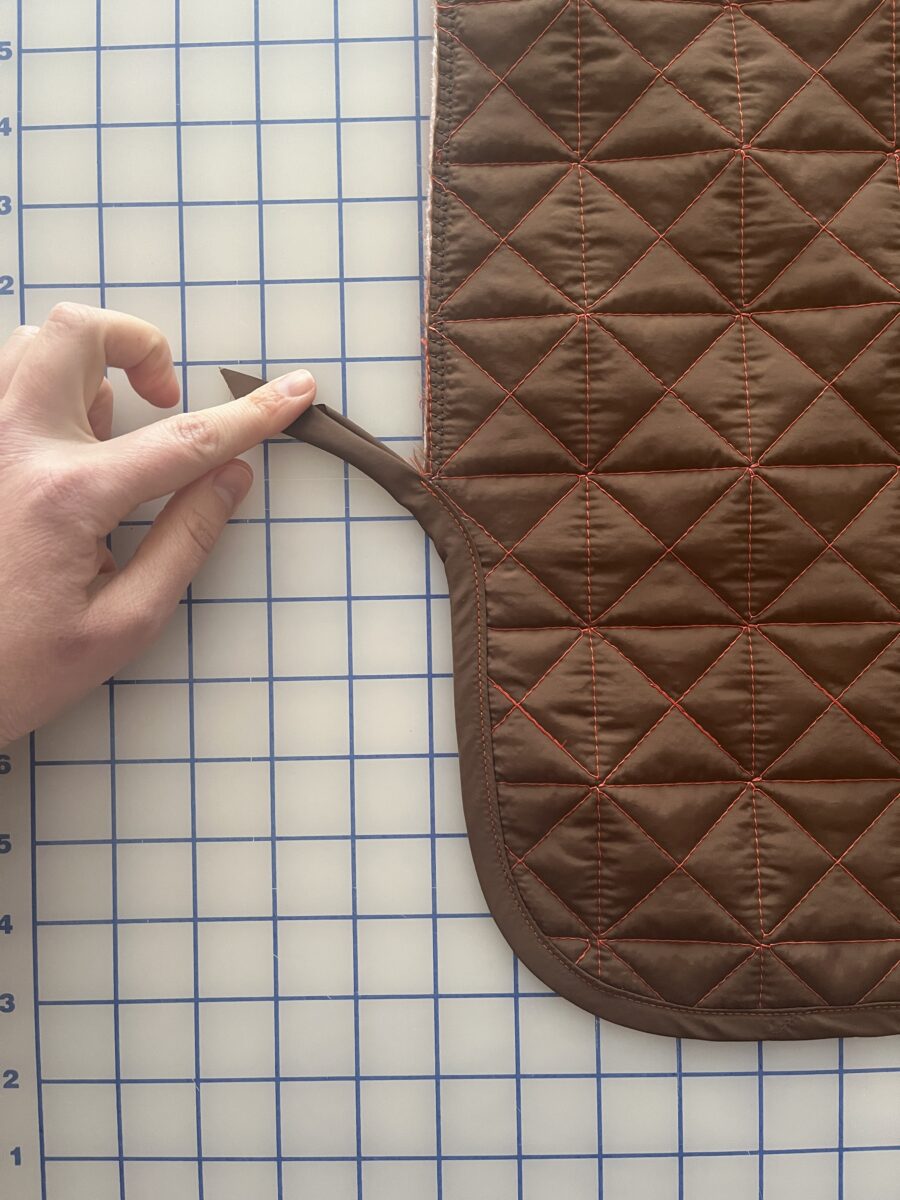
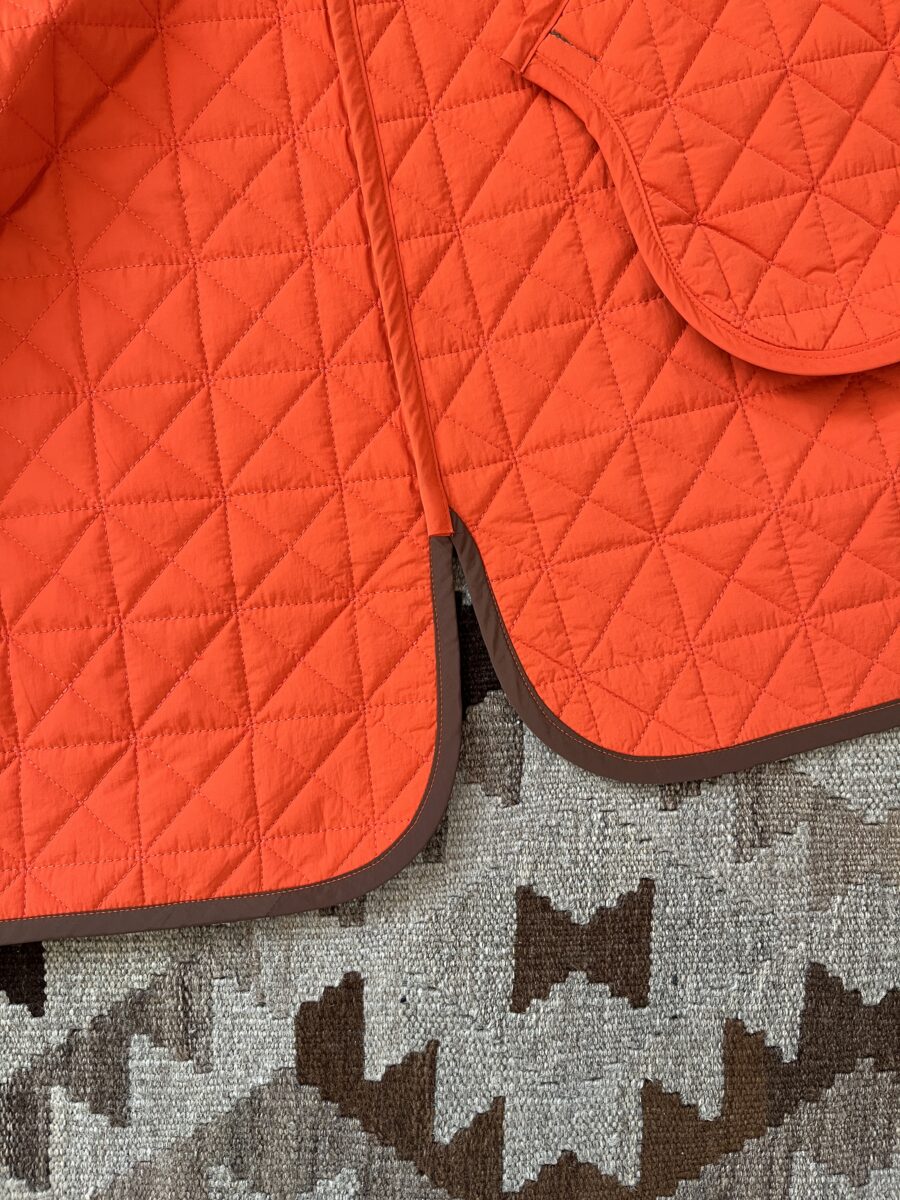
One thing to note about both the front and back pieces is that they have these little tabs. The instructions aren’t explicit, but you’re supposed to bind around and off like I’ve done here. It’s a tiny curve, so just do your best!

I think this is the nicest looking split hem construction I’ve seen on a quilted coat.

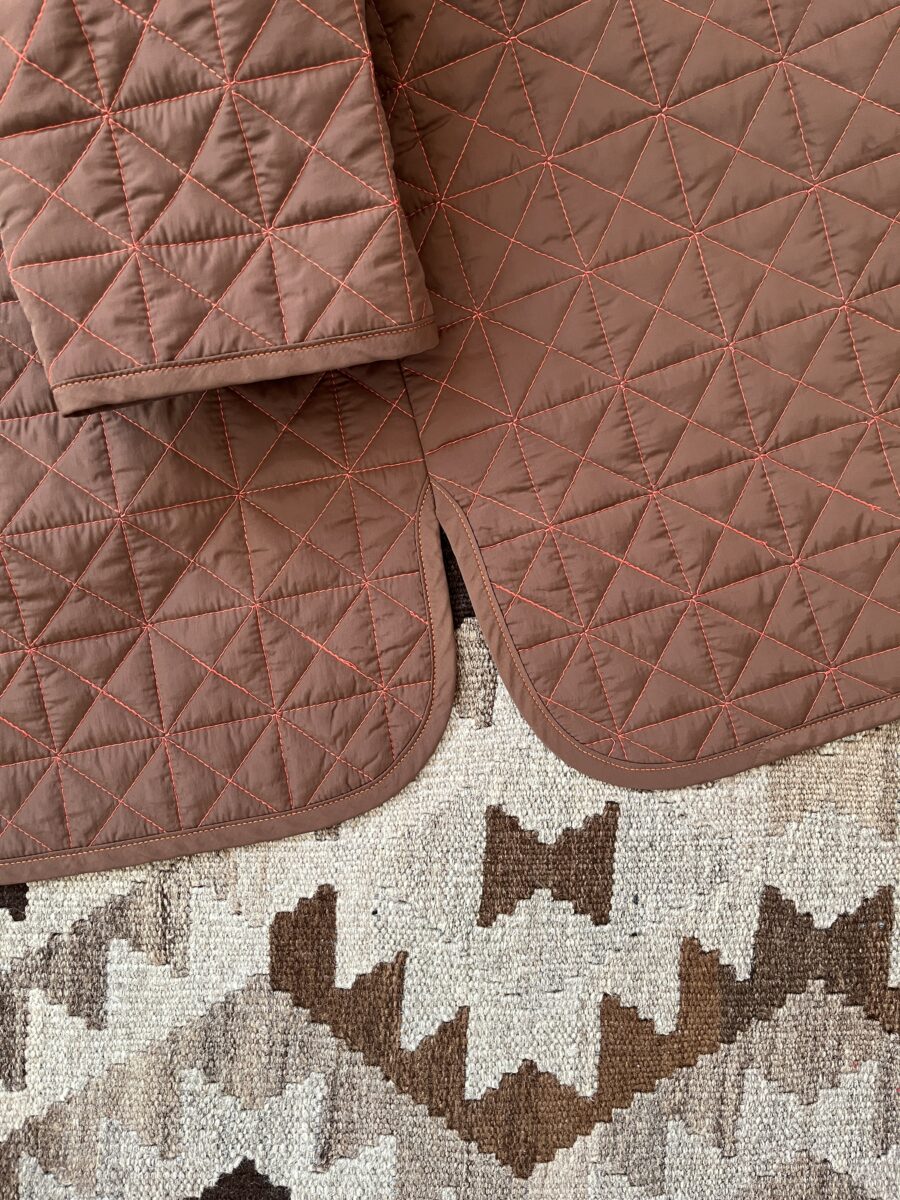
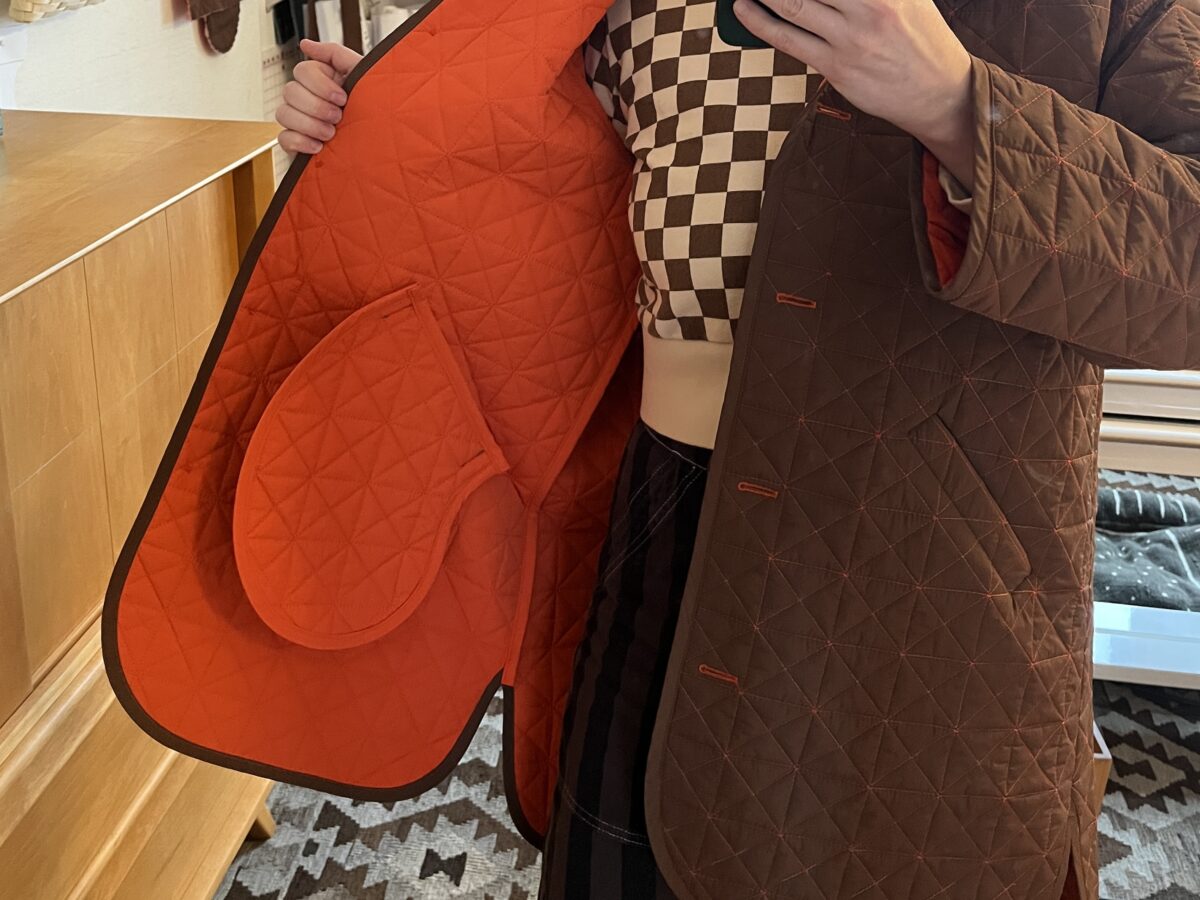
I purchased the matching nylon fabric in each color because I wasn’t sure if I’d like the brown binding on the inside of the coat. I’m glad I went this route and also that I cut out binding as I needed it, not all at the beginning of project. It saved a lot of fabric, time, and it minimized the need to stitch binding strips together. I also found that the top of the pocket was fine to bind with the larger width of binding, you just have to be careful when attaching it.

I’d say the most challenging part of this make was binding the seam between the hood and the body of the coat. There are a lot of intersecting bulky seams right at center back. Smashing them with a hammer and slowly hand cranking over them was the only way I could make it work. I used a Microtex 80 needle for most of the construction and a size 90 while attaching the hood.

I was so focused on making it through the hood step that I didn’t notice I’d caught one seam in the wrong direction until it was time to sew up the side seams. The pattern instructs you to press the raglan seams in a way that will allow you to nest the underarm seams, which a) makes them join together really nicely and b) reduces bulk. So one seam on my coat twists from the neckline to the underarm. It hasn’t been causing any problems while wearing, so I probably won’t fix it!

I had already purchased Matchy Matchy’s coordinating Tomato buttons for another project (they ended up being too small) and they were perfect here.

I didn’t actually read the binding tutorial in the instructions, but my preferred method is to attach the binding to the wrong side, then topstitch it from the right side. This method means you’re less likely to miss catching the folded edge and you just have a lot more control over the end result.

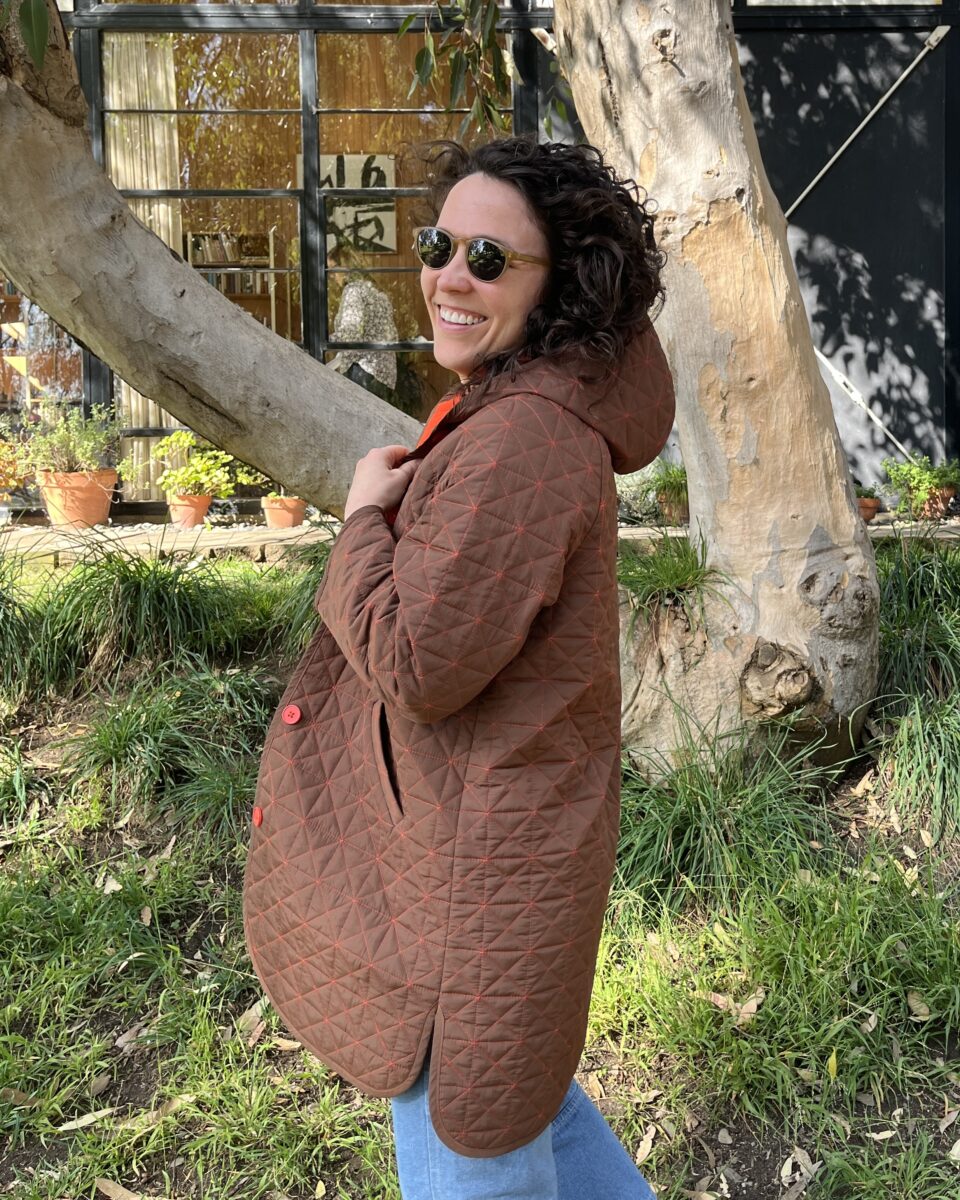
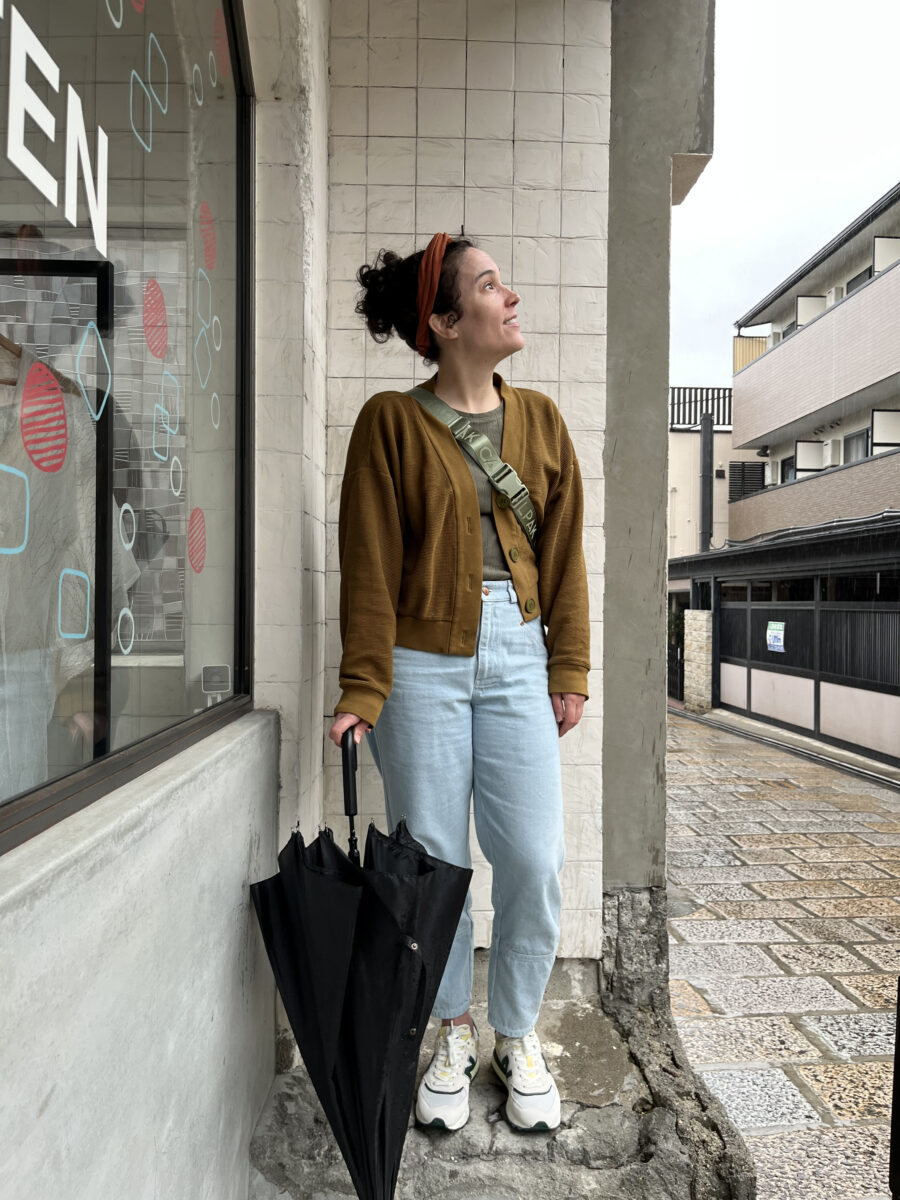
The fit of this coat is so good! I think the raglan sleeves fit really well and this is a rare pattern where I didn’t have to shorten the sleeves. If you never have to shorten sleeves, you’ll probably need to add some length. I also love how instead of patch pockets, this quilted coat pattern uses angled welt pockets. It’s so easy to just put your hands in these pockets, or grab whatever is stored in there. Patch pockets are great, but these are greater.

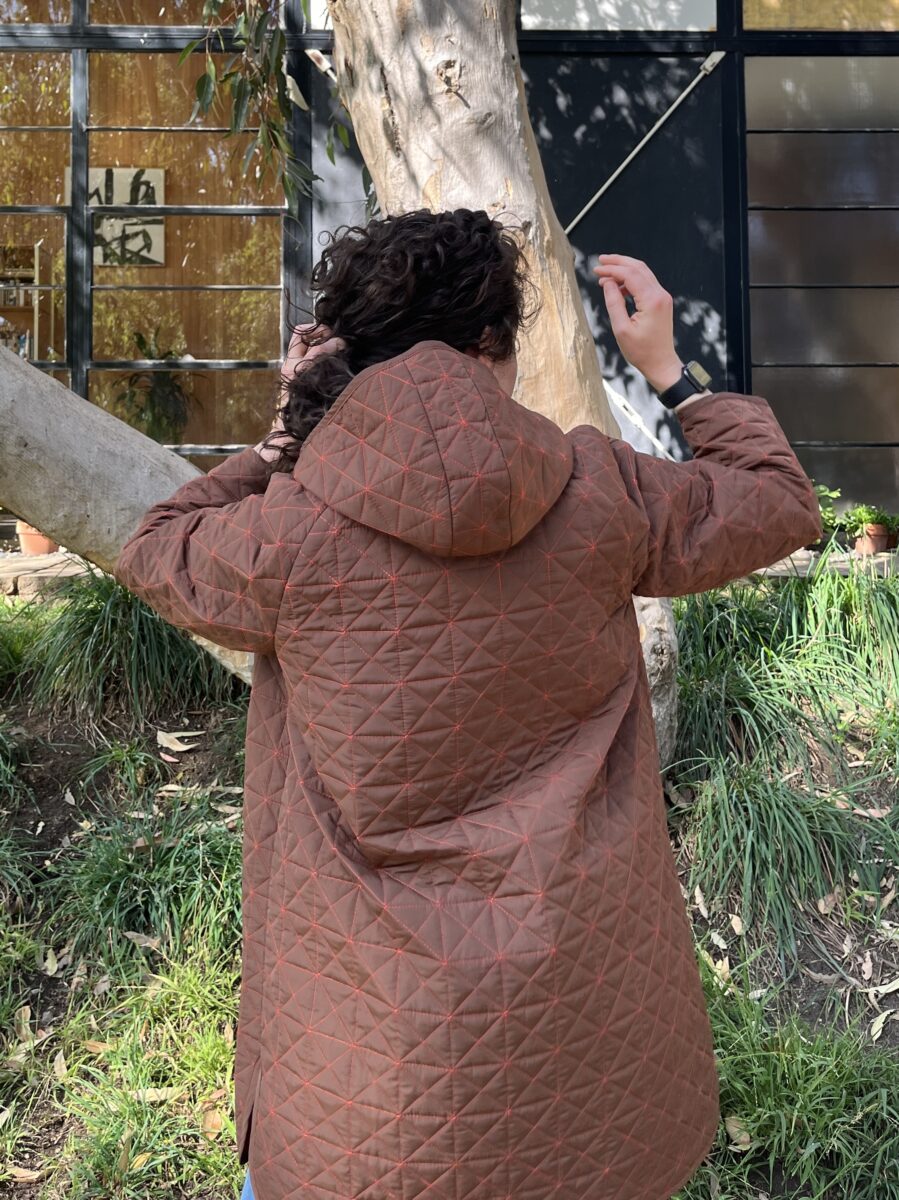
This pattern and fabric combo is so nice. The quilted puffer is perfect for layering over a sweater or just a t-shirt and gives a decent amount of warmth for being so thin. I usually don’t like using plastic fabric, but I also really hate cramming a wool sweater into a grippy cotton coat sleeve. The hood is unfortunately quite small for my big head and hair.

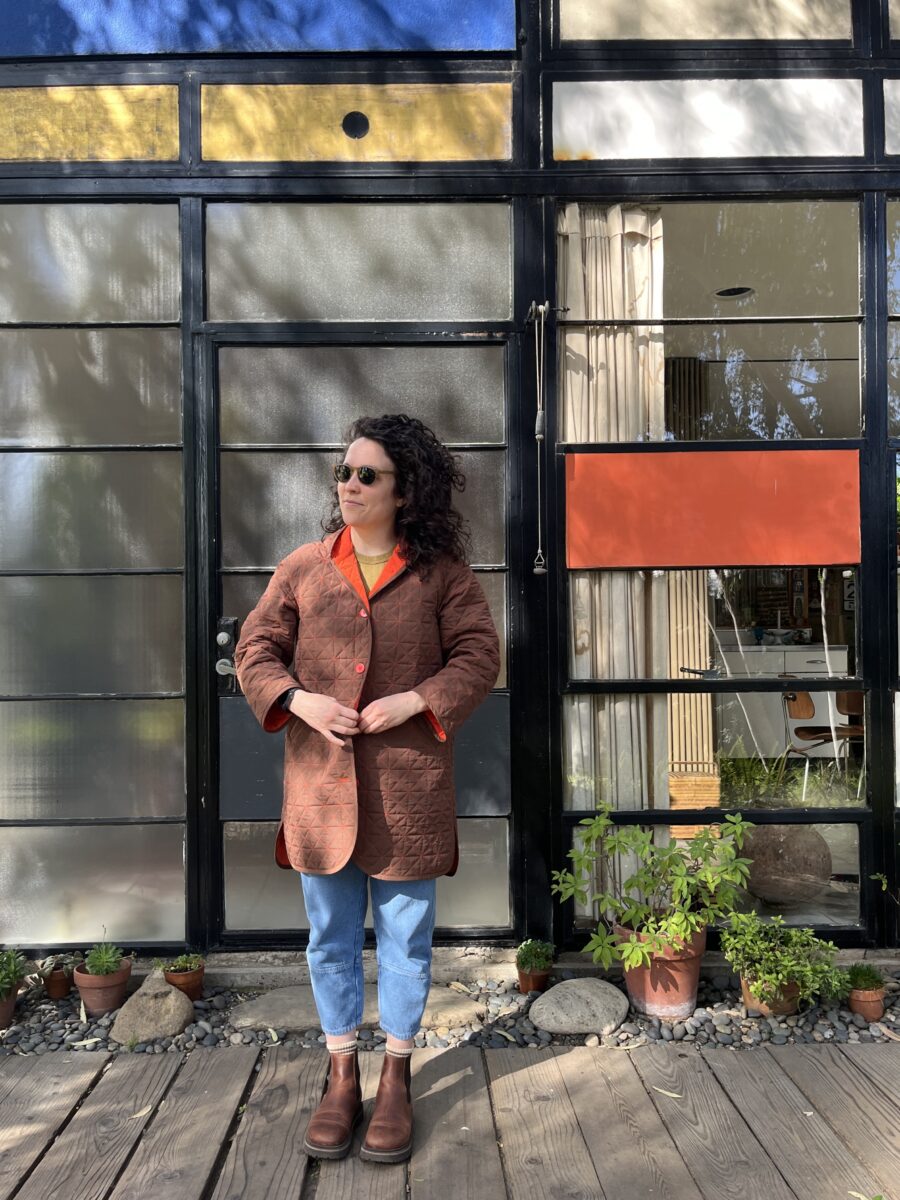
This pattern is fantastic, this fabric is nice, and the final coat makes me super happy.

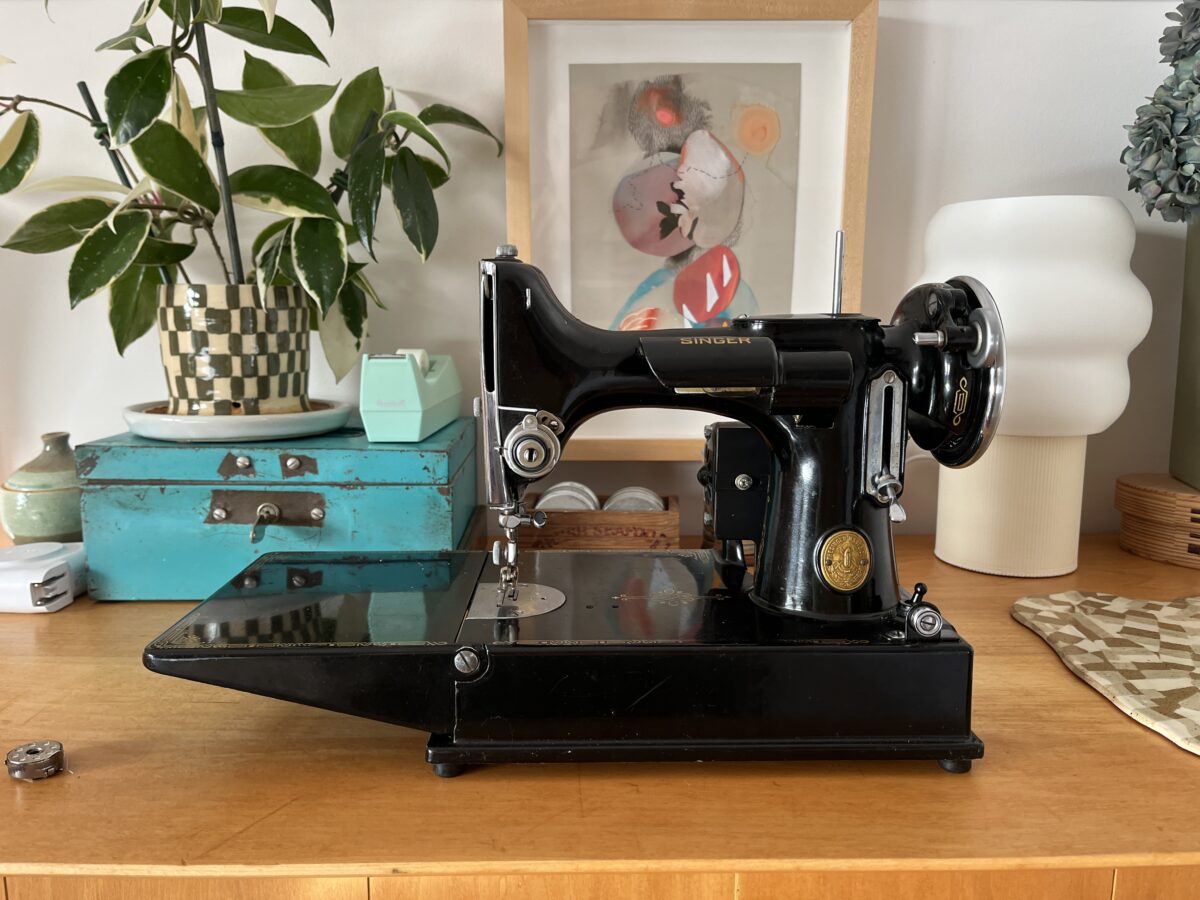
On a totally unrelated note, my MIL gifted me A SINGER FEATHERWEIGHT! It needs a new belt, a deep clean, and the case needs a lot of work, but I’m so excited! The serial number isn’t documented, but I’m guessing it’s either from the late 30’s or very early 40’s before WWII halted production. I’d like to document getting this machine in working order, but who knows if I’ll keep that promise : )

May Update (plus some other months)

2 Comments

It’s been a minute. I’ve still been making, but sharing feels kinda weird. Here’s some stuff that I’ve been busying my hands and mind with…

New Zealand Possum Scarf

While in New Zealand in March, I bought this possum yarn in the most perfect color. If you want to learn what the hell possum yarn is, here’s a pretty thorough blog post.

Graphite Ingrid Top

I finally finished this knitted top. Good grief, this pattern. You can read more about why it was such a slog to finish it here. Some additional notes on this pattern are that I redid the neckline picking up every 2 out of 3 sts instead of as instructed and used a different cast off method for both the neckline and hem. The first neckline attempt flipped out at the back and the thought of having to sew the entire hem this way made me want to light it on fire. I used a stretchy knit bind-off method from an Ozetta pattern instead.

Some Ceramics

I think I’m finally finding a rhythm at the pottery studio. I’ve made several mugs, pots, and bowls, all while using new-to-me clay bodies and paint-on glazes. I even made my first nerikomi project.

The studio I’m a member at doesn’t allow dry media like mason stains, so I had to do this in my garage with a respirator on. It was messy, but I’m definitely getting better at wedging!

A handmade ceramic mug with a patterned design, resting on a wooden surface beside a yellow sponge and tools for pottery, with plastic wrap in the background.

I’m really hoping this little nerikomi mug stays together as it dries. I also need to figure out how to clean it up a bit. The clay was really wet, so some of the black clay created a film on the unstained parts. This process was slow, but I’m really excited to explore this technique more!

I’ve been sewing a little too, but nothing is photographed 🙂

Two Weeks in Japan

Just got back from a whirlwind two weeks in Japan (Tokyo > Kyoto > Osaka > Hakone > Tokyo) and thought I’d share some of the treats I brought back.

Okadaya Shinjuku is a multi-level shop that carries SO MUCH CRAFT STUFF. I somehow managed to miss all of the fabric they clearly offer, but did have a lot of fun wandering the floors of buttons, notions, yarn, sewing machines, etc. I bought some bias and knit tapes and some cute embroidery stickers (top row).

WALNUT Tokyo + Kyoto are stores by the brand Amirisu. I bought a couple skeins of hand-dyed worsted weight yarn and then one skein of this baby yak yarn that I thought was DK but is actually worsted weight… oops (bottom row).

Pigment Tokyo is a really cool art supply store that also hosts workshops. I refrained from buying all the things and just walked away with this little paint dish (bottom row).

Nippori Fabric Town is a whole dang district of textile stores. Truthfully, I get very overwhelmed in stores like these, so I didn’t end up buying any fabric on this trip. These are some pics of fabrics I thought about though.

I bought these little money envelopes near the Nishiki Market in Kyoto. They’re from the early Shōwa period (~1930s) and I think they’ll look cool framed together.

We also took a very guided ceramics workshop at Kiyomizudera Studio near the Kiyomizu Temple in Kyoto. We’ll get our goods in 10 weeks!

I packed a mostly me-made suitcase that featured this new waffle Marlo cardigan, Shop pants, Drew headband, and multiple Orlando tops. I also made 3 Dawson tops out of Merino jersey for the trip.

We did a lot more, but I’m limiting this post to making-related stuff… except I’m gonna tell you to go visit the Asakura Museum of Sculpture before I end this post!

Logbook Abroad

1 Comment

My main goal for 2018 was to Draw More. It wasn’t until mid-May and after re-reading Austin Kleon‘s book, Steal Like An Artist, that I was able to figure out how to make it an almost daily thing. I’m so glad I started this practice. I’m so humbled by the challenge of keeping it up, especially when traveling.

These pages include our trip to Belgium and France:

I didn’t bust out my Shinola Sketchbook as much as I thought I would. BUT I did draw a few things and that’s a win.

Honeymooning in Handmade

3 Comments

I had a huge boost in sewing productivity this summer break. Once I’d cranked out a few pieces, the idea to create an entire summer travel capsule for our honeymoon overwhelmed my time off.

Day 1 | Thursday/Friday | SFO to Paris to Brussels

Modified Shirt No. 1 with sash and Making Backpack.

Day 2 | Saturday | Brussels

Maya Top with cuffs, self-drafted linen culottes, and Making Backpack.

Day 3 | Sunday | Brussels

Peppermint Magazine Drawstring Shorts and Set Sail Hat.

Day 4 | Monday | Bruges

Modified Shirt No. 1 dress and Making Backpack.

Day 5 | Tuesday | Brussels to Paris

Shirt No. 1, self-drafted linen culottes, and Making Backpack.

Day 6 | Wednesday | Paris

Maya Top with cuffs over Willow Tank hack dress.

Day 7 | Thursday | Paris

Morning: Cropped Willow Tank, Peppermint Magazine Drawstring Shorts, and Making Backpack.

Day 7 | Thursday | Paris

Evening: Willow Hack Dress.

Day 8 | Friday | Paris to SFO

Modified Shirt No. 1 dress and Making Backpack.

The neutral color palette allowed for a decent amount of mixing and matching. Four tops, two dresses, culottes, shorts, two scarves, one sun hat, and three pairs of footwear worked out perfectly for eight days. I also brought a RTW jean jacket for cool mornings and evenings.

I even made my husband a Fairfield Button-up for the trip! We had two fancier events (dinner on the Seine and Vivaldi’s Four Seasons at Sainte Chapelle) which required more put-together looks. Otherwise I wouldn’t have needed the third pair of shoes. His shirt still needs buttonholes/buttons on the cuffs, but he wears the sleeves rolled up most of the time so it wasn’t a huge deal I couldn’t get them in before the trip.

Brussels + Bruges + Paris

1 Comment

Spent a lovely week in three cities.  So much art. So many pan au chocolat.

There will be another post about my logbook and another about my handmade travel capsule soon!