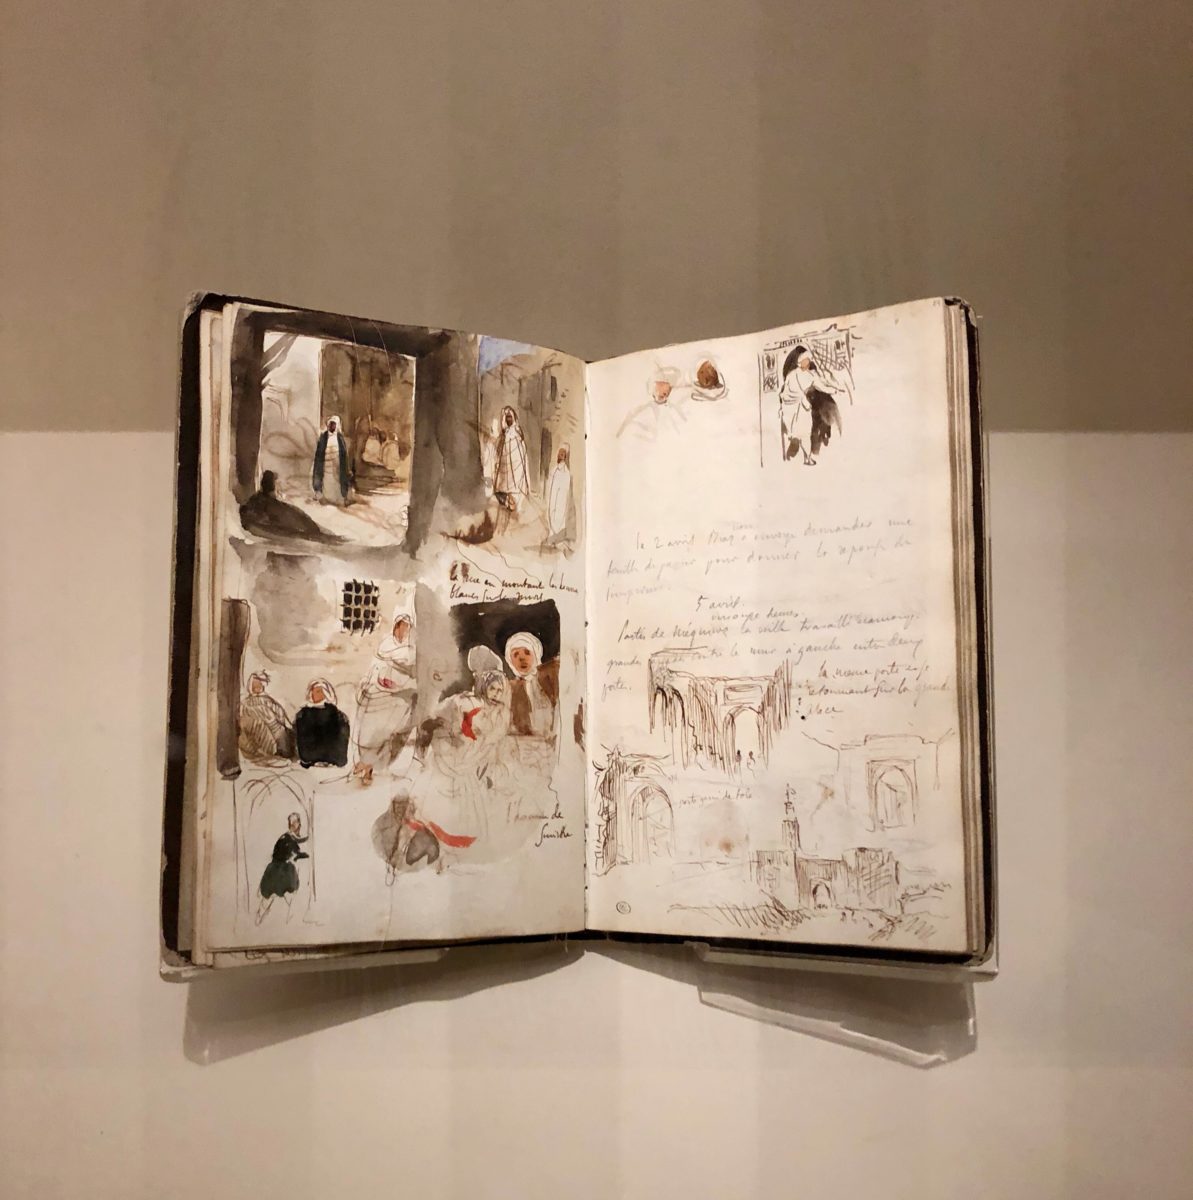
A few folks have asked which sketchbooks, pens, and general art media I prefer. Here’s a partial dive into what I use:
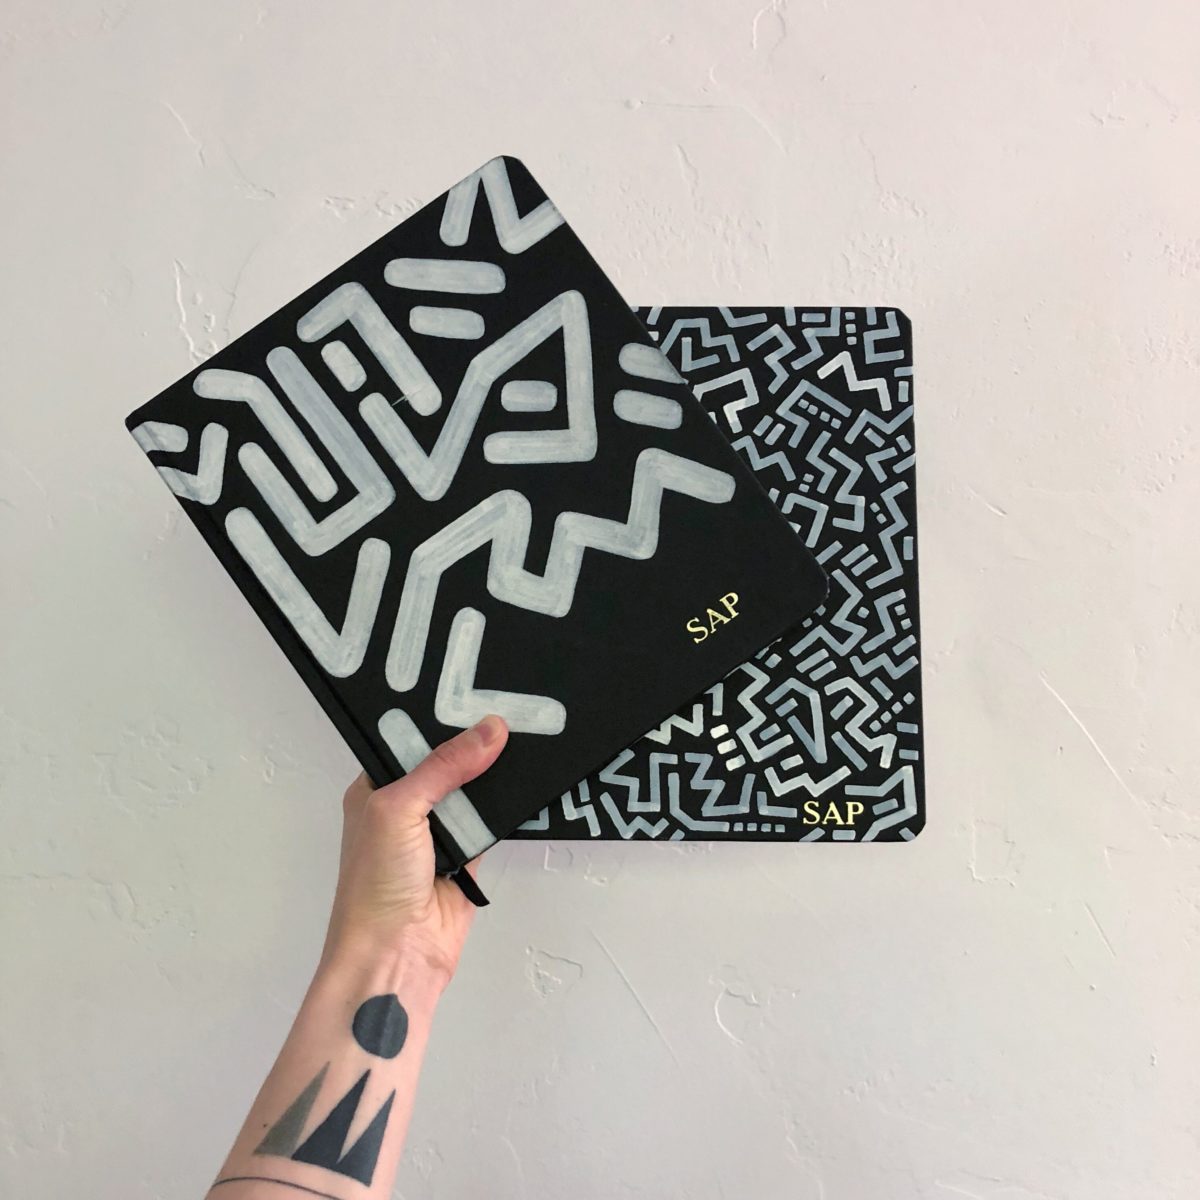
Sketchbooks – I regularly use several different sketchbooks depending on what I’m doing. For sewing plans, media experimentation, and more in-depth drawings/paintings, I LOVE the Shinola sketchbook. It has the exterior beauty of a Moleskine, but with higher quality paper. The paper is a crisp white with a bit of tooth and can actually hold wet media unlike Moleskines.
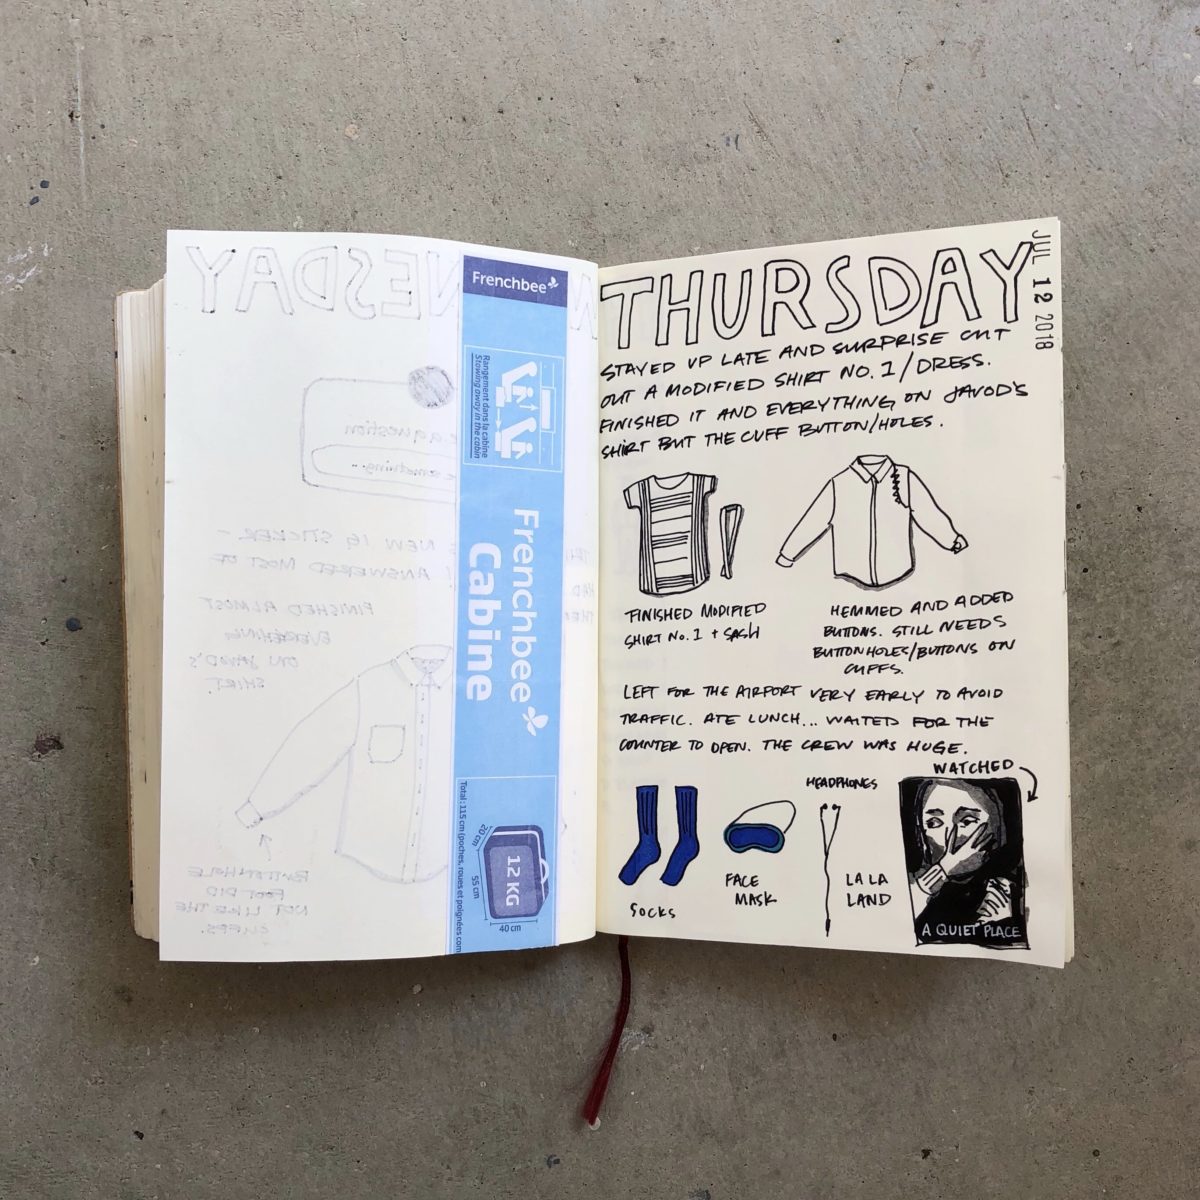
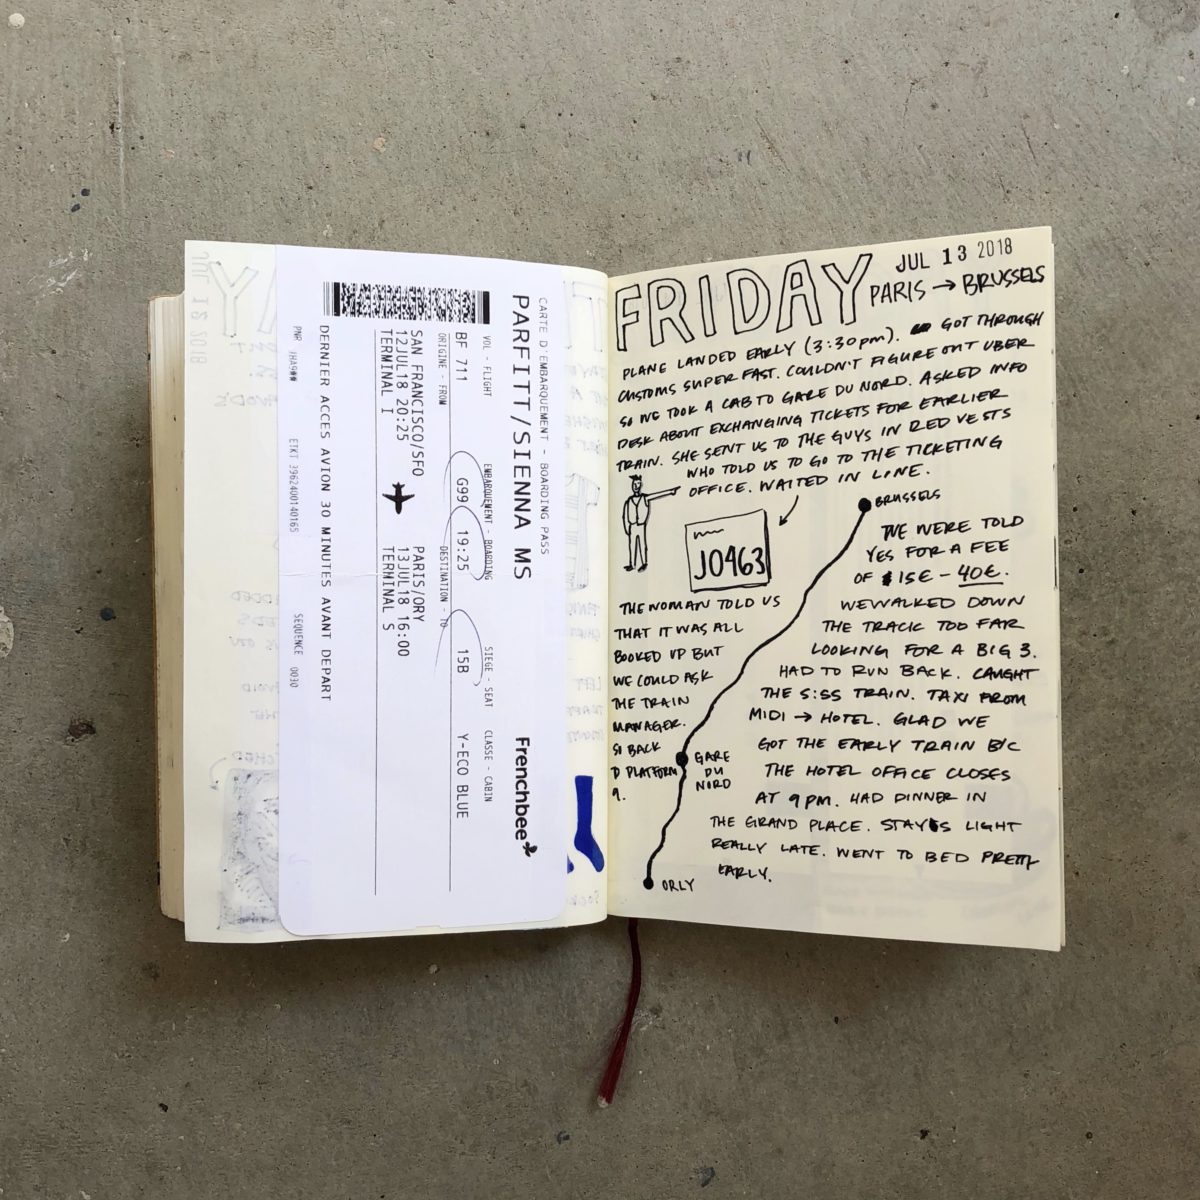
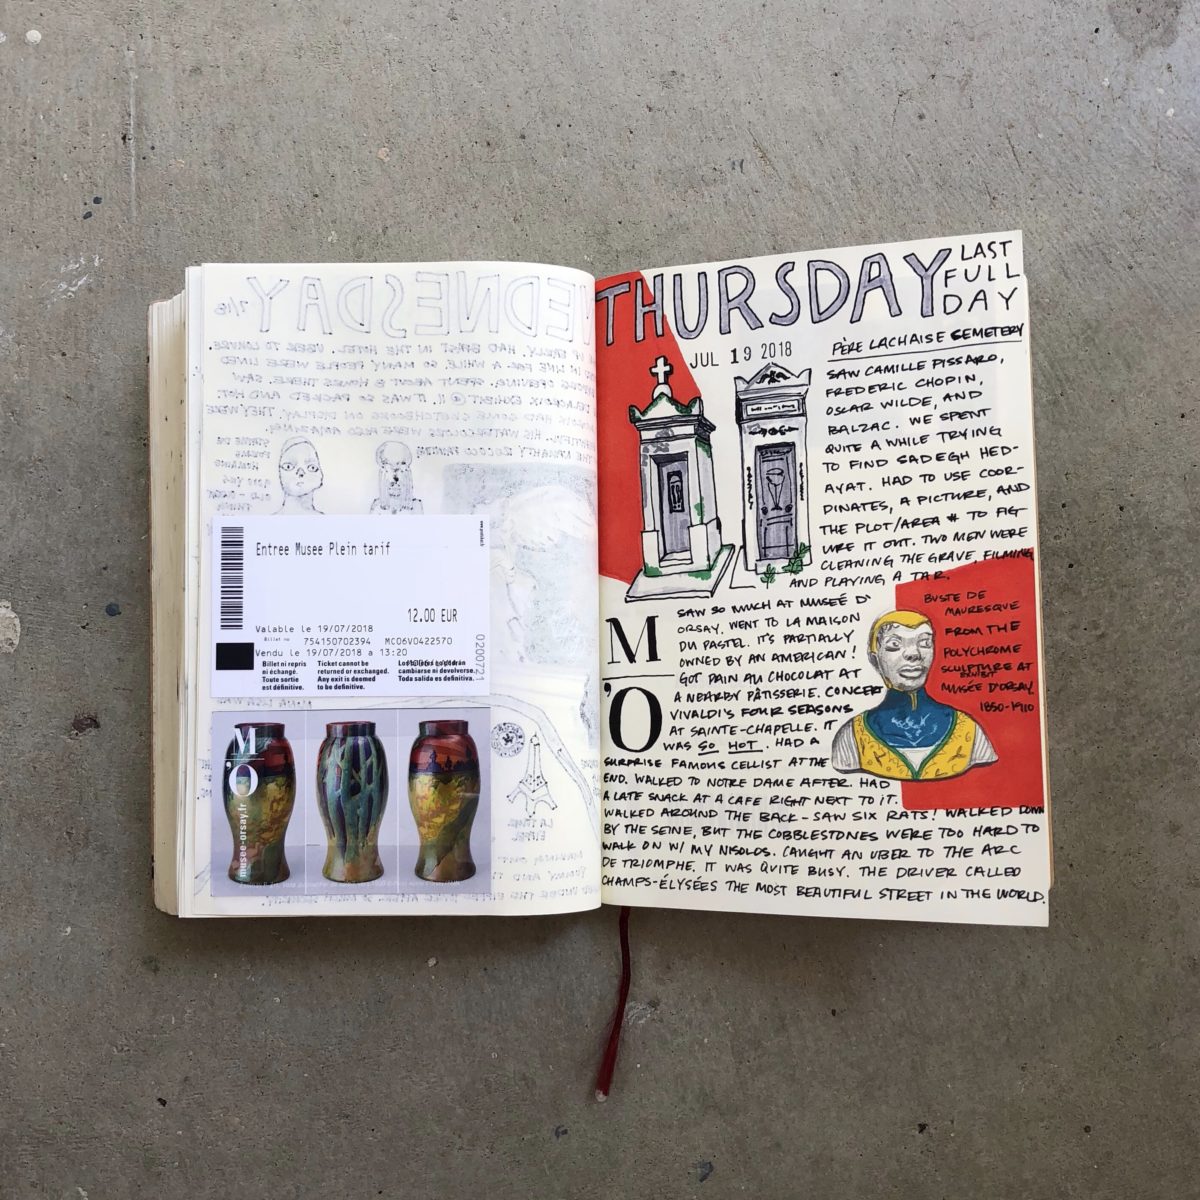
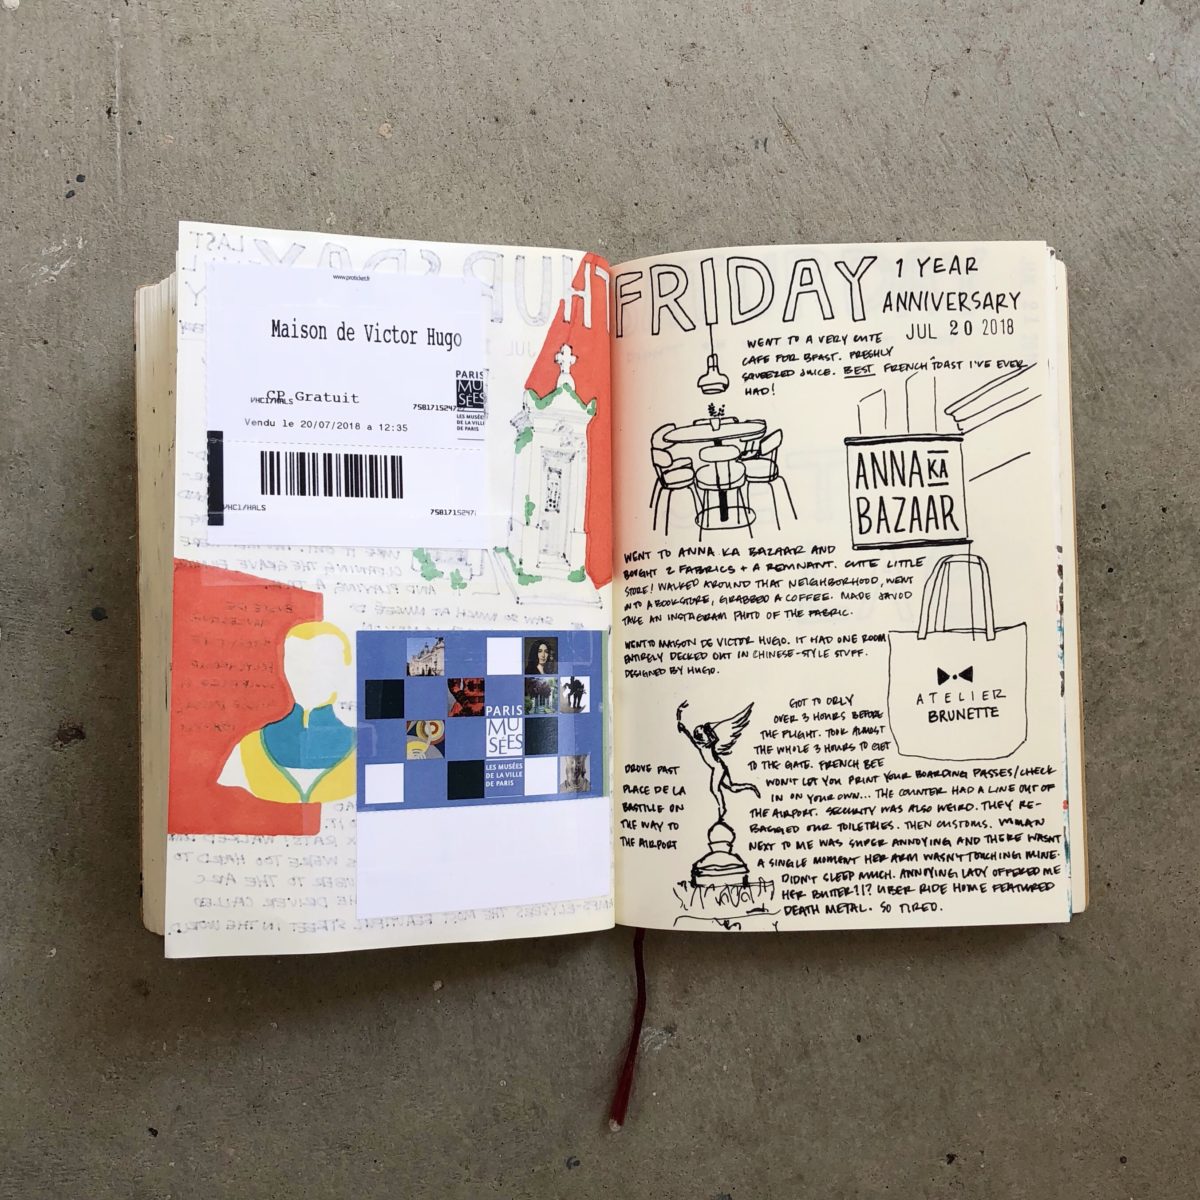
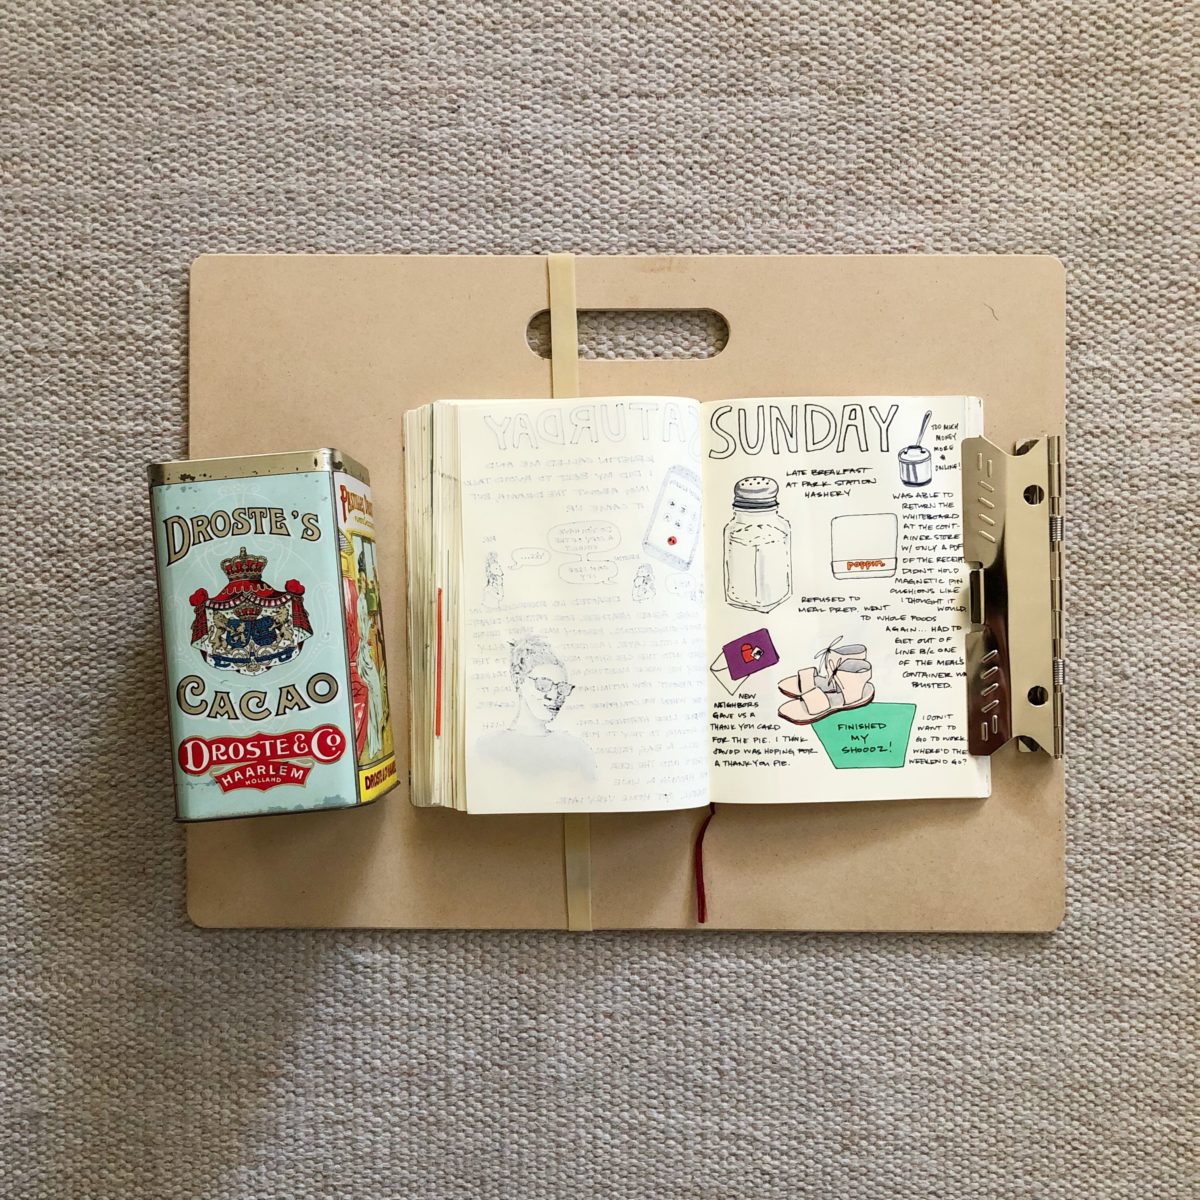
For my Logbook, I use a cheap notebook from Muji. This isn’t the exact one but it’s very similar. I love it because it’s cheap and kinda crappy, which almost eliminates the fear of the blank page.
To capture my patternmaking class notes and ideas, I use a Canson XL Mixed Media sketchbook. I always affix some fancy paper to the cover, like this Elizabeth Suzann packaging.
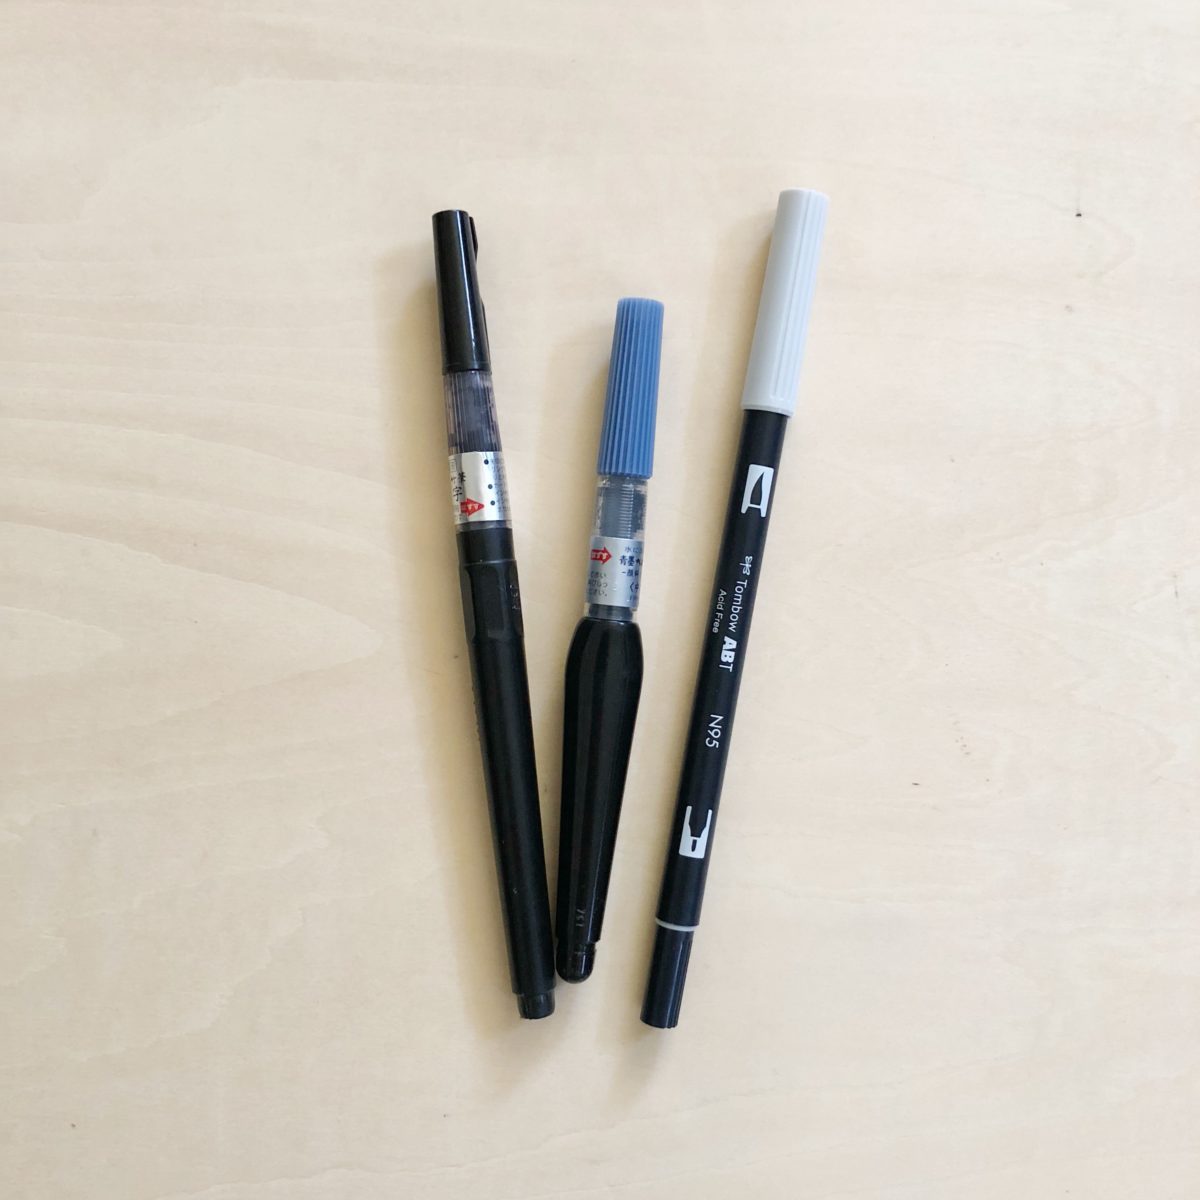
Ink Brushes – I use gray and black ink brushes for both shading and covering larger areas (and mistakes!).
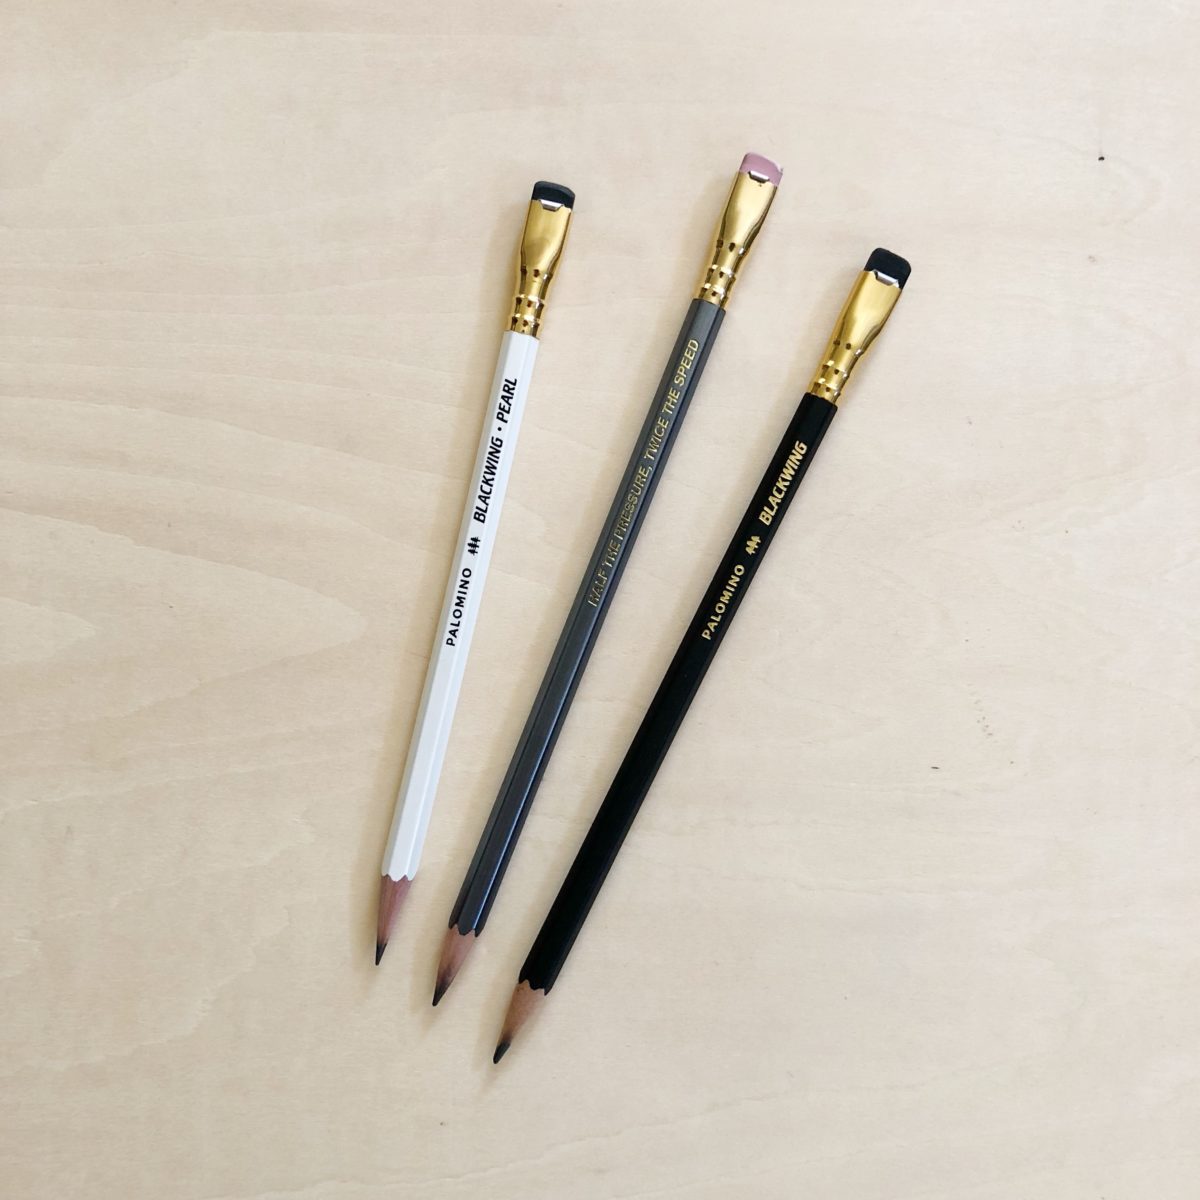
Pencils – I haven’t been doing much with graphite lately. I made the conscious decision to draw mostly with ink because it forces me to slow down and commit to the mark. When I do use pencils, Blackwings live up to the hype.
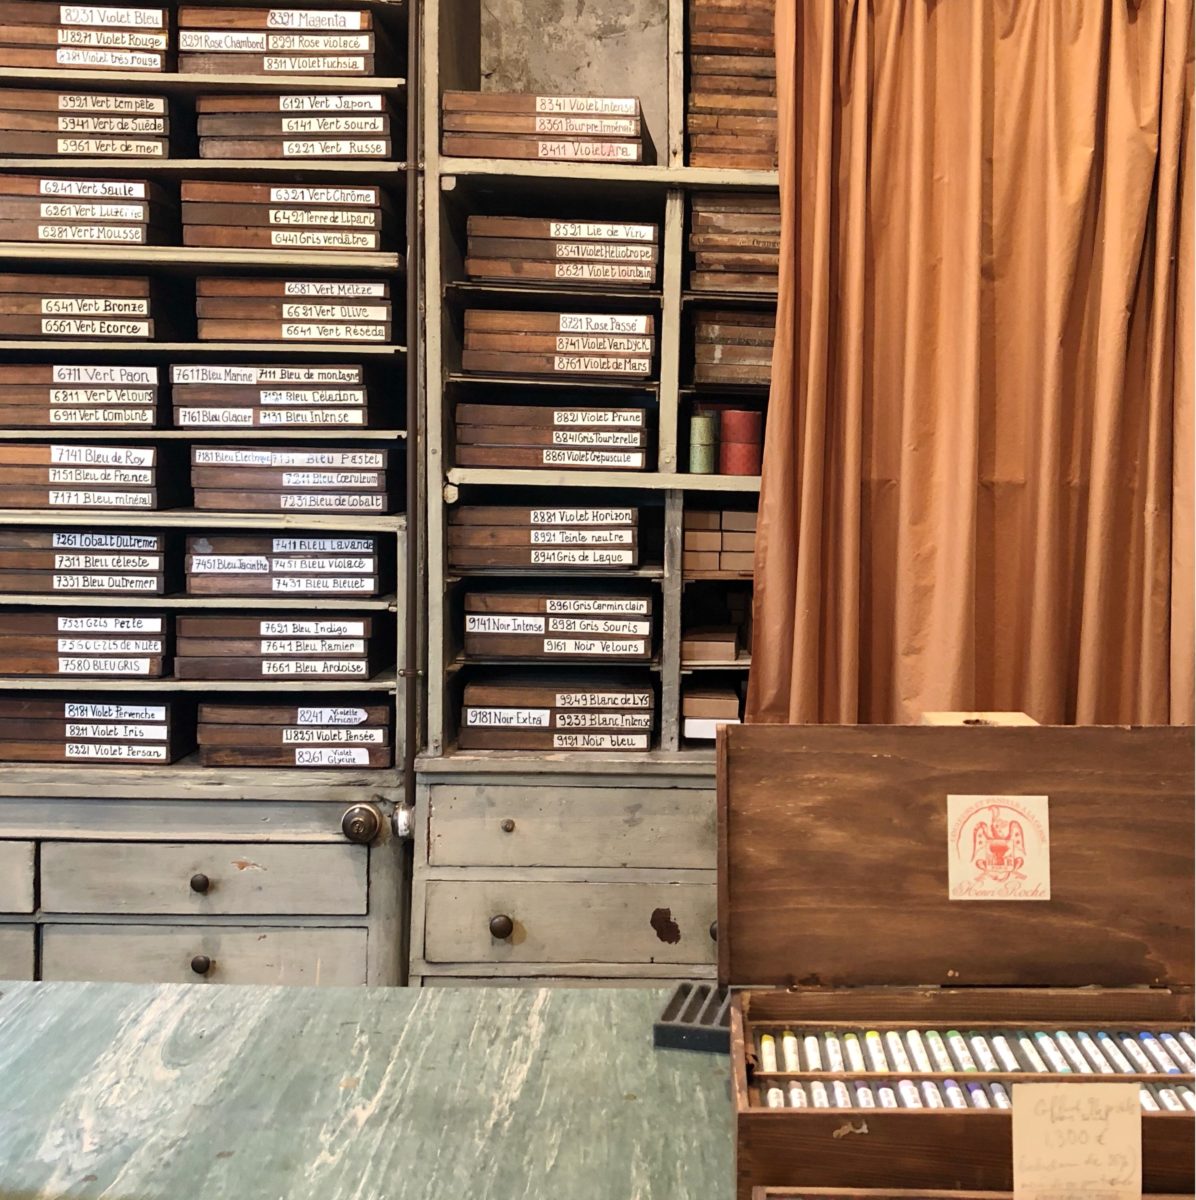
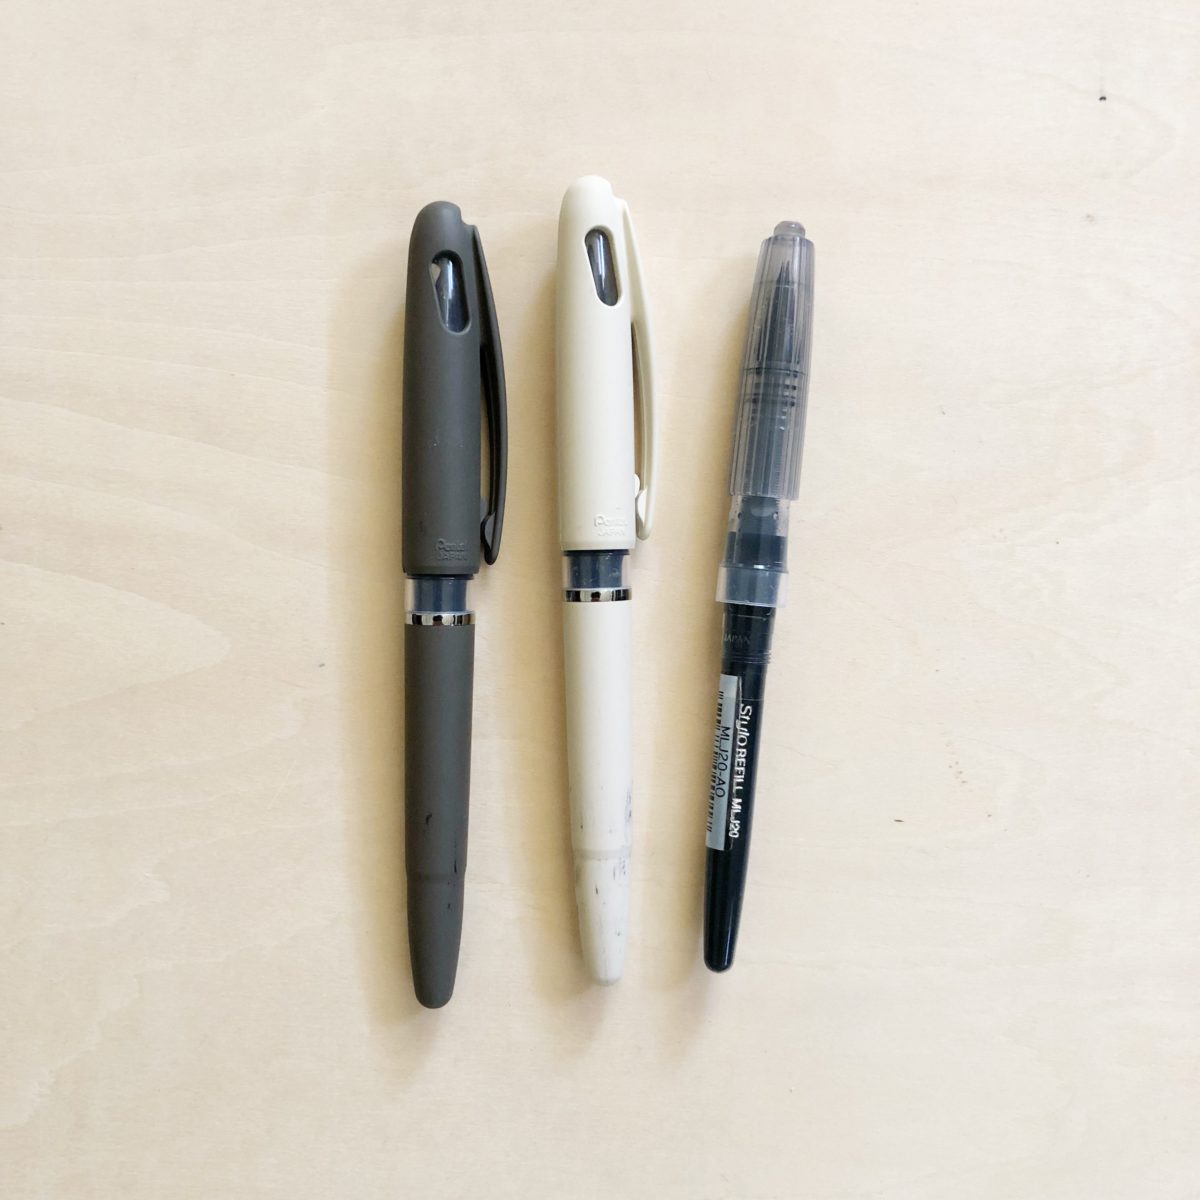
Pens – I use a lot of pens but these Pentel Arts Tradio Stylo pens are super messy and fun to use in my logbook. For a while, I didn’t realize I was using just the refills, which were a pain to hold. Then when we were in Paris I found the case that they fit in.
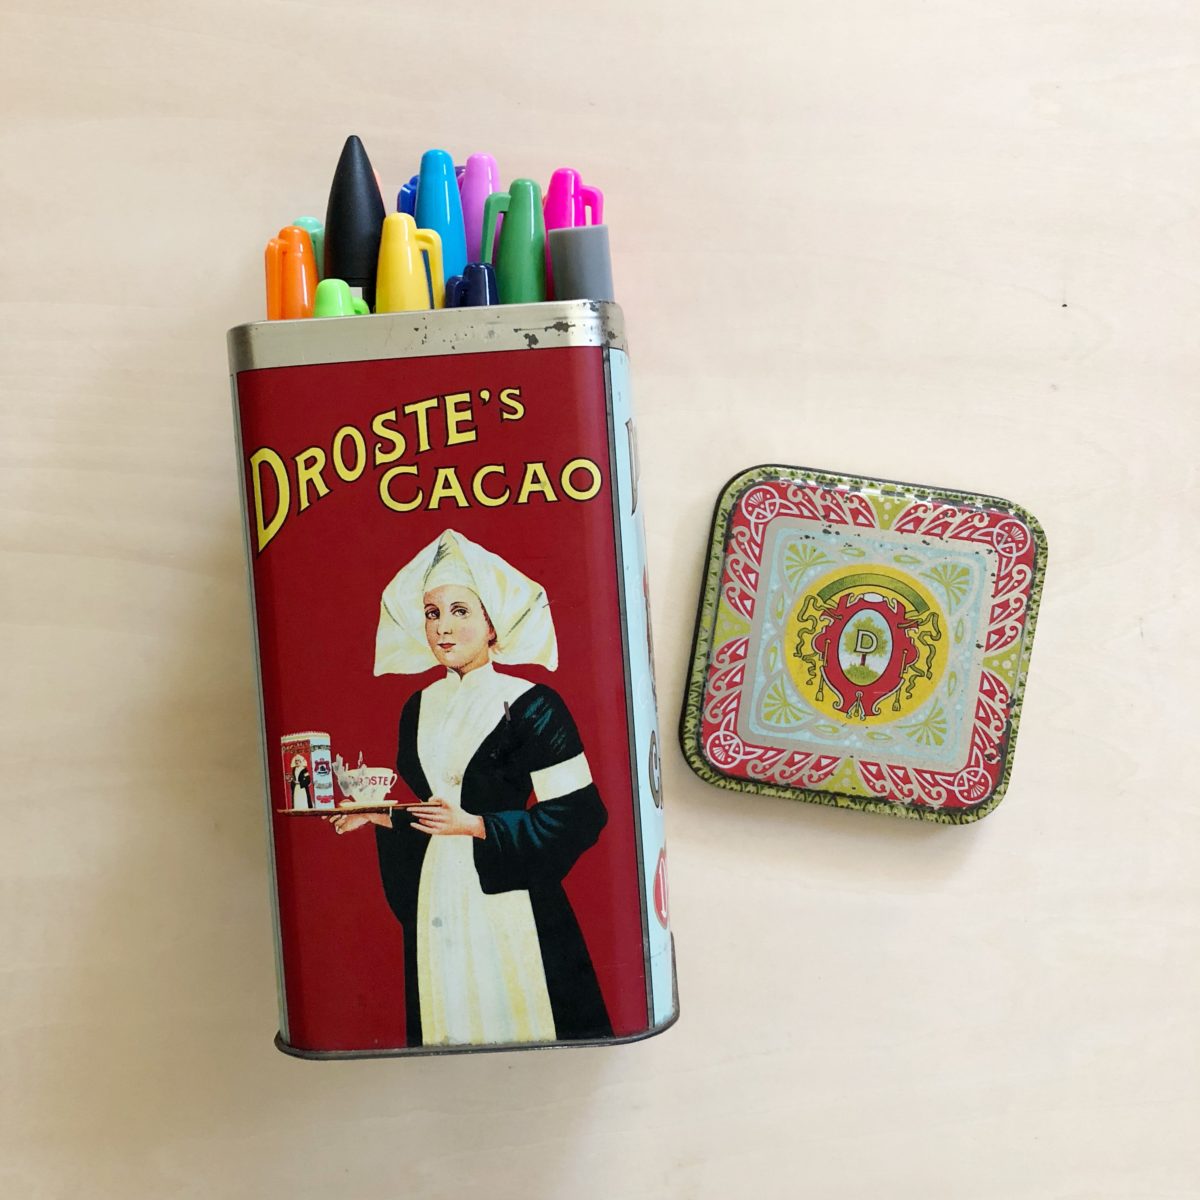
Sharpies – For my logbook I use a variety pack of Sharpies. I like how they bleed through the cheap Muji pages of my logbook.
Watercolors – I use Case For Making watercolors which are handmade in San Francisco. I took two workshops with Alexis (owner) and most of my pans are from those workshops!
They really are the best watercolors. So much pigment!

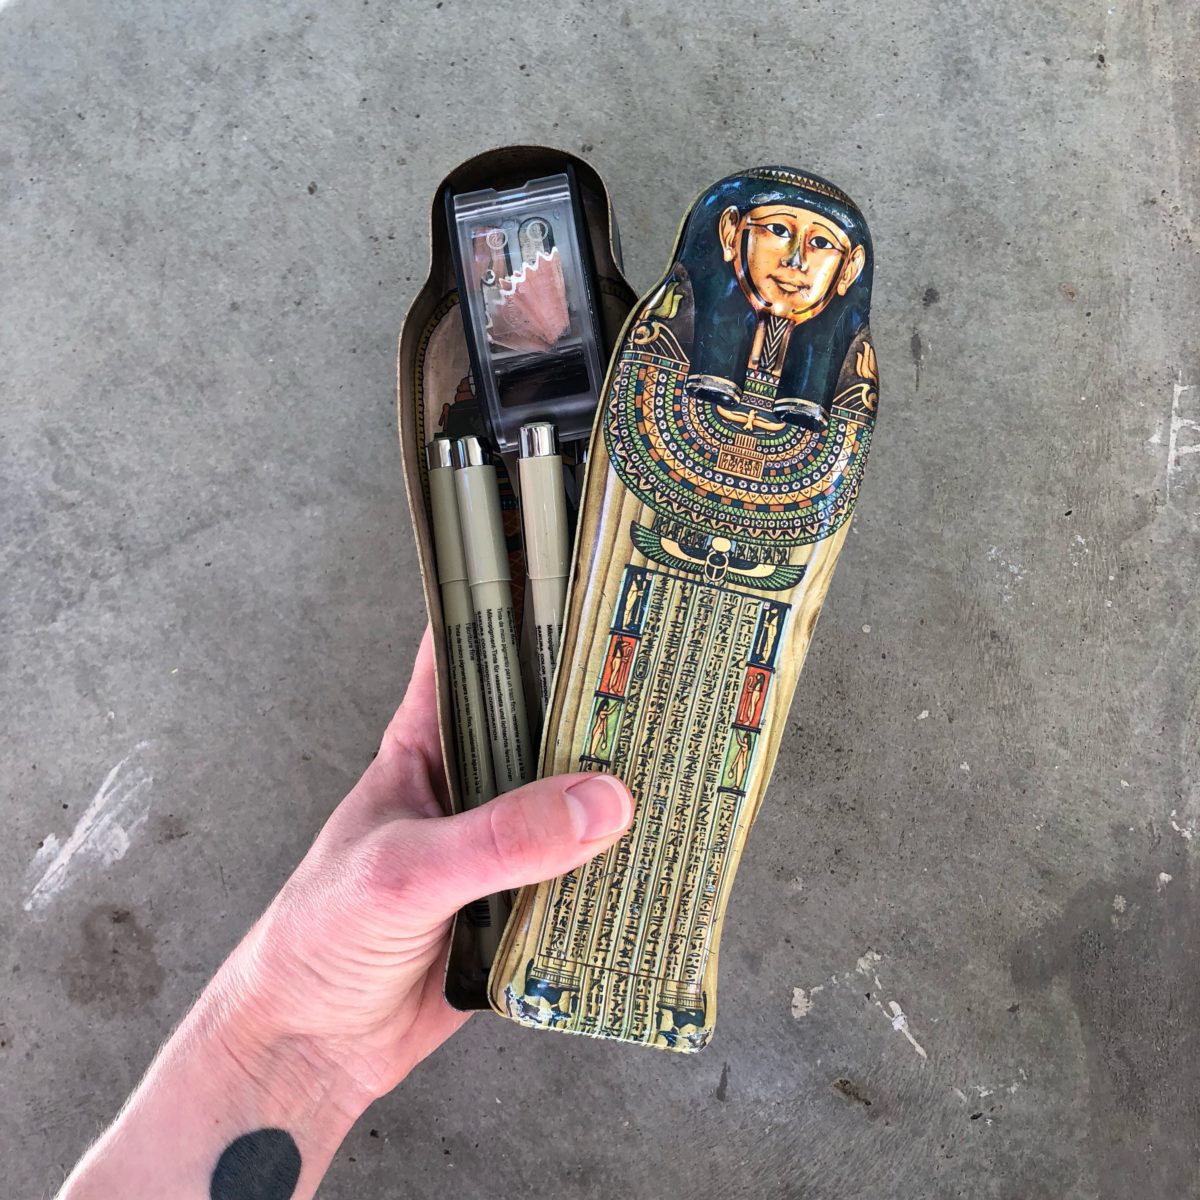
I also do love a good Micron Pen. I use a combination of handmade bags and tins to carry these supplies with me.
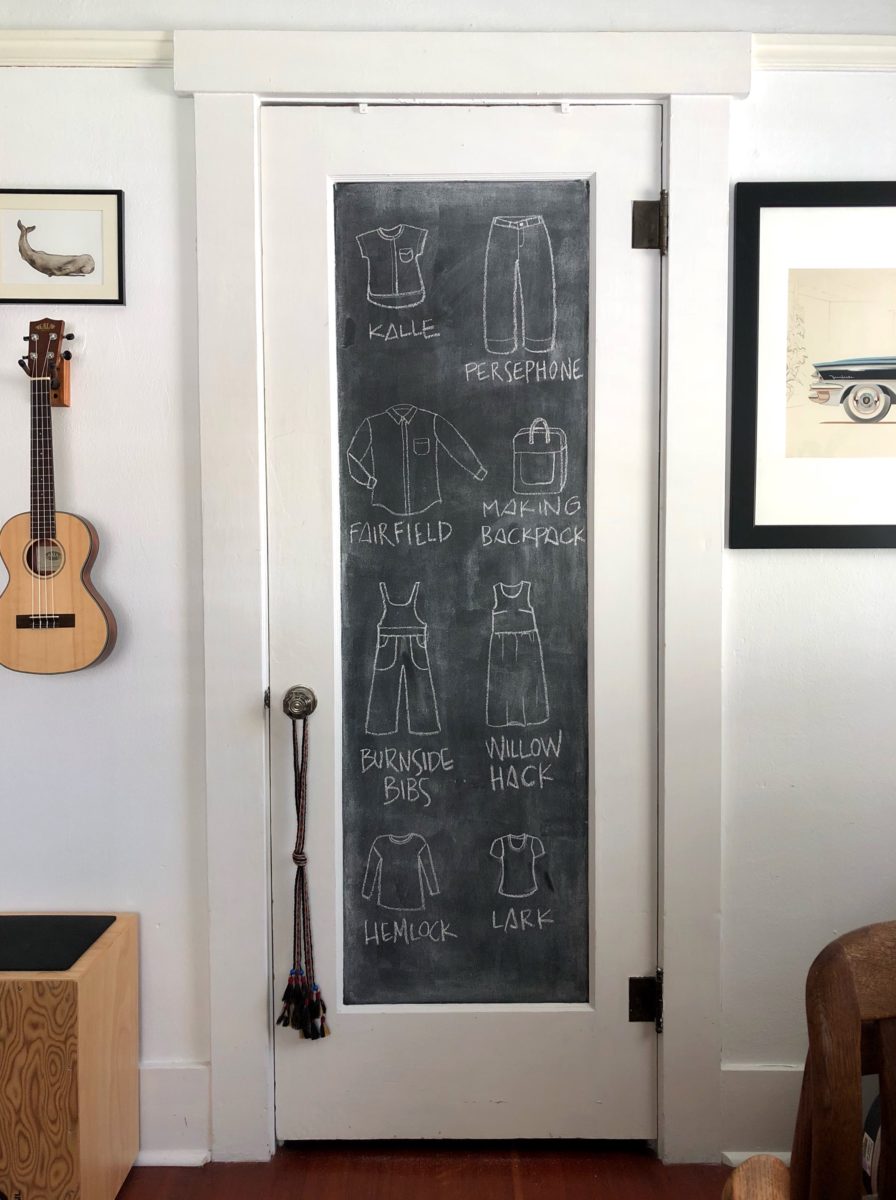
My best advice for starting a drawing practice is to just start. Be fine with it not looking how you want immediately. It took me about three weeks of daily logs to find my style and I’m sure it will change. Draw your making plans! Drawing became more of a daily thing for me when I started documenting all of my sewing plans in a sketchbook. There’s so much inspiration out there, it’s really helpful to capture it on paper. Also carry your sketchbook with you everywhere. I used to feel really self conscious about drawing out in public, but the truth is, no one is looking at you. And if they are, they’re probably interested in drawing too!
And read this article to re-frame your drawing mindset.