UPHOLSTERY!

I’ve always been interested in upholstery. It’s such an impressive set of skills and is super helpful if you buy secondhand furniture.

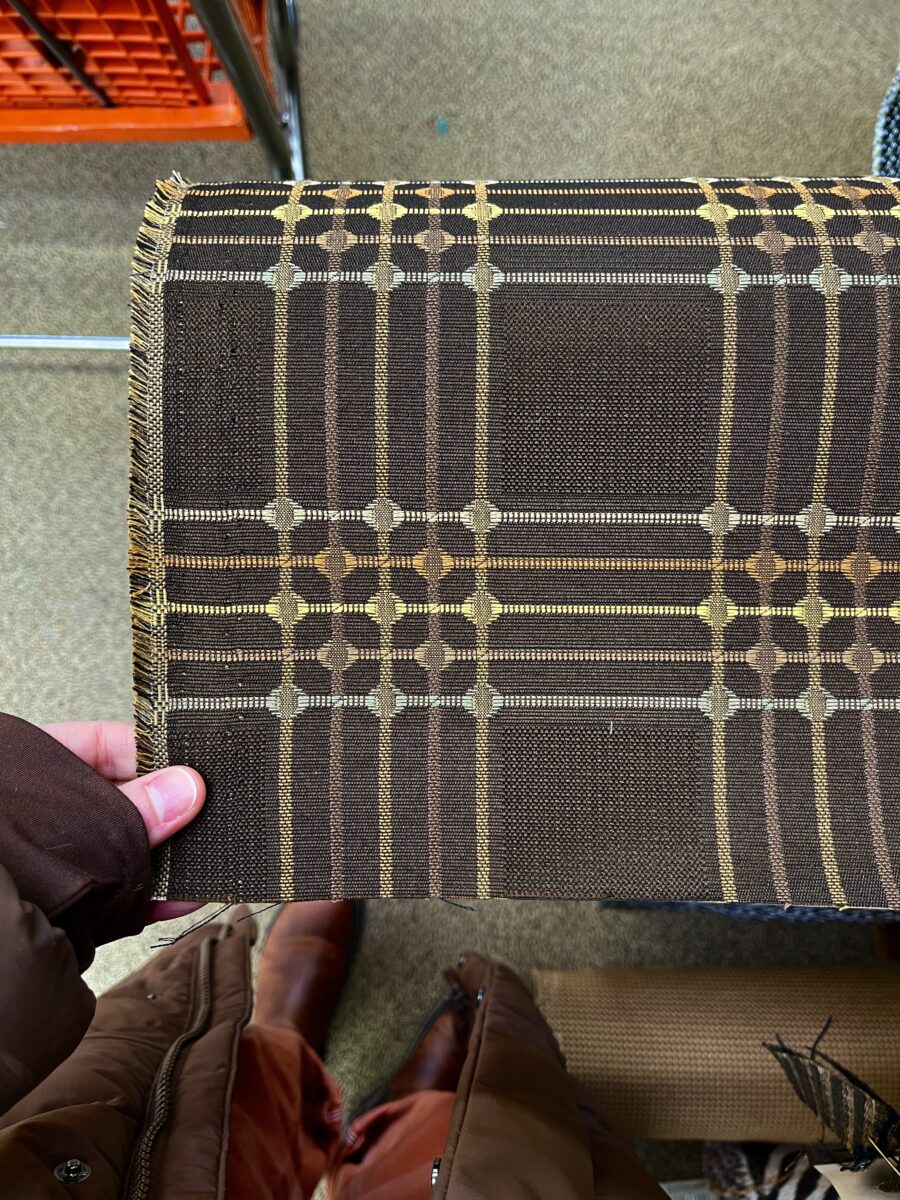
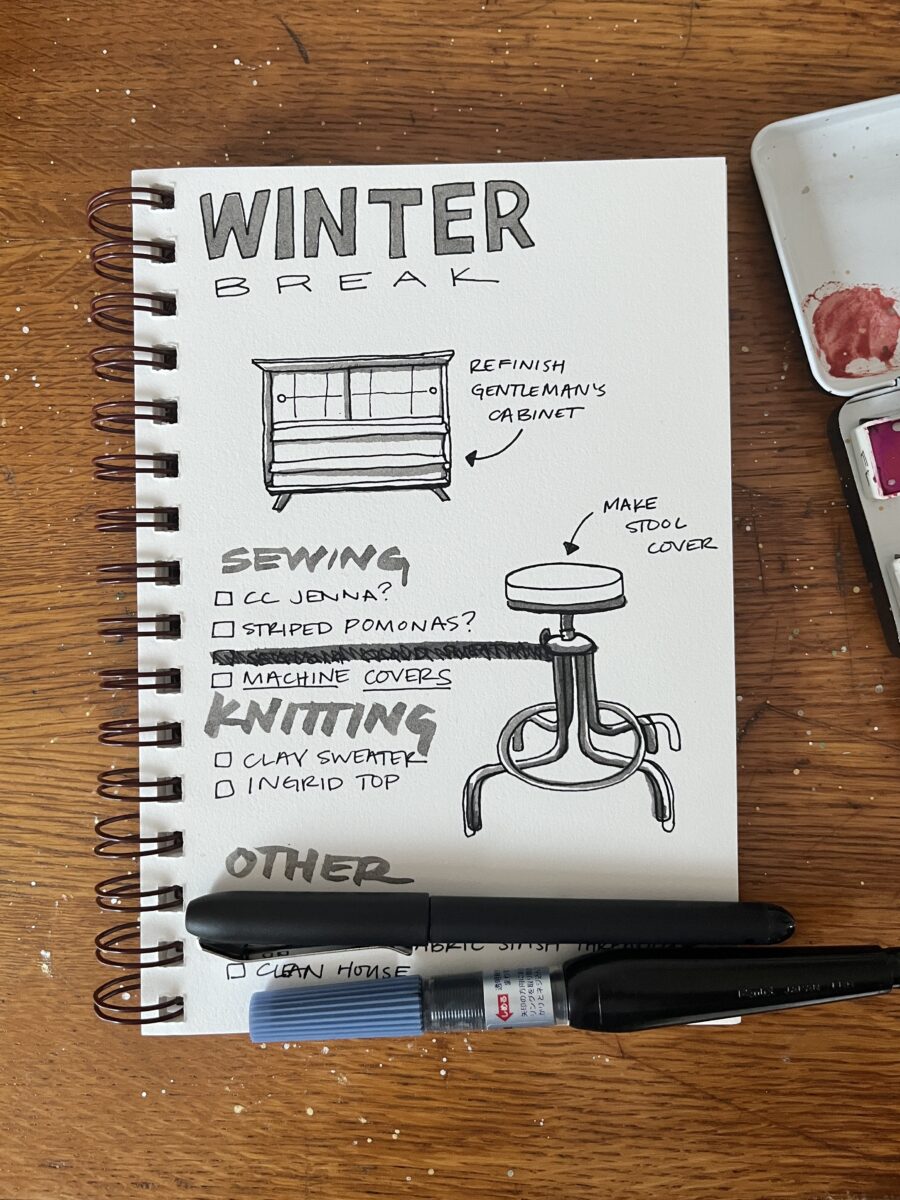
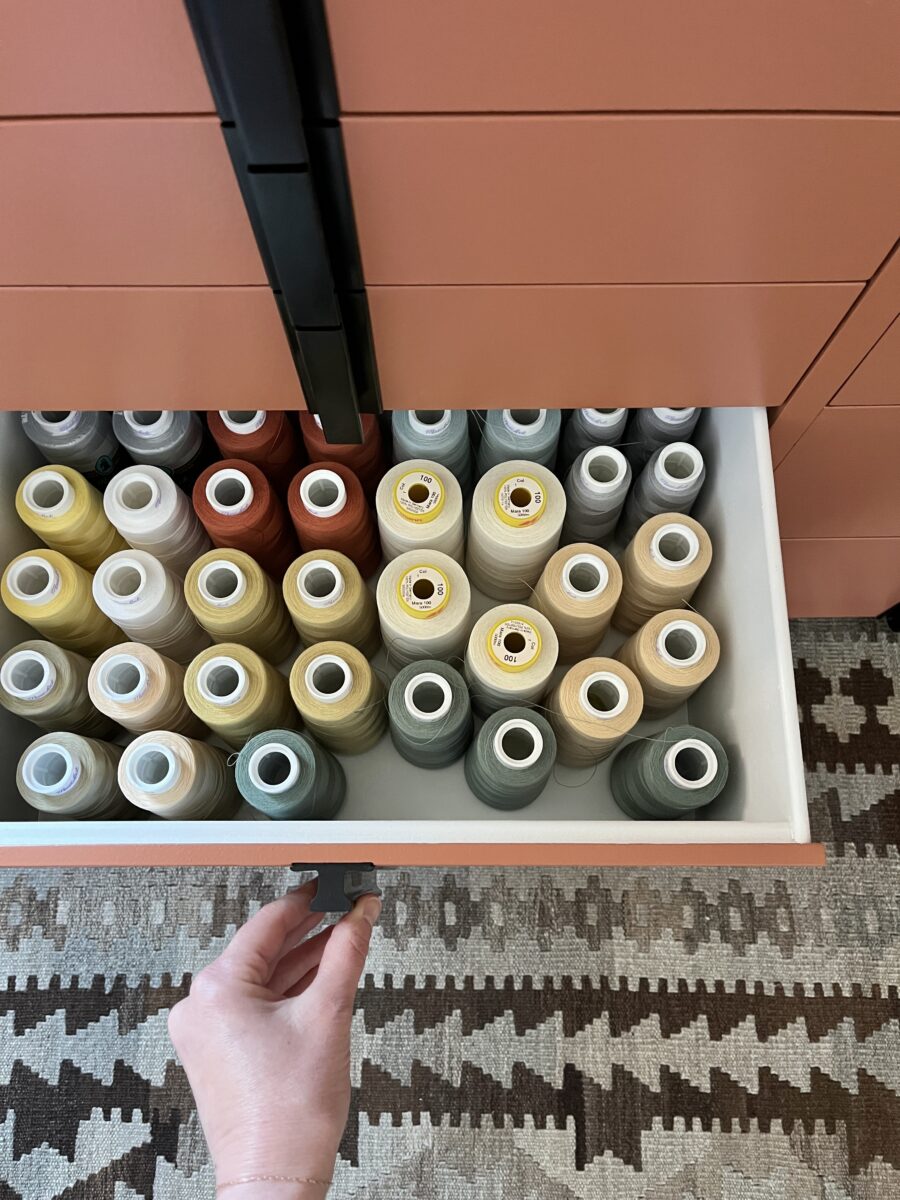
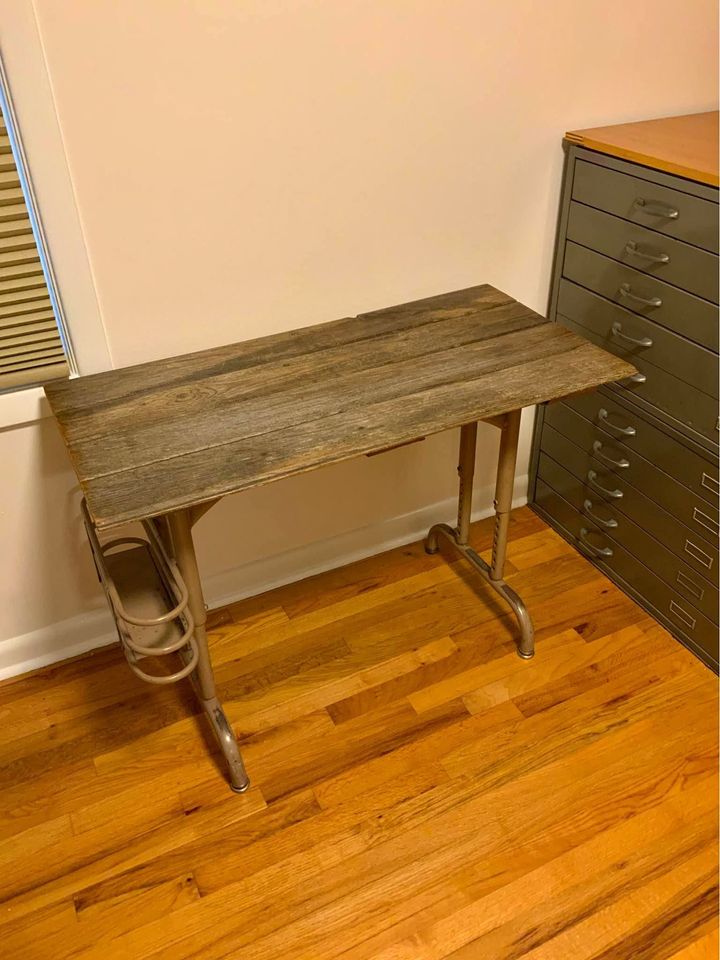
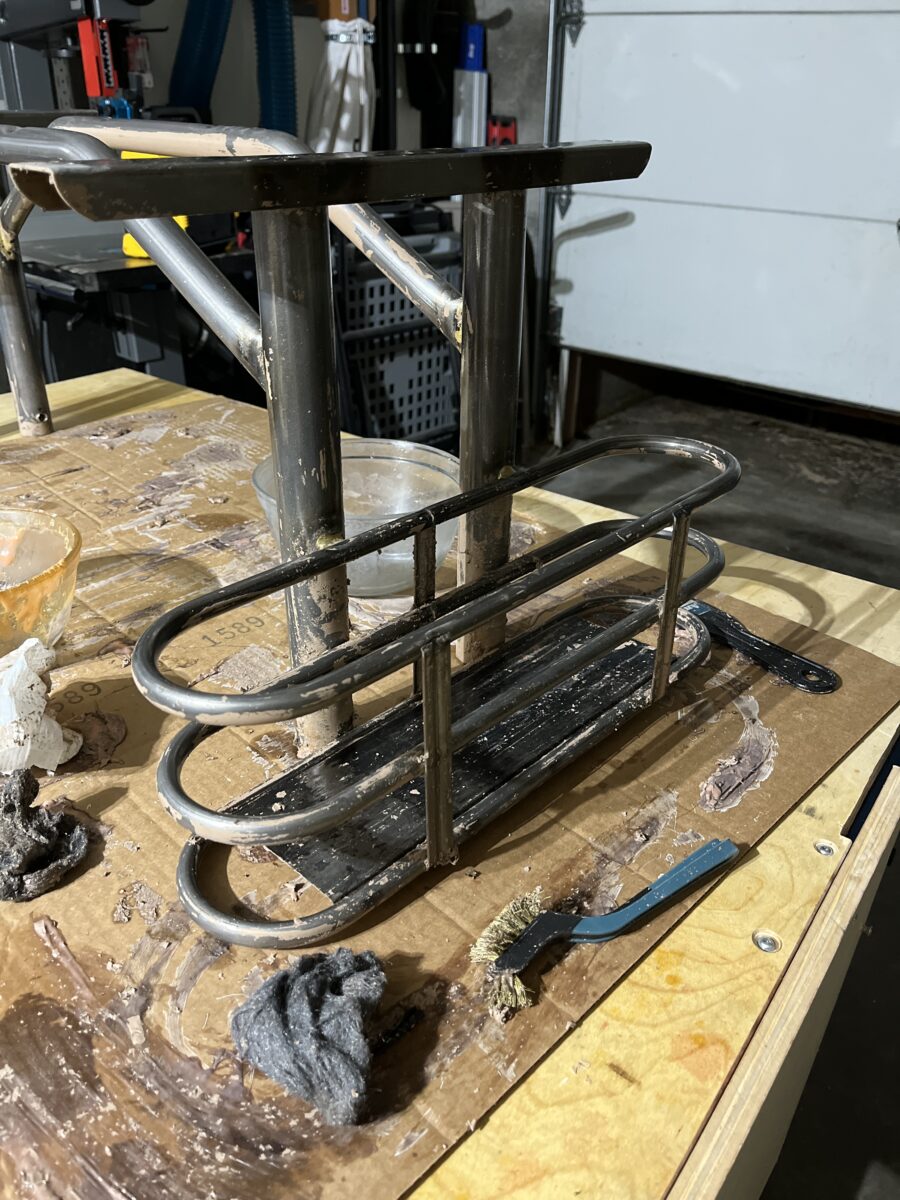
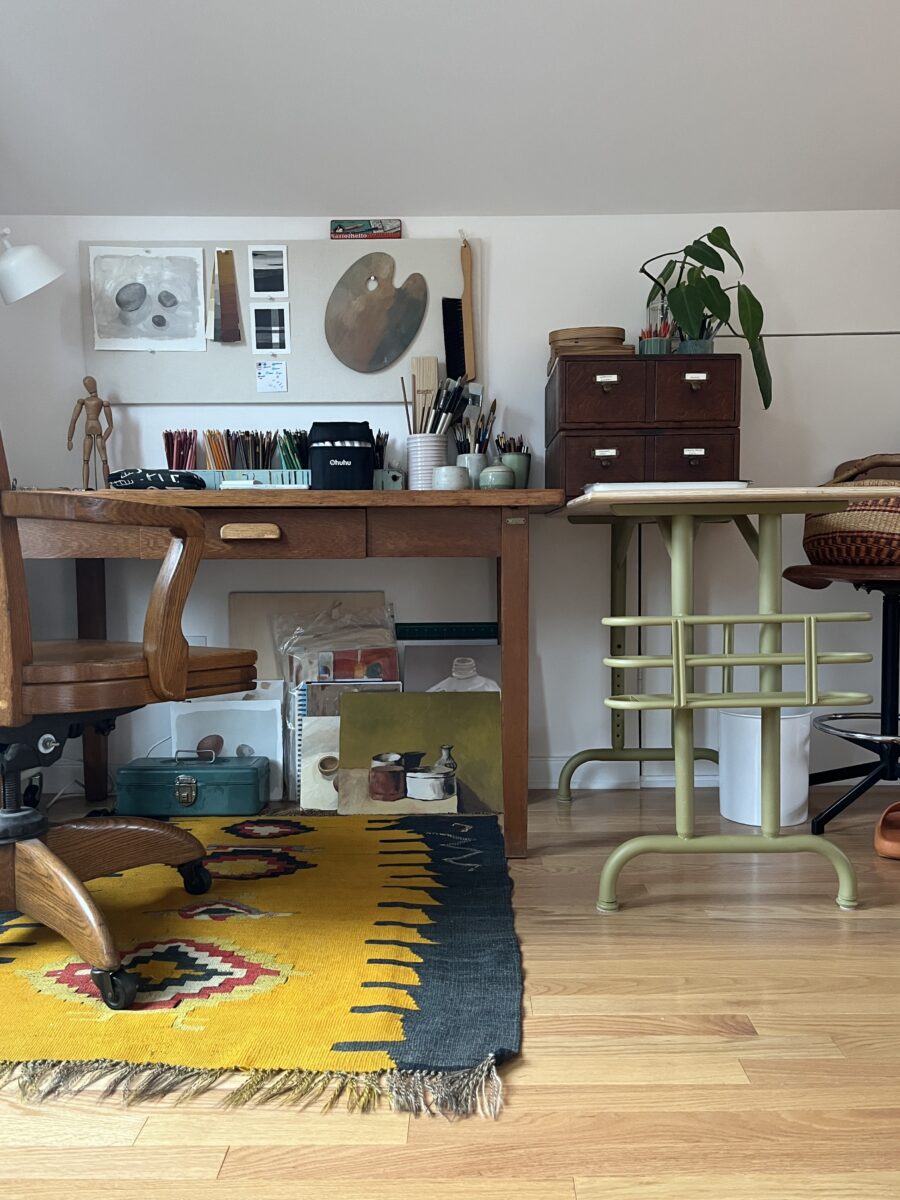
I finally decided to take a class from Atelier Douce France because my “new” sewing stool desperately needed to be reupholstered. I actually liked the color of the vinyl, so I attempted to find a similar fabric at Mill End. I briefly entertained using this mid-century modern-esque design, but felt a solid color would be easier to manage.

The first step in the process was to unscrew the sections from the base and remove all the staples.

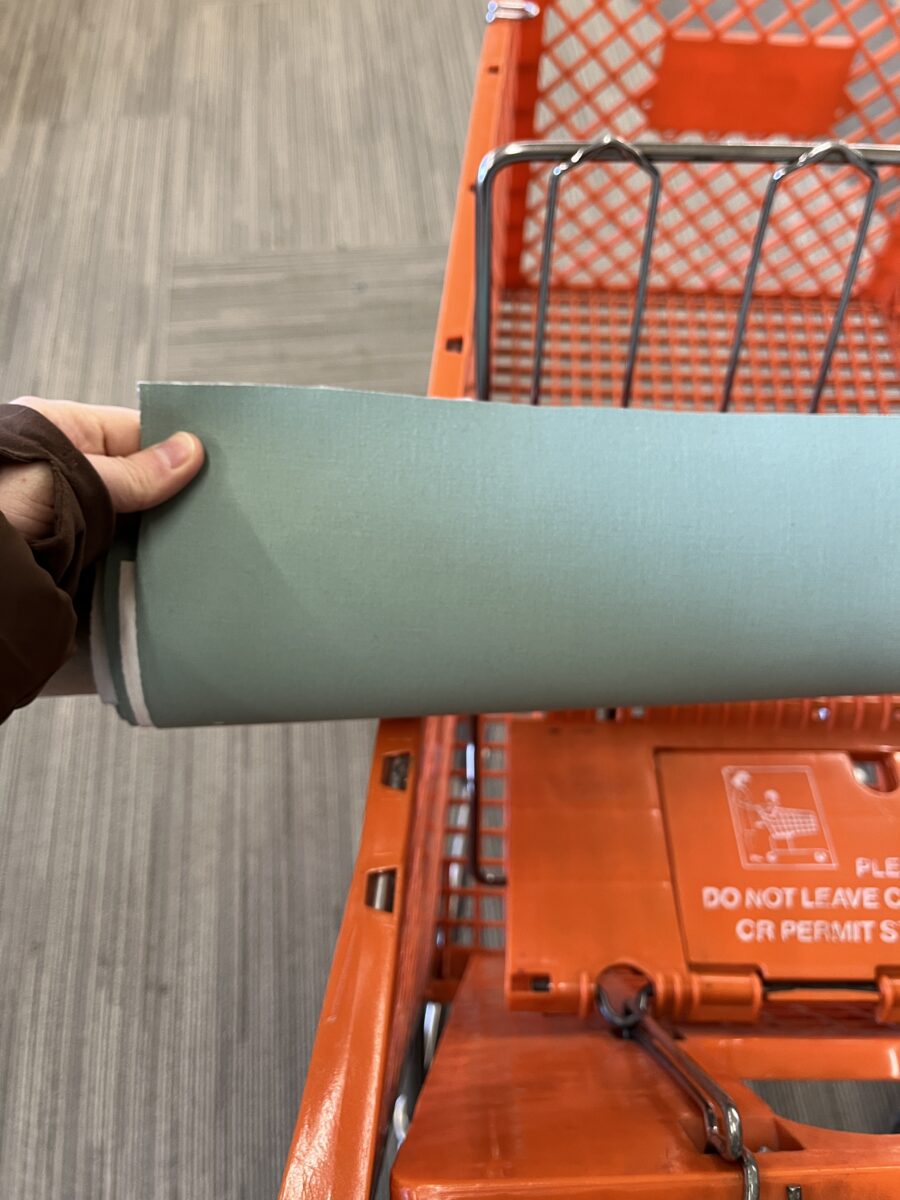
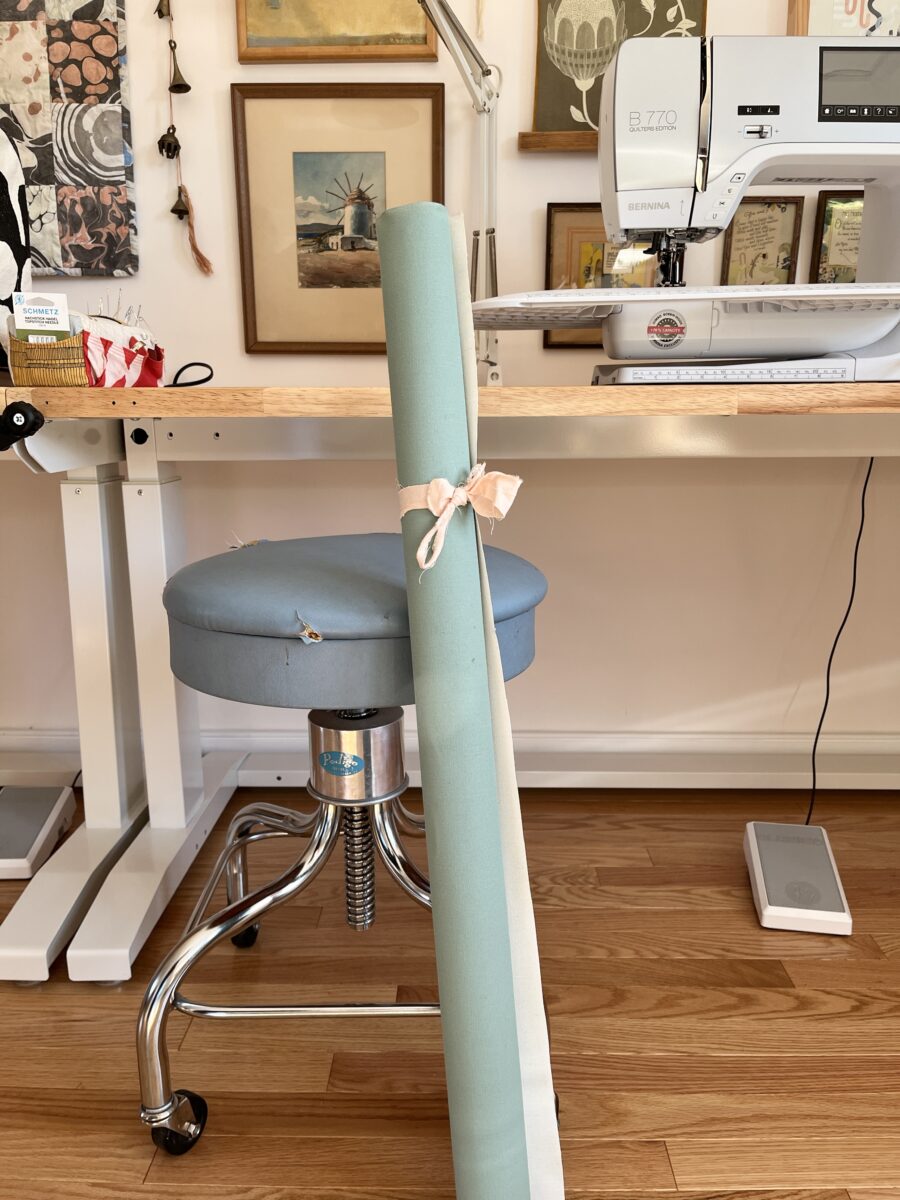
Unfortunately, the fabric I chose was deemed too stiff to work with in this workshop, so Anne let me purchase a yard of this fun geometric fabric that I thought would coordinate with my sewing machine covers. It’s by Pierre Frey and is described as:

… [a] geometric pattern [that] plays on contrasts of color and black and white, in a particularly dense cotton velvet quality, combining cut and épinglé velvet. This graphic and playful carved cotton velvet revisits a work by the Russian constructivist artist Lyubov Popova from the early 20th century.

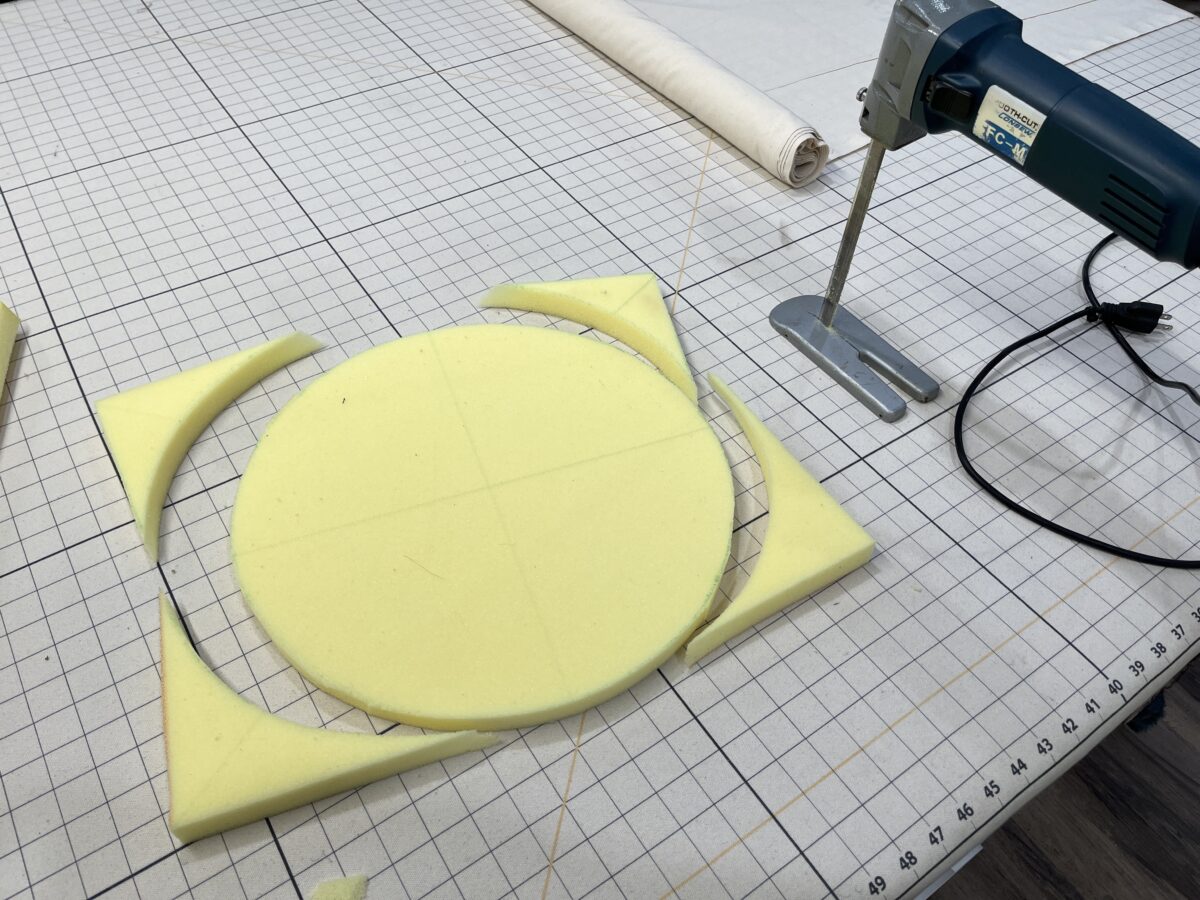
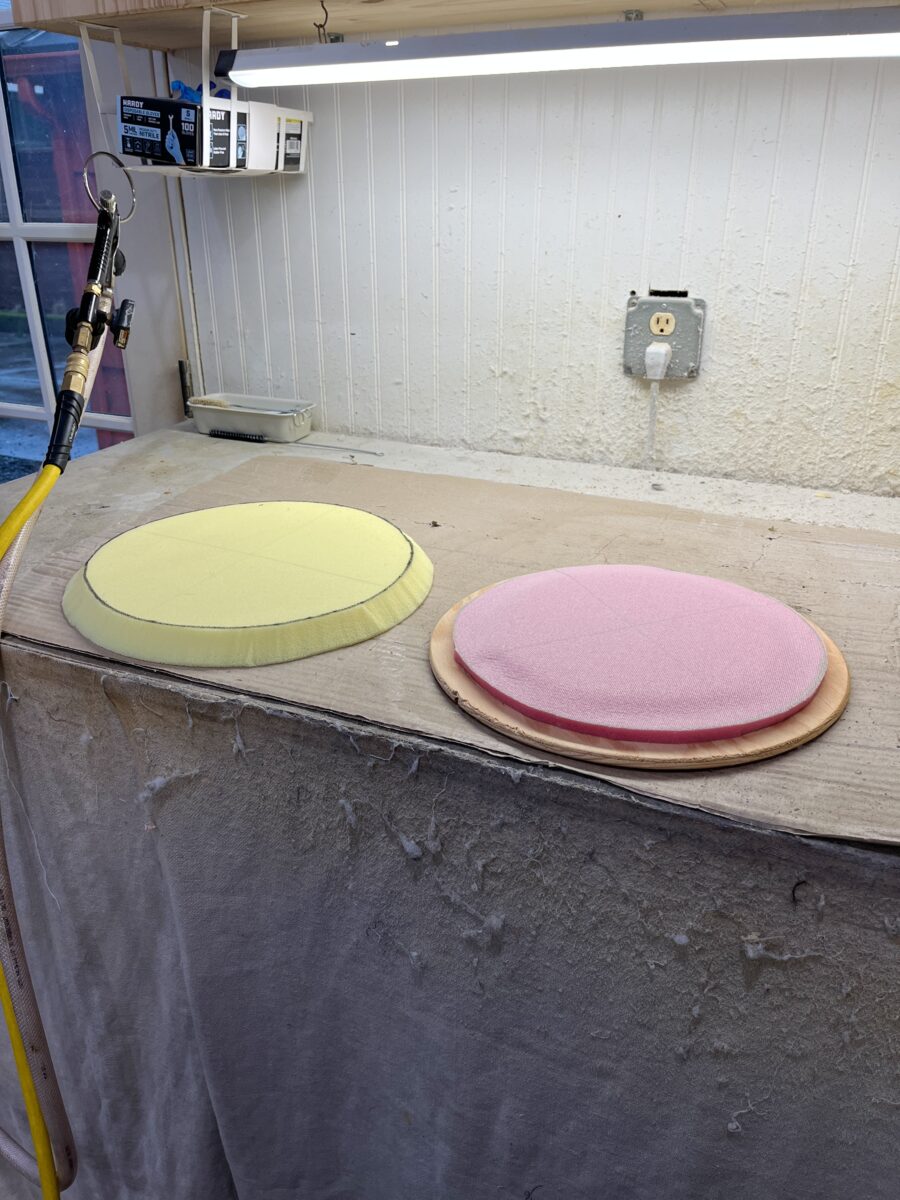
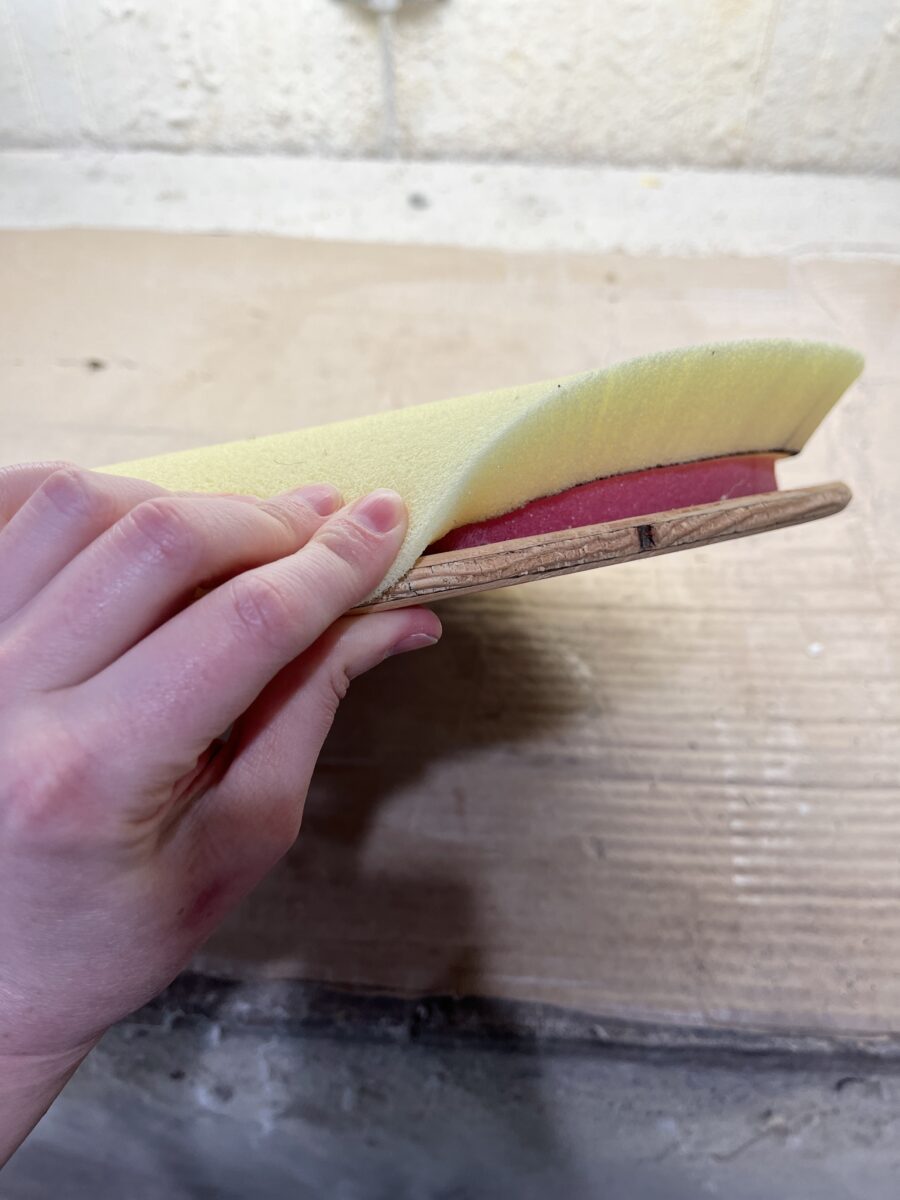
Next, I cut three layers of foam to create the crown of the seat. I knew foam cutters were awesome, but finally getting to use one was super exciting. I also needed to bevel the edge of the topmost piece of foam.

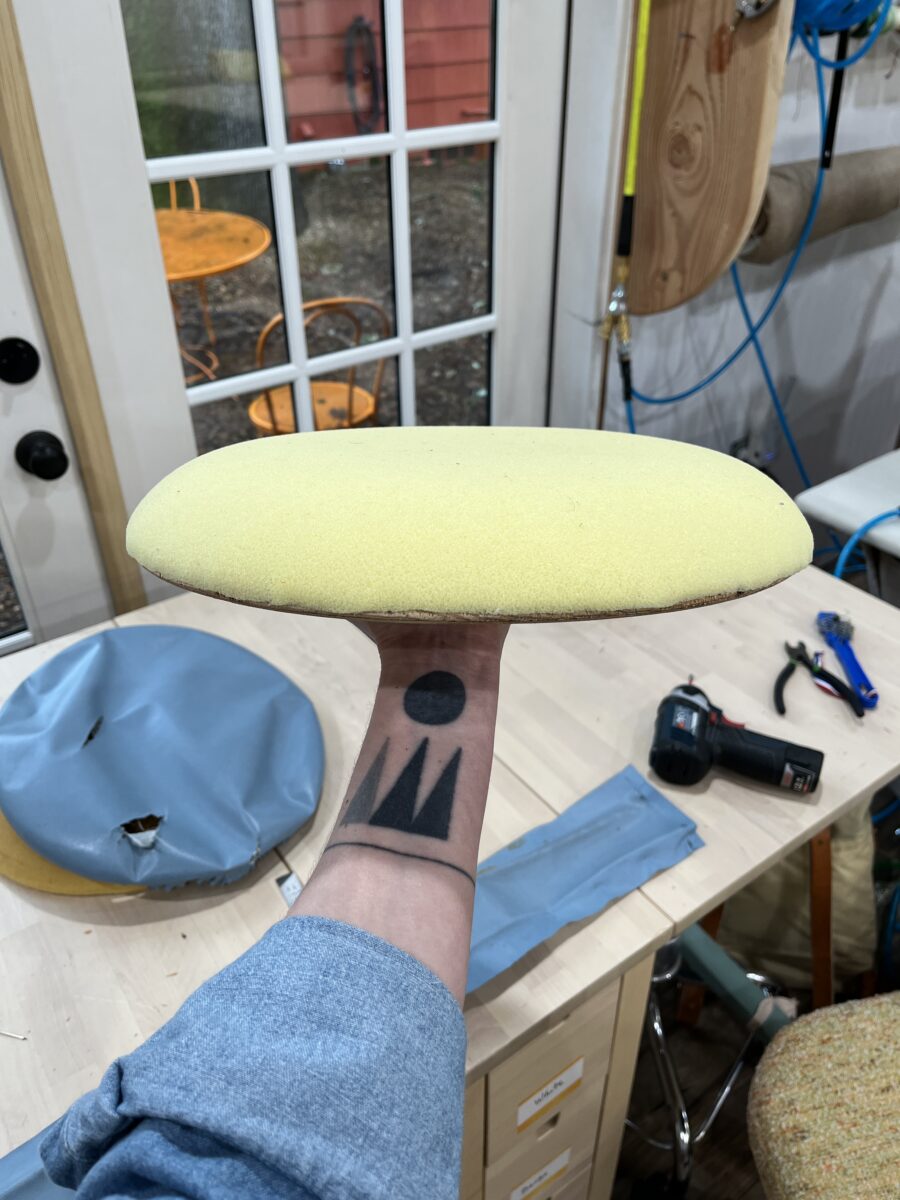
Once all the foam was cut, I got to use the gravity fed glue sprayer to secure the foam layers together and to the plywood base. The bevel let me create this perfect mushroom cap.

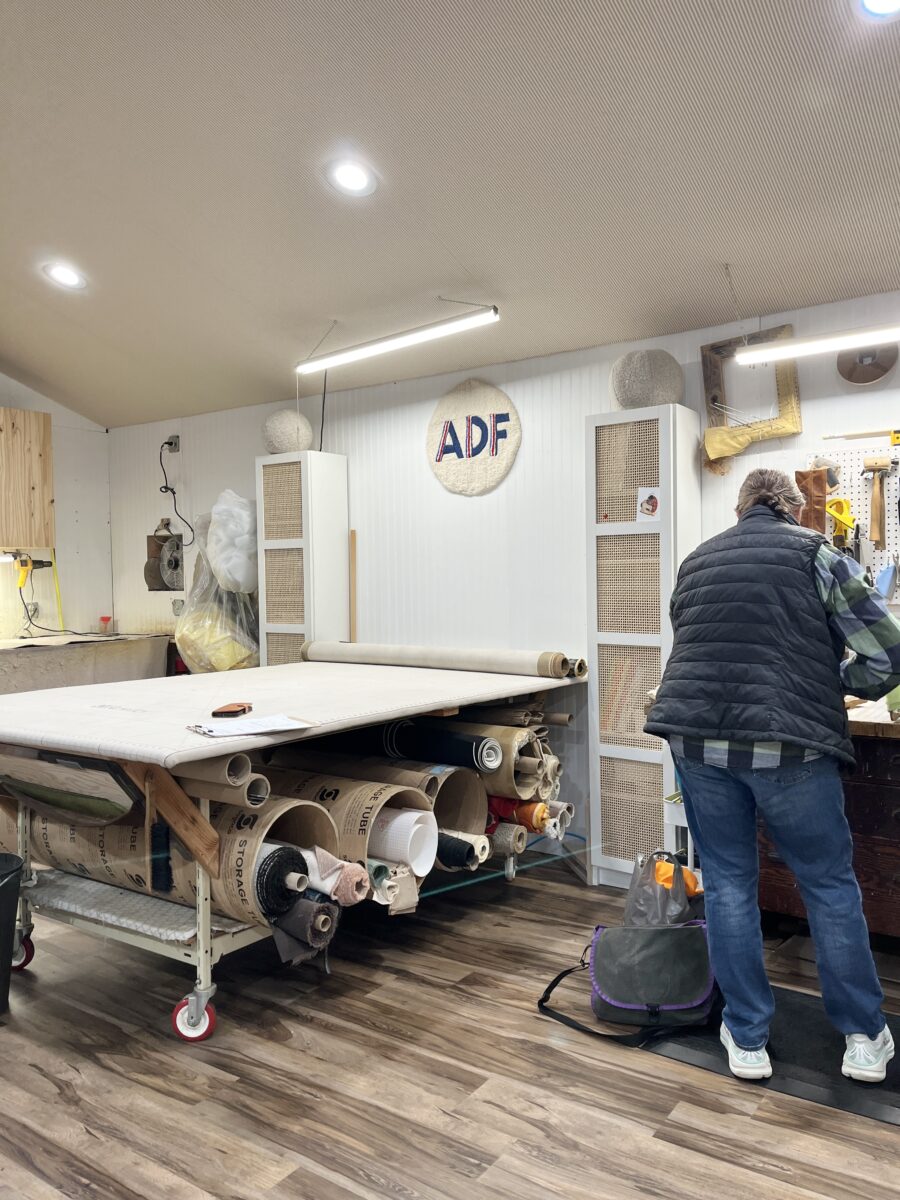
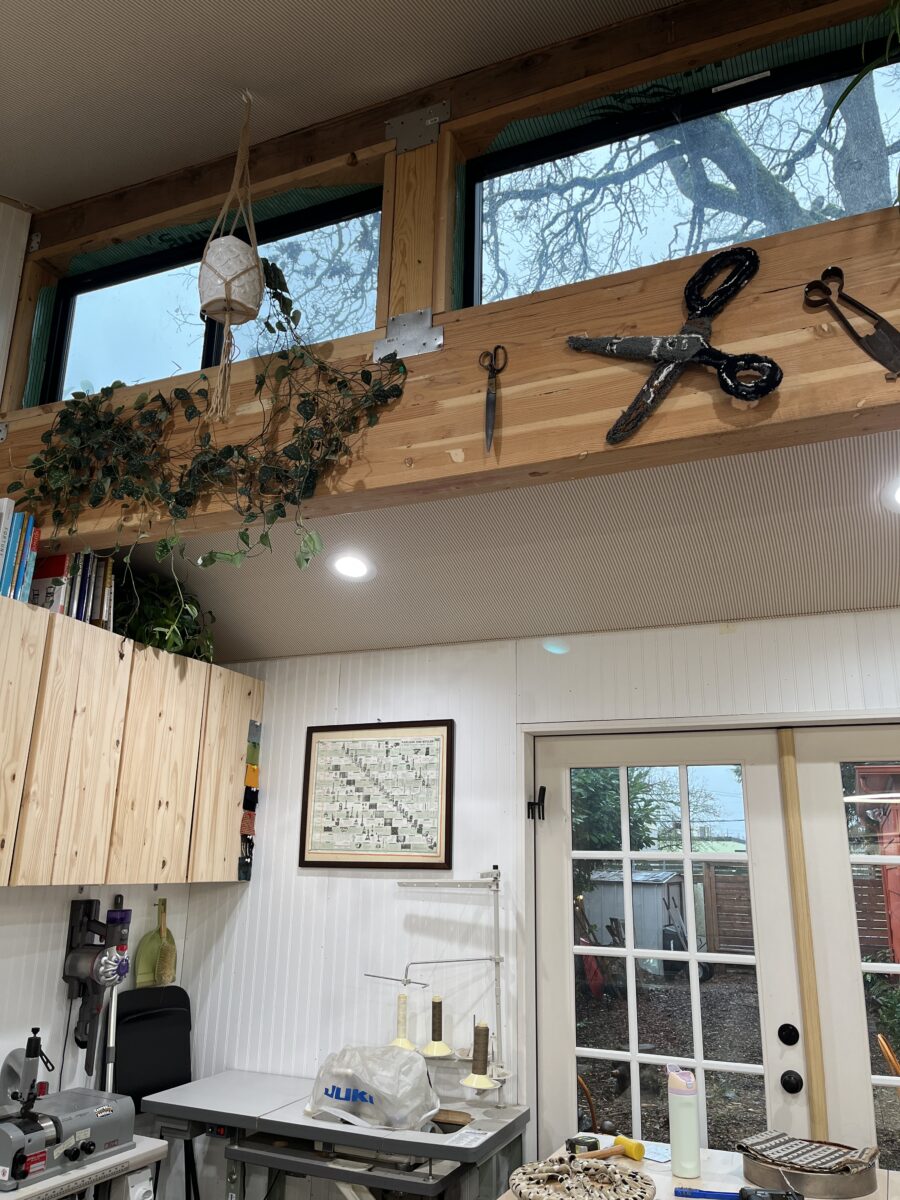
The studio space was so nice and the other participants were working on some intense projects! Before the workshop, I didn’t realize that a multi-session project was an option. It definitely is, which is awesome! The class size is limited to four people and Anne circulates to each person throughout the day to demonstrate. It’s an incredible learning environment and Anne is so knowledgeable, kind, and fun.

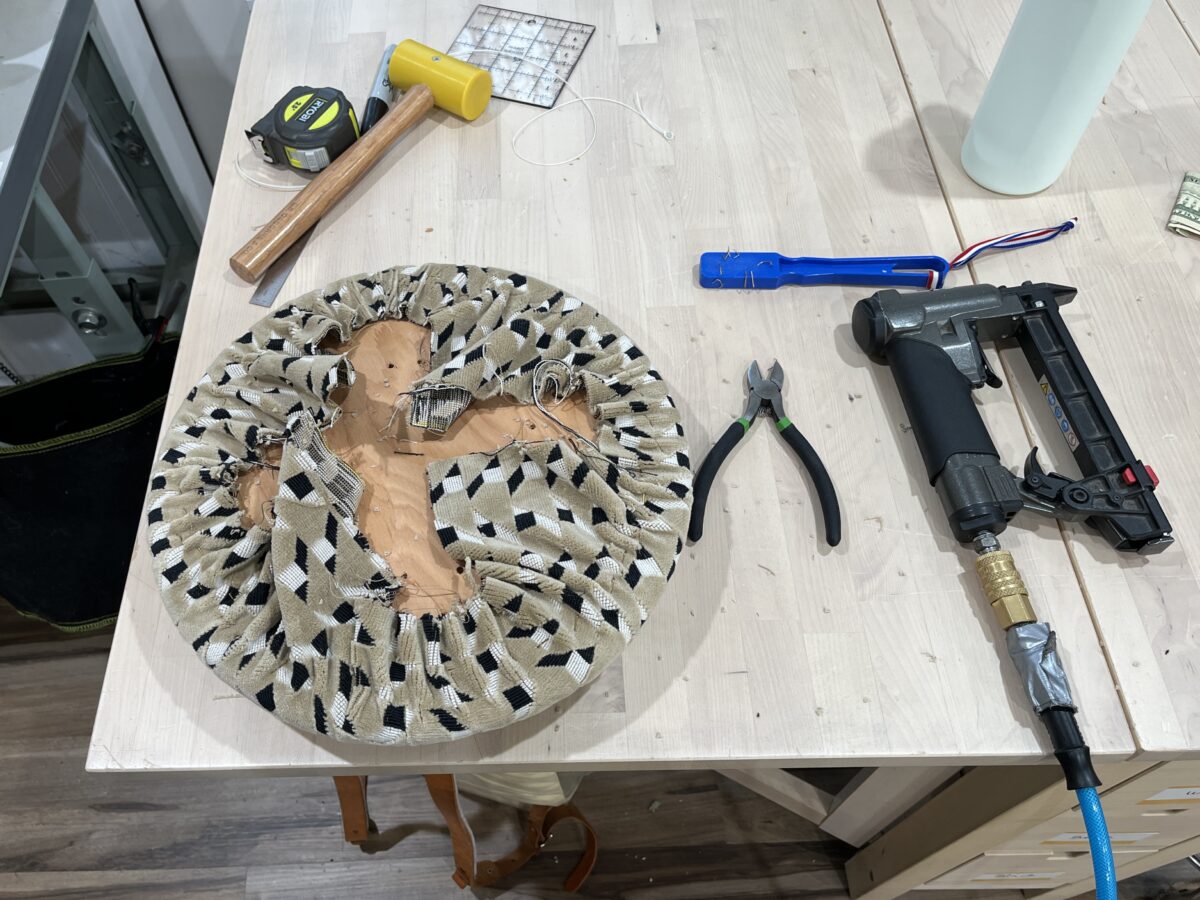
After prepping the foam, I could then start stapling the fabric. Pneumatic staple guns are so cool!!! First I put in a bunch of temporary staples, which are just shot at an angle making them easier to remove. After checking the tension and the fabric’s pattern, final staples are added and the excess fabric is trimmed away.

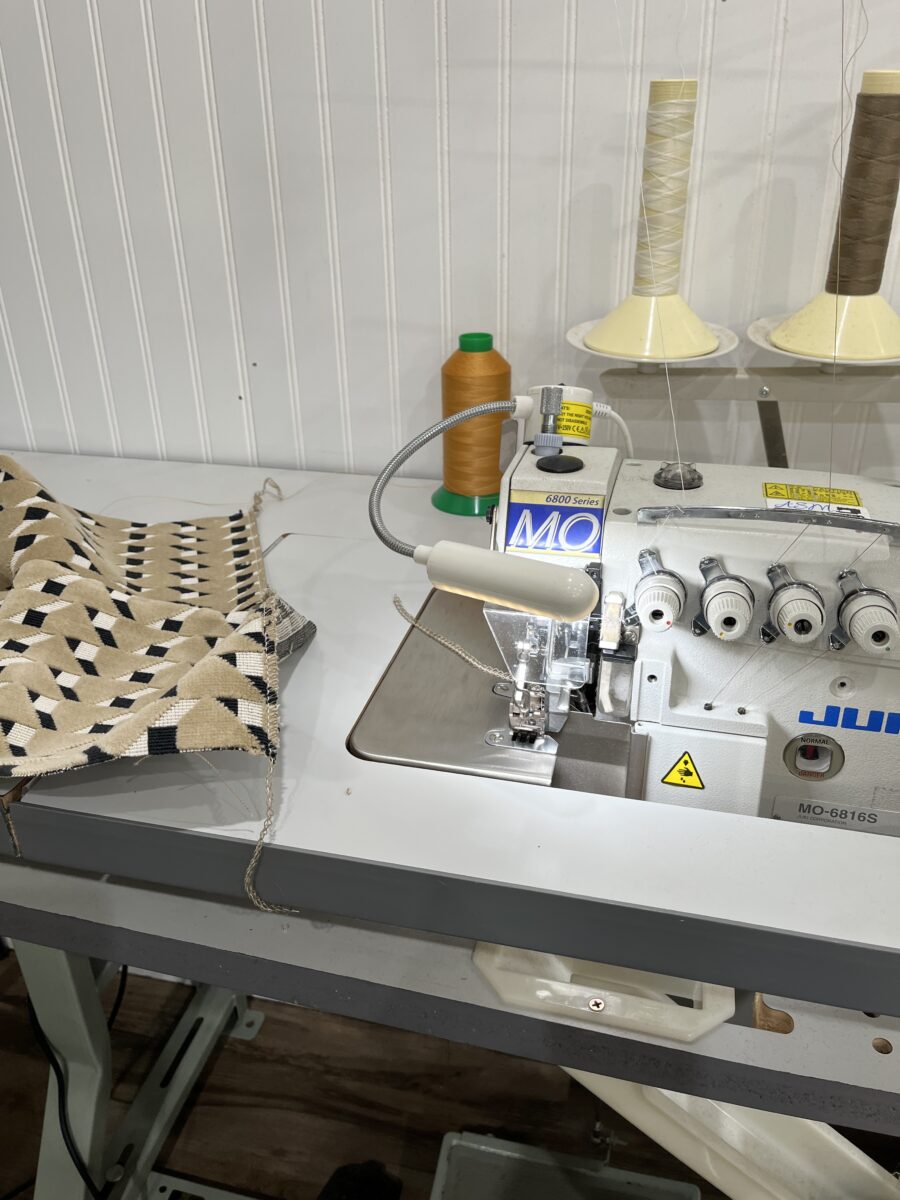
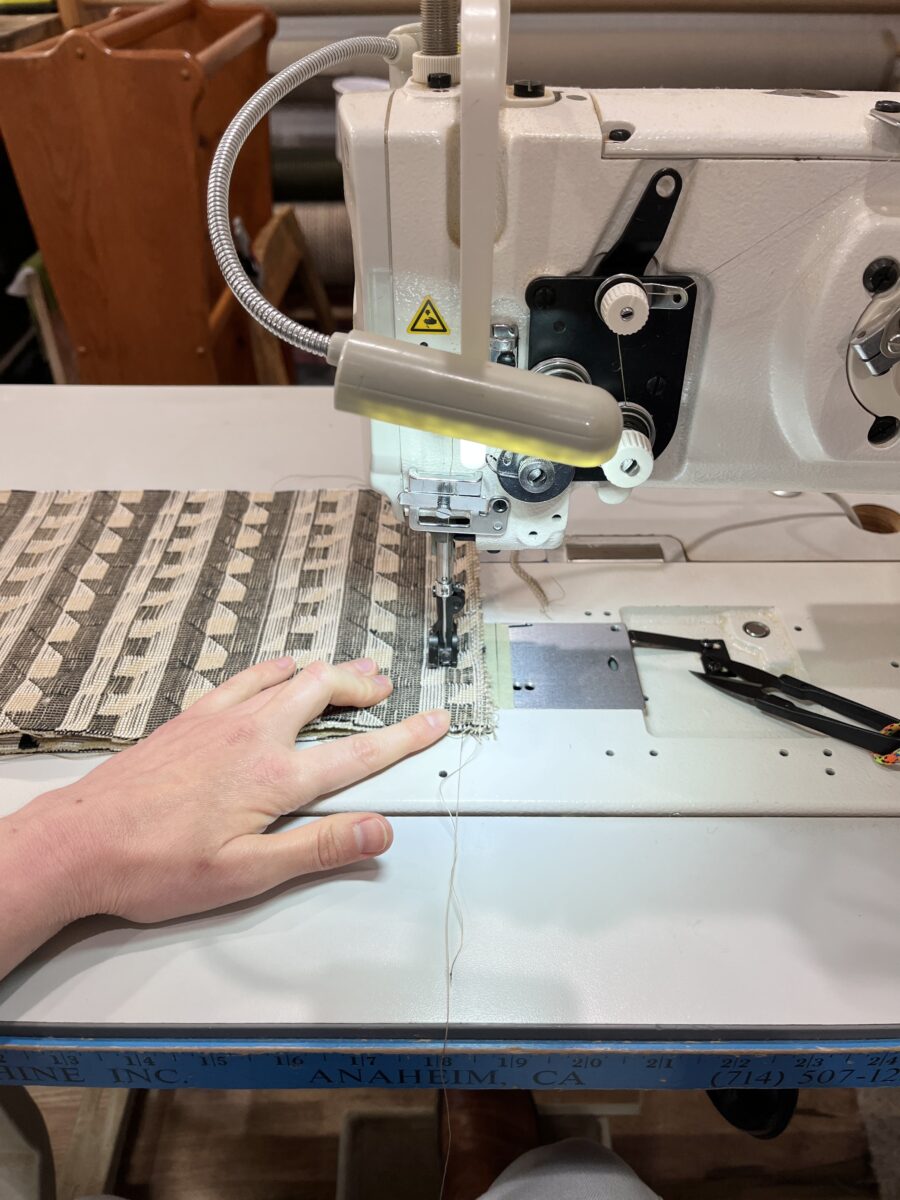
Holy crap, industrial machines. Seriously, this studio’s set up was SO NICE. I only got to sew one seam and finish the edges, but wow… do I need industrial machines?!

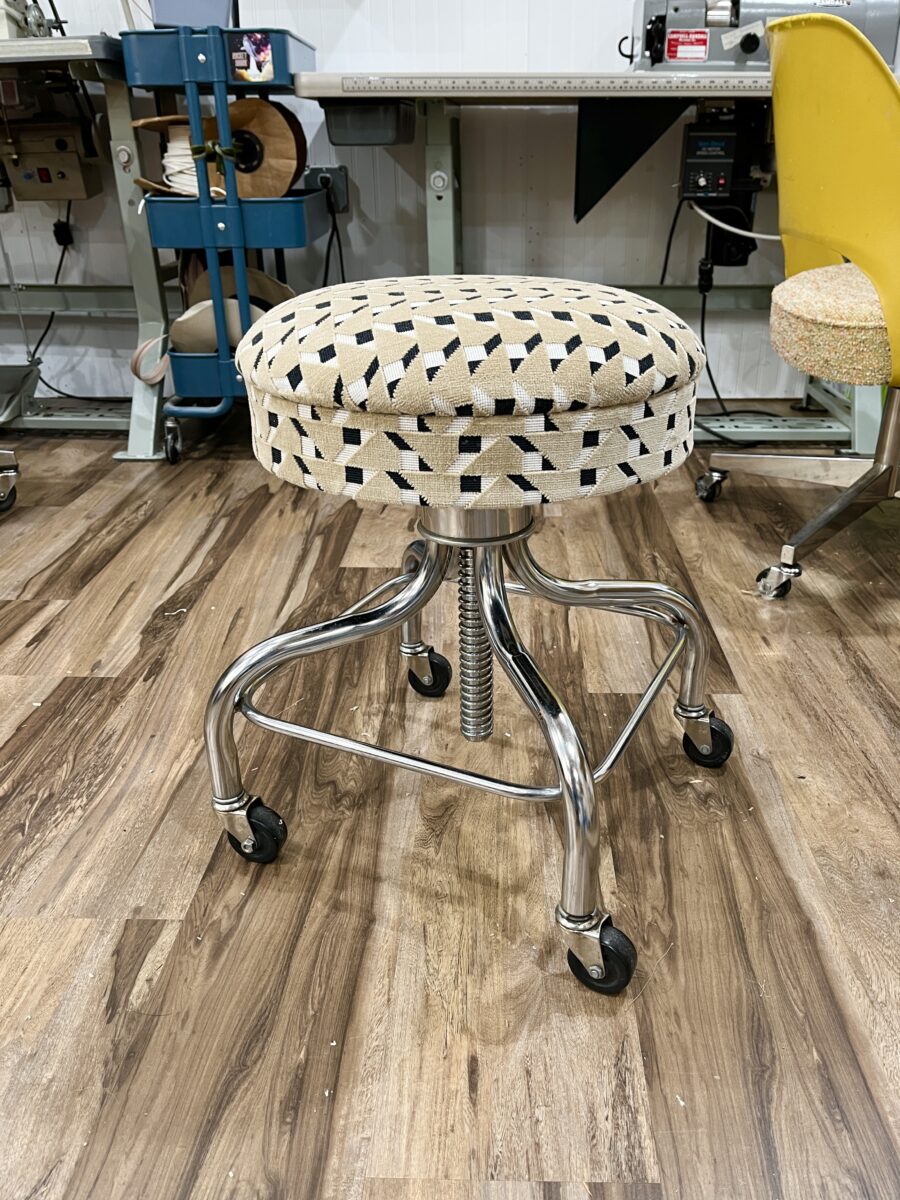
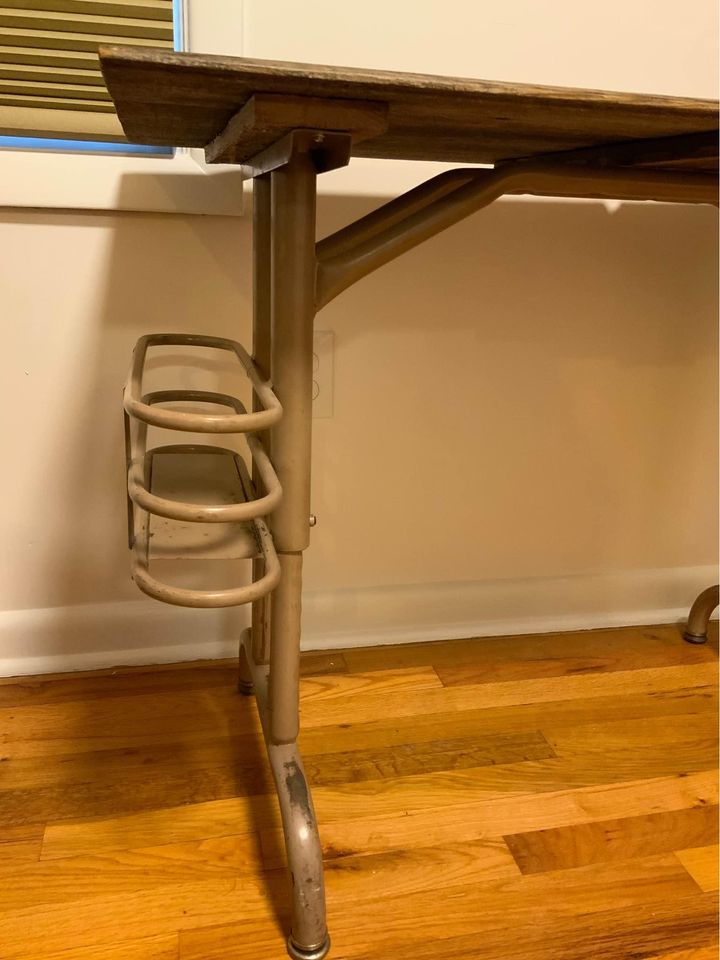
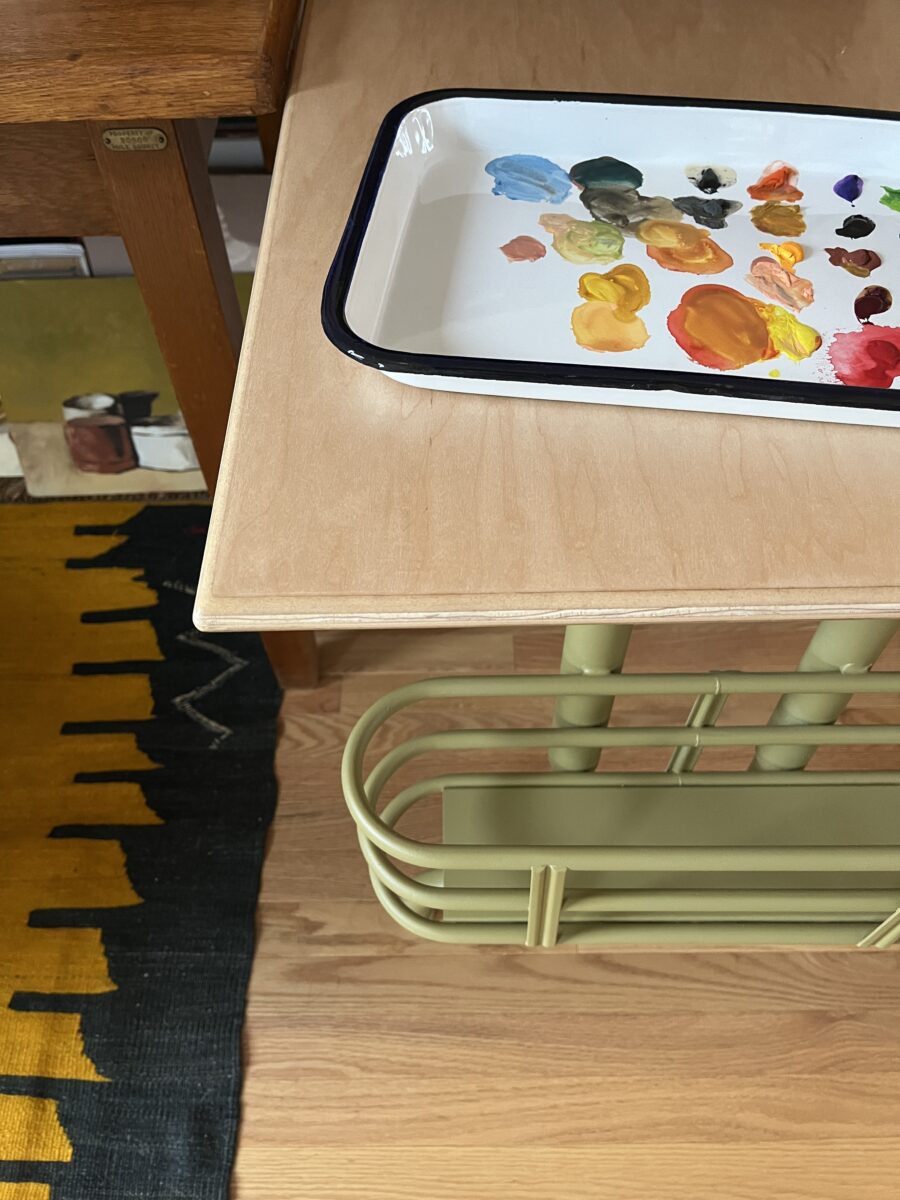
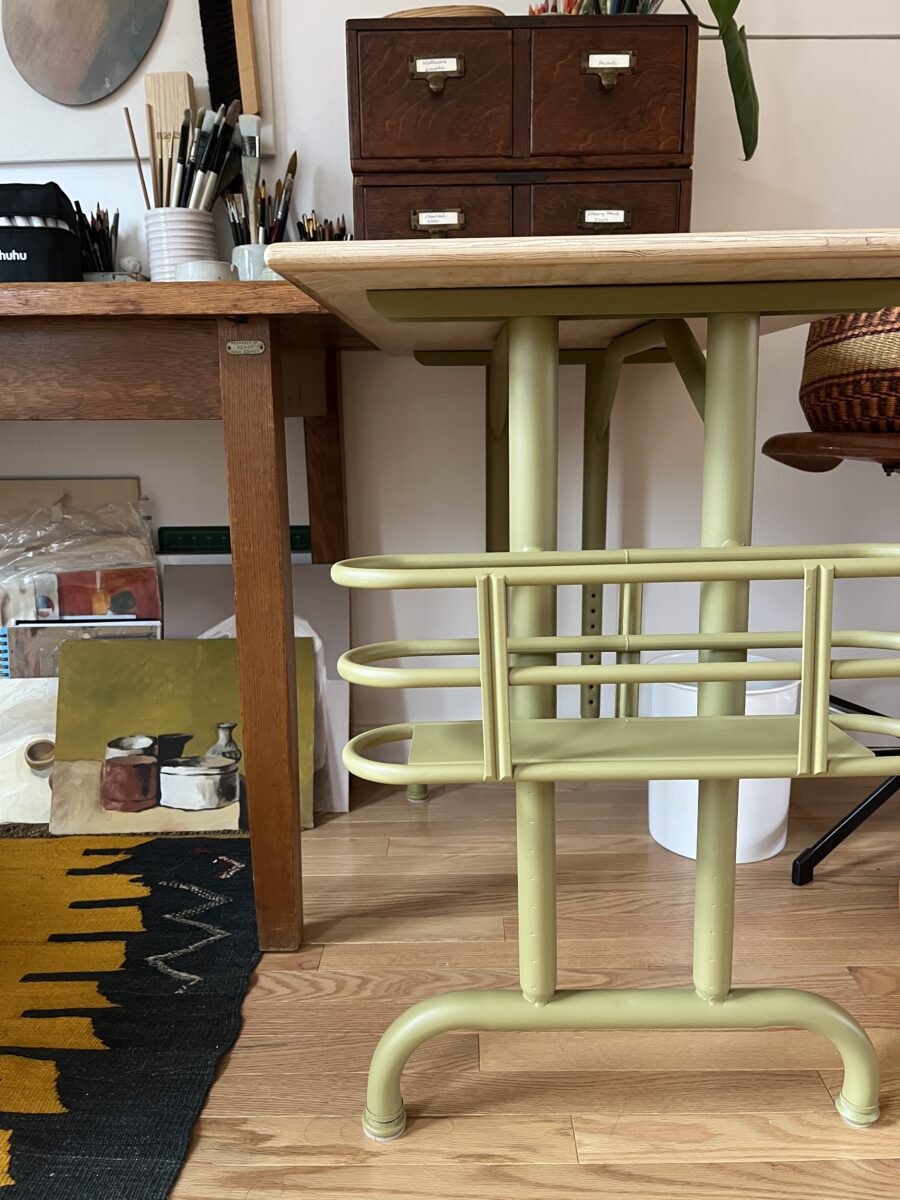
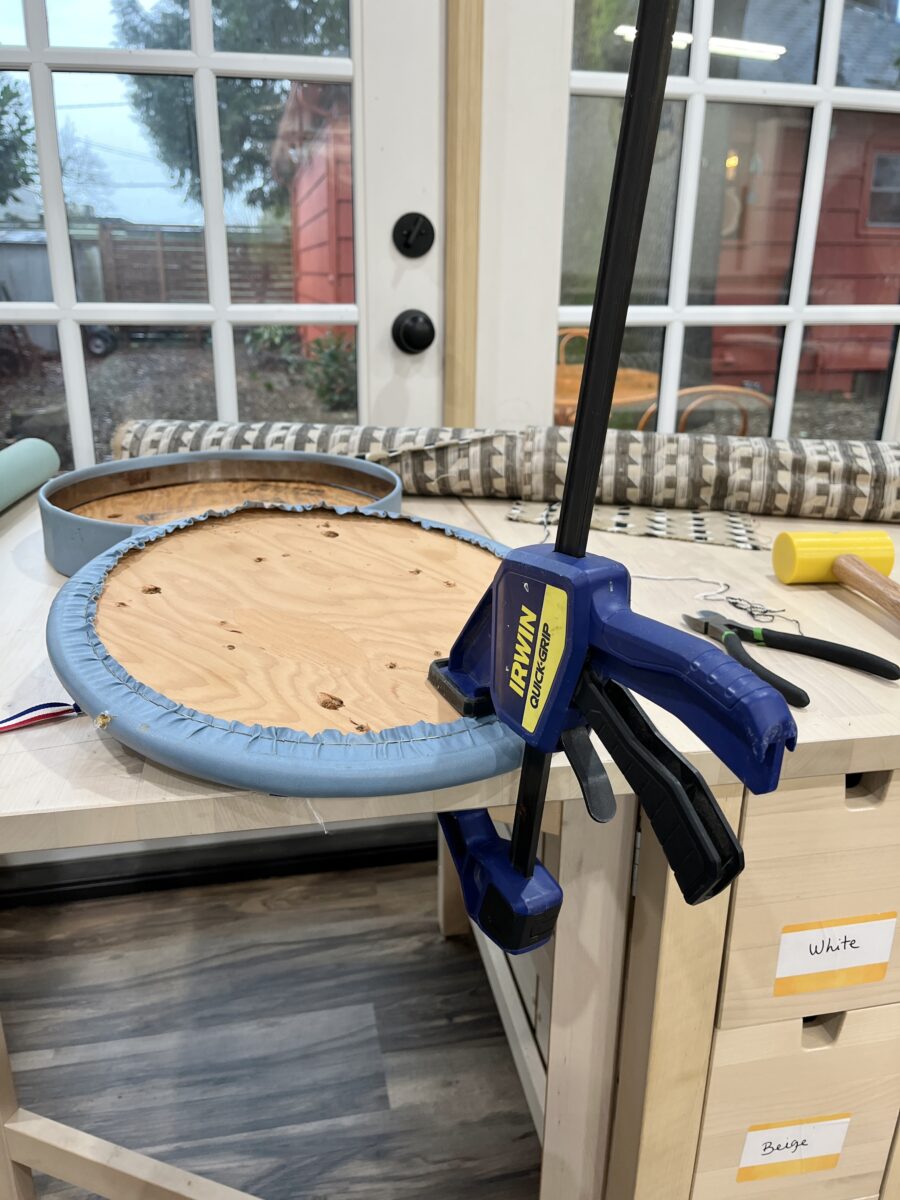
The original vinyl was held in place by a metal circle that pinched it in place underneath the the rim . The new fabric was too thick for that to work, but now there’s a fancy dust cover on the bottom that hides the plywood, plus the fabric wraps the whole way around the metal rim.

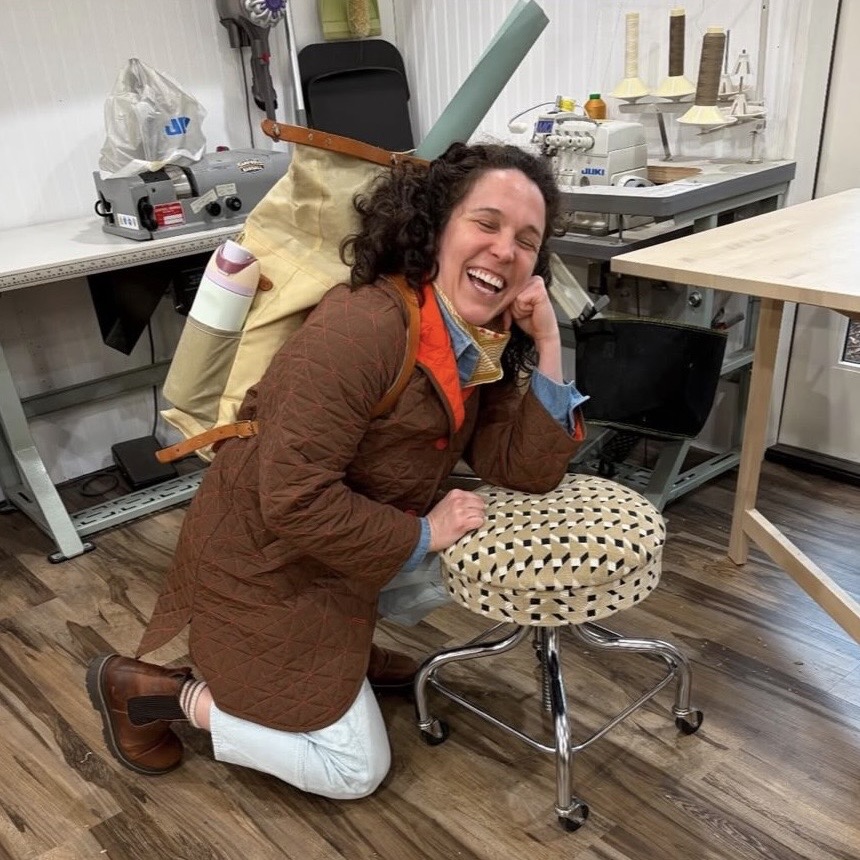
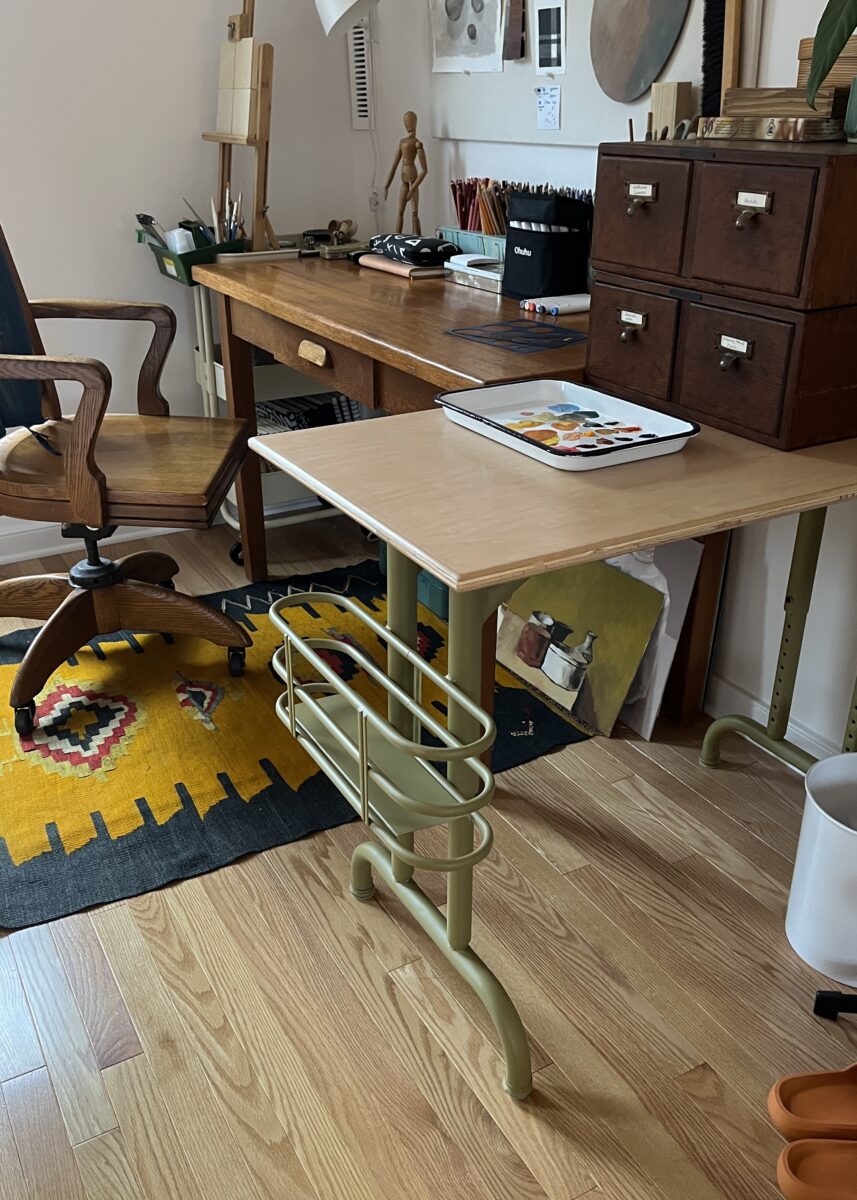
I wrapped up probably an hour and half before the workshop was supposed to end because my stool was one of the simpler pieces. I am definitely going to do more projects with Anne! I want to redo my dining room chairs (4), my computer chair, and maybe even the BIG project of my grandparents’ old recliner and foot stool.

Finally found a light for the knitting nook!

I have been on the hunt for fun lighting for, honestly, years. I wanted something that could be mounted to the wall, was semi adjustable, and looked cool.

Vintage lighting is so hard to find. If it’s already been rewired, it’s a million dollars. If it’s cool looking, it’s a million dollars. If it’s close to garbage, it’s a million dollars.

I finally found this vintage Hansa darkroom safe light at an antique shop for not a million dollars ($46), but still kinda too much money. The tag said it worked, but the the cord was only 3′ long/gross, and it was missing the glass.

I took it home, removed the wiring, cleaned it with WD-40 and then began searching for a new wire ($22.10). Since it was going to be exposed, I figured a cloth covered wire would look the best. I also wanted to use a dimmable bulb. Next, I went to TAP Plastics and bought some mystery scrap for the screen ($2.50).

Rewiring this was HARD. The twisted cloth wire was much stiffer than the original, so I really had to muscle it into the housing. I wish the dimmer switch was closer to the light instead of the plug, but it’s fine. I am so pleased with this $70-ish light! It’s a good reminder to wait to find cool old things. I think it’s suits the knitting nook perfectly.

Making Supplies Cabinet | Part 2

2 Comments

The gentleman’s cabinet is done! It still needs a coat of wax, but it’s upstairs and looking so much better. This thing is solid wood, so I was able to sand out a lot of the deep scuffs and scratches. It’s still sporting some imperfections, but I’m calling it *character*

I am okay with the stain color. It’s a bit more orange than I thought it would be and it kinda makes my eyes vibrate. There’s absolutely no way I’m going to re-sand it though!

I’ve still gotta figure out what goes in each drawer, but I know it’s for sure going to be a home for interfacing and bulkier sewing supplies. I think the big divided drawer is going to be perfect for yarn and knitting WIPs too.

I’m excited to find some art n’ things to style the top of it. The extra surface has already proven super handy and adding a light to this dark corner has lengthened my nighttime making sessions.

Another Piece of Furniture for Making Supplies | Part 1

2 Comments

I absolutely love Dental Cabinet and it fits a ton of supplies. But its drawers are full and I have some more stuff that needs a home.

Enter the Gentleman’s Chest, a mid-century piece I first saw on marketplace, but sold before I could arrange a pickup time. The size and configuration of drawers feels perfect for all the stuff I have just kinda piled up in this corner currently.

Somehow another listing for the exact same piece popped up and since it was being held at a consignment shop, I was able to snag it. It’s solid wood, so I am confident it will be a much faster restoration than dental cabinet was. I won’t have to agonize over choosing a paint color since I’m not painting this wood, even if it is dinged up.

I plan to refinish it over the holiday break and I’m posting about it now for accountability!

Dental Cabinet | more adventures in furniture restoration

7 Comments

I bought this old, heavy, and apparently very dirty dental cabinet two years ago with the intention of cleaning it up and storing sewing supplies in it. I knew at the time that it was going to be a big job, but damn, I really underestimated it.

In addition to 75+ years of muck, and a little bit of mildew, there were a few forgotten treasures inside. The diagram of “The Teeth of a Seven Year Old Child” was my favorite find.

I cleaned the whole thing and stripped the drawer fronts of paint, but then simply couldn’t pick a color. Then winter hit and I didn’t have to choose a paint color… and then it was two years later…

Well I think working through my sewing WIPs made me want to wrap up this furniture WIP. So I went back to the paint store and picked up even more color chips.

It came down to these two colors and since I already have a lot of green in my space, I went for clay. The basement lighting made it look like a Halloween cabinet and I did briefly question everything. But once the back was dry, I brought it upstairs and in natural light, it looked just as I’d imagined.

In the stripping process, I accidentally removed spots of the enamel on the insides of the drawers, which added MORE things I needed to paint. But ultimately the insides needed to be repainted because they were truly gross, even without my paint stripping damage.

I used spray enamel for just the drawer interiors and left the original paint on the outside because of the locking mechanisms. There’s also writing on the bottoms of the drawers. This cabinet appears to have been built by a couple of people (they all initialed a little sticker) and the process included numbering the cabinet itself and each of its parts. So each drawer and each drawer pull has a hand written number, which is pretty cool, and I didn’t want to cover that up.

The cabinet probably weighs around 200 lbs and needed to be maneuvered up two flights of stairs. It was awkward and a little scary but we did it! Due to space restrictions, I had to work on the drawers in two batches. Getting the first batch done and in the cabinet was really exciting.

My paint job isn’t perfect, but I wasn’t starting with a perfect surface either. I did my best and think it looks a whole heck of a lot better. I added this photo to show how much time has passed – my hair is quite a bit longer than in the first picture.

This cabinet holds a lot and I’m really enjoying that every drawer has a certain supply in it.

Adventures in Furniture Restoration

1 Comment

I love vintage school desks and bought this one about a year ago. I was drawn to its silly little basket. Deluded by TikTok DIYers, I thought it would be a piece of cake to fix up. It was not.

These are the listing images. I was probably also swayed by that beautiful flat file in the picture. At some point the original top had been replaced with these rustic floor boards (?) that were gross, warped, and generally stupid looking, so with the help of my husband and his tools, we made a new tabletop out of plywood.

The paint on the frame was chipped and the saddest of school beiges, so I decided to try stripping it off, which in hindsight, was a really bad move. There are so many crevices in that silly little basket. The paint easily came off of the bottom portion of the legs, but the rest of it was pretty stubborn and I set the whole thing aside for months.

Well I learned that unpainted metal likes to rust, and rust it did. So after scrubbing with WD-40 and sanding off the remaining paint, I was finally able to prime and paint. I picked a color that ended up being more vibrant than I wanted (why are the cap colors so different from the actual paint?), but overall I’m pretty happy with it and the extra surface it’s providing me in my art making space.