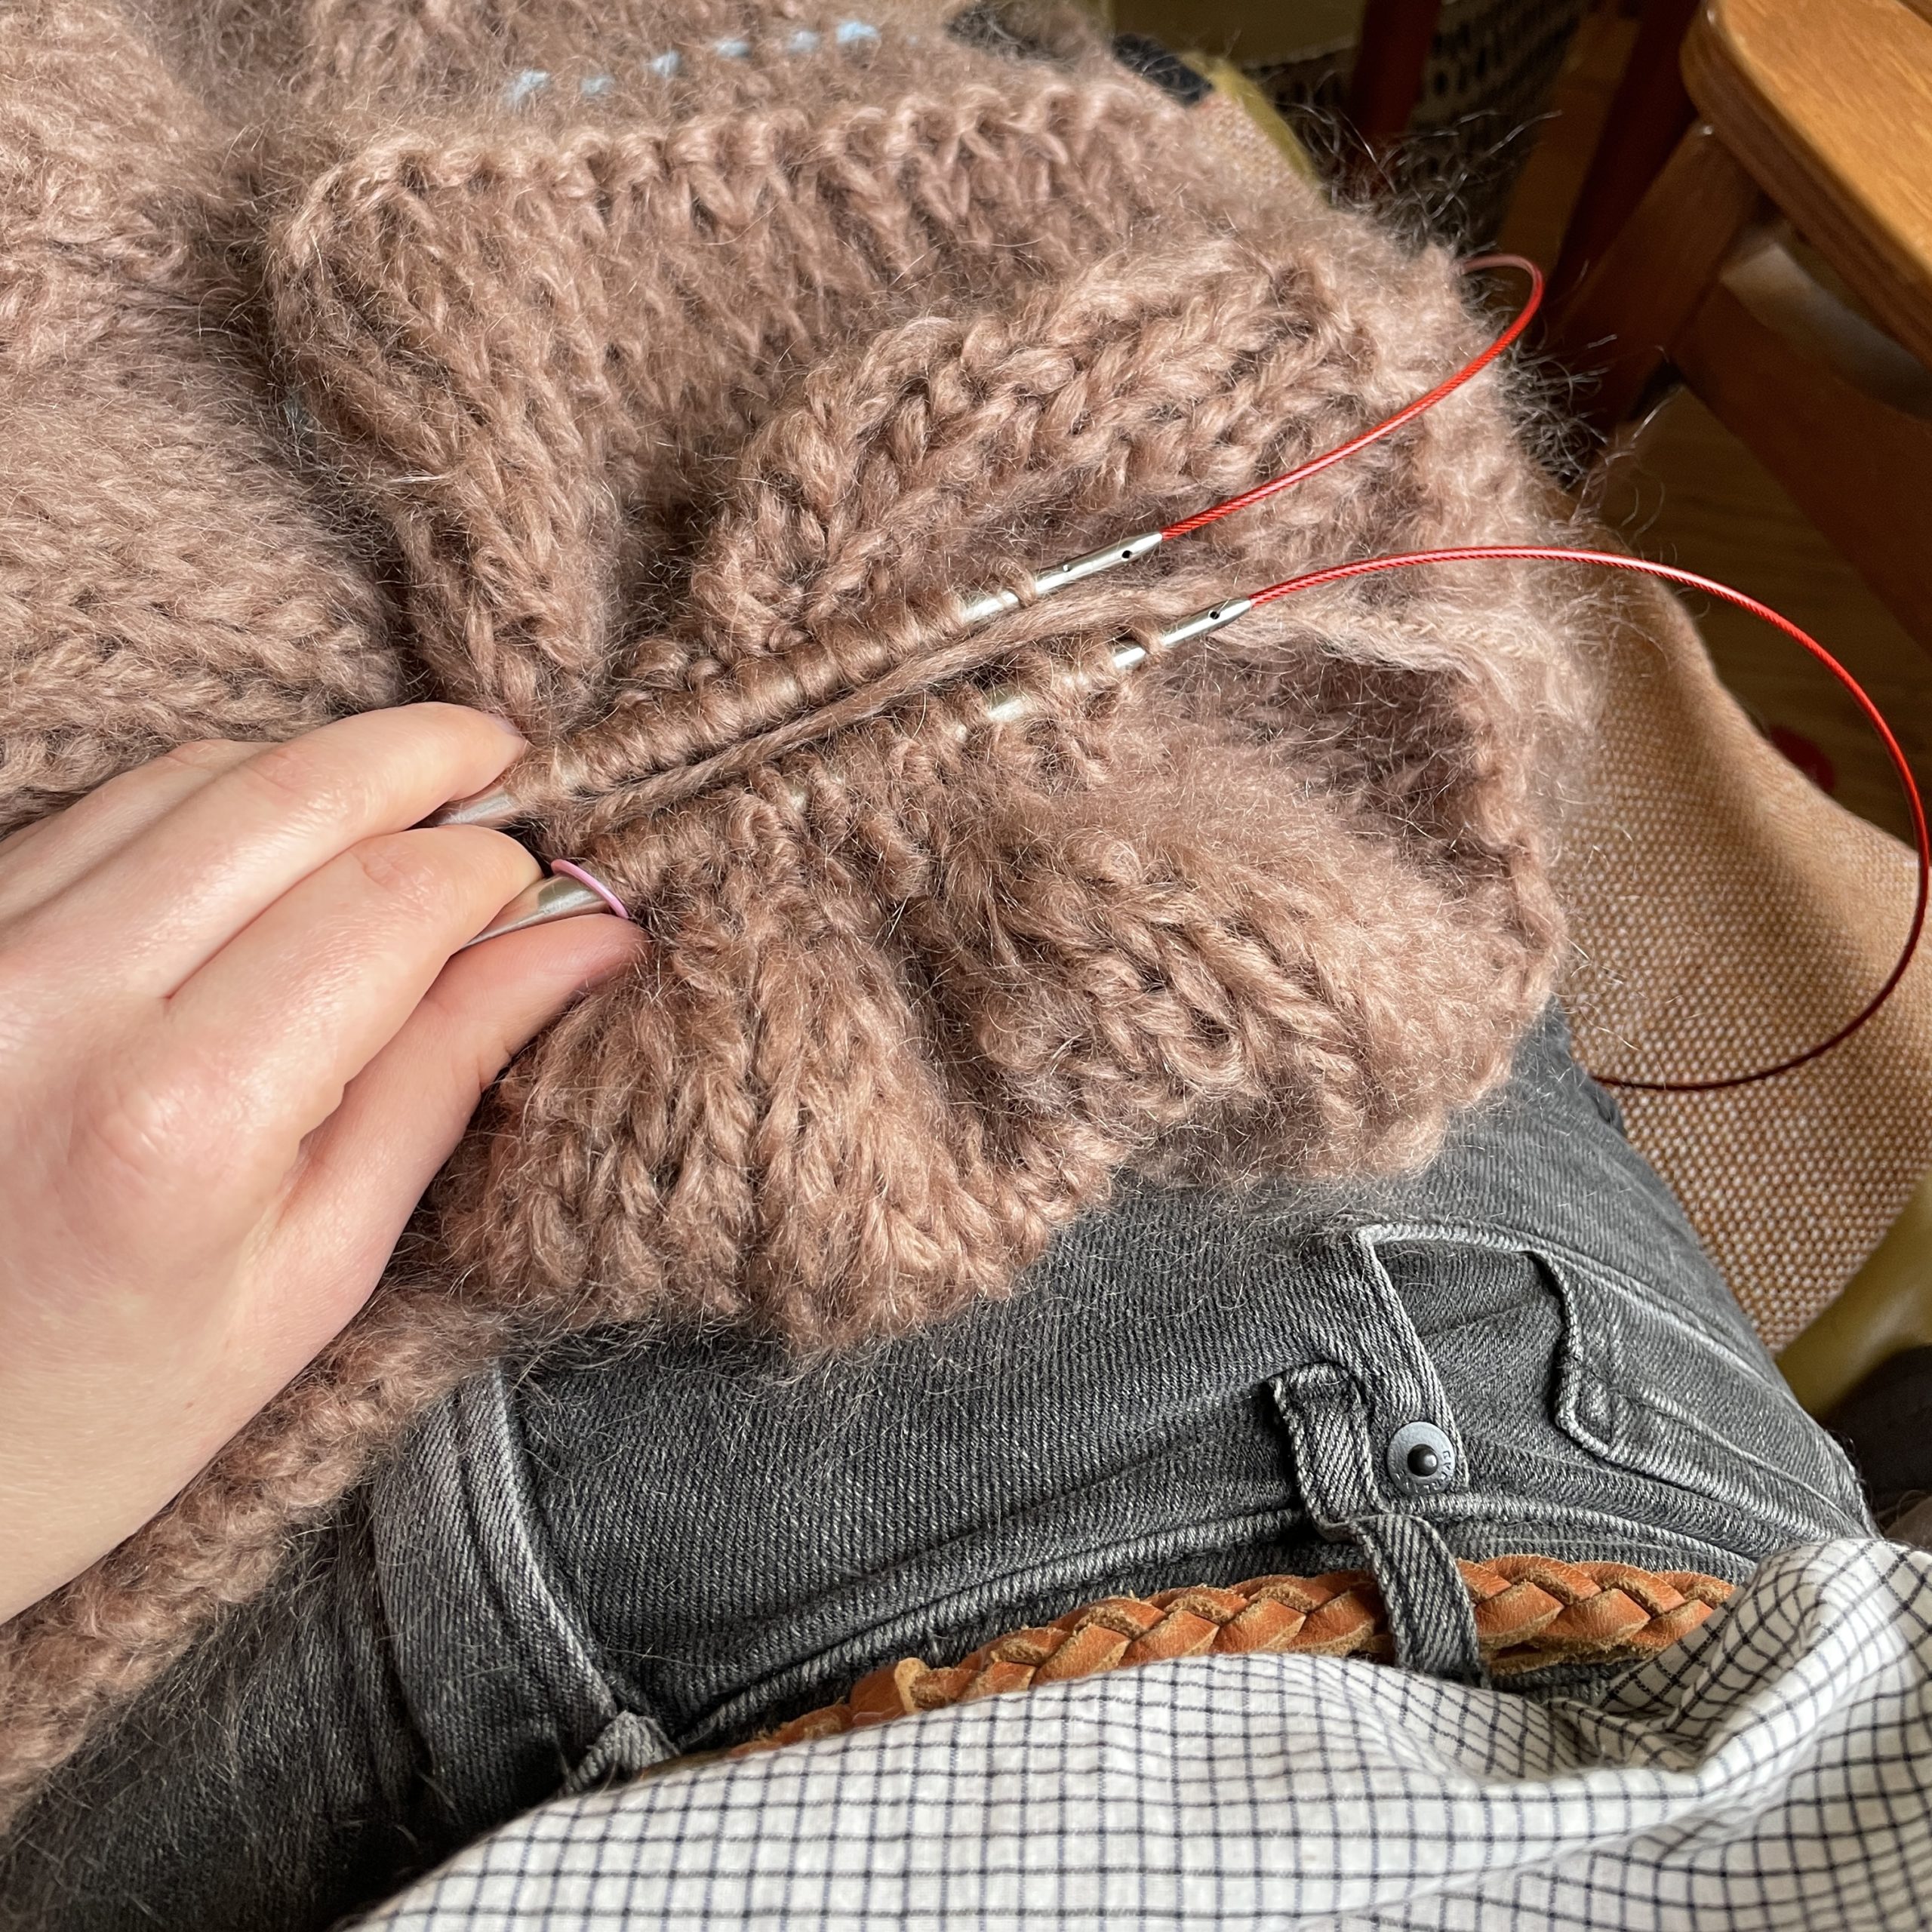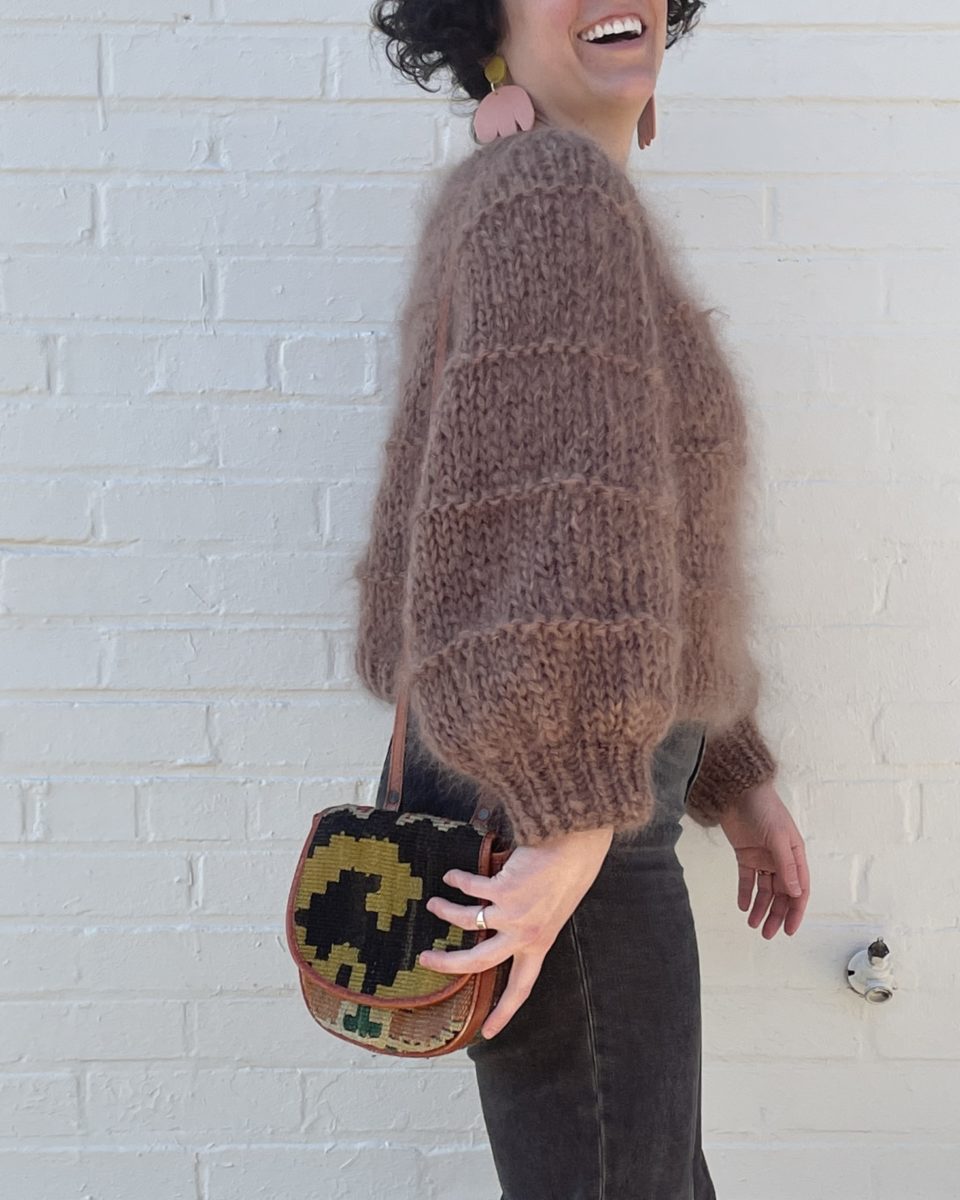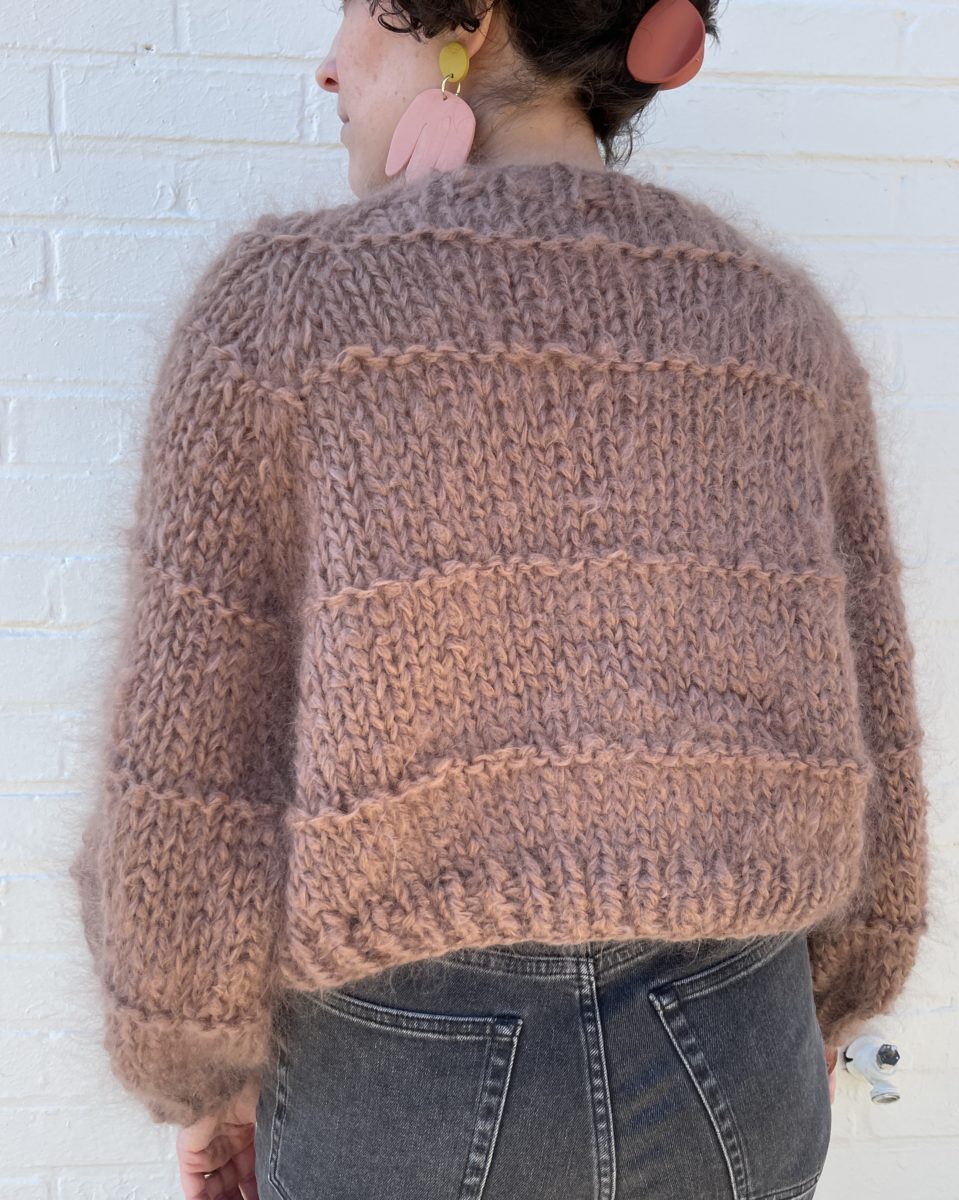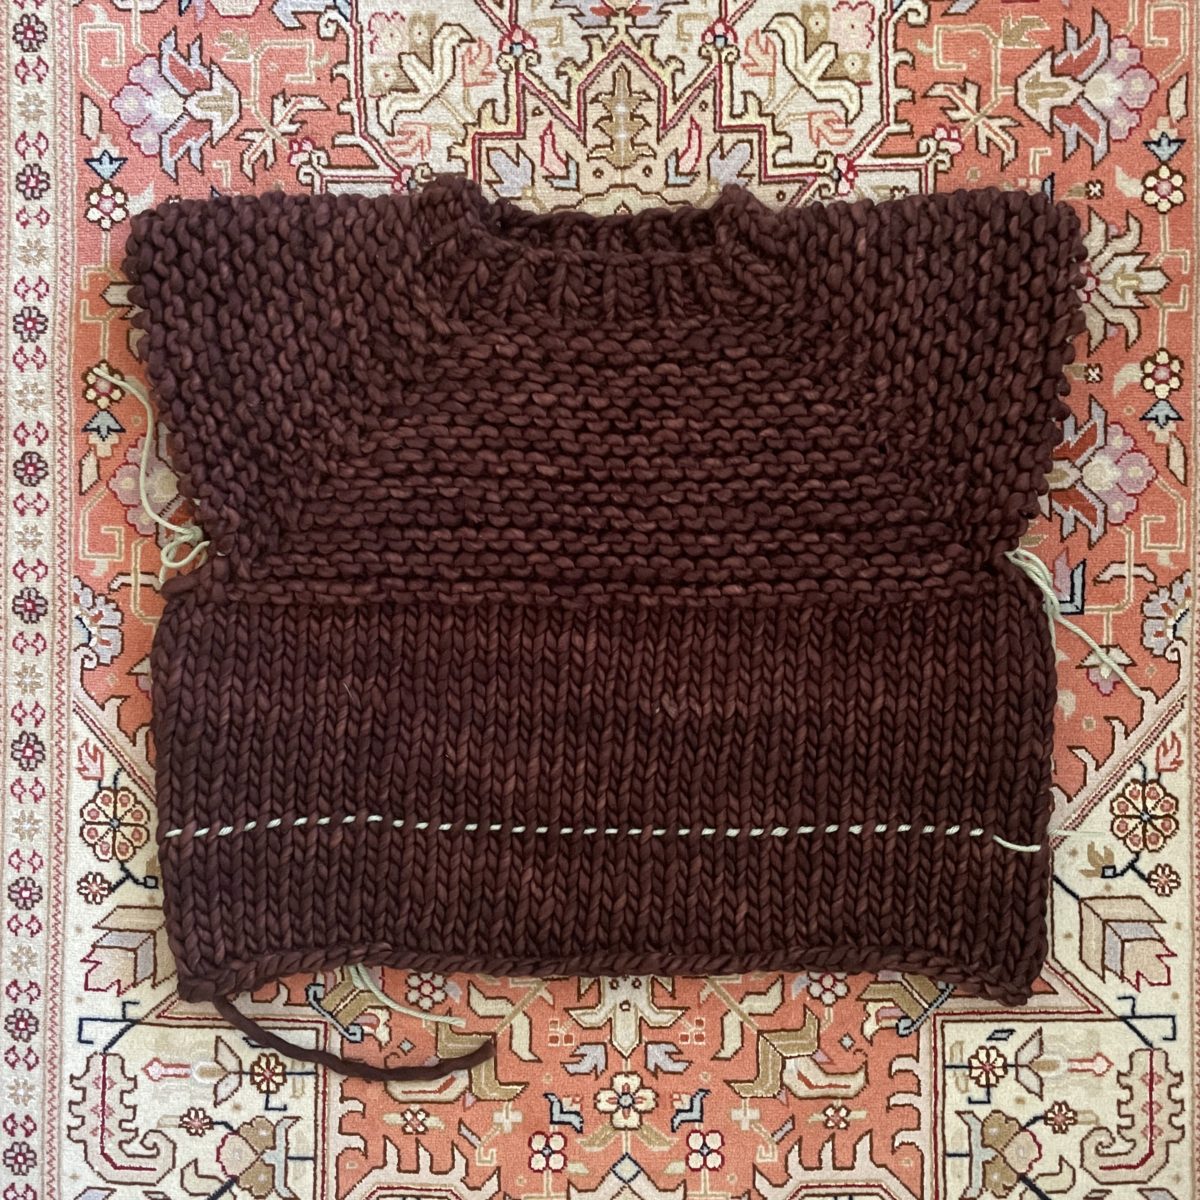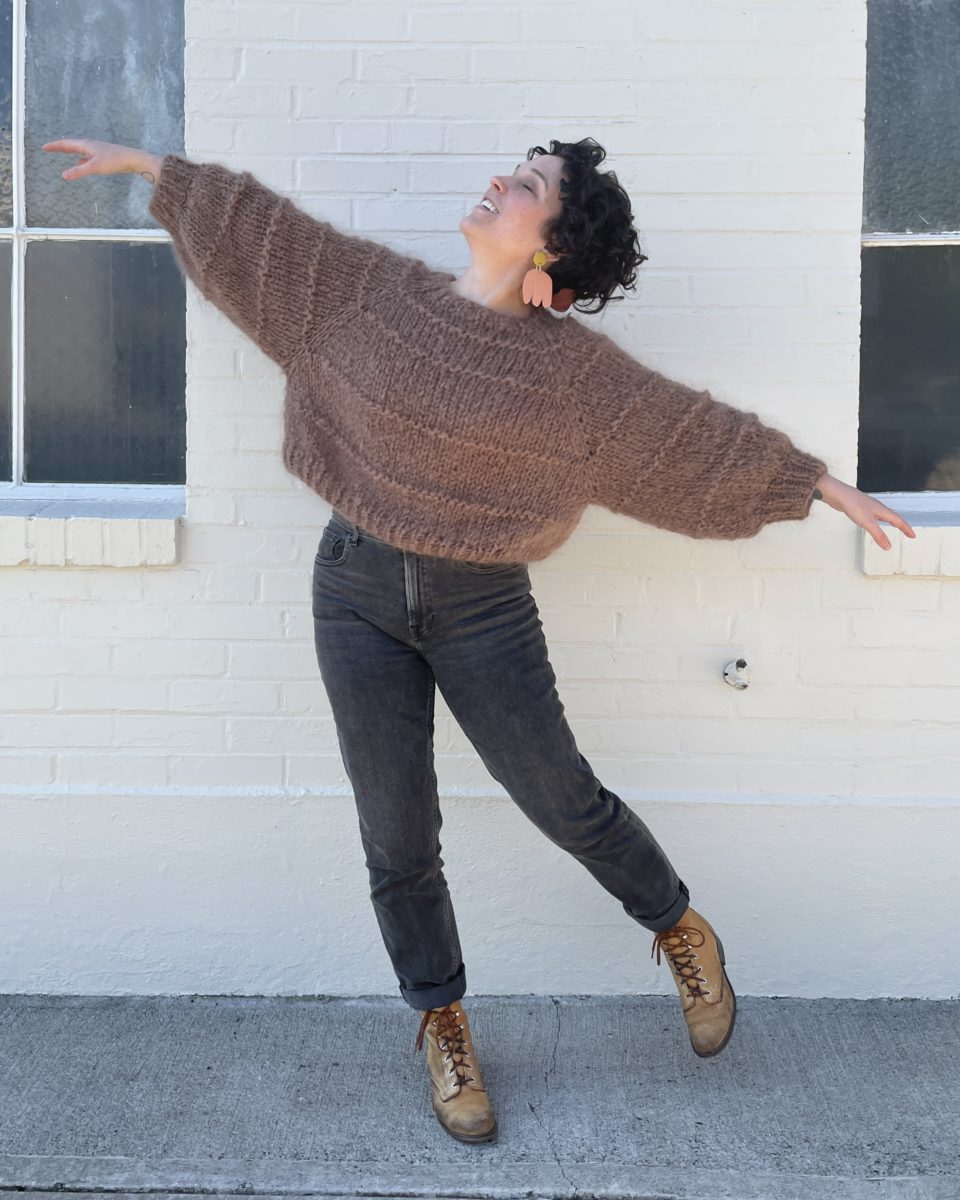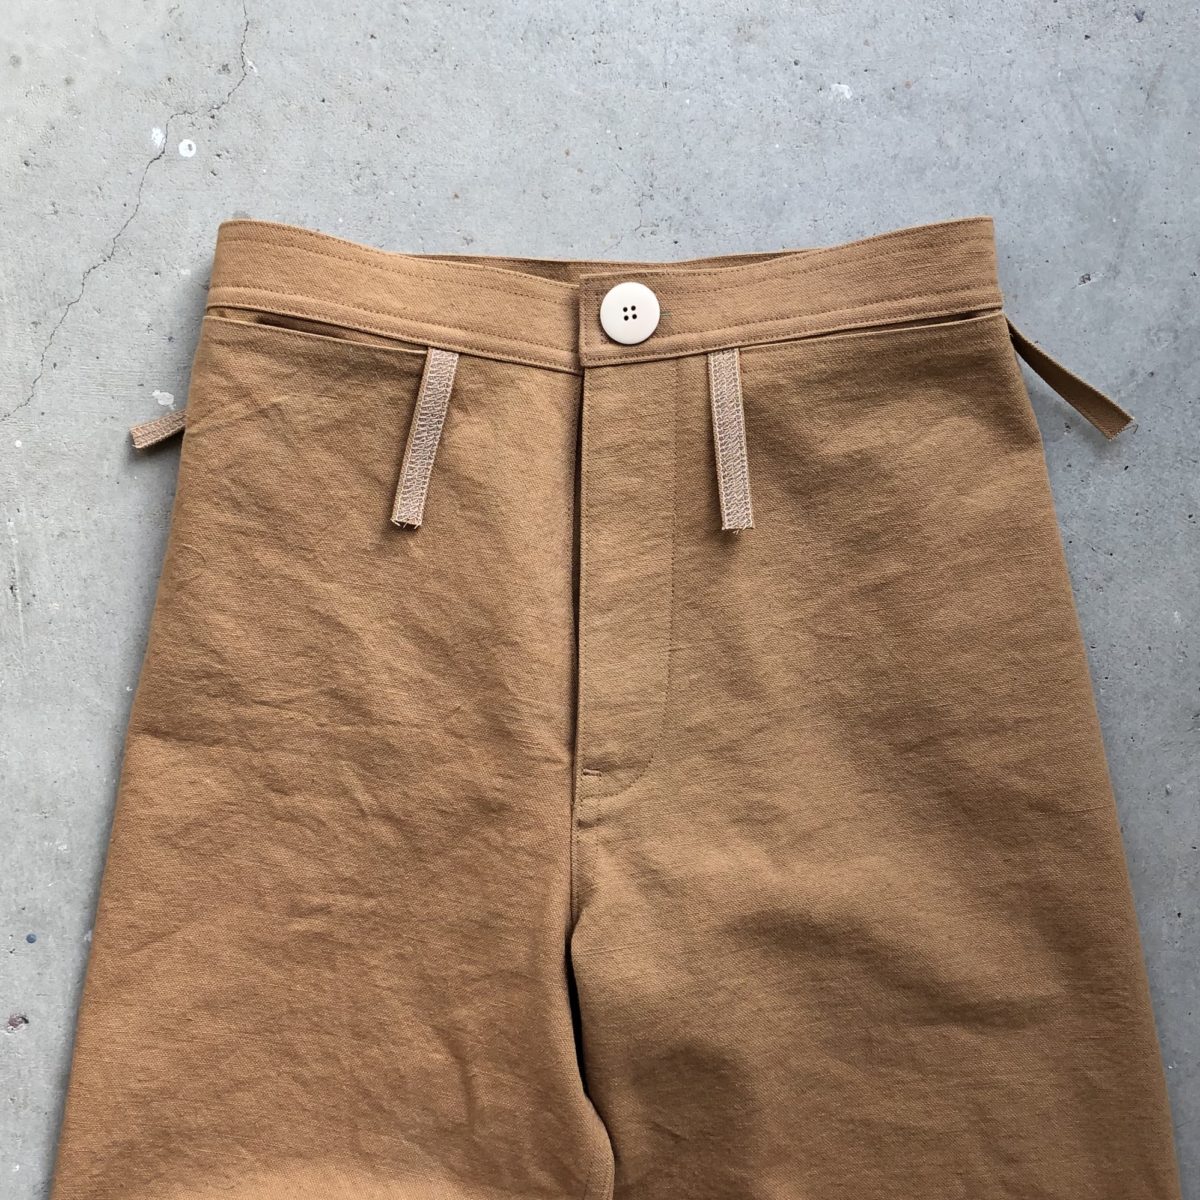

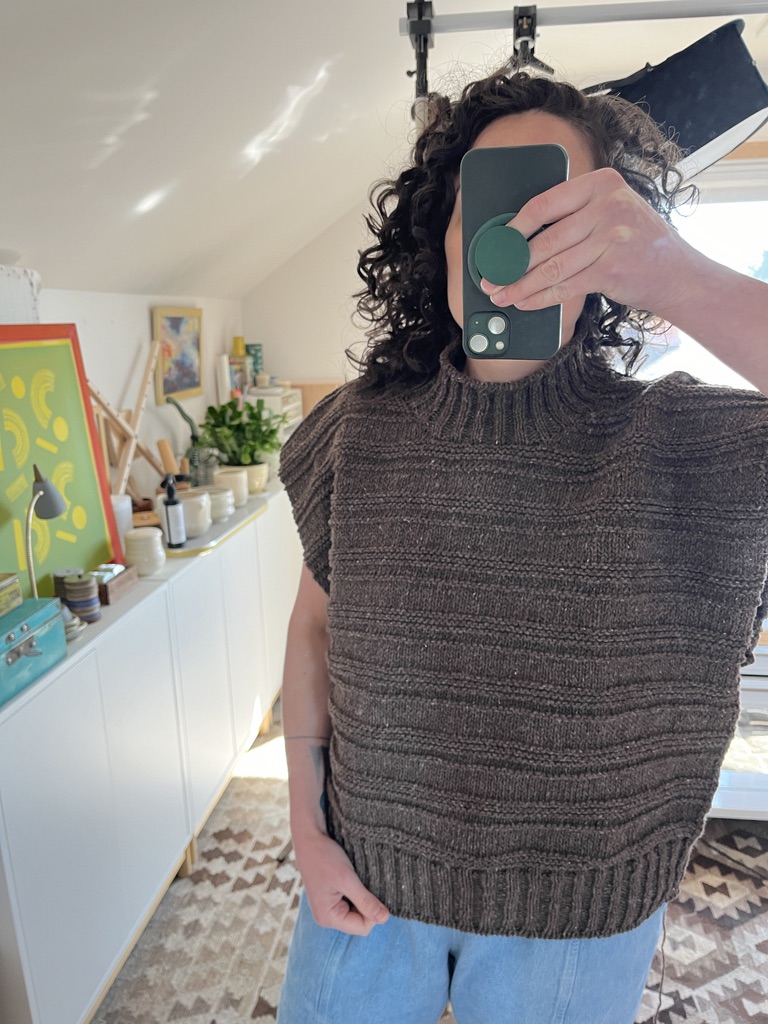
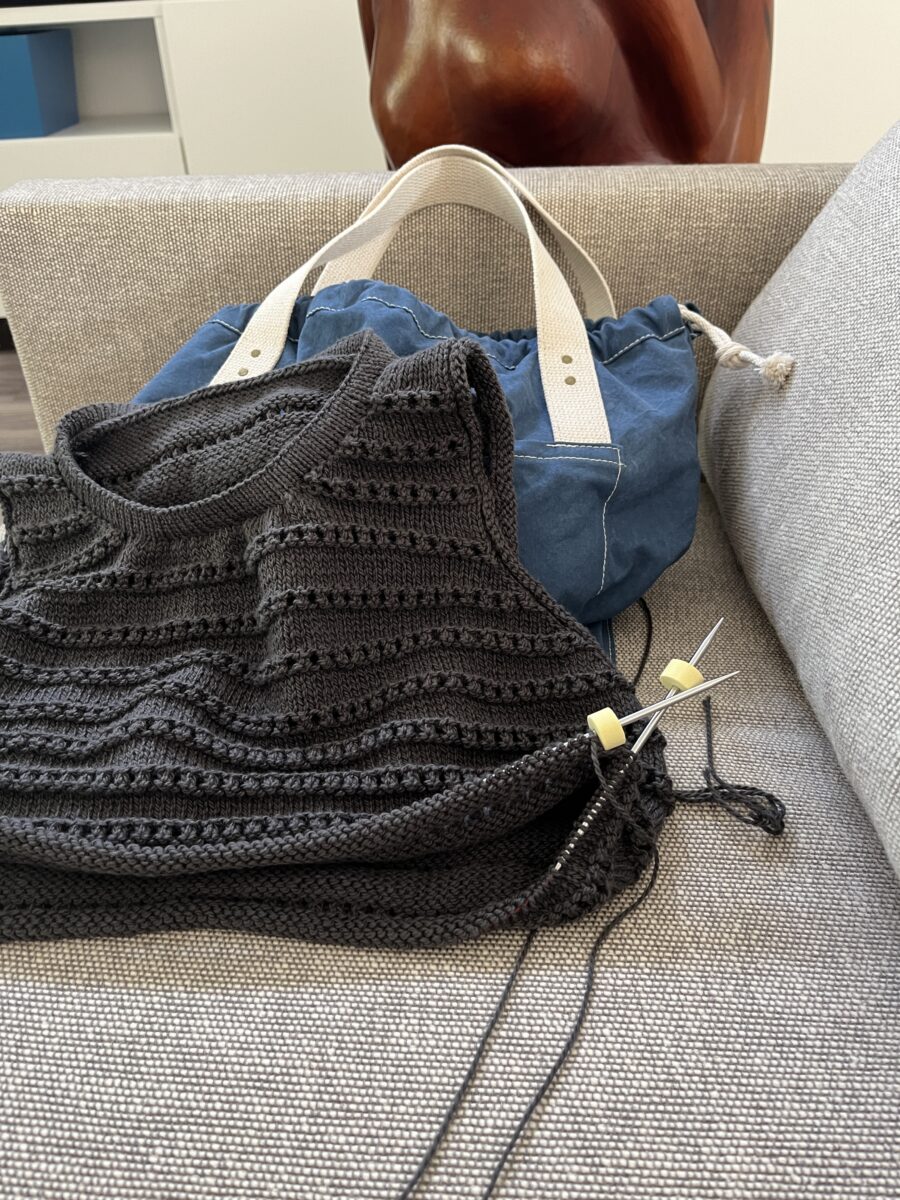
After finishing my Seasons Cardigan, I immediately started this Clay Sweater. It’s a pattern I knew I wanted to knit the minute the pattern was released. I even bought the same colorway of yarn as the photo sample because it’s so perfect.
It almost flew off my needles, but then the weather started to warm up and an upcoming international trip convinced me I needed to start a more portable summer project.
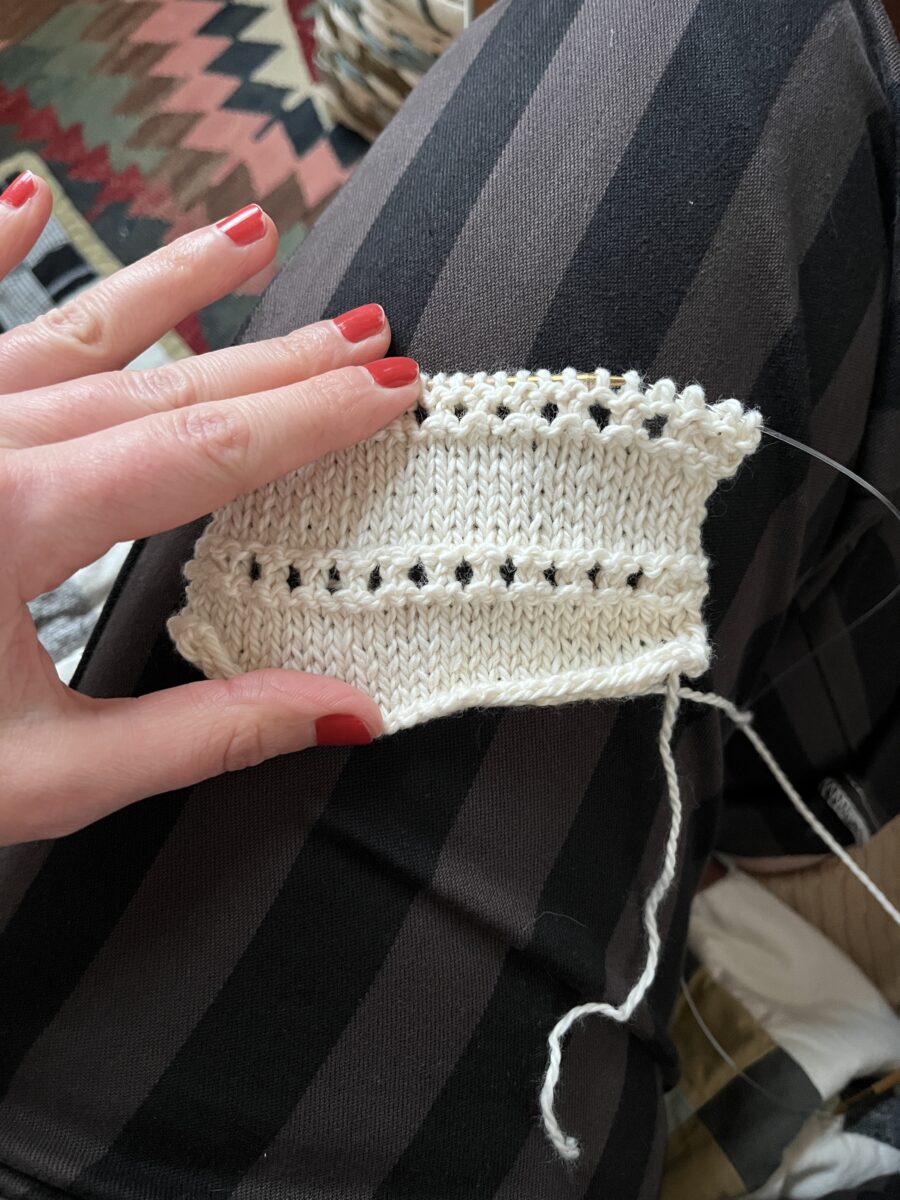
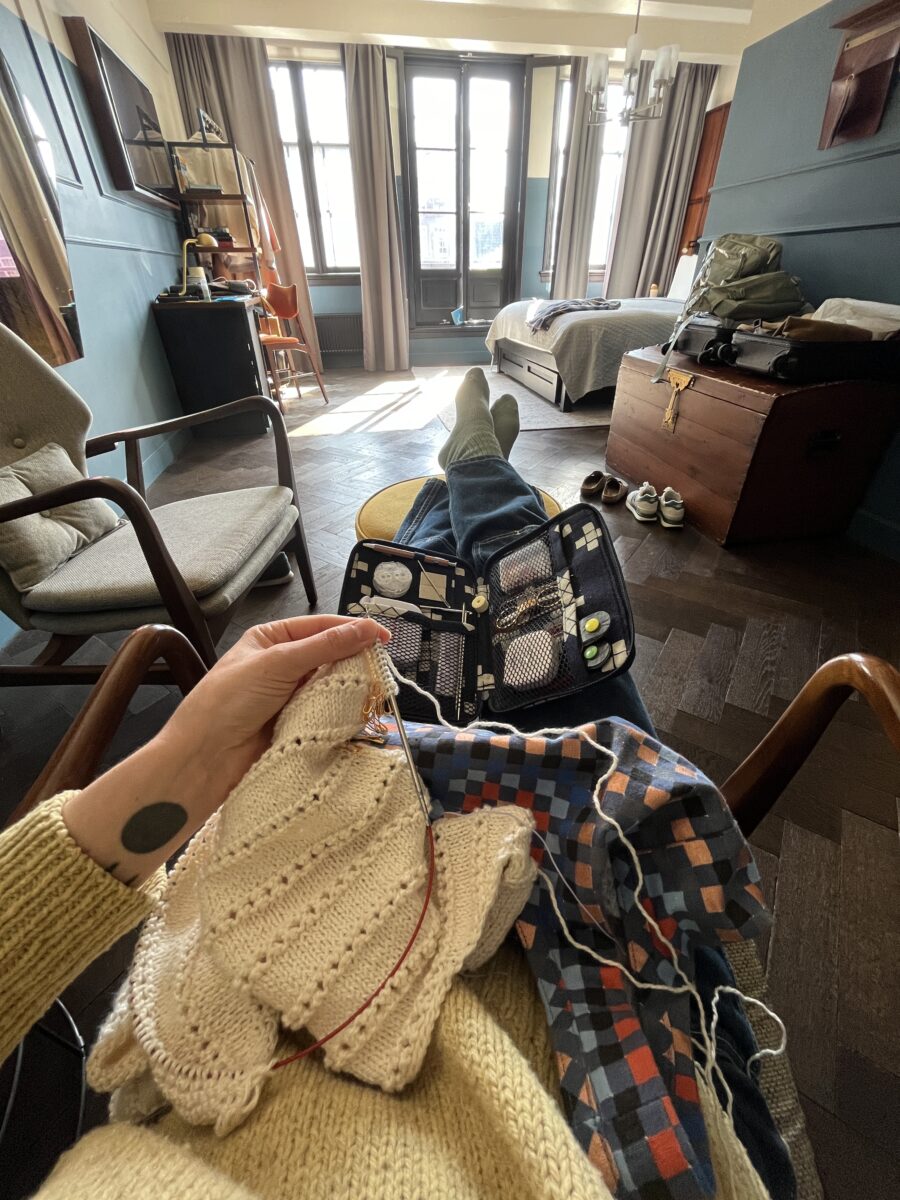
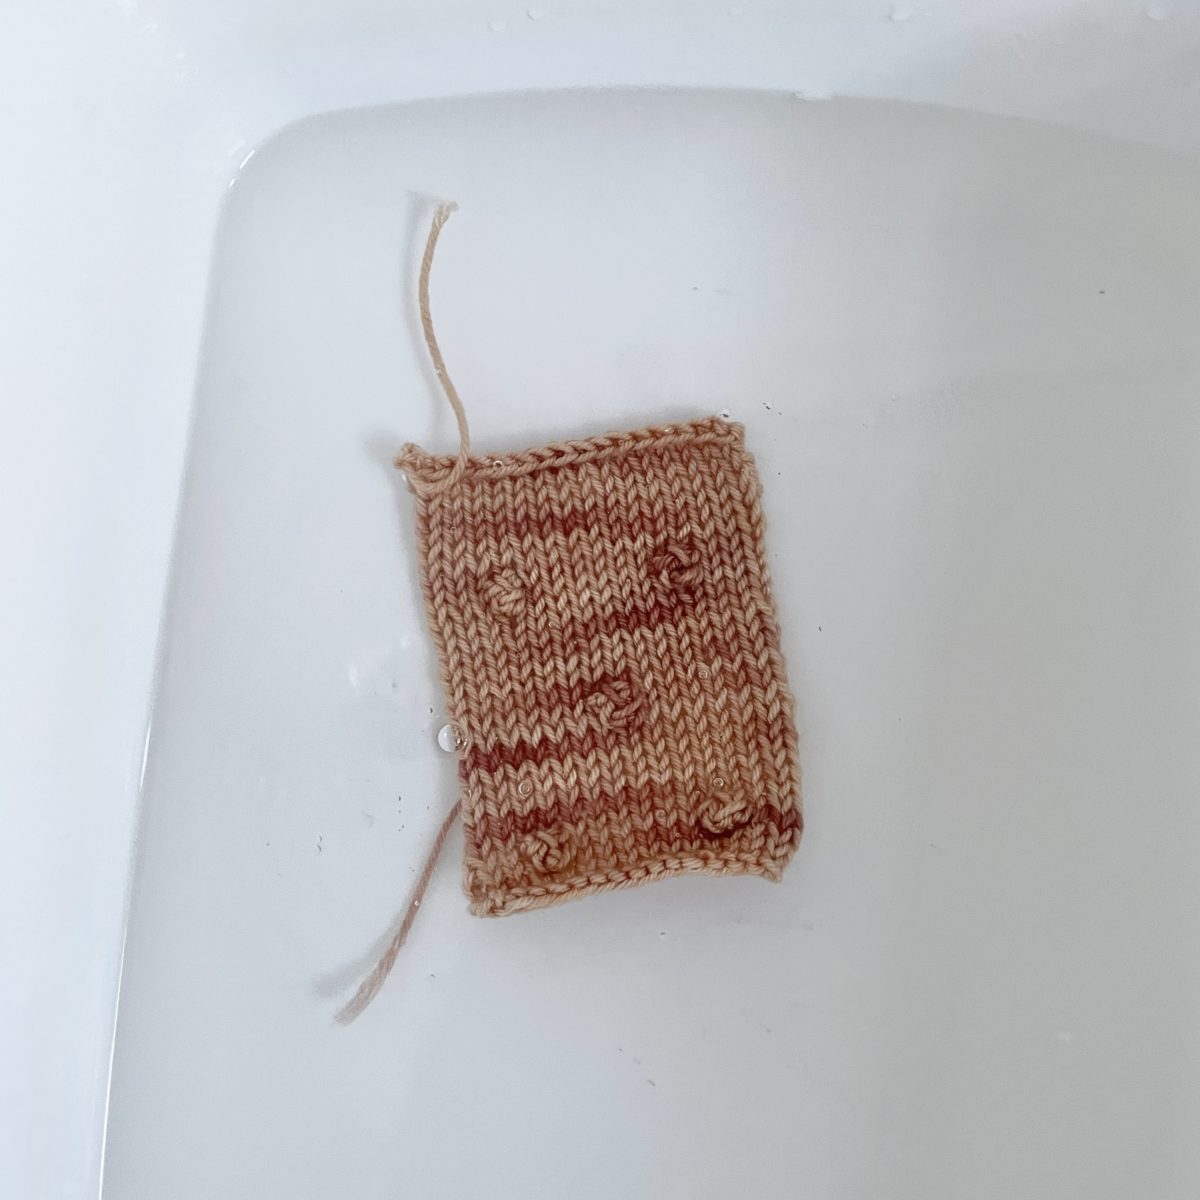
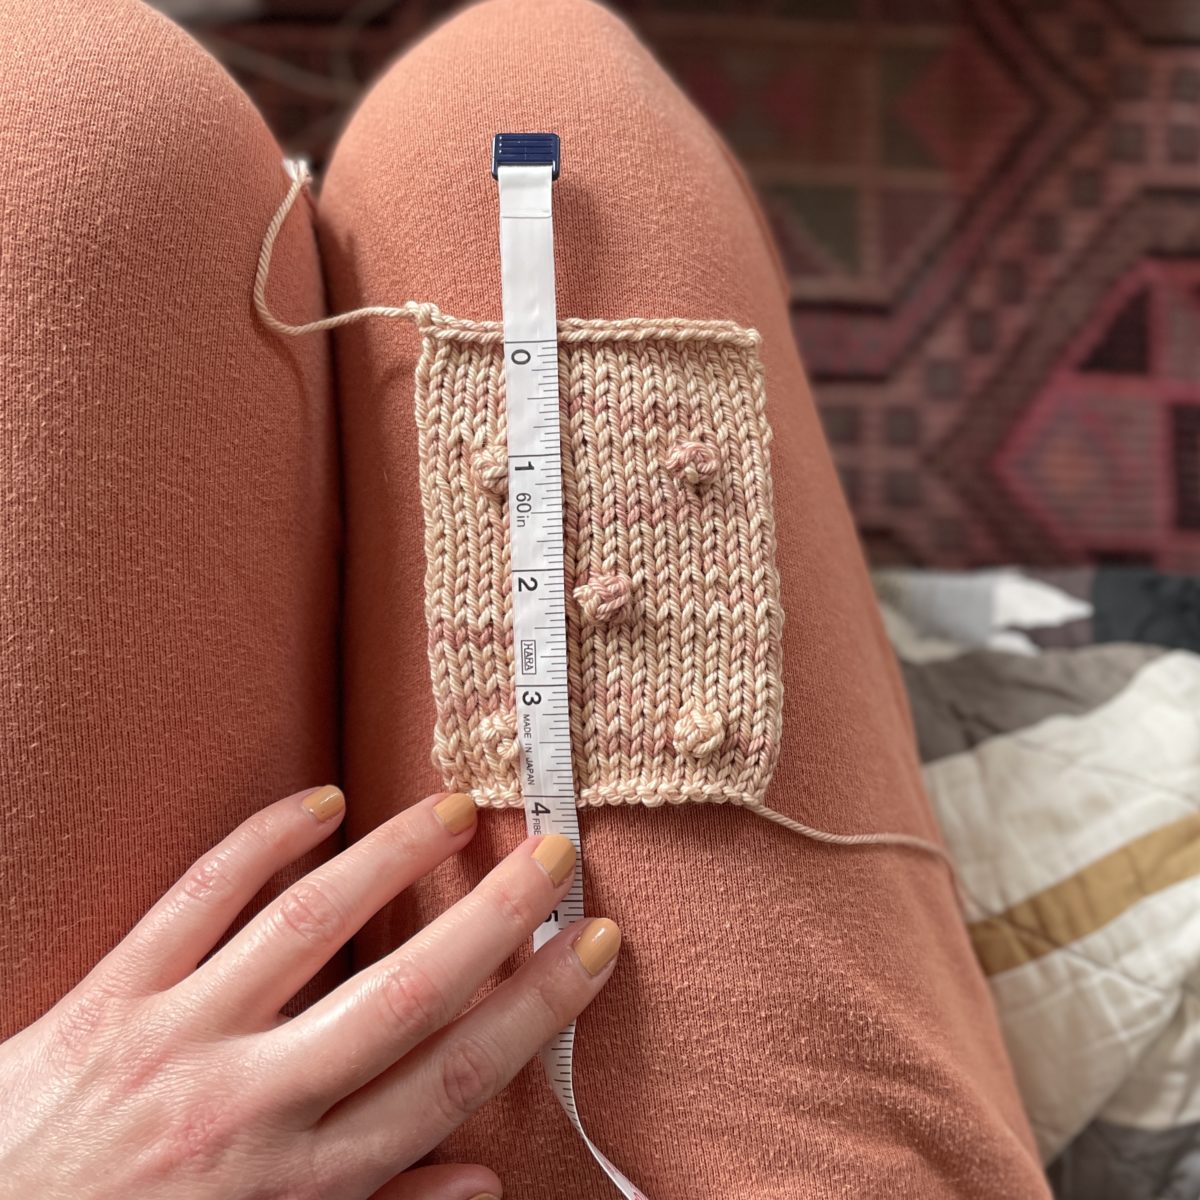
So I set aside my sleeveless Clay, picked up some cotton yarn, and stared knitting a tank top. This design is simple, but the instructions were hard to interpret sometimes and I made mistakes that required ripping back a lot. After knitting the front, I started to suspect the fit would also be weird. But I persisted because I didn’t have a way to try it one while traveling and I couldn’t not knit on the plane.
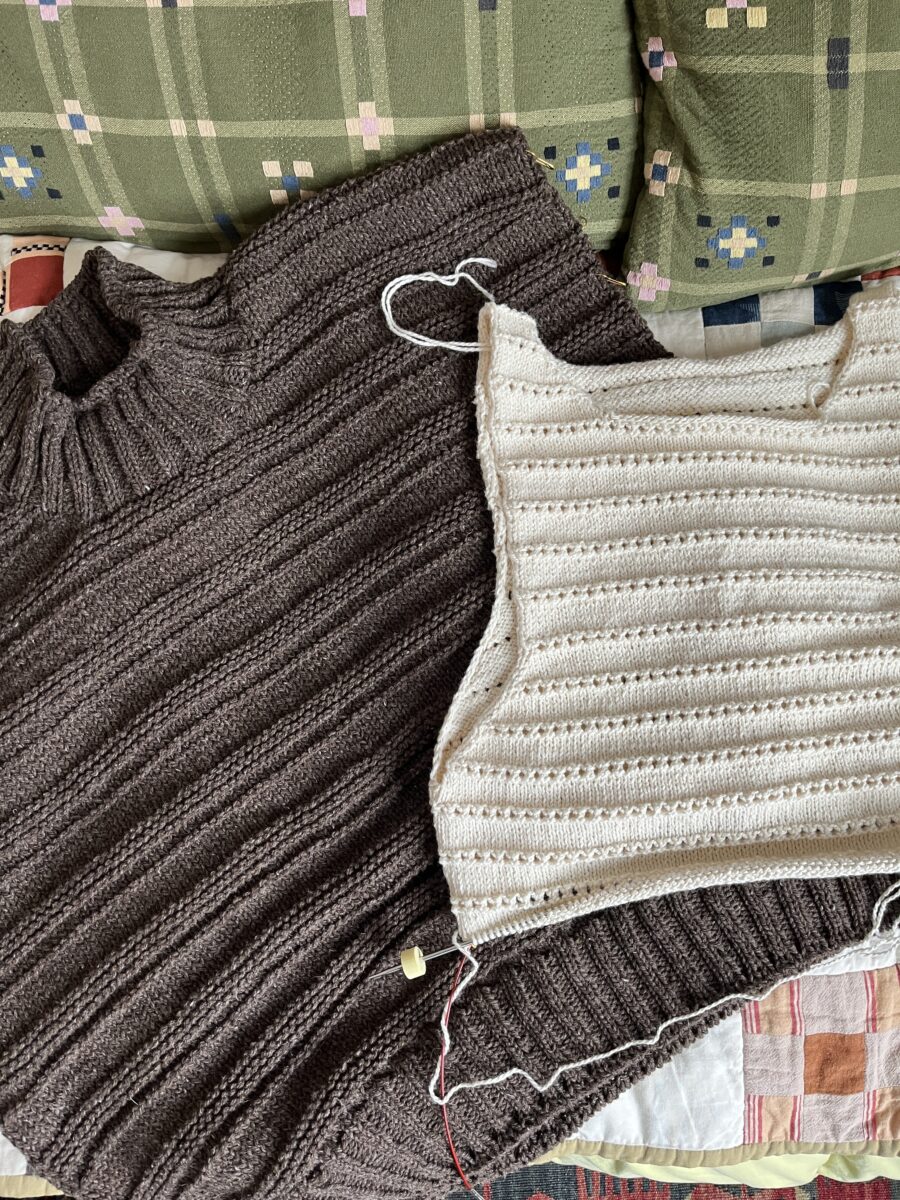
When I got home and tried it on… it offered up so much side boob. I was frustrated and for some reason, my solution was… to make a second one? I actually bought enough of the same yarn in a different color to make it again! I felt I needed to have the original to reference, I guess? On this version I started the armhole shaping immediately after completing the neckline shaping and I’m much happier with it. However, it is currently waiting to be bound off, summer being very much over.
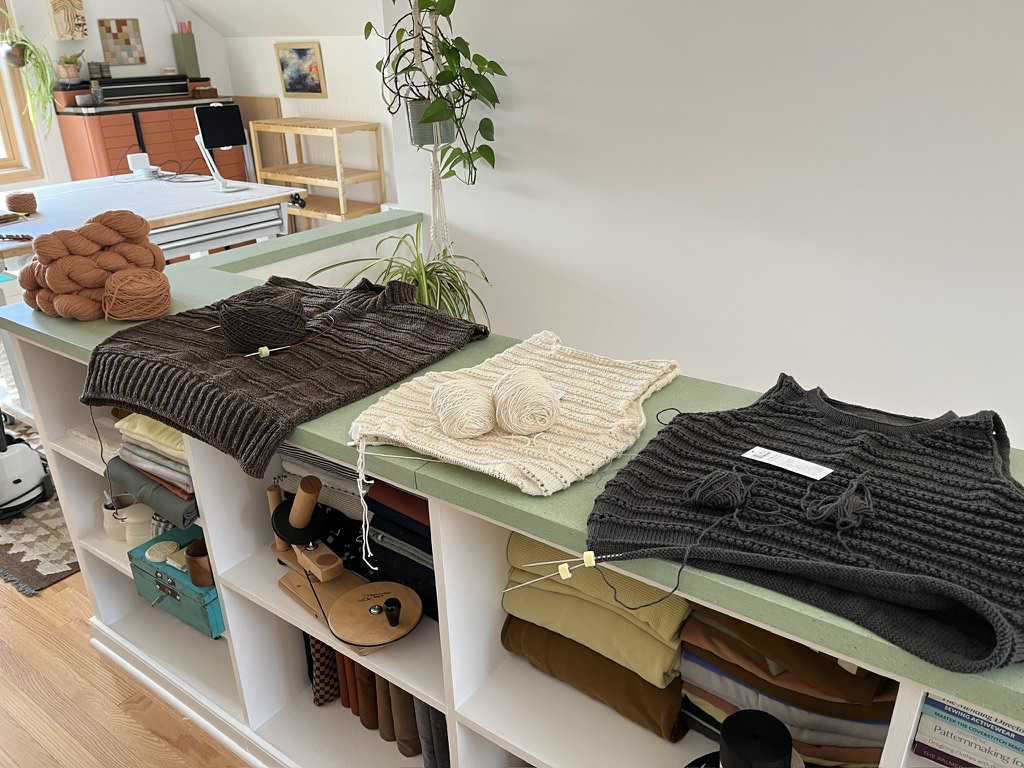
And even though I clearly have THREE other knit wips, I started a new one. While I was recovering from major surgery, I wanted to start a fresh, new project that had no baggage!
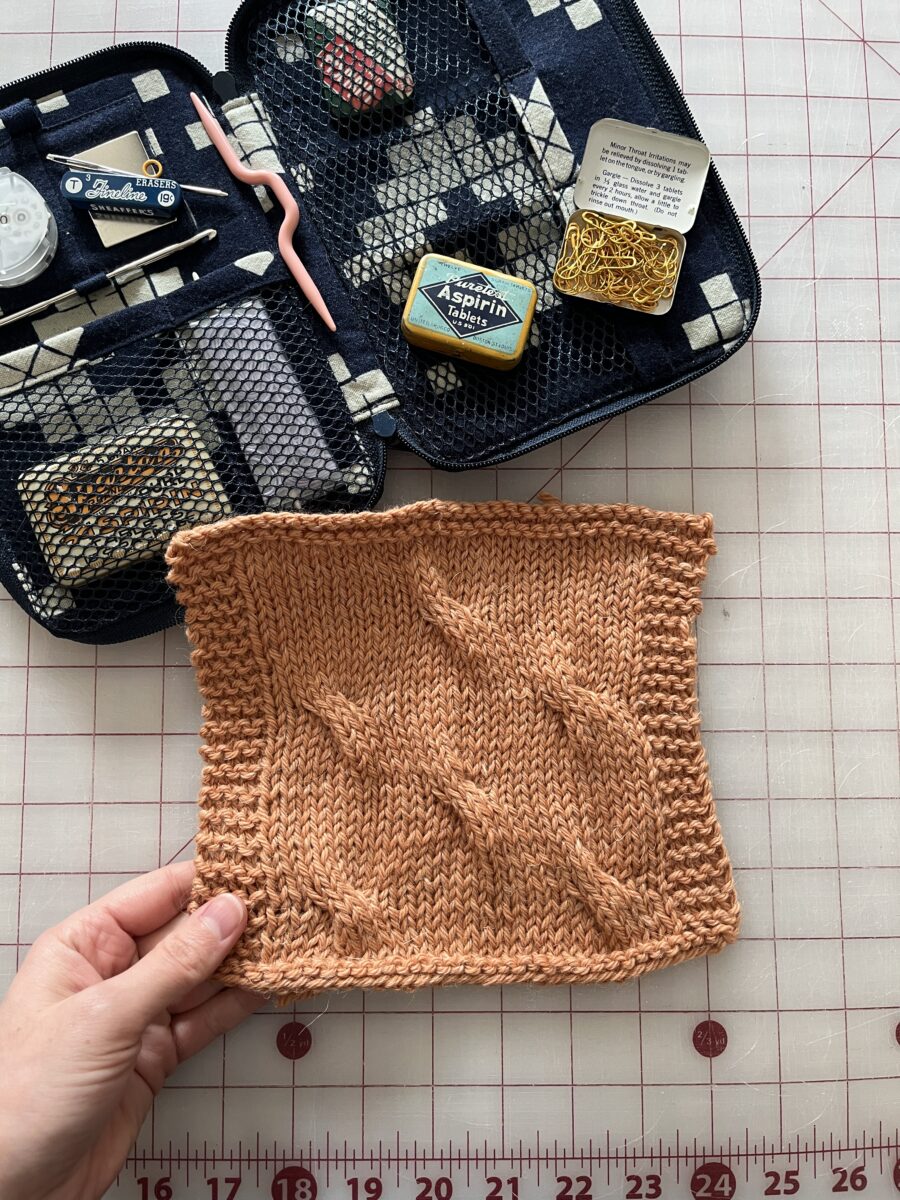
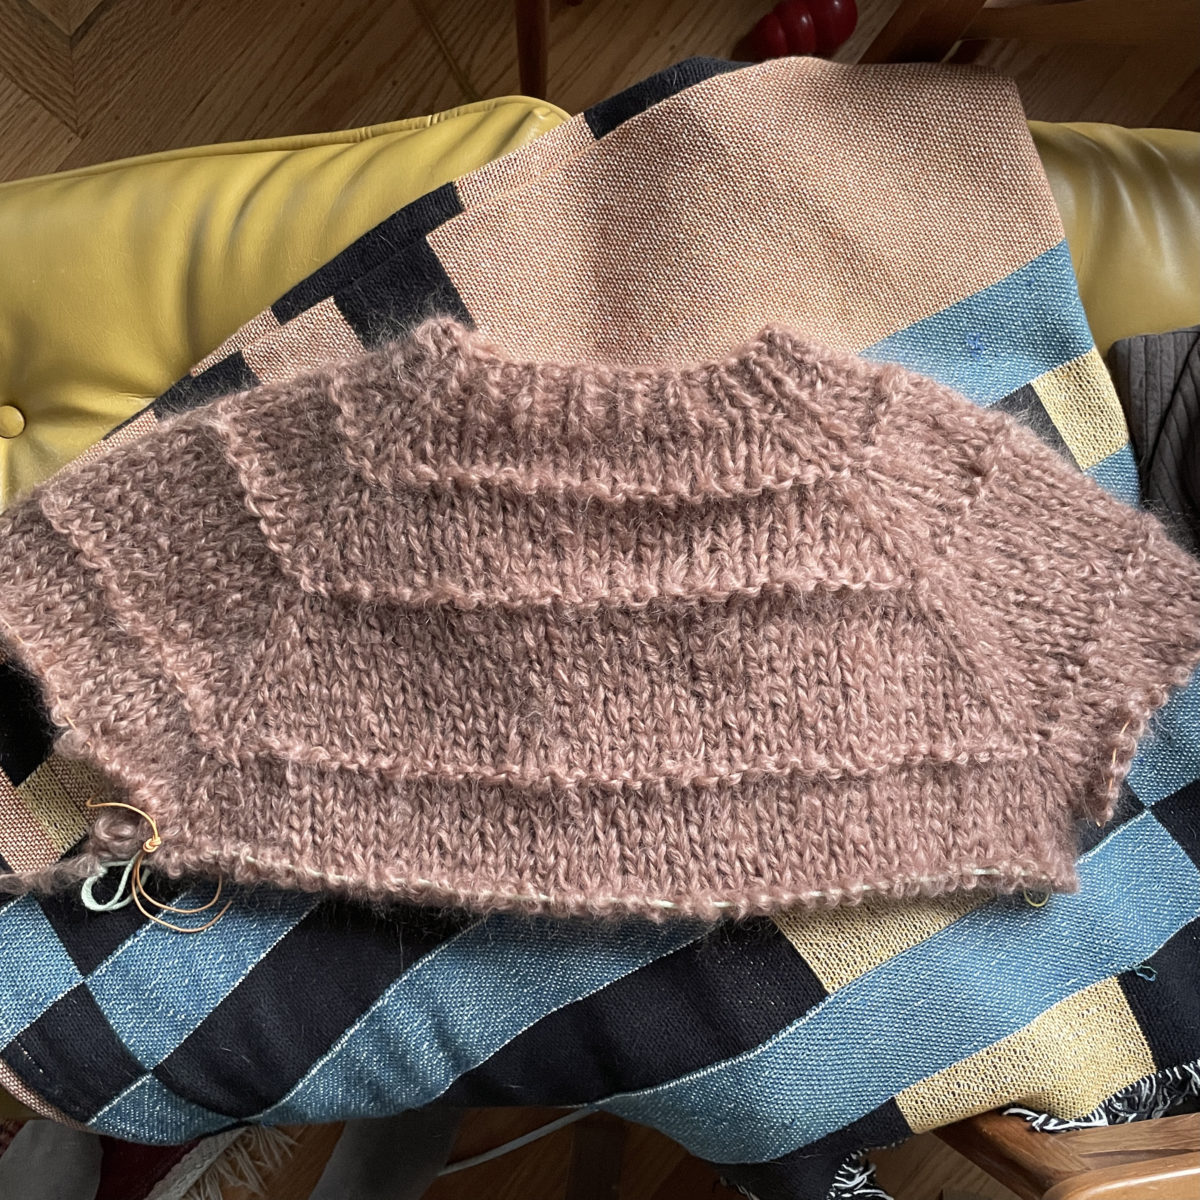
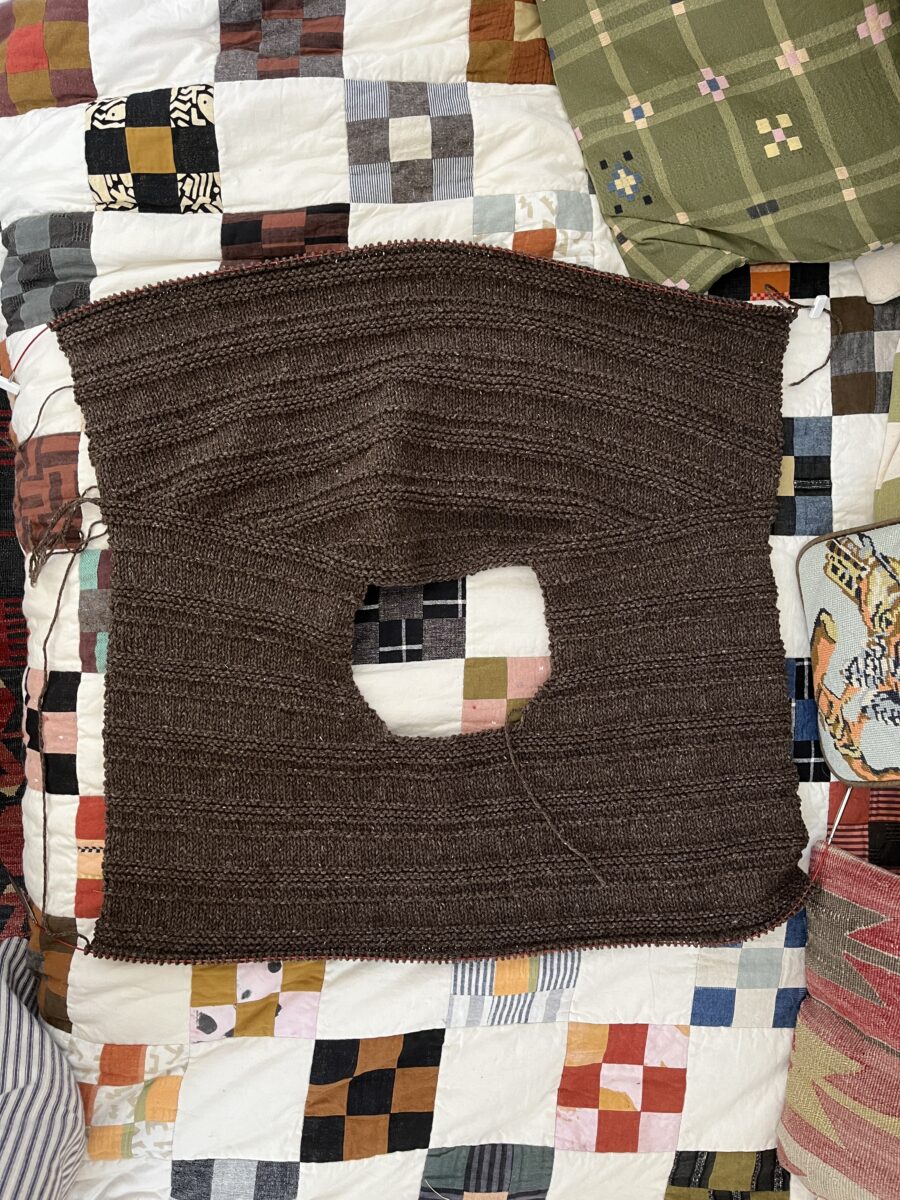
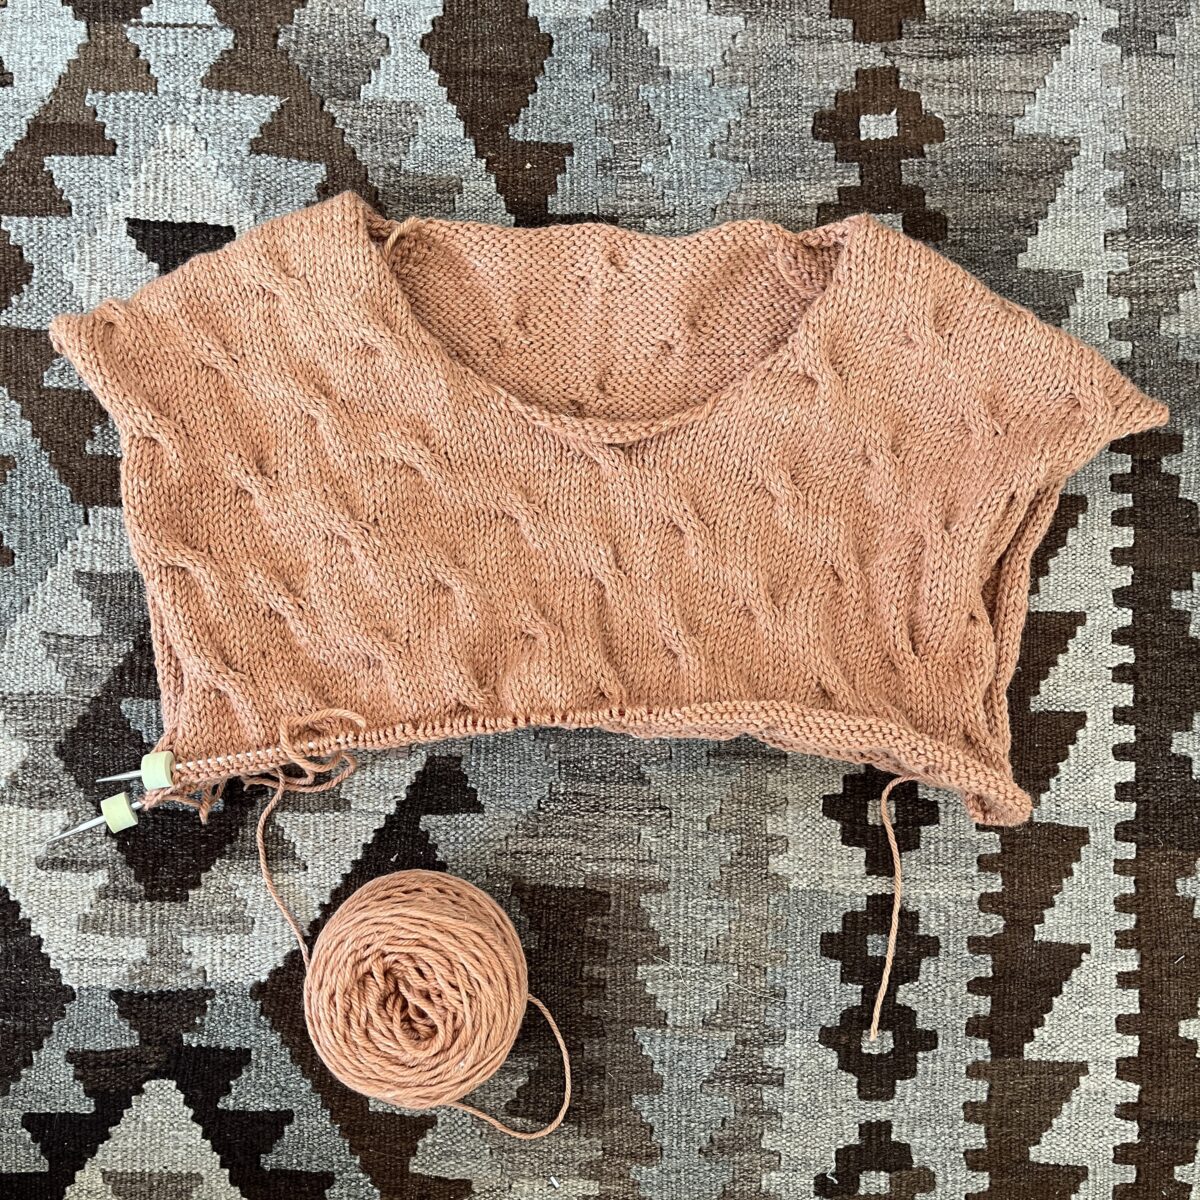
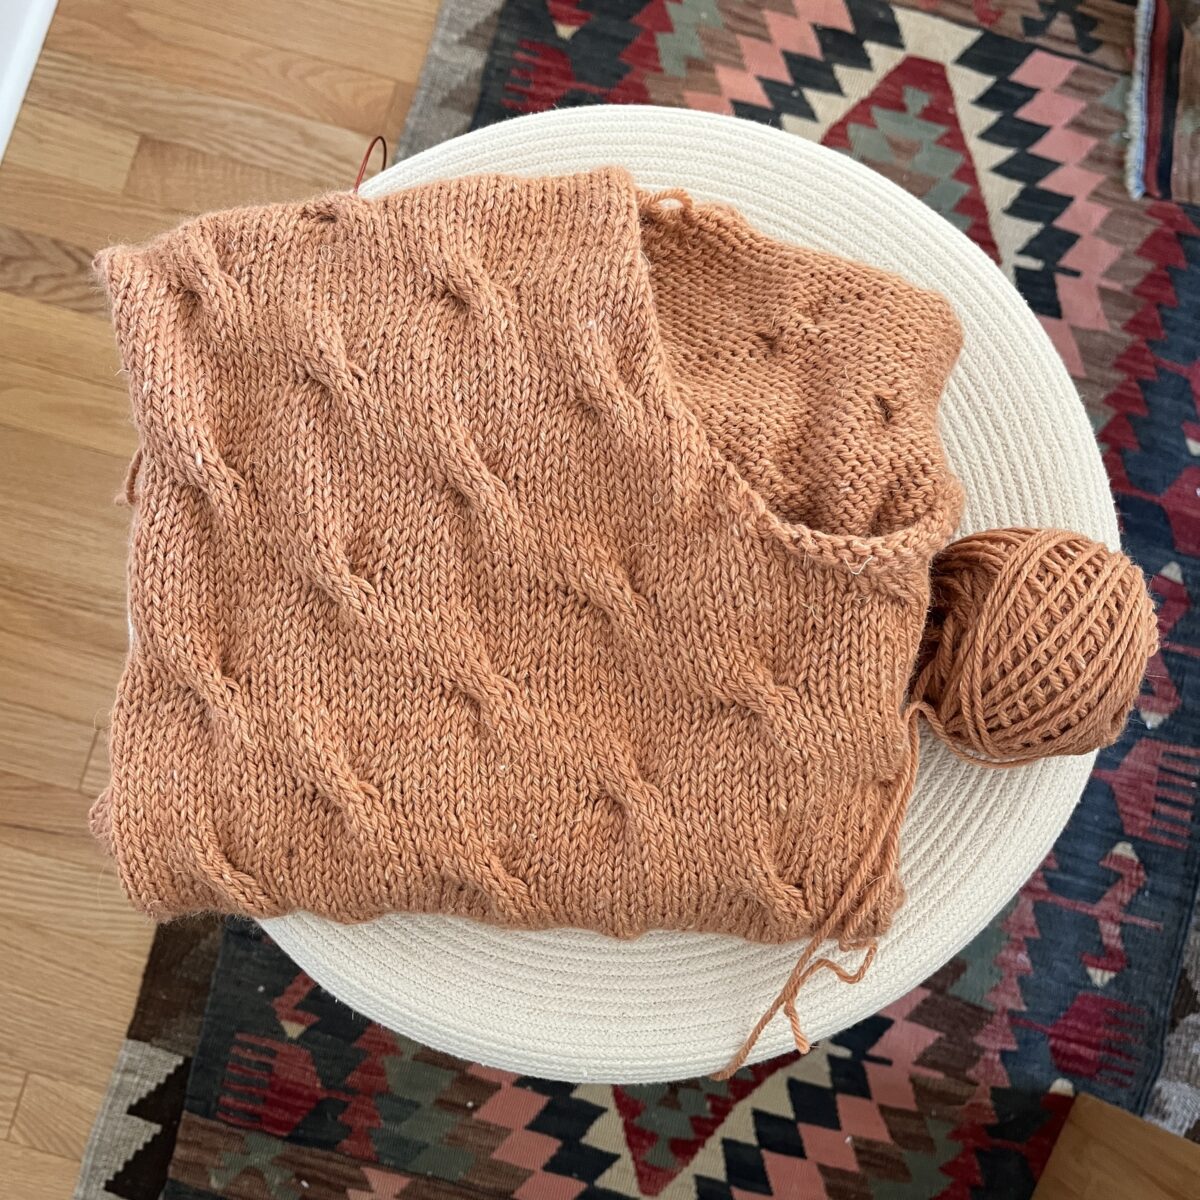
The theme this year is definitely texture, and these subtle cables on the Seaway fit right in. This yarn is so nice. It’s the Purl Soho Linen Quill Worsted in the “Baked Earth” color. It’s unfortunately discontinued.
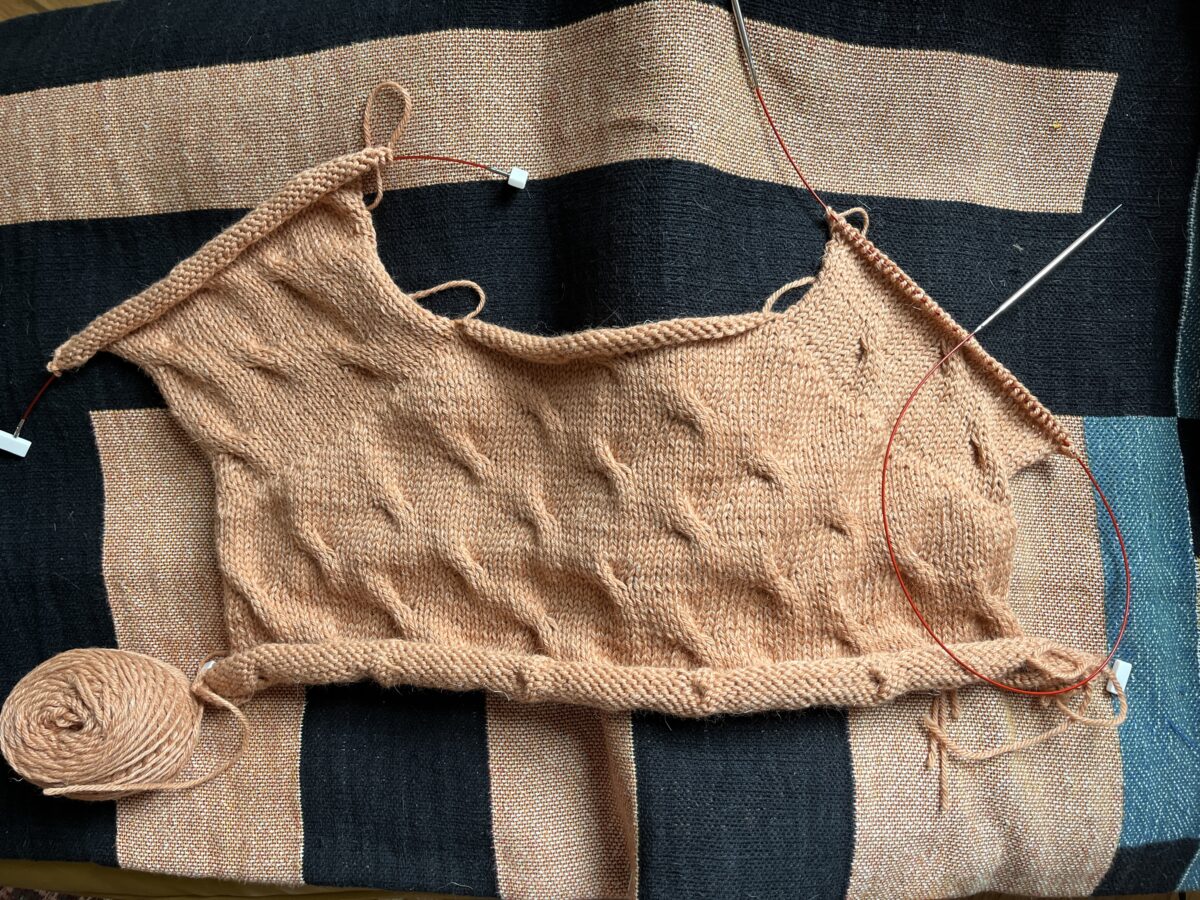
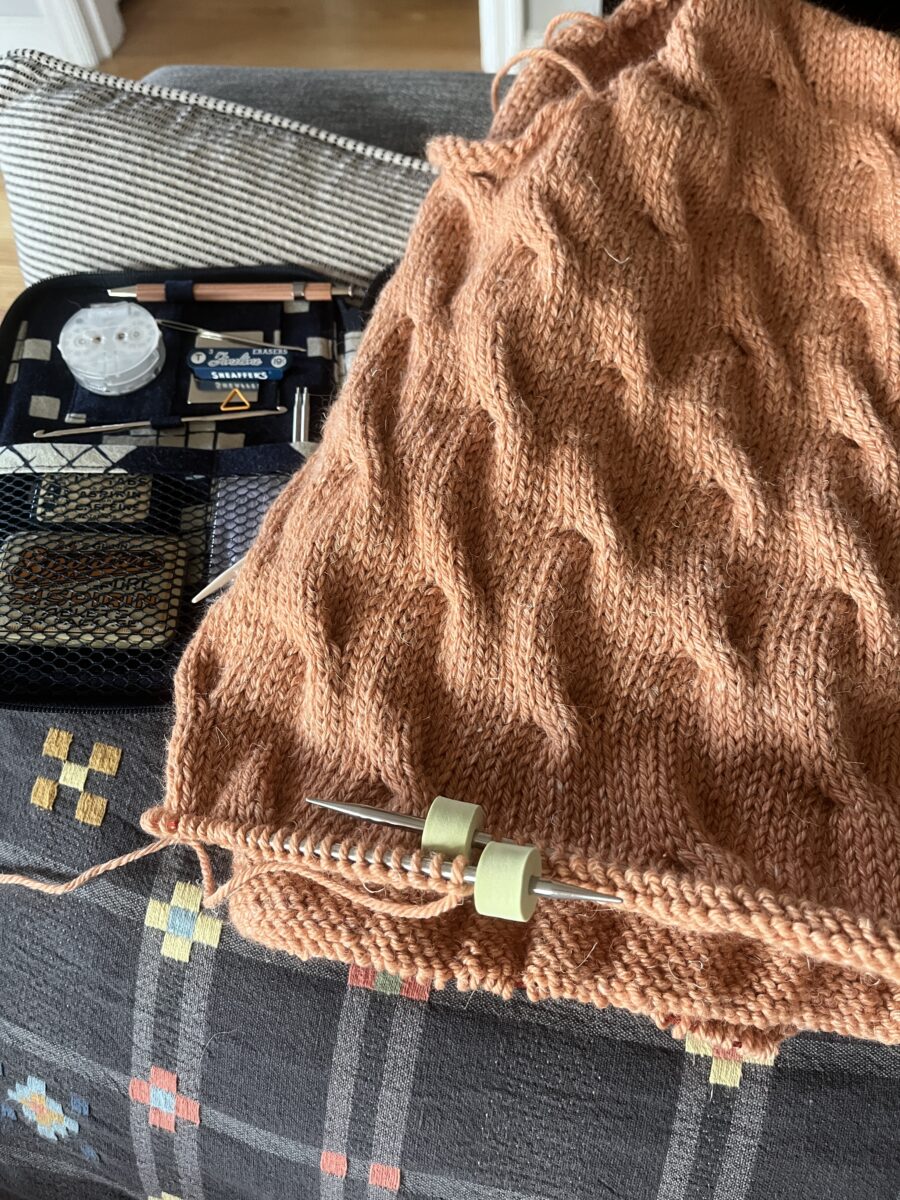
I’m trying to loosen my death grip on this project and am getting some striping in the parts that were knit flat. I’m trying to be okay with it.
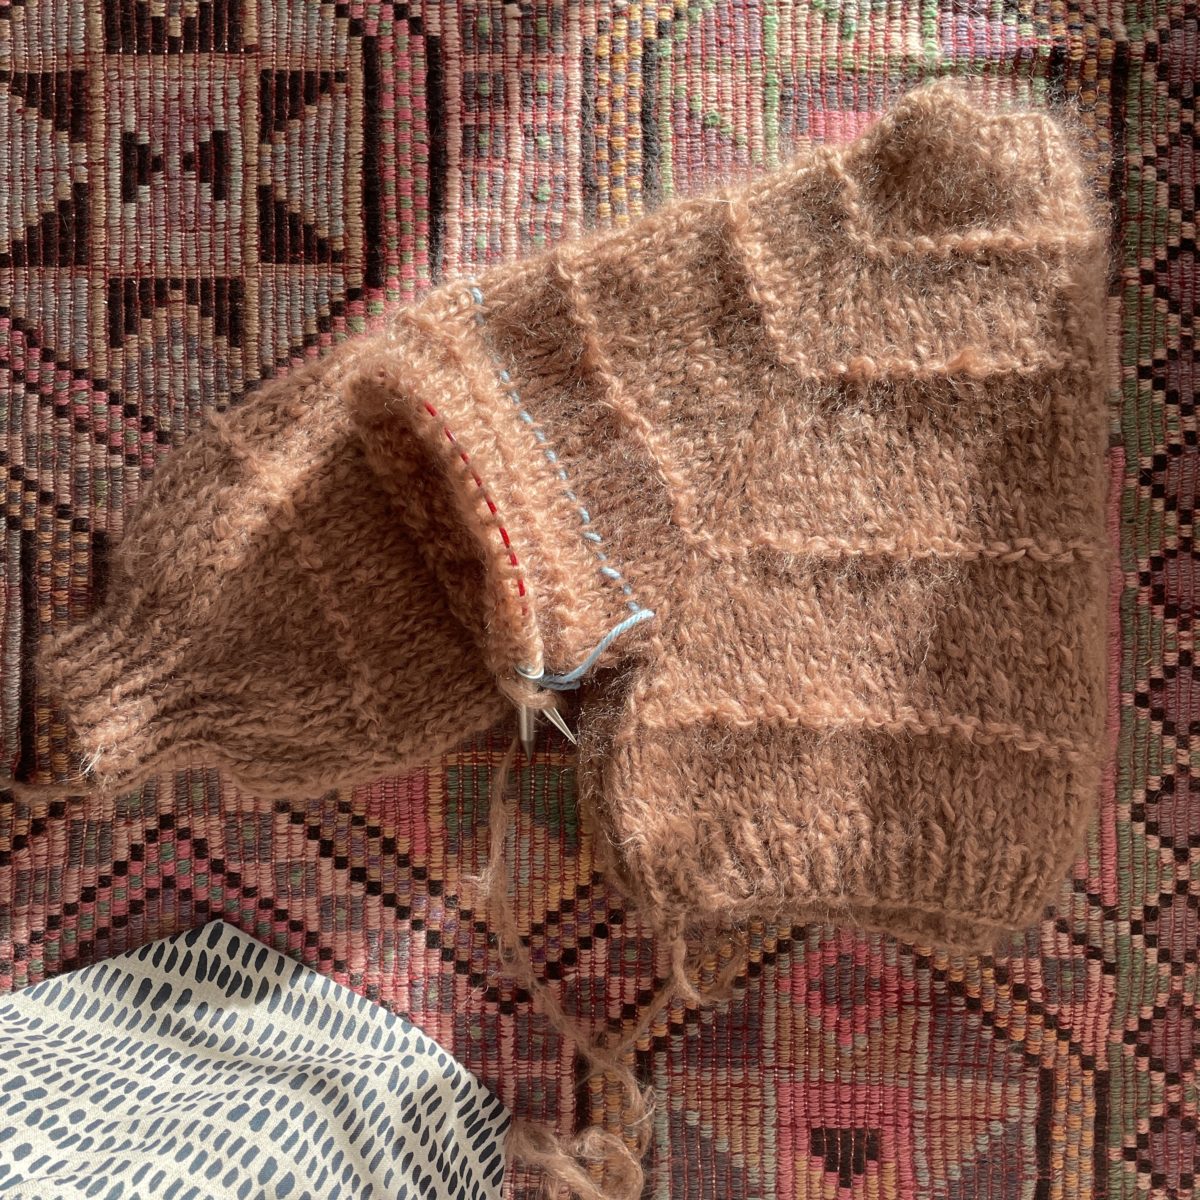
Anyway, I’m hoping to at least finish the Seaway and the gray Ingrid before the year ends. Or maybe I’ll start another project 🙂