

I have wanted to design fabric for a while now and knew one potential step in that direction would be to learn how to screen print fabric. I took a printmaking class during my undergraduate studies, but it was a long time ago and its focus was fine art prints. It did help me understand the basic concepts, but it didn’t include any practice with photo emulsion (we had to hand paint the screens), or using digital images.
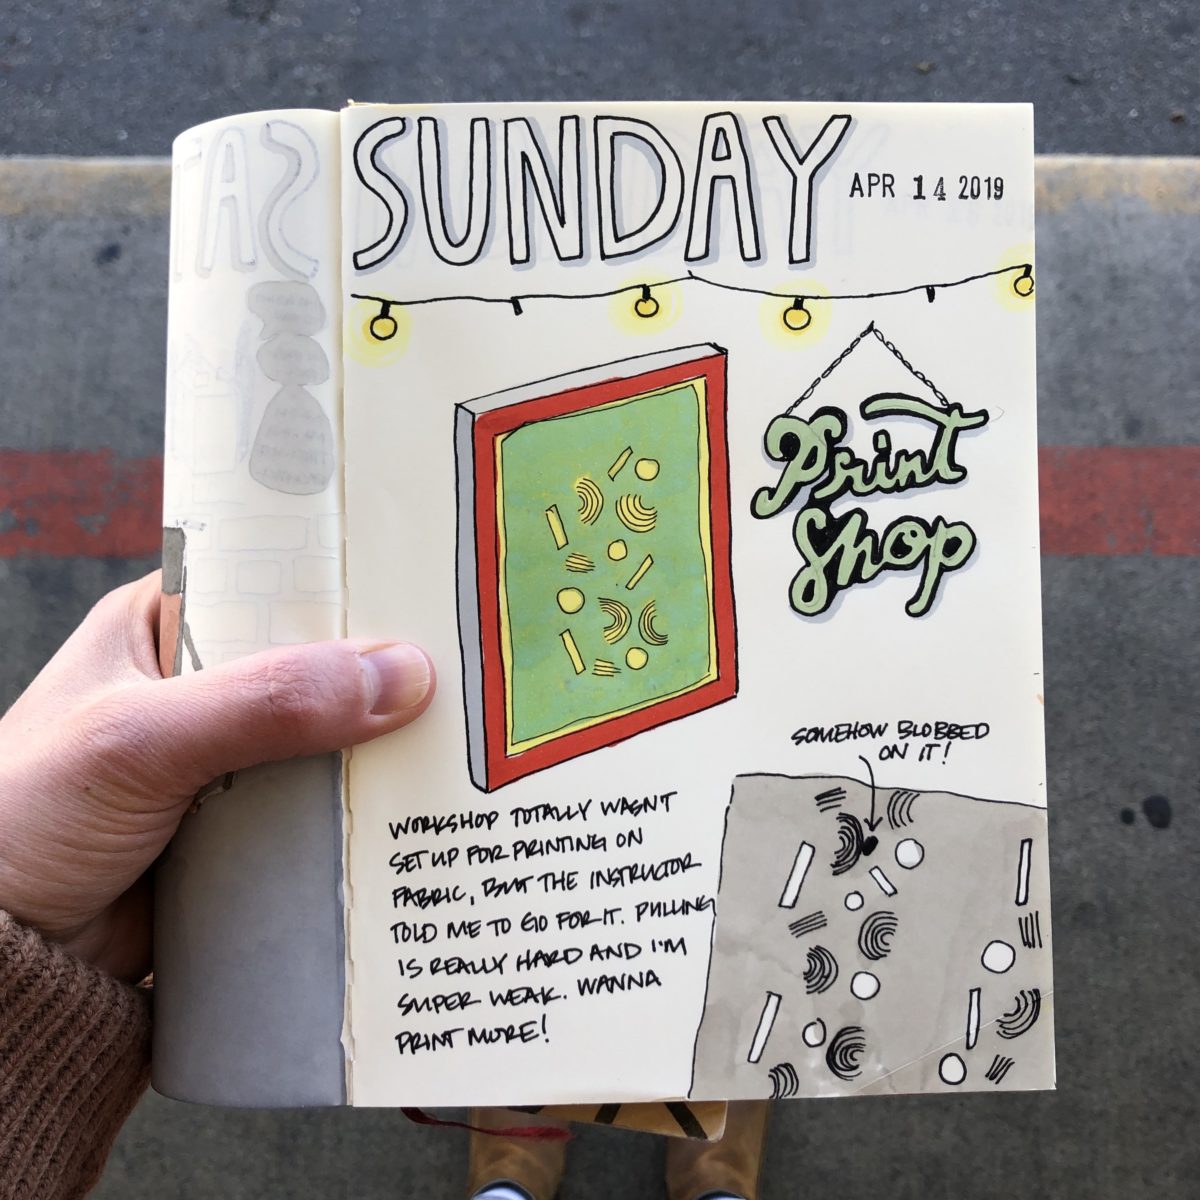
I found a local space that regularly holds screen printing workshops and thought I would just figure out how to use it on fabric later. Thankfully, after all my fabric-based questions, the instructor told me to just go for it.
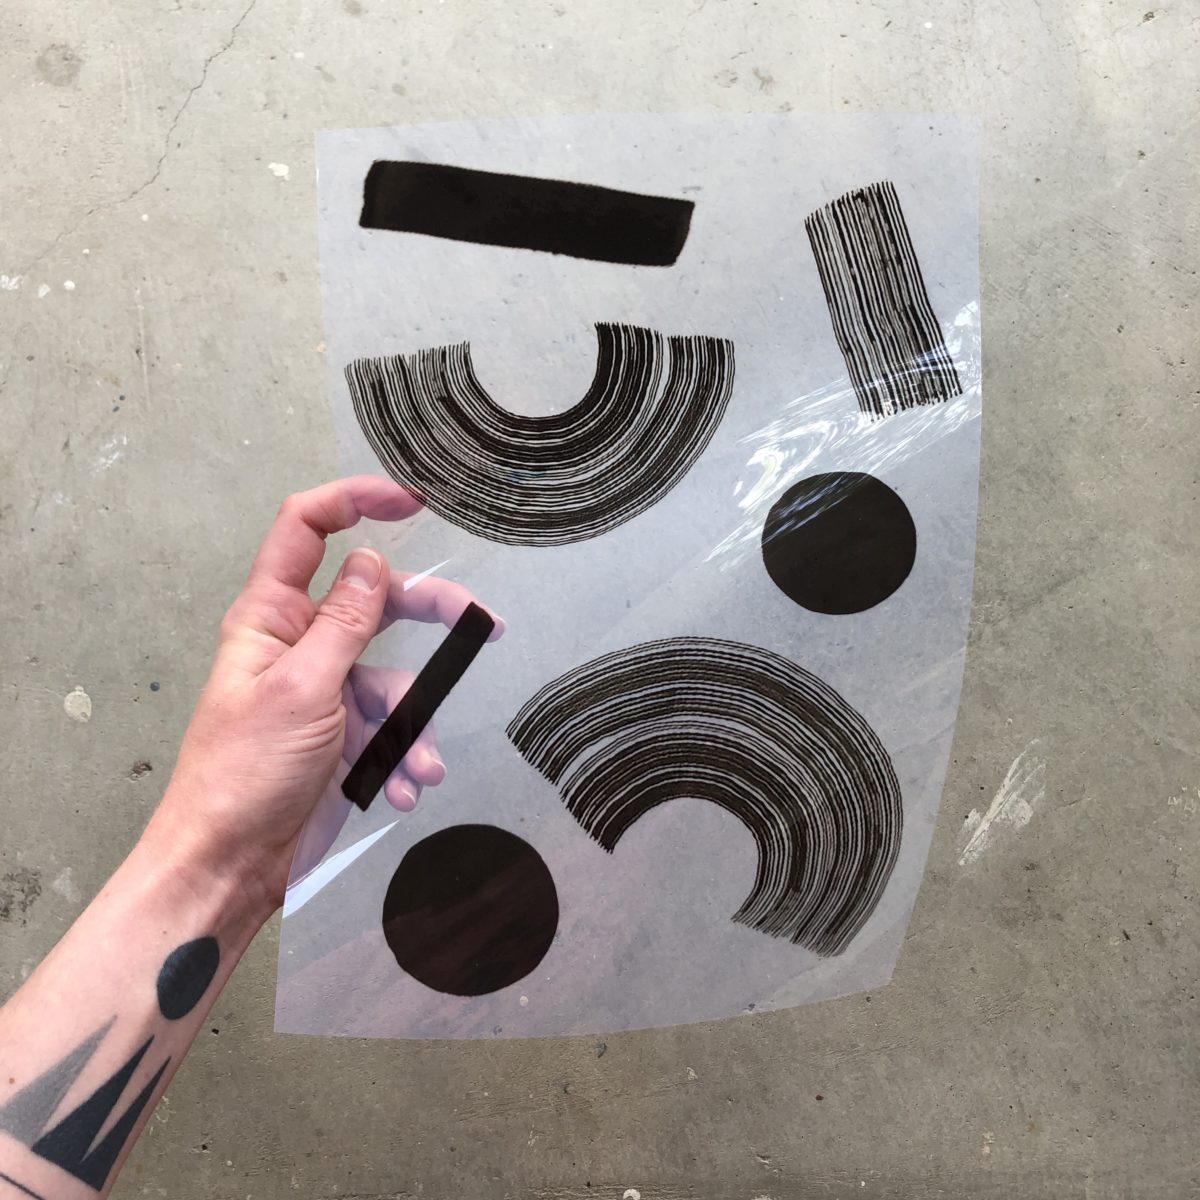
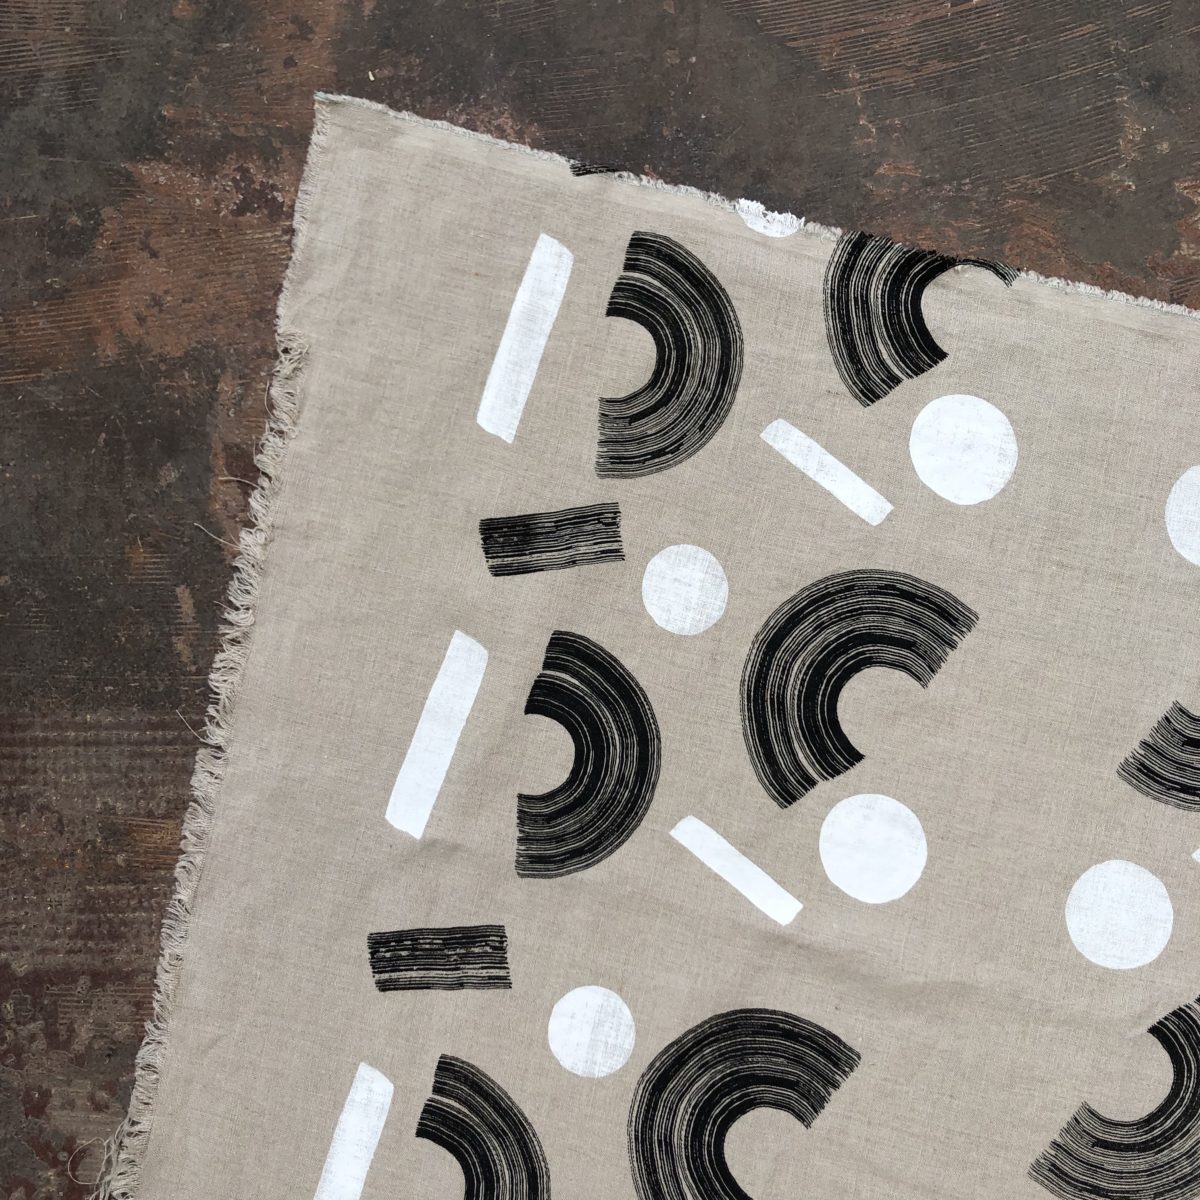
For my design, I went with something I’d drawn with ink in my sketchbook. I snapped a photo of the sketchbook page and imported the image into Photoshop. I cleaned up each element and arranged them until I was happy with the layout. This part was pretty fast paced, so I didn’t have enough time to figure out how to make a repeating pattern. My Illustrator and Photoshop skills are pretty basic. We then printed our designs on a transparent film.
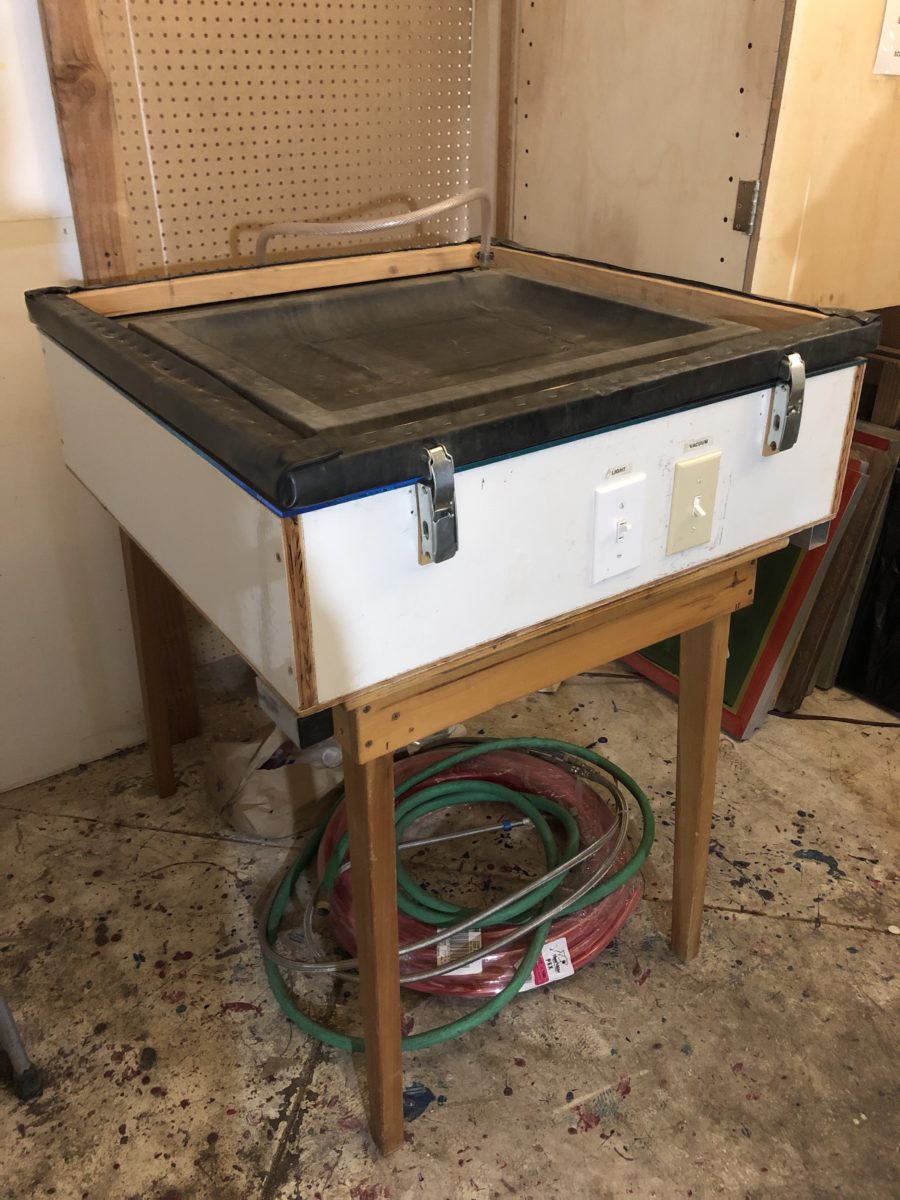
The next step was to create our screens. The studio had a pretty neat vacuum set up – you can see my screen’s frame underneath the rubber membrane which firmly presses the mesh up against the light box. The screen was exposed for 4 minutes and 45 seconds. After that, the screen is power washed to reveal the design.
The whole process was fairly quick since the instructor had already prepared our screens with the photo emulsion fluid. Usually that step takes a day to dry/cure.

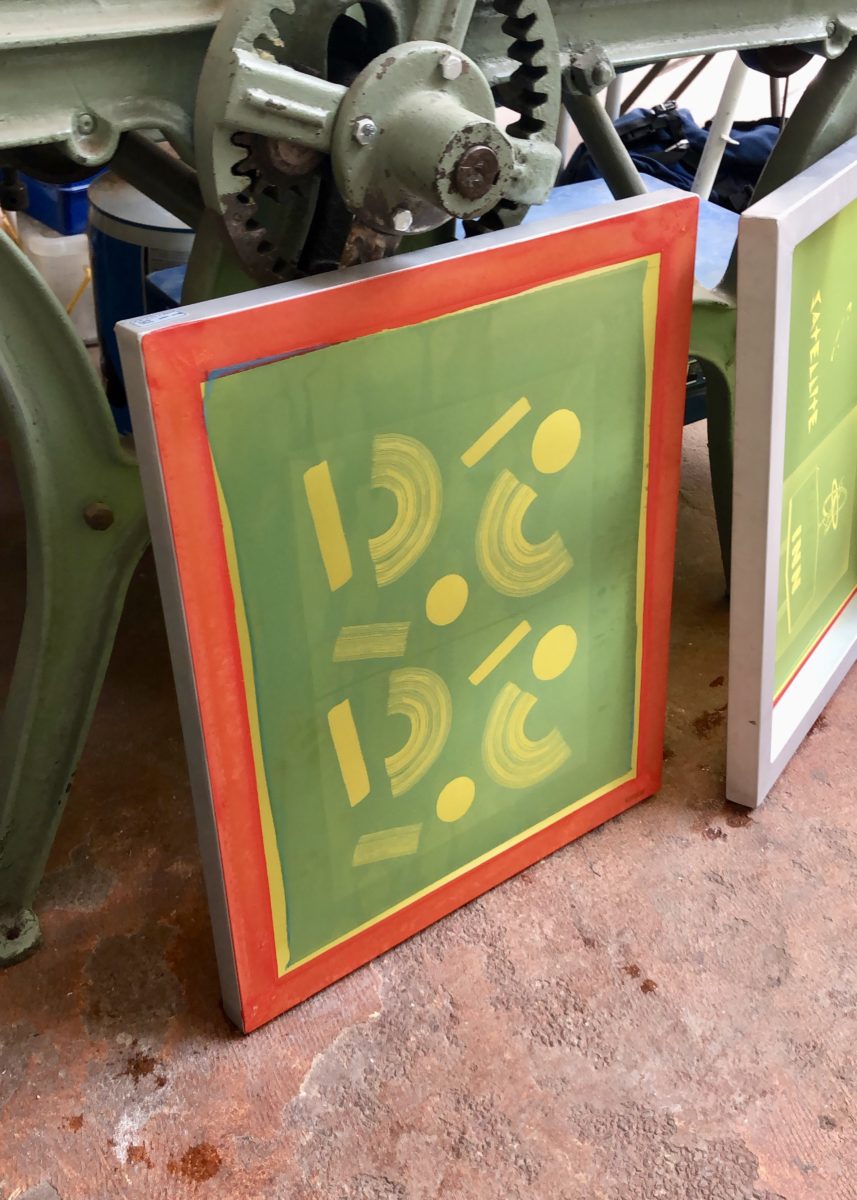
I didn’t take the time to register the fabric prior to printing so each print’s placement was just a guess. Again the class wasn’t set up to print on fabric, so I just had to wing it. I decided to print the solid shapes white and the brushstrokes in black. You can simply mask off the parts of the screen you don’t wish to print with painters tape.
Pulling prints is super physical and my lack of upper body strength became very apparent. I think that having a softer squeegee might help though – all of the tools were meant to print on paper and were quite firm. I had to pull each print a few times to get the desired coverage. We got to take home our screens!
I’m so impressed with the level of detail you can achieve with screen printing. I could have never created a lino block for that brushstroke arch!
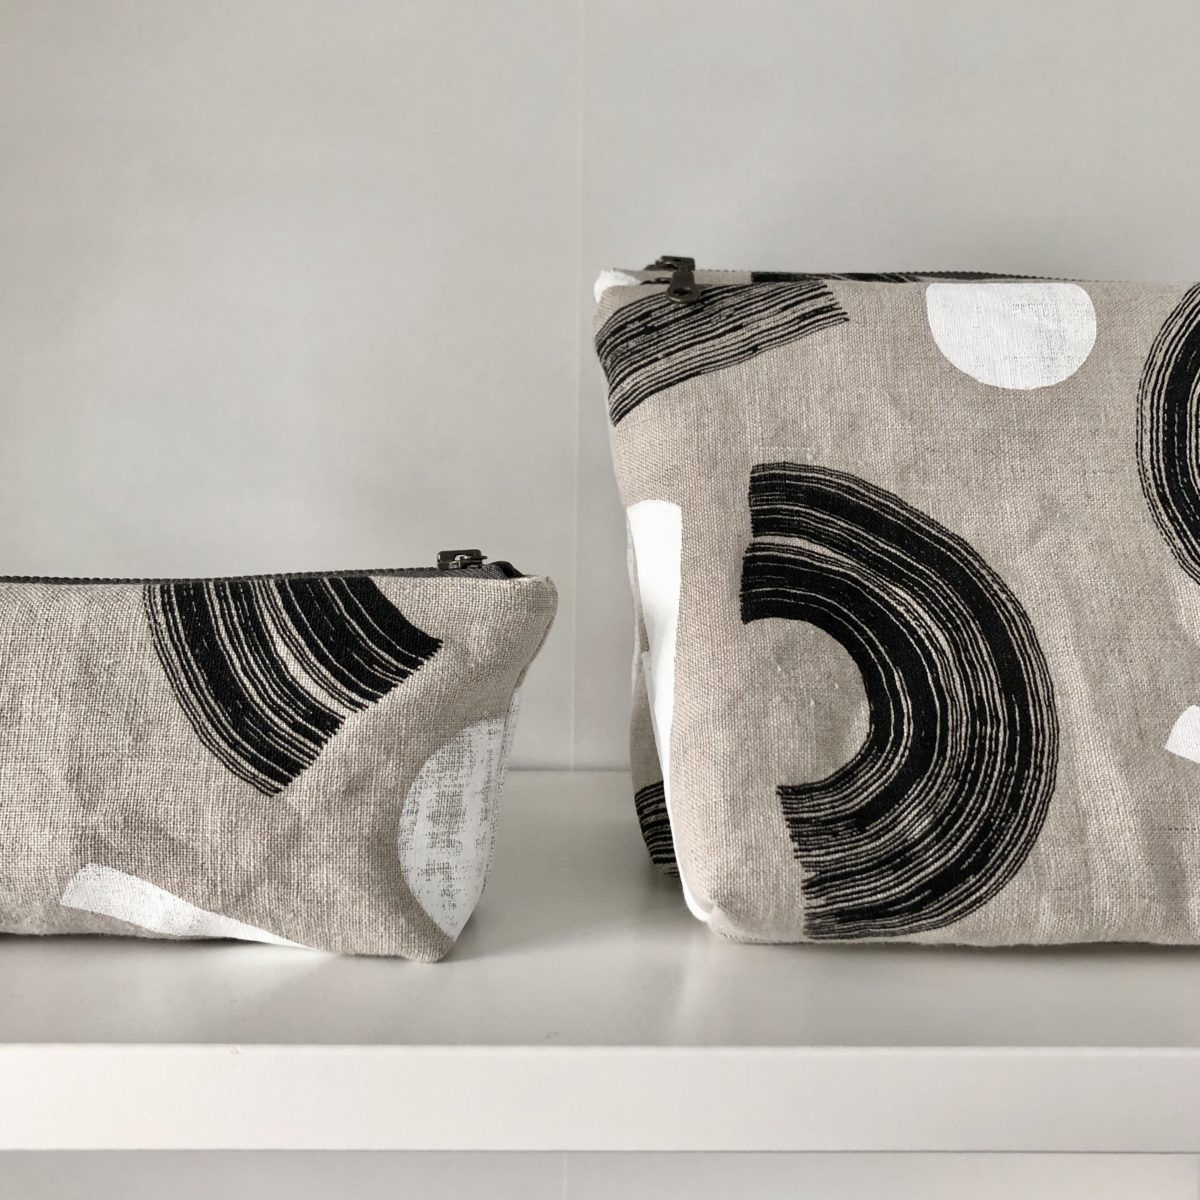
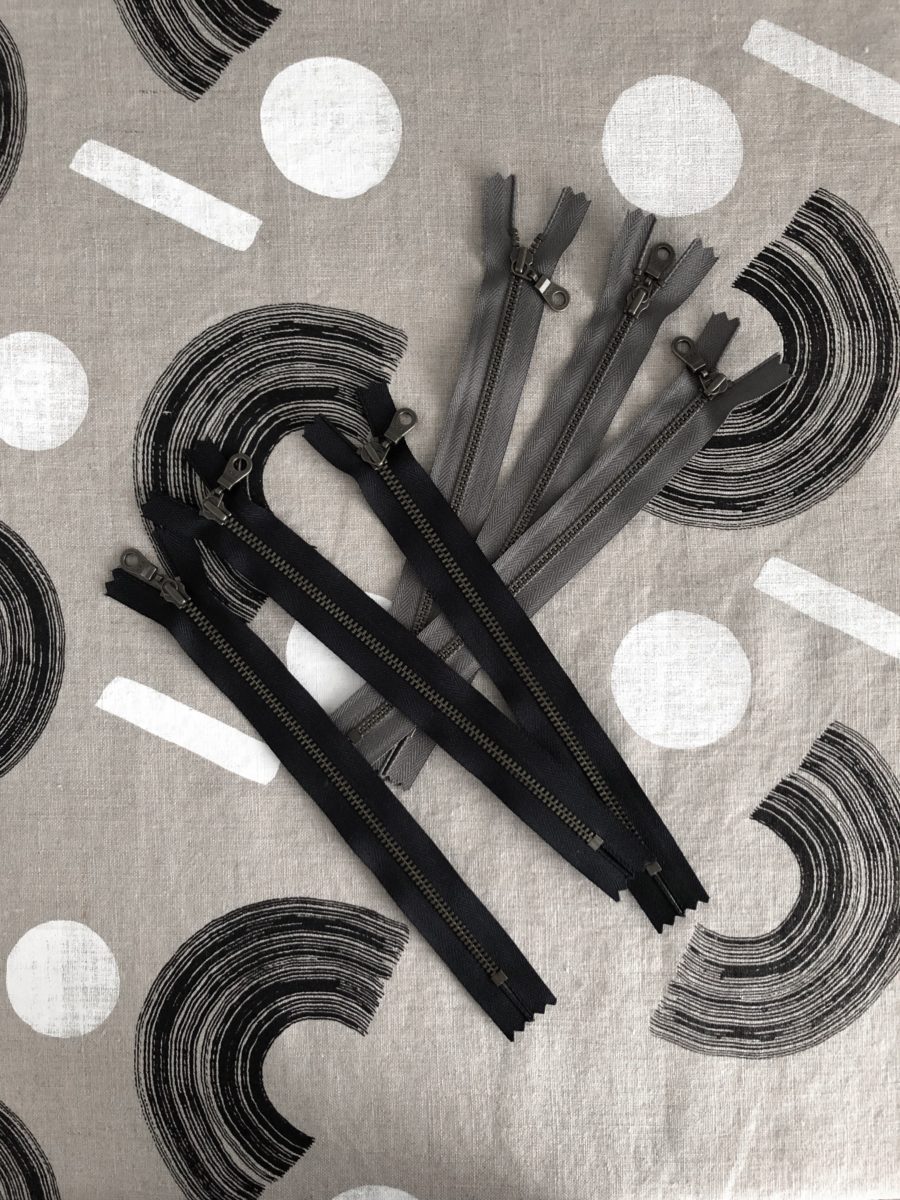
After heat setting the prints with a hot iron, I decided to sew up some zippered pouches. I think they’re pretty darn cute (and functional!). I’m figuring out a web shop, so they’ll be up for grabs soon!
This looks like such a fun class! I’d love to learn screenprinting.
Isn’t screen printing magic? I learned to do it, at least as well as I do it, from a kit from Dharma Trading Company. I wanted to make t-shirts I couldn’t otherwise afford for a problem-solving team I was managing. The photo emulsion/printed film method let me incorporate artwork from the kids. I feel smug and humble every time I see one of “my kids” in their shirt. Smug because it is amazing, and humble, because it isn’t easy to do it by hand and sometimes things end up less well than I imagined.
Your fabric is beautiful! Congratulations.
Those pouches are so beautiful with that print. I’m terrible at visualizing how a print will transfer to a functional item (garment, bag, etc). Seeing the process here is super fascinating.